How to Draw a Lotus Flower – Create Your Own Lotus Sketch
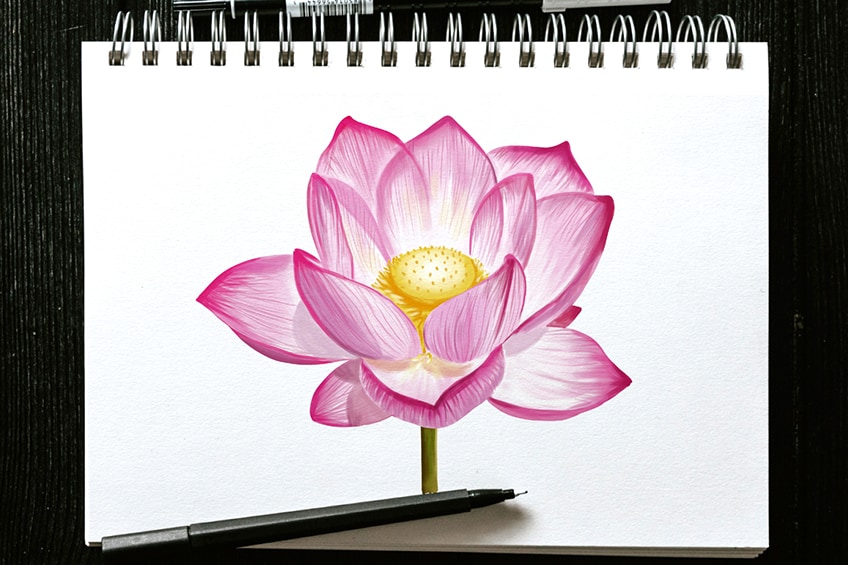
The lotus flower is an important symbol in many cultures. Blooming at the beginning of each day, lotus flowers have come to represent strength, resilience, and rebirth. In today’s drawing tutorial, we are going to show you how to draw a lotus step-by-step with our easy instructions! Once you have selected your drawing tools, we can begin our easy lotus drawing.
A Step-by-Step Lotus Flower Drawing Tutorial
Join us in learning how to draw a lotus flower in our easy-to-follow guide. We will start with the basics by outlining the necessary shapes for our lotus flower drawing before moving on to add color, texture, and highlights to make our drawing look as realistic as possible.
The below collage shows each of the 14 steps taken to achieve the final result, and demonstrates what your lotus flower sketch will look like along the way.
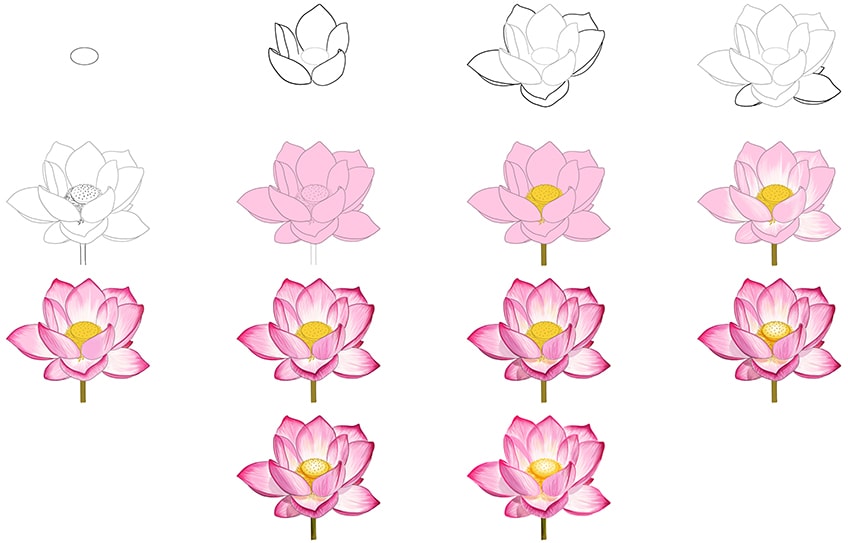
Whether you are a professional artist or merely starting our, our easy lotus drawing tutorial will teach you how to draw a lotus in no time.
Select the drawing supplies that you will be using today and let’s get started!
Step 1: Construct the Seed Pod of Your Lotus Flower Sketch
To begin your drawing, locate the center of your drawing area (whether it is on a piece of paper or a tablet). Draw a horizontal oval shape, which will be the main center of your lotus flower.
This will also represent the seed pod.

Step 2: Draw the Main Flower Petals
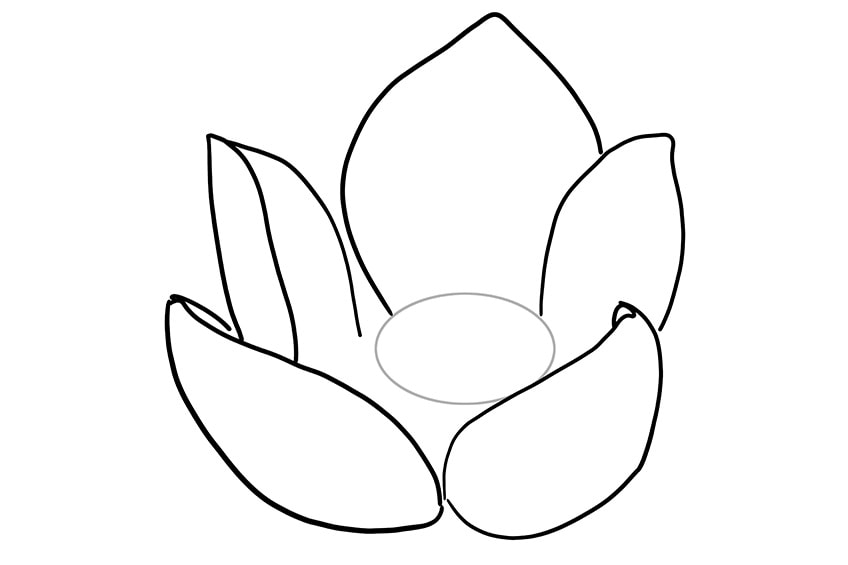
After drawing the middle of your lotus flower, you will need to add the main flower petals. Draw your top petals around the seed pod, making sure to sketch them in a somewhat standing position.
Step 3: Add the Side Petals to Your Lotus Flower Drawing
We will continue to draw our petals at this step of our lotus flower sketch tutorial. Around the top petals that you drew in the above step, sketch some side petals, making sure to spread them out quite widely.
In order to fill out the lotus flower, you should draw five side petals.
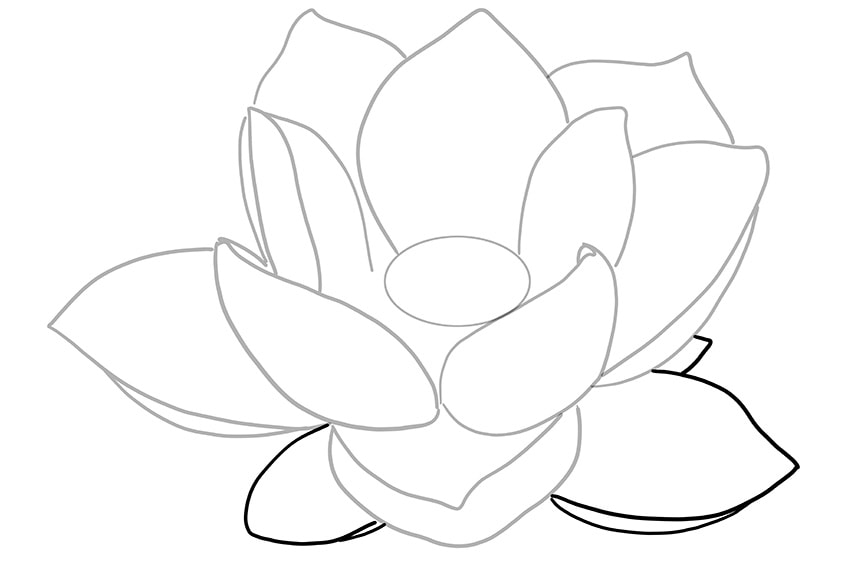
Step 4: Outline the Bottom Lotus Flower Petals
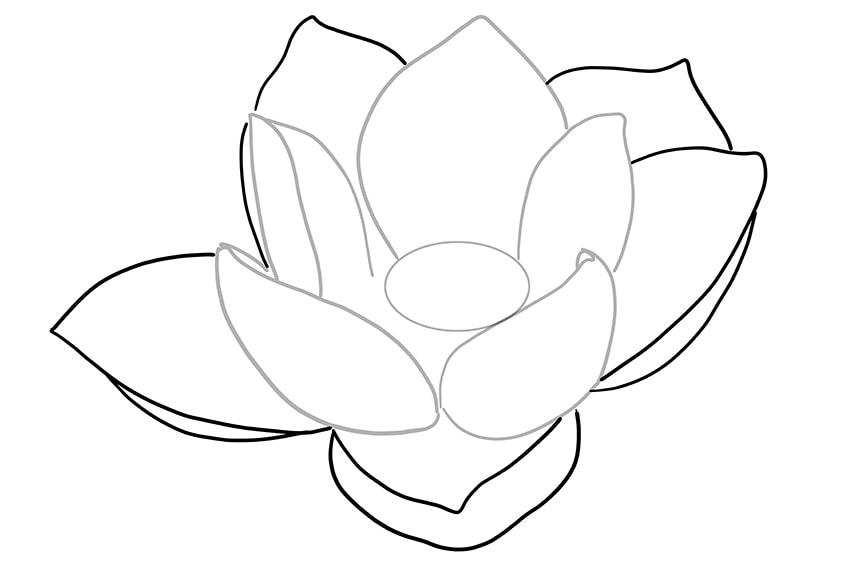
This is the last step that requires you to add petals to your lotus flower sketch. Below the side petals that you have already drawn, you will need to add some bottom petals. When drawing these bottom petals, sketch them with a slight angle so that your drawing looks more realistic.
Step 5: Create the Seed Pod and Stem
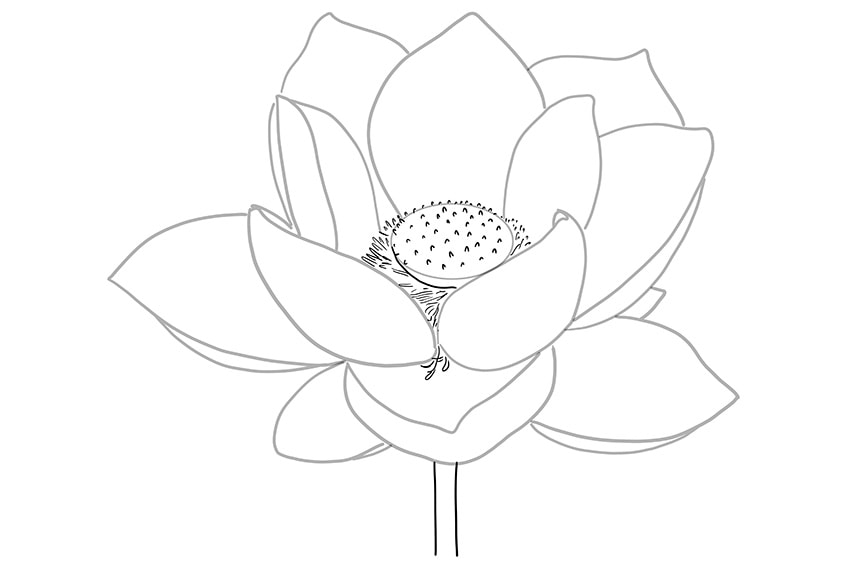
Now that all of your petals have been drawn, we can move on to the seed pod and stem of your lotus flower drawing! In your oval, which represents your seed pod, add some small spiky edges throughout the center.
To create your stem, simply draw two straight vertical lines underneath your bottom petals.
Step 6: Add the First Coat of Color to Your Lotus Flower Sketch
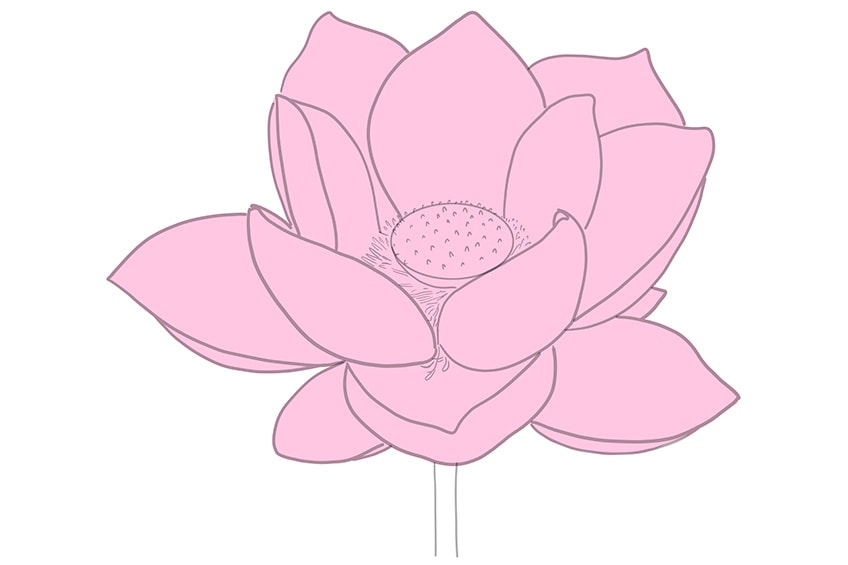
We can now add a base coat of color to your easy lotus drawing! Using a regular paintbrush, select a pink color and evenly paint the entire lotus flower. Make sure to leave the stem unpainted, as it will be painted using a different color.
Step 7: Color the Seed Pod and Stem
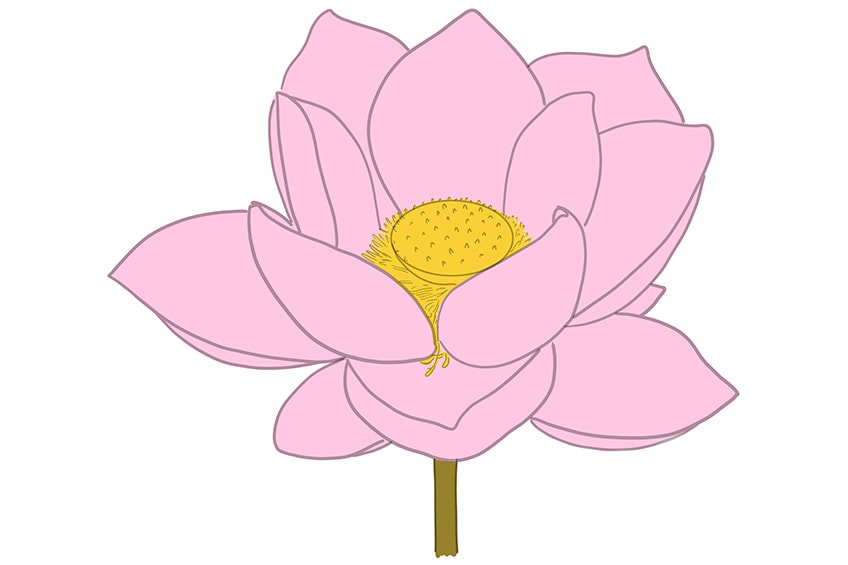
At this step, we will finish with our base coat of colors for your lotus flower sketch. Moving onto the seed pod that you drew in step five, take a small brush and some yellow paint to fill this section.
With a regular paintbrush and some dark green paint, evenly color the stem.
Step 8: Add Some Lightening to the Sketch
Once our base coat of color has been applied, we can start to add some light and shade to our lotus flower drawing. With a soft, small paintbrush and some white paint, gently brush the color from the middle of the flower in an upwards direction. This will help to add some structure to each petal and will enhance the texture that we will be adding in the next step!
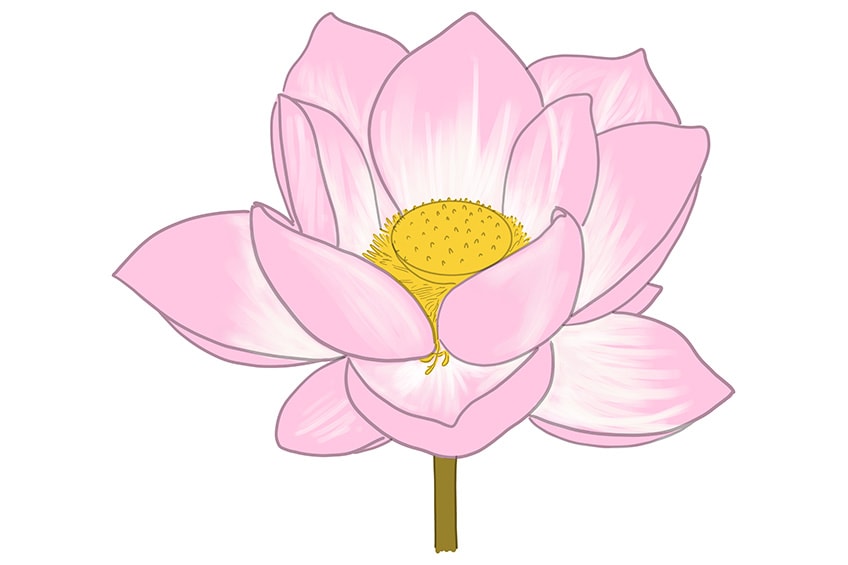
Step 9: Create Texture on Your Lotus Flower Drawing
This is where we will begin to add some texture to our easy lotus drawing. Take a fine, sharp paintbrush and a darker shade of pink, and begin to lightly add some texture around the edges of the petals and inside the whole flower.
In order to create a realistic effect, swipe your paintbrush across the lightened areas to create fine textures.
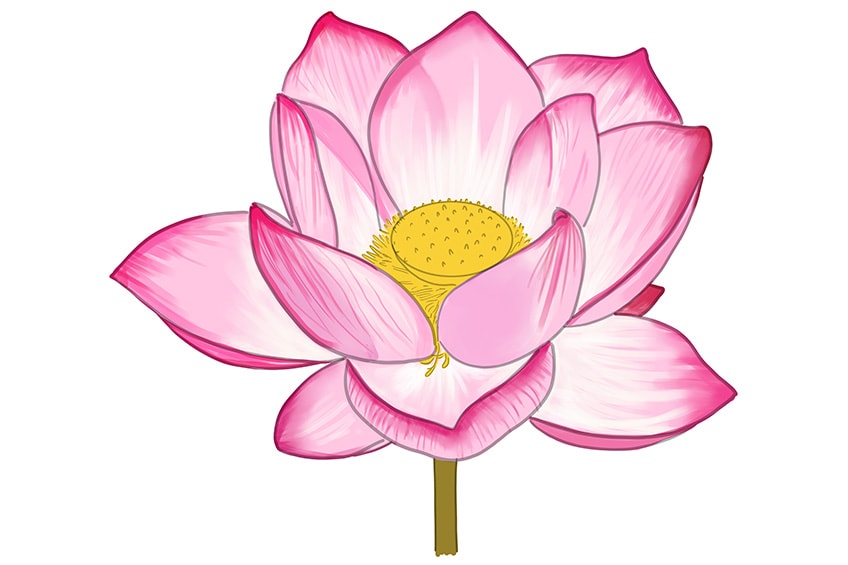
Step 10: Enhance the Texture of the Lotus Flower
At this stage of the drawing tutorial, we will enhance the texture in our lotus flower sketch that we added in the above step. With a sharp paintbrush and some dark pink paint, apply more delicate texture marks along the curves and body of each petal. To complete this step, take a smaller paintbrush and more dark pink paint to lightly add a darker coat along the edges of each petal.
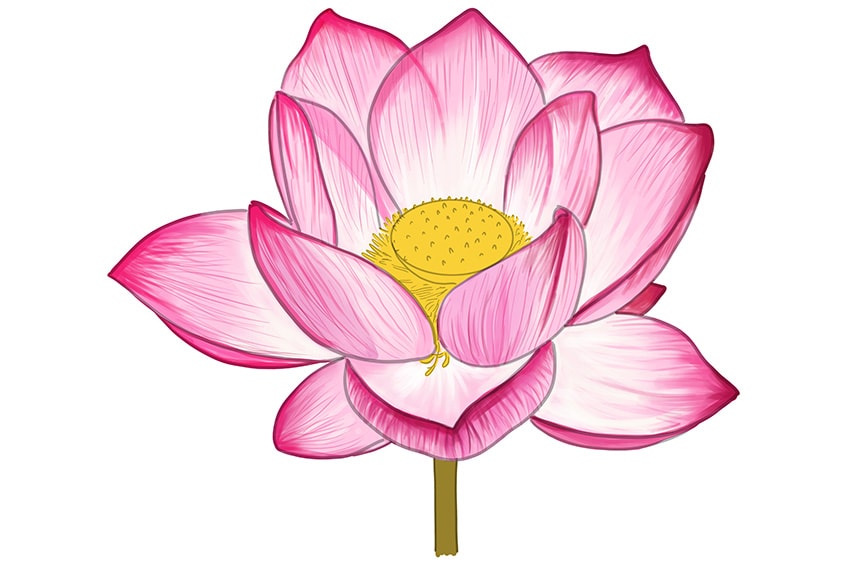
Step 11: Start Shading Your Easy Lotus Drawing
Now that all of our texture has been added, we can focus on the shading in our lotus flower sketch. Select a small paintbrush and light purple paint to gently apply a casted shadow onto the bottom lotus petals, and around the bottom edges of each petal. In order to apply some light shading around the gaps of each petal, take a small paintbrush, a mixture of yellow and red paint, and begin to lightly dab the bottom of each middle petal.
You will need to repeat this step with the middle top petals to give them all a “glow”.
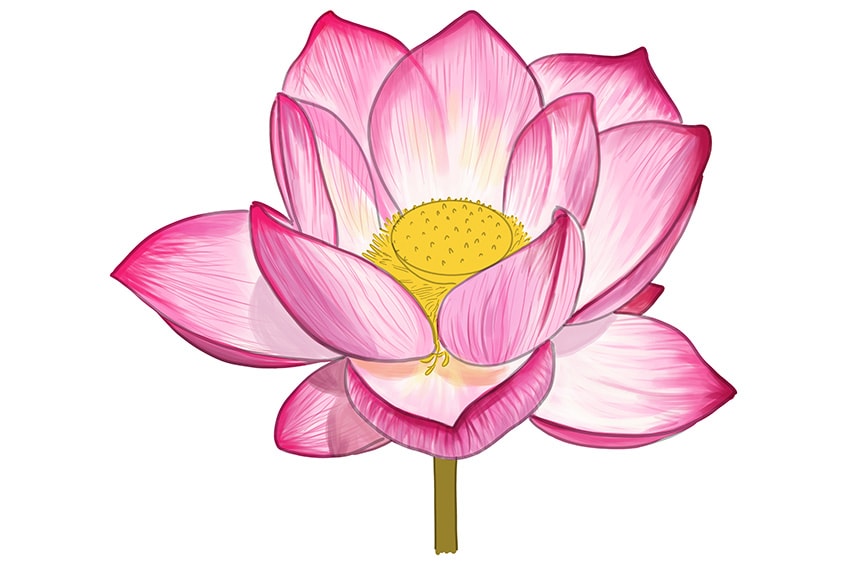
Step 12: Highlight the Seed Pod
Before we begin to finalize our drawing, we will need to add some highlights to the seed pod. With a small soft brush and some white paint, dab the middle of the seed pod to highlight the center. Complete this step by adding additional highlights to the seed pod tips with a soft paintbrush and orange paint. Finally, blend all of the colors at the bottom of your seed pod.
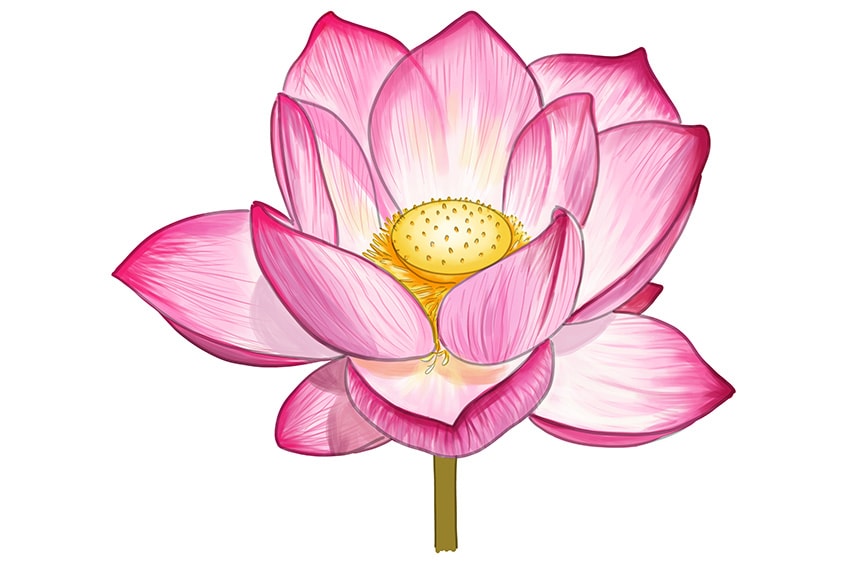
Step 13: Finalize the Stem of Your Lotus Flower
Now that we are finished painting the lotus flower, we can quickly add some texture to our flower stem. Using a soft paintbrush and some dark green paint, lightly add some texture and structure to the stem. Take another paintbrush and black paint to add some shading to the stem.
You will only add shading to one side of the stem, making sure that it faces towards the other side without the black paint. This will make your drawing seem as realistic as possible.
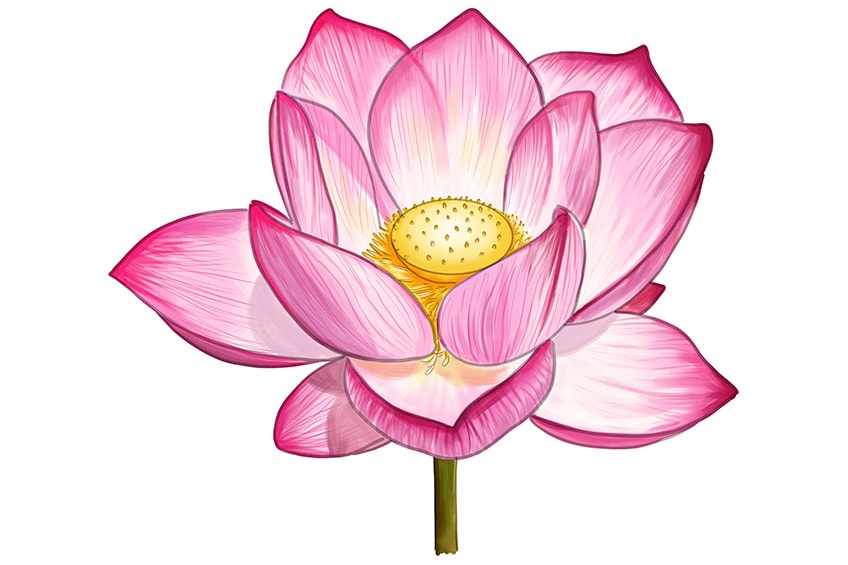
Step 14: Finalize Your Entire Lotus Flower Sketch
In the final step, you will finish off your lotus flower drawing by removing any visible outlines. Take a sharp paintbrush and the corresponding colors of each section to trace over the entire outline of the lotus flower. This will result in a seamless drawing without any harsh outlines remaining.
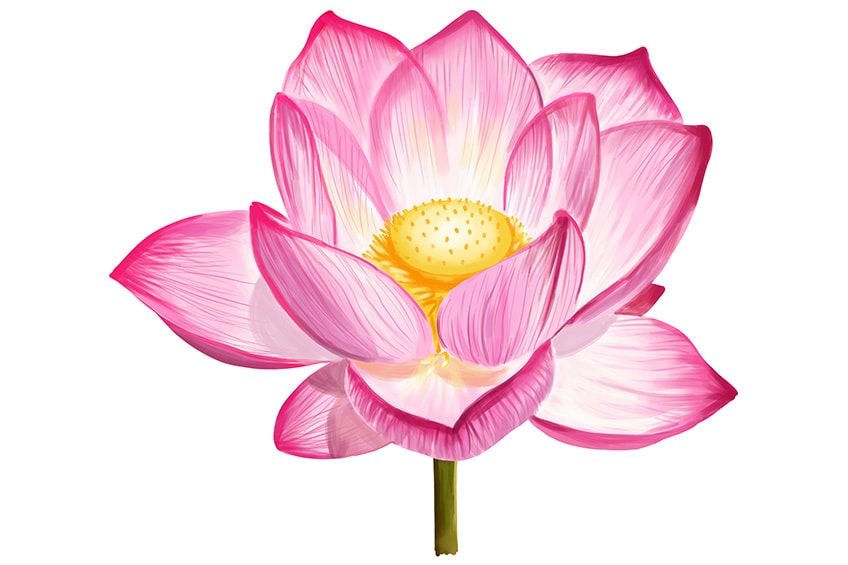
Congratulations, you have just learned how to draw a lotus step-by-step! As you can see, learning how to draw a lotus flower is not complicated at all, and now that you have mastered this process, you can create your own lotus flower drawings for any occasion. We hope that you enjoyed our tutorial on easy lotus drawing, and that you will join us again for more exciting drawing guides!
Our Flower Drawing Tutorials
- Flower Drawing Basics
- Tulip Drawing
- Hydrangea Drawing
- Lily Flower Drawing
- Poppy Flower Drawing
- Orchid Drawing
- Magnolia Flower Drawing
- Hibiscus Flower Drawing
- Calla Lily Drawing
- Peony Flower Drawing
- Daffodil Drawing
- Dandelion Drawing
- Daisy Flower Drawing
- Sunflower Drawing
- Cherry Blossom Drawing
- Rose Drawing
- Forget-Me-Not Flower Drawing
Frequently Asked Questions
Is It Difficult to Learn How to Draw a Lotus?
Not at all! In general, drawing can be very daunting at first, especially if you have never done it much before, but our easy tutorial makes creating a lotus flower sketch very easy! Simply follow along with each step and learn how to draw a lotus flower in no time.
How to Draw a Lotus Step-by-Step?
In our drawing tutorial, we have provided you with 14 detailed, yet straightforward, steps to follow in order to create your very own lotus flower drawing. In order to draw a lotus sketch as realistically as possible, focus on the shading and texture that you add to your drawing, and remember to have fun!
Matthew Matthysen is an educated multidisciplinary artist and illustrator. He successfully completed his art degree at the University of Witwatersrand in South Africa, majoring in art history and contemporary drawing. The focus of his thesis was to explore the philosophical implications of the macro and micro-universe on the human experience. Matthew uses diverse media, such as written and hands-on components, to explore various approaches that are on the border between philosophy and science.
Matthew organized various exhibitions before and during his years as a student and is still passionate about doing so today. He currently works as a freelance artist and writer in various fields. He also has a permanent position at a renowned online gallery (ArtGazette) where he produces various works on commission. As a freelance artist, he creates several series and successfully sells them to galleries and collectors. He loves to use his work and skills in various fields of interest.
Matthew has been creating drawing and painting tutorials since the relaunch in 2020. Through his involvement with artincontext.org, he has been able to deepen his knowledge of various painting mediums. For example, watercolor techniques, calligraphy and lately digital drawing, which is becoming more and more popular.
Learn more about Matthew Matthysen and the Art in Context Team.
Cite this Article
Matthew, Matthysen, “How to Draw a Lotus Flower – Create Your Own Lotus Sketch.” Art in Context. May 8, 2022. URL: https://artincontext.org/how-to-draw-a-lotus-flower/
Matthysen, M. (2022, 8 May). How to Draw a Lotus Flower – Create Your Own Lotus Sketch. Art in Context. https://artincontext.org/how-to-draw-a-lotus-flower/
Matthysen, Matthew. “How to Draw a Lotus Flower – Create Your Own Lotus Sketch.” Art in Context, May 8, 2022. https://artincontext.org/how-to-draw-a-lotus-flower/.


