Resin Art – The Beginner’s Guide to Creating Art with Resin
Art has always been a means to express our impulses, desires, and abstract concepts that words simply fail to capture. In the beginning, painting, and sculpting were seen as the epitome of artistic expression, with every other medium seen as a novice’s attempt at mimicking the work of the greats. These days, we hold no such pretense, finding mixed media art and installations sometimes consisting of materials that would never be seen together in any other setting. A medium that has become popular seemingly overnight is resin, which seems to only be limited only by your imagination, but what is resin? What exactly can it be used to make? Let’s have a look.
What Is Epoxy Resin?
While it’s being used more and more in the crafting community, you might find yourself asking what exactly resin is. So, what is epoxy resin? Epoxy resin (the full name of the substance) is a two-part solution consisting of one part resin and one part hardener.
When these two parts are combined, a chemical reaction takes place in which they chemically fuse together to create something that resembles plastic. Once the now-fused resin has cured completely, you’re left with a highly durable material that happens to be extremely versatile, easy to use, able to withstand extreme heat and cold, and can be sanded and drilled if need be.
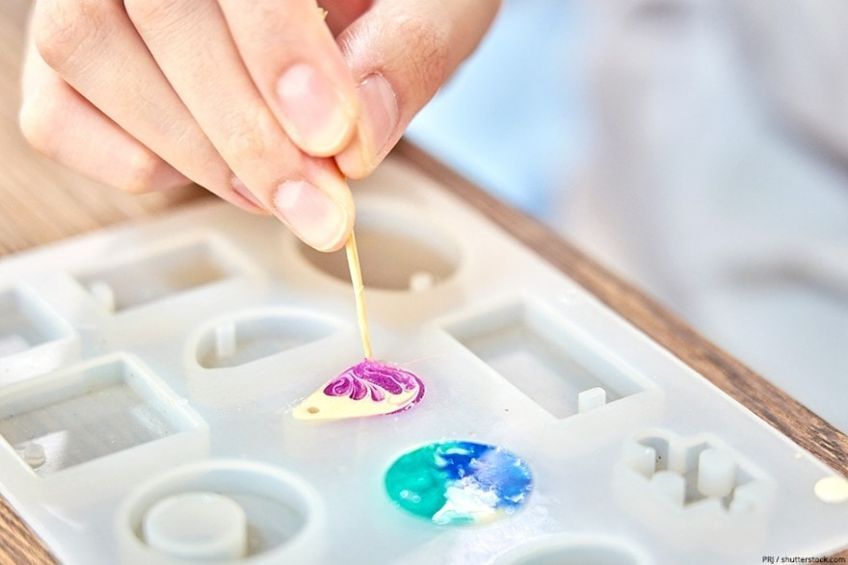
There are various types of resin for all types of applications, all of which have characteristics that are geared towards particular surfaces or for achieving a particular aesthetic. Some resin products are even designed to set and cure faster, like UV resin which sets and cures at an accelerated rate when exposed to natural or artificial UV radiation (also known as sunlight or UV lamps).
Besides being used to create beautiful castings, paintings, and surfaces for furnishings, the resin is used in almost every industry on earth, including electronics, automotive manufacturing, insulating electrical wiring, and even construction tools use resin for a fast and effective way to solve otherwise complex engineering problems. While the resin is very versatile and easy to use in its two-part form it presents the potential to cause mild to moderate discomfort if it happens to come into contact with your eyes, skin, or if you happen to accidentally inhale the fumes during its curing process.
This being said, you should always wear gloves and a face mask when working with any type of resin, but you should know that it’s not always dangerous.
Once the resin has had a chance to cure completely, it is completely inert chemically. In fact, once the resin has cured completely, it is 100% food safe! This means that you can use resin for culinary applications such as kitchen surfaces, artisanal cutlery, plate ware, and even containers for your leftovers. Just ensure that you are using a resin graded for these applications and always ensure that you follow the manufacturer’s recommended time period when allowing your next resin project to cure.
What Is Resin Art?
Resin art is one of the most diverse mediums of art out there, both as a stand-alone art form and as a means of supplementing other disciplines such as installation art, painting, and even furniture design. For the sake of simplicity, we’ll be looking at the type of art you’re able to make with a resin specifically, so what exactly is resin art?
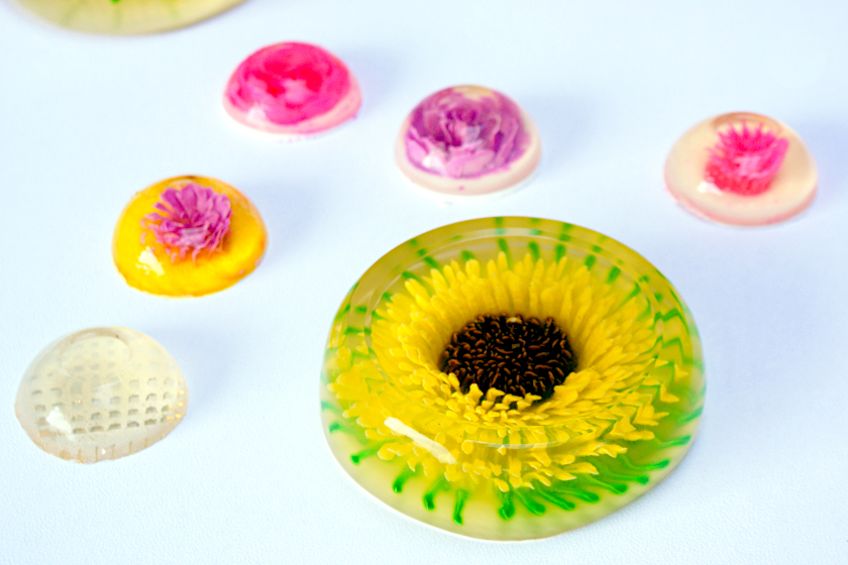
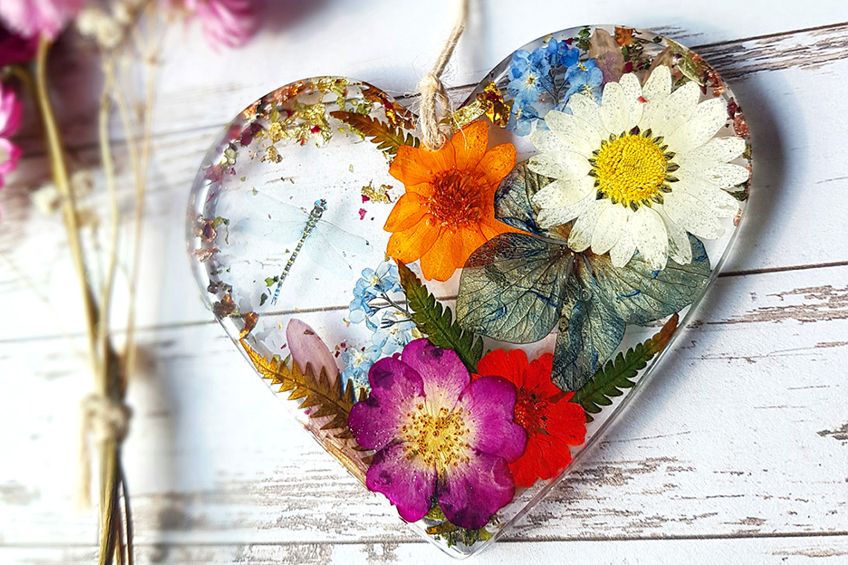
Generally speaking, resin art is anything created through the use of combining some resin and hardener for purely aesthetic purposes. This solution is often poured into a mold of your choice and allowed to cure, the mold is then opened and the casting is extracted leaving you with a positive impression of the inside of the mold.
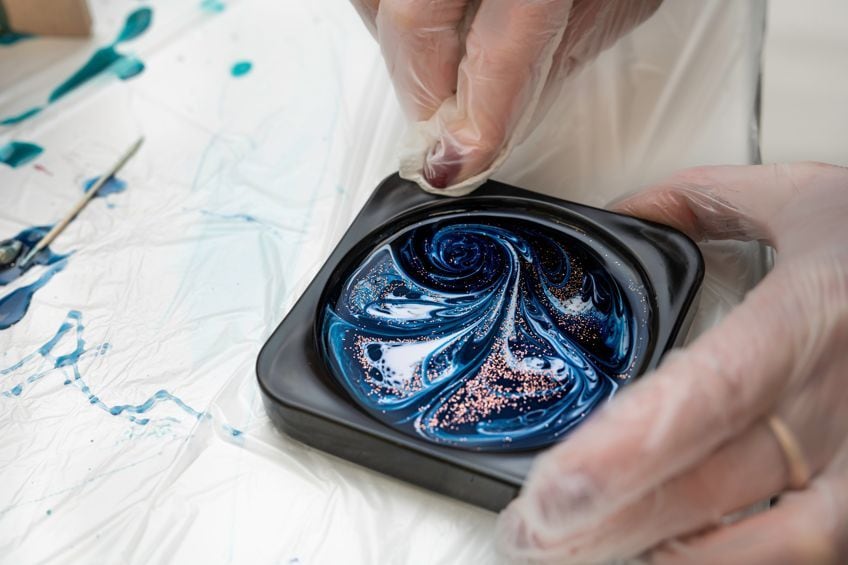
Essentially, it functions as a super high-quality means of replicating a shape, figurine, toy, piece of jewelry, coasters, and many other possible shapes. If the mood ever took you, you could make your old molds by covering the object of your choosing in mold putty and allowing it to harden.
You can then add some resin into the mold and replicate the shape you’ve captured in resin form, adding color, objects, glitter, and anything else you can think of. The best part about resin art is that the possibilities are endless regarding the ways they can be modified, not to mention how durable they tend to be.
Resin art tends to last a lifetime and make great gifts for your friends and family, plus they have the added advantage of being personalized to yours, or anyone else that you might want to gift them to.
Resin Art eBook Recommendation
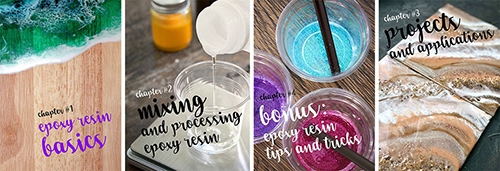
If you would like to start with resin art, we recommend the eBook “Epoxy Resin Arts and Crafts for Beginners” from the resin artists at acrylgiessen.com.
Epoxy Resin Arts and Crafts for Beginners
Your Go-To Guide for start working with Epoxy Resin. Learn creating fascinating Resin Arts and Crafts within minutes. All the tips and tricks that nobody tells you when you start. Including several detailed tutorials for your first projects.
Have a look inside the eBook
What Can Be Made with Resin Art?
As we mentioned previously there are a lot of things you can make when it comes to resin artwork, but it would be pretty pointless telling you that and not giving you any examples, so here are resin art creations that you can make. Resin art might be an easy medium to start off in, but if you’re a beginner we recommend starting off small and building your confidence to ensure that you don’t bite off more than you can chew.
| Resin Art Type | Recommended Skill Level |
| Resin Coasters | Beginner |
| Resin Geode Art | Beginner |
| Wood Wall Art | Veteran |
| Poured Gold Leaf on Canvas | Veteran |
| 3d Resin Box Art | Veteran |
| Epoxy Resin Cutting Board | Beginner |
| Epoxy Resin Keychain | Beginner |
Resin Coasters
First off is the tried-and-true resin artwork of coaster making. This is a good jumping-off point for beginners and a great all-rounder with endless possibilities for professionals. Coasters are simple, effective, and you have the ability to customize your design any way you see fit.
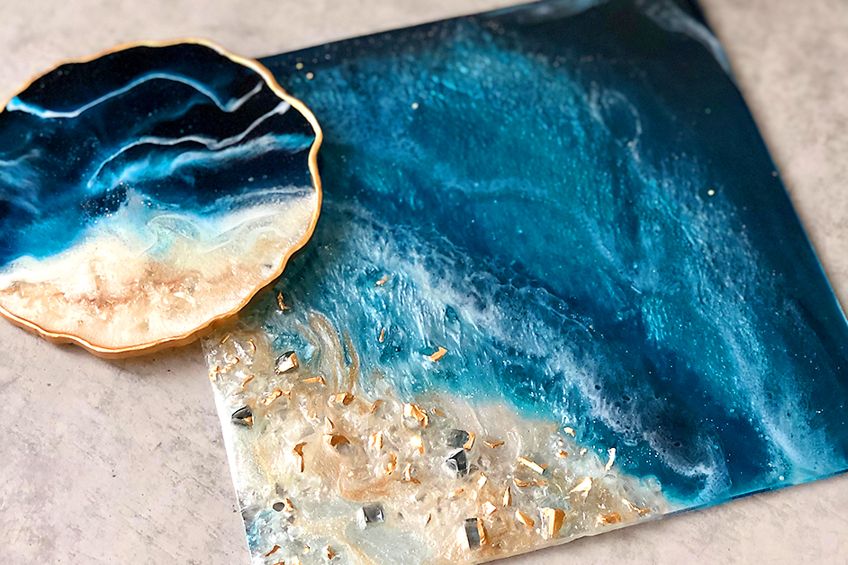
Molds for resin coasters are readily available and they’re one of the most effective forms of resin art, no extra work is needed simply pour the resin into the molds and allow them to set and cure for the manufacturer’s recommended time period.
Wood Wall Art
While this might not be the easiest resin art to try out, it is arguably the best looking. Resin wall art is a blanket term for any resin art you’re able to pin-up, whether it be a mixed media piece or simply a flat casting. As with most resin art types, the possibilities are endless.
Typically, with wood wall art you would create a mold and insert a section of partially used wood. Once the piece has been clamped down, you fill the remaining space with resin and allow it to set and cure.
The result is a beautiful combination of wood and resin that happens to be one of a kind and will last for a lifetime. Feel free to add color, photographs, magnets, and anything else you can think of that could add value to your wood wall resin art piece.
Resin Geode Art
Next up we have geodes. We all learned about geodes in middle school, but on the off chance you’ve forgotten, geodes are naturally occurring miniature rock formations that feature beautiful colors and jagged shapes. Loads of people around the world collect them, but since they’re pretty rare in certain regions you can make your own with some epoxy resin!
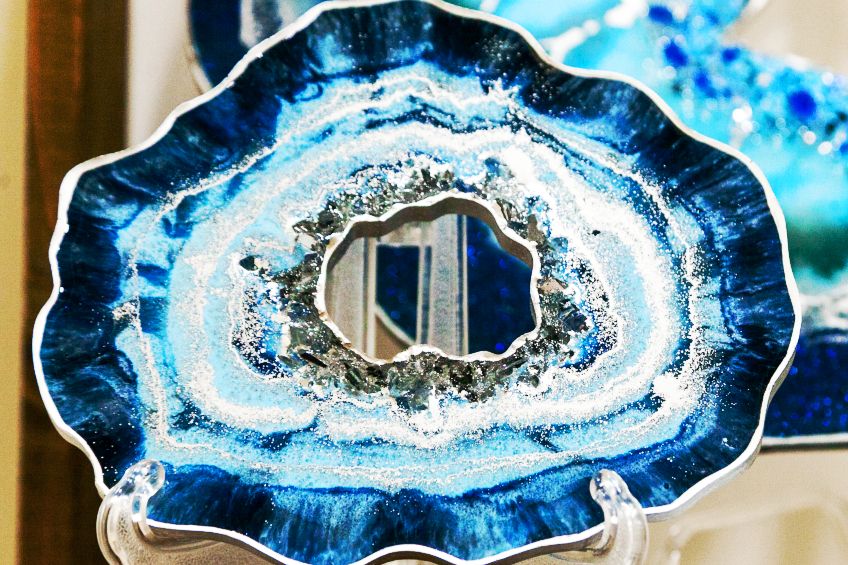
Simply get your hands on a geode resin mold, mix your resin together, pour it into the mold, and allow it to cure. Crack open your mold and you’ll have your very own geode! You can add different colors of resin to liven up your workpiece, some glitter, or actual bits of rock if you want to.
Poured Gold Leaf Canvas Resin Art
While wood wall art might be the best looking, good leaf and resin on canvas is arguably the most fun and the most interesting to look at once it’s been hung up in your living space or gallery. For this, you will need a canvas, some gold leaf, some acrylic paint, and of course some clear pour epoxy resin. Place your canvas on an elevated workspace that’s been covered up (always cover up your workspace!) and mix your resin and hardener. Add the resin into little containers, roughly the size of big shot glasses.
Add your varying colors of acrylic paint to the little containers, and then pour them out over the canvas.
Once poured, tilt the canvas to get your resin to all the edges and use a stick to make the swirls and focal points you want. While the resin cures, use a heat gun to get rid of any bubbles on the surface and allow it to cure completely. Once your resin has cured completely, use a paintbrush to cover the surface in a running adhesive and place your gold flake wherever you see fit. The resulting aesthetic is beautiful, interesting, and often invokes feelings of serenity, but that’s the awesome thing about abstract art!
Epoxy Resin Cutting Boards
If you ever wondered how to do resin art while looking at some of the amazing creations on Instagram or Pinterest, you can rest easy knowing that not all resin art is needlessly complicated like the turtle we mentioned previously. Some resin art pieces are easy to make and can even be used in everyday life. Resin cutting boards are easy, all you need is a cutting board in the shape of your choosing, some resin, some acrylic paint, some painter’s tape, and you should be good to go.
Tape up the section of the cutting board you won’t be coating, this prevents the resin from leaking over into the next section and it ensures that no spatter lands on the clean surface of the board too. You could do the entire board in some resin, but we think that half resin half wood looks cooler. Once you have your board taped up, mix your resin and hardener together in one container and then pour them into some little ones.
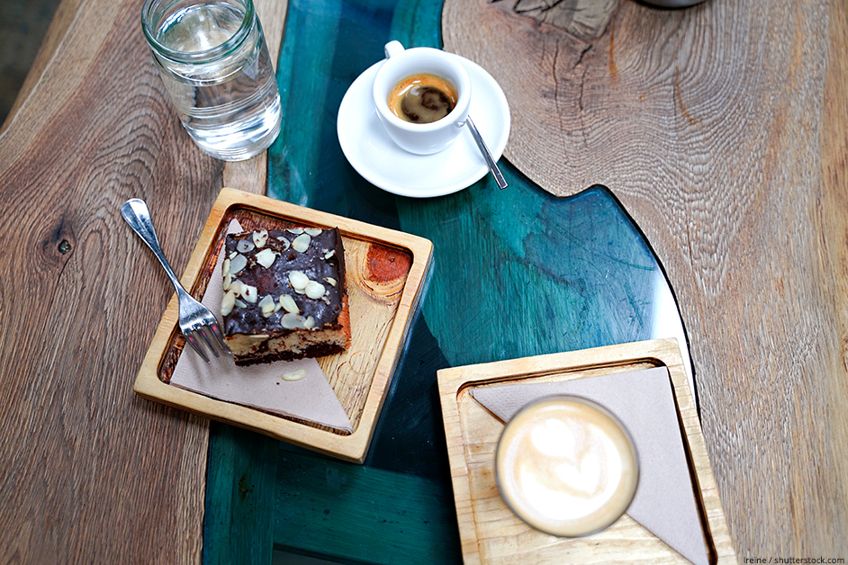
Next, add paint colors to your smaller containers, usually, one dollop will do, and mix them together. Now, lay down some tarp on your floor and a bucket you won’t be using in the future. Position the part of the cutting board you’ll be coating over the edge of your work table and pour the little tubs of resin and paint over the respective area.
Use a paintbrush to spread over any areas which haven’t received enough resin, and once one side has set, flip the board over and repeat the process until you’re happy with your colors, swirls, and coverage. Once you’re satisfied, allow the resin to cure for the manufacturer’s recommended time period. Resin is 100% food safe once cured, so you’ll have a completely functional piece of art!
3D Box Resin Art
This one is not for the faint-hearted. 3D resin art is simply stunning and creates the illusion of depth the same way a 3D printer would, but at half the cost. In principle, it’s really simple, all you need is a little wooden box, some acrylic paint, half an eggshell, some paintbrushes, a heat gun, and some resin. Start by pouring some resin into the box to create a base for your turtle and allow it to cure.
Once your resin has cured, place your half eggs shell on the cured resin and use some paint to make an outline of your turtle. Once your outline is done, remove the shell and start painting the little legs and “feet” of your turtle around the outline of the eggshell. Alternate between green and yellow to create the texture of a turtle’s skin and add any details you deem necessary.
Next, add some resin into the half eggshell you used to make the outline earlier and leave it to cure. After this, add another thin layer of resin into your box once the paint is good and dry. Allow this layer of resin to cure and paint over the turtle’s little limbs you created earlier; this creates the impression of depth you’re looking for.
Now that you have your depth, remove the rough edges from the eggshell you filled with resin earlier with a blade or some fine grit sanding paper. Before you pop your shell into position, add another thin layer of resin into the box, and place it in position, then pour another thin layer of resin over the shell and allow the residual resin to run off into the box.
Next, paint the shell with some yellow paint and add some depth to it, painting a yellow outline around the shell which should (slightly) cover the limbs you painted earlier. Feel free to add some extra depth to the head of your turtle by placing something around the same size in that area and painting it, and then add any finishing touches you’d like.
Epoxy Resin Keychain
Epoxy resin keychains are one of the best and most versatile epoxy resin art forms out there (besides coasters). Not only are they easy to create but they make an awesome little gift for just about any time of the year.
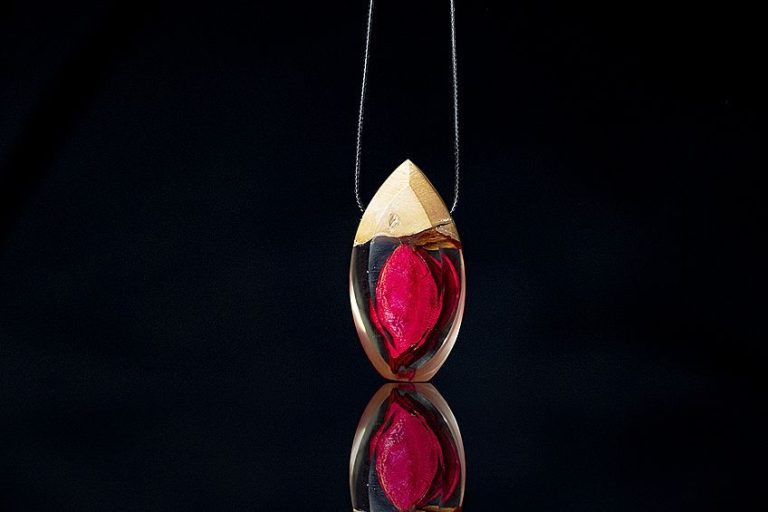
Technically, you don’t even need a mold specifically designed for keychains to make a good keychain art piece, you could take any type of reasonably sized resin casting and add a keychain to the mold before the resin has had a chance to cure completely.
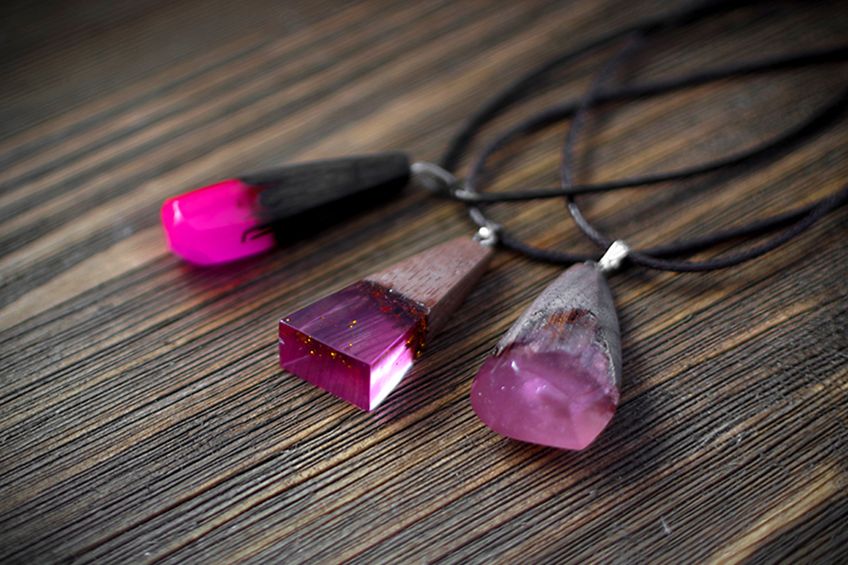
There are two ways you could go about this, you could either get your hands on a keychain mold, which is available in loads of fun shapes and sizes, or you could take any resin casting and pop a hole in it.
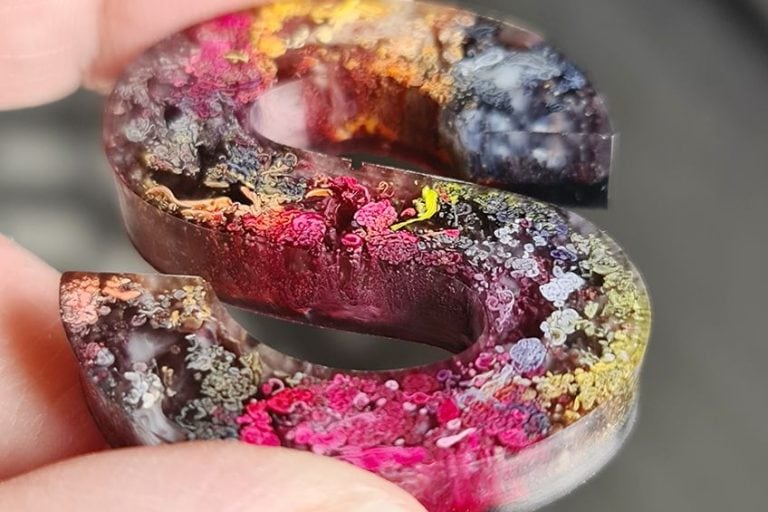
You can modify your resin casting both before and after it has set and cured completely, if you’re going to do it beforehand you can add some paint, resin dye, glitter, or even photographs to your resin. If you choose to do it, afterward you can sand, drill, etch, or engrave your workpiece to your preference.
Are There Different Types of Resin?
On the surface, it looks like all resins are pretty much the same, but they aren’t. There are two types of resin that one can use for different purposes, namely deep pour resin and surface resin. As their names suggest, they are used for deep pour and surface coatings respectively.
There are a few differences between these two types of epoxy resins, so let’s have a look at what they are and how they function in their given applications.
| Properties | Deep Pour Resin | Surface Pour Resin |
| Thickness of Pour | 2 inches | 1 ¼ inch |
| Curing Time | 36 hours | 24 hours |
| Working Time | Longer | Shorter |
| Pour Viscocity | Thinner | Thicker |
| Mixing Ratio | 2:1 | 1:1 |
| Best Use | Can be poured in large displacements | Can be poured as a shallow surface covering |
Deep Pour Resin
A big part of the answer to the question “how to do resin art” is whether you have the right resin for your art piece. Deep pour resin is the kind of resin you want when you need to fill a large (or deep) space with epoxy resin. This type of resin has been specially formulated for this particular application; it is purposely thinner so that more can be poured into a given space while not becoming too dense.
- Deep pour epoxy is perfect for river tables and other casting jobs
- The epoxy is low-odor and safe to use when liquid and when cured
- Mixes well with pigment powders and cures crystal clear
It’s for this reason that you should not use deep pour resin to coat exterior surfaces as it will take a lot more of it to do so (because of the difference in viscosity) and it will take significantly longer to dry it. This type of resin then is best reserved for applications like tabletop pouring, resin box art, wooden wall art, jewelry, coasters, resin light bulbs, and various other applications where you would need a large volume of resin to fill a space.
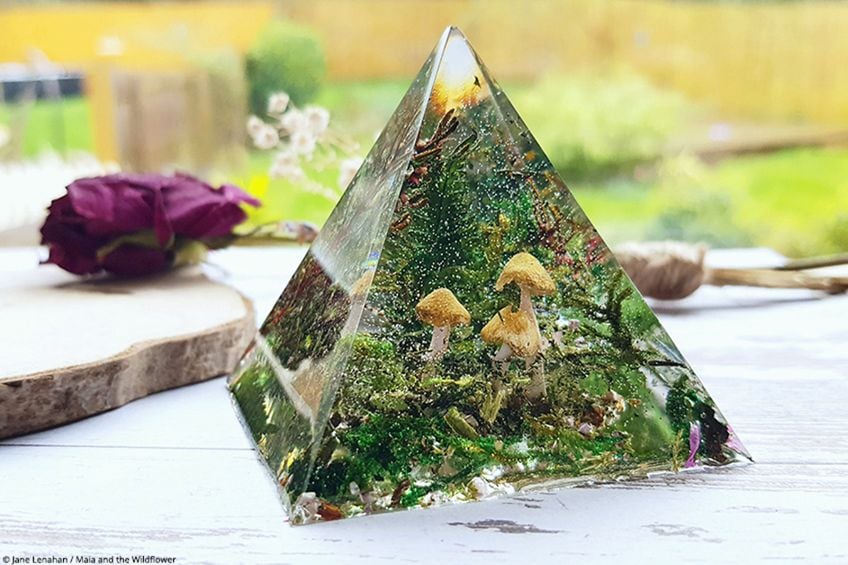
Making art with resin using the deep pour variety might seem easy, but if you have never done it before it can pose a challenge especially when pouring tabletops. The trick is getting the consistency and mixing ratios right in such large volumes, and then factoring in the colors and effect you’d like to see once the resin has set and cured completely, which can be rather challenging.
The best way to go about using deep pour resin to lay a tabletop then is to pour it in layers.
Allowing one layer to cure, removing bubbles with a heat gun to blow torch, and then pouring the next layer, and repeating the process until you’re left with the desired outcome. In the interest of being thorough, here’s a full list of cool things you can make from deep pour resin specifically.
- Resin tabletops
- Resin coasters
- Resin jewelry
- Resin ashtrays
- Ornate resin decorations
- Canvas art
- LED resin light bulbs
- Resin box art
- Resin geode replicas
- Resin watch straps
- Resin flooring
- Installation and mixed media art
Surface Pour Resin
Making art with resin doesn’t have to be some intricate deep pour endeavor, it can function as a durable good-looking coating for various surfaces that happens to be versatile, easy to use, readily available, and highly resistant to a variety of exterior forces that might damage your cherished workpieces. As we mentioned in the graphic above, surface resin differs from deep pour resin in a couple of ways, but one of the most prominent differences between these types of resin is that top-pour resin is noticeably thicker compared to its deep pour counterpart.
- Perfect for professional artists and avid DIY enthusiasts
- Clear epoxy is made with non-toxic, premium-quality ingredients
- Formula is self-leveling with a high gloss and intense shine
Why is it thicker though? Well, deep pour resin is designed to be dispensed in large volumes in one space, therefore it needs to be thinner to limit the density of the resin in a given space (it also makes it easier to pour but that might just be a lucky by-product). The inverse is true with top-pour resins, they’re thicker because only a finite amount is needed and spread over the surface of a given workpiece, therefore making a resin that’s too runny will result in a substance that’s challenging to manage once it’s been applied to a flat surface.
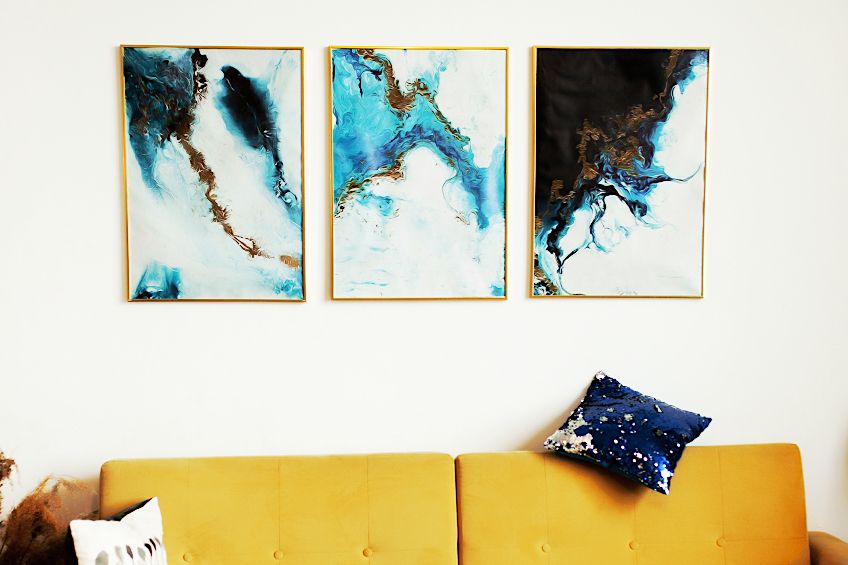
Surface pour resin dries a lot quicker too. This is partially because their formulas are generally designed this way, and partially due to them being spread really thinly over large surfaces, which just means there’s less resin that needs to be set and cured. If you’re struggling to see how to make resin art with top-pour resin, you’re forgiven. It’s difficult to see where you could possibly go from all the things that you’re able to make with deep-pour resin, and in your defense, it does require a change of perspective to see the possibilities of top-pour resin art projects.
This being said, if you’re still thinking about how to make resin art from top-pour resin, here’s the answer. While you can’t really create entire forms from scratch with top-pour resin, you can create beautiful surface coatings for all of your workpieces, books, furniture, plates, bowls, and various other surfaces.
This ensures that your surfaces are protected from impact, abrasion, heat damage, moisture damage, splitting, and rot. Plus, it gives them a shiny, long-lasting look that really improves the aesthetic impact of your workpiece and the space it occupies. Here are a few things you can make!
- Coating exterior furniture
- Coating interior furniture
- Coating kitchen surfaces
- Coating cutting boards
- Decorating ornate cutlery
- Decorating table wear
- Decorating book covers
- Decorating doorknobs
- Coating painted canvas
- Decorating plastic or metal surfaces
How to Make Deep Pour and Surface Pour Resin Art
Knowing which type of resin can be used for a particular application is not only useful knowledge, but it can save you a lot of time and effort in rectifying a workpiece that’s been made with the wrong type of resin. Additionally, you should probably know how to use these resin types effectively to ensure that you’re able to make the best possible resin casting and/or surface coatings possible. Let’s have a look at the steps you should take utilizing both of these resin types.
Deep Pour Resin
Here are a few easy steps to follow if you’re thinking about trying out some resin projects for beginners. Particularly if you’re considering using deep pour resin. The type of art you’d make with deep pour resin is known as castings, as you’ll often find yourself removing forms “cast” from a mold of sorts.
Other times you might want to fill a space with resin, like when making a wooden wall hanging resin art or resin tables.
Prepare Your Workspace
Deep pour doesn’t always make the best resin projects for beginners. This is because it can be challenging to manage resin in this volume if you don’t understand the material, but the more prepared you are, the less likely it is that anything would go wrong.
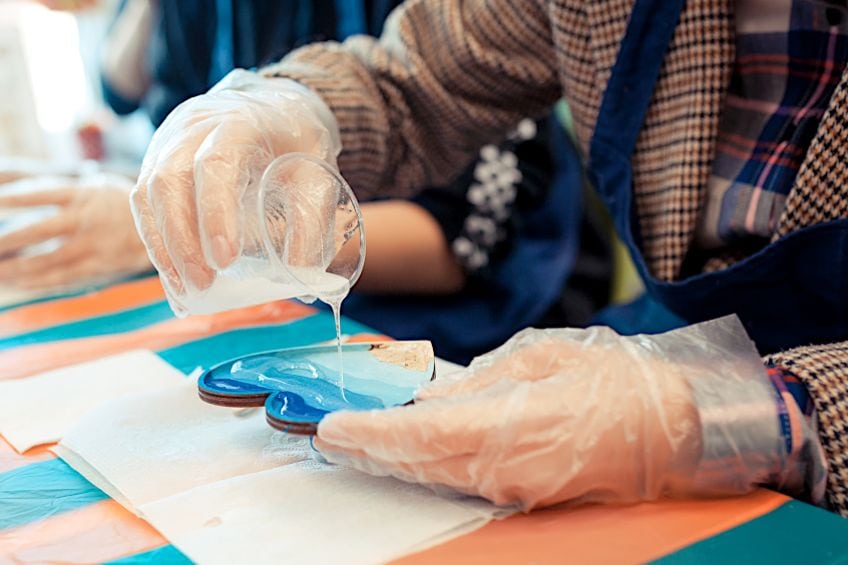
Ensure that your workspace is well ventilated and that you have all of your resin containers, resin, some paper towels, mixing instruments, and that you’ve laid down a tarp or other protective coverings over the surfaces you don’t want your resin getting on to. Finally, ensure that your workpiece is mold is adequate for retaining the type and volume of resin you’ll be filling it with, and that you have your face mask and gloves ready.
Prepare Your Workpiece
Preparing your workpiece is also really important when using deep-pour resin. If you are working with a mold, ensure that the mold has been cleaned before you start pouring your resin, as particles of any kind could become part of your casting or cause the resin to adhere to the mold poorly.
If you’re using the resin to fill a void in your workpiece, ensure that the given area is free of dust or wood particles.
Finally, ensure that the area of the workpiece that you will be filling has been sealed off from other areas which aren’t meant to receive the resin. If you are using a mold to create a form, apply some anti-adhesive spray or powder to ensure that your casting is easy to remove once it’s cured.
Prepare Your Resin
Once you’re sure that both your workpiece and workspace have been prepared, it’s time to load up on some resin. Mix the resin and hardener in the amounts recommended by the manufacturer, although this is typically a 2:1 ratio for most deep pour resin products (never assume you know what the ratio is, always check the box!). While you’re mixing them together add in colors, glitter, or other elements you would like to the resin, ensure that you mix your resin well so that it cures as desired.
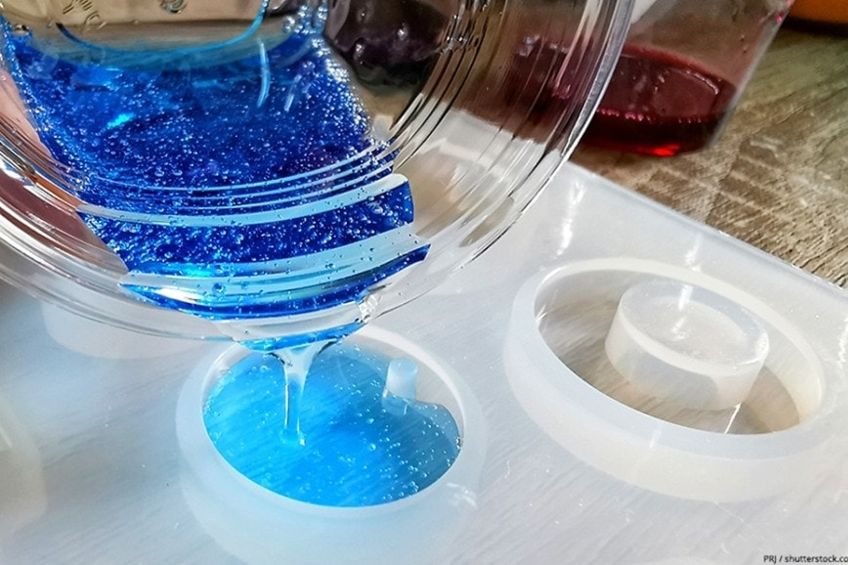
Remember to always wear the appropriate protective gear when working with resin. If you are working with smaller molds, always ensure that you mix enough for the mold in question. This is because the resin isn’t particularly good for the environment and therefore you should never take more than is needed.
Pour Your Resin
Now for the fun part. Once your surfaces are clean, you’re protected and your resin is ready, start pouring it into your mold or workpiece. If you are filling a mold ensure that you start pouring really slowly as deep pour resin can be pretty thin depending on the brand, and it’s pretty tough to clean up spilled resin. Ensure that you fill the mold as directed on the packaging and only fill it to the recommended capacity.
Once your mold has been filled, use a heat gun, pressure chamber, or vacuum chamber to remove all of the air bubbles as the resin sets and cures.
If you are filling a larger area, like making a resin tabletop, we recommend pouring your resin in stages, allowing each layer to set slightly while you remove bubbles before pouring the next one. Continue this process until the space has been filled to your satisfaction, and don’t forget that you can move any color swirls around for a wooden stick to manipulate the “flow” of your resin table while it cures.
Allow Your Resin to Cure
Always allow for the manufacturer’s recommended time period when waiting for your resin to cure. Remember that ambient conditions such as heat and humidity will cause your resin to cure slowly, so monitor the conditions in and around your work area to keep the temperature conducive to curing. If you are using a mold, remove the resin from the mold once the cure time has elapsed.
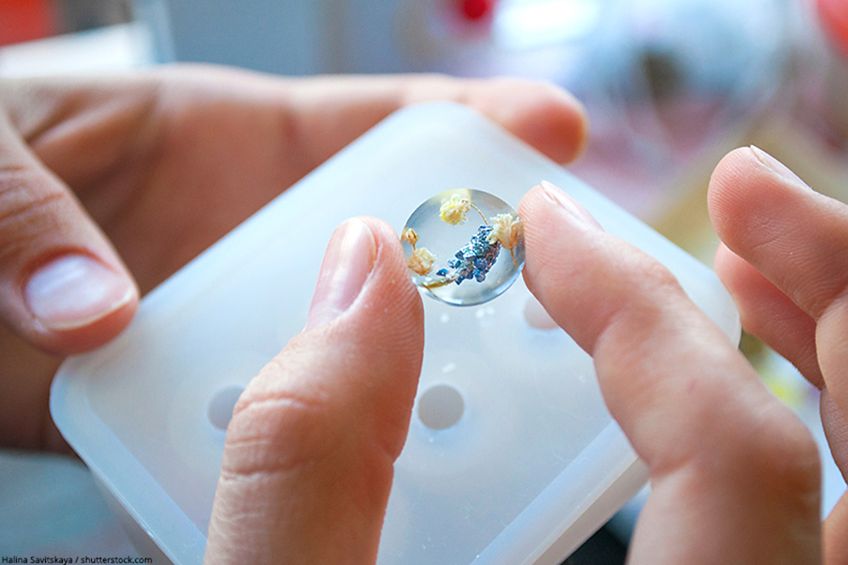
The casting should pop right out, you should not have to wrestle the mold for your casting to be released. If you’re filling a space with your resin there is no removal necessary, simply wait the allotted time, sand away any rough edges, and do your best to ensure that the resin blends with the structural material of your workpiece. Remember that both deep pour and surface resin is completely inert and completely harmless once cured. We have a separate article to learn how to harden sticky resin.
Surface Coating Resin
DIY resin art ideas don’t have to involve filling a piece of furniture or little molds with resin. DIY resin art ideas can simply mean using your resin to complement or improve existing artwork by adding a healthy shine or providing a protective coating. Typically, you’re using surface coating resin on things like paintings, preserving a puzzle, or surfaces of a mixed-media art piece that might become damaged, or simply need a bit of shine.
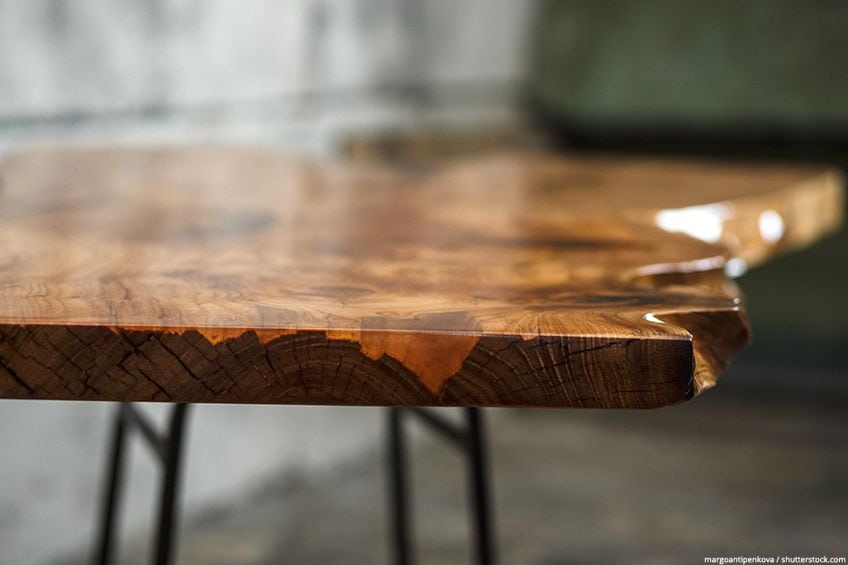
Prepare Your Workspace
Much the same as you would prepare a workspace when painting with oil-based paint, ensure that all your surfaces are adequately covered and that you have enough airflow in the area. Next, check that you have a paintbrush or roller (depending on the size of the workpiece you’ll be coating, and that the resin you have won’t interact poorly with the surface you’ll be applying it to.
Finally, ensure that you have your mask and gloves ready as you might need to get up close when applying resin with a brush or roller, and the last thing you want is to accidentally get some on your hands or face.
Prepare Your Workpiece
Using surface coating resin for DIY resin art is fairly common and a lot less demanding compared to deep pour art. So too is the preparation of your workpiece, simply ensure that the surface that will be receiving the resin is free of any foreign particles and that any sections that you don’t want the resin getting on have been sealed off with some painter’s tape or similar airtight adhesive sealer. If you’re simply adding a clear coat of resin to resin painting you don’t have to use the paintbrush, just ensure that your workspace has been covered if you’re going to use a roller as it does tend to leak over the edges.
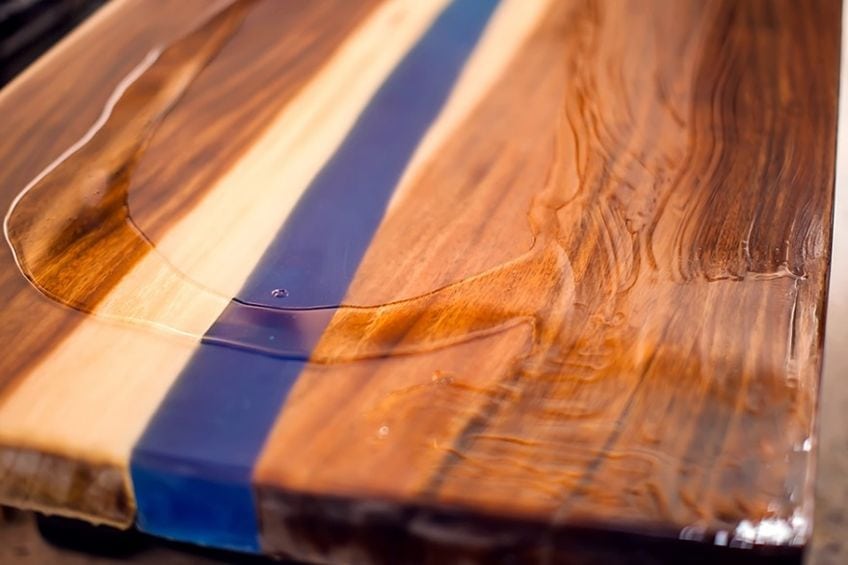
If you’ll be using your resin to seal up a puzzle that you’re particularly proud of, ensure that you lay some backing between the puzzle and the table to minimize drippage, and that the surface is slightly elevated. If you’re coating an unconventional surface, make sure to find out if it needs to be primed before receiving the resin (these surfaces could be certain types of stone or paper).
Prepare Your Resin
This part is pretty straight forwards, and once again is nowhere near as complicated as using deep pour resin. You see, surface resin tends to be a lot thicker, and therefore you tend to use a lot less of it compared to deep pour, this means that you only need a few ounces to be mixed to cover the surface in question.
Unlike deep pour resin, surface resin only needs to be mixed in a 1:1 ratio for it to be effective, so get equal parts in a container and mix it together.
Once you have the mixture going, throw in any dyes, paints, glitter, or anything else you’d like to make your artwork pop once you add the resin. Ensure that your workpiece is still clean before moving on to the next step in the process.
Apply Your Resin
Applying surface resin can differ depending on the size of the surface, for example, if you were aping it to a stone countertop you would use a large roller, but if you were applying it to a puzzle or over a resin painting you would use a brush and work from one end of the surface to the other. This resin sets and cures at relatively the same rate as the dee pour kind so you shouldn’t worry too much about being quick. The goal is to apply an even layer over the surface of your workpiece so that you don’t overapply your resin which could ruin your resin painting, puzzle, or surface swirl.
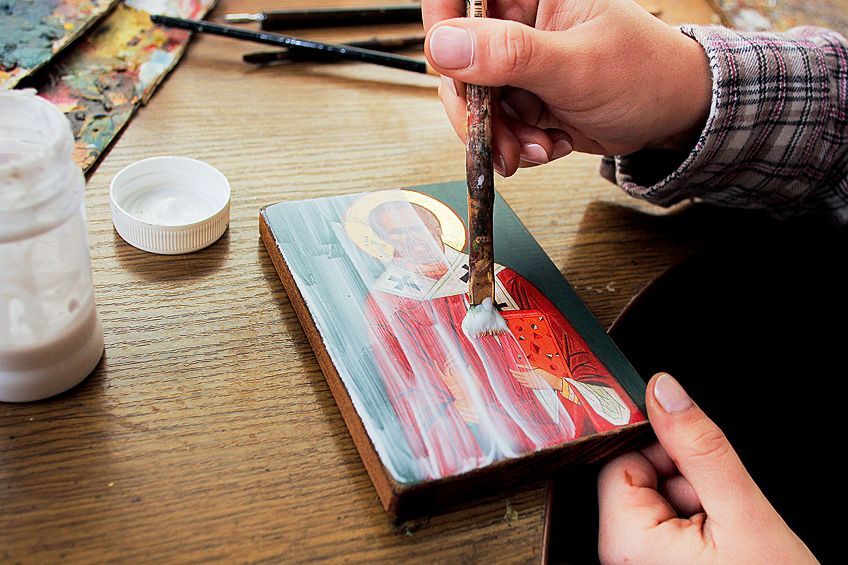
This is why using a fine nap roller is better for those with less experience as it greatly reduces the attention needed toward volume, coverage, and pressure. Once your resin has been applied and you’re satisfied with both the thickness of your coating and the general coverage it provides, get your hands on a heat gun. Although bubbles tend to form far less often when epoxy resin is applied in thin layers, it’s still possible, so get your heat gun going and go over the surface of your workpiece just in case.
Allow Your Resin to Cure
Are all your bubbles removed? Good. Now all that’s left to do is sit back and allow your resin coating to cure. Typically, most surface resins take a full 24 hours to cure but always check the manufacturer’s recommended time period for curing times based on conditions and the volume of resin used. This also means that if you have chosen to use resin on utensils, plate ware, or cutting boards, that you cannot and should not use them in direct contact with food (or at all) before the resin has had a chance to cure completely.
Once fully cured, feel free to sand, etch, or drill into your artwork as you see fit and/or add any finishing touches.
Is Epoxy Resin Bad for the Environment?
Resin is used in many industries besides DIY resin art. It’s often used as a binding agent in paint, and there are various forms of it for different applications (as we’ve seen so far), but how does resin affect the environment at large?
Well, epoxy resins are typically made of epichlorohydrin, and another chemical called bisphenol-A which aren’t exactly green, to begin with. These can be substituted for other chemicals depending on what characteristics the engineers in question want the resin to have.
This being said, we mentioned previously that resin is a two-part tool requiring a resin and a hardener that react with one another to form the substance that we use today. These substances, when separated and while reacting during the curing process, are volatile and produce lots of harmful emissions which aren’t just bad for your skin and respiratory system, but the environment too.
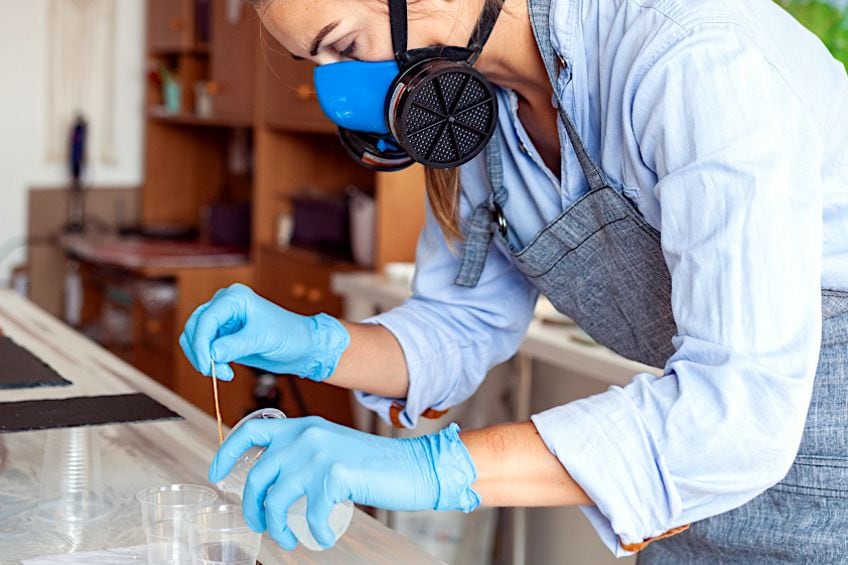
These chemicals are known as volatile organic compounds and can only be produced and sold in certain amounts due to the negative effect they have on the environment and the potential safety hazard they pose. How are resins food safe then you ask? Well, although they are reactive during the curing process, once the resin and hardener have cured completely (typically 24 hours after initial contact with one another) the resulting substance is completely inert.
Epoxy resin is by no means a perfect substance and certainly is not a blanket solution to all life’s artistic challenges, but it offers a cheap, effective, easy, and relatively safe medium for art and crafts. This being said, ensure that your workspace is adequately ventilated at all times and that you always wear the appropriate personal protective gear when working with resin.
Now that you know what resin is, the types of resin that are out there, what can be made with resin, and how to use the two primary types of resin on the market, it’s time for you to get out there and put your newfound knowledge to the test. Ensure that you pick the right resin for your next art piece, and always allow the resin to cure completely before touching your work!
Take a look at our epoxy resin art webstory here!
Frequently Asked Questions
Is Resin Art Dangerous?
Although resin does contain volatile organic compounds (VOCs), as long as gloves and a face mask are worn when handling it before it is cured, or before the two parts have been joined, it poses no significant risk to your health. Always ensure that you work in a well-ventilated area when working with raw resin products.
Is Resin Art Hard?
If you have never used resin art before it can seem intimidating, but in reality, epoxy resin is a simple medium that allows you to explore the depths of your creativity in a way that other mediums simply cannot. If you’re nervous, start small and work your way to bigger castings and/or artwork.
Is Resin Art Expensive?
This does depend on the type and size of resin art you intend on getting into. Starting out in resin artwork is relatively cheap if you’d like to try casting forms, but when doing bigger painting, or say, making a river table, the cost of the volume of resin needed for such an exercise can add up.
In 2005, Charlene completed her Wellness Diplomas in Therapeutic Aromatherapy and Reflexology from the International School of Reflexology and Meridian Therapy. She worked for a company offering corporate wellness programs for a couple of years, before opening up her own therapy practice. It was in 2015 that a friend, who was a digital marketer, asked her to join her company as a content creator, and this is where she found her excitement for writing.
Since joining the content writing world, she has gained a lot of experience over the years writing on a diverse selection of topics, from beauty, health, wellness, travel, and more. Due to various circumstances, she had to close her therapy practice and is now a full-time freelance writer. Being a creative person, she could not pass up the opportunity to contribute to the Art in Context team, where is was in her element, writing about a variety of art and craft topics. Contributing articles for over three years now, her knowledge in this area has grown, and she has gotten to explore her creativity and improve her research and writing skills.
Charlene Lewis has been working for artincontext.org since the relaunch in 2020. She is an experienced writer and mainly focuses on the topics of color theory, painting and drawing.
Learn more about Charlene Lewis and the Art in Context Team.
Cite this Article
Charlene, Lewis, “Resin Art – The Beginner’s Guide to Creating Art with Resin.” Art in Context. December 28, 2021. URL: https://artincontext.org/resin-art/
Lewis, C. (2021, 28 December). Resin Art – The Beginner’s Guide to Creating Art with Resin. Art in Context. https://artincontext.org/resin-art/
Lewis, Charlene. “Resin Art – The Beginner’s Guide to Creating Art with Resin.” Art in Context, December 28, 2021. https://artincontext.org/resin-art/.








my daughter, kelsi lytle – has been making beautiful resin art for years along with many other productions – I have included her web site – her uncle, Richard Lytle has also been a professional artist for years teaching at Yale – many of his water colors have hung in Albany’s Gracie Mansion..and in the concourse at the LOB in Albany, NY among others