


How to Draw a Plant – A Step-by-Step Plant Drawing
Despite a plant having a small stature, we wouldn’t be here without them! We rely on them as a source of food, water, medicine, various habitats, and the air we breathe. Plants absorb the carbon dioxide we emit and release oxygen through their leaves. It is a pretty impressive task for something that doesn’t even seem to be living! The next time you stop and “smell the roses”, just remember that they are the reason we are all here today. Now that we have gotten you all excited about plants, let’s dive into today’s drawing tutorial and learn how to draw a plant.
A Fun and Easy Guide to Creating a Flower Pot Drawing
In today’s drawing tutorial, we will be teaching you everything you need to know to create a plant drawing! We have a full step-by-step guide that will take you through the entire process, from the basic construction to the detailing and coloring steps. Not only will you learn how to draw a plant, but we will also teach you how to label a plant drawing correctly, so you will also enjoy a fun biology lesson wrapped up in today’s drawing tutorial!
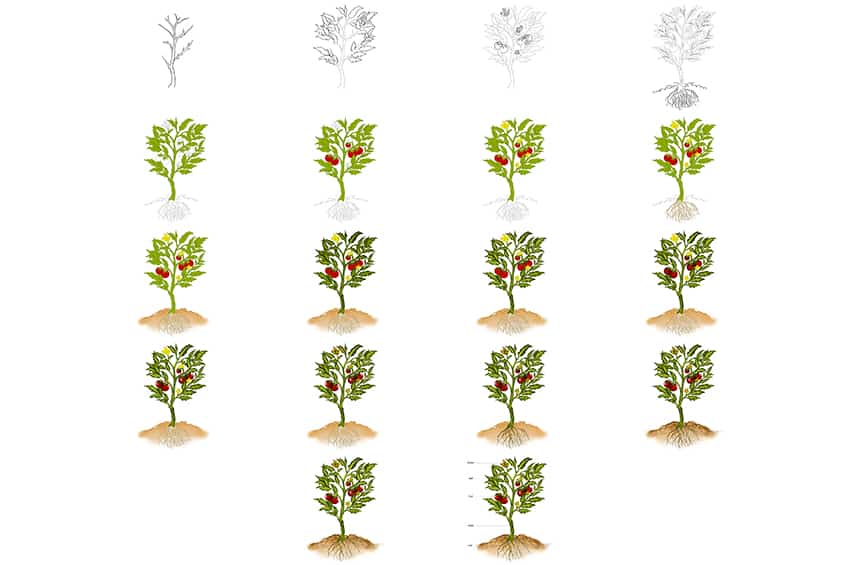
The below pot drawing collage demonstrates each step we will be taking to achieve your final realistic plant drawing.
Step 1: Draw the Plant Stem
Begin your plant drawing by free-hand drawing a naturally shaped stem. This stem should have gentle bends and curves leading upwards. Each branch, leading out from the stem, should include smaller branches.
Tip! The higher you choose to make your stem, the smaller the branches should become.

Step 2: Add the Leaves to Your Plant Drawing
Add rough-edged leaves to the branches on your plant drawing. Make sure you cover the majority of the branches with leaves varying in size. Leave a few branches blank so you have space to add tomatoes.

Step 3: Draw the Tomatoes
Make use of the blank branches and draw the sepal of the tomato. These should have spikey edges and a star-like shape. Surrounding this, simply draw a circle to represent the tomatoes. For certain areas, you can just draw in the sepal and not the whole tomato.

Step 4: Add the Roots to Your Flower Pot Drawing
Begin this step by drawing spread-out roots attached to the bottom of the stem. These roots should start wide and end with a narrow point. Once complete, you may draw a middle-ground layer represented by several small half-circles. These may overlap one another to create a realistic soil-like ground. Add a short, fine centerline within each leaf and along the stem.

Step 5: The First Color Coat
Make use of a normal paintbrush and bright green paint, and evenly color the stem, branches, and leaves of your plant drawing. With a fine sharp brush, color in the sepal of each tomato.

Step 6: Color the Tomatoes in Your Plant Pot Drawing
With a regular brush and red paint, evenly color each tomato.

Step 7: Color the Sepals
Make use of a fine, sharp brush and yellow paint, and paint the sepals that do not have a tomato connected to them.

Step 8: Add Color to the Roots of Your Flower Pot Drawing
Use the same paintbrush as before, however, switch to tan paint, and evenly color the roots of your plant drawing.

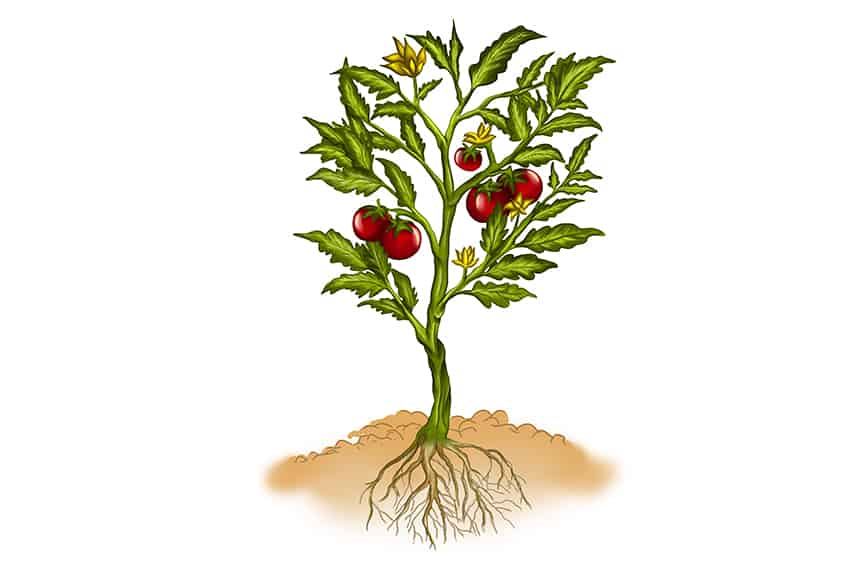
Step 9: Color the Soil
With a medium brush and light brown paint, color the top and middle ground of the soil. Add light dabs to the bottom of the roots to create a fading effect on your plant drawing.

Step 10: Shade the Stems in Your Plant Pot Drawing
Use a soft brush and black paint, and softly apply shading to the edges and the previously drawn texture lines on the stem. Continue with individual brush strokes elevating the texture and creating a shading layer to the stem. Repeat this step on each leaf and sepal.
Select a blending brush and soften the shading layers on your plant drawing.

Step 11: Highlight the Stem
Select a small, soft brush and white paint, and gently trace the texture lines within the stem and the center line of each leaf. This will create a more realistic and natural highlight for your plant drawing. In certain areas where the stem bends and curves, you can add a slightly wider spread of highlights.
Step 12: Shade the Tomatoes
Make use of a small brush and black paint, and apply soft brush strokes around each tomato. Using a blending brush, fade the shading into the center of the tomato. The first coat of red paint should still be visible.
Step 13: Add Highlights to the Tomatoes
With a soft brush and white paint, add fine curved brush strokes on each side of the tomato to add a realistic shine or reflection.

Step 14: Shade the Sepals
Use the same brush as previously and switch to black paint, and softly apply individual shading to each yellow sepal. The first coat of color should still be visible.
Step 15: Texture the Roots
With a rough textured brush and a combination of red and brown paint, add spots along the roots. Repeat this step with a darker shade of brown paint. This will help to represent the dirt attached to the roots.
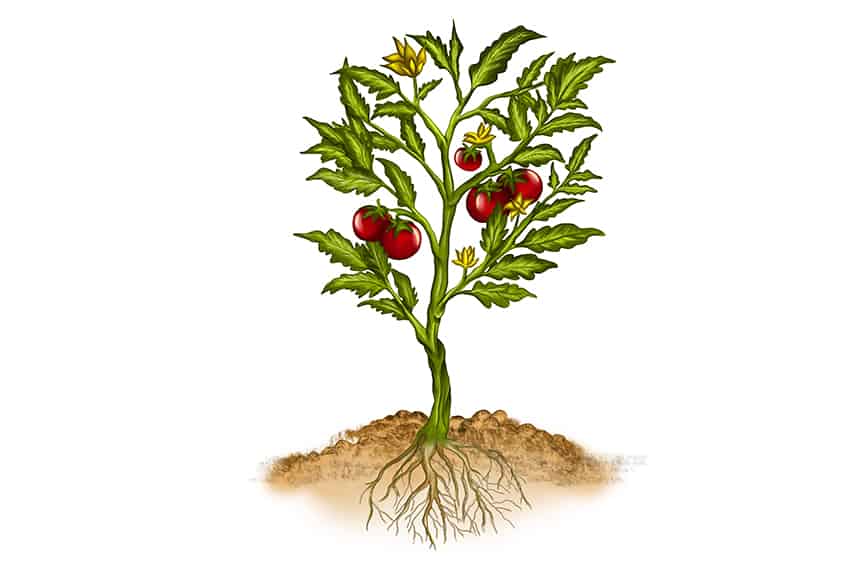
Step 16: Add Texture to the Soil
To add texture to the soil, you will need to select a textured brush and gray paint and dab it along the bottom half of the soil heap. Repeat this step with olive green and dark brown paint.
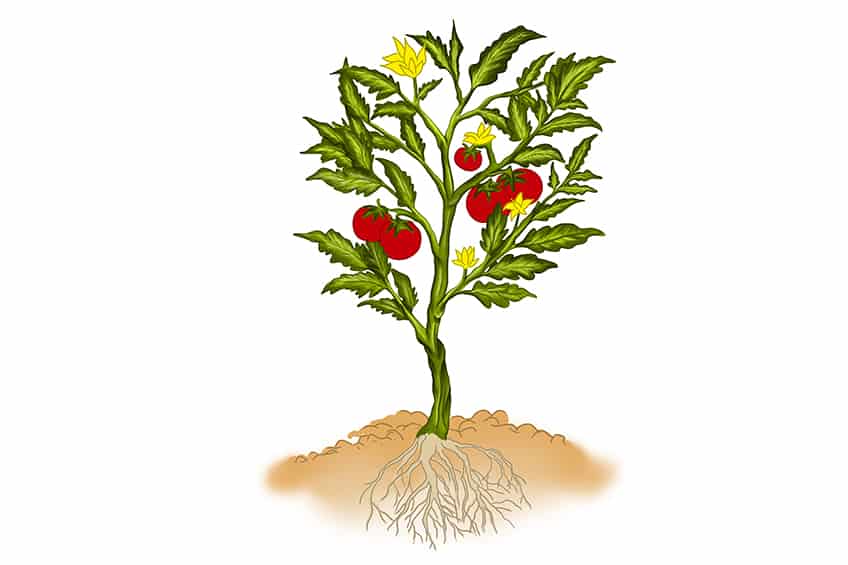
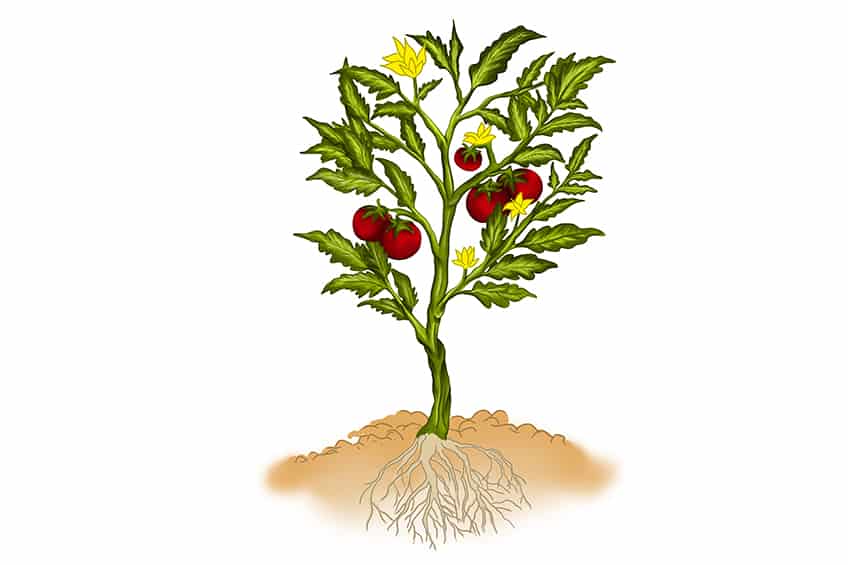
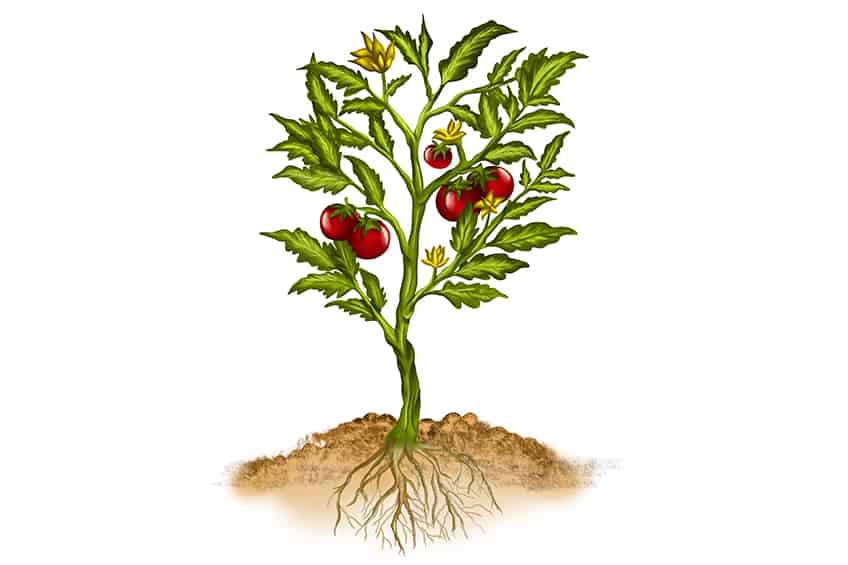
Step 17: Finalize Your Plant Drawing
In this step, we will be finishing off our plant drawing! To do this, use a fine, sharp brush and the corresponding colors, and trace the entire outline of your plant drawing. This will remove any construction or overlapping lines and will create a flawless look!
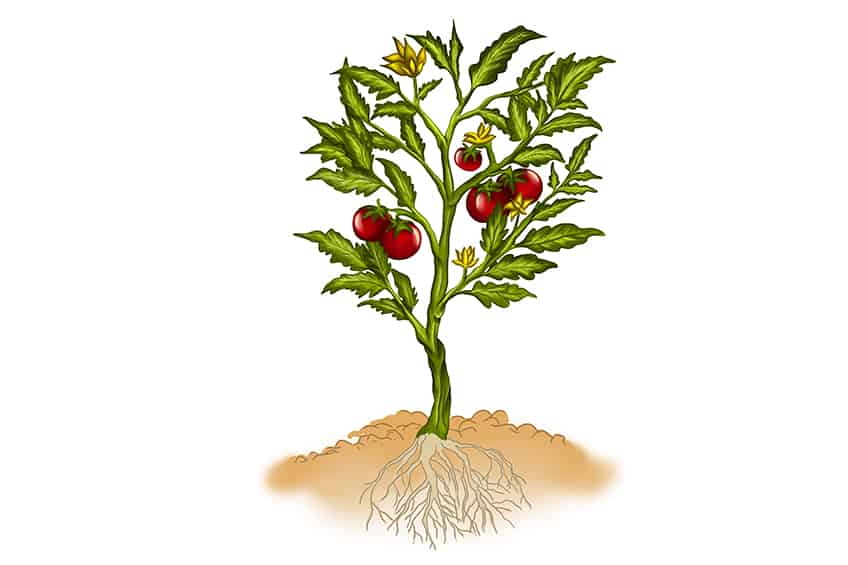
Step 18: Add Labels to Your Plant Drawing
As an added bonus, you can add the anatomy labels to your drawing! We include labels for the sepal, leaves, tomato, stem, and roots for better reference.

Our how-to-draw a plant drawing tutorial has come to an end and you have managed to create a beautiful and realistic plant drawing! Not only did you gain new drawing skills, but you also learned some important facts about plants and how to label their anatomy correctly. Our drawing tutorials try to leave you with some fun and interesting facts, while you gain the necessary skills to create a drawing you can be proud of!
Frequently Asked Questions
Is It Easy to Draw a Plant?
Creating a plant drawing is incredibly easy when you have proper construction lines and proportions. Your construction lines help aid you in outlining a more realistic plant drawing. Drawing proper proportions will create an accurate depiction of your drawing. Combining these two components together will create a well-balanced and realistic representation of your drawing.
How to Draw a Plant With Different Materials?
In today’s drawing tutorial, we used various-sized brushes and paints. We show you how to use these brushes to your advantage and how they can elevate each paint color. These materials will help you to create a more vibrant drawing than you could with a pen or pencil.

Matthew Matthysen is an educated multidisciplinary artist and illustrator. He successfully completed his art degree at the University of Witwatersrand in South Africa, majoring in art history and contemporary drawing. The focus of his thesis was to explore the philosophical implications of the macro and micro-universe on the human experience. Matthew uses diverse media, such as written and hands-on components, to explore various approaches that are on the border between philosophy and science.
Matthew organized various exhibitions before and during his years as a student and is still passionate about doing so today. He currently works as a freelance artist and writer in various fields. He also has a permanent position at a renowned online gallery (ArtGazette) where he produces various works on commission. As a freelance artist, he creates several series and successfully sells them to galleries and collectors. He loves to use his work and skills in various fields of interest.
Matthew has been creating drawing and painting tutorials since the relaunch in 2020. Through his involvement with artincontext.org, he has been able to deepen his knowledge of various painting mediums. For example, watercolor techniques, calligraphy and lately digital drawing, which is becoming more and more popular.
Learn more about Matthew Matthysen and the Art in Context Team.
Cite this Article
Matthew, Matthysen, “How to Draw a Plant – A Step-by-Step Plant Drawing.” Art in Context. February 28, 2023. URL: https://artincontext.org/how-to-draw-a-plant/
Matthysen, M. (2023, 28 February). How to Draw a Plant – A Step-by-Step Plant Drawing. Art in Context. https://artincontext.org/how-to-draw-a-plant/
Matthysen, Matthew. “How to Draw a Plant – A Step-by-Step Plant Drawing.” Art in Context, February 28, 2023. https://artincontext.org/how-to-draw-a-plant/.


