How to Draw a Goose – A Step-by-Step Goose Illustration Tutorial
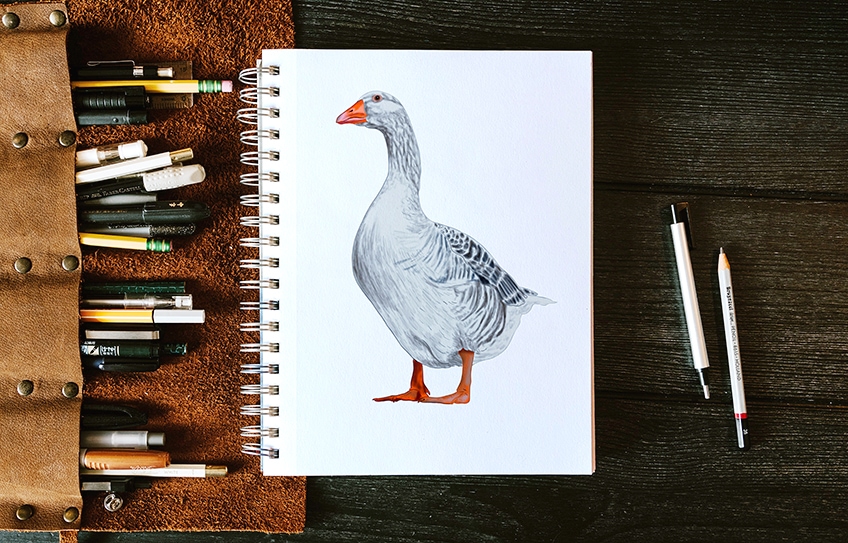
If you were to visit a farm, it is likely that you would hear the geese before you see their beautifully colored feathers. Of all the birds on a farm, the goose is the largest, with its long neck and big webbed feet. In this goose drawing tutorial, we are going to take you on a journey to help you create and color realistic goose drawings.
A Step-by-Step Goose Drawing Tutorial
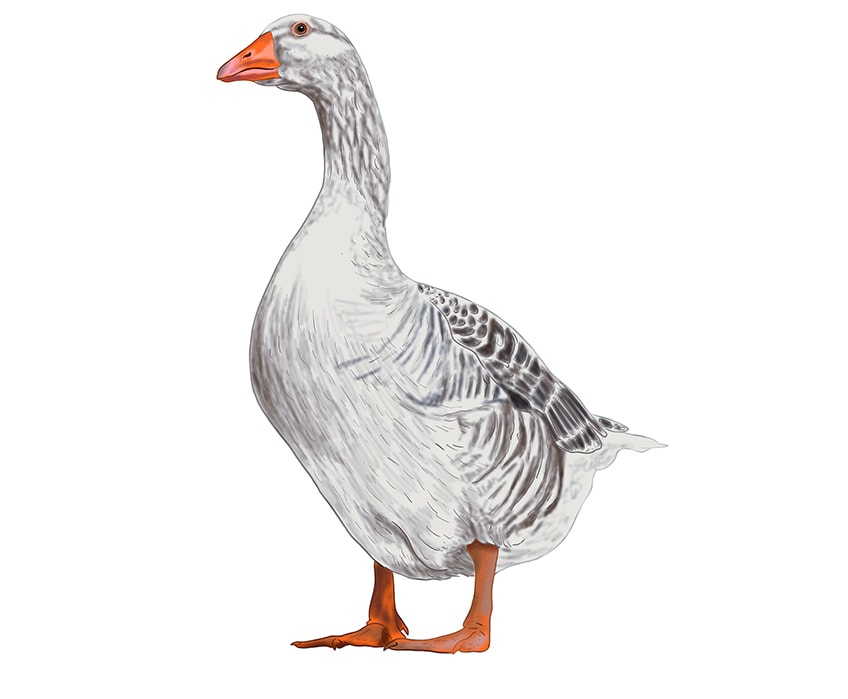
In this tutorial, we are going to take you through all the necessary steps to create a realistic goose illustration. We will begin our tutorial, as always, by using construction lines and shapes to lay down the correct shape and perspective. We will then show you how to add realistic texture to your goose drawing and finally, we cover how to color the different parts of your goose.
You can follow this tutorial with your favorite medium. Whether you are a watercolor artist, or you prefer to work on a graphic tablet, you can easily adapt this tutorial to suit your chosen method.
Step 1: Laying Down the Shape of the Main Body
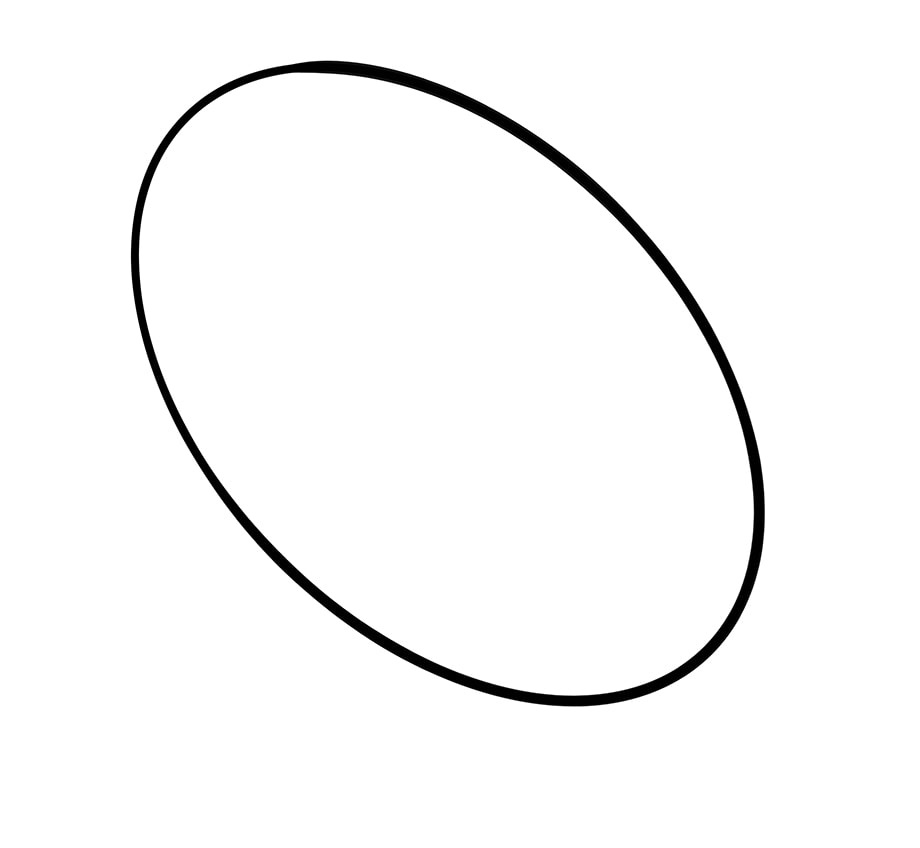
We always say that the best way to make sure that your geese drawing is as realistic and well-proportioned as possible is to begin your drawing with construction shapes. A large oval is the most common construction shape for animal drawings, and for our goose illustration, we are going to use a long angled oval shape to represent the main body. You want to make sure that the top of the main body oval leans towards the left of your canvas.
The most important part of this first step is ensuring that your main body oval is at the center of your canvas with plenty of space on all sides. The legs and neck will need to be constructed around this shape in the next few steps, so keep this in mind.
Step 2: Drawing the Goose’s Head
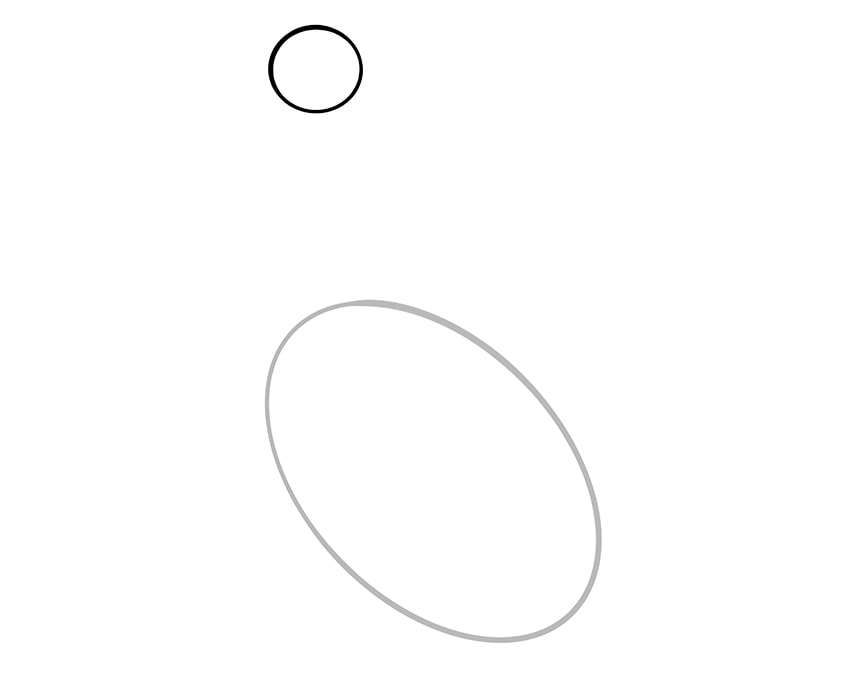
The second step of this geese drawing tutorial focuses on constructing the head. Although geese do not appear to have round heads, we are going to use a small circle as the construction shape.
Find the top point of your main body oval and then draw the head circle some way above this point.
Step 3: Creating the Shape of the Beak
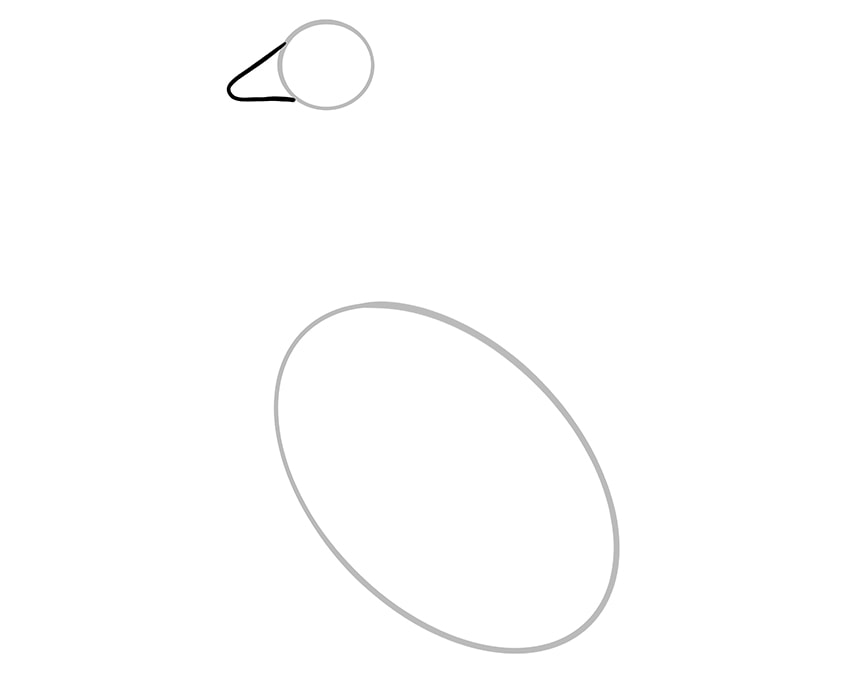
Now that we have the head constructed, we can draw on the shape of the goose’s beak. Geese have quite large beaks, and they flow quite smoothly from the head shape. As such, you want to draw a slightly curved “V” shape with quite a wide open end.
You can give the ends of this “V” shape a slight curve to make them flow a little more smoothly from the head circle.
Step 4: Using the Neck to Join the Body and Head
It is time to join the head and body by drawing in the neck of your goose. For this step, you are going to use two curved lines to construct each side of the neck. Begin your first line at the very bottom point of the head circle, before curving it to the right slightly and then back to the left. The bottom of this line should join the front of the body oval in a smooth fashion. Repeat this same process for the second neckline, this time beginning just above the back point of the head circle. The end of this line should meet the main body oval smoothly on the back.
Both necklines should flow in the same direction and follow the same curve.

Step 5: Constructing the Goose’s Wing
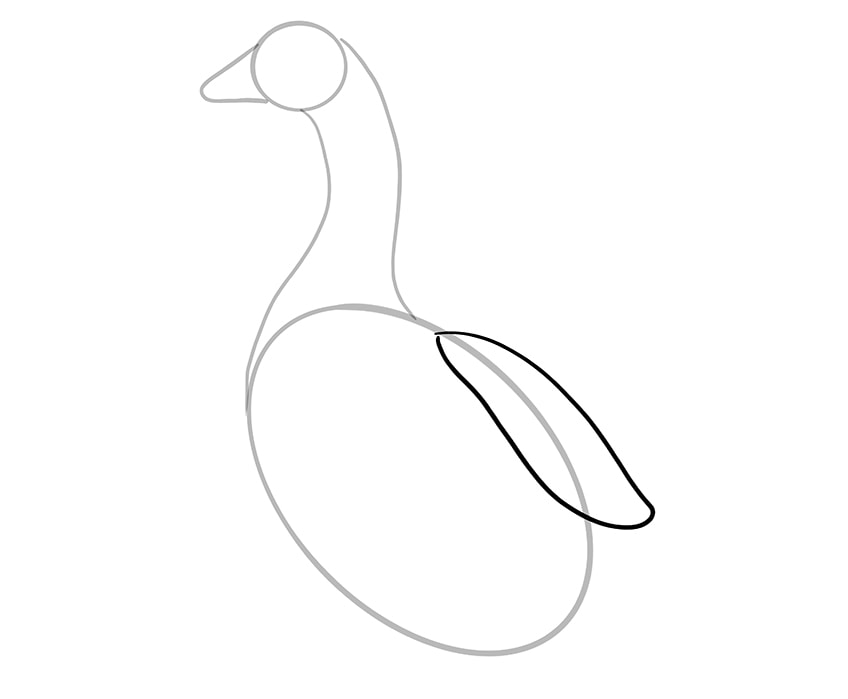
Although the wing does not stick out from the rest of the body in your geese drawing, the shape of it influences the feather detailing so it is best to plan it out. For the wing shape, you are aiming for something a little like a curved leaf. The top of the wing shape should begin on the main body oval line, just below the point where the neck connects.
The wing should overlap the back of the main body oval fairly significantly. The end of the wing should also reach a slight point.
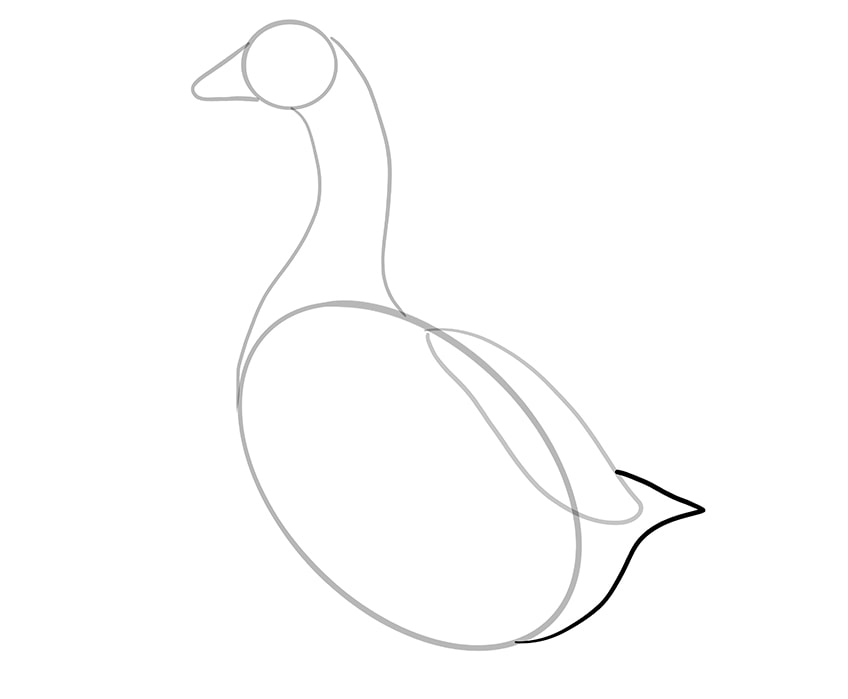
Step 6: Drawing the Tip of the Tail
To finish off the bottom of the goose’s body, you are now going to draw in the tail. You can begin drawing the tail at the bottom of the goose’s main body oval and then curve the line up and around the back. Just below the bottom of the wing, take the line out sharply to create a little point, and then join the line to the top of the wing construction line.
At the end of this step, you should start to see the final shape of your goose illustration shining through.
Step 7: Adding Legs and Feet to Your Goose Drawing
Geese have quite chunky legs and feet, but in this step, we are going to use single lines to construct the shape. Draw two straight lines down from the bottom of the main body oval, and add a few curved lines at the bottom to lay down the basic shape of the feet.
To get the right perspective, the leg that is furthest towards the back of the goose should begin inside the main body oval, while the other should begin on the line. The reason for this is because the top of the front leg is hidden from us behind the body of the goose.

Step 8: Drawing the Final Outline for Your Goose Illustration
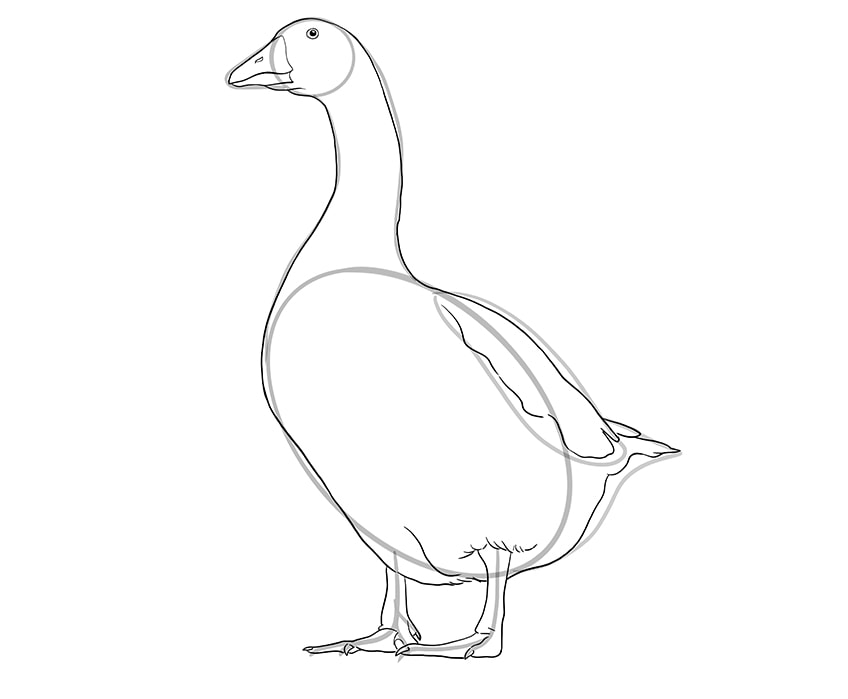
After all of your hard work with the construction lines, it is finally time to create the final outline for your geese drawing. You are going to use your construction lines to help you outline the shape of the goose, and then add some details like claws, eyes, and nostrils.
Begin your outlining at the head, following the construction lines quite closely but making the beak a little more rounded and natural. While you are here, add a small round eye with a black iris, a separating line in the beak, and a small nostril. You can then take the line down around the neck and body, following the construction lines quite closely.
Around the tail, the bottom of the wings, and around the bottom of the legs, try to use feathery and wiggly strokes to give the impression of feathers.
For the legs and feet, use the construction lines as a middle point and keep a similar width on either side of it. You can now add some little claws on the tips of the toes.
When you are finished with this step and are happy with your final outline, you can erase any remaining construction lines.
Step 9: Creating Feathery Texture on Your Goose
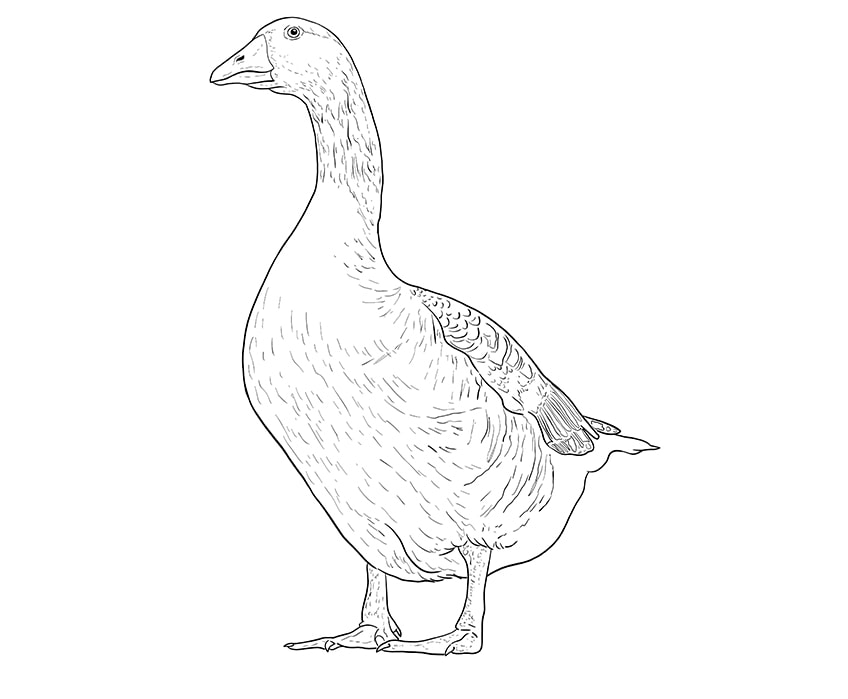
In this step, you are going to use a combination of long and short curved lines to create a feather-like texture across the body of your goose illustration.
Begin at the head of your goose, using very short lines that follow the curve of the neck down onto the back. You can then use slightly longer and down-facing lines across the chest and underbelly, to give the impression of long feathers. On the wings, use layers of curved lines to create feathers, making them longer and thinner towards the tip of the wing. Finally, use very small lines and dots to add texture to the legs and feet.
You can leave the very top of the goose’s chest and the tail area blank and without any textural detail.
Step 10: Time to Add a Pop of Color
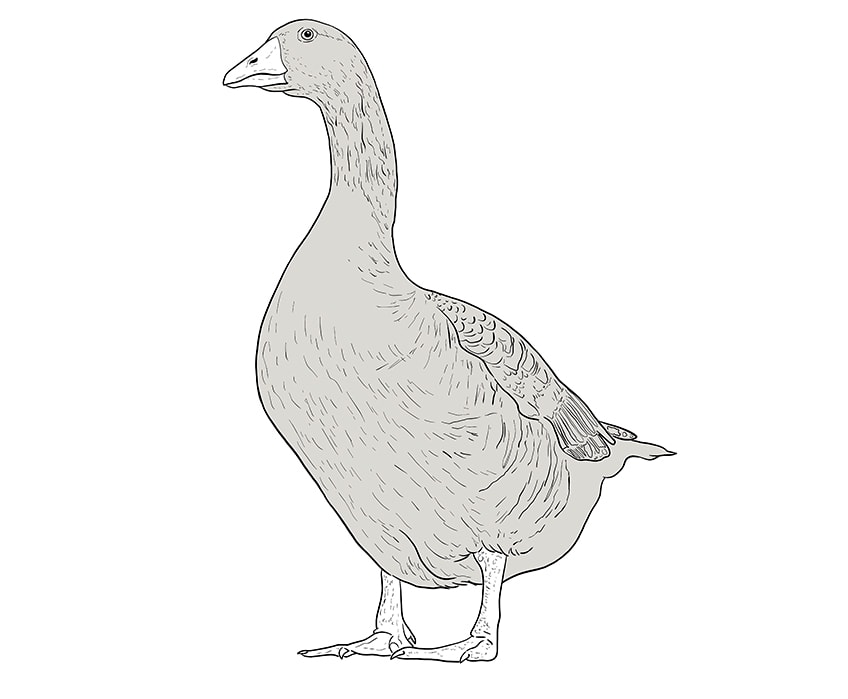
In this step, you are going to use a light gray shade as the base color coat for your goose illustration. For realistic coloring, you need depth, highlights, and shadows. One of the best ways to begin creating this diversity is to begin with a base color. Use your light gray shade to fill the entirety of your goose’s body, leaving the legs and beak blank.
Step 11: Adding Color to the Legs and Beak
This step is simple and sweet. Choose a nice vibrant shade of orange, and add this to the beak, legs, and feet of your goose drawing.
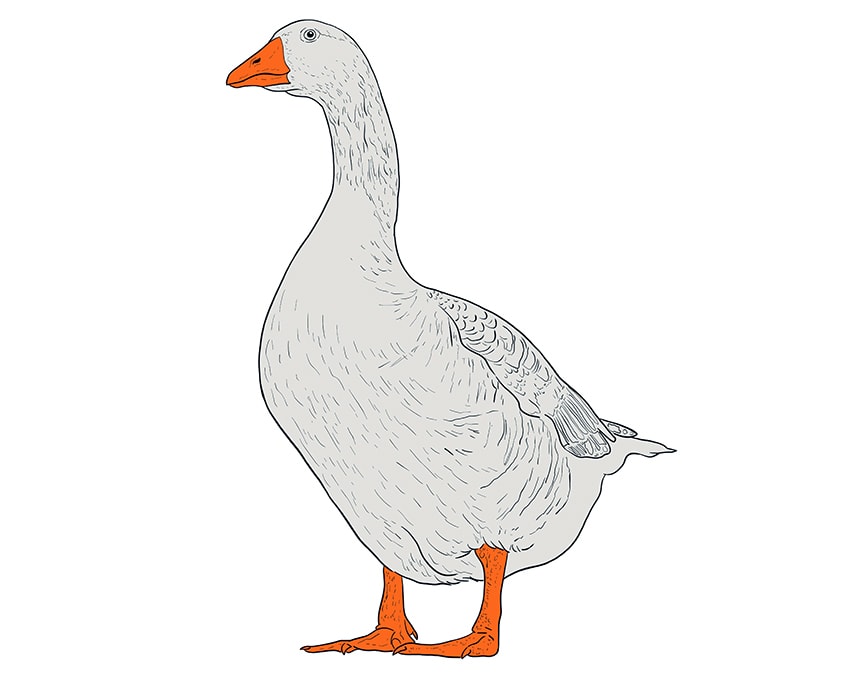
Step 12: Creating Color Texture
For this step, you will need a gentle shade of black and a soft brush. Carefully and daintily follow some of the texture lines with some black paint. You can also use a more diluted black to add some shading to the bottom of your goose between the legs, under the chin, along the bottom of the wing, and around the front of the chest. Add some orange paint around the eye, and finally, you can color the feather shapes on the back of the wing.
In this step, the amount of detailing and texture you add to your goose drawings is a personal choice. We suggest erring on the side of caution, because sometimes too much texture can become overwhelming and messy.
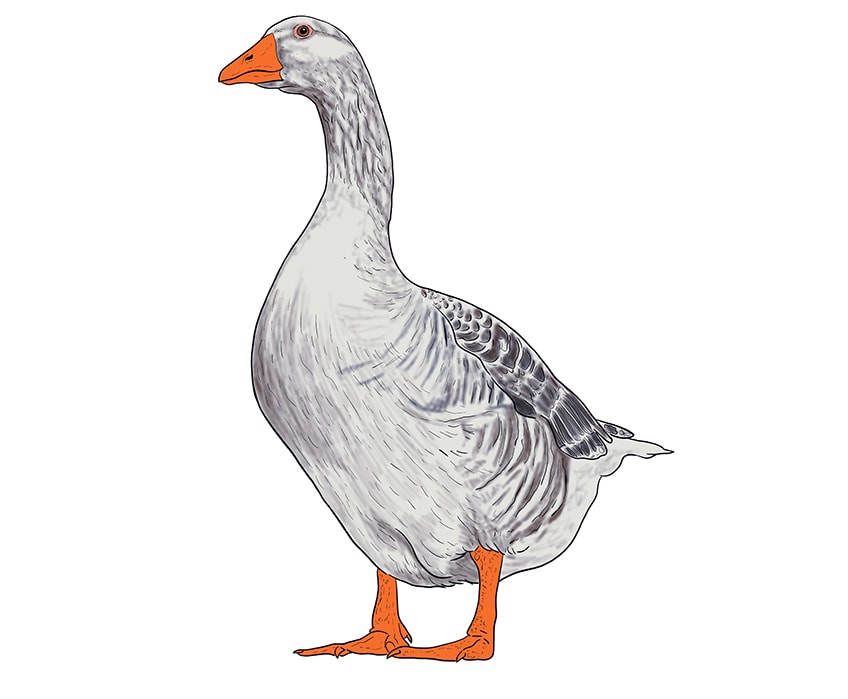
Step 13: Highlighting and Shading
In this second last step, you are going to use black, gray, and white shades to highlight and shade your goose. When it comes to goose drawings, shadow and highlight are two of the key techniques used for creating realism and dimension. With your black color, use a soft brush to lightly add shadow to areas on the legs that would naturally be hidden from the light. You can now use little dabs of gray to amplify the texture on the feet and legs.
Finally, use your white to add a touch of highlight around the mouth and beak areas.
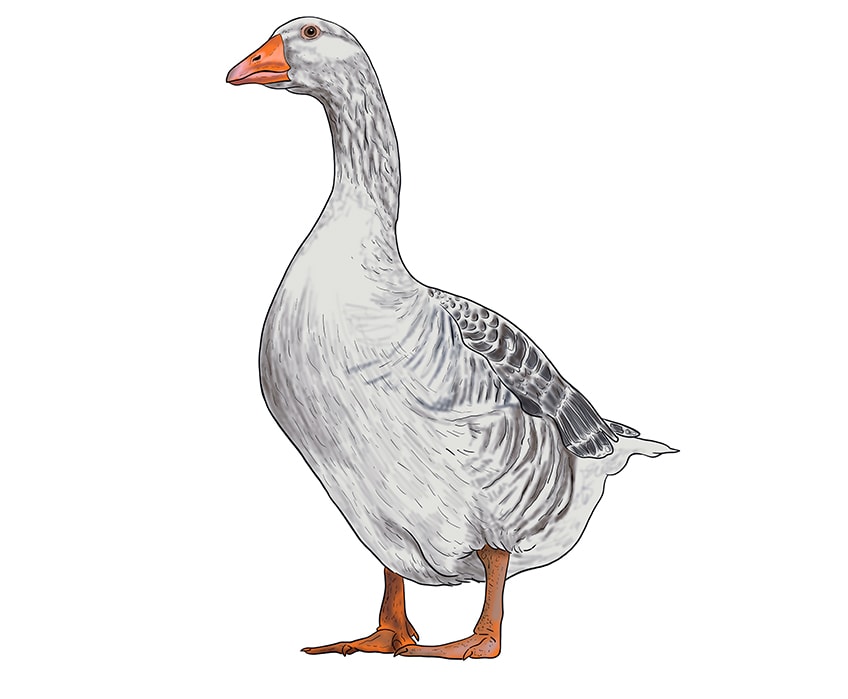
Step 14: Adding the Finishing Touches to Your Goose Illustration
This final step is optional but it creates a beautifully seamless result. All you need to do is remove the outline by tracing the area with the corresponding color. You can also add some final details by using a light gray color to carefully trace the texture lines.

Just like that, you have come to the end of our easy tutorial for creating goose drawings. We hope that you have enjoyed the process and learned a lot. You can now apply the same steps and principles to other farm animal drawings, especially other birds like chickens and ducks.
Frequently Asked Questions
How do You Make a Goose Illustration Realistic?
When it comes to creating realistic geese drawing, it is important to nail the perspective, texture, and coloring. In this tutorial, we take you through all of these different steps to help you create realistic goose drawings easily.
Can You Use this Tutorial to Draw Other Birds?
You can definitely use the fundamental steps in this tutorial to help you draw other farm birds, like ducks and chickens. You will just need to alter the shape slightly in the construction phase, and then adjust the coloring depending on which bird you are trying to draw.
Matthew Matthysen is an educated multidisciplinary artist and illustrator. He successfully completed his art degree at the University of Witwatersrand in South Africa, majoring in art history and contemporary drawing. The focus of his thesis was to explore the philosophical implications of the macro and micro-universe on the human experience. Matthew uses diverse media, such as written and hands-on components, to explore various approaches that are on the border between philosophy and science.
Matthew organized various exhibitions before and during his years as a student and is still passionate about doing so today. He currently works as a freelance artist and writer in various fields. He also has a permanent position at a renowned online gallery (ArtGazette) where he produces various works on commission. As a freelance artist, he creates several series and successfully sells them to galleries and collectors. He loves to use his work and skills in various fields of interest.
Matthew has been creating drawing and painting tutorials since the relaunch in 2020. Through his involvement with artincontext.org, he has been able to deepen his knowledge of various painting mediums. For example, watercolor techniques, calligraphy and lately digital drawing, which is becoming more and more popular.
Learn more about Matthew Matthysen and the Art in Context Team.


