How to Draw a Barn – Create a Magnificent Barn Sketch
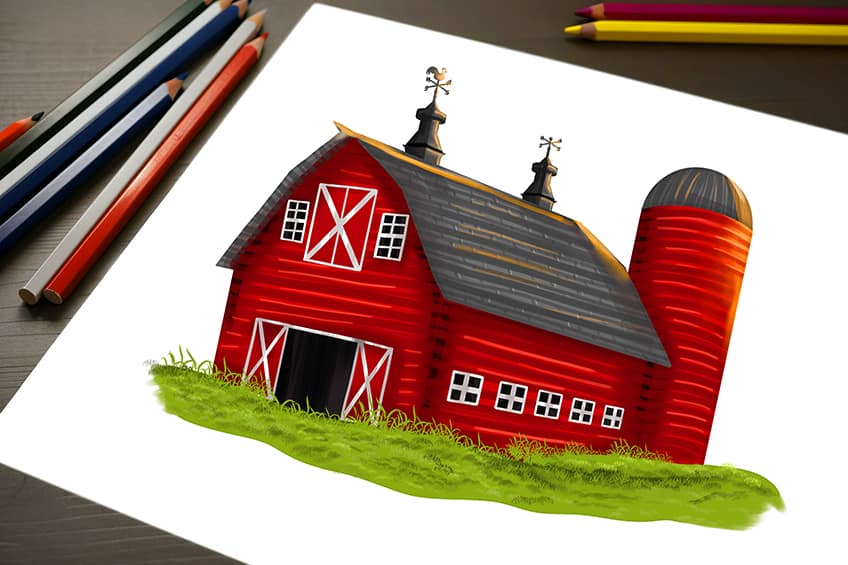
Barns have been a staple of rural landscapes for centuries, serving as the quintessential symbol of agriculture and farming. These iconic structures, made of wood or stone, have witnessed countless seasons of harvest and have sheltered farm animals through all sorts of weather conditions. But barns are more than just functional buildings; they have also become a popular subject for photographers and artists who seek to capture their rustic beauty and charm. From the iconic red barns of America’s heartland to the traditional English hay barns, these structures continue to capture our imagination and remind us of the importance of our agricultural heritage! So grab your pencils and brushes, and let’s get started on today’s easy tutorial on how to draw a barn. We will take you step-by-step to draw a magnificent barn!
Learn How to Draw a Barn in 19 Easy-to-Follow Steps
Congratulations on deciding to start our drawing tutorial on how to draw a barn! Drawing can be a great way to express your creativity and improve your artistic skills, and the barn is a classic subject that is both charming and simple to draw. This tutorial will take you through the process step-by-step, making it easy to follow and understand. You will learn the basics of perspective, shading, and composition, and by the end of it, you will have created a beautiful barn that you can be proud of. So get ready to put pencil to paper and let your artistic side shine!
By following the steps depicted in the below collage, you will be able to draw and paint your own barn. So, get ready to unleash your inner artist and create your own masterpiece!
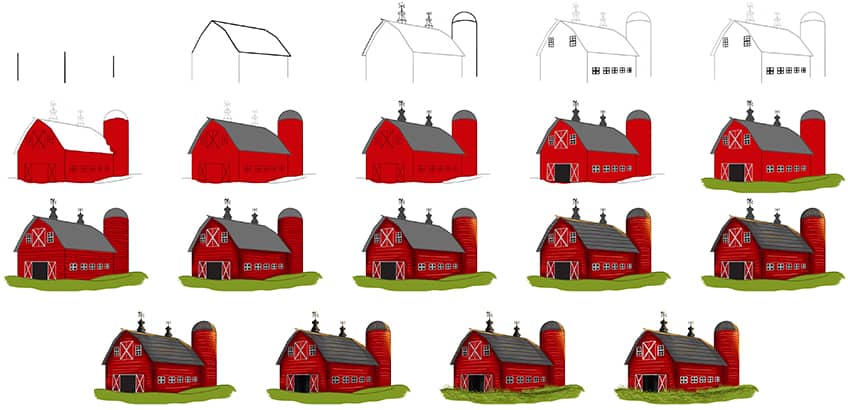
Step 1: Draw the Main Structure
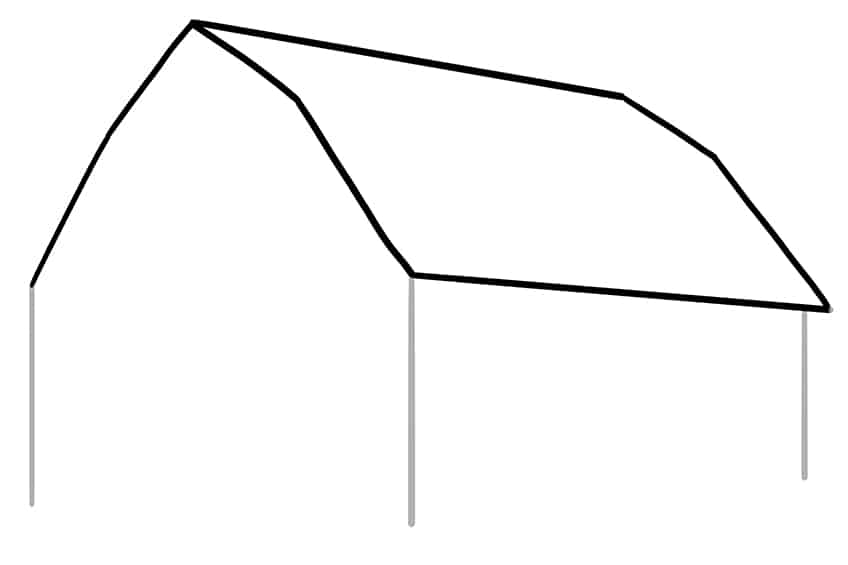
Begin your barn drawing by drawing the three visible wall columns that support the main structure of the barn. This will be represented by three simple vertical lines of different lengths. The middle line should be the longest, the left should be slightly shorter, and the right line should be the shortest.

Step 2: Draw the Roof of Your Barn Drawing
Above the three lines drawn in step one, draw the sloping roof lines connecting all these three structure points.
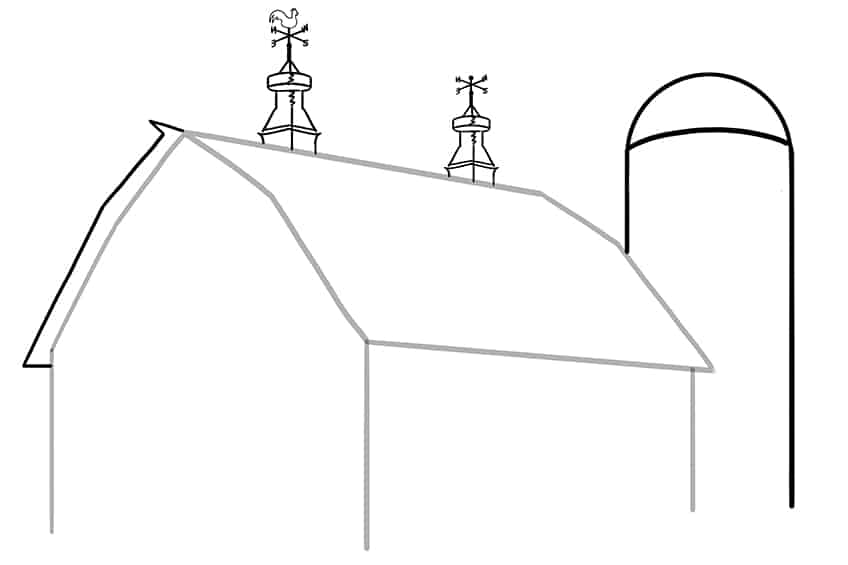
Step 3: Add the Roof Weathervanes
Begin this step by finishing off the roof lining positioned on the left end of the barn for a more realistic perspective of the roof. Continue by drawing two weathervanes on top of the roof, these should look like a chimney. Both weathervanes should include a pointy arrow with each direction letter (S, N, E, and W).
An optional step is to draw a rooster above the pointy arrow! Complete the step by drawing the barn’s silo, as a tall structure building, with a dome roof attached to the rear of the barn.
Step 4: Draw the Windows on Your Barn Sketch
On the side of the barn, draw five identical windows. Continue onto the front end of the barn and draw two larger windows on each side of your barn drawing.
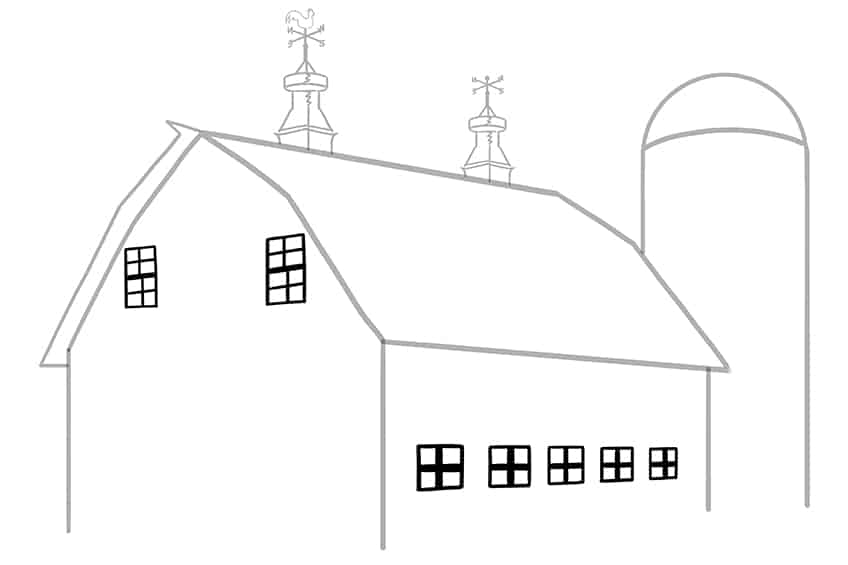
Step 5: Add the Doors
At the front of the barn, draw the large doors with an ‘x’ pattern within each door. Repeat this step onto the large center window at the top of the barn. Complete the step by drawing the gentle curves of the landscape.
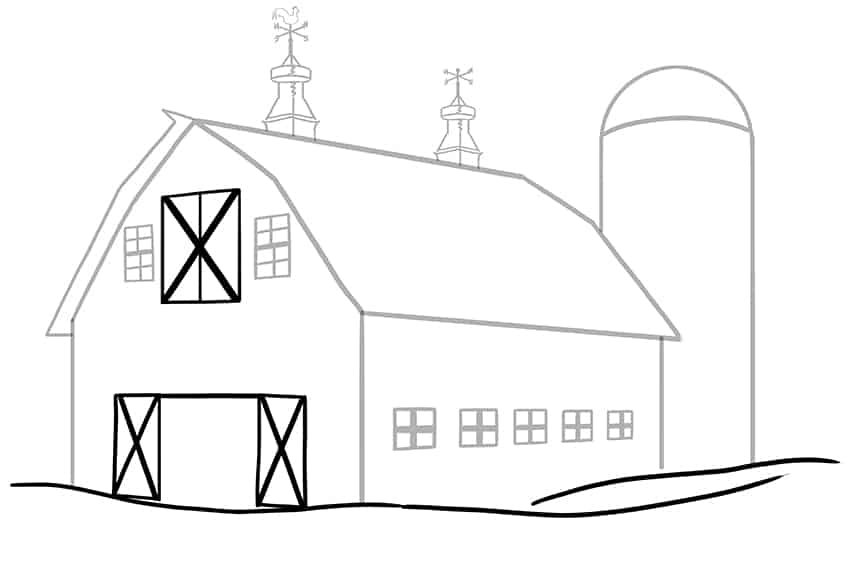
Step 6: Apply the First Color Coat to Your Barn Sketch
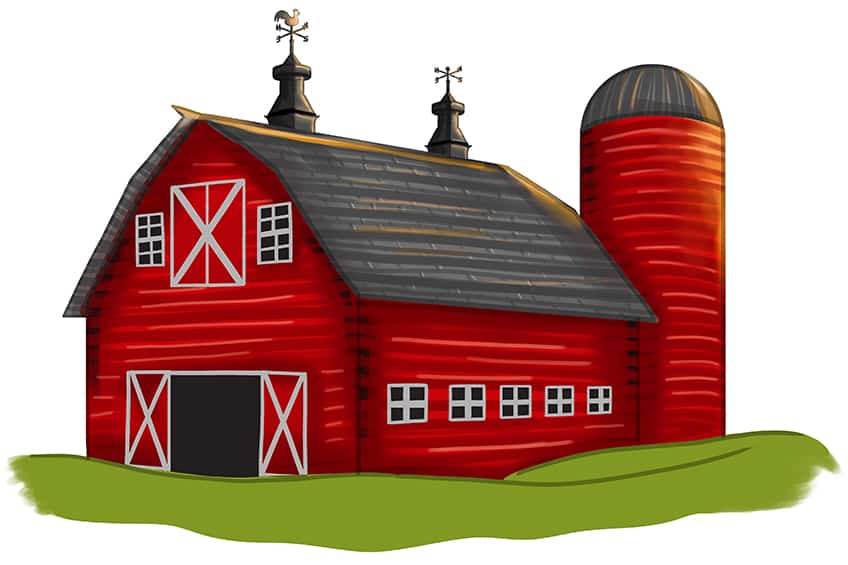
Select a regular brush and a bright shade of red paint, and evenly coat the barn and silo.

Step 7: Color the Roof of Your Barn Drawing
Use the same brush as previously and switch to gray paint, and evenly color the barn roof and silo roof.
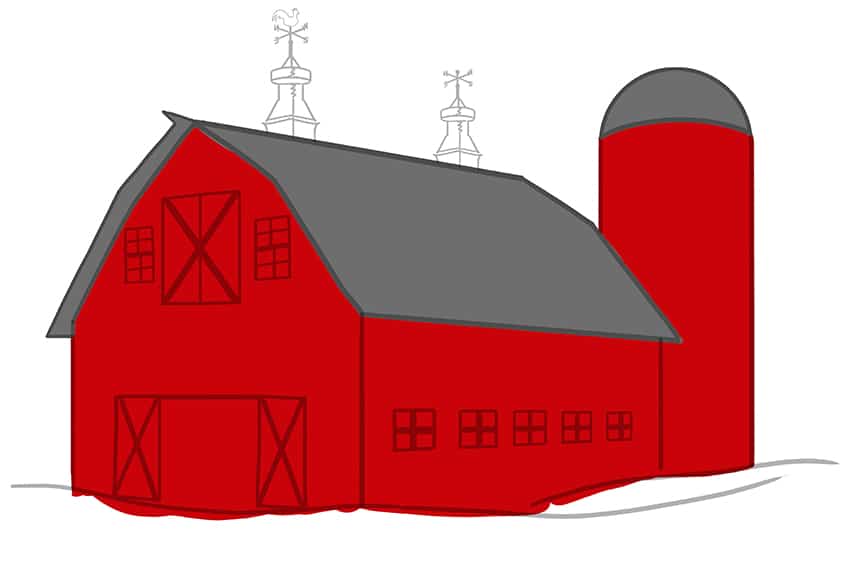
Step 8: Add Color to the Weathervanes
In this step, you will evenly coat both weathervanes using a thin brush and a dark shade of gray paint.

Step 9: Color the Windows for Your Drawing of a Barn
Before you color the windows, you need to trace the outline of each window and door on the barn, using a fine, sharp brush and a light shade of gray paint. Once this is complete, you can now color each window and barn door, using the same brush but switching to black paint.

Step 10: Continue to Add Color to Your Barn Drawing
With a small, soft brush and green paint, evenly coat the landscape on your barn drawing.
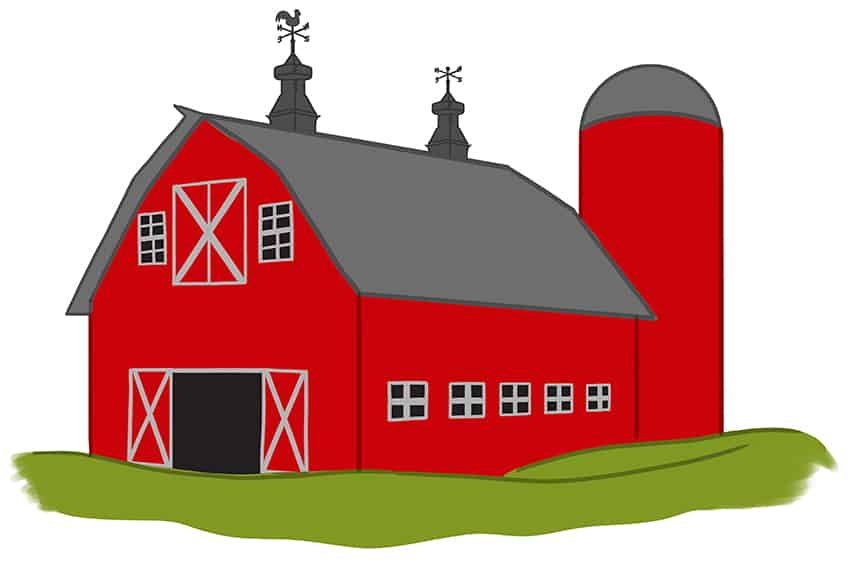
Step 11: Add Texture to Your Drawing of a Barn
In this step, you are going to start adding texture to your barn drawing to create a more realistic look. To do this, select a thin brush and dark gray or black paint, and gently paint horizontal lines across the barn and the silo.
Note! Try to leave some space between each line.
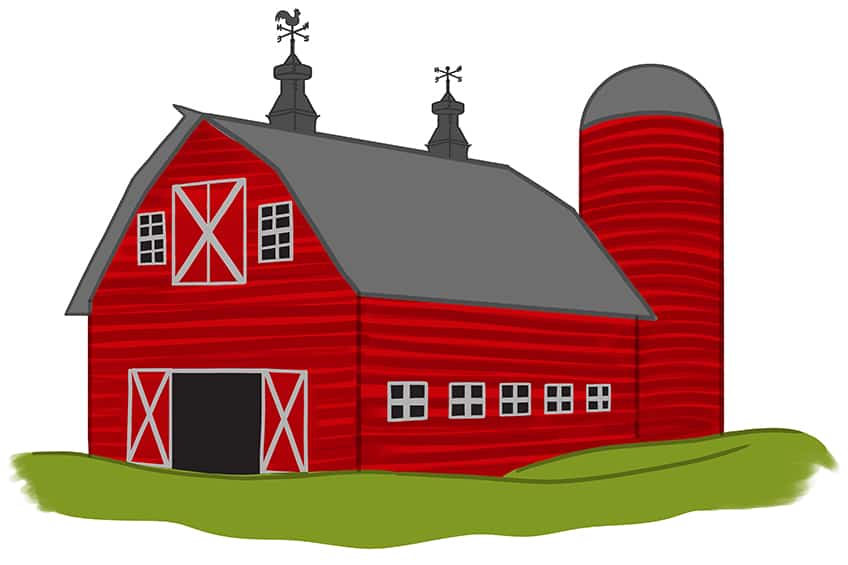
Step 12: Add Shading to the Barn
Use the same brush as previously and black paint, and add fine patches along the corners of the barn walls and the silo. Switch to a soft brush and add shading along the edges of the walls, the door, the windows, and the silo. Finish this step using a blending brush to soften and spread the shading.
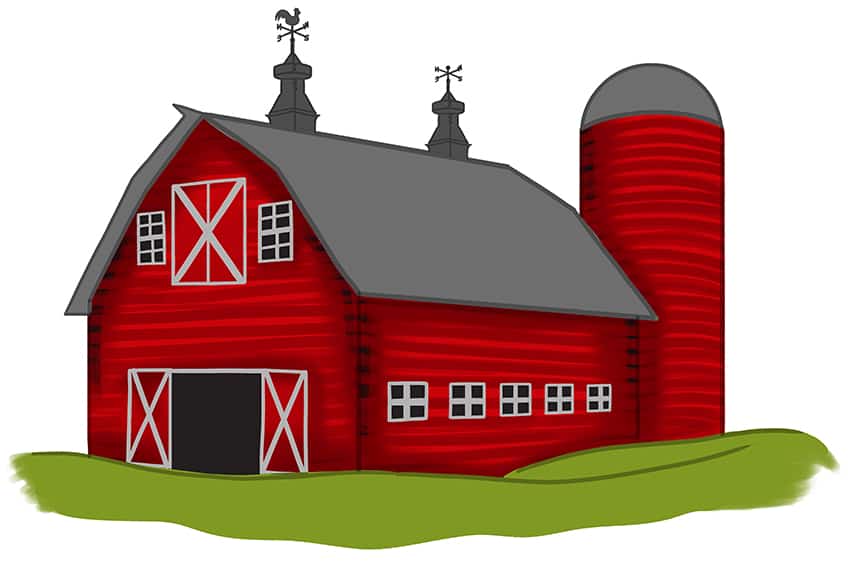
Step 13: Highlight Your Drawing of a Barn
Add fine, highlighted brushstrokes between the texture lines added in step 11, using a fine, sharp brush and white paint. Complete this step using a soft brush and a combination of yellow and orange paint, and add a soft color glow to the edge of the silo.

Step 14: Texture the Roof
With a thin brush and a dark shade of gray paint, add horizontal lines on the roof of the barn and vertically curving lines to the roof of the silo. Switch to a soft brush and a combination of yellow and orange paint, and add a soft glow to the edges of the roof. Use A blending brush to spread and soften the glow.
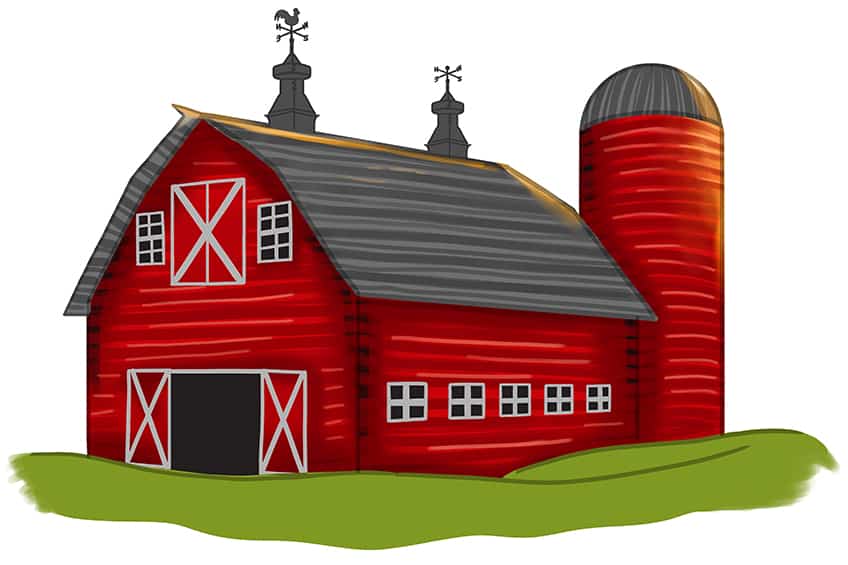
Step 15: Add Detail to the Roof
Add fine vertical lines between the horizontal lines using a thin brush and gray paint. This will create a realistic roof-tile pattern. Repeat using white paint to add final highlights to your barn roof.
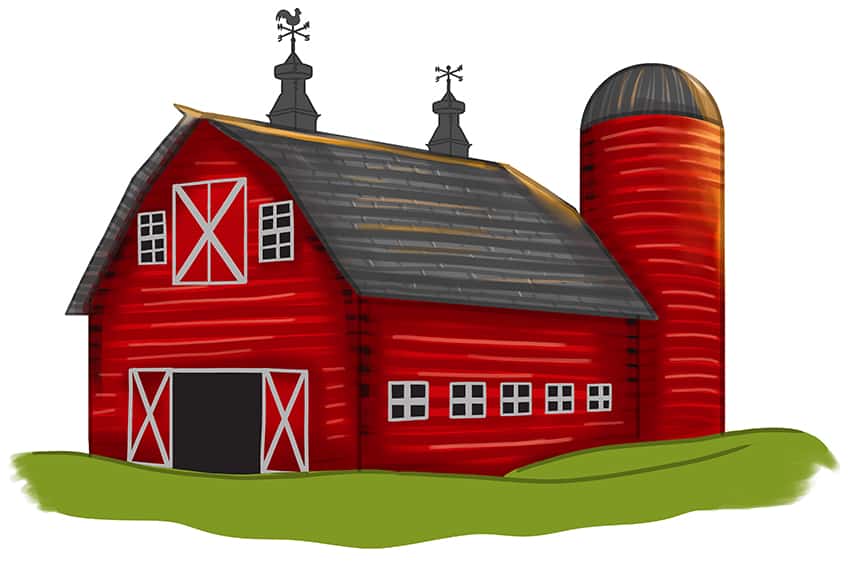
Step 16: Shade the Weathervanes
Use a small, soft brush and black paint, and apply soft shading to the edges and left side of both weathervanes. Switch to a blending brush to softly spread the shading. Continue by using a fine, sharp brush and a combination of yellow and orange paint, and add a glow to the right side of each weathervane.
Complete this step by using a blending brush to soften and blend the color coats.
Step 17: Highlight the Windows on Your Barn Sketch
In this step, you can add soft and subtle brushstrokes within and around each window, using a soft brush and a light shade of gray paint. Repeat this process within the open doors on your barn drawing.

Step 18: Detail the Landscape
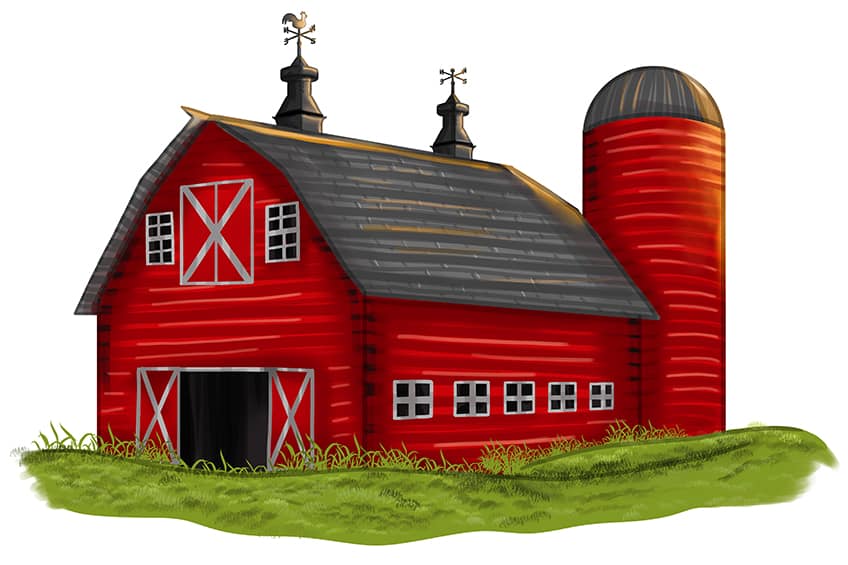
Select a fine, sharp brush and green paint, and detail the edges of the grass and along the landscape curves. Continue using a rough pattern brush and a combination of dark green and white paint, and add soft patches of texture along the rest of the landscape.
Step 19: Finalize Your Drawing of a Barn
You are one step closer to finishing our tutorial on how to draw a barn! To complete your drawing, simply erase any outlines where possible. If any outlines are impossible to erase, use a fine, sharp brush and the corresponding colors to trace these outlines and any inner texture lines. This will result in a final and seamless barn drawing!

Well done on completing our barn drawing tutorial! You should be proud of yourself for taking the time to learn a new skill and create a beautiful piece of art. Drawing barns can be a fun and rewarding experience, and by completing this tutorial, you have gained a better understanding of perspective, shading, and composition. Whether you are a beginner or an experienced artist, this tutorial has equipped you with the knowledge and techniques needed to create stunning barn artwork. So, continue to practice and refine your skills, and who knows, your next barn drawing could be your masterpiece!
Frequently Asked Questions
How Do You Create a Sense of Depth in a Barn Drawing?
To create a sense of depth in your barn drawing, you can use a technique called atmospheric perspective. This involves making objects in the background of your drawing appear lighter and blurrier than objects in the foreground. Additionally, you can use overlapping shapes, size variation, and shading to create a sense of distance between objects in your drawing. If you are unsure of how to do this, follow along on our tutorial on how to draw a barn, and we will teach you all the necessary skills you need to create a magnificent barn drawing!
What Colors Should a Barn Drawing Be?
Choosing the right colors for your barn drawing can depend on the style and mood you want to convey. For a classic and traditional look, use earthy colors such as reds, browns, and yellows. For a more modern or abstract style, you can experiment with brighter or more unusual colors. It’s also important to consider the lighting in your scene for example, if it’s a sunny day, you may want to use warmer and brighter colors, whereas if it’s a cloudy day, you may want to use cooler and more muted colors. Ultimately, the colors you choose should help tell the story of your barn scene and evoke the emotions you want to convey.
Matthew Matthysen is an educated multidisciplinary artist and illustrator. He successfully completed his art degree at the University of Witwatersrand in South Africa, majoring in art history and contemporary drawing. The focus of his thesis was to explore the philosophical implications of the macro and micro-universe on the human experience. Matthew uses diverse media, such as written and hands-on components, to explore various approaches that are on the border between philosophy and science.
Matthew organized various exhibitions before and during his years as a student and is still passionate about doing so today. He currently works as a freelance artist and writer in various fields. He also has a permanent position at a renowned online gallery (ArtGazette) where he produces various works on commission. As a freelance artist, he creates several series and successfully sells them to galleries and collectors. He loves to use his work and skills in various fields of interest.
Matthew has been creating drawing and painting tutorials since the relaunch in 2020. Through his involvement with artincontext.org, he has been able to deepen his knowledge of various painting mediums. For example, watercolor techniques, calligraphy and lately digital drawing, which is becoming more and more popular.
Learn more about Matthew Matthysen and the Art in Context Team.


