How to Draw a Hot Air Balloon – A Colorful Air Balloon Drawing
Hot air balloons are one of the most magical and enchanting ways to experience flight. These colorful, towering giants of the sky offer a unique perspective and a sense of freedom that is simply unmatched. With the wind as their guide, hot air balloons gracefully glide over picturesque landscapes, taking passengers on a journey of a lifetime. From the gentle hum of the burners to the stunning views of the world below, there’s no denying that hot air balloons are a must-try experience for anyone looking to soar above the clouds!
A Magical Step-by-Step Guide to an Air Balloon Drawing
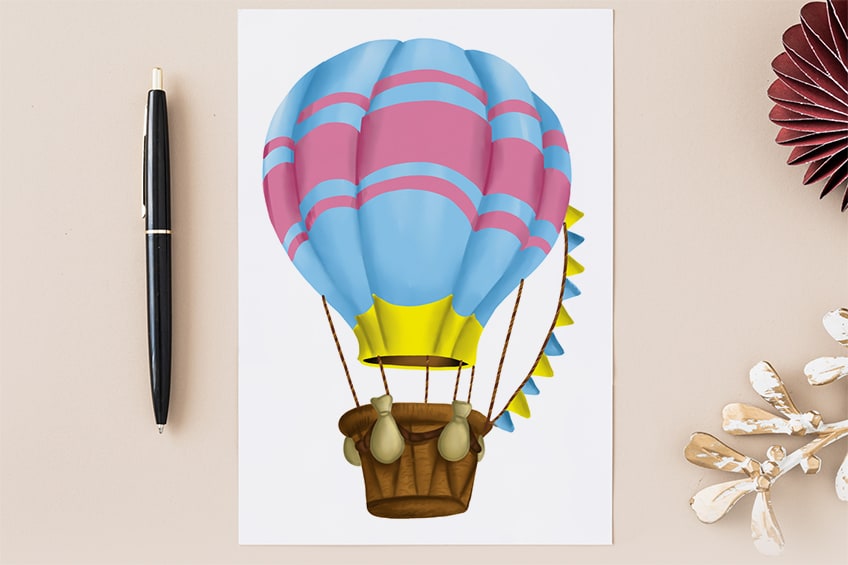
In today’s tutorial, we will be taking you on an easy drawing tutorial on how to draw a hot air balloon! We will help you with all the necessary drawing steps needed to achieve your magical hot air balloon drawing. This tutorial can be created on any drawing material, making it accessible to anyone wanting to learn how to draw a hot air balloon.
Follow our 14 easy steps, as shown in the collage below, and in no time you will be able to draw an exquisite hot air balloon!
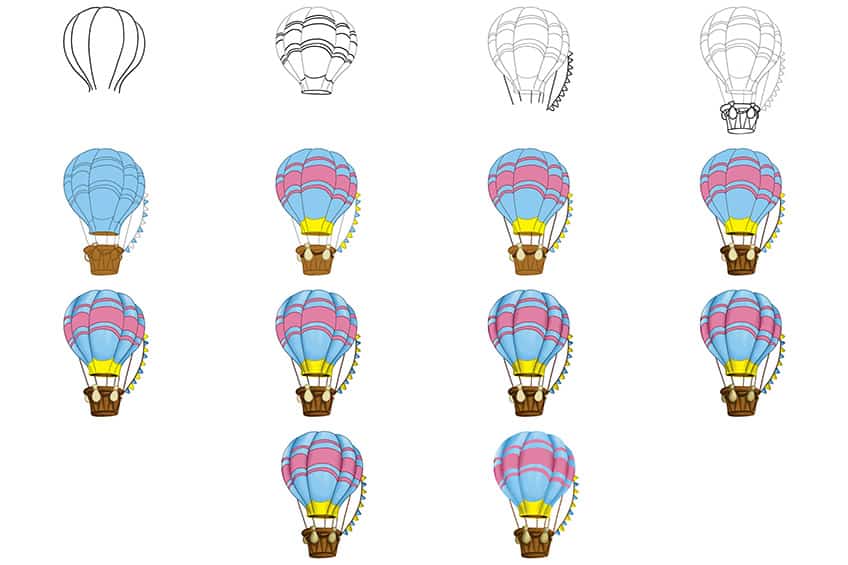
Step 1: Draw the Balloon
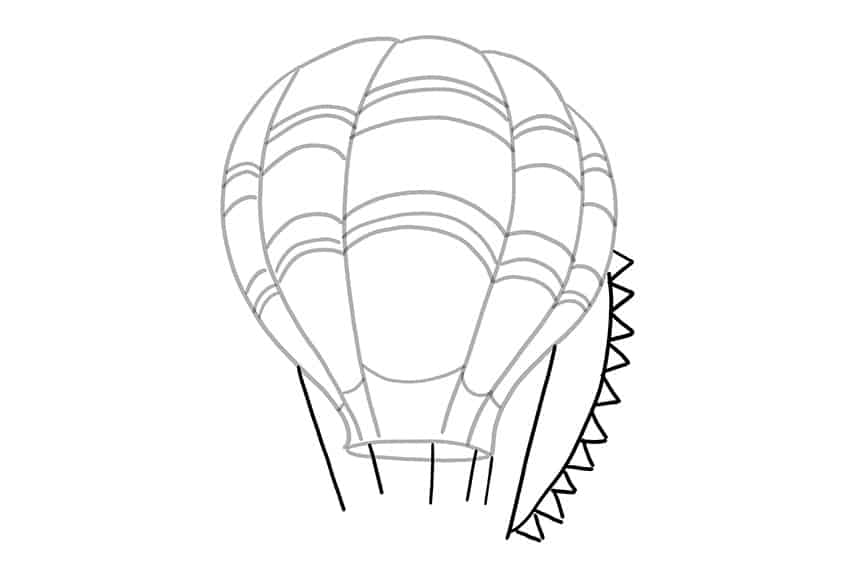
To begin our tutorial on how to draw a hot air balloon, you will start by drawing the balloon with curving lines all leading downwards.
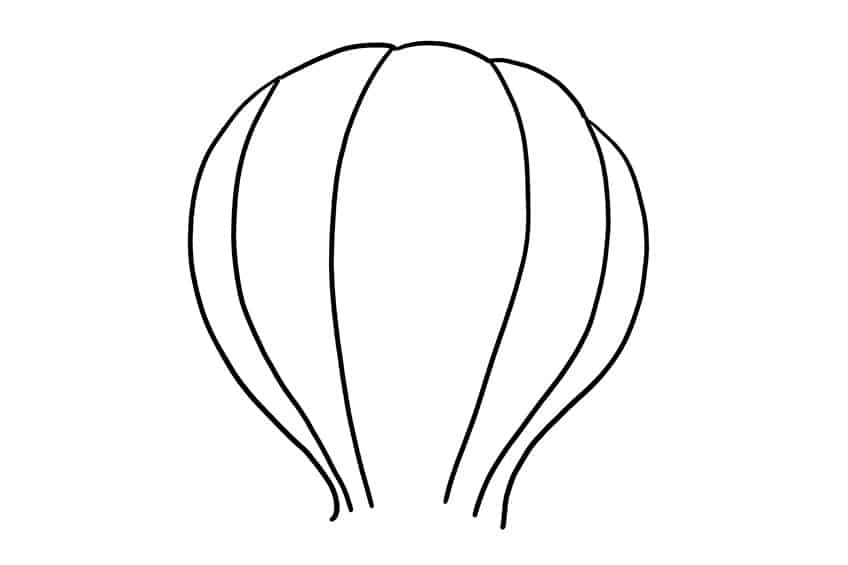
Step 2: Draw the Pattern in Your Air Balloon Drawing
Along each portion of the balloon, draw the curving pattern lines going across the balloon. Complete the step by drawing the mouth and skirt of the balloon located at the bottom end.
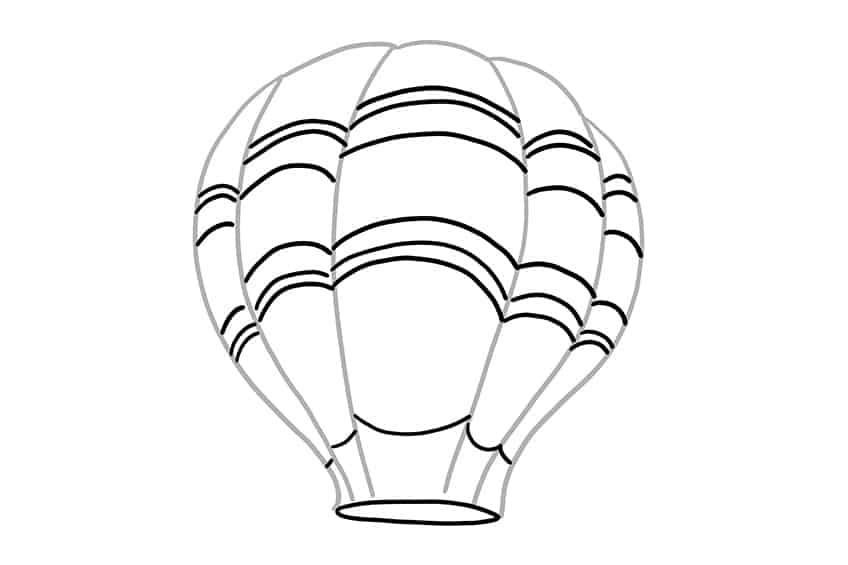
Step 3: Add the Ribbon
Along the right side of the balloon, draw a curving line with triangular ribbons attached to this line. Finish this step by drawing the inner cords on your hot air balloon drawing.
Step 4: Draw the Basket to Your Air Balloon Drawing
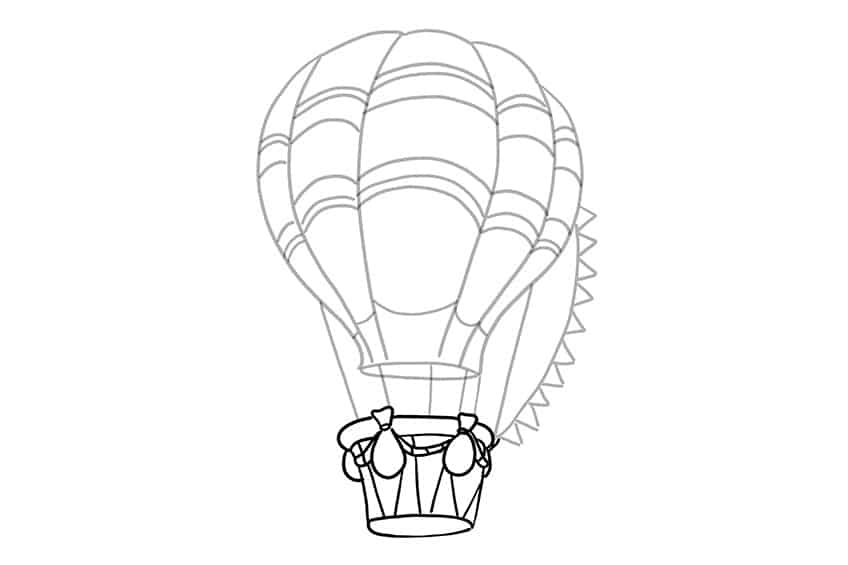
Attached to the cords, draw the top crown of the basket. Follow this by drawing the actual basket with surrounding weight bags.
Step 5: Add the First Coat of Color
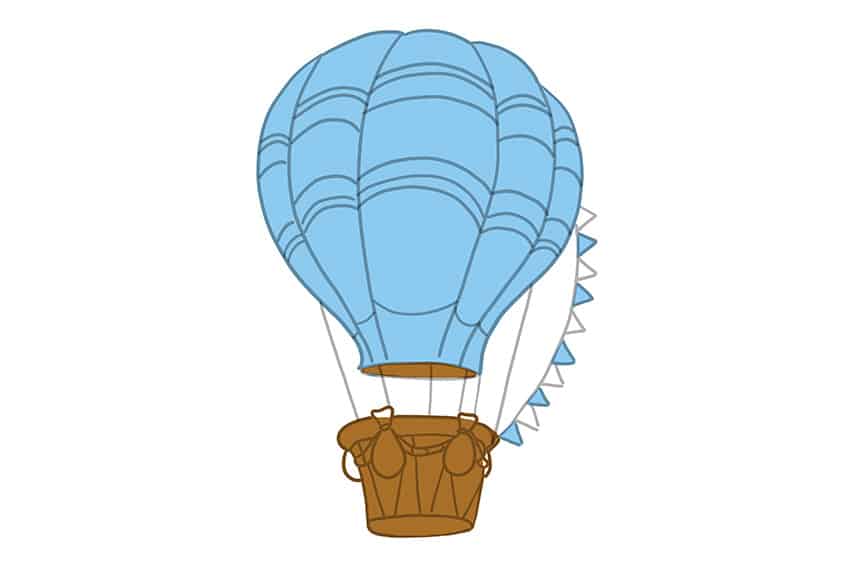
Use a regular brush and light blue color, and evenly coat the outer area of the balloon including every second ribbon. Switch to brown paint, and evenly fill the inner area of the balloon and the basket.
Step 6: Color the Patterns on Your Hot Air Balloon Drawing
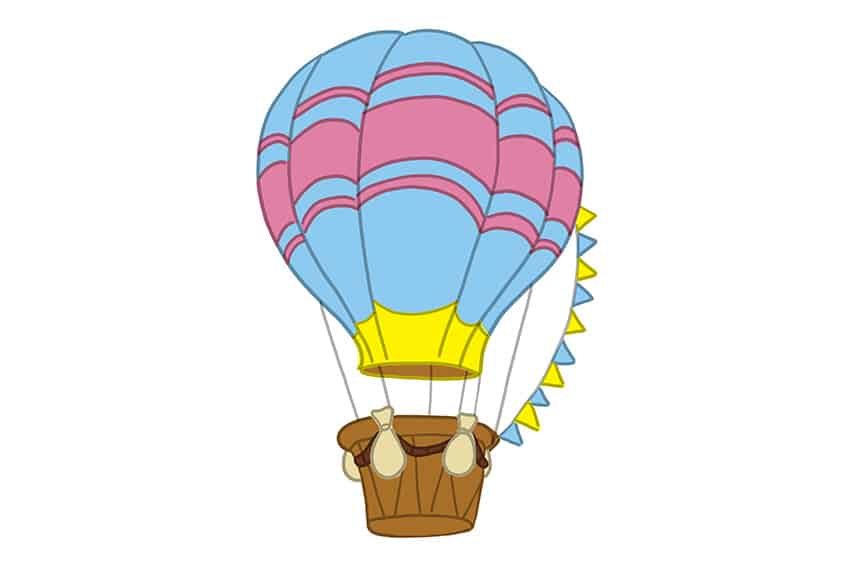
Begin by using a fine, sharp brush and pink paint, and fill the first three pattern lines on the balloon. Continue with yellow paint and fill the ribbons and bottom pattern of the balloon. Complete this step using cream paint and evenly paint the weight bags on the basket.
Switch to dark brown paint for the rope.
Step 7: Color the Cords
Use the same brush as previously and dark brown paint, and trace the cords on your hot air balloon drawing.

Step 8: Shade the Basket on Your Air Balloon Drawing
Use the same brush and paint from the previous step, and add soft texture patterns onto the basket. Continue by using a small, soft brush and black paint to add shading along the edges and sidewalls of the basket and inner balloon mouth area.
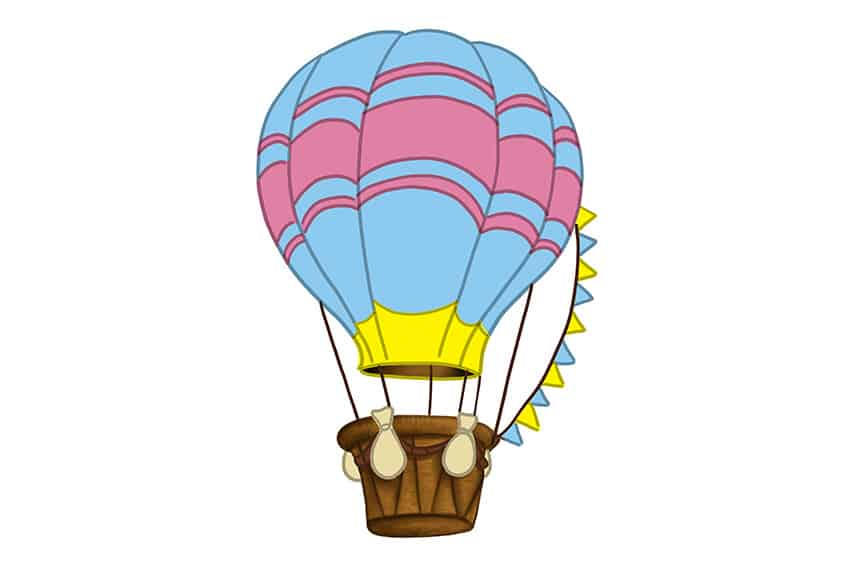
Step 9: Add Shading to the Balloon
Select a small brush and darker blue paint, and add soft shading along each of the ridges of the balloon. Repeat using white paint to add soft highlights. This should be repeated on the blue triangles of the ribbon as well.
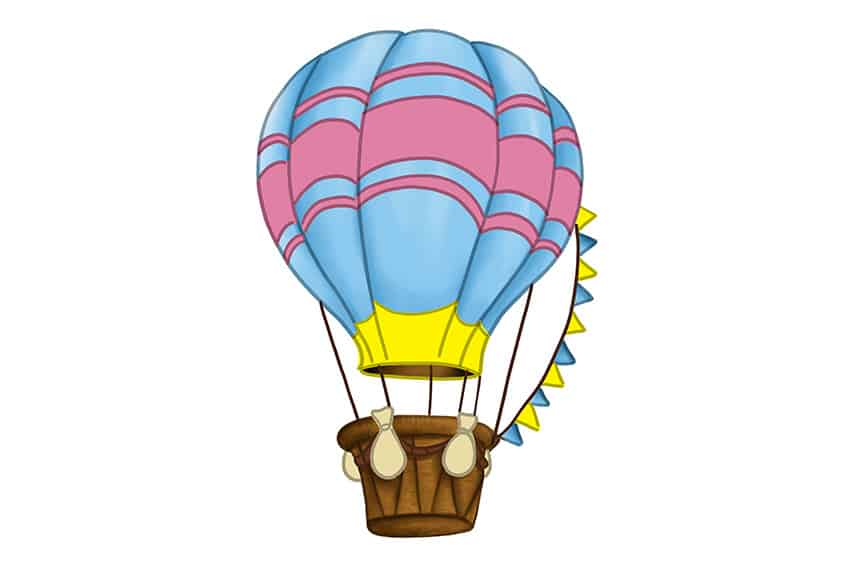
Step 10: Shade the Bottom Area of the Balloon
Use the same paintbrush as previously and switch to black paint, and lightly apply a shading coat onto the bottom area of the balloon. Repeat this process on the yellow ribbons. Use a blending brush and apply gently soften the shaded areas.
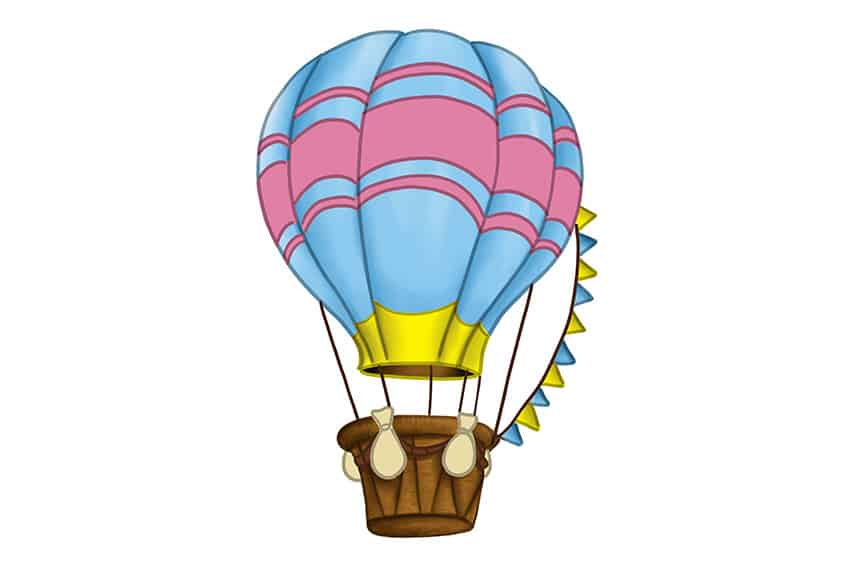
Step 11: Shade the Patterns on Your Easy Air Balloon Drawing
Select a small, soft brush and a darker shade of pink paint, and apply soft shading between each balloon ridge.
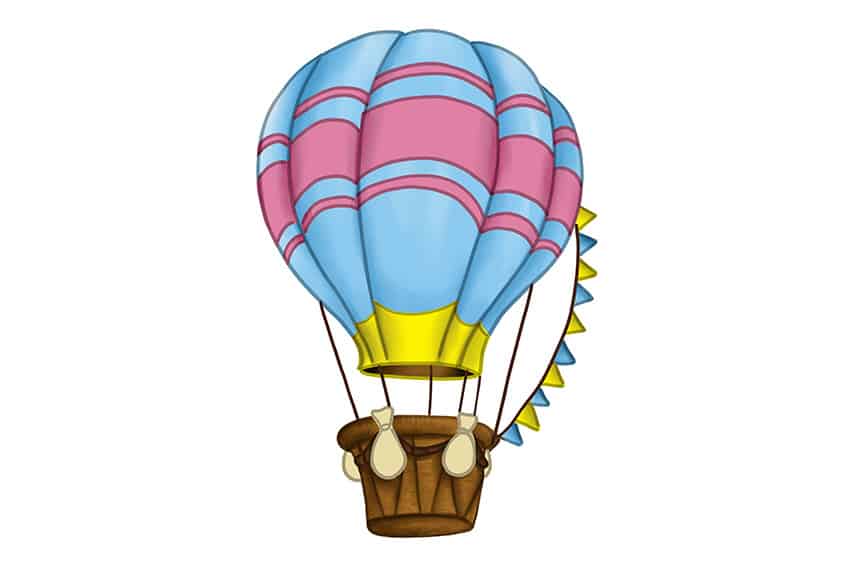
Step 12: Add Shading to the Weighted Bags
Use the same brush as previously and olive green or a shade of gray paint, and lightly add shaded patches within each weighted bag. Repeat using white paint to add soft highlights. Complete this step using a blending brush to soften the shades.
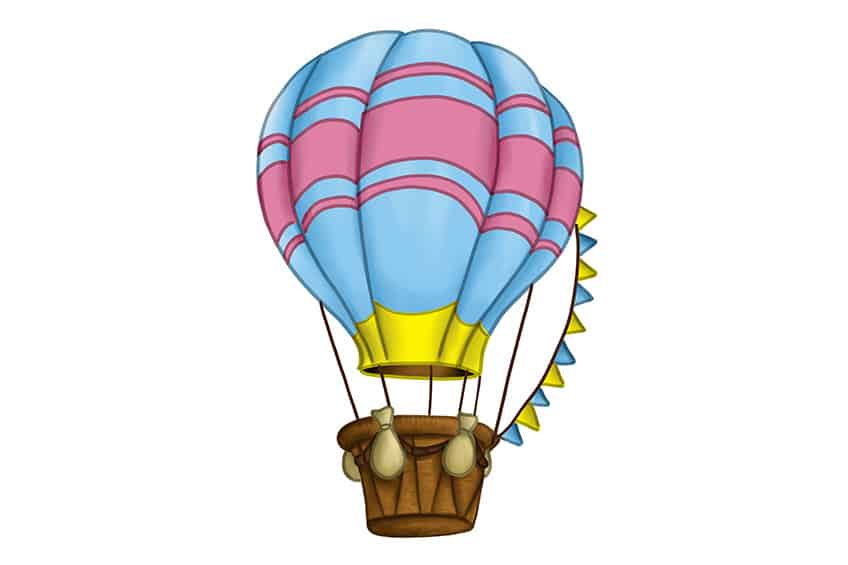
Step 13: Texture the Cords on Your Hot Air Balloon Drawing
With a fine, sharp brush and light brown and tan paint, draw fine diagonal lines on each cord to create a more realistic rope texture and pattern.
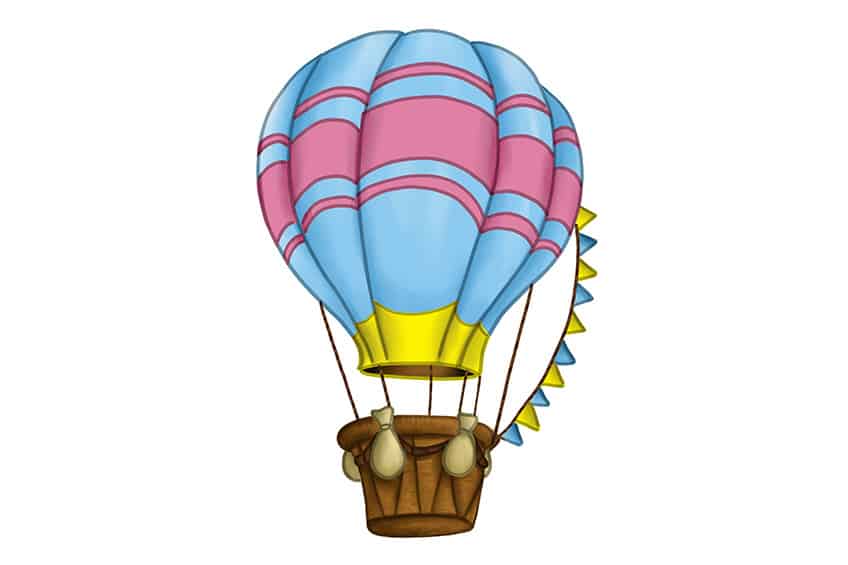
Step 14: Finalize Your Colorful Hot Air Balloon Drawing
You have almost completed our tutorial on how to draw a hot air balloon! To finish your drawing, erase any visible outlines to create a final seamless result.
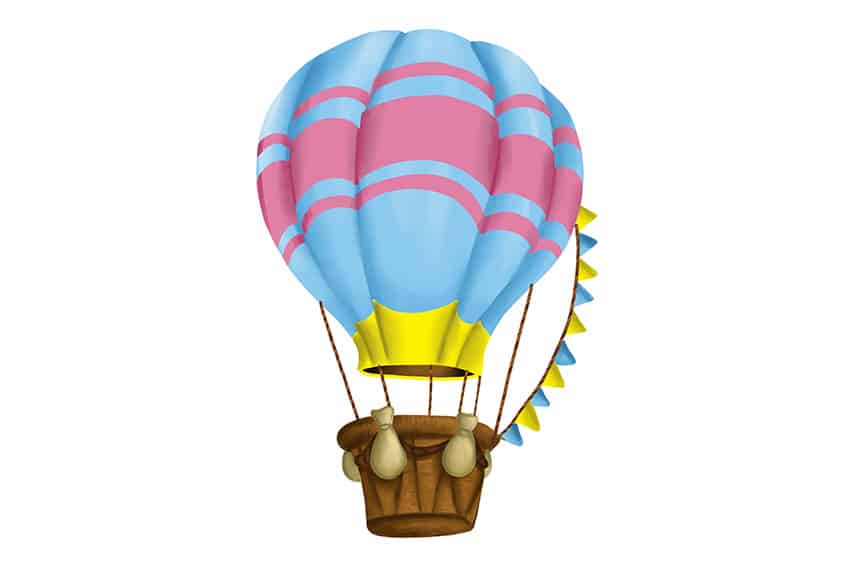
Great job on completing our tutorial on how to draw a hot air balloon! Not only have you created a beautiful drawing, but you’ve also developed valuable new drawing skills along the way. Through careful attention to detail, you’ve brought your hot air balloon to life on the page. These skills will certainly benefit you in future artworks, and you should take pride in what you have achieved. Your hot air balloon drawing showcases your artistic ability and imagination, so keep up the fantastic work!
Frequently Asked Questions
How Do I Create the Illusion of Depth and Distance in a Hot Air Balloon Drawing?
To create the illusion of depth and distance in your hot air balloon drawing, there are several techniques you can use. First, try using perspective by drawing the balloon larger at the bottom and smaller at the top to make it appear as if it’s receding into the distance. Additionally, you can use shading to give the hot air balloon a three-dimensional appearance and define its shape. By using these techniques, you can create a hot air balloon drawing that looks more realistic and visually appealing!
What Color Combinations Can I Use for My Air Balloon Drawing?
When it comes to choosing color combinations for your air balloon drawing, the possibilities are endless! However, one popular approach is to use bright, vibrant colors that mimic the bold hues often found on real hot air balloons. These can include shades of red, orange, yellow, green, blue, and purple, which can be used to create eye-catching stripes, patterns, or gradients. Ultimately, the colors you choose are up to you and should reflect your unique style.
Matthew Matthysen is an educated multidisciplinary artist and illustrator. He successfully completed his art degree at the University of Witwatersrand in South Africa, majoring in art history and contemporary drawing. The focus of his thesis was to explore the philosophical implications of the macro and micro-universe on the human experience. Matthew uses diverse media, such as written and hands-on components, to explore various approaches that are on the border between philosophy and science.
Matthew organized various exhibitions before and during his years as a student and is still passionate about doing so today. He currently works as a freelance artist and writer in various fields. He also has a permanent position at a renowned online gallery (ArtGazette) where he produces various works on commission. As a freelance artist, he creates several series and successfully sells them to galleries and collectors. He loves to use his work and skills in various fields of interest.
Matthew has been creating drawing and painting tutorials since the relaunch in 2020. Through his involvement with artincontext.org, he has been able to deepen his knowledge of various painting mediums. For example, watercolor techniques, calligraphy and lately digital drawing, which is becoming more and more popular.
Learn more about Matthew Matthysen and the Art in Context Team.


