Easy Oil Painting Ideas – Simple Oil Painting Ideas for Beginners
Oil painting is an extremely resourceful medium that has existed for years, and as a beginner, you may want to take up the art of oil painting. There are many different techniques, approaches, and styles of simple oil painting ideas, all you need to do is choose which one is best suited for you. In this article, we will be giving you some easy oil painting ideas and hopefully, you will be creating amazing oil drawings in no time.
Easy Oil Painting for Beginners
In this section of the article, we will be giving you some simple oil painting ideas for beginners that will help you create amazing oil drawings. Oil painting is an art that can be enjoyed by anyone that is looking for a creative outlet in their life, and after you master the different techniques and styles, you will be amazed at how realistic your oil paintings are.
You also do not have to keep to traditional colors, you can think outside the box as well. For example, a multicolored tree. However, to get good at painting, you will have to practice, which will take time. So, to begin, we have put together a few tips that will be of help to you as a beginner to put your oil painting ideas on canvas.
- Choose a small painting: Do not first choose a sunset, portrait, or landscape idea, but rather go for a still life painting. This will help you to experiment with colors and techniques instead of spending time on a certain process or materials.
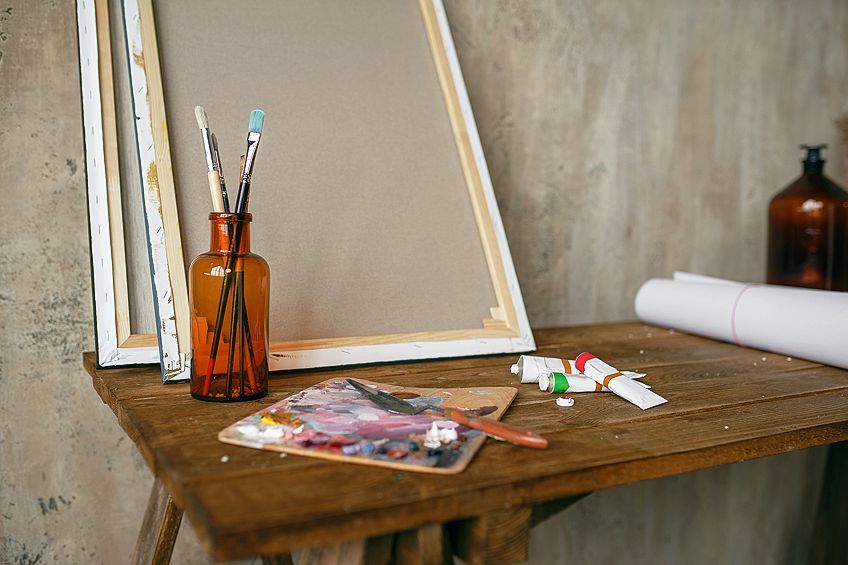
- Organize yourself: Select an area to paint that has enough light and airflow. Arrange your brushes and palettes so that they are close at hand and easy to reach.
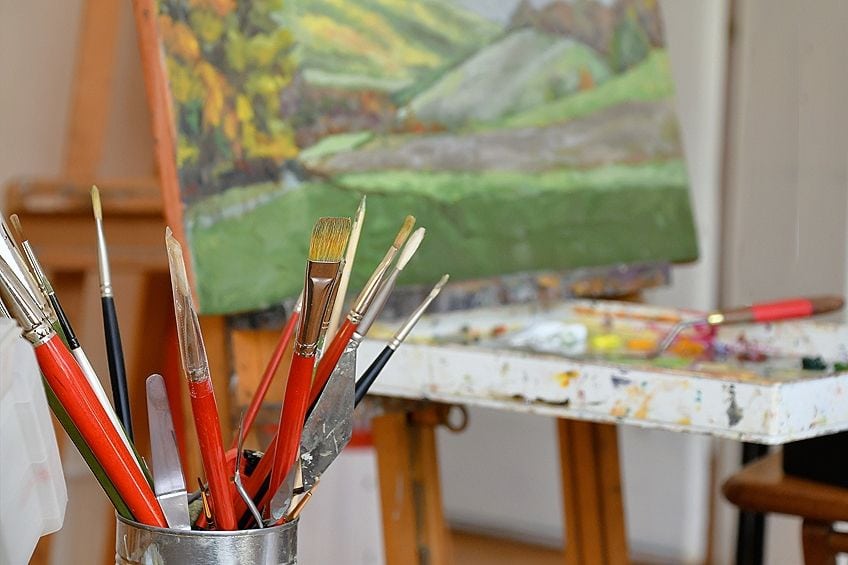
- Choose the right brushes: There are thousands of different types of brushes, and as a beginner, you may be inclined to choose the cheapest brushes, this is fine but also add a few professional-grade brushes in the process. As you gain more confidence, you can start by experimenting with different shapes, materials, and sizes of brushes. The best type of brush for oil painting is the synthetic bristle brush.
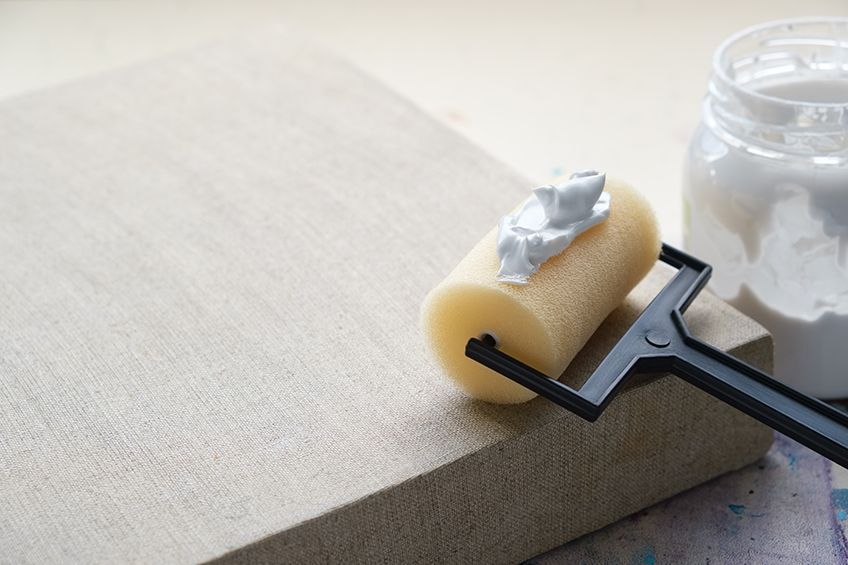
- Always use a primer: It does not matter what type of surface you are painting; you always need to apply a primer like gesso for the following three reasons. The primer helps to keep the paint from bleeding into the surface, it also helps to protect the surface from any acids that are found in the paint, and it helps the paint to stick to the surface better.
- Mixing colors correctly is vital: Mixing the secondary and primary colors correctly is vital as you begin oil painting to give you the shade or tone you need.
- Start with oil sketching first: Oil drawing or sketching makes use of turpentine and colors and it dries very quickly this will enable you to apply layers of different colors that you think go well together, without having to wait for a long time for the oil paint to dry.
- Arrange your paints in order: You need to develop the habit of arranging your paints in a certain order, like thin ones over thick ones, or quick-drying ones over slow drying ones. This helps when you need to apply thinner paint with less oil in the initial layers and then follow up with the thicker paint that has deeper oil content for the preceding layers. This will ensure that the previous layers will dry first and thus prevent your paint from cracking.
- Clean your brushes properly: You need to ensure that once you have cleaned your brushes the paint, paper towels, and palettes are all properly disposed of away from your pets and children.
Let us now consider some easy oil painting ideas on canvas, that as a beginner, you will be able to master. However, before we start, there are three basic oil painting rules that you need to practice and understand. For example, fat over lean.
All that this means is that each layer of your paint should be more flexible, thicker, and more slow-drying than the layer below it, which will stop your paint from cracking.
Still Life Paintings
If you are just starting with oil paints, a still life painting is the best way to go, as a still life oil painting gives the artist complete control over their work. Many of the still life objects are easy to obtain as they are in everyone’s home, like a cup and saucer, some fruit like apples, bananas, and oranges. You can also try things like a vase, pots and pans, a doll sitting on the dresser, and flowers. If you do not have the actual item available, then just download an image from the computer and print it out.

You can also start with a small canvas and a small basic set of oil paints that include colors like burnt sienna, cadmium red light, titanium white, alizarin, cadmium yellow light, burnt umber, and ultramarine blue. Start by first sketching the outline of the item onto your canvas by making use of a small flat brush. Now that you have the basic oil drawing or sketch in the right place, you can begin to paint the background. Complete the entire background before you continue with your still life painting.
Next, begin by filling in all the right colors that you see in your reference sample, and let your imagination run wild and be creative with your oil paints.
Simple Landscape Scenes
You can make a landscape scene as complex or as simple as you want. However, you first need to decide on what type of landscape like the sea, mountains, beach, sunrise or sunset, or a small village nestled amongst the rolling hills. This can be in the form of a photograph or a printout from your computer or you may even have something that is a memory in your mind.
Prepare your canvas by drawing a grid over the entire surface of the canvas, and then you can sketch the scene and draw in the background. Continue by blocking in the colors of the general shapes and the result should be a landscape painting with no frills.
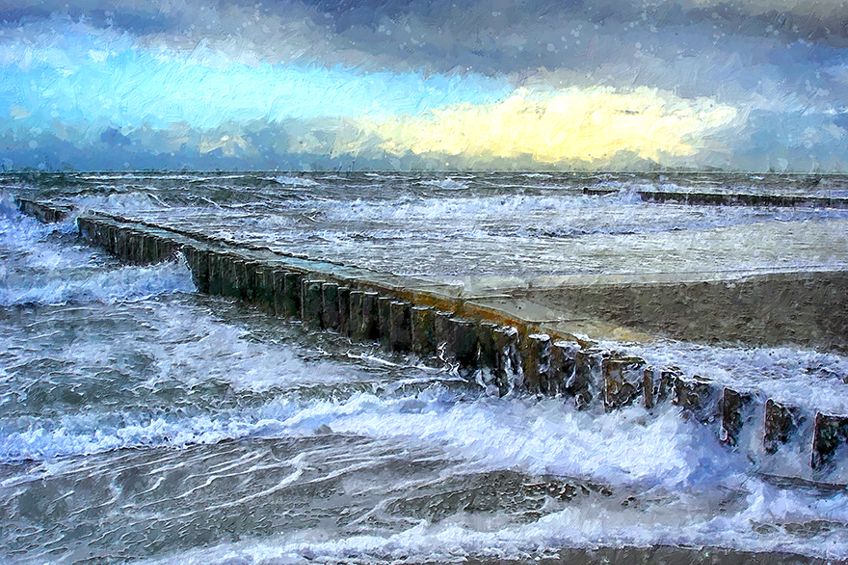
Then start by building the general structure and adding details to your painting. Try not to paint individual objects like a single tree or rock, but rather paint a large mass of what trees and rocks look like. It is better if you identify two or three objects that you want to capture in your painting and then focus on these. Painting something like clouds is also one of the simpler oil painting ideas and is great for learning how to paint light and shadow.
Try to incorporate the blending technique by blending the paint for a longer time before it dries, this will give you fluffy clouds and create gradients in the sky. By using ultramarine blue with titanium white, you can create a lovely bright blue sky. Also, lemon yellow, burnt umber, phthalo blue with magenta for neutralizing, you create natural green grass.
You can also go for the city skyline or building scenes instead of natural landscapes.
Silhouettes
The silhouette idea is an easy oil painting for beginners. A silhouette painting is an image of a person, an object, an animal, or scenery, that has a sharp shadow or outline of an object. The silhouette is portrayed in one single color, and most artists paint them on a light-colored background, which often portrays the profile in black and white, but other colored backgrounds can also be used.
In the silhouette paintings, the shapes appear as a complete contrast to the background making the subject stand out. The silhouette should have defining features like cat’s whiskers, the castle in the Disney world, or the shape of a Christmas tree and should be distinguishable and easy for anyone to recognize.
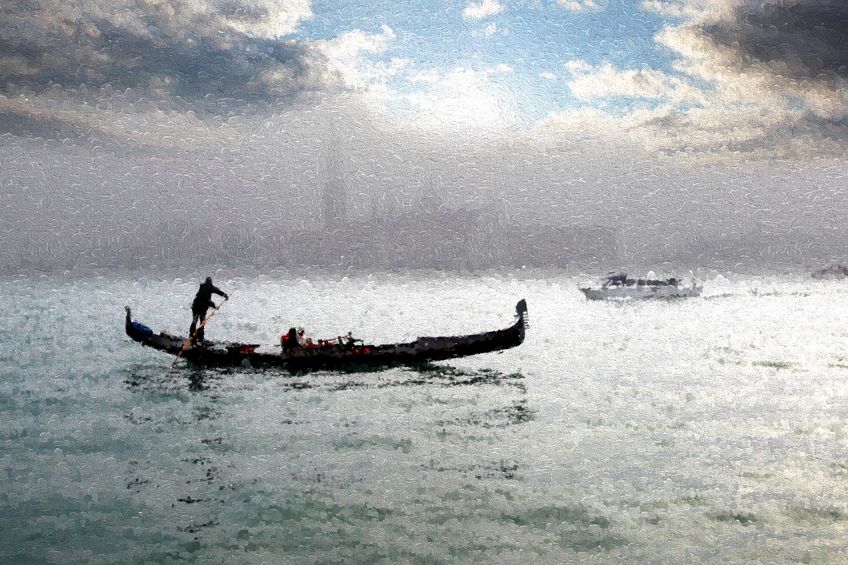
The meaning of the word silhouette comes from the name of the tightfisted mid-18th-century French minister of finance, Etienne de Silhouette, who had a hobby of cutting out shadow portraits on paper. The collection of silhouettes soon began to gain popularity, especially amongst the world celebrities who collected silhouettes from artists. When painting silhouettes, there are two popular methods, which are freehand and tracing.
- With the freehand technique you need to draw the outline of the person or object by having it in front of you or from a photograph, and then cut it out and use the cut-out as a stencil.
- The tracing technique is much easier and more accurate as it has all the details. You find a photograph as a reference, lay it down over a lightbox and then trace the outline, cut out the silhouette, and use it as your stencil.
Portraits
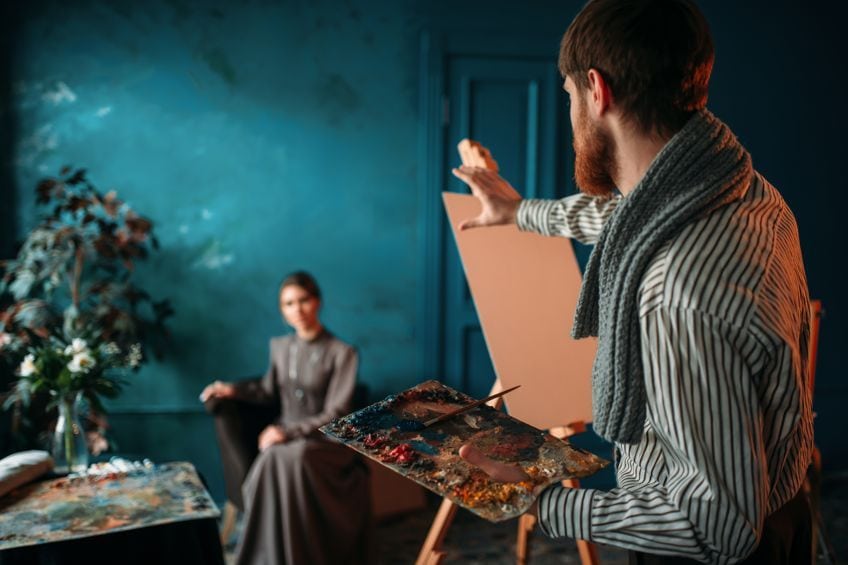
Painting an oil paint portrait can be quite intimidating as you want the result to be as close as possible to the actual image. However, if you practice and experiment, you can land up doing an amazing self-portrait of your own. You can also try painting animal portraits. Let us give you some tips and try to make your journey less complicated.
Choose Your Subject
As a beginner, you need to start by choosing a photograph of your subject, making sure the photograph has a range of light and dark values. Also, make sure there are some shadows on your subject’s face as this will add some dimension to your painting.
Once you are satisfied with your choice, then you can crop your photo to the size of your canvas panel, a good size to work with is six by six inches.
Prepare Your Colors
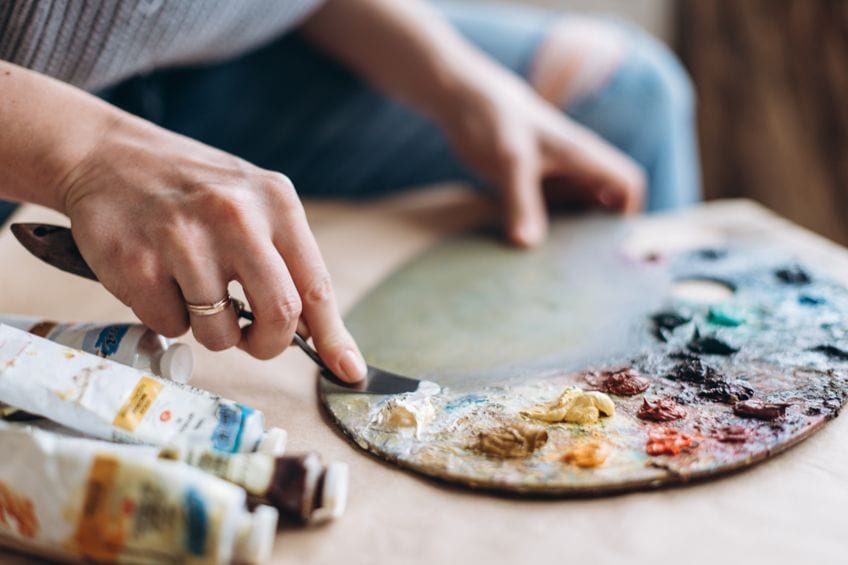
Make sure you only lay out the colors on your palette that you will need. There are five basic colors that most portraits need for skin tones, and they are titanium white, French ultramarine, burnt umber, yellow ochre, and alizarin crimson. Have a small container with some linseed oil in it to dip your brush in and again to help mix your paints.
Add the Image to Your Canvas Panel
You can do this by tracing or sketching the image onto your canvas panel, or if you feel comfortable with it, draw it freehand, making sure you have the correct proportions.
Now mark any highlights or shadows and block them in the shapes where you want them to be.
Paint the Eyes First
Start by painting the white part of the eyes in white paint. Remember that the eyes are never pure white there are always variations and shadows. To do this, just add a little umber and ultramarine to the white paint until you are satisfied it closely resembles the image in the photograph. Now you can start with the pupils, leaving any highlights till the end.
Block in Darks and Shadows
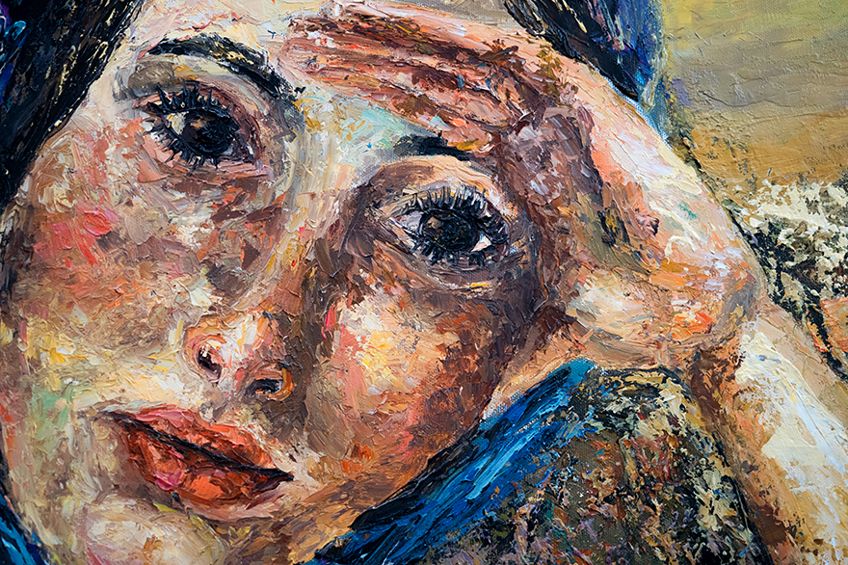
Blocking in the shadows and darks starts to bring out the shapes in the face, and for this, you use umber, crimson, yellow, and white. Skin tones vary all over the face so feel free to dab and mix the paints until you are satisfied that they are a close match to your reference photograph.
You will also need many variations of the base color to create a realistic gradient.
Add Mid-Tone Colors
Start painting from dark to light, and with your shadows in place, you can add the mid-tones. If you want a cooler tone, then add some ultramarine to the skin color, or for warmer tones, add some crimson or yellow. With the mid-tones in place, you should see the face taking shape. The light colors must always be on the top layers, making sure you bring out the cool and warm colors in the face. You should be able to see a three-dimensional face by now.
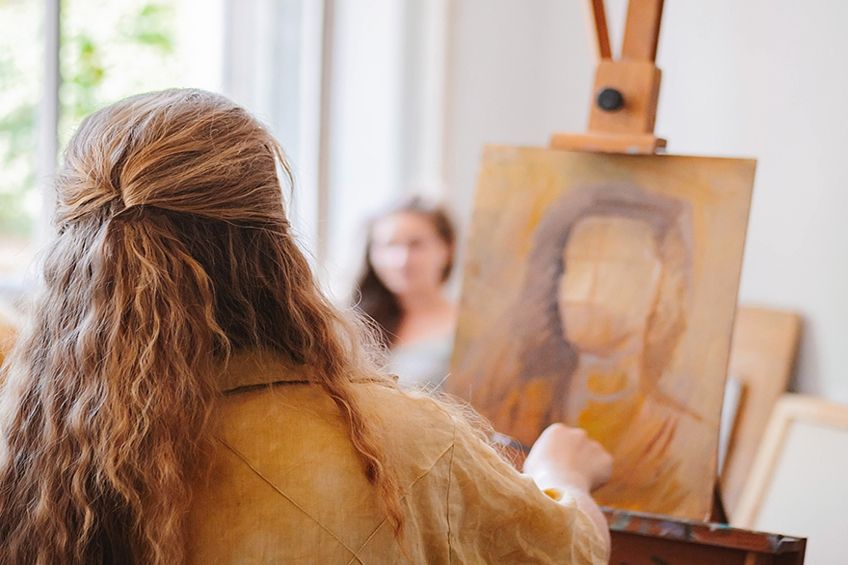
Adding Details to Your Portrait
Now start to play with tones and add lights where you need them, but always aim for good contrast, and remember to concentrate on painting the shapes and not the lines.
Check with your reference photograph and fix any difference you may find.
Painting the Hair
Begin painting the dark areas of hair and then layer and include the lighter areas, then fill in the rest of the hair color. You can use ultramarine and umber for the dark areas, a little crimson and umber for the mid-tones and crimson, a little white and yellow for the lighter areas.
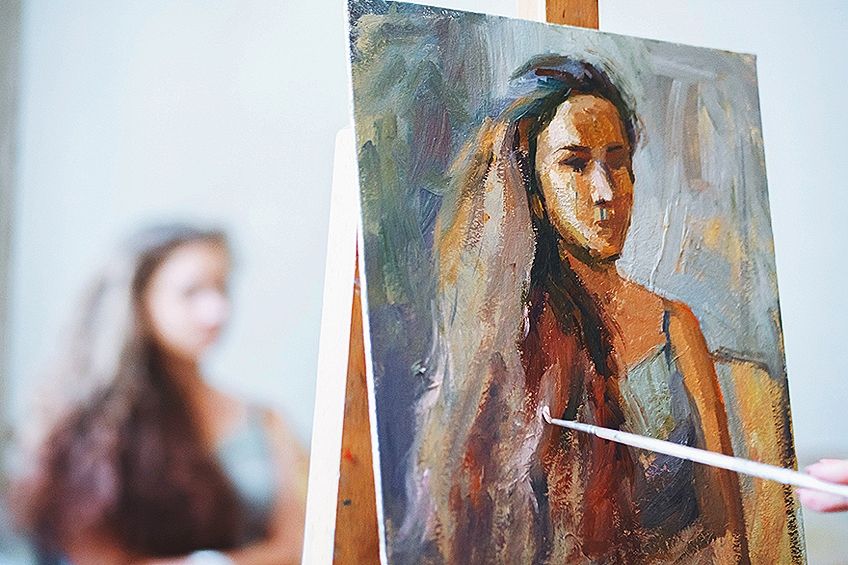
Highlights and Finer Details
Add some highlights where you notice light touching the eyes and hair, or on the nose. For more accurate details, ensure you have proper lighting to pick up on these details. Try to keep the background as little as possible to make your painting simple and not distract from the portrait itself.
Try and choose a color that will not compete with your subject.
Some Oil Painting Techniques
To achieve good easy oil painting ideas on canvas, you need to develop the styles and techniques one at a time when it comes to oil painting ideas on canvas. Using mediums and oil paints is not easy, but if you follow the various techniques, your skills will increase and change your painting process. You also need to be able to choose what type of oil paint, paintbrush, knives, palette, and canvas is going to be right for you.
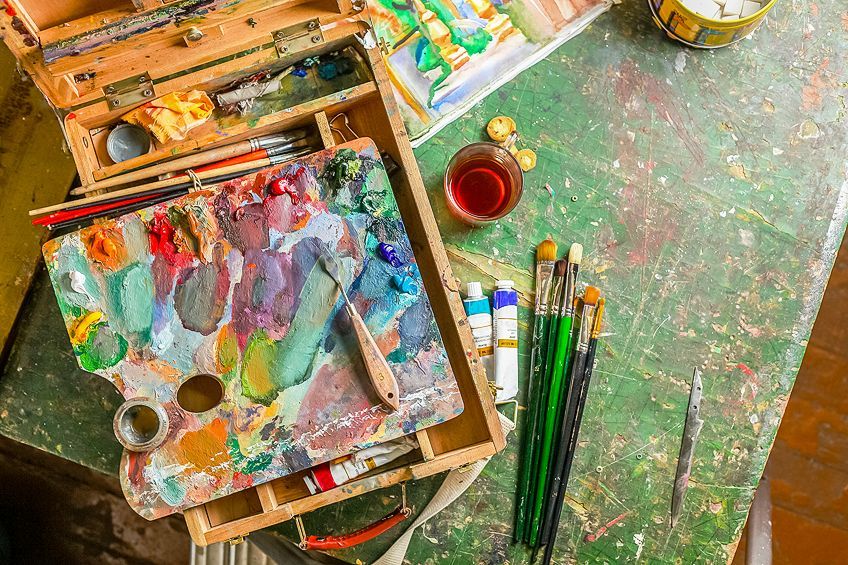
Choosing the Right Tools
Before you even start to learn and understand the basic oil painting ideas, you have to know what tools you will need. You need to have a certain selection of supplies that are right at your disposal. These are specific tools that are intended for oil-based paints only.
- Canvases and paint set: As a beginner, it is better to use birch wood or Masonite as a canvas, as the proper linen canvases can be fairly expensive. Ensure your canvas is primed before you use it. A basic oil set of colors is good enough to start with; try to always buy high-quality paint sets.
- Paintbrushes: Ensure that the brushes you buy are geared for oil paints and have a selection of different sizes and shapes that can be used for the different techniques.
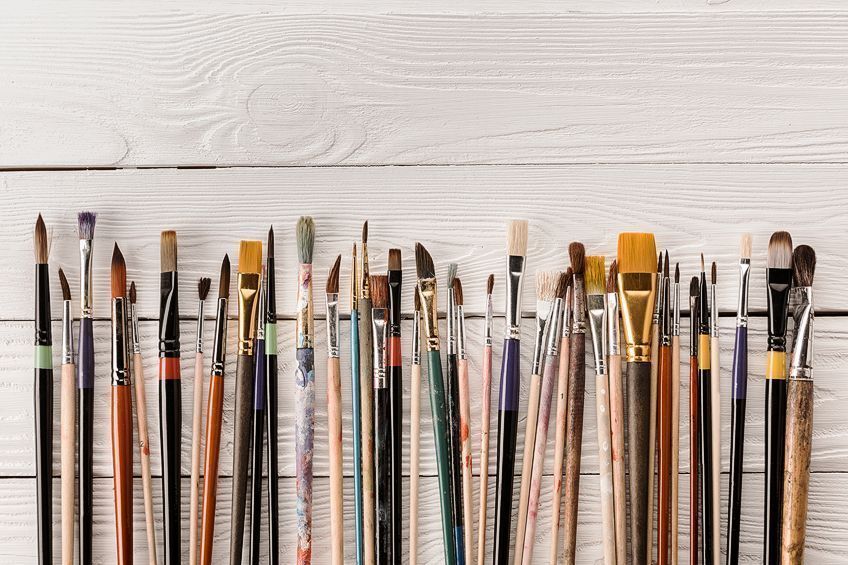
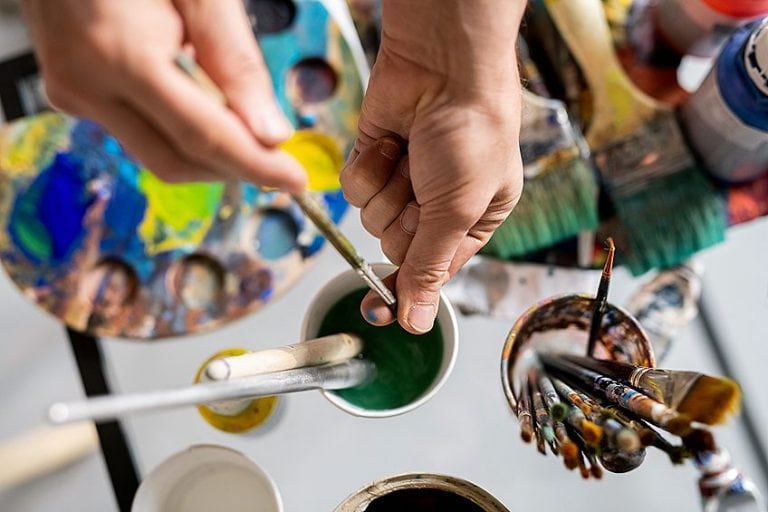
- Paint palette: The melamine or plastic palettes are perfect, but if you want to use a curved palette, then the wood board with a thumb hole is an excellent choice. However, be sure to rub the surface of the palette first to avoid the paints from seeping in.
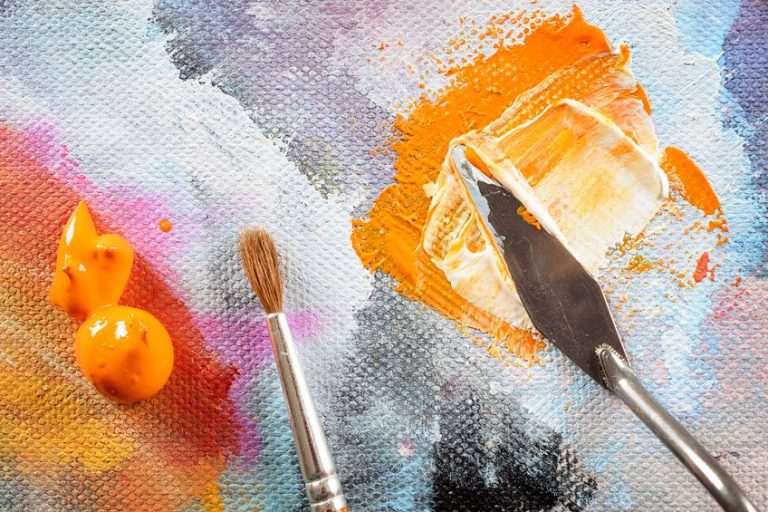
- Palette knife: When mixing colors, a palette knife is best to use as the knife allows you to mix the paints evenly preventing too much pigment from landing on your brush. Paint with a palette knife, which gives you a visible oil paint texture.
- Brush cleaners: You must clean your brushes after every use. Turpentine is perfect but remember to work in areas that are well ventilated.
Basic Guidelines for Easy Oil Painting Ideas
Apart from understanding the right tools, you need for your oil painting; it is also important that you understand how to use those tools correctly. Without this knowledge, it will be very difficult to apply the basic oil painting techniques as those very tools could then hamper your progress.
Let us now consider some of these basic rules.
Brush Position
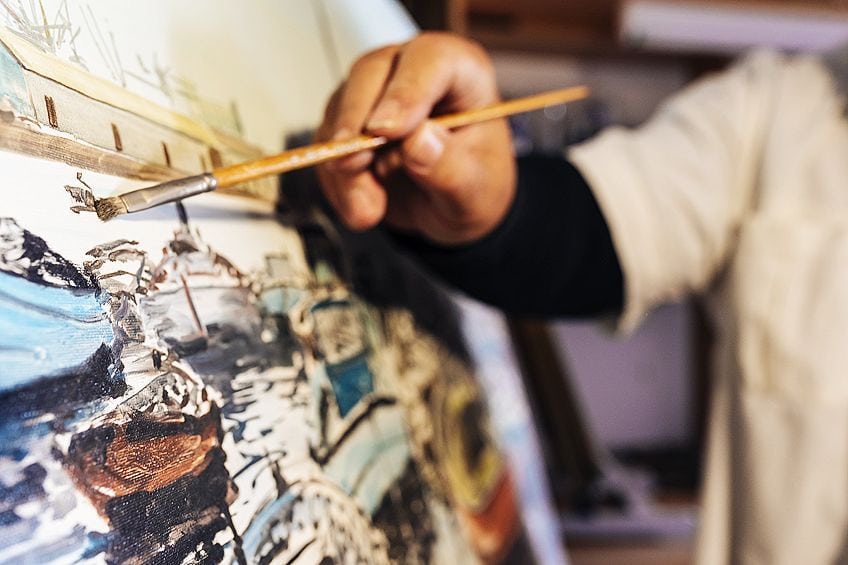
Remember, paint brushes have two sides, and both of them need to be used for different effects. You need to learn which side of the brush to use for specific techniques, as turning your brushes to the side will let you paint fine lines, while the flat part of the brush is used for wider lines.
The Pressure Used
The pressure on your brush will affect your results. Applying heavy pressure tends to blend the colors and causes bumps on the edges of the brush strokes.
Try varying your brush strokes by using soft, medium, or heavy strokes, depending on what you want your painting to achieve.
Using Your Thumb for Blending
Your fingers are perfect tools for blending your paint, as you can feel what pressure you are applying. However, always read the instructions as some paints are harmful to your skin or you can use gloves when painting.
Holding the Brush Correctly
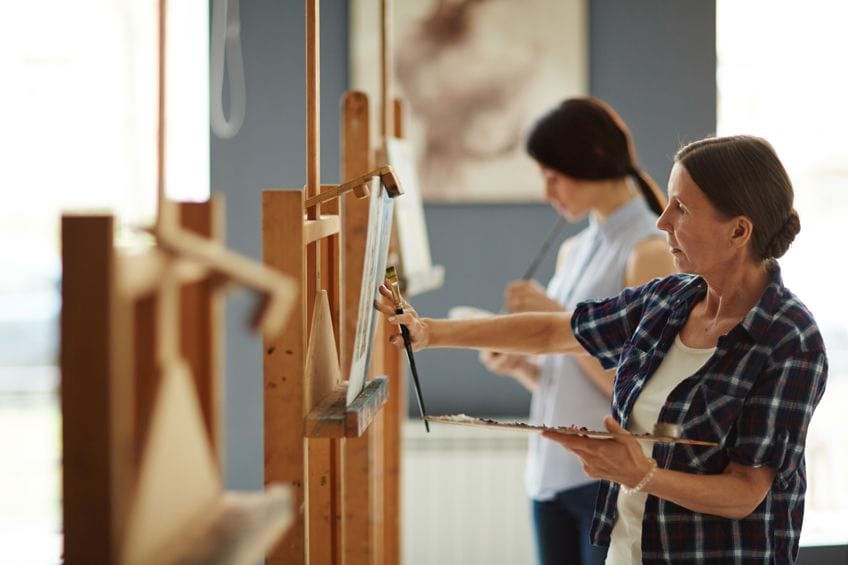
Holding the brush correctly is vital as it can influence your painting. Grasp the handle as far to the back as you can when you start. To start with it may feel slightly uncomfortable, but the proper grip gives you more control over your strokes.
This will also allow you to paint using your entire arm instead of only your wrist.
Maintain Your Color’s Purity
When you start to mix your colors, some small irregularities may appear. These can add a sense of vibrancy and attraction to your artwork. However, if you overmix the colors, then those qualities disappear, and your artwork becomes lifeless and flat.
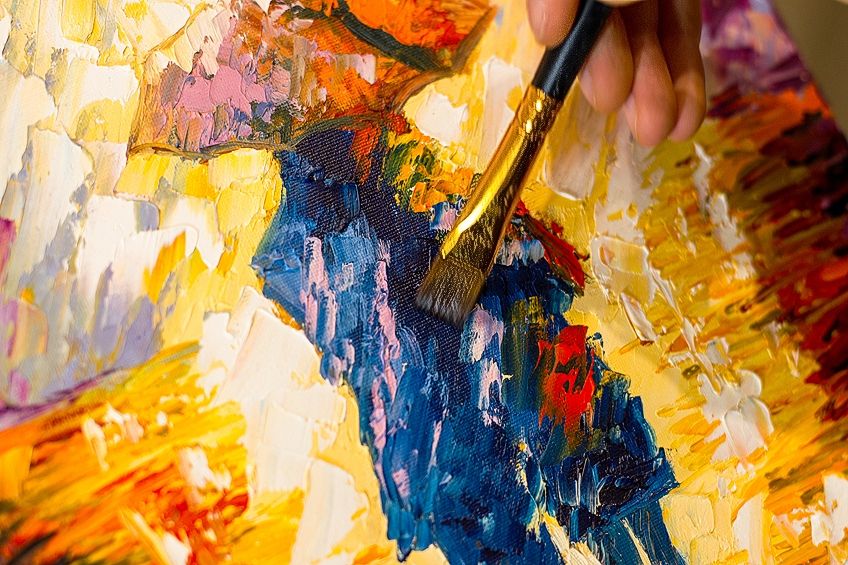
Always use a clean brush when dipping them into different hues. If you fail to do this, then you will compromise your color’s purity and the shade you want will not be there. The only way to achieve this is to use the paint directly from the tubes and wash your brushes at regular intervals.
Using Two-Color Mixes
When starting with oil painting, we suggest that you first practice by using only two colors with white, otherwise, you can end up with a blend that has lost its intensity and is bland.
However, as you improve your knowledge of color mixing, you will be able to make concise blends and create oil artwork that highlights your skill.
Controlling Your Wash
Some techniques require a denser wash, while others need a thinner wash to create the effect you are looking for. So, ensure you use enough paint for the type of technique and stroke you want to create when painting.
Scumbling Oil Painting Technique
Scumbling is an oil painting technique that uses very thin amounts of paint. This is then applied with a stiff bristle brush and has an effect of a broken glaze, that leaves you with a texture where some of the underlying paint is exposed.
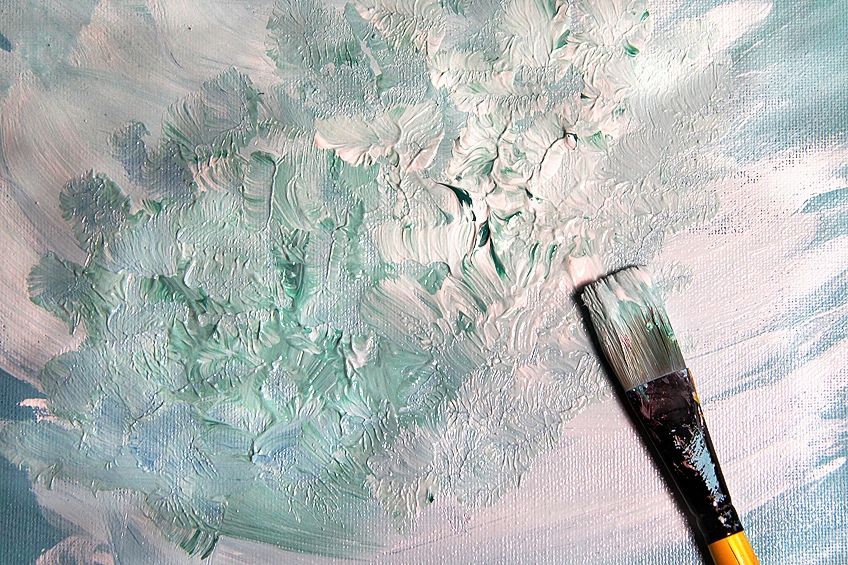
This technique is effective when a dry brush is used with no added medium and is different from a glazed effect as you do not want a smooth but broken application, leaving some areas exposed. This technique is usually applied over dry paint. Also, this is perfect for creating atmospheric depth to your painting, breaking up the background, building highlights on top of dark backgrounds, and softening the change from one color to the next color.
Alla Prima Technique
This technique uses paint wet-on-wet. You do not wait for the paint to dry properly between layers and then apply another coat on top of that, layering the thicker paint over the thinner paint. Artists have built up as many as 50 layers with this technique, but it is a very time-consuming method as some oil paints take days to dry.
With this technique, you can create textures using thicker paint, by using a stiff fan brush you can build up a texture on the leaves of a tree, or with a palette knife, you can create all types of angled rock shapes.
It also teaches you how to layer paints effectively and to create atmosphere and depth in your painting. Famous artists that have made use of this technique are Vincent van Gogh, Claude Monet, Joaquin Sorolla, and John Singer.
Impasto Technique
This is an easy oil painting idea for beginners and is the art of applying thick and bold brushwork. You can also create more subtle textures and delicate brushwork when applied to smoother surfaces. This technique can also add a further dimension to your paintwork and gives you the illusion of a three-dimensional effect.

You can also thicken your paint with cold wax, which helps to retain texture and brush marks on your canvas and makes the paint appear more voluminous. The technique also saves more of your paint in the tube. To use this technique, simply load your brush with paint and apply it liberally to the canvas. You can also use your palette knife to make thick strokes of color that no paintbrush can match. Below are a few easy oil painting ideas for this technique.
- When painting, it can create shadows and add some depth. This can be applied to all kinds of simple oil painting
- Some of the protruding paint areas can also be visible from a side angle. Consider mountain landscapes using this technique.
- It can also create the illusion of distance, where distant areas are soft and smooth, while closer areas are more built up.
- When used in some subtle directional lines, for example, in trees, which directs your viewers to one focal point.
Vincent van Gogh used this technique, and the brushwork of his paintings was a signature of his type of painting. The method provided a sense of movement and activity to his paintings. Other oil painting techniques that you may want to try are, blocking in, blending, chiaroscuro, underpainting, grisaille, glazing, oiling out, dry brush, sgraffito, and sfumato.
All simple oil painting ideas are best achieved by learning and practicing the various oil painting techniques. Becoming proficient in oil painting requires a lot of practice and patience, so do not give up if you do not get it right the first time. Enjoy the process, and soon, you will be creating some amazing art pieces.
Frequently Asked Questions
Can Beginners Do Oil Paintings?
Oil painting can be done by anybody, but there is a lot more to oil painting than just putting paint onto a canvas. However, with some patience and practice, anybody who is a beginner will be amazed at what you can create with your oil paints.
What Are Some Easy Oil Painting Ideas?
There are many easy oil painting ideas, for example, painting flowers, or silhouettes, still-life objects can give you a host of different things that you can paint, and most of them you can find in and around your own home.
Must You Wet Your Brush When Oil Painting?
When you wet your brush, your paints can blend better, and this is great when creating gradients or transitions. However, when using a dry brush, it will give you texture which is great when you are painting sand or bricks.
Can You Paint With Oil Paints Directly From the Tube?
Your application when painting will determine this. You can paint directly from the tube, but when you need to mix your colors, you need to first put your paint on the palette to get the right color mix.
In 2005, Charlene completed her Wellness Diplomas in Therapeutic Aromatherapy and Reflexology from the International School of Reflexology and Meridian Therapy. She worked for a company offering corporate wellness programs for a couple of years, before opening up her own therapy practice. It was in 2015 that a friend, who was a digital marketer, asked her to join her company as a content creator, and this is where she found her excitement for writing.
Since joining the content writing world, she has gained a lot of experience over the years writing on a diverse selection of topics, from beauty, health, wellness, travel, and more. Due to various circumstances, she had to close her therapy practice and is now a full-time freelance writer. Being a creative person, she could not pass up the opportunity to contribute to the Art in Context team, where is was in her element, writing about a variety of art and craft topics. Contributing articles for over three years now, her knowledge in this area has grown, and she has gotten to explore her creativity and improve her research and writing skills.
Charlene Lewis has been working for artincontext.org since the relaunch in 2020. She is an experienced writer and mainly focuses on the topics of color theory, painting and drawing.
Learn more about Charlene Lewis and the Art in Context Team.


