How to Draw Tears – Learn How to Make a Realistic Tear Drop Drawing
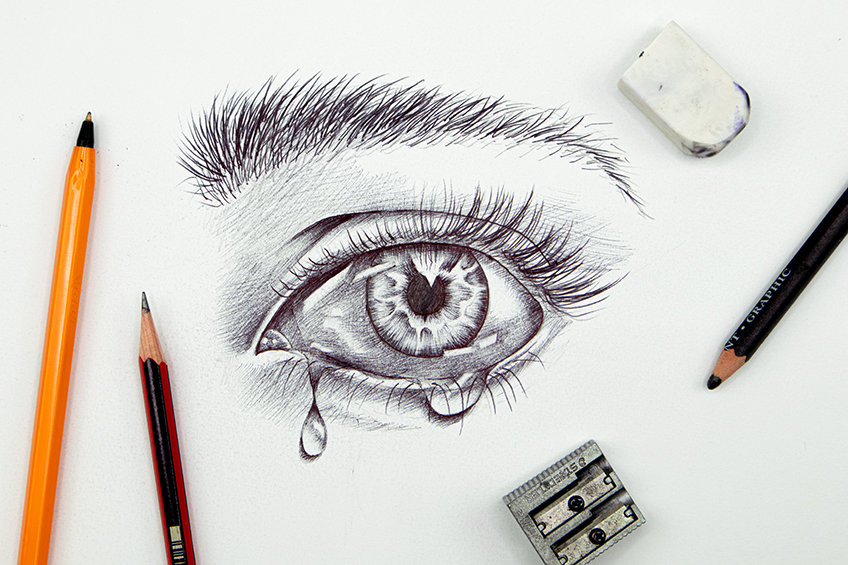
Learning how to draw tears is an interesting exercise, for one, it is a powerful image and can be used in various artworks. Secondly, learning how to draw tears teaches you how to draw water and eyes, which are contextualized in a single image. As we learn how to draw tears, we will see that the process is quite simple and easy. Learning how to draw realistic tears is a very useful skill to have as it can be utilized in all sorts of genres of art. Drawing tears can be a profound image used on its own or it can be a great addition to character drawing in the genre of horror, fantasy, and all sorts of interesting ideas. A teardrop drawing will also refine your understanding of creating a water feature as well as the shape and form of the eye, which will contextualize the tear.
An Easy Guide to Drawing Tears
As we learn how to draw a tear, we will see that we will also need to know how to contextualize the teardrop drawing with an eye. The process of drawing tears is not necessarily difficult, it just needs to be broken up into digestible steps. In this tutorial on how to draw realistic tears, we will look at how to draw a teardrop with an eye, broken up into a few simple steps. As we go through this tutorial, we will see how we develop a simple teardrop drawing into a realistic teardrop drawing.
Drawing tears will also teach us how to construct seemingly complicated images using a simple set of tricks, where we start with simple shapes, refine them, and then add detailing to the drawing for a more realistic image.
Step-by-Step Instructions on How to Draw Tears
Learning how to draw tears seems complicated, however, the process is quite simple. In this tutorial, we will learn how to draw realistic tears by starting with a simple eye drawing. We will first work out the generic shape of the eye, which we will then refine by adding details and shading with our pencils.
From there, we will add the tear to the pencil drawing, where we incorporate the watery eye and teardrop into the drawing. From there we can refine the tear and eye with some pencil shading. Lastly, we will add penwork and pen shading to further enhance the contrast and the sharpness in the teardrop drawing.
Now that we are aware of what this tutorial will entail, let us go through the process of creating a realistic teardrop drawing.
Step 1: Sketching the Eye
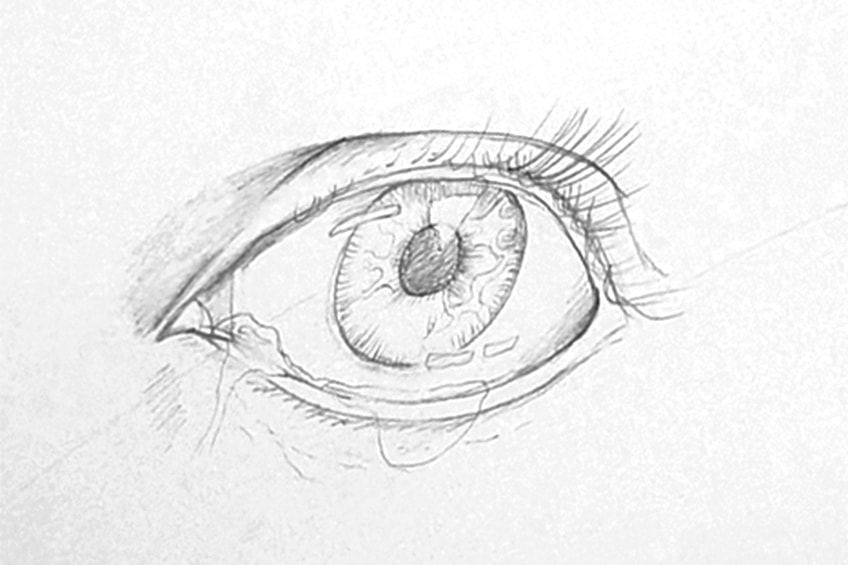
As we begin our tears drawing, we want to start by creating a simple sketch with our HB pencil. We want to lightly draw the basic eye shape, to which we will add detailing as we go through the tutorial.
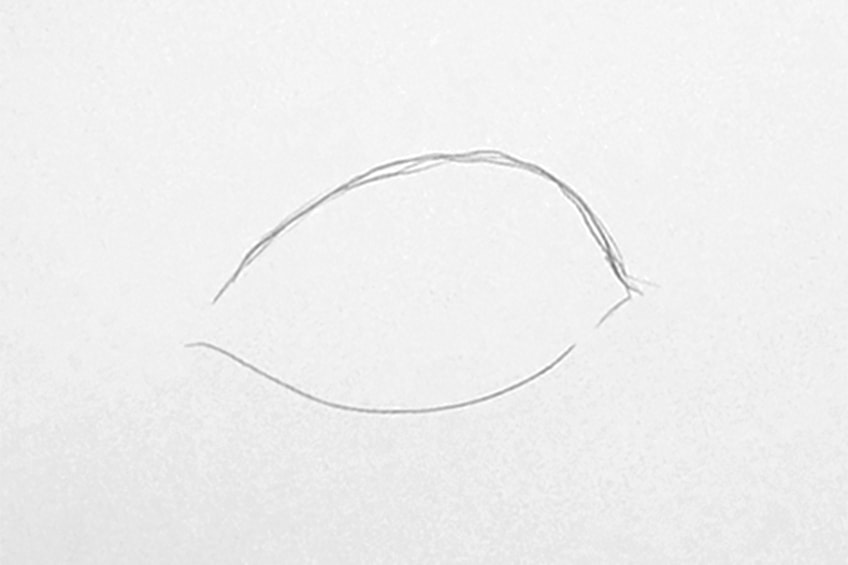
Feel free to use any image of tears for this, as we do not have a specific source image for this tutorial.
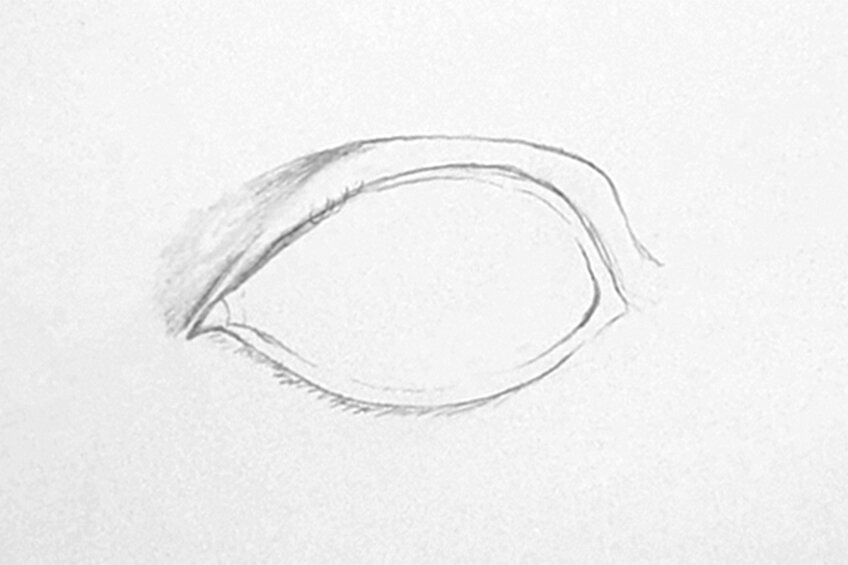
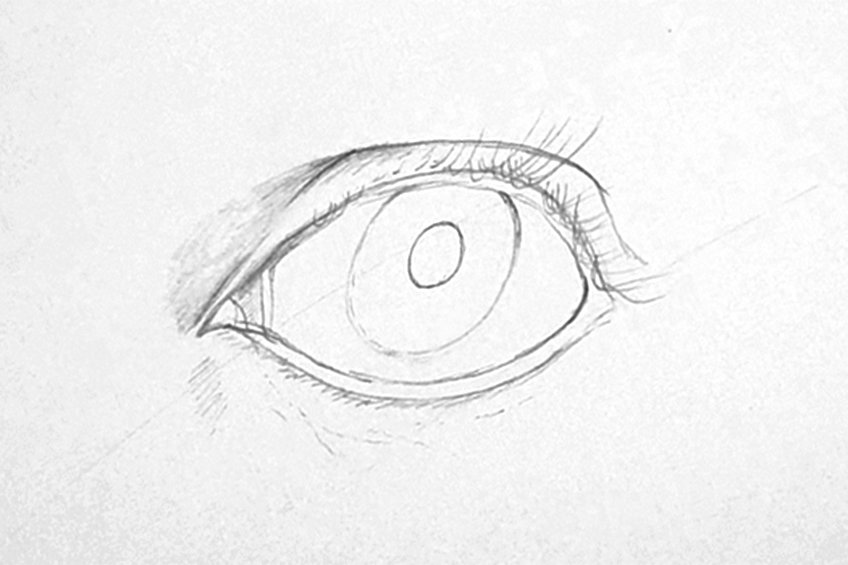
By doing this, we will create a teary quality in the eye.

Step 2: Sketching the Tears in the Eye
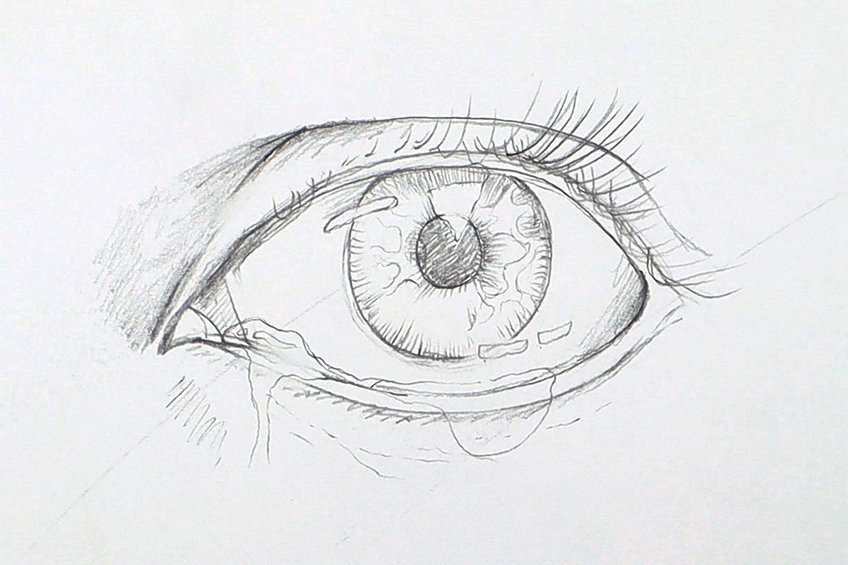
As we draw little shapes into the eye, specifically around the iris and pupil we will eventually shade around those shapes to make them a highlight in the eye. We can also proceed to add in a tear near the bottom of the eye.
Tears can be all sorts of shapes, however, let’s keep it simple for now.
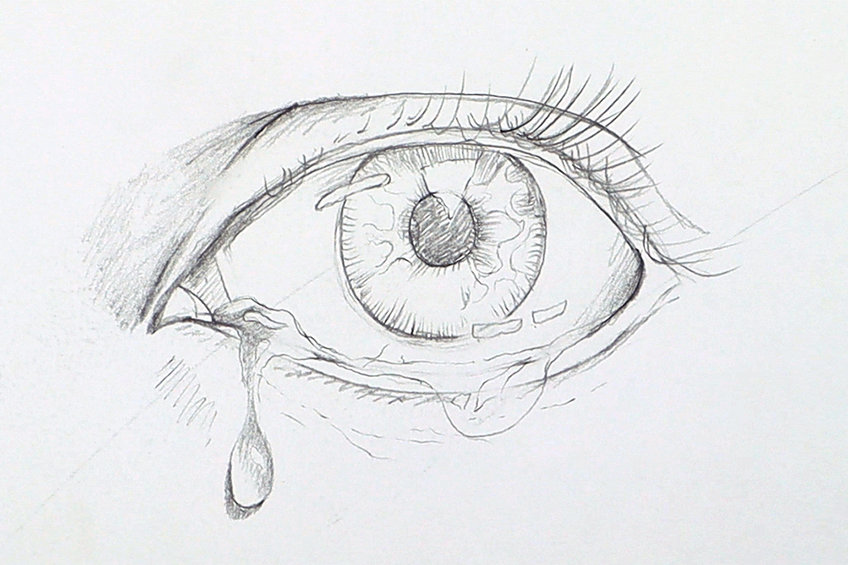
With the teardrops themselves, we want to shade one side in the teardrop and add shadows on the outside of the teardrop opposite to the side we shading in.
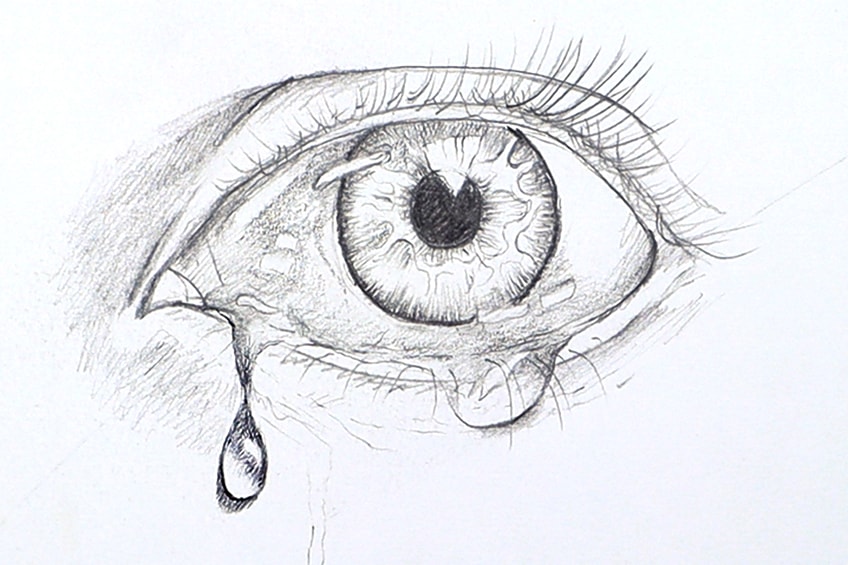
Step 3: Shading With Pen
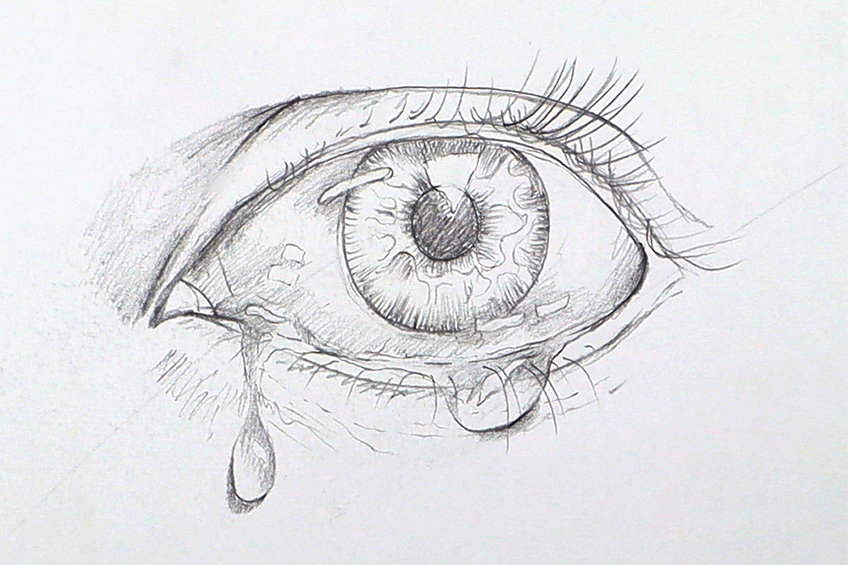
We now will bring these features to life by giving them finer and more contrasted marks. With your ballpoint pen, you want to lightly shade over the white areas of the eye as lightly as possible. As you do this, you want to shade around the little shapes that you have drawn in the eye, leaving them blank.
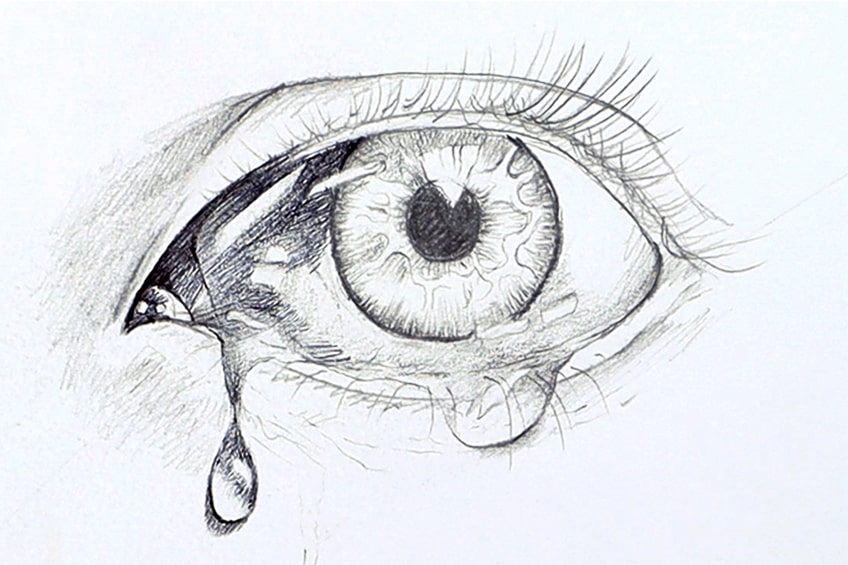
As we leave out the little shapes in the eye, they will start to look like reflections in a teary eye.
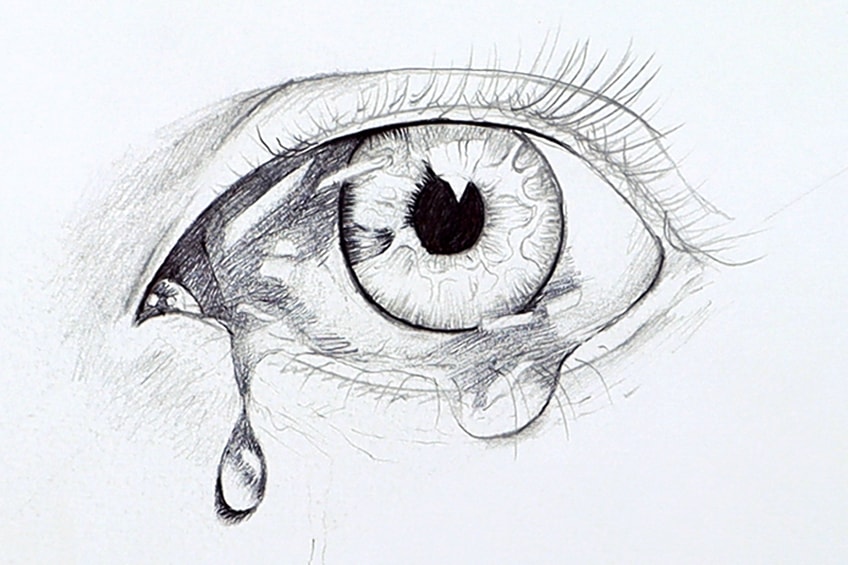
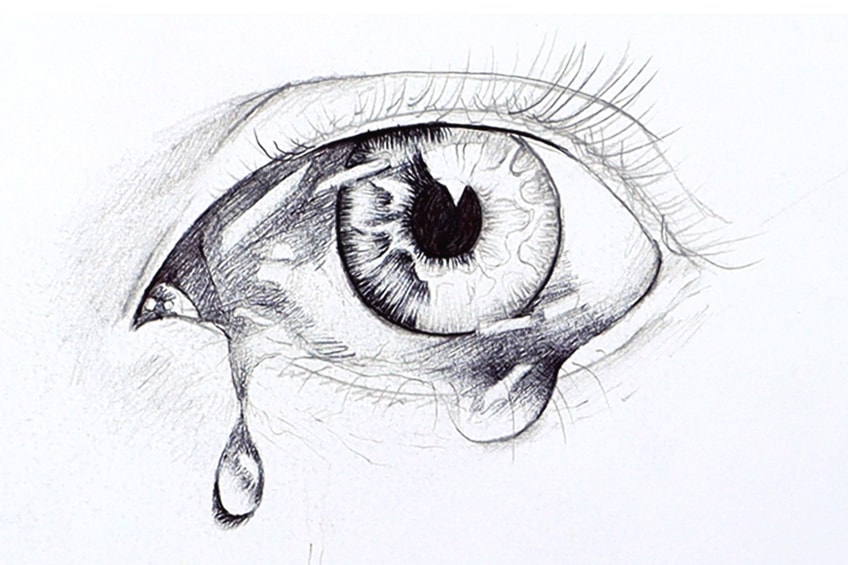
Doing this will give the teardrops a transparent quality.

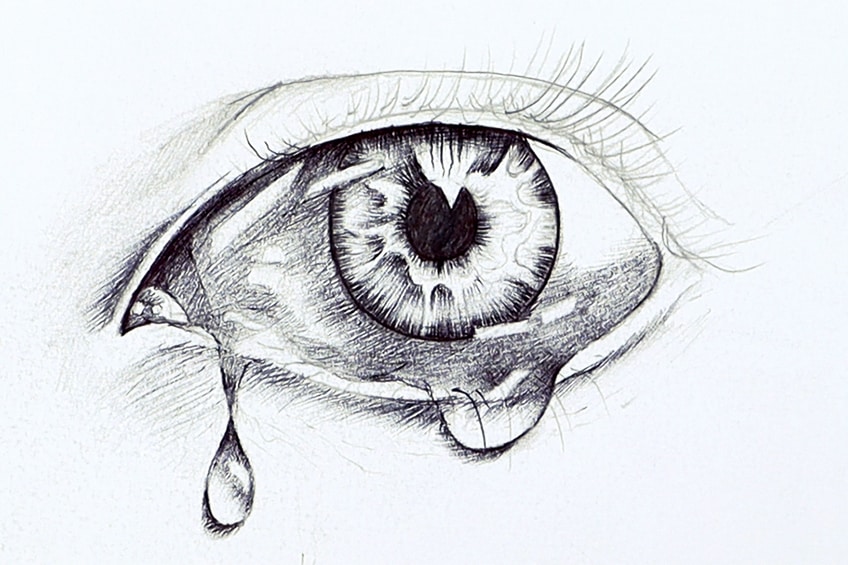
As we proceed, we can also begin to add in the other details of the eye, including the eyelashes and shading around the eye.
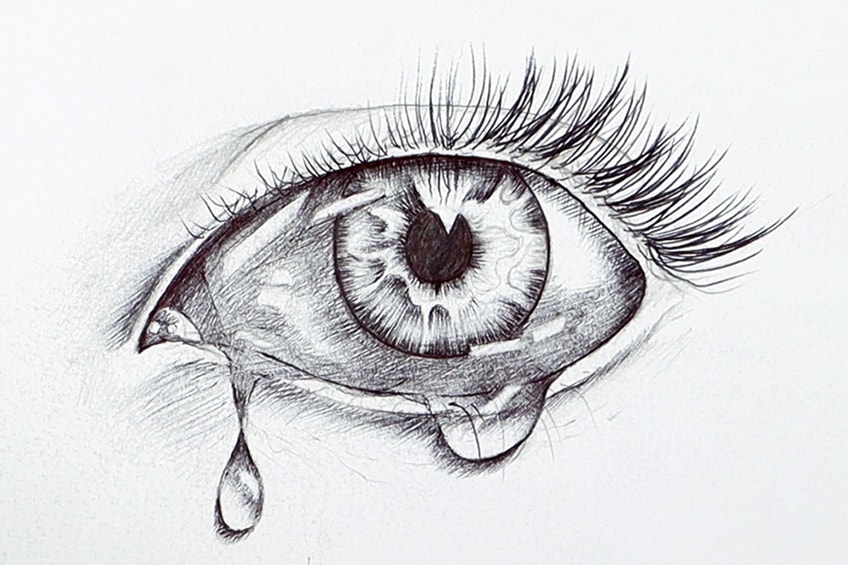
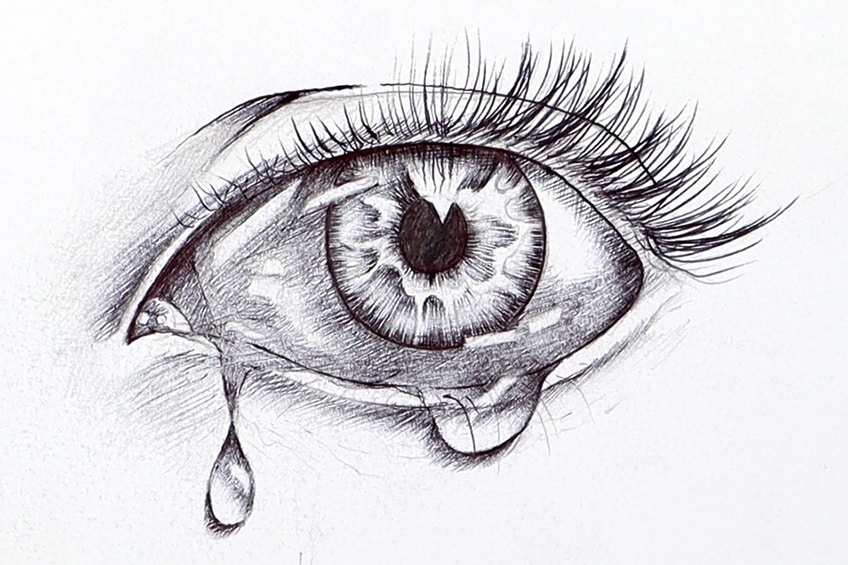
Again, proceed to shade as normal, except for leaving out the little shapes that have been drawn into the eye.
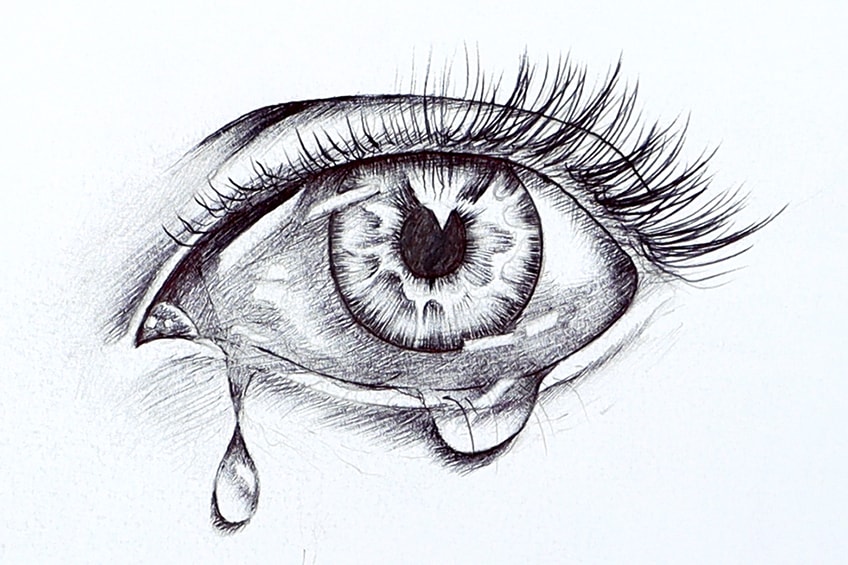
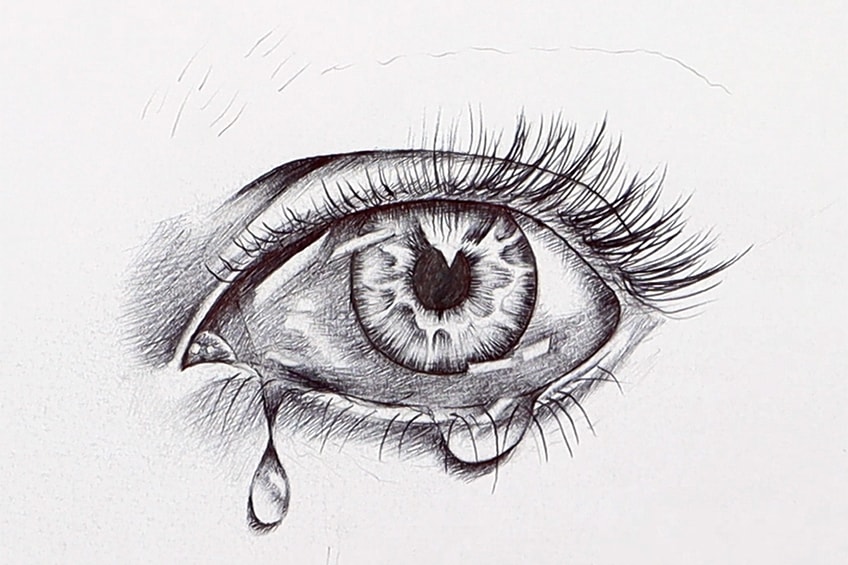
This is because the shape of the brow can define the emotion of the crying eye.
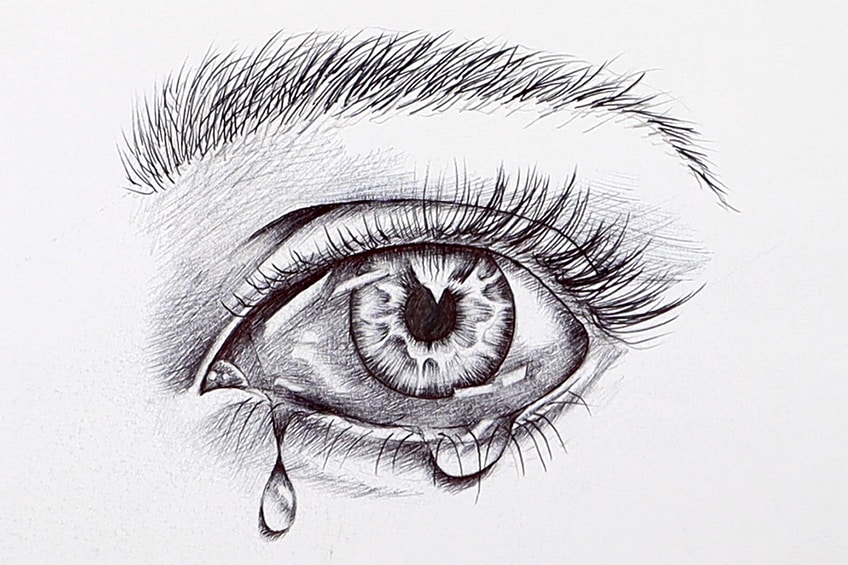
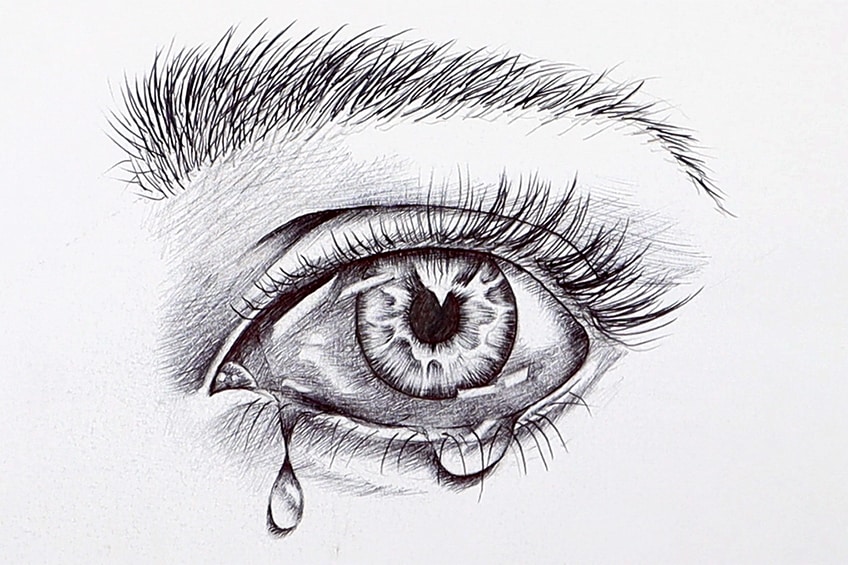
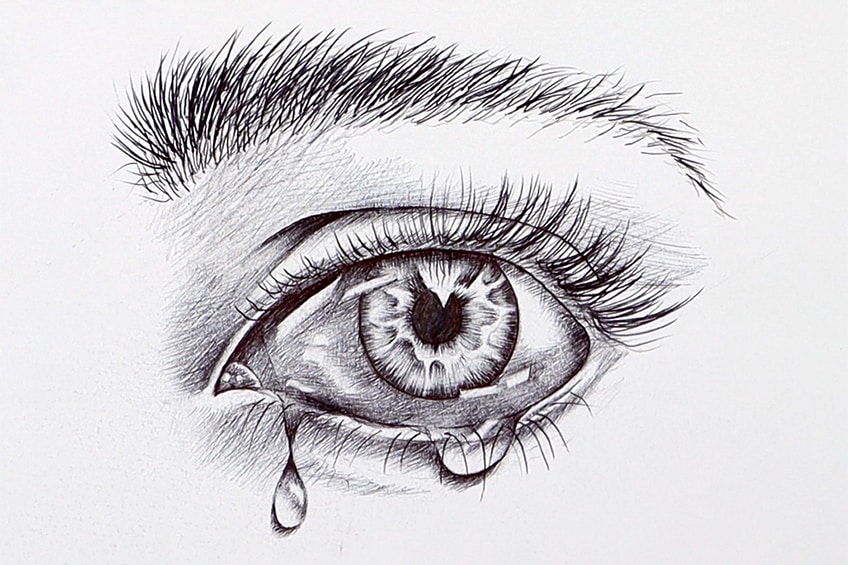
Additionally, we want to shade under the eye as well.
Tips to Remember
- Take your time. Work out the pencil sketch of the eye and tear, capturing their form and shape before moving on to drawing in a pen.
- Use an image of an eye for reference. This can be found through various resources on the internet.
- Be cautious when drawing with a pen. A good suggestion is to use some scrap paper to scribble on now and then to remove any excess ink from the tip of the pen.
- Take a break. Drawing is strenuous, and taking a break can be a great way to come back to the drawing with fresh eyes.
- Making the eye darker will give the eye more shine. Try to keep the eye in a gray tone, as this way, the highlights in the watery eye shine more distinctly.
- Enjoy the process. Don’t worry about the drawing being perfect the first time, use this tutorial as a resource to guide you in your drawing practice.
Learning how to draw tears is a fun task because all eyes are different and all tears fall differently. Playing around with the water shine in the eyes can be done in all sorts of ways. However, to depict the redness of an eye with pen and graphite pencil, you want to shade the eye slightly darker than usual. By doing this, we can allow for the highlights in the teardrops to stand out more. From here, it’s simply a matter of drawing the details of the eye as best as possible. As long as you remember that you want to make the eye teary by creating reflections using shapes, paired with actual teardrops at the bottom of the eye, the drawing will result in a more realistic image.
Frequently Asked Questions
How Do You Draw a Tear Shape?
The teardrop is like a balloon shape turned upside down. However, water can take all forms and the teardrop shape can be played around with. The most important aspect of capturing a tear shape is working with rounded and circular shapes. This means we can elongate the tear to fall down the face or shorten the length of the teardrop, but we want to maintain the rounded bottom of the water drop. The rounded bottom or head of the teardrop also implies that gravity is pulling the water drop downward, where the bottom of the tear is larger than the upper section of the tear. This gives the tear a unique falling quality, with a pointed or narrow upper section and a ball-like or rounded bottom section. As you create the teardrop drawing, you can give the tear an elongated quality as long as you maintain the rounded bottom section, thus creating a realistic teardrop effect.
How Do You Shade in a Teardrop?
Learning how to draw the teardrop or a water drop in an effective way requires you to understand that the tear is a transparent organic structure. This means that light moves through the structure and refracts light backward. This means that the teardrop works in a similar capacity and allows the light and shadow to move around the tear and be present on both sides of the tear. This means that there is going to be a shadow on both sides of the tear regardless of which direction the light source comes from. The same applies to the light reflections in the tear, which means there will be a light reflection on both sides of the tear. Because the structure of a teardrop is quite abstract, we can also play around with distorting details within the tear. This is a realistic representation of what a tear or transparent water drop will do, which makes it an easy structure to draw.
Matthew Matthysen is an educated multidisciplinary artist and illustrator. He successfully completed his art degree at the University of Witwatersrand in South Africa, majoring in art history and contemporary drawing. The focus of his thesis was to explore the philosophical implications of the macro and micro-universe on the human experience. Matthew uses diverse media, such as written and hands-on components, to explore various approaches that are on the border between philosophy and science.
Matthew organized various exhibitions before and during his years as a student and is still passionate about doing so today. He currently works as a freelance artist and writer in various fields. He also has a permanent position at a renowned online gallery (ArtGazette) where he produces various works on commission. As a freelance artist, he creates several series and successfully sells them to galleries and collectors. He loves to use his work and skills in various fields of interest.
Matthew has been creating drawing and painting tutorials since the relaunch in 2020. Through his involvement with artincontext.org, he has been able to deepen his knowledge of various painting mediums. For example, watercolor techniques, calligraphy and lately digital drawing, which is becoming more and more popular.
Learn more about Matthew Matthysen and the Art in Context Team.
Cite this Article
Matthew, Matthysen, “How to Draw Tears – Learn How to Make a Realistic Tear Drop Drawing.” Art in Context. June 22, 2022. URL: https://artincontext.org/how-to-draw-tears/
Matthysen, M. (2022, 22 June). How to Draw Tears – Learn How to Make a Realistic Tear Drop Drawing. Art in Context. https://artincontext.org/how-to-draw-tears/
Matthysen, Matthew. “How to Draw Tears – Learn How to Make a Realistic Tear Drop Drawing.” Art in Context, June 22, 2022. https://artincontext.org/how-to-draw-tears/.


