How to Draw Holding Hands – An Easy Step-by-Step Guide
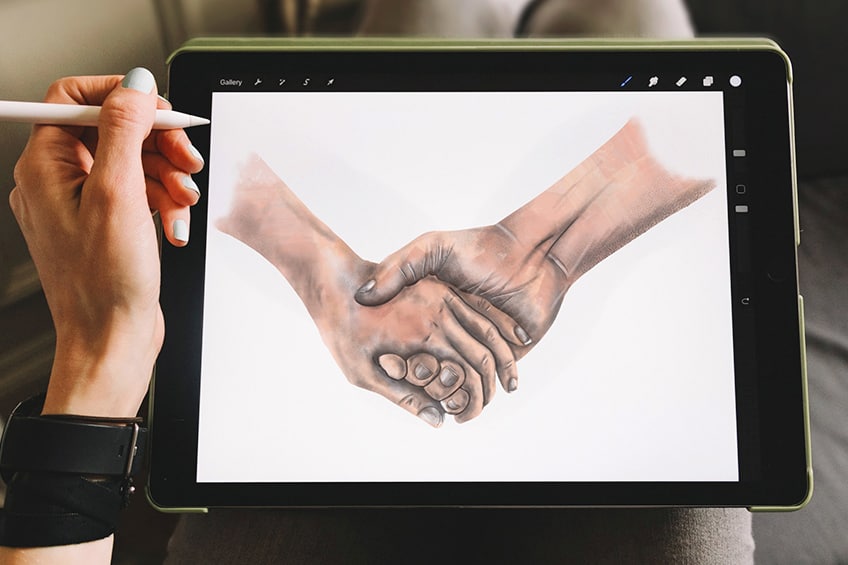
Holding hands is more than just a simple act of physical touch. It’s a powerful symbol of connection and intimacy between two people, whether they are lovers, friends, or family members. The sensation of another person’s hand in yours can instantly soothe anxieties, provide comfort, and create a sense of security. It’s a simple gesture that speaks volumes about the depth of a relationship and can transcend words. From the first nervous grip of a new romance to the steady, unwavering clasp of a lifelong partnership, holding hands is a beautiful expression of human connection. Get geared up for today’s extraordinary tutorial, as we take you through a comprehensive step-by-step process to design a mesmerizing sketch of holding hands!
Step-by-Step Tutorial for a Hands-Holding Sketch
Learning how to draw hands holding is an exciting and rewarding skill to develop as an artist. It requires careful observation of the hand’s anatomy, the position and angle of the fingers, and the overall composition of the gesture. A helpful tip is to break down the hand into basic shapes, such as cylinders and boxes, and to use reference images for accuracy. The thumb’s placement is crucial, as it can either enhance or detract from the overall effect of the drawing. As you gain confidence in your ability, experiment with the positioning of the hands, exploring different gestures and moods. Remember to be patient with yourself and practice often, as mastering the art of drawing hands-holding takes time and dedication.
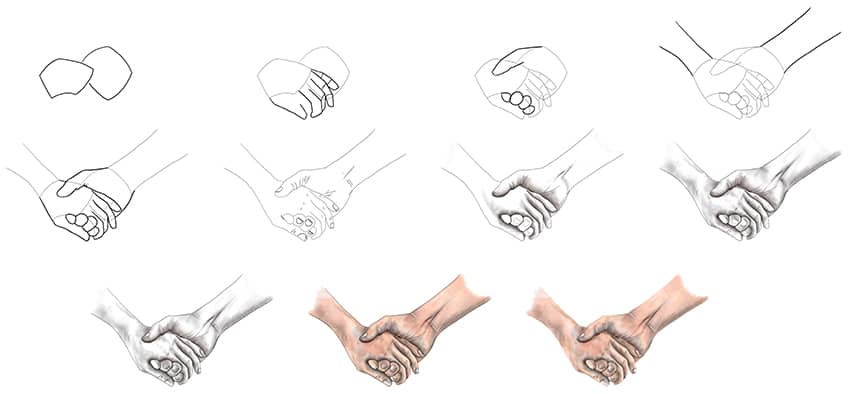
With perseverance and a keen eye, you will soon be able to create stunning sketches that capture the intimacy and emotion of this beautiful human gesture! The below collage demonstrates each step you will take to achieve a realistic holding hands drawing.
Step 1: Draw the General Shape of Your Hands Holding Drawing
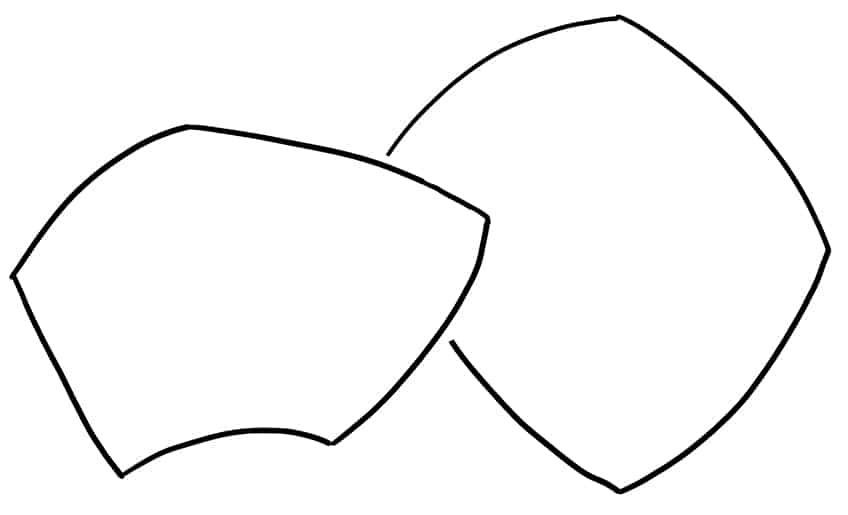
In the center of your drawing area, draw the first palm-like shape of the left hand and the second palm shape to the right side. The second palm should be drawn behind the first shape.
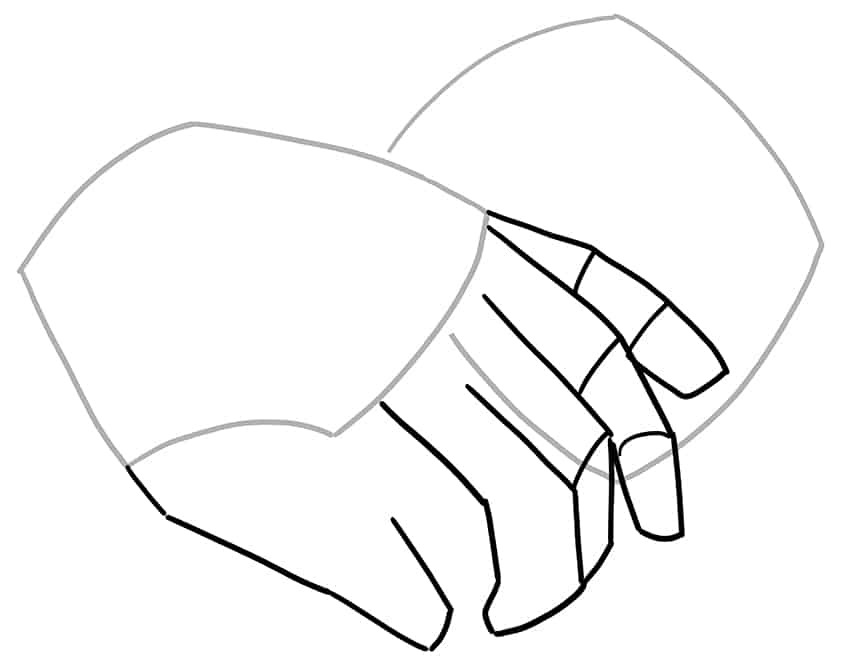
Step 2: Draw the First Hand’s Fingers
Draw the thumb shape and the additional four fingers on the left hand. These fingers may overlap the second hand’s palm.
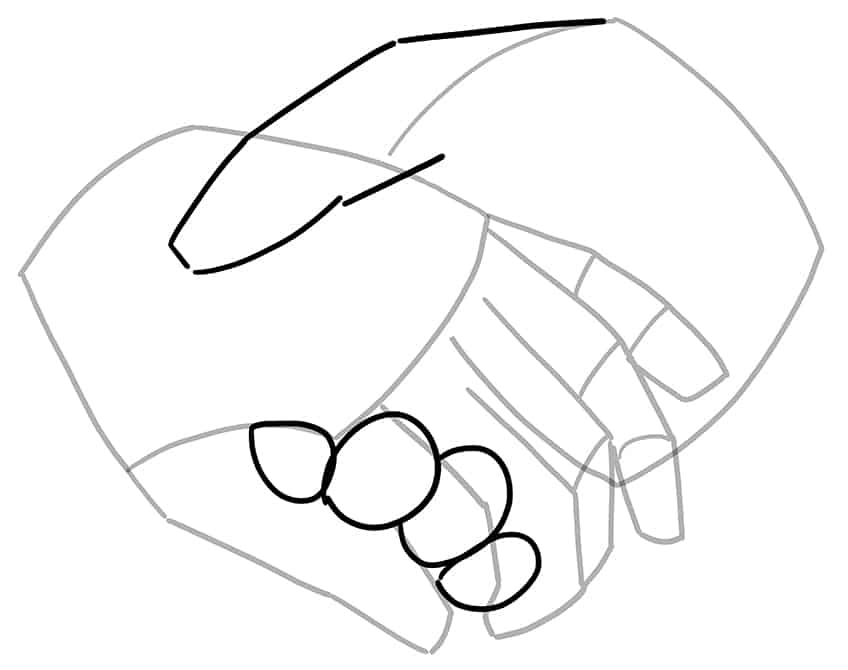
Step 3: Add the Second Hand’s Fingers
Begin by drawing the overlapping thumb leading above and onto the first hand. Between the thumb and the index finger of the previously drawn hand, draw four closely grouped circles. Make sure that the two outer circles are the smallest and the two center circles are the largest. This will represent the second hand’s fingers holding onto the hand.
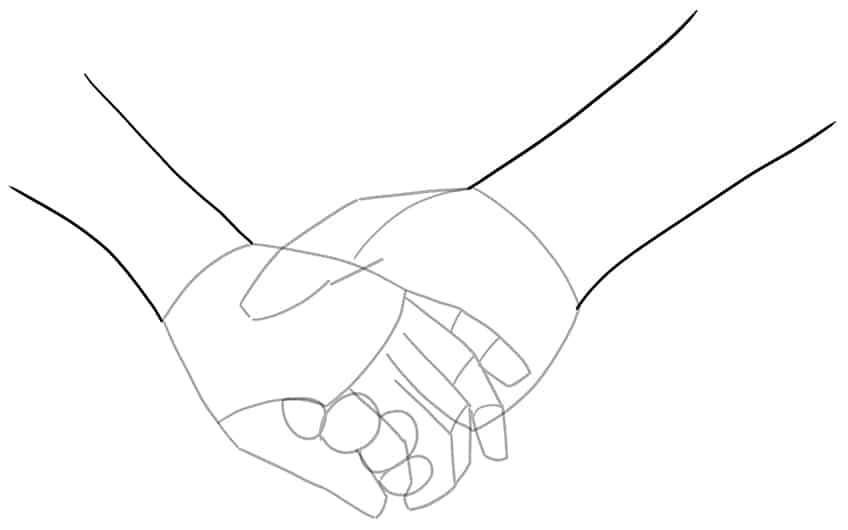
Step 4: Draw the Arms on the Hands Holding Sketch
Attached to each hand shape, draw two solid lines, with respective widths, to represent the visible forearms.
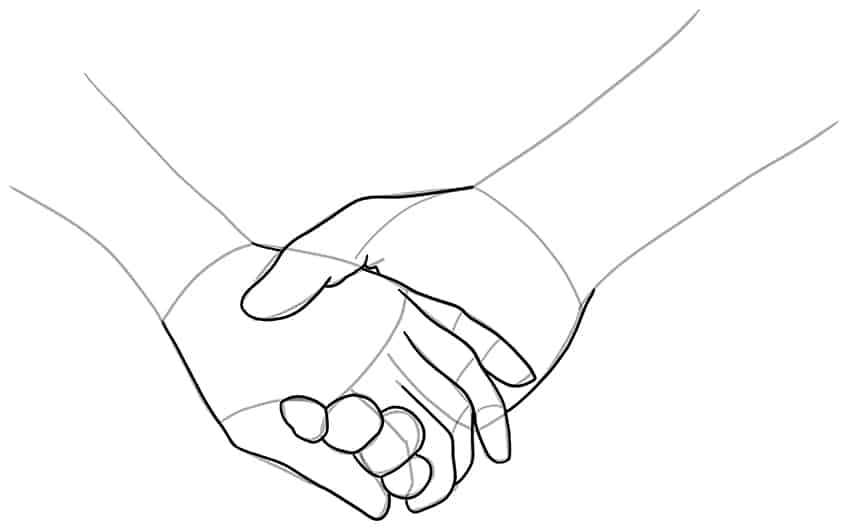
Step 5: Outline the Hands Holding Drawing
Make use of the previously drawn construction lines to aid you in outlining more realistic-looking hands and fingers. The thumbs should have a lengthy top line and a curved bottom shape. Continue to apply gentle curves to the more visible fingers to create a realistic-looking posture.
Once you have completed this step, you may erase any still visible overlapping construction lines.
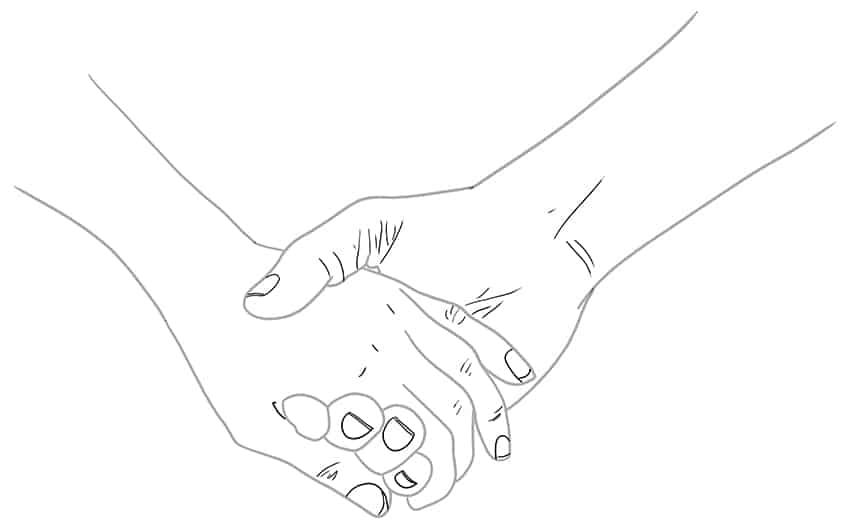
Step 6: Draw the Fingernails
On each visible fingertip, draw the fingernail. To do this, draw half moon shape on most angles, however, for the side angles simply draw a curving line from the top of the finger. Complete the step by drawing additional stretched skin lines along the thumbs, palm, and wrist area using fine hairlines.
Step 7: Shade the Details of Your Holding Hands Drawing
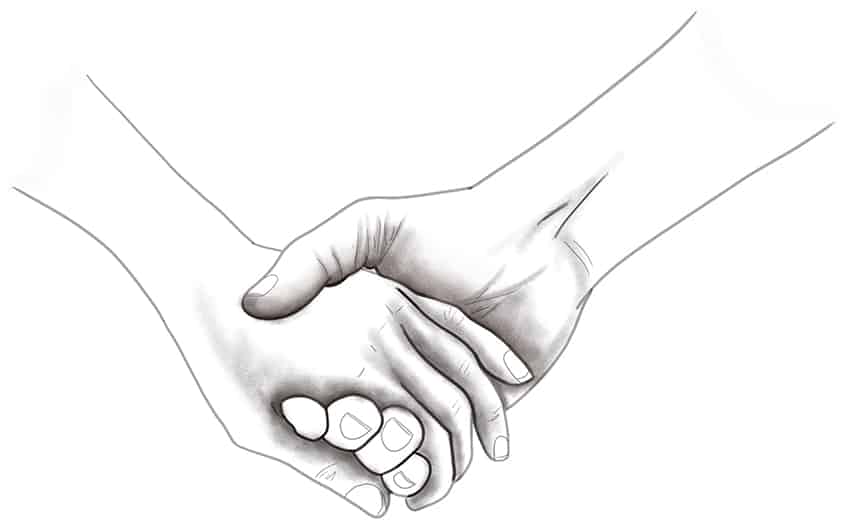
Select a fine, sharp brush and dark brown paint, and shade the details including the skin stretch lines on the thumb area, the wrist, and the finger areas. Continue using a small, soft brush and a combination of dark brown and black paint, and apply shading between each finger and within the palm areas. Repeat using a dabbing technique to apply soft spot textures along these areas.
Step 8: Shade Your Hands Holding Drawing
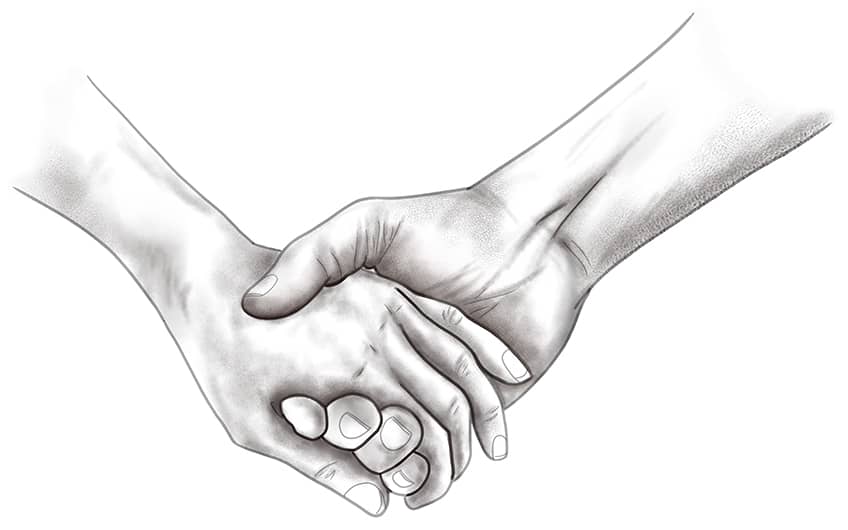
In this step, simply continue the process done in step nine. Shade the rest of the texture and detail lines within the hands and fingers, using a thin brush and black paint. Switch to a soft brush to smudge and soften this shading.
Continue using a fine, sharp brush and black paint, and apply soft additional stretch lines on the palm and forearms to also enhance the structure of the hands and arms.
Shade the rest of the hands and arms using a soft brush and black paint adding soft brush strokes along the edges. Keep in mind not all of the blank areas need to be shaded. Finish this step by dabbing patches along the shaded areas creating a realistic dotted skin texture.
Step 9: Highlight Your Holding Hands Sketch
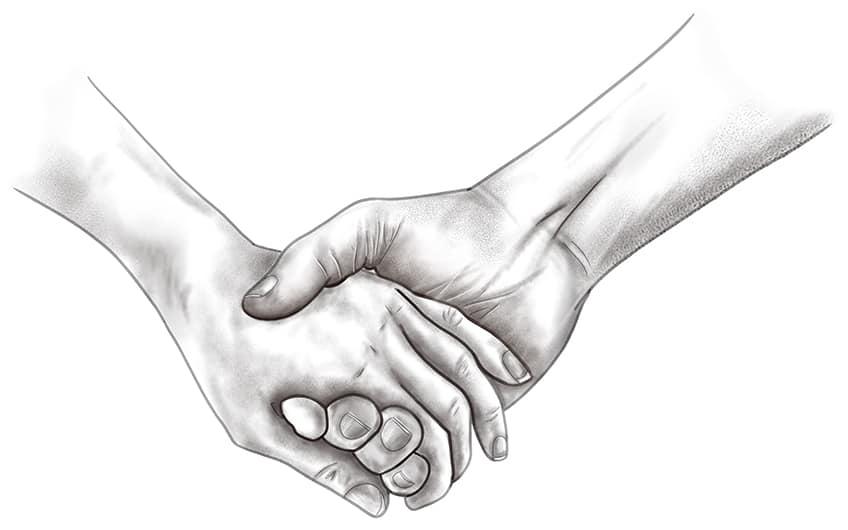
Before you begin to add highlights, select a small, soft brush and black paint, and softly add shading within each fingernail. Continue to highlight your drawing by using a fine, sharp brush and white paint, and trace along the skin stretch lines on each hand. Finish this step and apply fine hairline highlights within each fingernail.
Step 10: Add a Color Coat
In this step, simply use a soft brush and light pink paint, and softly apply a coat onto each hand and forearm. This can be repeated using a slightly darker tone of peach or pink paint to enhance certain areas of your holding hands drawing.
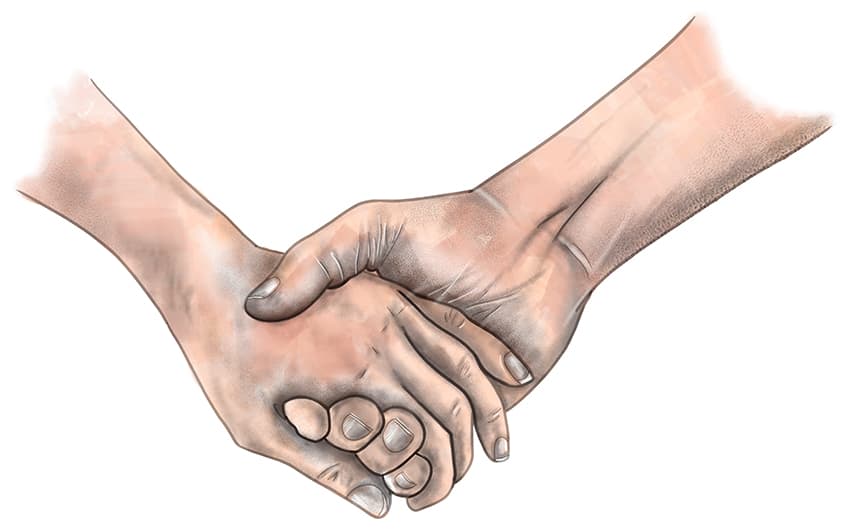
Step 11: Finalize Your Holding Hands Sketch
This is the final step you will take to complete our tutorial on how to draw holding hands! To do this, you may erase any harsh outlines, however, it is advisable to retain certain outlines in specific areas to maintain a realistic appearance of the structure, such as the area between the pinky finger and the adjacent finger.
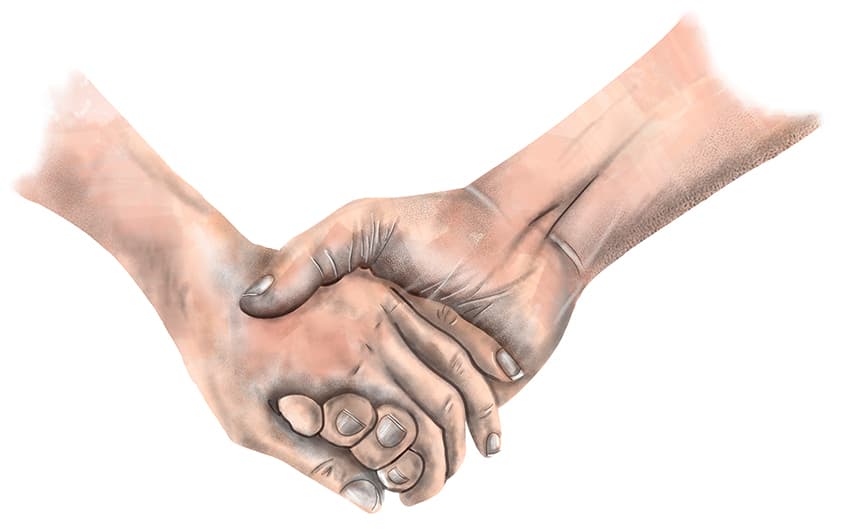
Congratulations on completing our tutorial on how to draw holding hands! It’s an accomplishment to be proud of, as drawing hands can be challenging, but also incredibly rewarding. Take a moment to step back and appreciate the overall composition of your drawing. Are the proportions and positions of the hands and fingers accurate? Does the gesture capture the emotion and intimacy you were aiming for? Now is the time to fine-tune any areas that need attention, such as refining the shading or adding details to the nails and creases. Remember, the devil is in the details, and these subtle touches can elevate your drawing to the next level. Take pride in your work, and don’t be afraid to showcase it to others and celebrate your accomplishment!
Frequently Asked Questions
What Is the Best Way to Create a Hands Holding Sketch?
The best way to start a tutorial on holding hands is by observing and studying the anatomy of the hand. Familiarize yourself with the structure of the hand and its proportions, paying close attention to the position and angle of the fingers. Practice drawing individual fingers and hands from different angles, using reference images if necessary. Once you feel comfortable with drawing individual hands, try sketching them holding objects or each other’s hands to create a natural-looking gesture. Follow along in our tutorial on how to draw holding hands and you will become a pro in no time!
How to Create a Natural and Realistic Hand-Holding Gesture?
To create a natural and realistic hand-holding gesture, it’s essential to pay attention to the positioning and angle of the hands and fingers. Look closely at reference images or observe people holding hands in real life to capture the nuances of the gesture. Ensure that the hands are proportionate to each other and that the fingers are interlaced believably and naturally. Also, consider the emotional context of the gesture and use shading and texture to convey the softness and warmth of the hands. With practice and attention to detail, you can create a beautiful and natural-looking hand-holding gesture.
Matthew Matthysen is an educated multidisciplinary artist and illustrator. He successfully completed his art degree at the University of Witwatersrand in South Africa, majoring in art history and contemporary drawing. The focus of his thesis was to explore the philosophical implications of the macro and micro-universe on the human experience. Matthew uses diverse media, such as written and hands-on components, to explore various approaches that are on the border between philosophy and science.
Matthew organized various exhibitions before and during his years as a student and is still passionate about doing so today. He currently works as a freelance artist and writer in various fields. He also has a permanent position at a renowned online gallery (ArtGazette) where he produces various works on commission. As a freelance artist, he creates several series and successfully sells them to galleries and collectors. He loves to use his work and skills in various fields of interest.
Matthew has been creating drawing and painting tutorials since the relaunch in 2020. Through his involvement with artincontext.org, he has been able to deepen his knowledge of various painting mediums. For example, watercolor techniques, calligraphy and lately digital drawing, which is becoming more and more popular.
Learn more about Matthew Matthysen and the Art in Context Team.
Cite this Article
Matthew, Matthysen, “How to Draw Holding Hands – An Easy Step-by-Step Guide.” Art in Context. April 17, 2023. URL: https://artincontext.org/how-to-draw-holding-hands/
Matthysen, M. (2023, 17 April). How to Draw Holding Hands – An Easy Step-by-Step Guide. Art in Context. https://artincontext.org/how-to-draw-holding-hands/
Matthysen, Matthew. “How to Draw Holding Hands – An Easy Step-by-Step Guide.” Art in Context, April 17, 2023. https://artincontext.org/how-to-draw-holding-hands/.


