Face Proportions Drawing – Learn How to Create Facial Realism
Drawing face proportions is more simple than it appears at first, but it requires one to understand how to construct the facial features. Once you know how to use the right methodology for drawing faces, you will find that you can draw various facial shapes with different features. Understanding drawing face proportions also opens up the possibilities of different character designs that can be incorporated into different artworks. Knowing facial proportions is a fundamental skill that is useful for a variety of reasons, and is a great addition to your drawing repertoire.
Step-by-Step Guide to Drawing Face Proportions
In this tutorial on drawing face proportions, we will look at some basic key concepts of the Loomis method to assist us with facial proportions. From there, we will explore how to draw a few different faces from various angles, utilizing the Loomis guidelines as a means of constructing faces in their correct proportions. As we work on different facial angles, we will see how to utilize shading, and linework to emphasize details in the different face drawings.
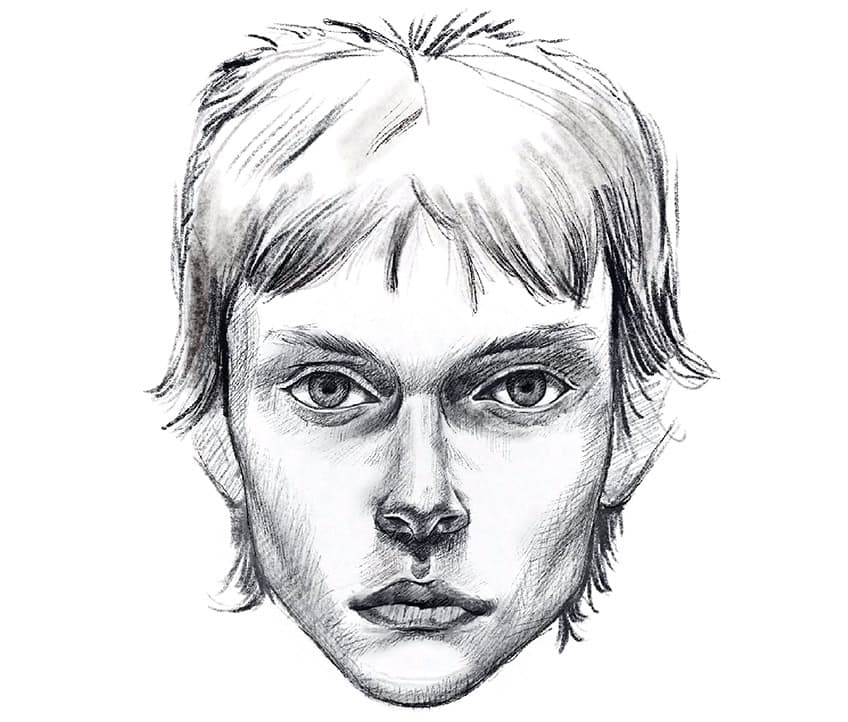
Step 1: Shaping the Face With the Loomis Method
There are many ways to shape a face, however, the Loomis method is perhaps one of the most helpful. We start by drawing a circle, which establishes the placement of many features in the face.
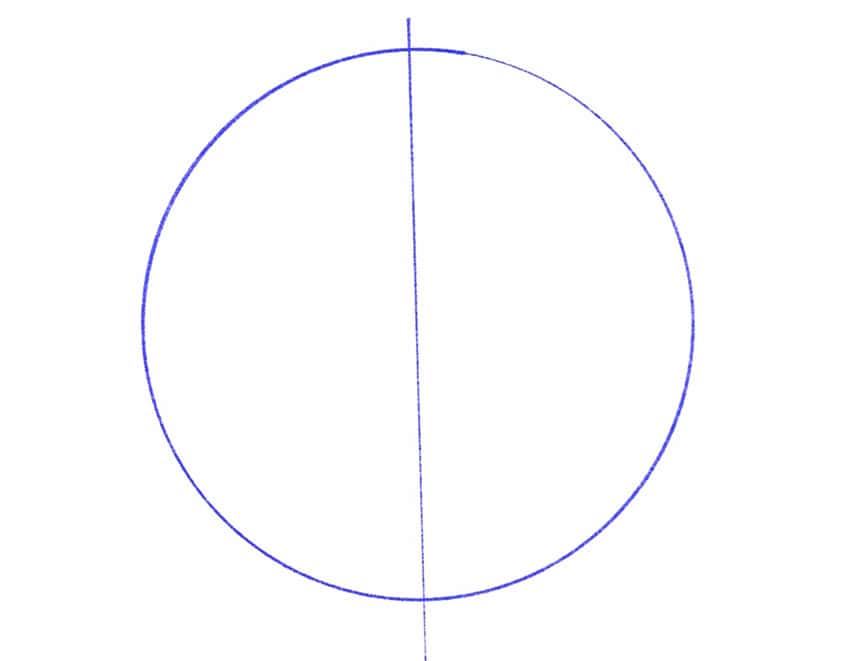
From there, we can proceed to divide the face into four equal quarters with a vertical and horizontal line intersecting one another through the center of the circle. We can then continue by drawing another horizontal line above the first horizontal line. The top line will determine the hairline and should be the top section of the head in two equal widths.
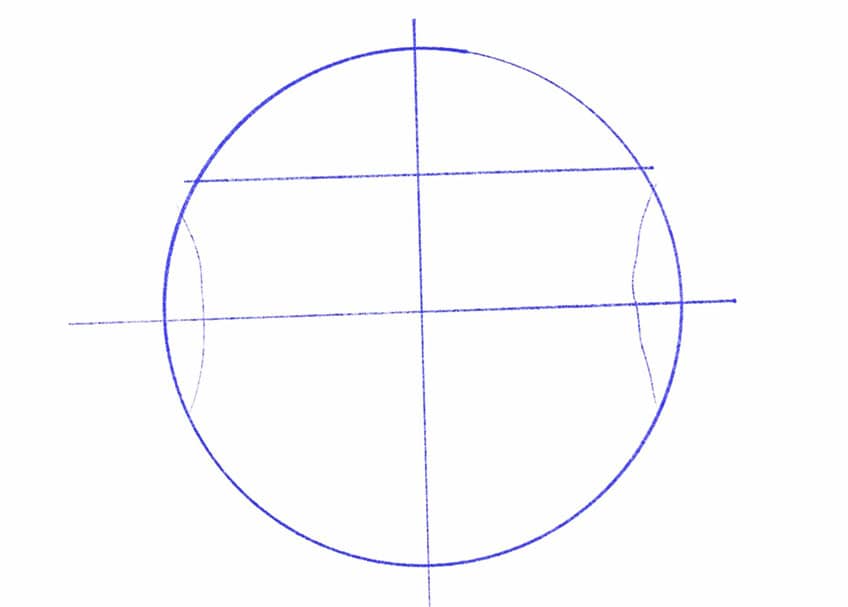
From there, we can start defining the jawline from the endpoints of the first horizontal line. This jawline should extend beyond the bottom of the circle to determine how large the jaw should be. We can then add another horizontal line that divides the bottom half of the circle into two equal parts, leaving behind four sections in the circle that are more or less equal in width.
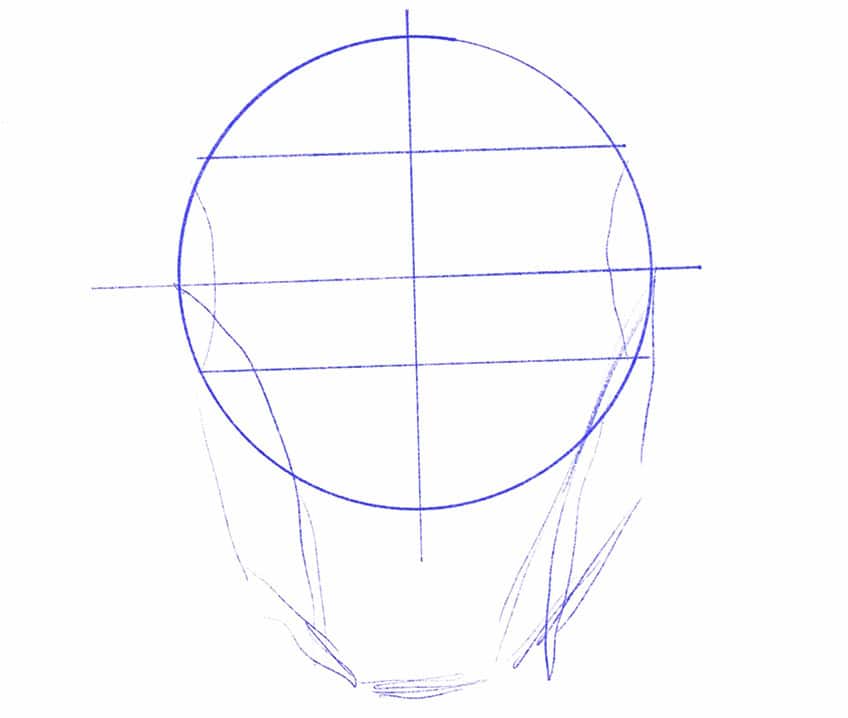
We can then establish two large circles between the middle and lower horizontal lines that run through the circle, as this will determine the placement of the eyes. We can also place a quadrilateral shape at the bottom of the circle to define the placement of the nose. Slightly below the nose, we can start defining the position of the mouth and where it will be drawn slightly under the nose. This is generally how to establish the foundations of the facial features in correct proportions. These are the essential guidelines that we can apply to a reference image or use as a means of constructing any face we are drawing.
This gives us a good framework for shaping a face in realistic proportions.
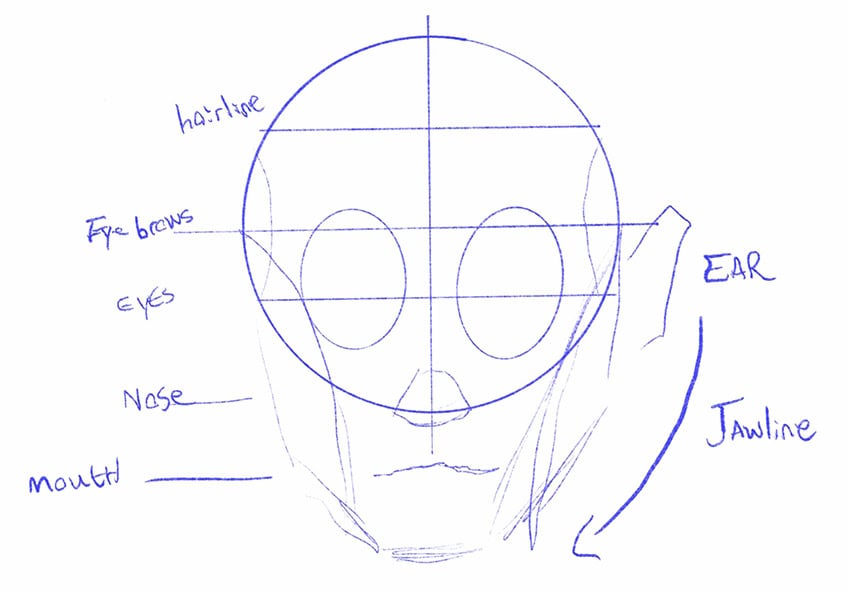
Step 2: Lightly Sketching the Facial Features
From this foundation, we can start forming the face by slowly building up the features with a light sketch. We want to start to lightly shape the different features with light linework.
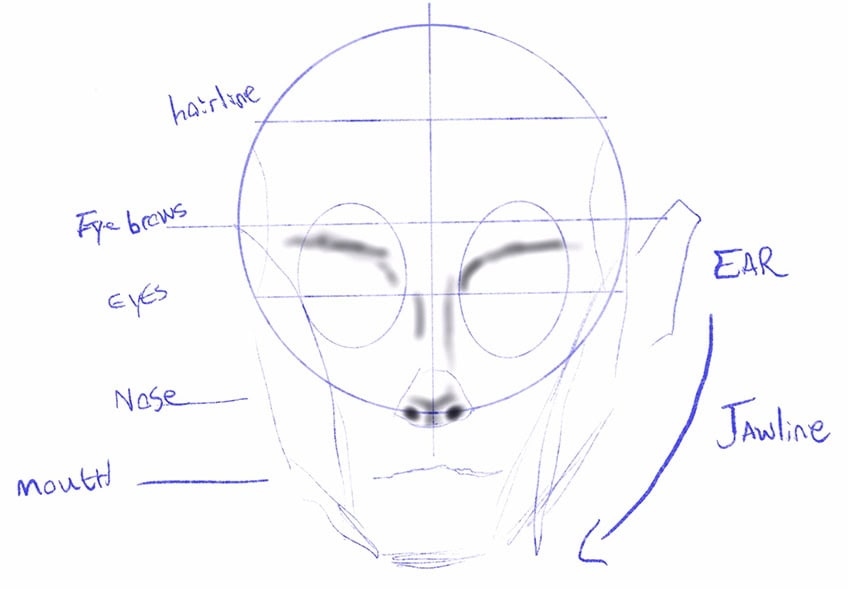
Slowly, we can define the different elements of the face with simple shapes, the intention is to always start light and work with the guidelines of the Loomis method.
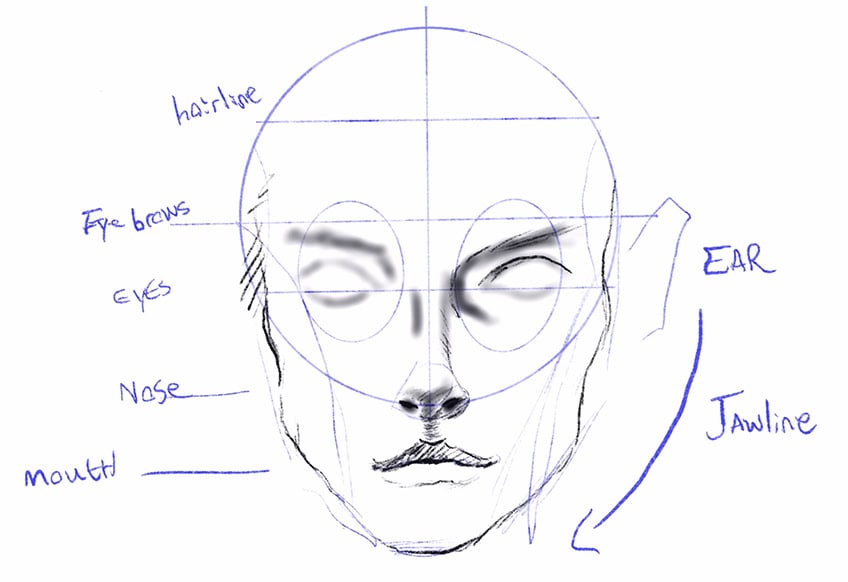
We really want to keep symmetry and scale established in all features of the face. Naturally, faces have subtle differences in them, however, the features must remain in their correct positions. We can start thinking about how features seamlessly merge into one another and how we can determine scale by comparing features to one another. We will find that the eyes are generally similar in size to the tip of the nose, whereas the edges of the mouth should fall in line with the inner edges of the eye.

We can also define the placement of the hair feature and how it is situated on the head of the face in the right position of the hairline. We can also consider how the jaw arches upward towards the face as it curves around the mouth.

We should take our time negotiating all these specific details and how they fall in their right positions according to the guidelines of the Loomis method. We want to tweak and shape the face until it resembles the desired basic structure we intended.
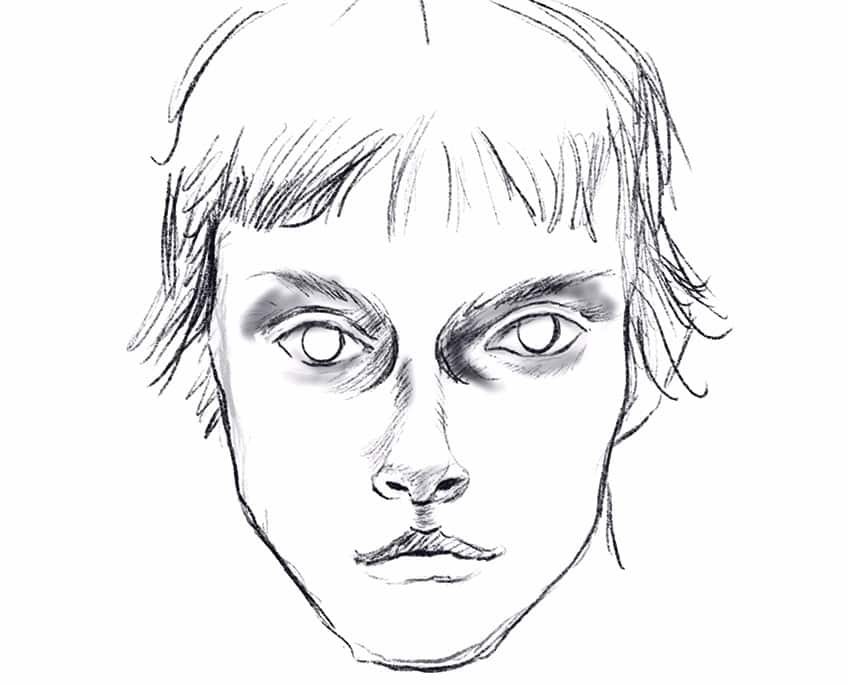
Try to take your time establishing all the different features within their correct positions on the face. As you do this, try to keep your sketch light, focusing more on general shape and placement.
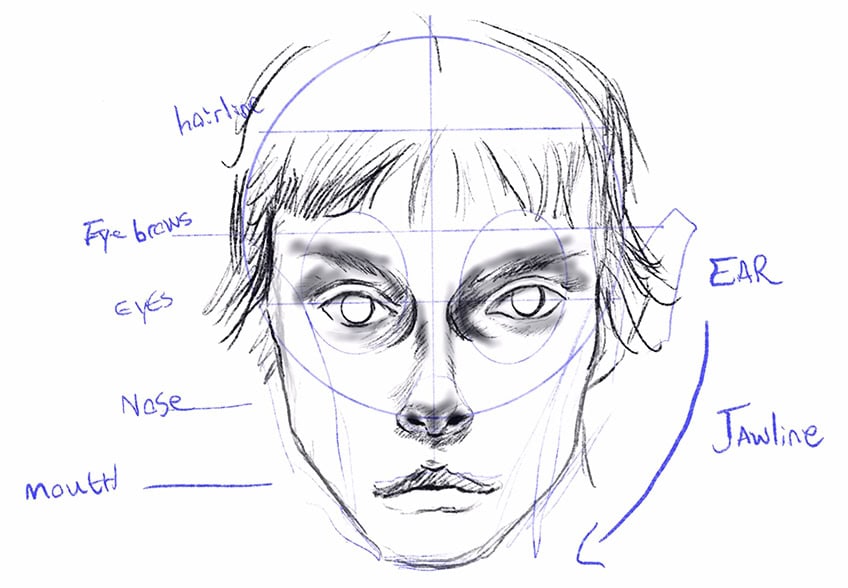
Step 3: Refining the Features
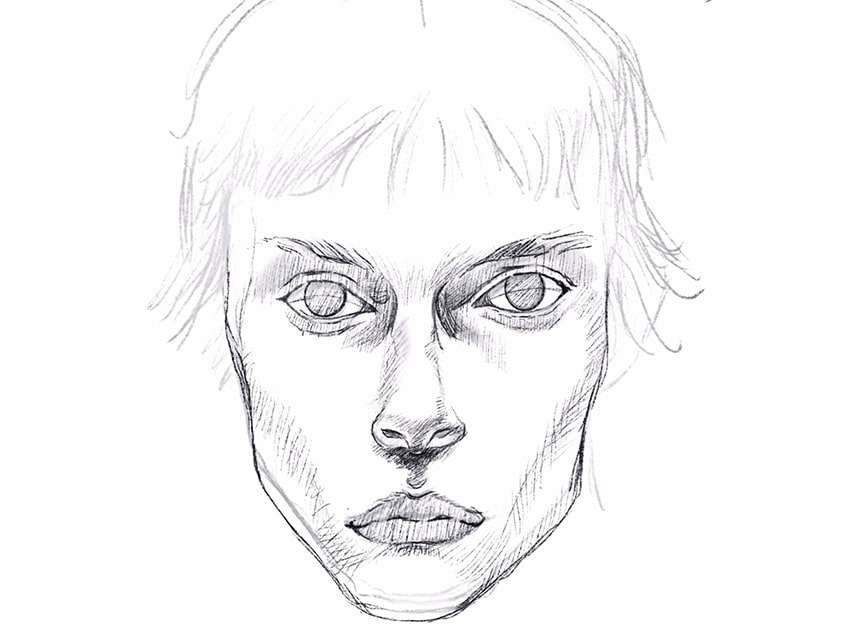
Once we have established the face with a light sketch, we can then proceed by erasing the face slightly. This is where we now begin to define the features more distinctly with details. We want to start defining the subtleties and small details. This is where we consider the shape of the eyes, the size of the nostrils, and other unique attributes in each feature of the face.

A good suggestion is to work from the eyes as a central point and work your way down the face. We can start defining the three-dimensional qualities of the face as well by establishing shadows within the features.

We really want to consider the three-dimensional nature of the face, how some features will protrude and how others will have an indented quality to them. Naturally, these three-dimensional qualities will develop shadow formations. As we work our way through the face, we are also trying to keep comparing how large certain features should be compared to one another as we refine their shapes. This is where we utilize some linework to also define these shapes and contours that bring structure to the face. We want to make sure that all the features make sense in their positions next to one another.
This image is really about considering scale, shape, and contours defined by the three-dimensionality of the features.
Step 4: Adding Light Layers of Shading
Once we have a sketched-out face in its correct proportions, we can now start building up the layers of shading. Naturally, a face is a three-dimensional structure which means it will cast shadows. Shadow formations are also significant in defining the proportions more distinctly. Naturally, the shadows bring more form to the different features, we want to build these up from lighter shading to darker shading.
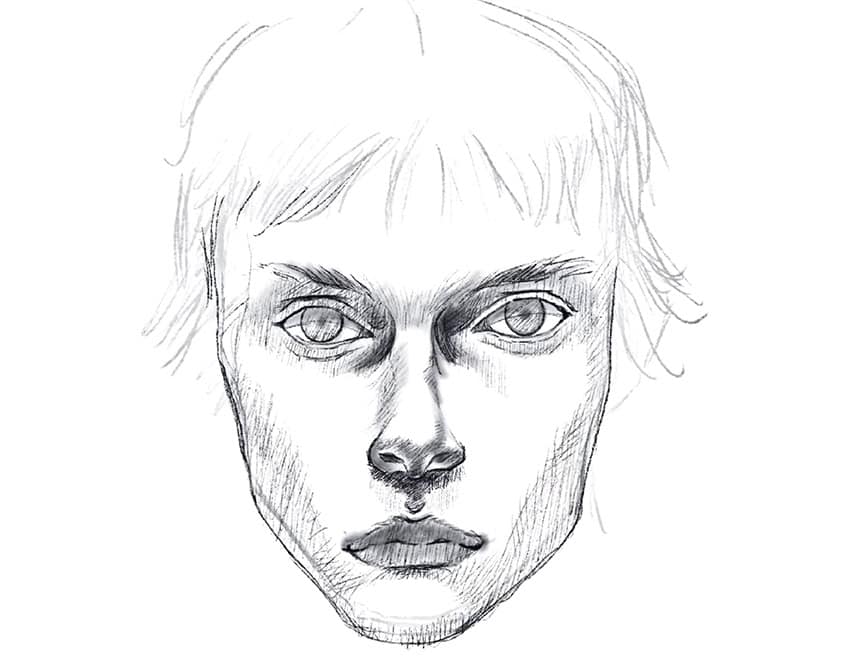
We want to start thinking about how these three-dimensional features cast shadows in the face. For instance, the nose will cast a shadow just above the upper lip and the upper eyelids will cast a shadow onto the eyeballs.

The shadows work as a framing tool that defines the structure of the different features. We see how this works in the nose, for instance, where the nose is shaped more significantly by the shadows underneath it. What gives a face proportional accuracy is the definition of the details, which is defined by the shadows. We want to shape all these features by defining them through a shading process, slowly building them up from lighter to darker tonal values.
Step 5: Adding Darker Tonal Values
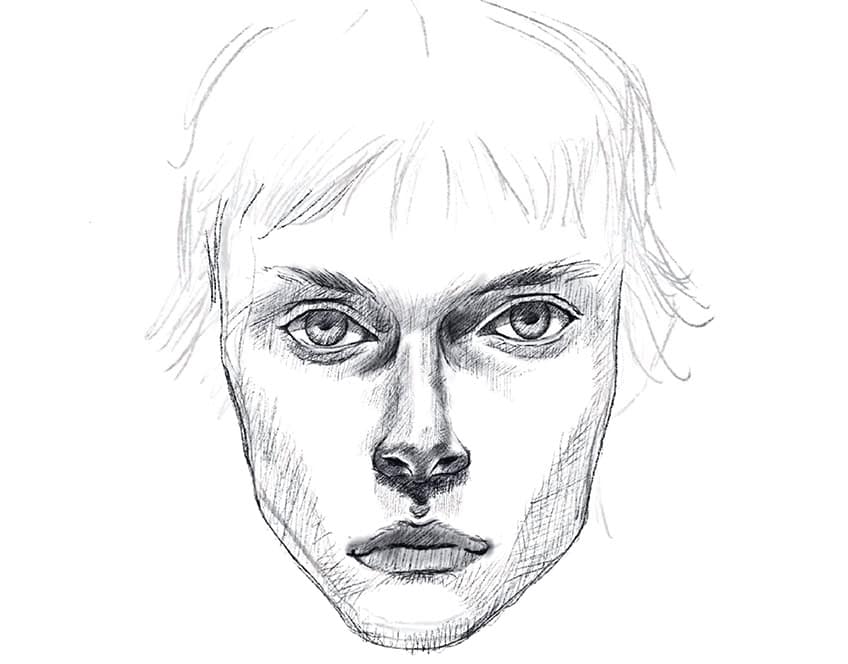
Slowly we start darkening our shading in the right areas as we start to consider the light source and how it will interact with different features. For instance, the ridge of the nose will remain lighter due to its protruding nature and the eye sockets will be slightly darker because they are indented.

The skull beneath the surface of the skin creates these three-dimensional contours that we define with shading to represent more realistic proportions in the face. For instance, we see this in the jawline and how it’s defined with shading. The upper lip is also slightly darker due to how it is facing down and therefore less exposed to a light source. We want to consider how the dimensions of the face interact with light.
Shadows are essential in defining the shape of the face and giving it its unique form, which serves the proportions and placement of the features.
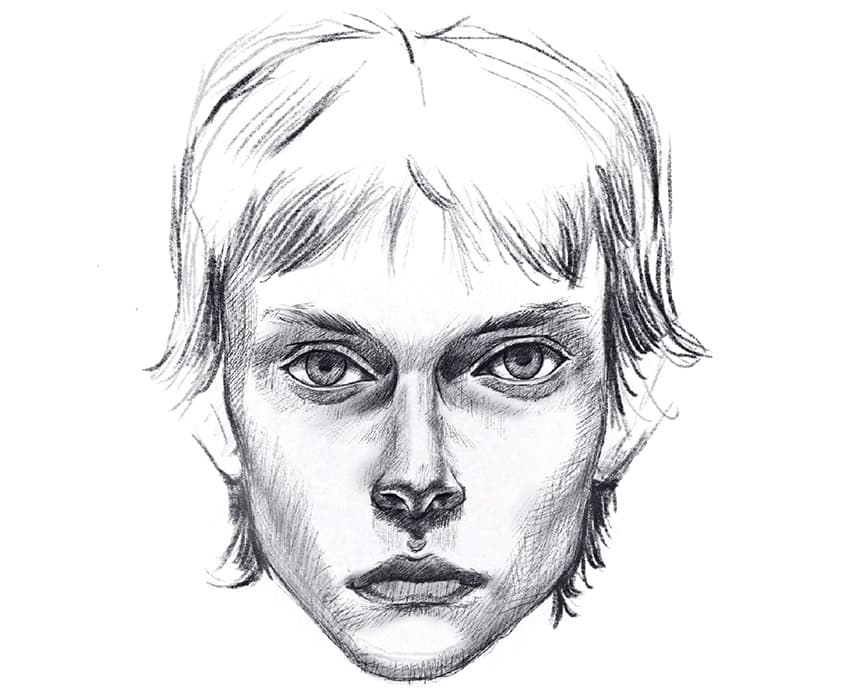
Once we have determined the positions of the features and refined their shapes, we now spend time building up their shadows to emphasize the realistic nature of the proportions.
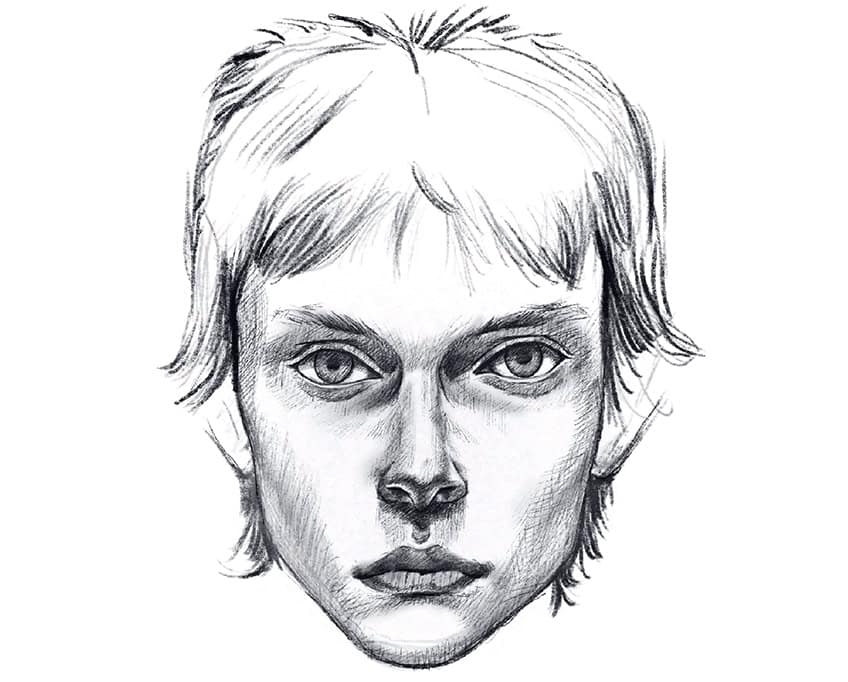
The proportions are three-dimensional, which will only be determined through the presence of light and shadow. This is what all little details matter, from eyelids to the nose ridge, to jaw contours, and so on. The shadows also work as a tool for positioning and how the facial features merge into one another or connect like puzzle pieces. We can use the shadows from different features to determine the size and shape of the face. The shadows shift through the face and connect like lines that flow into each other.
As they move through different features, the protrusions and indentations of each feature will cause them to differ in tonal values.
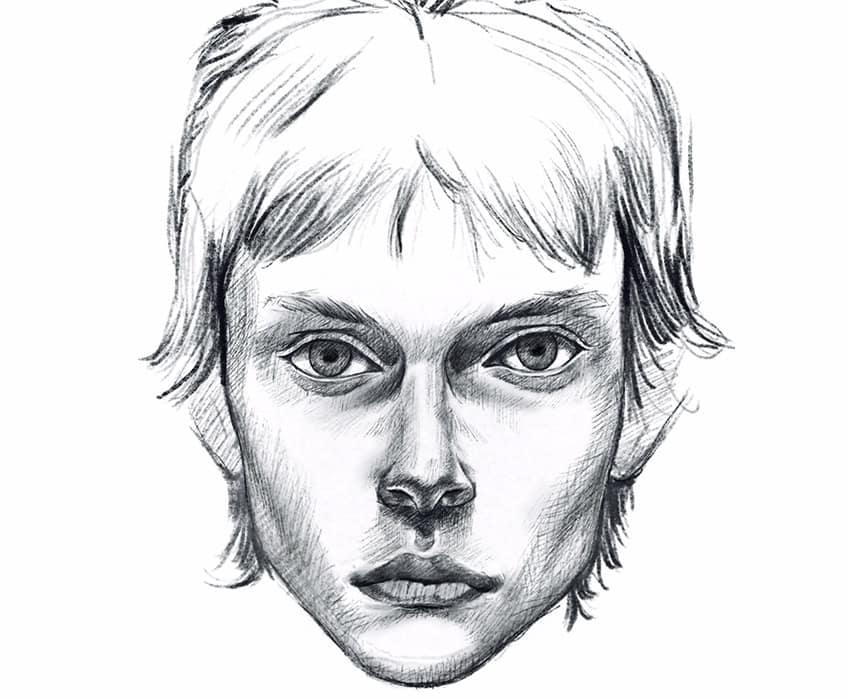
We want to see how we can define these gradient shifts between the lighter and darker features as seamlessly as possible through the shading process. From here on out, it’s just a matter of patience, making sure we integrate shading onto the right areas of the face.
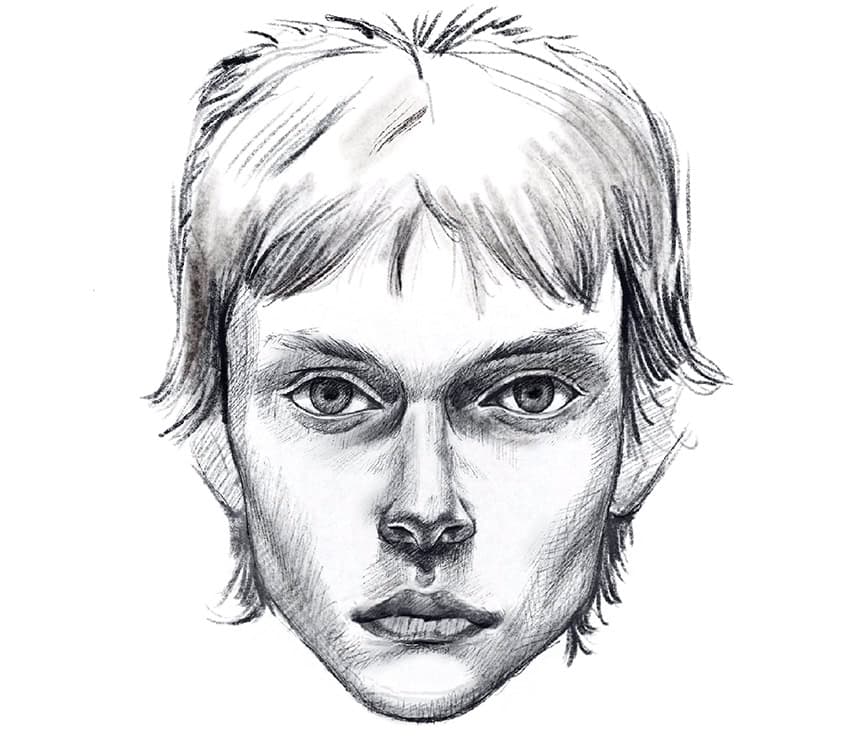
Slowly but surely, the face starts to become more realistic and proportionally correct by the combination of placement, scale, shape, and shading all working together. As long as we maintain the correct positions, refine the shape of the features and slowly build up the shading through layers, we will find that the process of drawing face proportions is much more simple than it appears.

Tips and Tricks to Remember
- First, understand the basic guidelines of the Loomis method. Take your time to determine the positions of the features.
- Start with vague shapes. Start with basic shapes and sketching, and then slowly refine the face by building up details and shading.
- Symmetry is key. We want to keep the facial features along the same plane and in the same positions on either side of the face.
- Build layers of shading. Take your time with this step.
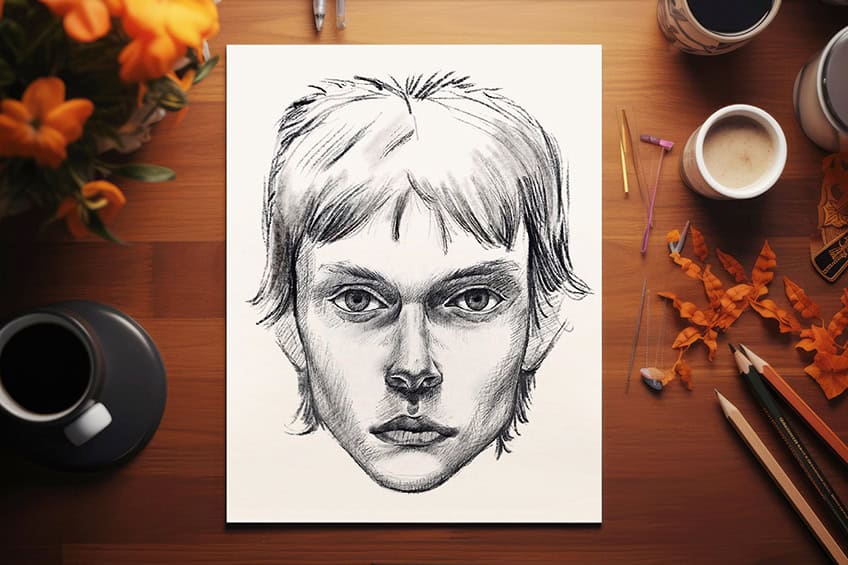
Learning how to draw facial proportions is quite easy when you break down the process into simple and digestible steps. A facial proportions drawing is made simple when we utilize the rules of the Loomis method to help us better understand the placement of features and the positioning of them in the face.
Frequently Asked Questions
How to Draw a Nose in Face Proportions?
A nose is a unique structure because of how it is a singular feature that defines the center of the face. It also divides the face into two sections and protrudes quite significantly. The best way to draw a nose is to identify its most basic form, which is often a quadrilateral shape in the form of an upside-down kite. In that shape, you can start positioning the specific details that define the nose. Once you have defined the details in the nose, you then can build up your shading to represent shadows and light. The nose protrudes a lot, which often keeps the top surface area of the ridge quite light. We want to work with our shadows to define form and three-dimensionality in the various features of the face.
How to Draw Eyes in Their Correct Proportions?
Eyes are very unique features and can easily be misshapen. The problem is that they need to be built up from their fundamental shapes. The best way to draw a set of eyes is to first make sure that they are positioned along the same plane within the face. We want to define their diamond-like shape, and then proceed to smoothen the edges of those diamond features until they resemble an ellipses structure. From there, we start incorporating the features into the eyes and defining the various details. We can start working on all the features one eye at a time, making sure that we mirror the same details in the other eye. We build up layers of shading to define the features in and surrounding the eye to enhance its three-dimensional qualities further.
Matthew Matthysen is an educated multidisciplinary artist and illustrator. He successfully completed his art degree at the University of Witwatersrand in South Africa, majoring in art history and contemporary drawing. The focus of his thesis was to explore the philosophical implications of the macro and micro-universe on the human experience. Matthew uses diverse media, such as written and hands-on components, to explore various approaches that are on the border between philosophy and science.
Matthew organized various exhibitions before and during his years as a student and is still passionate about doing so today. He currently works as a freelance artist and writer in various fields. He also has a permanent position at a renowned online gallery (ArtGazette) where he produces various works on commission. As a freelance artist, he creates several series and successfully sells them to galleries and collectors. He loves to use his work and skills in various fields of interest.
Matthew has been creating drawing and painting tutorials since the relaunch in 2020. Through his involvement with artincontext.org, he has been able to deepen his knowledge of various painting mediums. For example, watercolor techniques, calligraphy and lately digital drawing, which is becoming more and more popular.
Learn more about Matthew Matthysen and the Art in Context Team.
Cite this Article
Matthew, Matthysen, “Face Proportions Drawing – Learn How to Create Facial Realism.” Art in Context. June 18, 2024. URL: https://artincontext.org/face-proportions-drawing/
Matthysen, M. (2024, 18 June). Face Proportions Drawing – Learn How to Create Facial Realism. Art in Context. https://artincontext.org/face-proportions-drawing/
Matthysen, Matthew. “Face Proportions Drawing – Learn How to Create Facial Realism.” Art in Context, June 18, 2024. https://artincontext.org/face-proportions-drawing/.


