Male Drawing Poses – Learn to Sketch Male Anatomy Poses
Drawing male poses is a great exercise for understanding anatomy, as the male figure is quite different from that of a female figure. With male figures, we see a lot of muscle and bone protrusions, which can create quite a defined look in male art poses. Male anatomy poses provide a great range of artistic progression as it requires an awareness of three major aspects: proportions, movement, and detail. These are three critical components for any anatomy drawing process, which makes learning how to draw male anatomy poses a great exercise to refine your anatomy drawing skills.
An Easy Guide to Drawing Male Poses
In this tutorial, we will break up the process of drawing male art poses into three main sections that are easy to follow for a beginner. We will look at how the progression from proportional understanding to movement and details flows in a chronological drawing process.
Necessary Materials
This tutorial is done with a digital drawing device; however, the drawing process is very simple and is transferable to traditional drawing mediums. In this tutorial, we will make some male sketch poses that are simple, which means we will only need a pencil, some paper, a sharpener, and perhaps an eraser to fix mistakes along the way. All materials that are required can be found through the links below:
- Pencils
- Ballpoint pen
- Ruler
- Sharpener
- Eraser
- Good paper (200 g/m – 250 g/m recommended)
A Guide on Male Drawing Poses
In this tutorial on male drawing poses, we will be looking at three main drawing processes that are required to develop male sketch poses into interesting male anatomy drawings. We will go through the first important aspect of male anatomy poses, which is proportions. We will then look at how we can use those proportions to create movement in a male pose drawing. Then lastly, we will look at what kinds of detailing we can add to our drawing to emphasize the form in the male anatomy pose to give them more definition.
Now that we know what to expect for our male drawing poses tutorial, let us go through it.
Understanding Male Proportions
To create accurate male drawing poses, we need to start with the fundamentals of proportions. This can be understood in two methods, the segmentation method and the skeletal method.
Working Out Proportions With the Segmentation Method
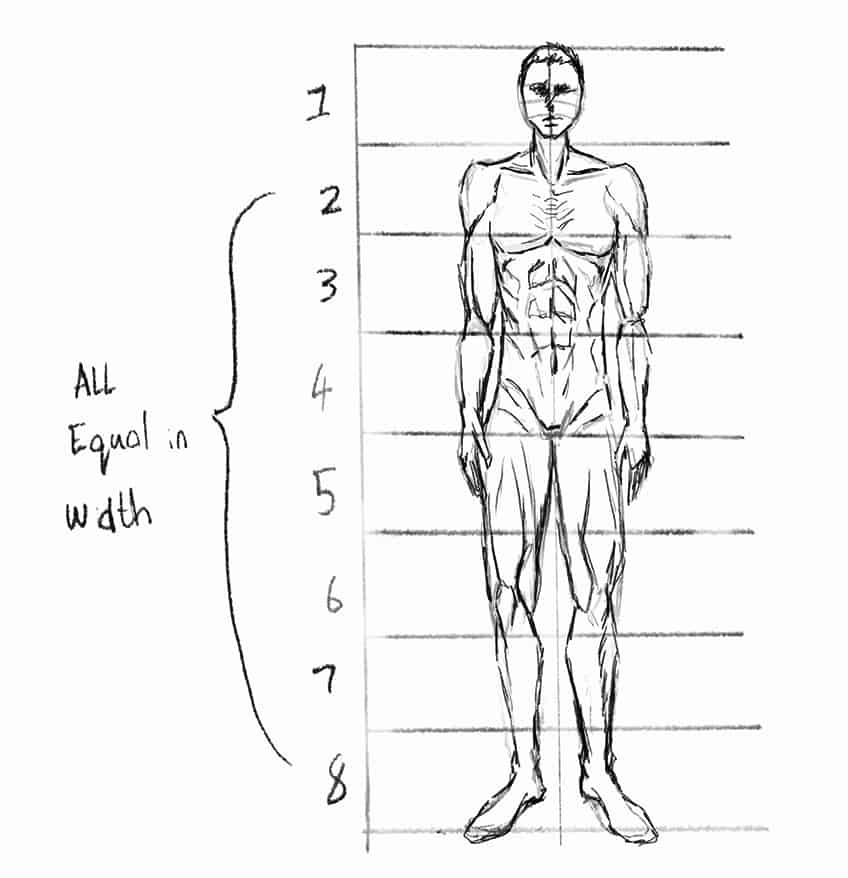
The first way to work out body proportions is the segmentation method. This is going to help you understand body proportions in their most basic form. This is where the body is broken up into eight equally sized segments. The first main concept that is important to learn about drawing male art poses is how the body is segmented into different parts. The body is divided up into eight equally sized segments.
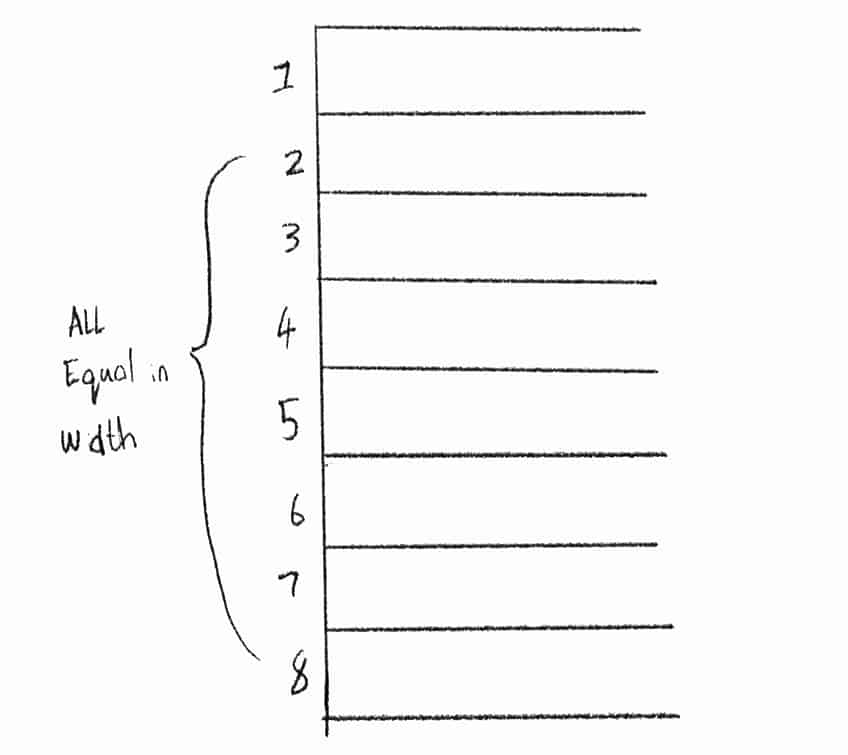
The segments establish the positioning of each body part and how large they should be. This helps to establish correct proportions within the male sketch poses.
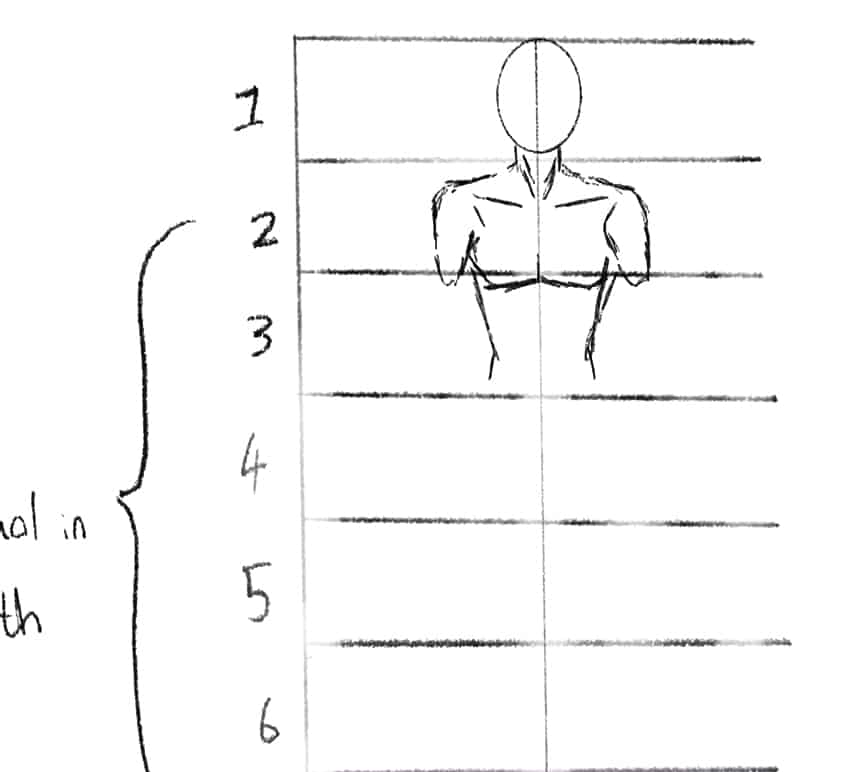
Each segment is also equally sized, with the head filling the first segment entirely. From there, the shoulders flow into the second, connecting to the chest. The chest then flows into the abdominal region of the body that is positioned within the third segment.
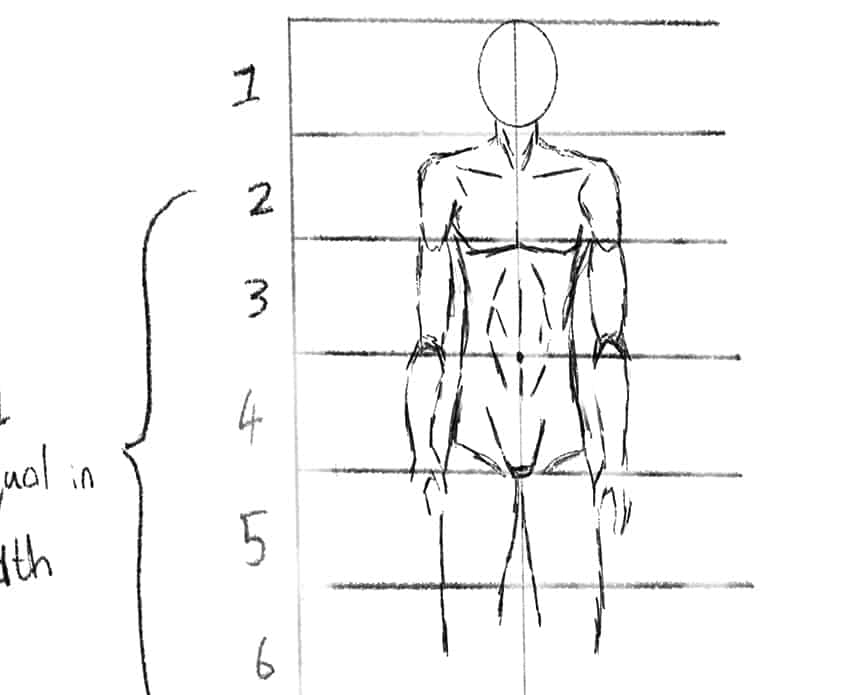
The pelvic bone is established directly between the fourth and fifth segments, and functions as a halfway point for the body. The hips then flow into the fifth, connecting to the knees in the sixth segment.
From the sixth to the eighth segment are the features between the knees and the feet.
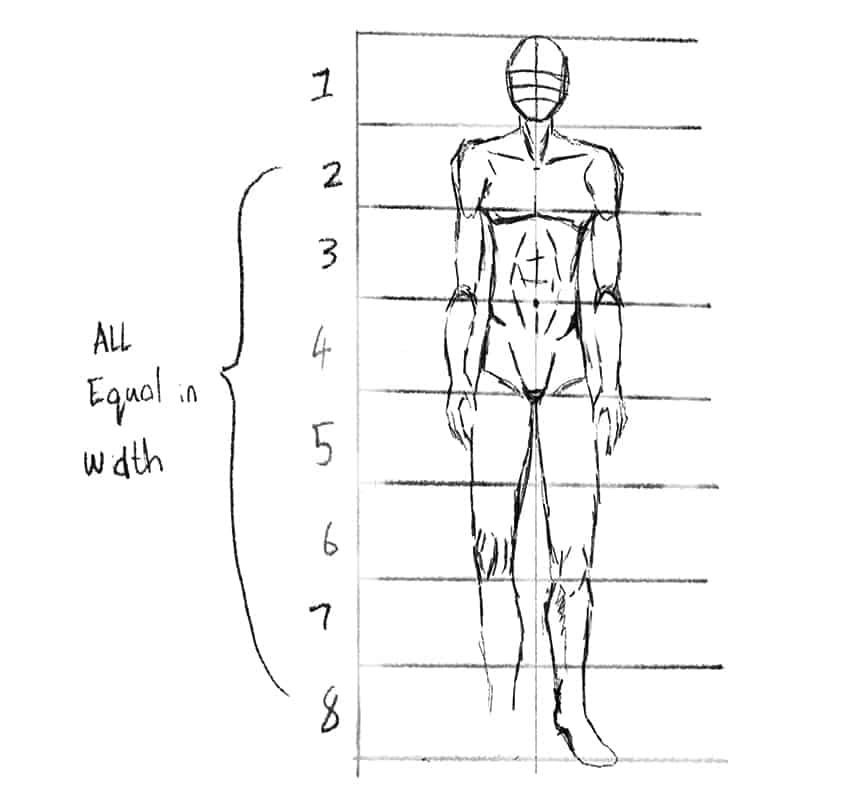
Once we have an understanding of the basic placement of the male body parts, we then can start working out the more nuanced features. This is where we can broaden shoulders and provide more muscle definition.
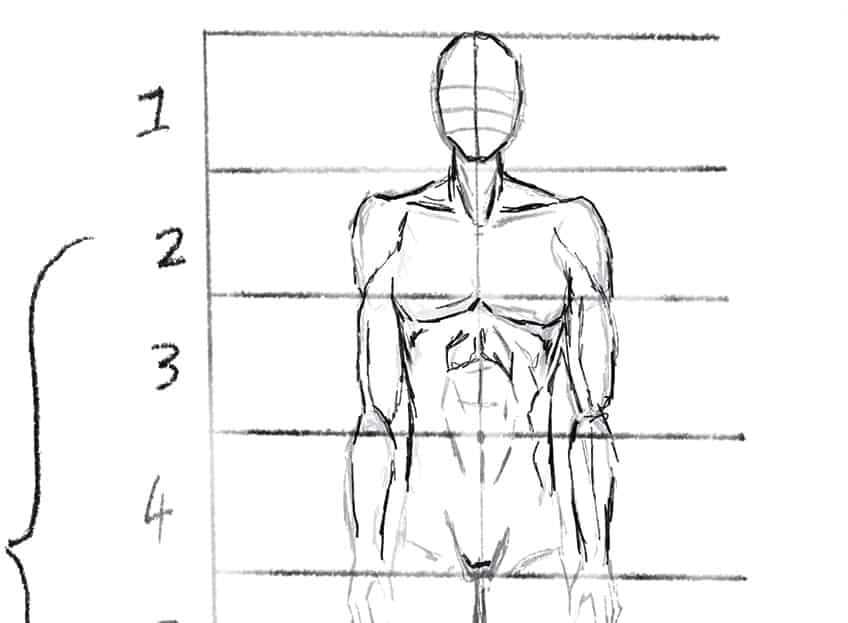
We can work out how much muscle would be visible in the arms within the third and fourth segments. We can work through the entire body to enhance or minimize muscle content in the physique.
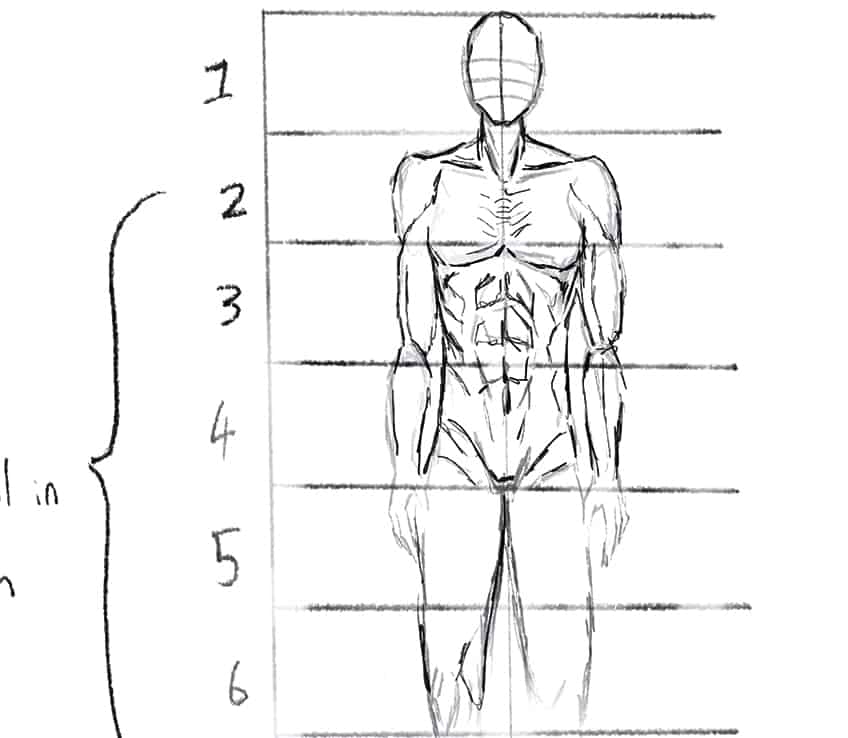
This same process applies to the legs, the abdominal area, and other areas with muscle content. This is particularly important for distinguishing between younger and older male figures.
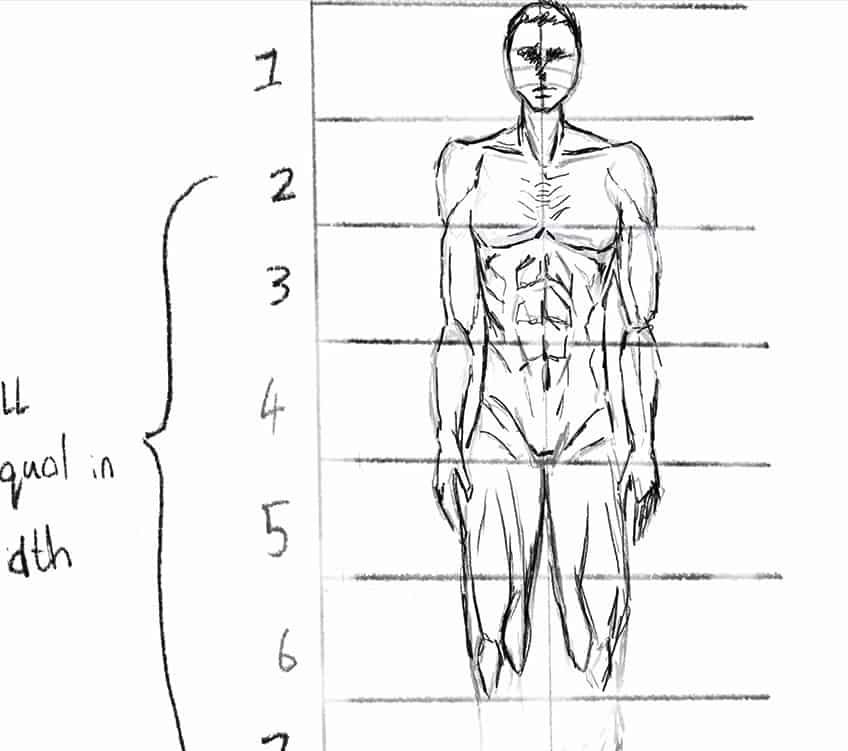
This also provides you with a sense of anatomy and how each muscle group appears on the body. This will help us to form figures in unique movements a little more efficiently.
Working Out Proportions With the Skeletal Method
This method is the next step from the segmentation method and allows you to use the segmentation knowledge to construct a skeletal form. This will help you to draw loose figures in various poses, which then can be constructed around the skeletal structure. Once we know the segmentation of the male body, we then can construct these loose skeletal structures with the various segments in mind.
Knowing that the body is divided equally into eight segments, can help you to construct the skeleton quite quickly.
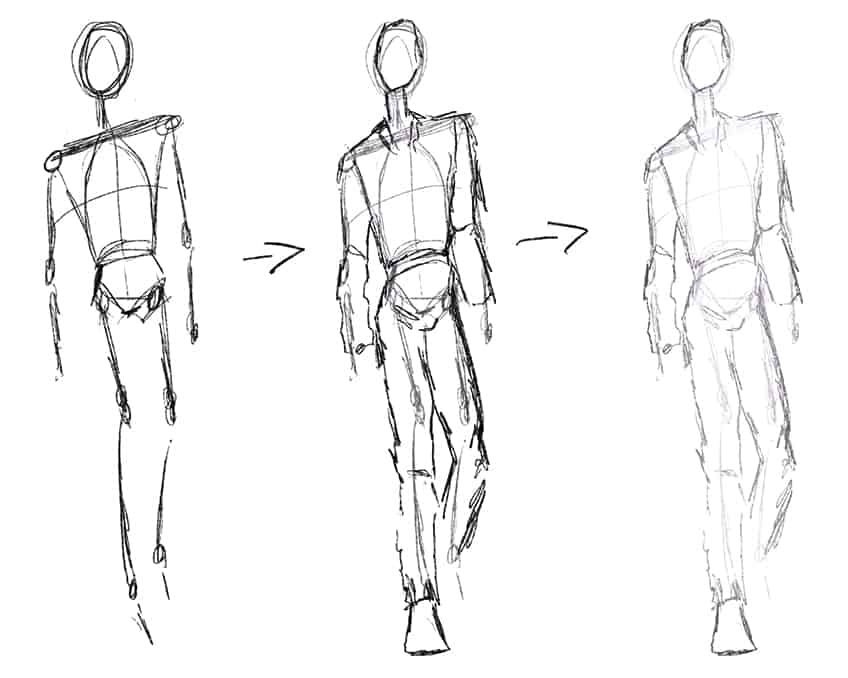
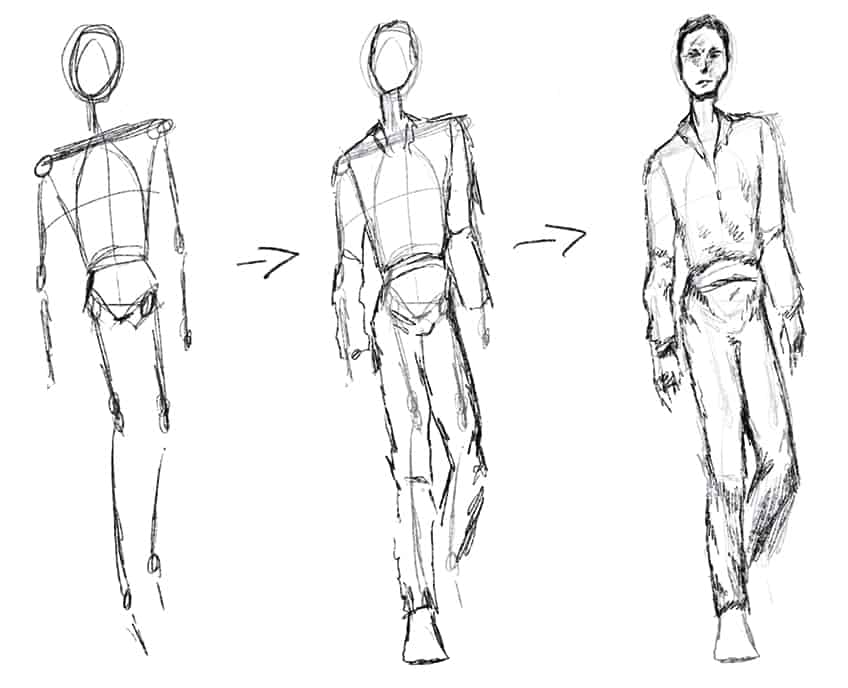
We then can start to sketch the body parts around the skeletal structure, slowly tweaking it until it looks correct. This process of sketching the body can be kept quite light until we are satisfied with the body proportions.
Understanding Movement in the Male Body
This is particularly good for male sketch poses that are drawn from life, where we might need to draw figures in motion. This way of constructing the skeletal form will help you to establish poses relatively fast, but you first want to grasp the segmentation of the male anatomy before working with this method.
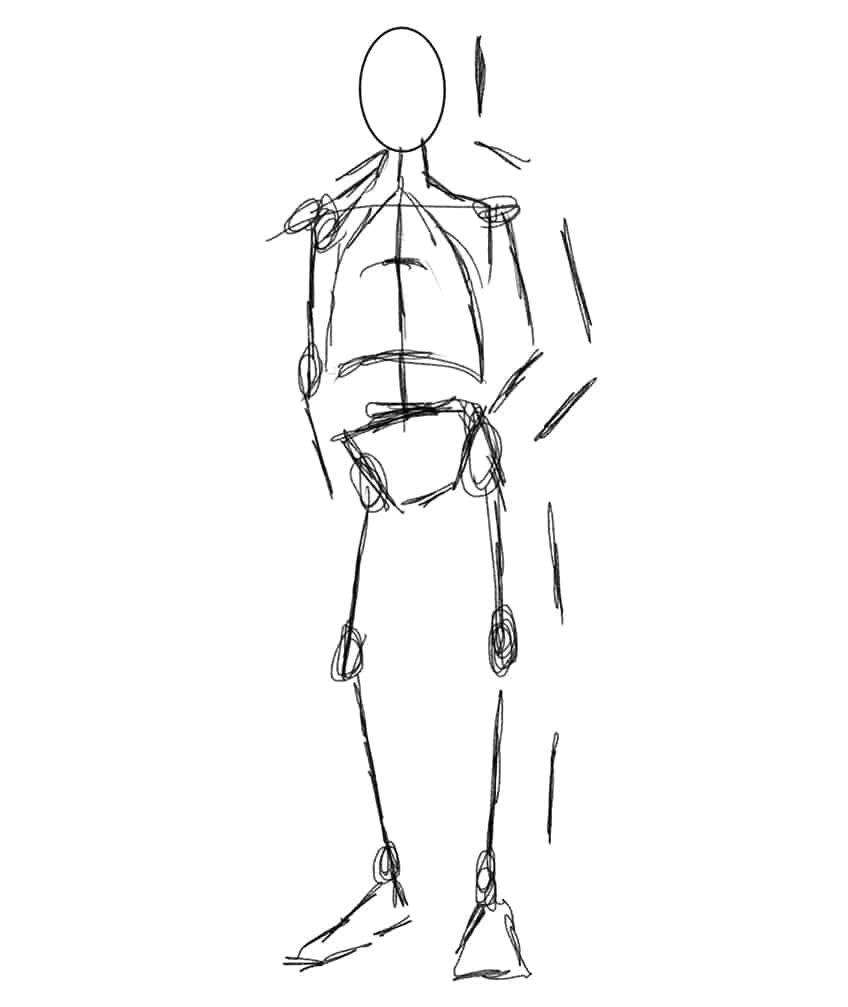
Once we have broken down the process of segmenting the body and using the Sketch form, we can start drawing male poses that are quite simple. We can do this by drawing their skeletal form and then having some lines alongside the figure to define the different segments.
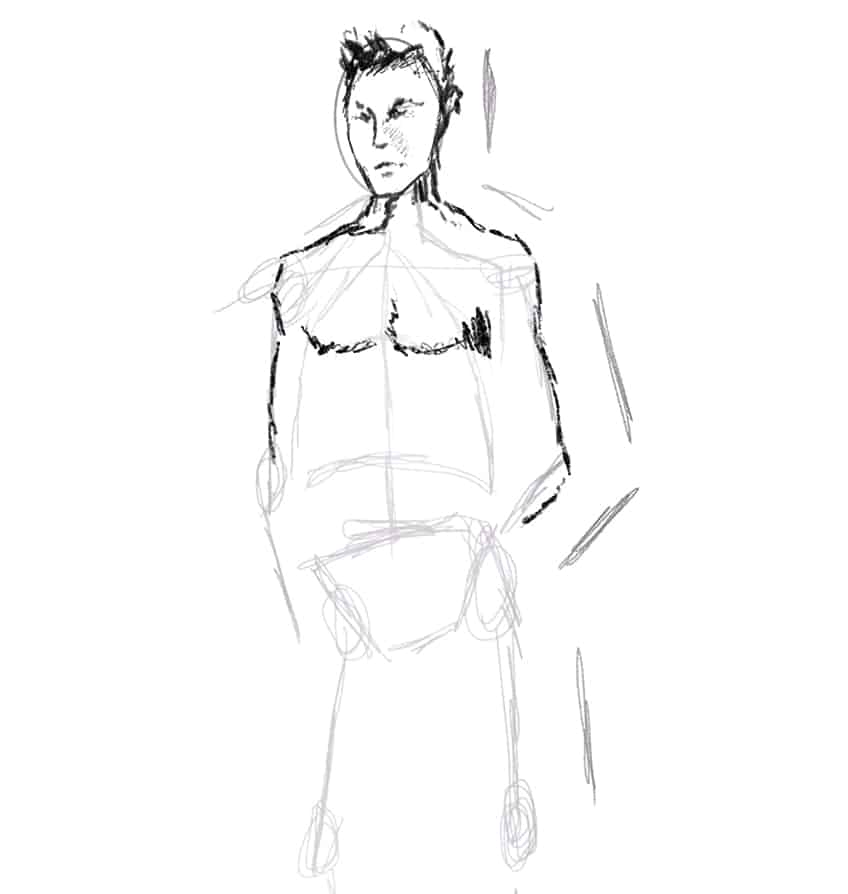
It is important to know that depending on the perspective and positioning of the body, it won’t always be perfectly segmented. This means that the body will fluctuate slightly in its proportions due to the body bending, twisting, and so on.
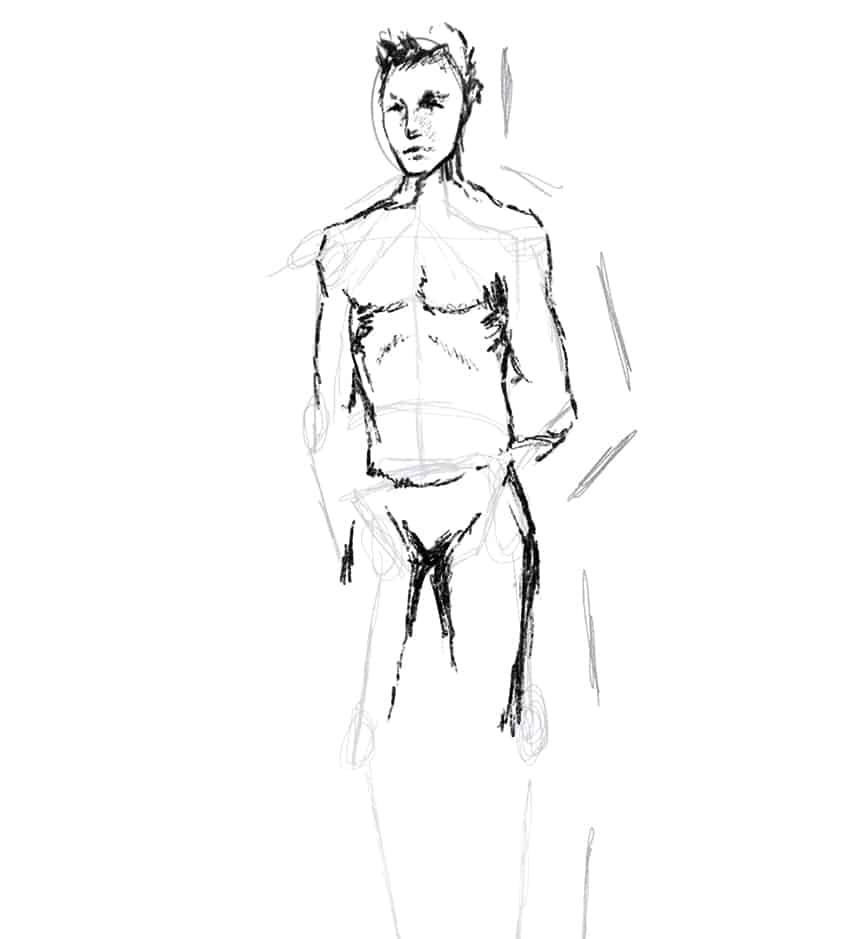
Start with more simple male art poses, that are simple and without complex movements. Once you feel comfortable with simple movements, you then can work with more complex and interesting movements.
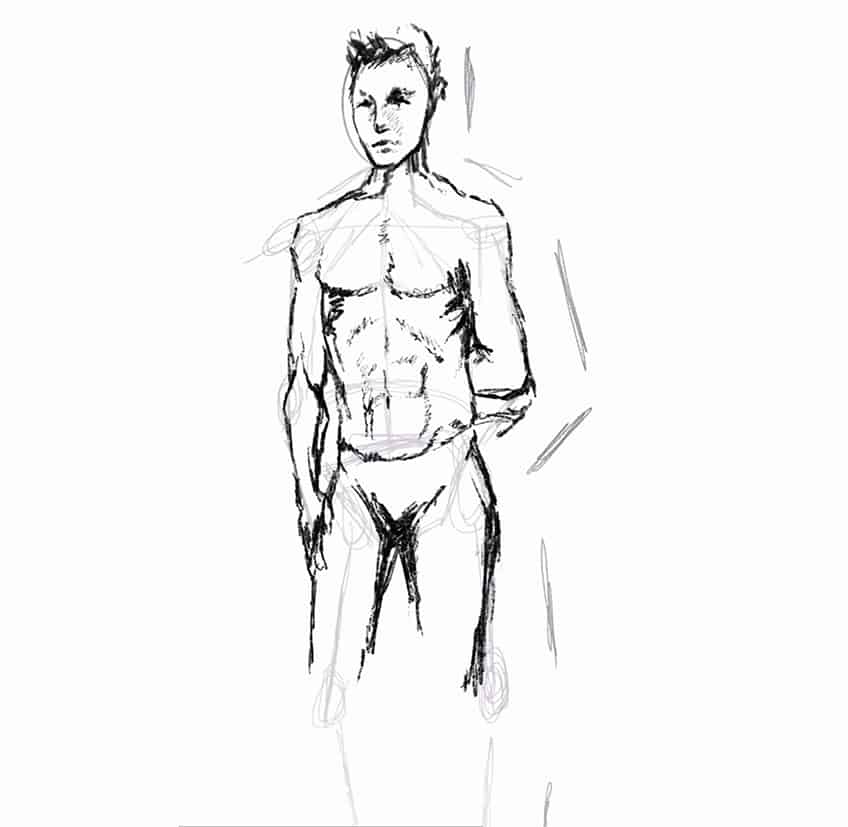
Working with simple structures at first also allows us to work on more subtle detailing. This allows us to work on basic features without too much contrast caused by complex body formations.
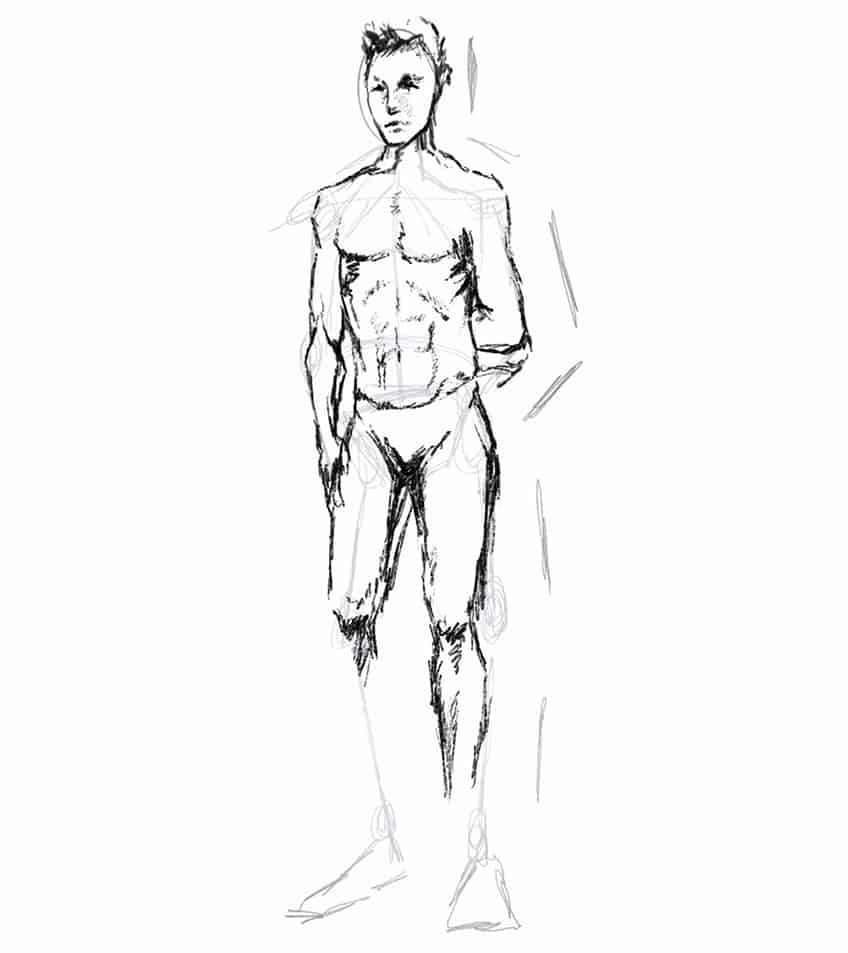
Once we feel comfortable with simple body formations and how to work out the basic details of each body part, we can then move on to drawing more complicated structures.
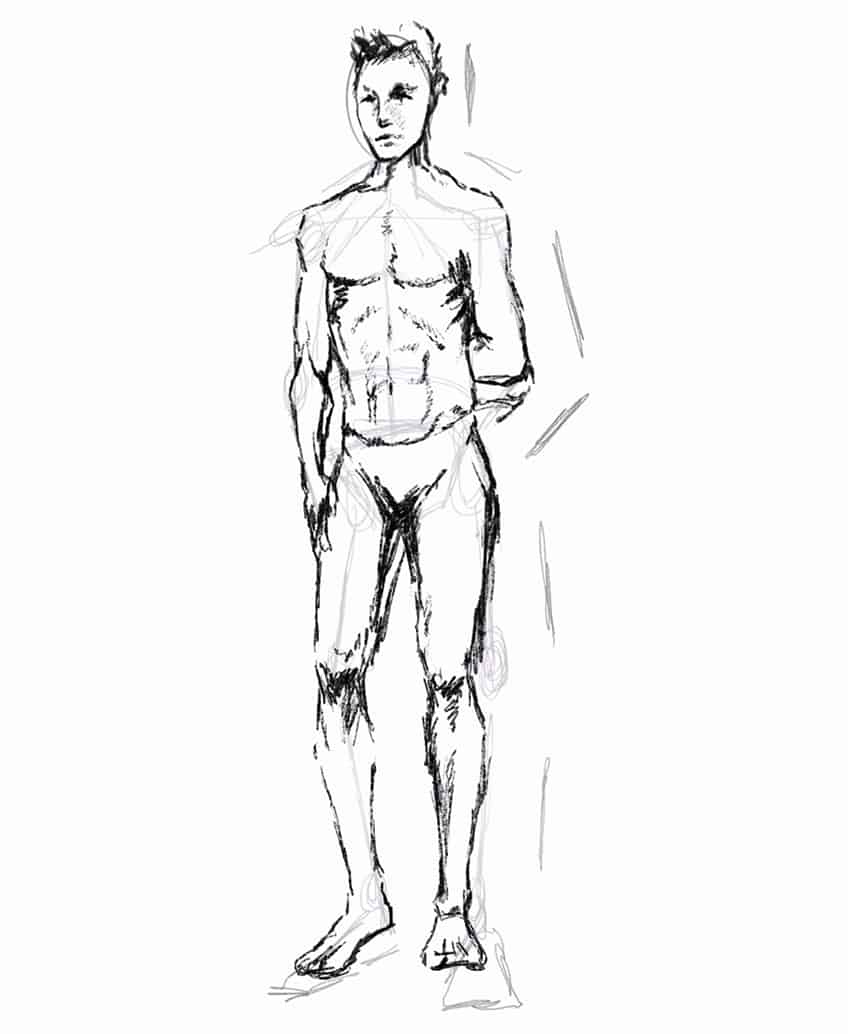
Once we start to grasp the process of forming structures in their segments and skeletal form, we can start to work on more complicated drawings. This is where we can start to apply our knowledge to more complicated poses.
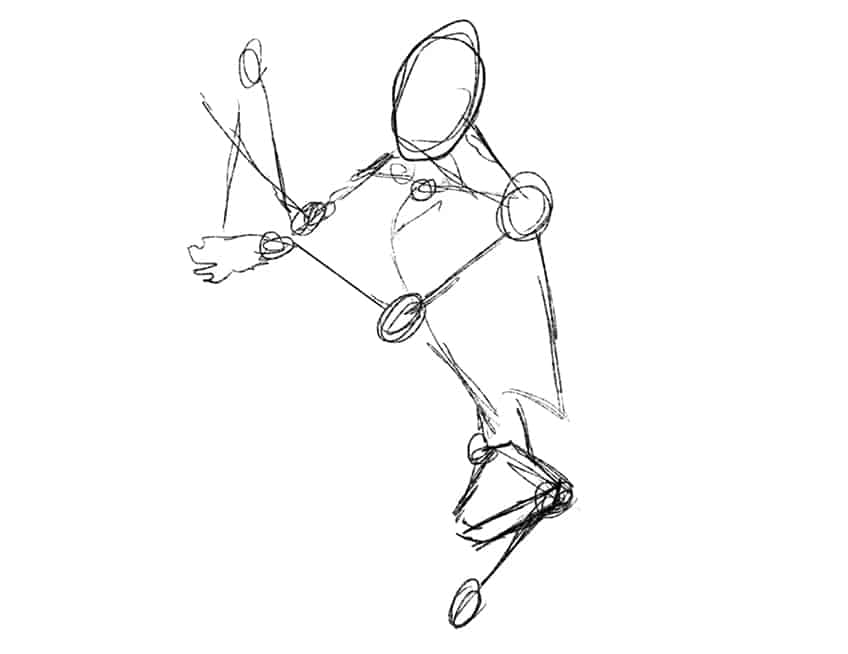
Again, when you have bodies whose movements are complicated this will cause a subtle distortion in the figure. This is why we want to understand the segments, but have a looser skeletal sketch to work with when constructing a figure.
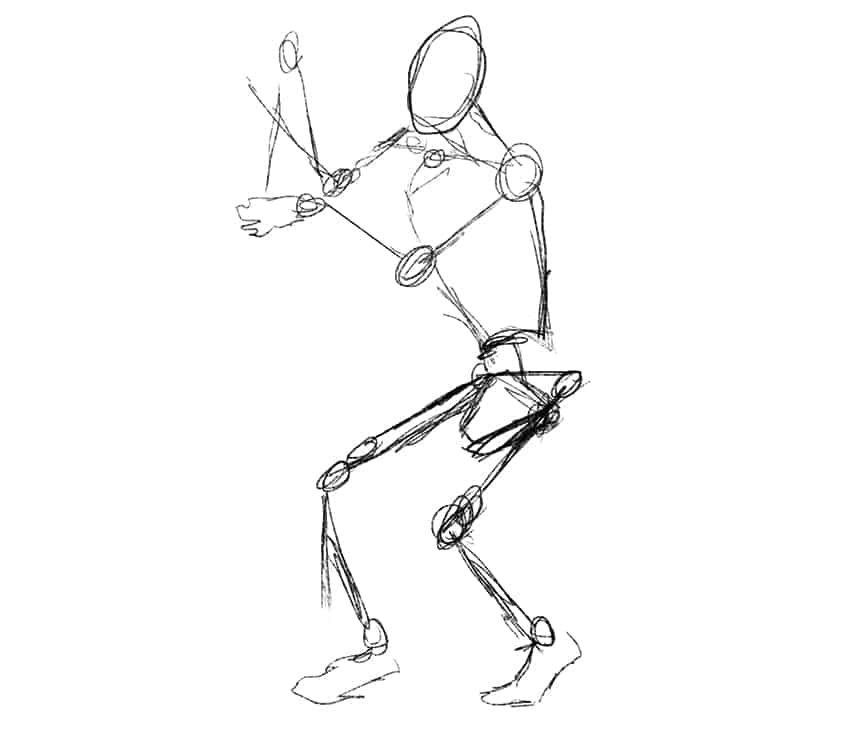
Again, once you know the basic structure of the pose, you then can construct it in its skeletal form. From there you can work over that skeletal structure, to establish the body parts.
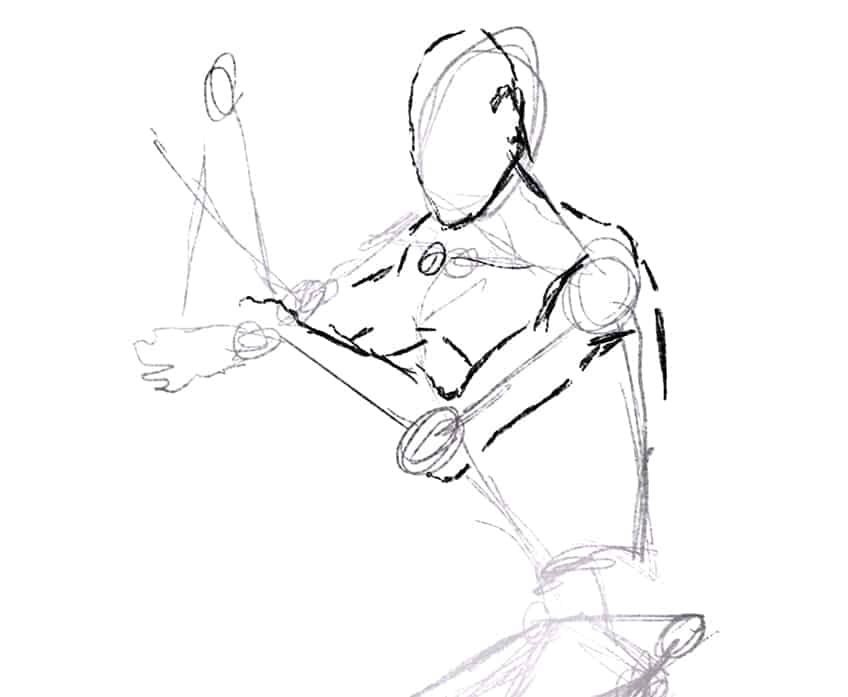
With complicated structures, we will find that some parts seem to be placed in the background and some in the foreground. This is why we want to build up a structure with a light sketch, where we work out the skeletal form and then draw the body around it.
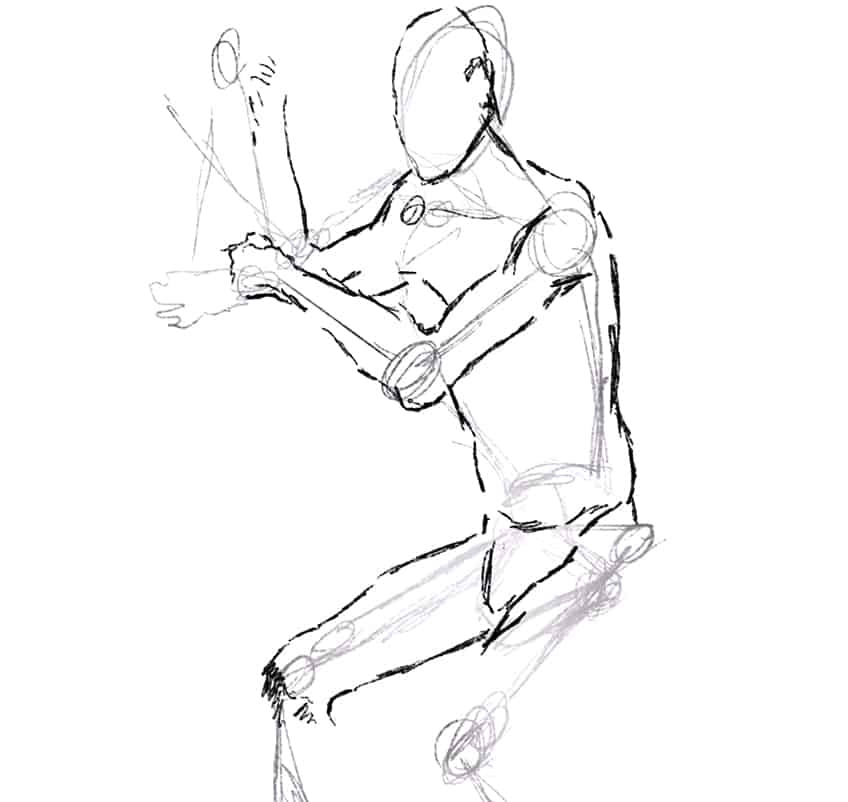
By keeping the male sketch poses quite loose, we will be able to rectify any mistakes and tweak the drawing as we go. So, when drawing male poses, try to keep them quite light.
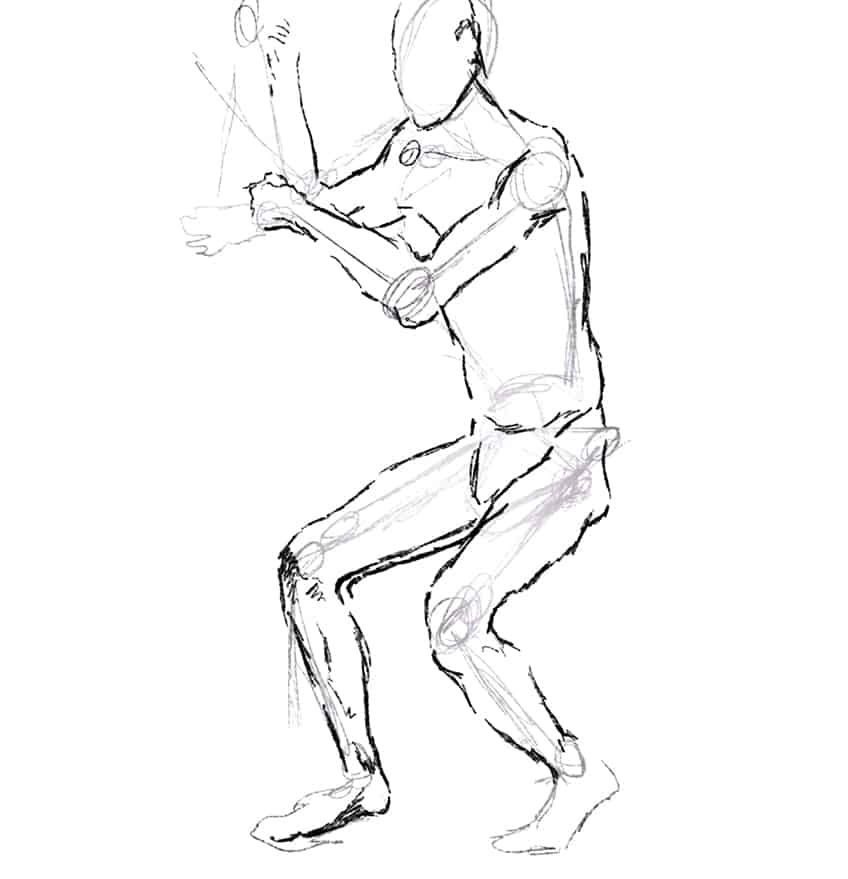
Through layering our sketch, we will refine the sketch each time with more accurate placing, from its skeletal form to its final details.
This way we can then start to work finer detailing into the structure after we have worked out its movements and complicated pose. You want to make sure you establish the proportions and movement in the body before working on details.
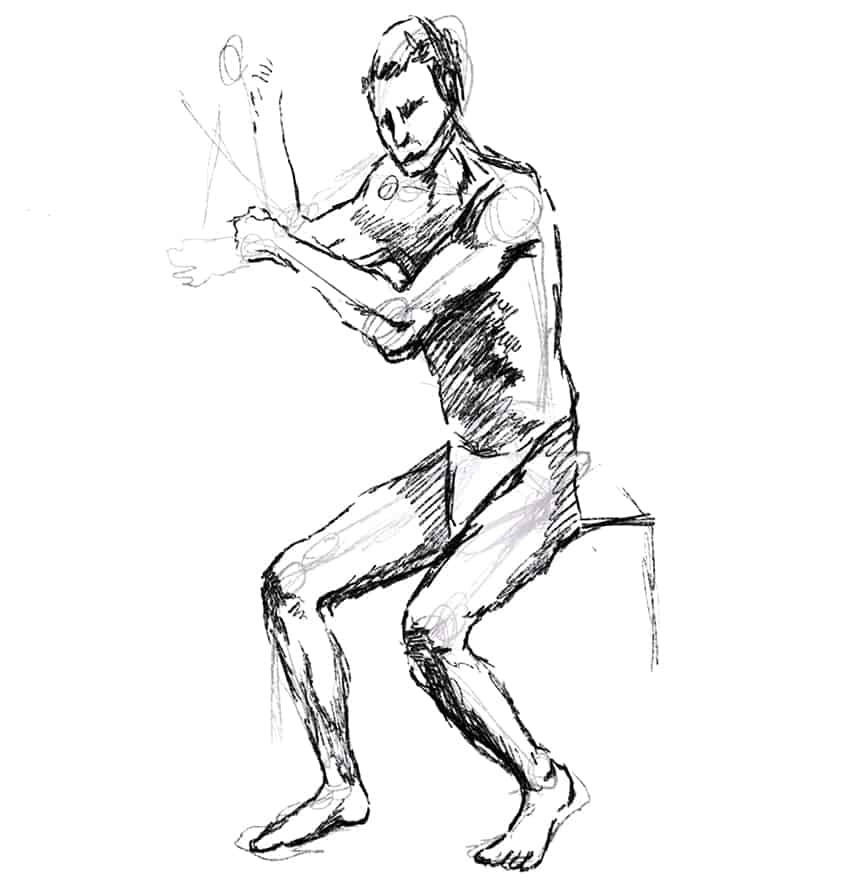
Following this process of working out proportions, the skeletal form, and then lastly the details, will give you the best chance of drawing realistic male anatomy poses.
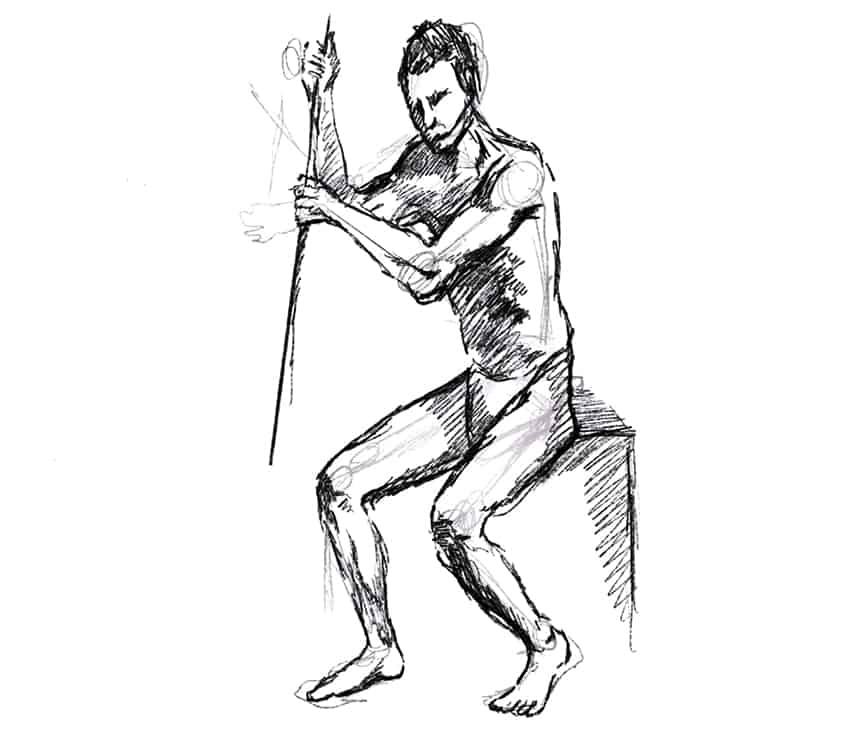
Understanding How to Add Details
Lastly, we can work with adding details to our drawing. Once we are comfortable with constructing proportionally correct structures and then sketching the figure within their movement, we can be strategic with our detailing.
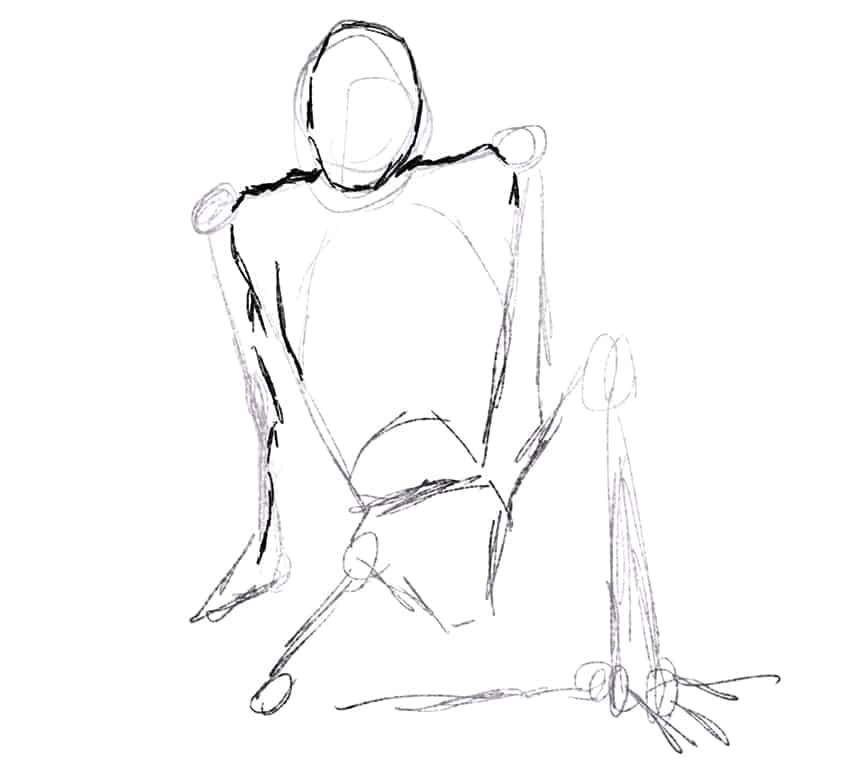
This is where we have an artistic decision-making process within ourselves with how realistic and refined we would like the drawing to be.
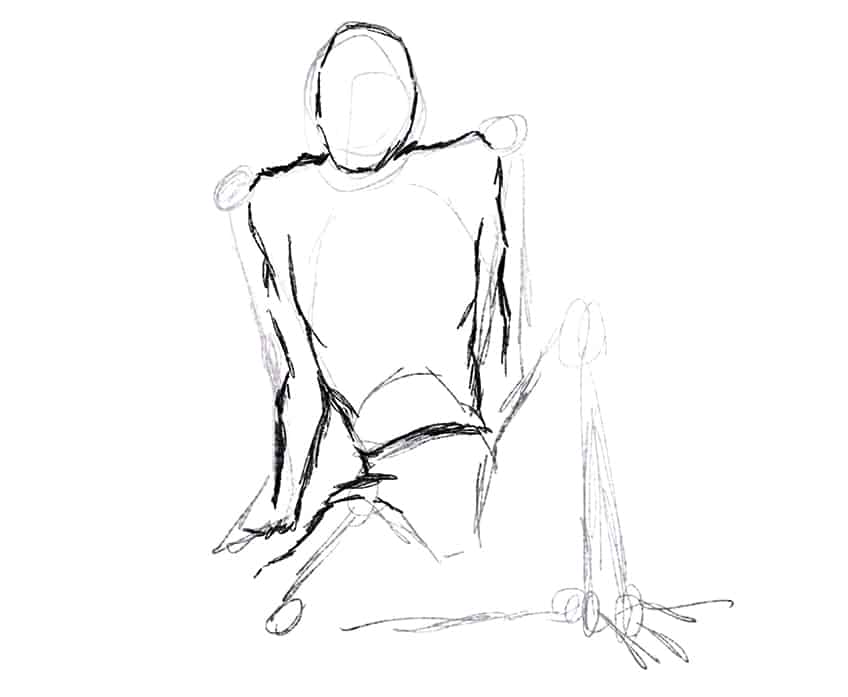
In some cases, we can keep our detailing quite subtle, such as minimal shading to have more emphasis on the loose sketched form of the figure.
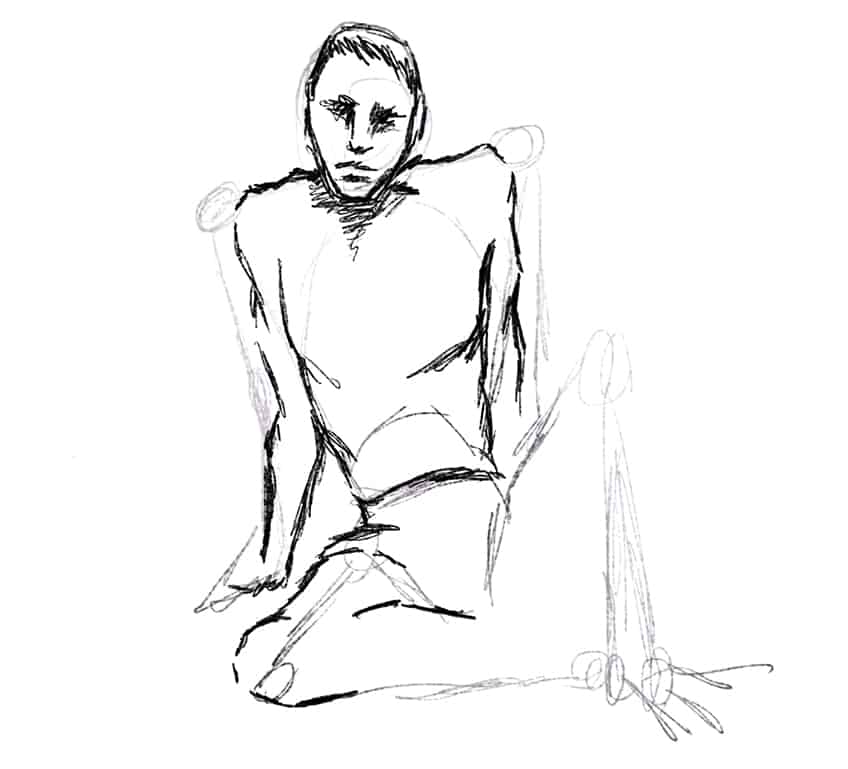
Working with subtle details can be a great way to achieve a particular aesthetic that encapsulates the figure’s form in a looser sketch-like visual.
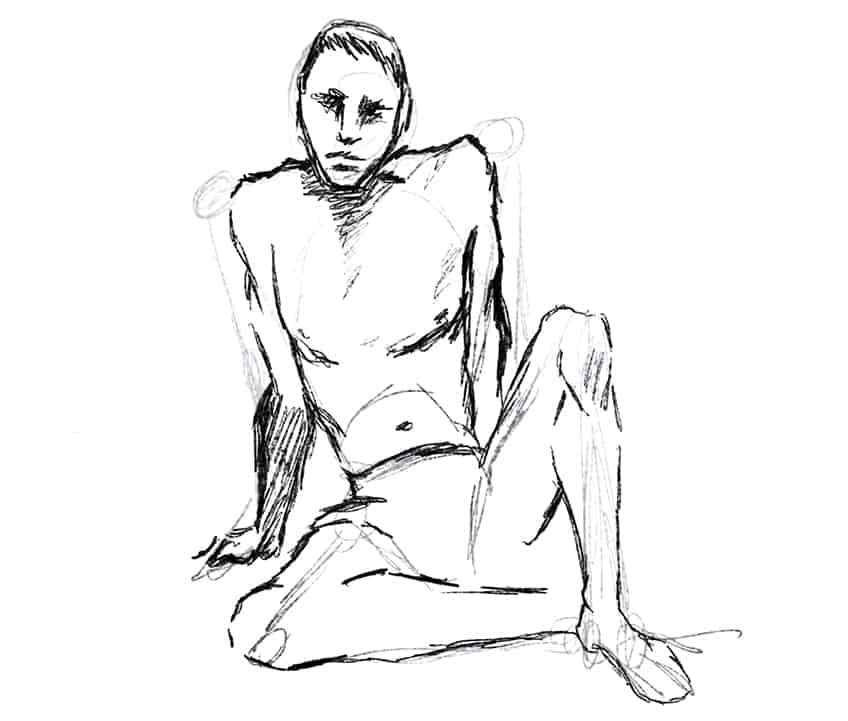
Working out basic features such as bodily features, facial features, and light shading can work quite well for quicker sketches that aim to encapsulate an accurate form quite quickly whilst still remaining correct.
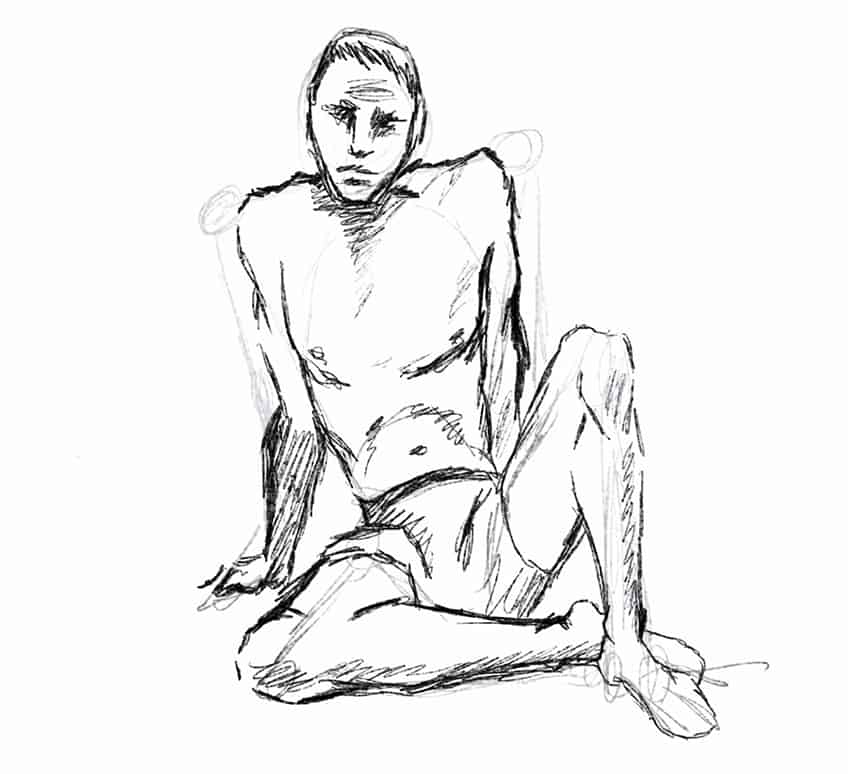
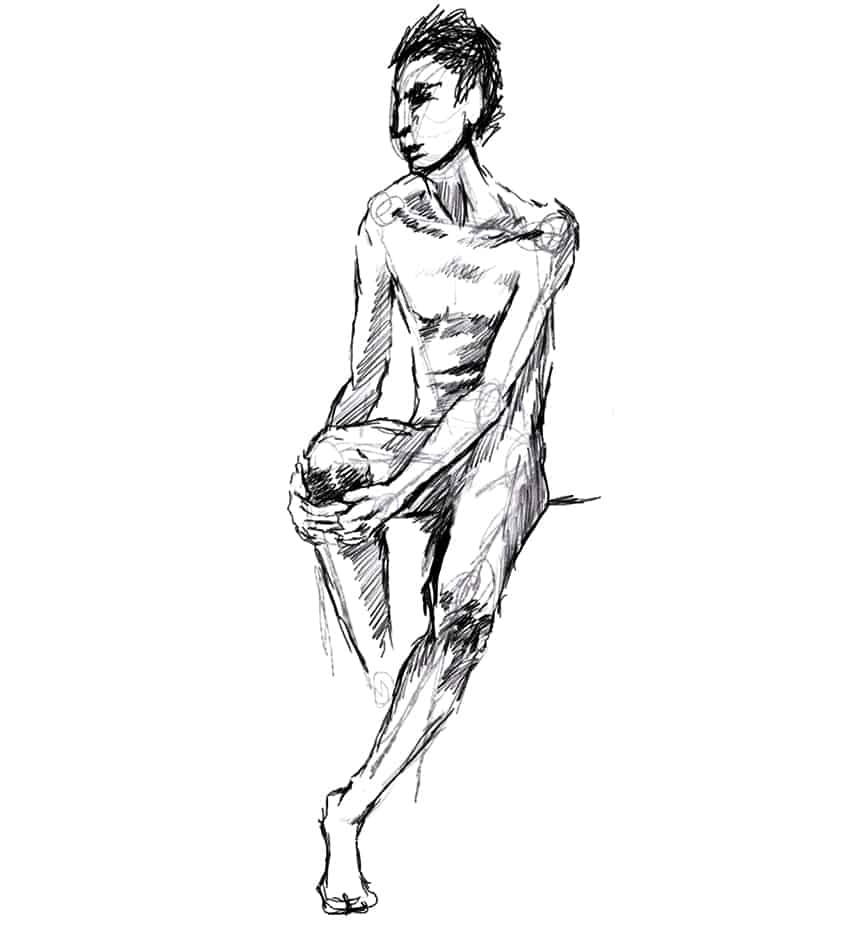
In another approach, we can work with more detail where we start to emphasize shading to define male art poses.
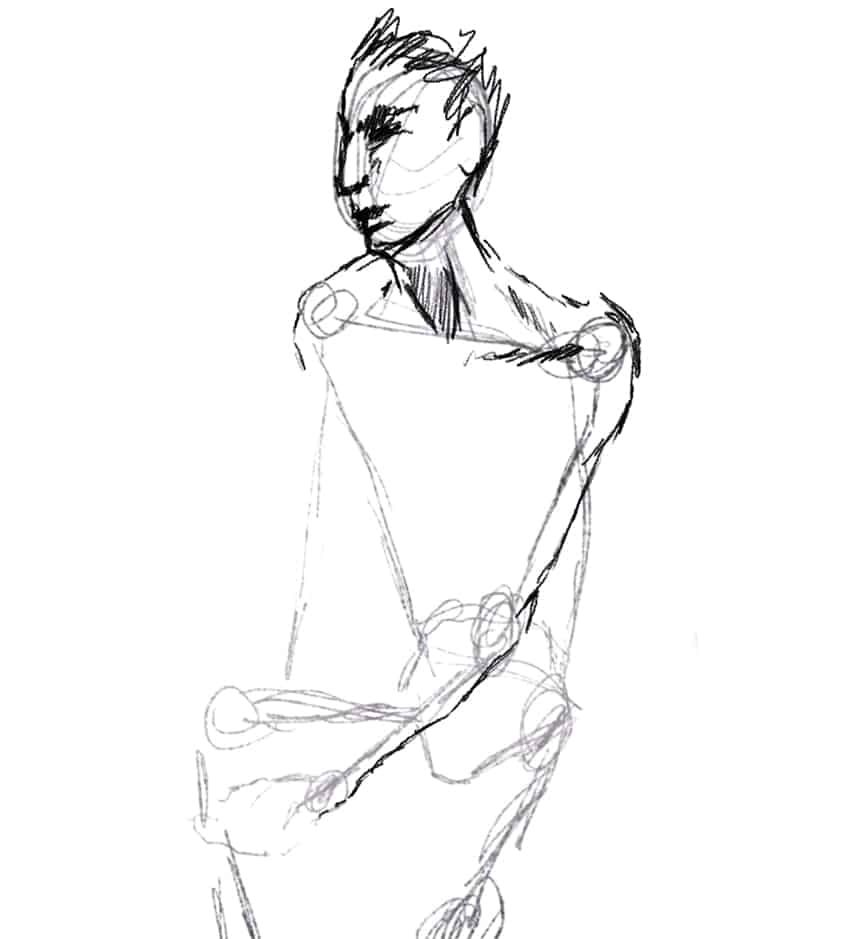
Once you know how to draw the figure from proportional understanding to capturing complex movements, you then can play around with how you would like the details to appear in the drawing.
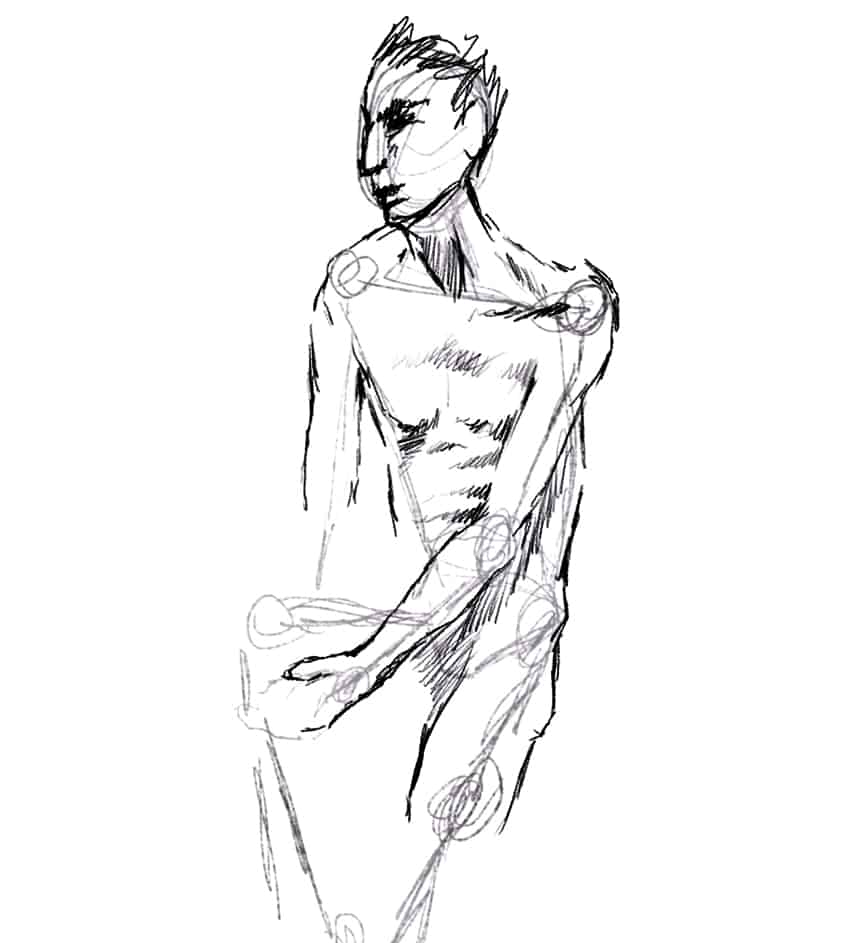
The more you get comfortable with the basics, you will find that you can be more playful with how shading features can work to enhance certain angles, poses, and features.
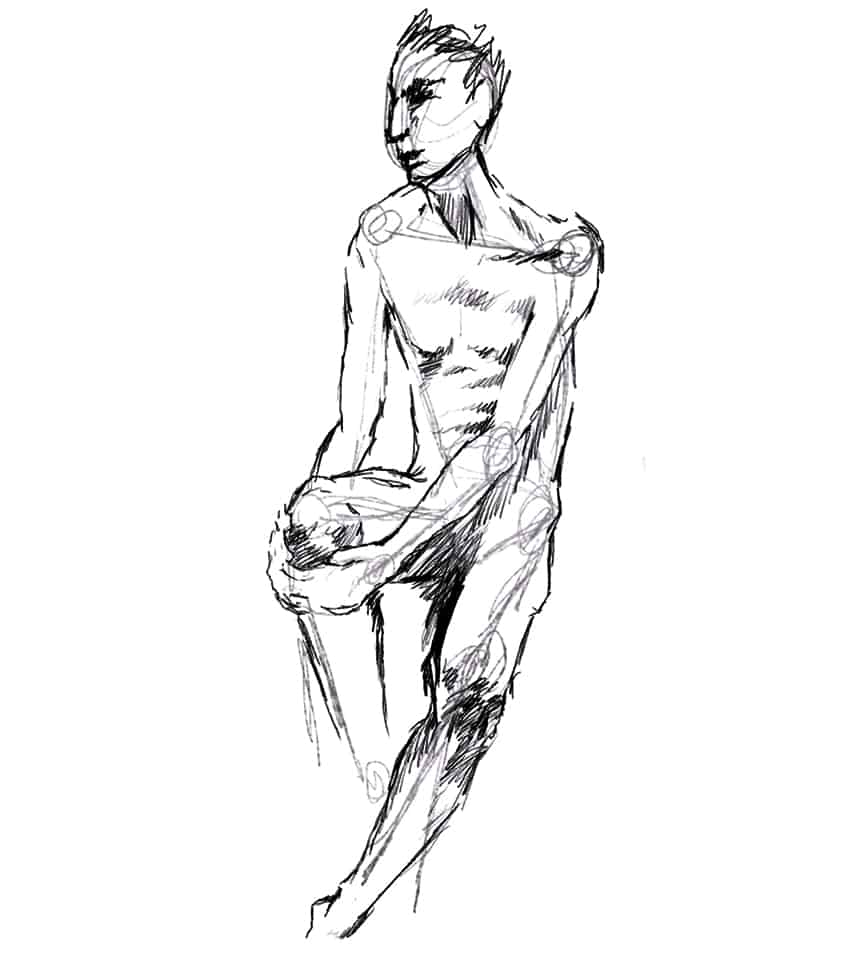
Allow yourself to explore a variety of detailing processes and see how shading or less detailing can work with your own male art poses. Otherwise! That is it, a few tips and tricks on drawing male poses.
Tips to Remember
- Make sure you understand the proportions first. You want to make sure that you fully understand the proportions of the male anatomy.
- Work on the skeletal structure before sketching the body of the figure. First understand your proportions, from there you can work on the skeletal structures of male art poses.
- Experiment with detailing the drawing. Detailing can be done in various ways and once you have broken down the basics, allow yourself to play around with detailing.
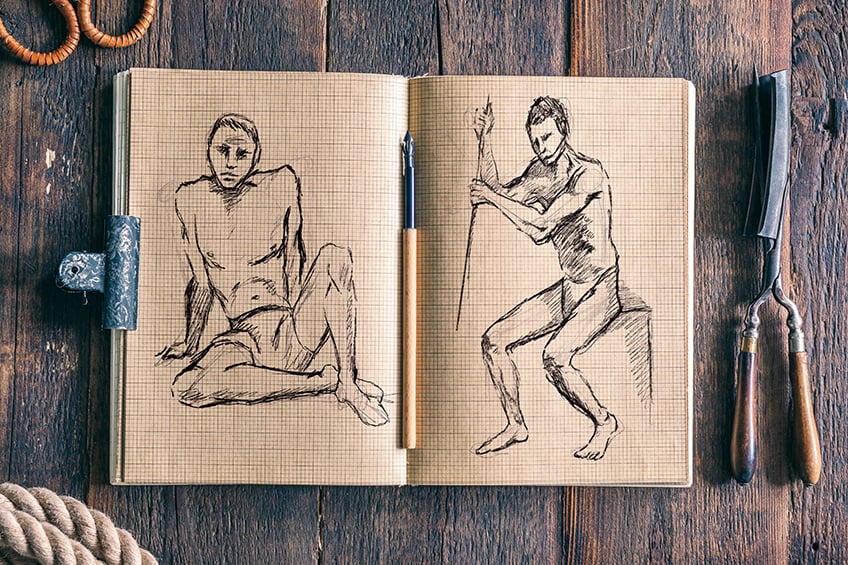
Male drawing poses are quite fun when you understand the process of constructing them from proportions to detailing. Understanding the basics will help you to explore your male art poses more freely, not only when you are drawing at home but also when drawing from life.
Frequently Asked Questions
How Do You Start a Male Pose Drawing?
We first want to understand how the male anatomy is broken up into various segments that establish different body parts in their correct positions. This is going to help us understand the scale and positioning of the body. From there we can play around with the segments and body parts, slightly distorting their positioning to create a moving structure. This is where we can explore poses and body positioning. From there, the last step is about adding detail to the drawing to further define the form of the male anatomy poses. This is where our male art poses become more artistic through the use of shading to determine light and shadow on the body.
How Do You Draw Different Male Poses?
Once you understand body proportions, you can then play around with how you draw various male anatomy poses. Understanding proportions is more of a guideline that can help you to shape the body and how it is positioned in space. Due to the nature of movement in a body, there will be slight distortions in body parts depending on the pose that is drawn. If poses are more subtle, we will find that the proportional comparisons between body parts do not shift too much. However, when it comes to seating, crouching, or more bending-like movements, the proportions change. This is where we can use the segments loosely and we then start to use measurement to determine how long each member of the body should be.
Matthew Matthysen is an educated multidisciplinary artist and illustrator. He successfully completed his art degree at the University of Witwatersrand in South Africa, majoring in art history and contemporary drawing. The focus of his thesis was to explore the philosophical implications of the macro and micro-universe on the human experience. Matthew uses diverse media, such as written and hands-on components, to explore various approaches that are on the border between philosophy and science.
Matthew organized various exhibitions before and during his years as a student and is still passionate about doing so today. He currently works as a freelance artist and writer in various fields. He also has a permanent position at a renowned online gallery (ArtGazette) where he produces various works on commission. As a freelance artist, he creates several series and successfully sells them to galleries and collectors. He loves to use his work and skills in various fields of interest.
Matthew has been creating drawing and painting tutorials since the relaunch in 2020. Through his involvement with artincontext.org, he has been able to deepen his knowledge of various painting mediums. For example, watercolor techniques, calligraphy and lately digital drawing, which is becoming more and more popular.
Learn more about Matthew Matthysen and the Art in Context Team.
Cite this Article
Matthew, Matthysen, “Male Drawing Poses – Learn to Sketch Male Anatomy Poses.” Art in Context. May 8, 2023. URL: https://artincontext.org/male-drawing-poses/
Matthysen, M. (2023, 8 May). Male Drawing Poses – Learn to Sketch Male Anatomy Poses. Art in Context. https://artincontext.org/male-drawing-poses/
Matthysen, Matthew. “Male Drawing Poses – Learn to Sketch Male Anatomy Poses.” Art in Context, May 8, 2023. https://artincontext.org/male-drawing-poses/.


