Gesture Drawing – Advanced Techniques and Practices
Gesture drawing is a great way to understand the human form and how proportions of the body distort due to unique poses and positions. Gesture drawing is really important for understanding the movement of the human body, as it can help you build up confidence when drawing figures quickly and from life. However, there are some fundamental concepts one needs to understand before applying them to more seamless and simplistic representations of the human figure in a gesture drawing. In this tutorial, we will look at some of these concepts associated with human anatomy and how to utilize them for a more effective approach to gesture drawings in your daily practice.
An Easy Guide to Drawing Realistic Gestures
Often we see gesture drawings from other artists that appear very seamless and effortless, but what we don’t know is that it often comes with a prior foundational knowledge of human proportions and movement. In this tutorial, we will look at some of these fundamental concepts and how to utilize them for more effective gesture drawings. We will learn how to draw gestures through the use of simple gesture sketches, understand light and shadow, and how to apply these to human figures.
Step-by-Step Tutorials on Gesture Drawing
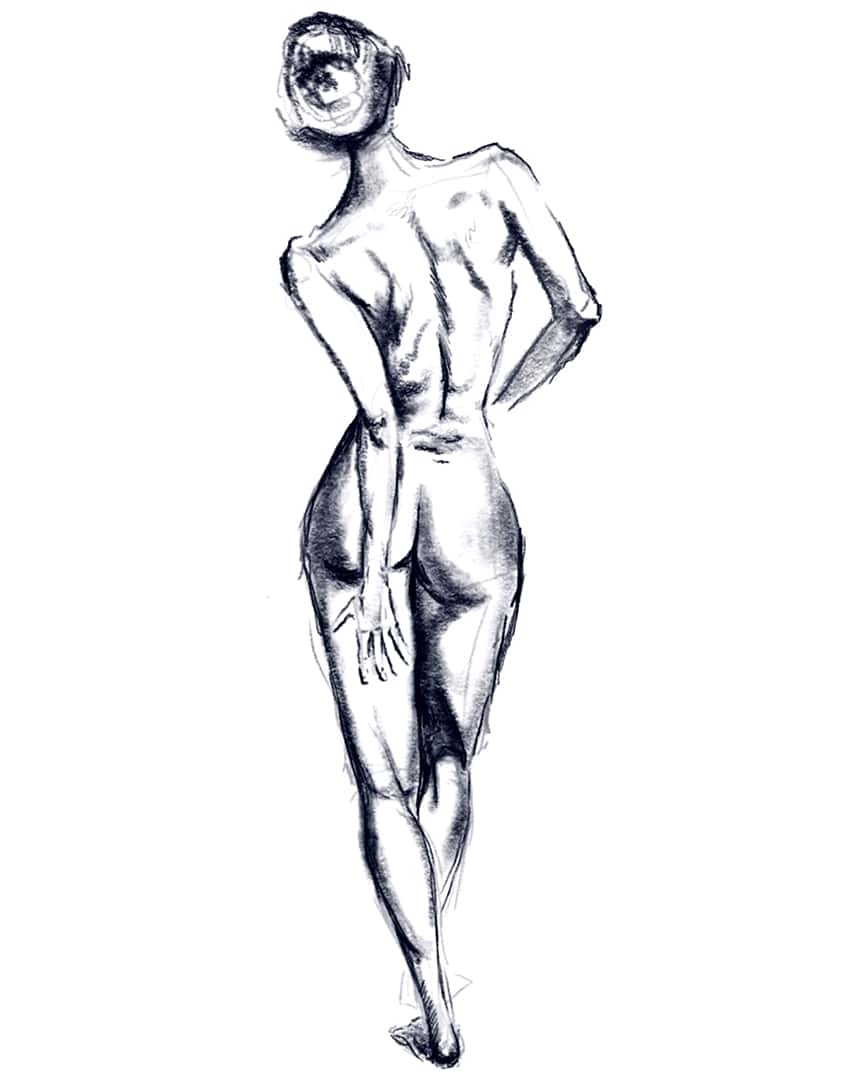
In this tutorial on how to draw gestures, we will be looking at the female figure as a structure for our figure drawings. We will first break down the concepts of proportions and how to make sense of scale in the body. From there, we will proceed by applying those concepts to simple gesture drawings where we look at basic poses. From there, we can start playing around with more unique positions and how the body distorts due to the way it folds in various areas.
This will give us a sense of shadow formation and how to integrate shadow to further shape the gesture drawings. We will then look at how we can use shadows predominantly as a way of shaping a gesture without drawing the entire figure outline. Then lastly, we will look at how to create a more realistic figure in our gesture drawing with these key concepts in mind.
Step 1: Understanding Scale in a Figure
Both male and female figures can be broken up into eight equal segments that establish the placement of different body parts.
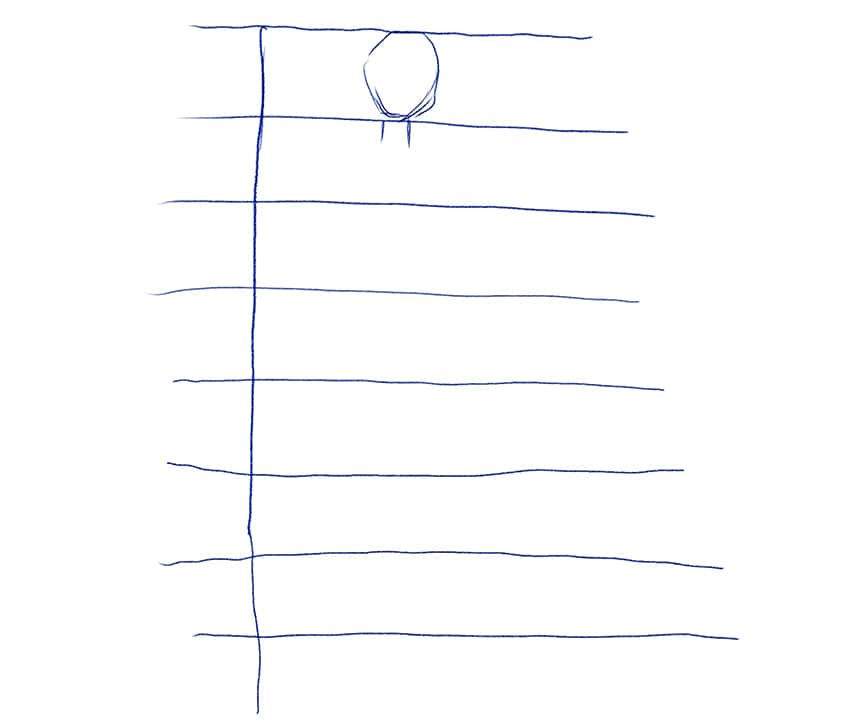
The head of the figure sets up the scale for the remaining segments throughout the body and will define the positioning of the remaining body parts.
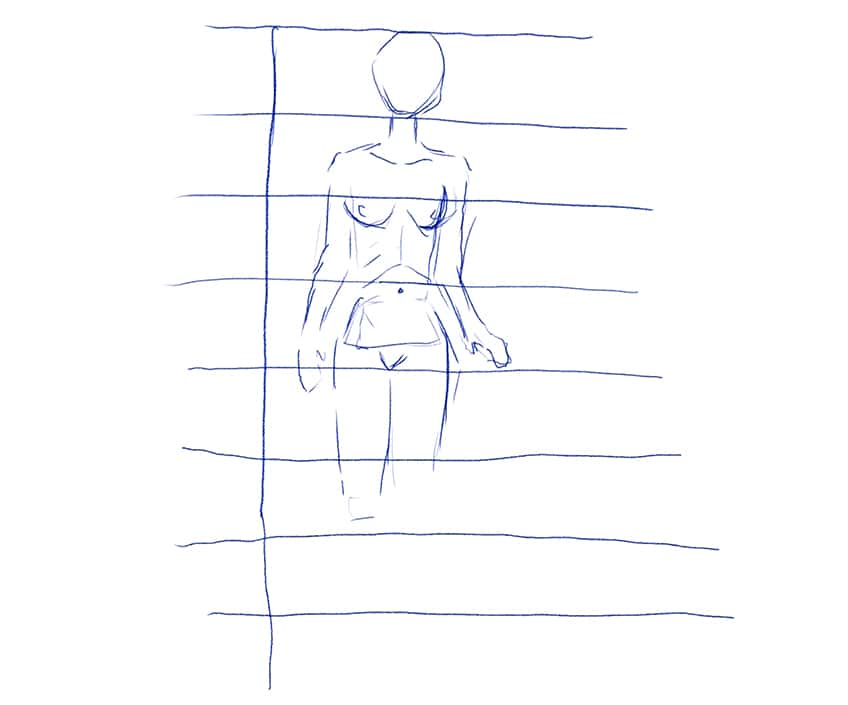
The pubic bone will establish the center point between the upper and lower body. From the fourth segment, the legs start to form from the thighs and shift into the knees and ankles in the seventh and eighth segments.

All eight segments are equal in height and defined by the size of the head. From the head size, we can then establish the scale of the remaining segments. Allowing us to establish the placement of the remaining body parts.

Step 2: Working With Simple Gesture Drawing
We first want to understand the fundamentals of proportions and scale within the female figure. From there, a good suggestion is to work with simple poses, like standing poses, where there is very little distortion in the body.

We want to keep the idea of scale in our minds as we form a figure within a gesture drawing. This is going to allow us to be loose with our marks, but remain accurate in the scale of various body parts.

Once you know the rule of eighths, we can then compare different body parts to one another, making sure they are similar in length. We can apply this concept throughout the entire structure of the body, as we work on more simple figure shapes.

As you work with more simple structures, you can get the hang of the scale of body parts, and how they remain proportionally correct as you attempt to draw figures.

Step 3: Creating Distorted Gestures
Once we understand the length of the various body parts, we can try some poses where the body is more distorted. We want to keep this rule in the back of our minds when creating figures in more unique poses such as sitting poses.

When a figure is sitting, the body position curls a lot in points of mobility. This means that the hips, legs, and arms can move in various directions and appear longer or shorter depending on the perspective from which the figure is seen.

As long as we keep the concept of eight equal segments in our minds, we can allow for a little deviation from the equal lengths in the figure as the body is posed in dynamic ways.

Working with seated poses from both the back and front of the figure is a great exercise because it challenges us to work with twisting motions in the figure. We are using the rule of eighths but simultaneously changing certain lengths of different body parts depending on perspective.

The more comfortable we get with the rule of Eighths, we can form figures in a very linear skeletal fashion to establish their unique position.
Step 4: Drawing Gestures Through Layering
The more familiar we are with the length of various body parts, the looser we can be with drawing them in. This is where our gesture drawings become nuanced within our unique style for various figure poses. We can also work loose to get a better sense of scale and position for more unique poses. This allows us to work more linear rather than having to draw the entire shape of the figure all at once. Working this way can allow you to build up figures in various poses with a simple linework, which you can then erase and refine with more shape.
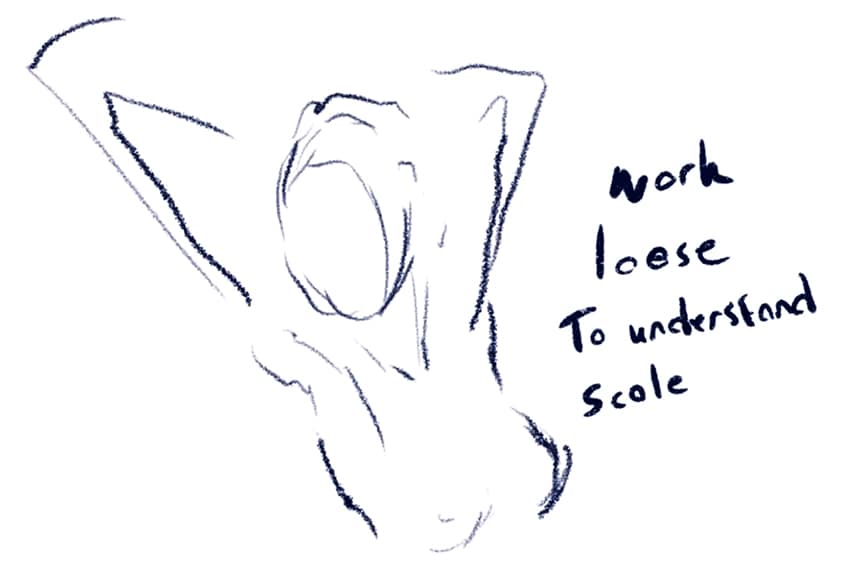
Working this way also gives you a more unique stylized approach because you are not necessarily trying to be too realistic with your figure. Having subtle shifts in shape and scale can give your gesture drawings a unique aesthetic.
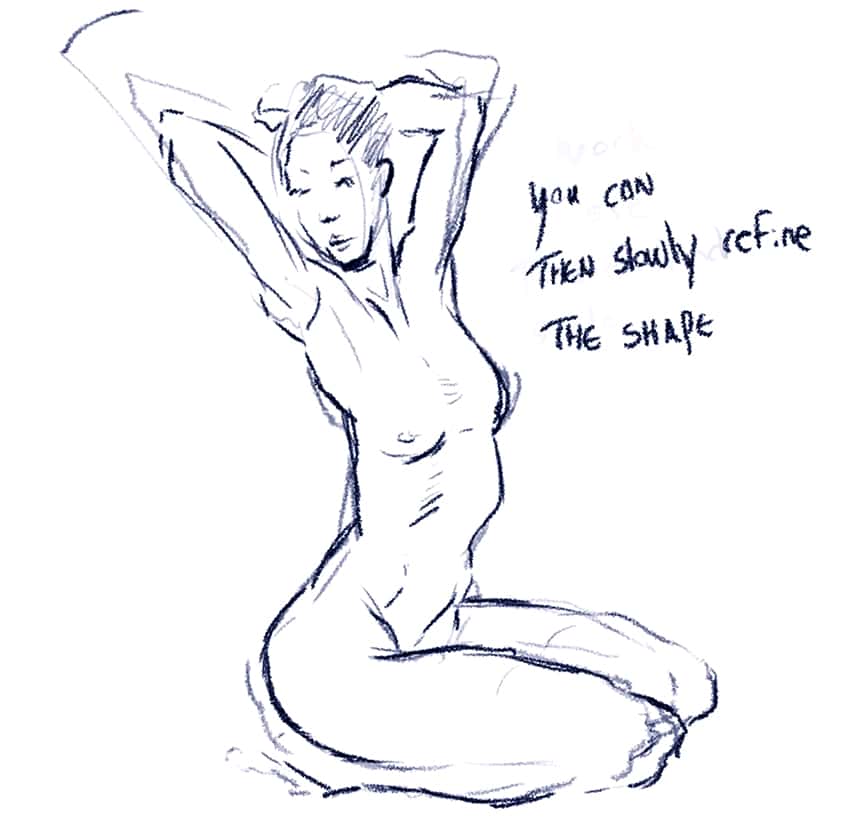
This is a unique approach to building up a figure through a layering process, which makes the shaping of challenging poses much easier. This is because we can form them in their skeletal shape, which we can then construct a figure around.
Step 5: Working with Shadows and Light
We can now start to play with unique poses with the rule of eighths in mind to construct the general shape and poses of a figure. As we do this more often the process of shaping figures quickly becomes much easier. This is where we can now start to consider the shape of the figure defined through shadow and light.

Once you are comfortable with the process of building u[p the figure in proportions, skeletal structure, and then the body, we can start to think about defining three-dimensionality through integrating shadows.

We want to always think about how a figure can be defined by the consistency of shadow formation along a single side of each surface area in the body. This means that if our light source comes from the right side all shadows should then be present on the left side.

Naturally, we will see the distinction in approaches between a more linear-styled gesture drawing, and one that has shadow formation. Again, challenge yourself with unique poses to see how integrating shadow formations can enhance the three-dimensional nature of the figure.
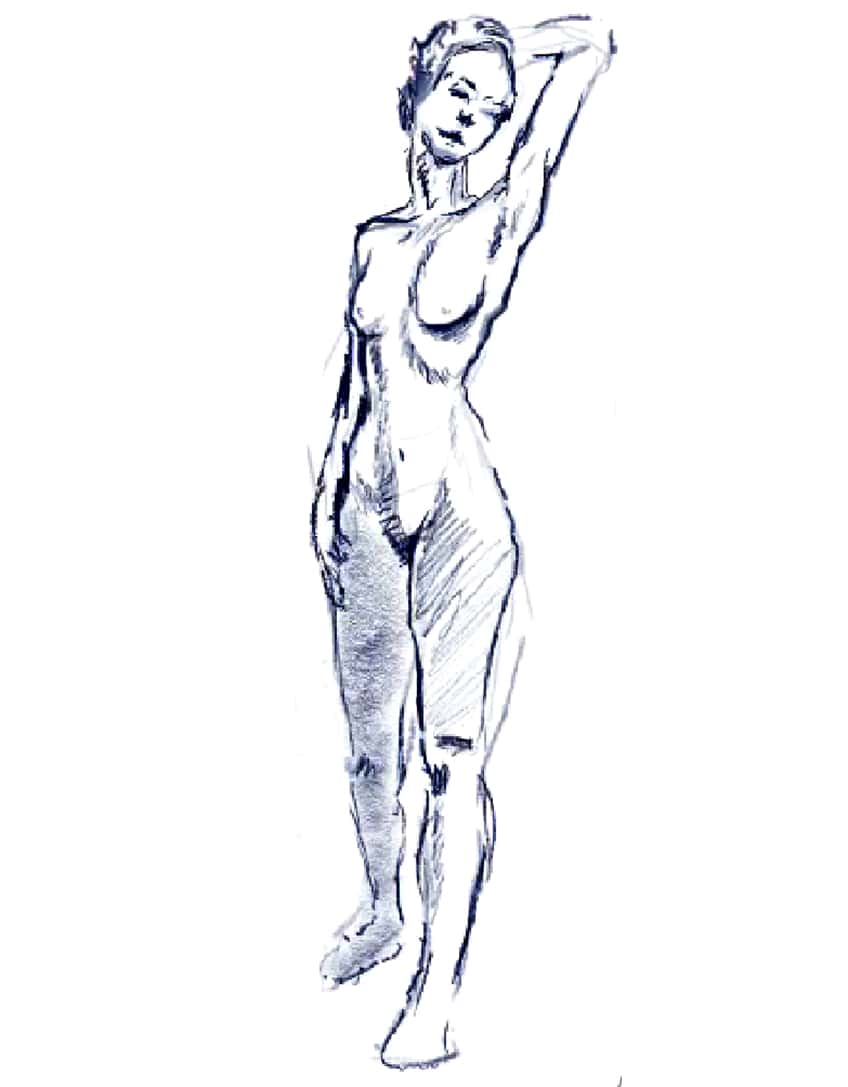
Remember, you can use the rule of eight to form a figure in any stance, working loosely with the scale of equal parts. You can allow for subtle shifts in scale to allow for a more nuanced movement in your gesture drawing.

As you construct the figure you want to think about how the body is a three-dimensional structure with protrusions in various areas on the body. Naturally, this will decide the placement of the shadows along the body.

Remember, we want to maintain consistency in shadow placement along a single side of the body. This means we will always have shadows present on the same side within each member of the visible body.

Step 6: Creating Loose Shadow Gesture Drawings
Naturally, the more comfortable we get with all these different concepts of scale, proportion, shadows, and so on, we can become explorative with our gesture drawings.

Another great way to approach a gesture sketch is by working only with maximum contrast of shadows to shape the body. This is where we work with both shading and negative space to define the shape of the body.

This is a much more abstract approach to gesture drawing and fun because we are not worried too much about perfect scale. However, we can keep the rule of eighths in our mind as we shape these shadows but we can be very loose with these rules. This is a great way to be more emphatic about body shapes and curves and is a beautiful way to represent the human figure. Allow yourself to play around with very loose shadow gesture drawings.

It is all a matter of becoming comfortable with various styles and working with shaping gesture drawings in various ways by the use of these different concepts. The more comfortable you get, the more you will find your unique style.

Step 7: Drawing More Realistic Gesture Drawings
As we build more confidence with these different styles of gesture drawing, we can start putting them together for more detailed approaches. Again, we can build up the structures with a skeletal formation. This is where we utilize the rule of eighths to shape the length of various proportions in the body of the figure. Again, we can also be more adventurous with the pose and perspective of the gesture sketch.

We can then lightly erase the skeletal structure and start working with loose lines and shading to bring shape to the figure in our gesture drawing. Establishing the figure with some basic linework at first is a great way to refine the shape of various body parts, making sure that they make sense altogether in the position.
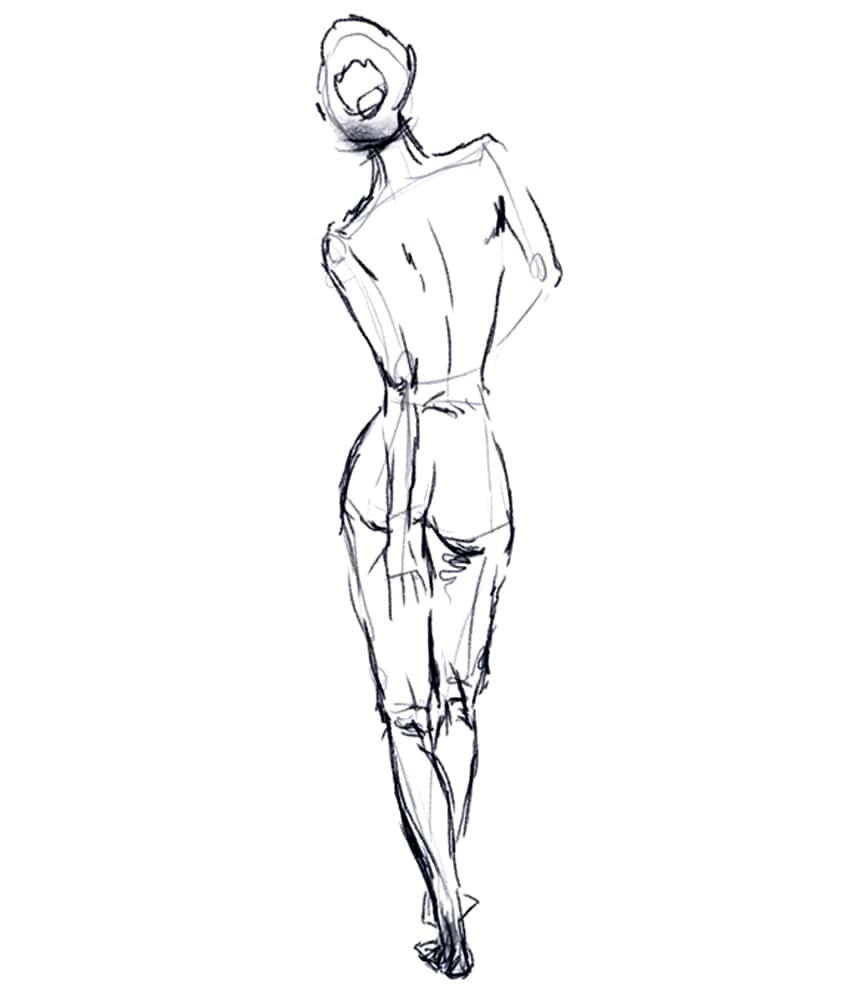
We can then lightly erase our figure, leaving behind some ghost lines as parameters to work in shadow formations. This is where our attention to body shape and shadow formations becomes important for how we create our gesture drawing. We can decide stylistically how to integrate shadows and lines at this point.
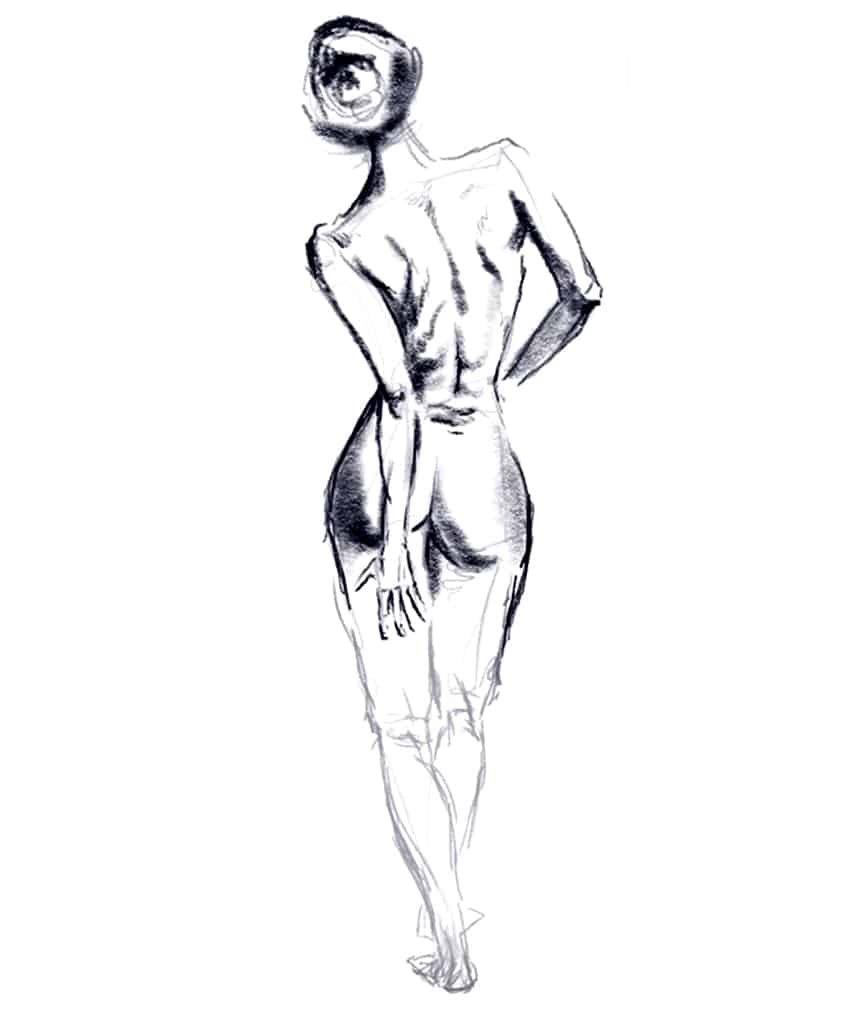
Working in tandem with both linework and shading in different areas of the body can be a great way to shape the figure. This is where the figure can have some defined areas with linework and some areas defined by softer shadows.

Ultimately, the idea is to work with all the concepts in hand to find your unique style. In this tutorial with various gesture drawing examples, we look at various approaches to creating your style by utilizing various techniques.
Tips and Tricks to Remember
- First, understand the proportions. Work out the size of various body parts before approaching a gesture drawing.
- Work with simple distortions in your figure drawings. This tutorial provides you with various gesture drawing examples on how to reshape the body with the correct sense of proportions.
- Consider the light. Always keep your light source in mind for more consistent shadow placements.
- Experiment with different styles. Play around and consider all of the provided gesture drawing examples as a starting point for your unique style.
- Utilize shading to represent details. Consider how shading shapes the body in tandem with negative spaces as highlights.
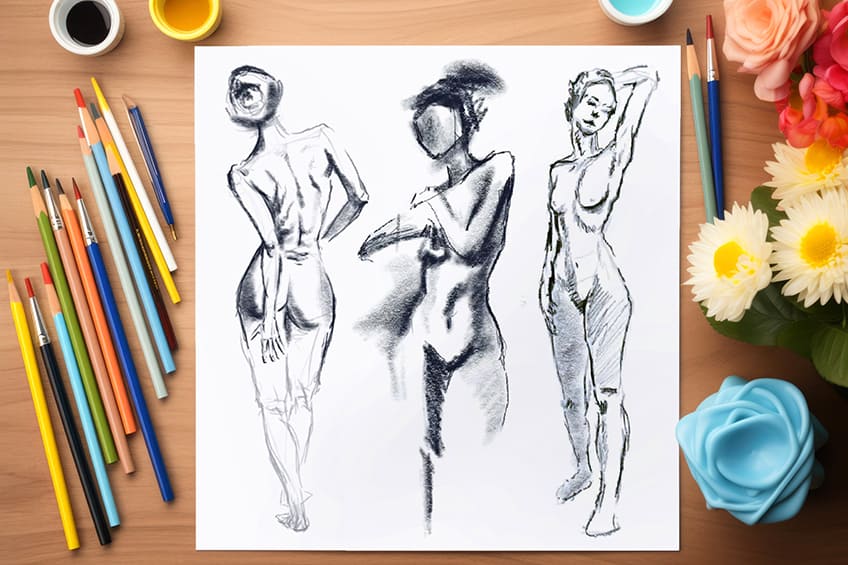
As we learn what gesture drawing is, we see that it is a unique form of representation of human form in a variety of ways. In this tutorial with various gesture drawing examples, we explore different approaches and how to work with fundamental concepts of scale to shape your figures. As we come to learn what gesture drawing is made of, we see that there are various approaches and techniques one can learn for a more effective approach to gesture drawing.
Matthew Matthysen is an educated multidisciplinary artist and illustrator. He successfully completed his art degree at the University of Witwatersrand in South Africa, majoring in art history and contemporary drawing. The focus of his thesis was to explore the philosophical implications of the macro and micro-universe on the human experience. Matthew uses diverse media, such as written and hands-on components, to explore various approaches that are on the border between philosophy and science.
Matthew organized various exhibitions before and during his years as a student and is still passionate about doing so today. He currently works as a freelance artist and writer in various fields. He also has a permanent position at a renowned online gallery (ArtGazette) where he produces various works on commission. As a freelance artist, he creates several series and successfully sells them to galleries and collectors. He loves to use his work and skills in various fields of interest.
Matthew has been creating drawing and painting tutorials since the relaunch in 2020. Through his involvement with artincontext.org, he has been able to deepen his knowledge of various painting mediums. For example, watercolor techniques, calligraphy and lately digital drawing, which is becoming more and more popular.
Learn more about Matthew Matthysen and the Art in Context Team.
Cite this Article
Matthew, Matthysen, “Gesture Drawing – Advanced Techniques and Practices.” Art in Context. August 2, 2024. URL: https://artincontext.org/gesture-drawing/
Matthysen, M. (2024, 2 August). Gesture Drawing – Advanced Techniques and Practices. Art in Context. https://artincontext.org/gesture-drawing/
Matthysen, Matthew. “Gesture Drawing – Advanced Techniques and Practices.” Art in Context, August 2, 2024. https://artincontext.org/gesture-drawing/.


