How to Draw Teeth – An Easy and Realistic Drawing Tutorial
Learning how to draw teeth is an essential drawing exercise to practice when you are looking to develop your anatomy drawing skills. Teeth are a strange feature of the face, as they are always contextualized by the opening of a mouth. In this tutorial, we will learn how to draw both a mouth and a set of teeth so that we gain an understanding of how the mouth structure is formed as a whole. Teeth are also a great subject matter because they give us more insight into how they add to the overall features of a face. This versatile skill of placing teeth within a mouth will give you a better sense of how to form teeth for your own anatomy drawings.
An Easy Guide to Drawing Teeth
Teeth are seemingly complicated because they are always drawn within the surrounding features of a mouth. This means that we need to understand how to form a mouth in order to accurately create a tooth sketch. In this tutorial, we will break down the process into digestible steps that slowly demonstrate how to form these features in a simple and uncomplicated way. Teeth drawing is easy if we build up the drawing from a basic tooth sketch into a more realistic drawing of a tooth. This tutorial on tooth drawing will provide you with the necessary skills to make a realistic drawing of teeth.
Necessary Materials
In this tutorial on how to draw teeth, we will be using simple tools to keep the drawing process of our tooth sketch quite easy. This tutorial is done with a digital device, however, all drawing processes are transferable to traditional drawing tools for the drawing of a tooth. If you are using traditional drawing tools, you will want to make sure that you have a pencil, eraser, pen, sharpener, and some paper. All necessary materials can be found through the links below.
- Ballpoint pen
- Micron pens
- Pencil
- Eraser
- Sharpener
- 300gsm paper
Step-by-Step Guide on How to Draw Teeth
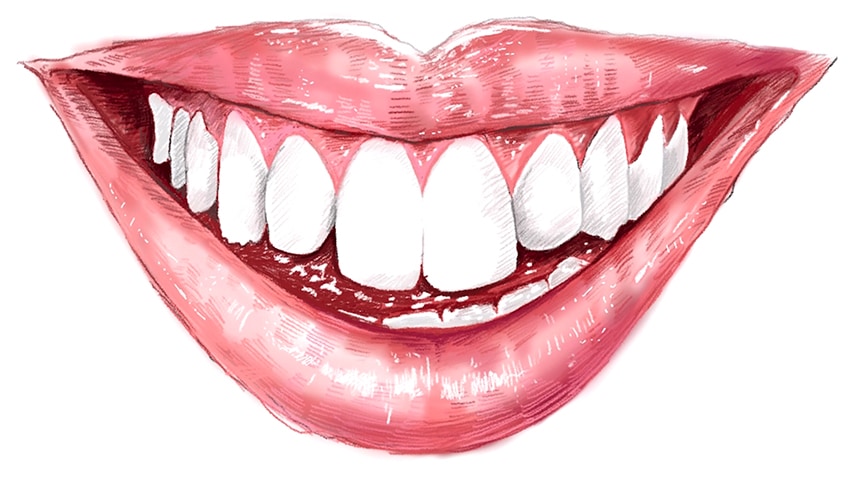
In this tutorial on how to draw teeth, we will start with a simple teeth sketch, where we work on the shape and form of the mouth and how the teeth are placed in the mouth. From there we will work on refining the simple teeth sketch to enhance the mouth’s structure into a more realistic tooth drawing. We will then move on to working in some more detail by the use of shading and linework, which will give the teeth drawing a more three-dimensional quality.
Now that we know what to expect, let’s get started with this tutorial on how to draw teeth.
Step 1: Shaping the Teeth
We want to start by shaping the mouth, as this will determine how visible the teeth will be. In this case, let us draw a smile that reveals a good portion of the teeth.
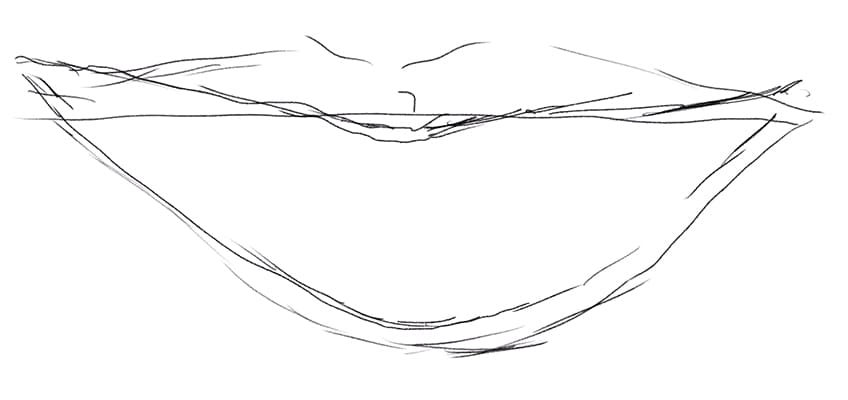
The intention is to take your time with forming the general shape of the mouth, which you can then use to determine the placement of the teeth. We want to consider which teeth will be visible when drawing them.
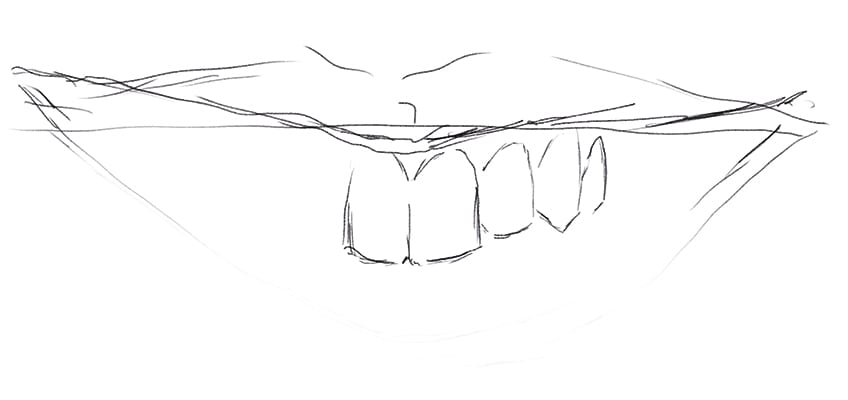
Generally, with a smile, the upper lip rises to reveal the top row of teeth such as the central and lateral incisors as well as the canines and first and second premolars. We want to spend a good portion of time lightly sketching these features.
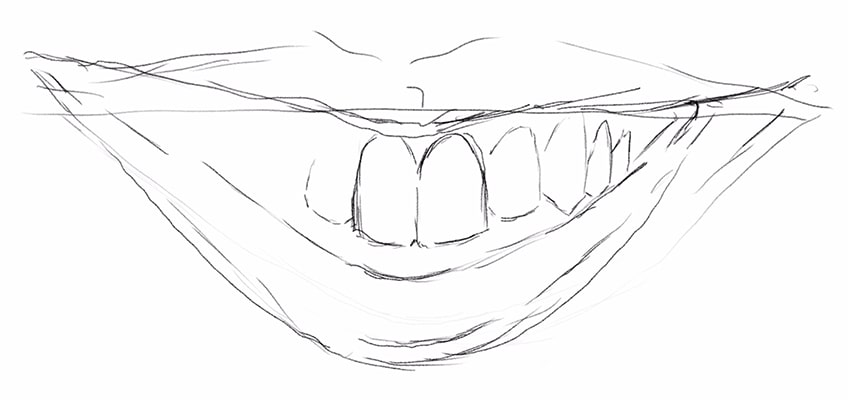
We also want to consider the size of the lips as we form the mouth, with the upper lip, it tends to be slightly thinner than the bottom lip. The bottom lip also has a curving motion that arches below the mouth and connects to each corner of the mouth.

Step 2: Refining the Teeth Sketch
At this point, we should have a light sketch of the placement of teeth within the mouth. From here we want to slowly work through the sketch one last time where we start to refine the shape of the various features.

This is where we can lightly erase our previous sketch, and then start to work over that previous sketch with a few more refined details. This is where we can try to really perfect the shapes of these various features. We can start to really capture the size difference between the different teeth, making sure our front teeth or central incisors are the largest in size. We then make the lateral incisors slightly smaller with elongated canines next to them.
We also want to make sure we capture the heart-shaped structure within the lips, we want to make sure that we also make the upper lip slightly smaller than that of the lower lip.
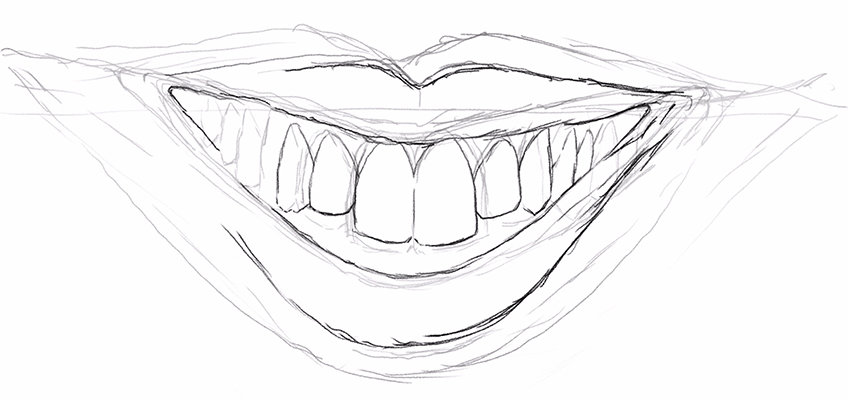
As we refine the shape of the lips and the teeth, we want to make sure that the teeth are scaled in relation to the teeth. The lips should not be significantly larger than the teeth and the same goes for the teeth.

We will also find that as the mouth smiles and the upper lip rises, the lower lip will still lower slightly as well. This will give us a little bit of visibility of the lower teeth such as the central and lateral incisors. Something important to note is that as you start to darken the inside of the mouth, you will find that it brings more dimension and depth to the teeth’ structure. This will inevitably pull the teeth forward and give it a more realistic quality.
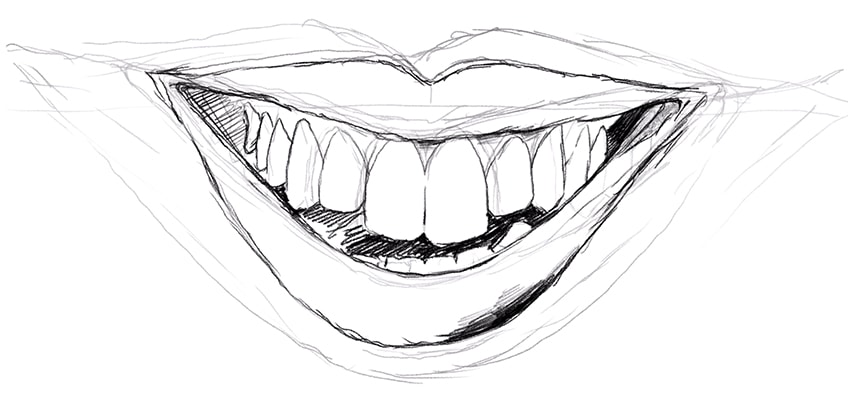
Once we have refined the shape and established the features within the mouth, we want to lightly erase our sketch one last time. This is where we will then move on to integrating color into the drawing.

Step 3: Adding the Base Layer of Color
This is where we will start to work color into our teeth drawing, which is more a matter of working color into the surrounding features. We want to start thinking about the color values present within the mouth.

We want to layer our colors, starting from lighter tones and then eventually adding in some darker tones. When it comes to the lips we will find that we are mostly dealing with hues of pink and red.
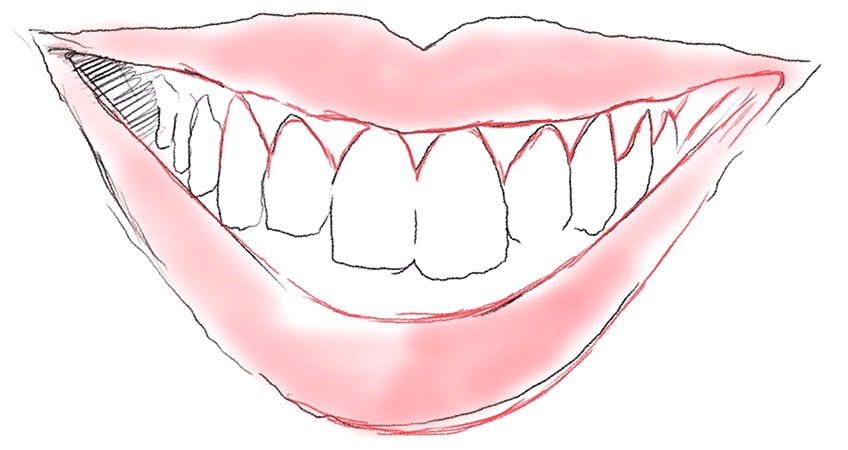
The gums will also be revealed within the mouth as the mouth has this smiling shape. We want to make sure that the gums are slightly darker than the lips.
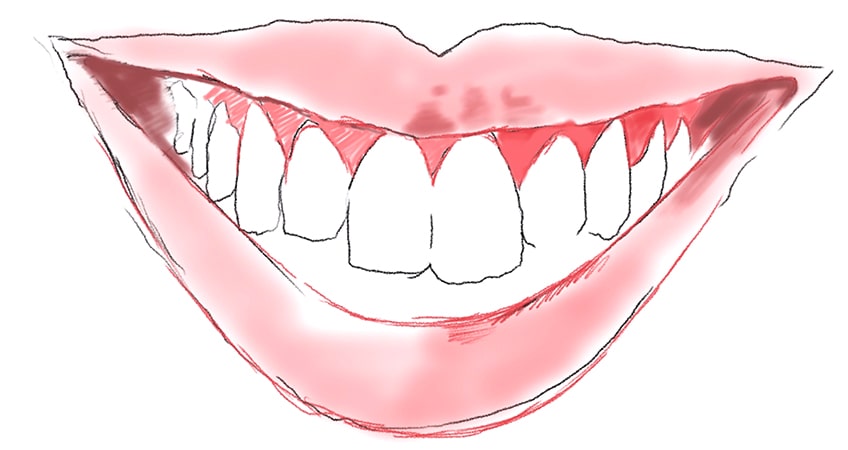
As we darken features inside the mouth, we want to think about using darker reds each time. The intention is to understand where light and shadow are most prominent within the mouth and allow that to guide our coloring process.
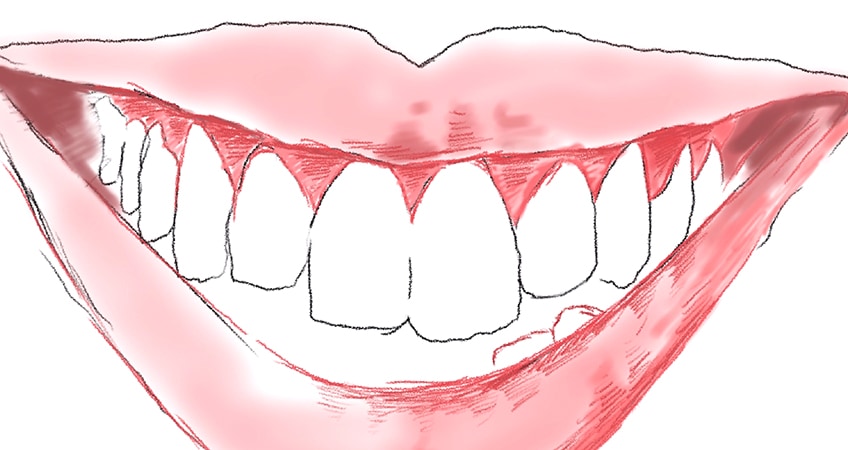
As we darken the mouth we will find that it starts to bring dimension to the mouth drawing. Again, we want to think of shadows in the mouth as darker tones of color in each feature of the mouth.
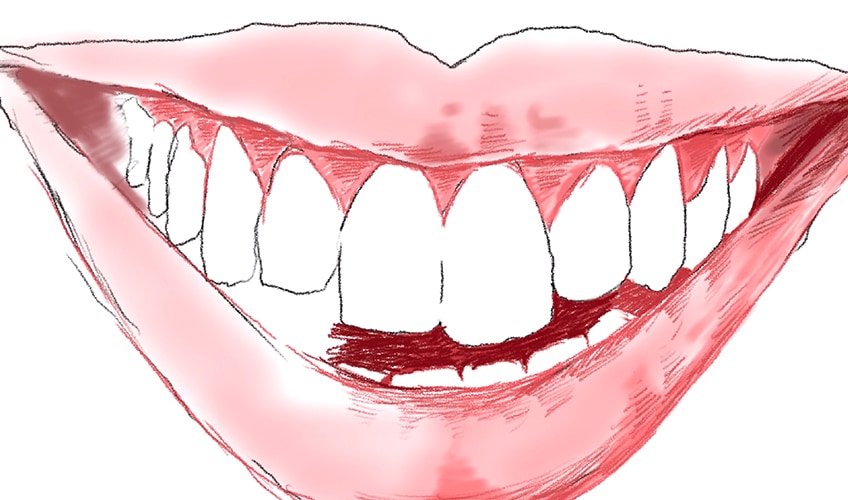
We can also start to bring more from to the lips by darkening the edges of the lips. That being said, we also want to be strategic with leaving negative spaces in the lips which will suggest highlights.
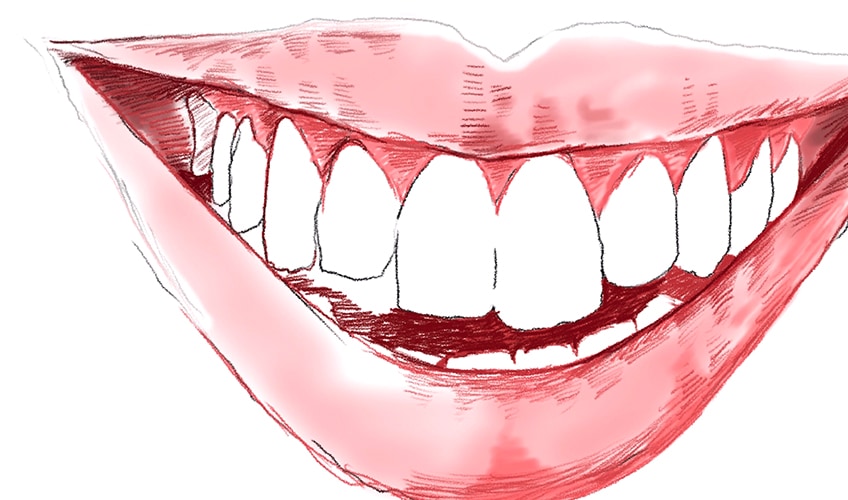
Step 4: Adding Darker Tones to the Mouth
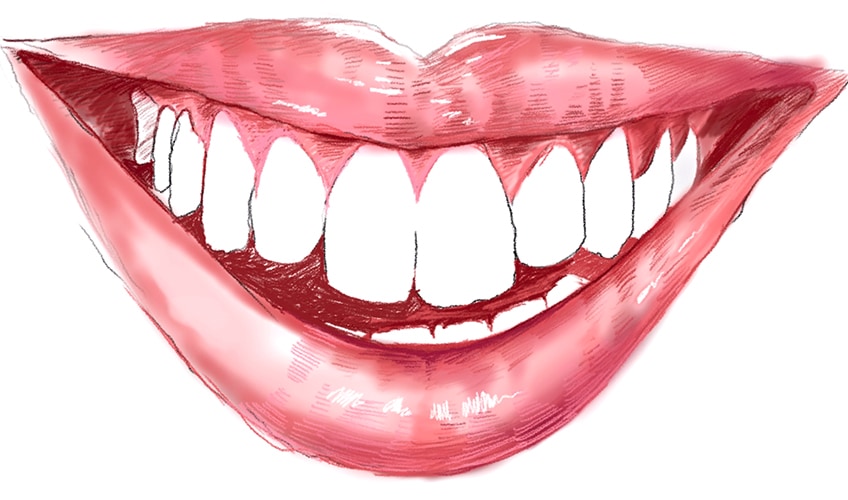
Once we have established these base layers of pinks and reds in the mouth, we can start to work on some darker marks to give more structure and definition to the various features.
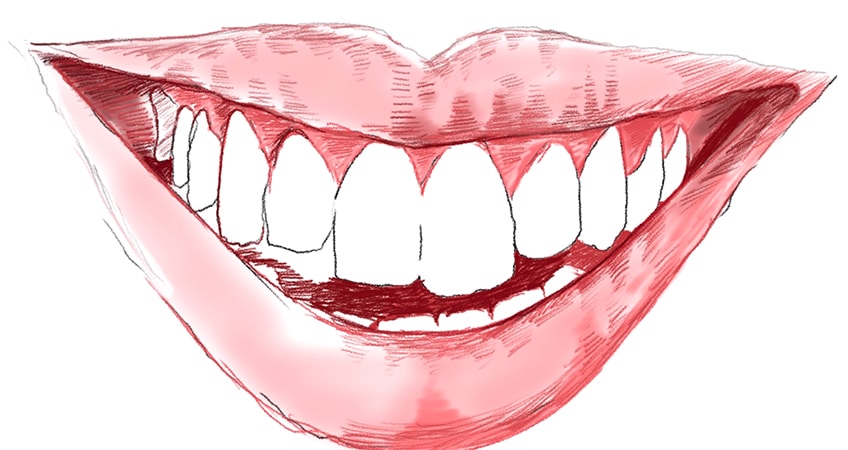
This is where we start to consider the base color within each feature of the mouth, which we can enhance with a slightly darker tone of those various colors. This is where we can also start to integrate some line work for better form and shape.
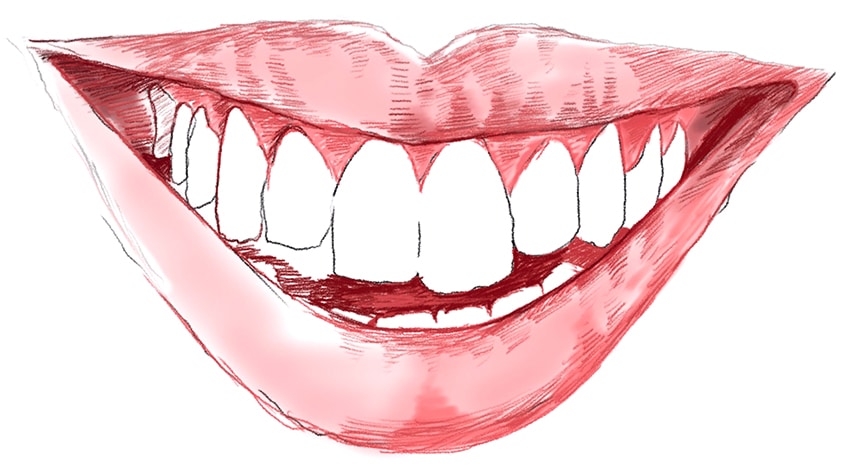
As we integrate these darker colors, we also want to consider that we are trying to work around the teeth. We want to leave the teeth negative as we darken the features around them.
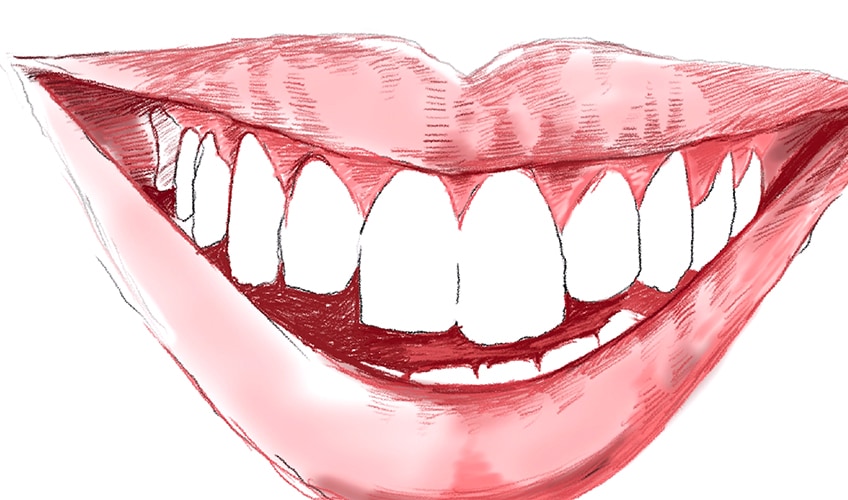
We will want to take our time working through the different areas in the mouth making sure that we are keeping the colors accurate in comparison to one another.

As we add color to the inside features of the month we will also find that these areas will be darkest as they are least exposed to light. We will also find that there will be subtle shadowing on the top gums which is developed by the upper lip resting on them. As you proceed with adding color to your drawing, you want to keep in mind the area that will be least and most exposed to the light source and how this will inevitably affect their color value.
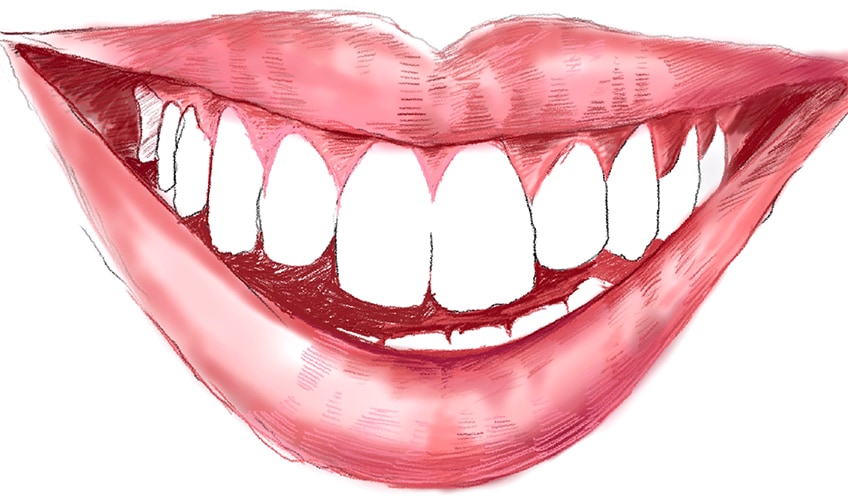
We will find that because the lips are the most exposed to a light source, we want to have these lighter moments that run through the structure of the lips. We will also find that the center of the upper and bottom lip will be slighter lighter in comparison to the corners of the mouth.
Step 5: Adding Highlights to Various Features in the Mouth
Another aspect of the mouth is that it is often moist which develops a reflective quality off the surface of these features. In the case of the lips and inner features of the mouth, we want to work in these negative spaces to suggest moisture and highlights.

We want to make sure that we consider the curved nature of the lower lip which would develop highlights in the middle area of the lip. We can add these highlights to the inner features of the mouth as well which will give it this moist quality.
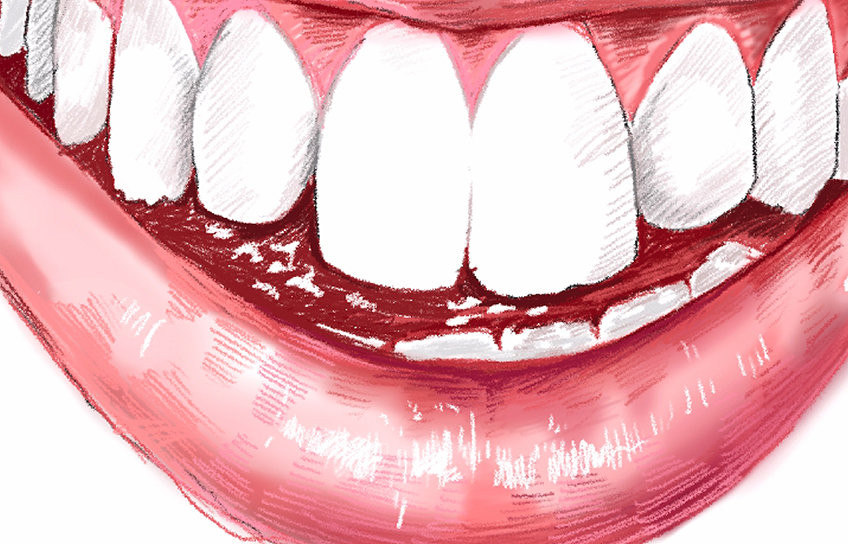
We also want to consider the upper lip as a feature that would be highly exposed to a light source. This will inevitably develop highlights along the edges of the lip and on its larger surface area.
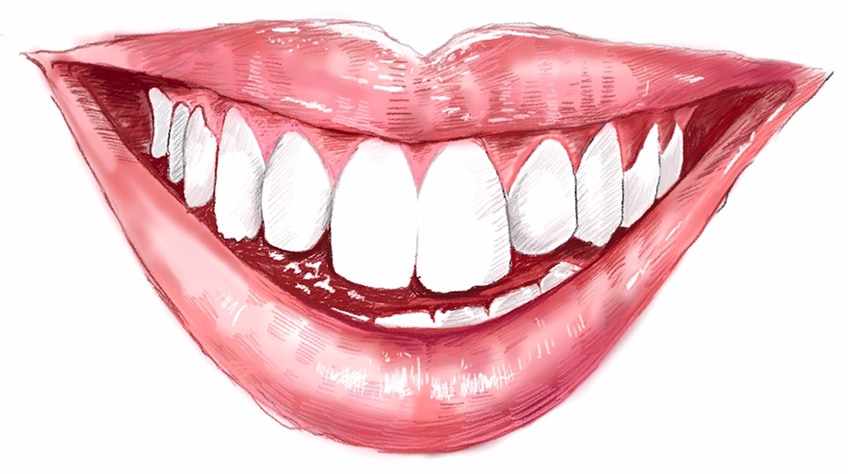
It’s always important to consider the textural qualities of the lips, gums, and teeth as we add in these details. Especially with surfaces that are moist and have the ability to reflect light, which will inevitably have highlights present on their surfaces.
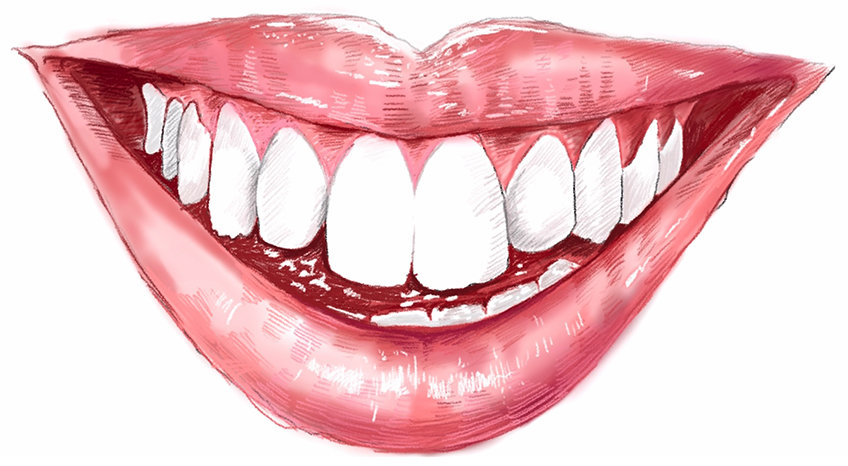
We can also add these little highlights to the gums as the gums also have a very moist quality which will inevitably develop these moments of reflected light.
Step 6: Adding the Final Details
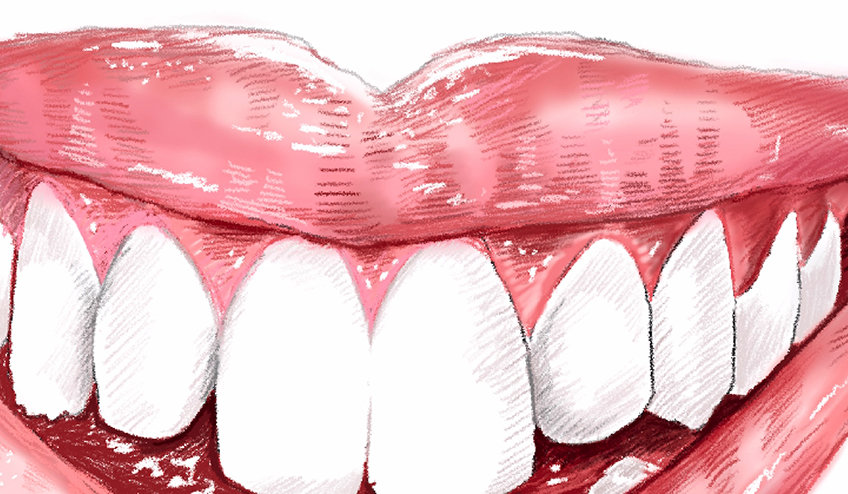
At this point, we can start to work on some darker details in the areas where the shadows are most present. We want to focus mostly on the inner features of the mouth, including the corners of the mouth.

We can also work in some gray shading within the teeth as this will refine their shape a little more. We can do this along the areas where the teeth connect to one another, we can also darken the teeth in the back of the mouth.

And there you have it, how to draw teeth in a few simple steps. Teeth drawing is a simple task once broken up into a few digestible steps. Remember, to take your time with each step and you will have a realistic tooth drawing in the end.
Tips and Tricks to Remember
- Work on the shape and form first. Once you have the form, you can then start to work on the details of the tooth drawing.
- Use line work to refine the tooth drawing. Once you have established the base layer of colors, you can then work over those layers with line work for more shape and form.
- Consider shadows within the mouth. The shadows will always be darkest inside the mouth of the teeth drawing.
- Take your time. Enjoy the process and try not to rush through it for a better outcome.

Learning how to draw teeth also gives you a great opportunity to work on your shading and drawing techniques. Teeth have a very smooth enamel surface, which causes a very subtle gradient in shadow formation along their surface. This is a great way to work on your smooth shading and learn how to form subtle gradients in your shadow formation.
Frequently Asked Questions
How Do You Shade in the Teeth?
Teeth are often shaded by the lips because of how the lips rest over the teeth. This will cause a subtle shadowing along the upper teeth, and as the teeth become more visible, they are more exposed to a light source. The idea is to capture the subtle gradient of shadow between the covered parts and the exposed parts of the teeth. We also want to think about the over or underbite of a jaw structure, as more often there is an overbite that results in shadowing over the bottom row of teeth. So, considering the light source and how teeth interact with a light source is important when proceeding with the shading process. Once you understand the light source, you then want to work with the most effective form of shading, which is smooth shading with very few distinctions between the light and darker areas.
How Do You Draw Lips Around Teeth?
There are many ways to draw lips and different-sized lips, which means we want to think about the options before making a creative decision. In the case of all lips, however, the upper lip is generally smaller and arching over the teeth. The lower lip tends to be straight or propped upward with a lot of curvature in the structure. Lips also rest with a slight opening, which slightly exposes the teeth. However, when we draw the mouth smiling, the shapes of the upper and lower lips don’t really change, except for the fact that they do widen. The upper lips tend to widen slightly and shift slightly upward, exposing the gums of the upper teeth.
Matthew Matthysen is an educated multidisciplinary artist and illustrator. He successfully completed his art degree at the University of Witwatersrand in South Africa, majoring in art history and contemporary drawing. The focus of his thesis was to explore the philosophical implications of the macro and micro-universe on the human experience. Matthew uses diverse media, such as written and hands-on components, to explore various approaches that are on the border between philosophy and science.
Matthew organized various exhibitions before and during his years as a student and is still passionate about doing so today. He currently works as a freelance artist and writer in various fields. He also has a permanent position at a renowned online gallery (ArtGazette) where he produces various works on commission. As a freelance artist, he creates several series and successfully sells them to galleries and collectors. He loves to use his work and skills in various fields of interest.
Matthew has been creating drawing and painting tutorials since the relaunch in 2020. Through his involvement with artincontext.org, he has been able to deepen his knowledge of various painting mediums. For example, watercolor techniques, calligraphy and lately digital drawing, which is becoming more and more popular.
Learn more about Matthew Matthysen and the Art in Context Team.
Cite this Article
Matthew, Matthysen, “How to Draw Teeth – An Easy and Realistic Drawing Tutorial.” Art in Context. March 20, 2024. URL: https://artincontext.org/how-to-draw-teeth/
Matthysen, M. (2024, 20 March). How to Draw Teeth – An Easy and Realistic Drawing Tutorial. Art in Context. https://artincontext.org/how-to-draw-teeth/
Matthysen, Matthew. “How to Draw Teeth – An Easy and Realistic Drawing Tutorial.” Art in Context, March 20, 2024. https://artincontext.org/how-to-draw-teeth/.


