

How to Draw a Goldfish – Step-by-Step Pet Fish Sketch
Beloved pets with beautiful glittering scales, goldfish are some of the most popular fish worldwide. Have you ever wanted to create a goldfish sketch but do not know where to start? If that is the case, we have the perfect tutorial for you. In this guided step-by-step tutorial, we give you all the top tips and tricks for creating a realistic goldfish drawing.
Goldfish Drawing Tutorial
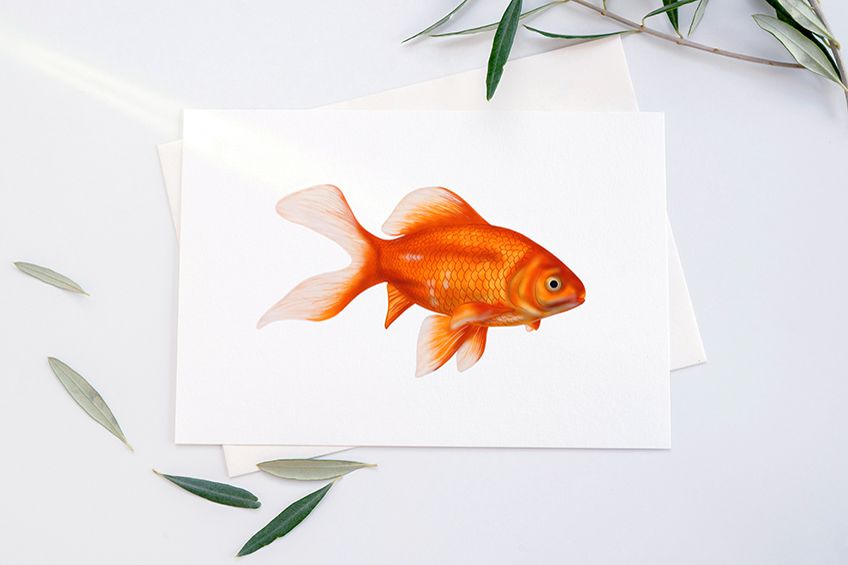
Although goldfish may seem intimidating to draw, our goldfish drawing tutorial breaks the process down into steps that are easy to follow. In this tutorial, you will not only learn how to draw a goldfish, but you will also have the chance to practice some highly detailed drawing and coloring techniques. You will also be able to practice the skill of using construction lines. Construction lines and shapes are an essential part of our drawing process. You will see how we break down the overall shape into separate parts, and this will help you do the same on your own in the future. There are 18 different steps in this tutorial, and at the end, you will have a drawing like this.
You can follow this tutorial using any medium you choose. The tutorial was designed on a graphic tablet, but you can use pencil, watercolor, or acrylic paint without having to adapt the instructions.
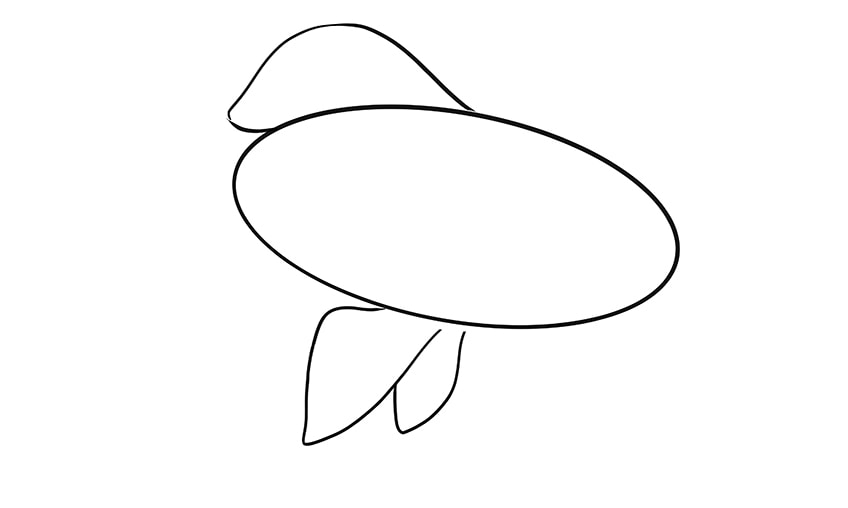
Step 1: Constructing the Goldfish’s Main Body
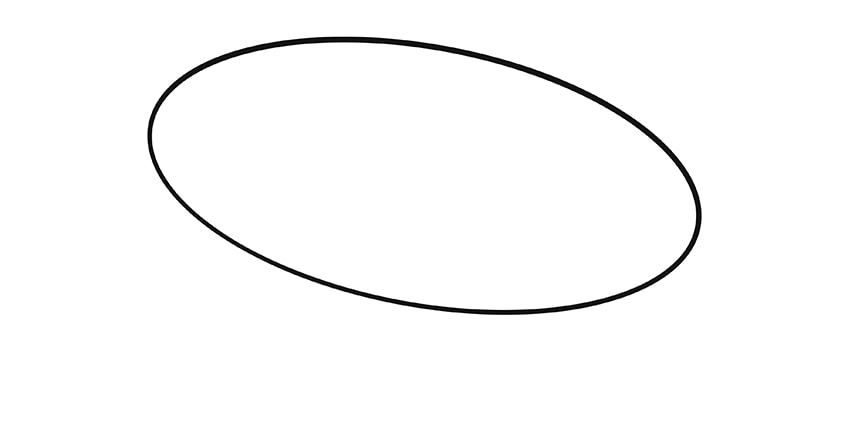
The first step in drawing any animal or object is to find a construction shape that will work as the basis for the main shape. For a goldfish, this step is pretty simple. Goldfish are, at their foundations, oval in shape. As such, we are going to use an elongated oval shape as the construction shape for the main body of the goldfish. You want this oval to be slightly angled down towards the right side of the canvas.
For this step, however, you want to ensure that you draw your oval in the very center of your canvas. You need to make sure that you are leaving enough space on all sides of the oval for the other goldfish body parts.
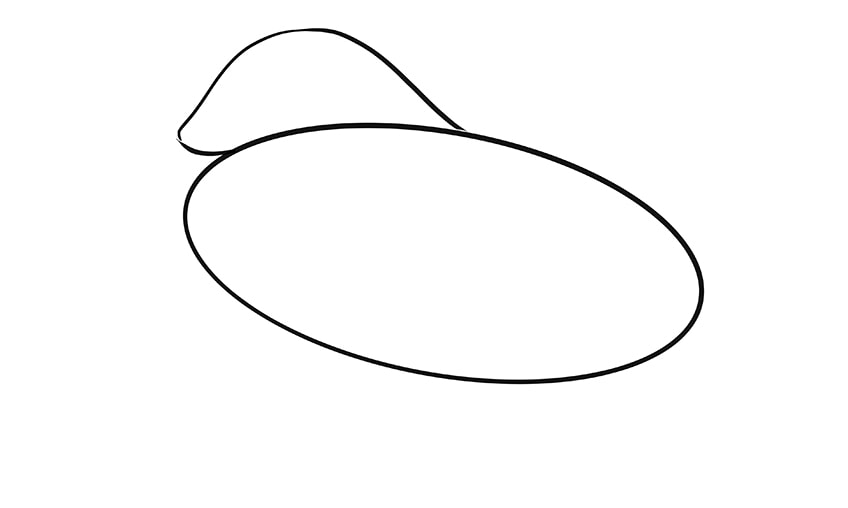
Step 2: Drawing the Goldfish’s Top Fin
In this second step, we are going to draw a construction shape for the large fin on the top of the goldfish’s back. Begin at the very center of the main body oval, and curve the line up, over, and down again to a point just above the back of the oval. Then, gently bring this line back onto the top of the main body oval with a small curve.
The construction shape we are using is more of a freehand shape, so it may take you a couple of tries to get it perfect.
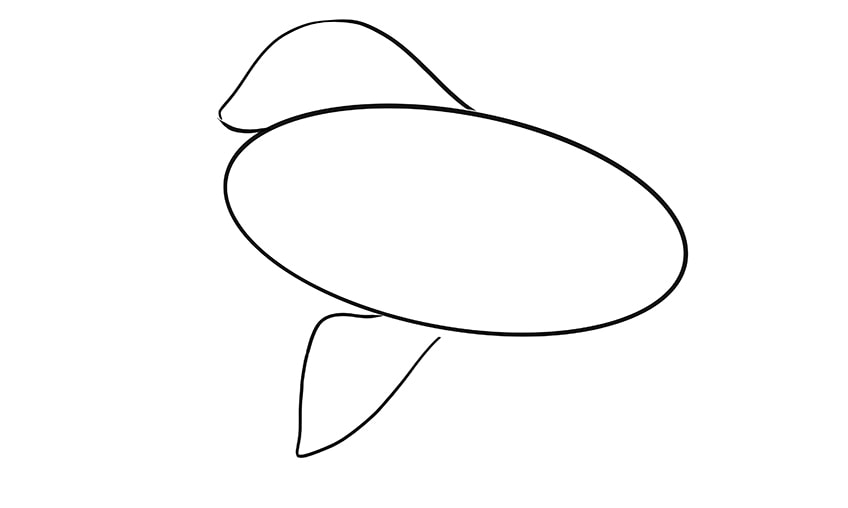
Step 3: Drawing the Goldfish’s Main Bottom Fin
You will need to dust off your freehand skills again for this next step. You can begin again at the central point of the bottom of the main body oval. Take this line down in a fairly straight line that curves slightly towards the back of the goldfish. Then, you can bring the line almost directly back up towards the main oval, but just before you touch the oval, curve the line towards the front and up.
Again, you may find that you need to erase and re-draw this line a few times before you are happy with the final shape. Take a look at our example below if you need to.
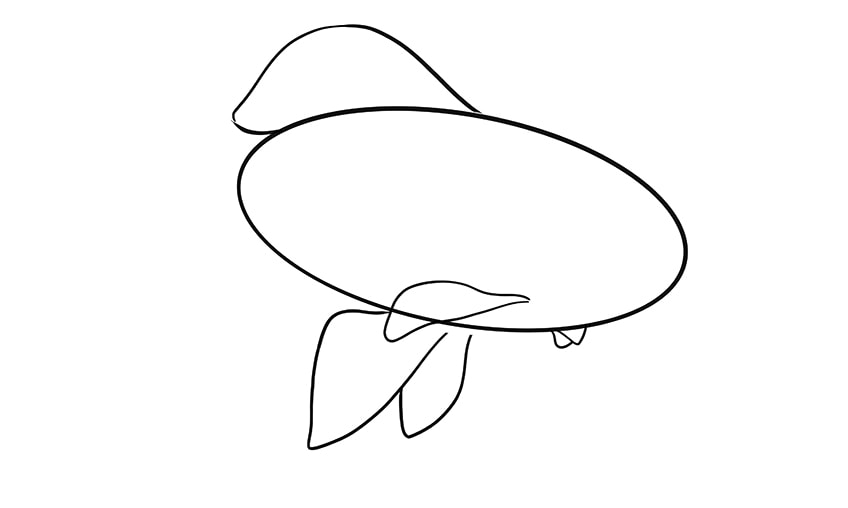
Step 4: Drawing the Goldfish’s Secondary Bottom Fin
Goldfish actually have a grand total of six fins, including a large pair on their bellies. The large bottom fin we drew in the last step is the closer one of the pair, so it is larger than the one we are going to draw now. You are simply going to repeat the process from the previous step but on a smaller scale. In fact, this second bottom goldfish fin should be about half the size of the first one. One important thing to note is that you should begin this second, smaller fin slightly in front of the first.
Hopefully, you will see that drawing this second fin was much easier than the first. If you had to re-draw the first a few times too, then this second fin should have been considerably easier, and that is from practice!
Step 5: Drawing the Goldfish’s Side Fins
In addition to the main fin on the back and the two main fins on the bottom of the goldfish’s body, we also need to add the two smaller side fins. These side fins come out of the side of the goldfish’s body, and this introduces our first need for perspective.
Because we are looking at the goldfish from the one side, we will see the beginning of the one side fin as it comes out of the goldfish’s flank, but we will only see the tip of the other side fin as it pokes out below the goldfish.
Begin by drawing the fin on the side closer to use. Start this fin just in front of the smaller bottom fin, and just inside the main body oval. Curve the top line of the fin slightly upwards before taking it down, overlapping slightly with the main lower fin. Then take the line back up into the main body to join with the starting point. For the other side fins, simply draw two little “V” shapes poking out from the bottom of the main body oval, just in front of the start of the other side fins.
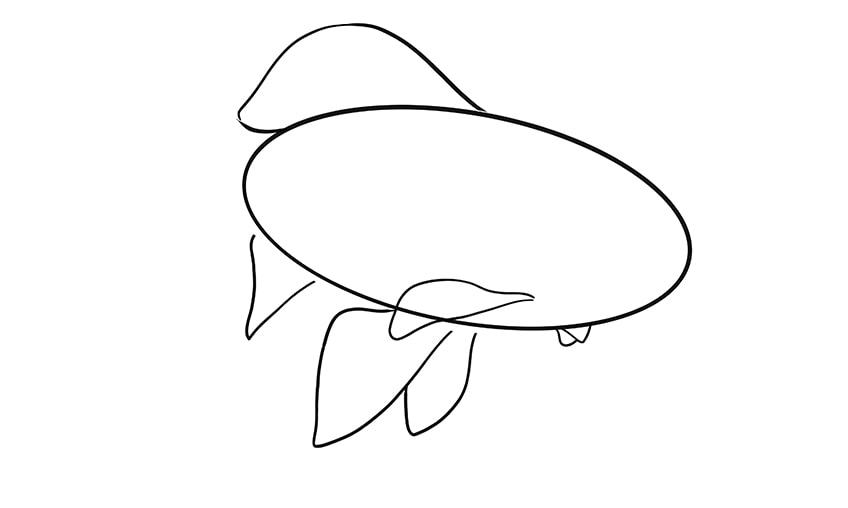
Step 6: Drawing the Goldfish’s Final Lower Fin
At this point of the tutorial, it may seem like the bottom half of the goldfish is a little crowded with five out of the six total fins. The reason for this is that the goldfish actually uses the bottom fins to do the majority of its swimming and maneuvering in the water, while the top fin is mostly for balance.
This very back fin is going to be the sharpest and most triangular that we have drawn so far. Just before the end of the main body oval, draw a sharp little fin, like the one you can see in our example below.
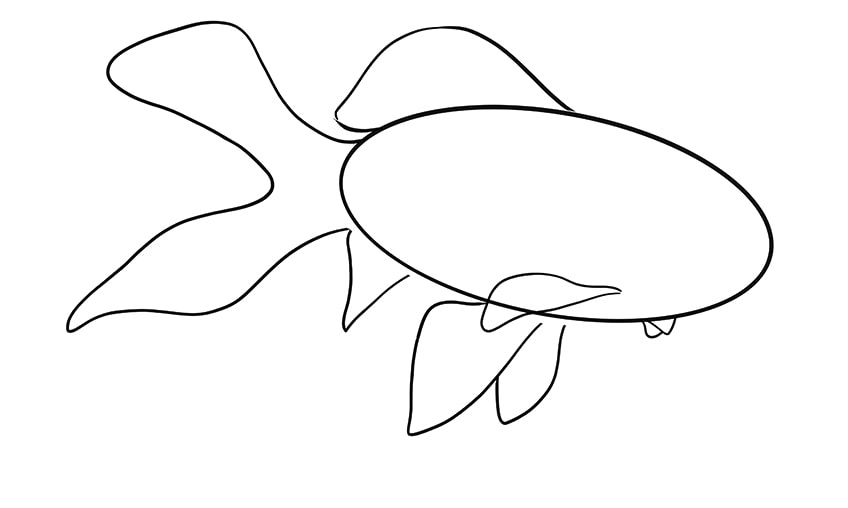
Step 7: Drawing the Goldfish’s Tail
This step is the final one before we create the final outline of our goldfish drawing. Beginning from just below the end of the top fin at the back of the goldfish, draw a line that curves up, before going down slightly, and then doubling back towards the back of the body oval. Before you get too close to the body oval, curve the line back out and down. After a slight bump, this line should come to quite a sharp point, before curving back up to meet the end of the last fin we drew in the previous step.
You are going to have to draw this tail freehand because it gives a more natural impression. You do not want this tail to be perfectly symmetrical, and it does not even have to look exactly like ours. Remember, there is no shame, only practice, in re-drawing.
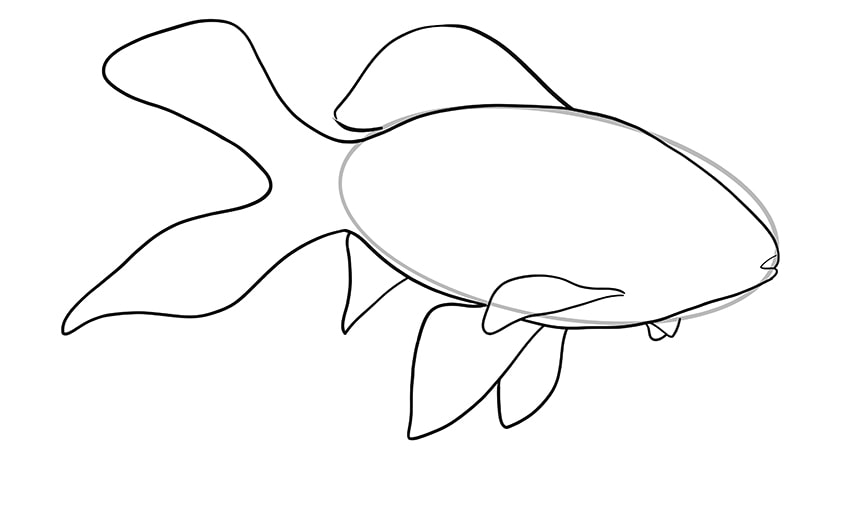
Step 8: Creating the Final Outline of Your Goldfish Sketch
In this tutorial, we have only used one real construction shape, and that was the oval for the main body. The result of this is that you can outline all your fins perfectly and concentrate on creating the body outline from the oval. For the most part, you can follow the oval outline quite closely to outline the main body of your goldfish sketch. You do, however, want to make the front end slightly more pointy and less perfectly oval. You can add a few little bumps in your outline and finish by drawing a slight indent and curve at the very front of your goldfish drawing.
Draw a little bottom lip and a small curve on the inside of the nose to highlight your goldfish’s mouth. When you are happy with your outline, you can erase any remaining and visible construction lines.
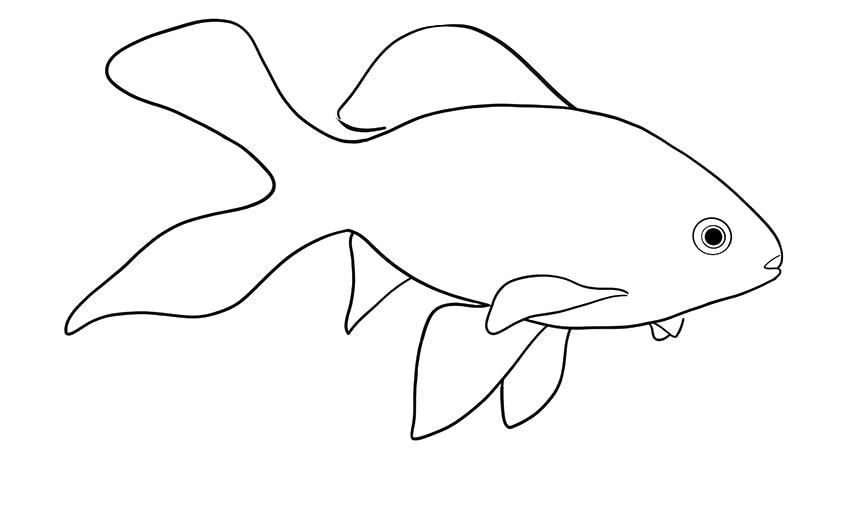
Step 9: Drawing the Goldfish’s Eye
This is a very simple step, but the trick is to get the placement of your goldfish’s eye perfect. Begin by drawing a fairly large circle that is quite close to the mouth, and in line with the end of the front bottom fins. Within this circle, you can draw another slightly smaller circle. Inside this second circle, draw and color in a final circle that is only just smaller than the second.
This inner black circle represents the iris, which is an essential feature in any realistic piece of goldfish art.
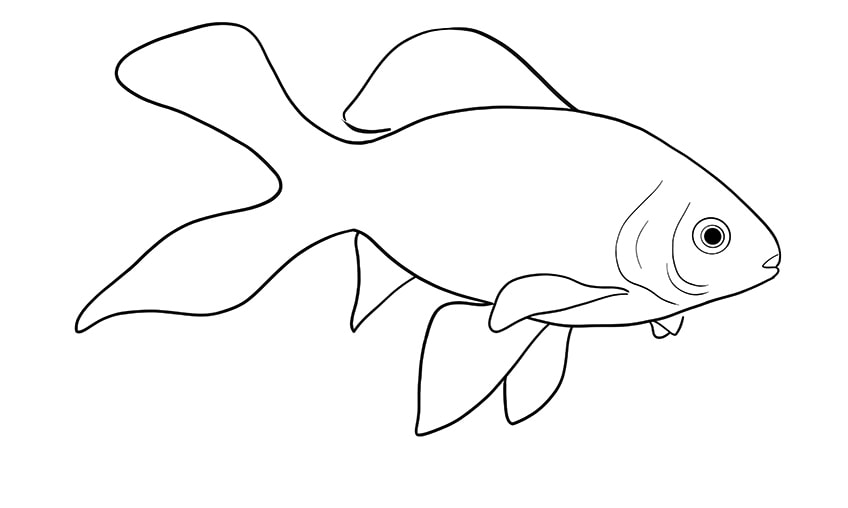
Step 10: Drawing the Details of the Goldfish’s Gills
Step 10 is another fairly straightforward step in the goldfish drawing process. Using two long lines that curve in the opposite direction to the front of the goldfish’s nose, draw the goldfish’s gills. You can then use two slightly shorter lines that hug these long lines to add more detail and definition.
At this stage of the goldfish sketch tutorial, you should start to see the beginnings of a realistic goldfish appearing on your canvas. In the next few steps, we are going to start adding the characteristic goldfish colors.
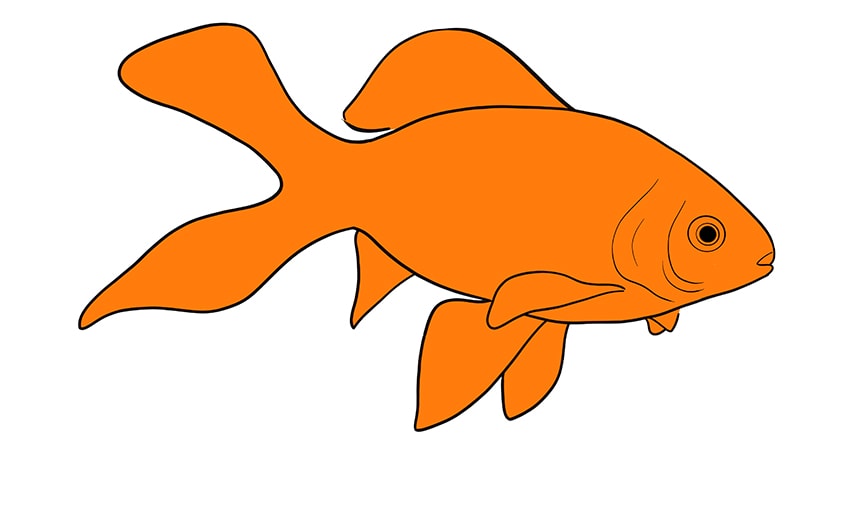
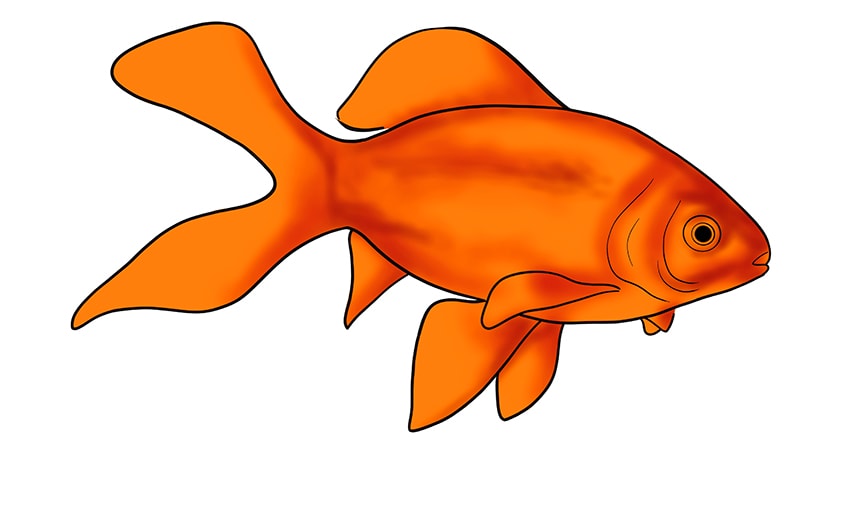
Step 11: Adding the First Coat of Goldfish Coloring
Now the excitement begins! Choose a mid-tone orange shade to use as the base color for your goldfish sketch. You want to ensure that your base orange shade is not too dark or too light, as we will be adding darker shadows and lighter highlights in the next few steps.
Whether you are using colored pencils, watercolor, acrylic, or digital mediums, fill the entire shape of your goldfish with your mid-tone orange shade.
Step 12: Adding the Shadow Color to Your Goldfish
The main goal of this step is to define the three-dimensional nature of your goldfish drawing by using a shadow color to highlight the points of the body that dip away from us. Choose your slightly darker orange shade, and carefully use it to add some shading to the different parts of your goldfish that are not catching the light.
To create a sense of realism, the best places to add this shading are the base and edges of the tail, the bottom ends of all the fins, around the gills, around the nose and eyes, on the bottom of the top fin, and all around the edges of your goldfish’s body.
Step 13: Drawing the Scales on Your Goldfish
In this step, we are taking our goldfish drawings to the next level of realism by adding the scales. Using a very fine brush or pen of the same darker orange from the previous step, begin to draw lines of scales starting at the largest gill and moving backward.
Ideally, to enhance the sense of realism in your goldfish art, you want these lines of scales to curve around the goldfish’s body. If you think about your goldfish in three-dimensional space, it is round and the scales wrap all around it. Try to follow the curve of the gills all the way down the body.
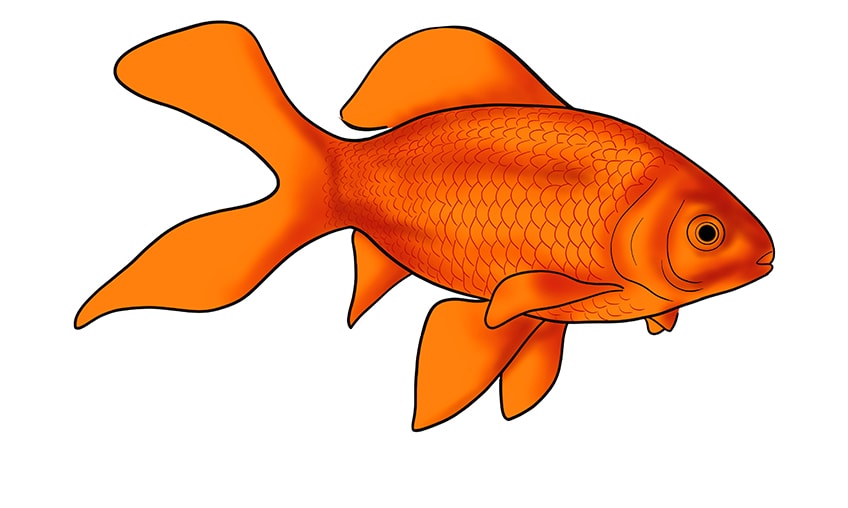
An additional tip we have for you is to draw a single line of scales at a time, and then move onto the next line. The lines of scales should also be drawn in what we call a Running Bond. This technique involves making sure that each following layer does not meet the endpoints of the previous. In other words, you want the dip points of each scale to sit at the center of the peak of the scales in the row before.
If you need a visual representation of running bond, take a look at the example below.

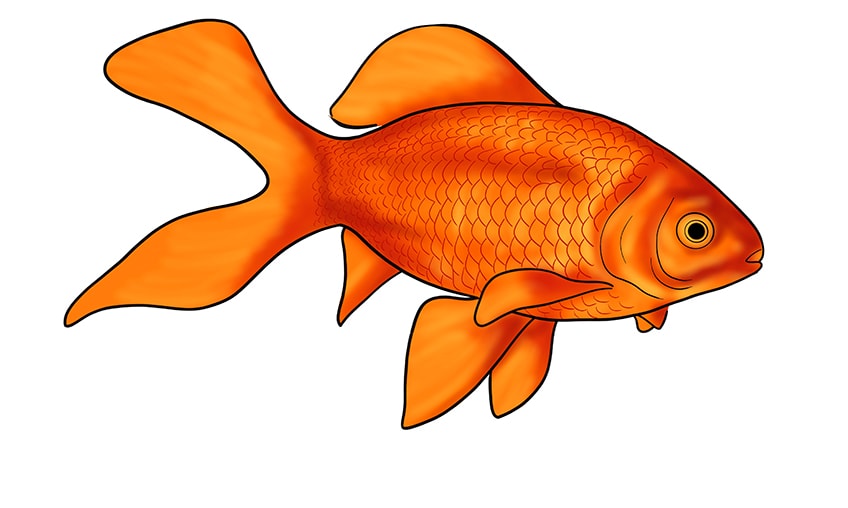
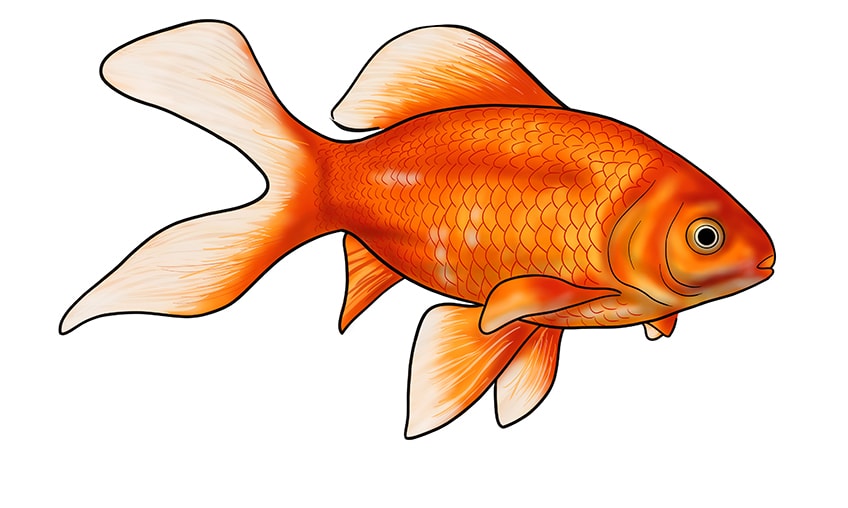
Step 14: Adding the First Highlights to Your Goldfish Drawing
In this step, we are going to use your lighter orange highlight shade to add some definition to the areas that stand out and catch the light. Using a brush, lightly shade the areas of the tail and fins that you did not shade earlier. You want the tail and fins to be much lighter than the rest of the body, but you want to maintain the blend from the touch of shading on each fin. Add some highlight around the face and within the gills, and finally, add a small dash of highlight inside each scale.
Tip: the highlighting should decrease the further you go towards the rear scales.
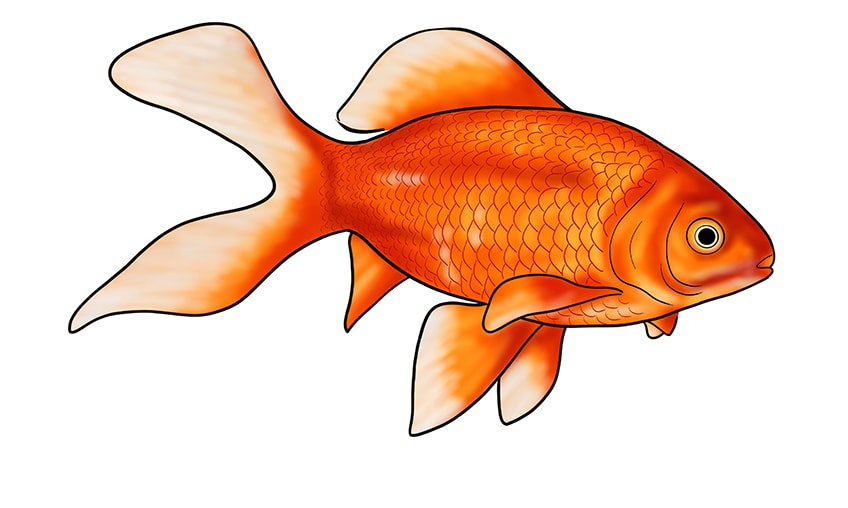
Step 15: Adding Secondary Highlights to Your Goldfish
In the last step, we used a light orange shade to add highlights. In this step, we are going to use white to make some of the highlights pop even more. The use of white not only makes your highlights more dramatic but also helps create the sense of a color fade.
While you want to add some white highlight to areas around the face, you want to focus most of it on the edges of the tail and fins. In fact, you want to make these ends as white as possible, so they appear as if they were fading to transparency.
To add some extra realism to your goldfish sketch, you can try adding some white highlight to one or two scales towards the back of the goldfish.
Step 16: Adding Some Final Details to Your Goldfish
We are almost at the end of the goldfish art tutorial, but before we finish off, we are going to add a few more details to make the realism in this drawing sing. Use a very fine brush or white pen, and use it to draw some very thin and sharp strokes throughout the tail and fins. You want these hair-like strokes to flow towards the back of the drawing.
When you have drawn the white hair lines, you can then do the same with a darker orange shade, but bringing the shading from the darker parts of the fins and tail into the white parts.
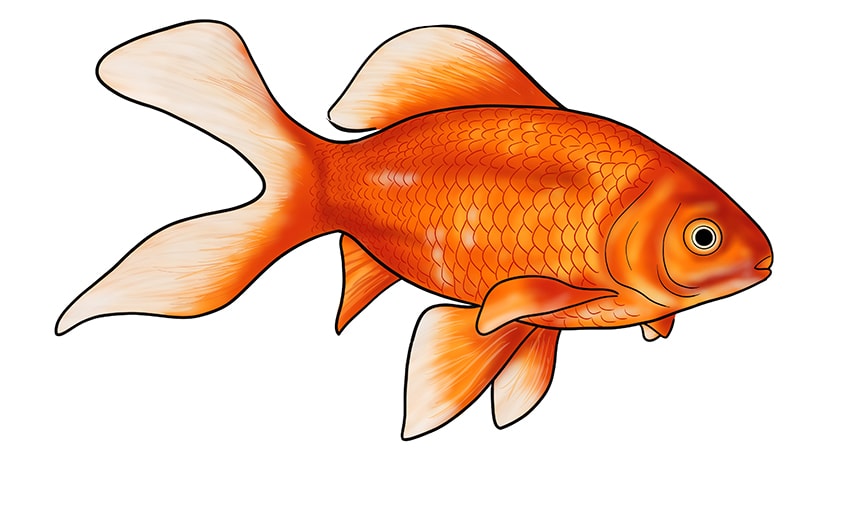
Step 17: Finalizing the Goldfish’s Shading
To add the final realistic touch to your goldfish drawing, use the smallest amount of black paint to shade the bottom of the goldfish ever-so-slightly. You simply want to give the impression of shadow and dimensionality, be careful not to overwhelm your drawing. You can also add a touch of shading around the eyes and gills to contour the face a little more.
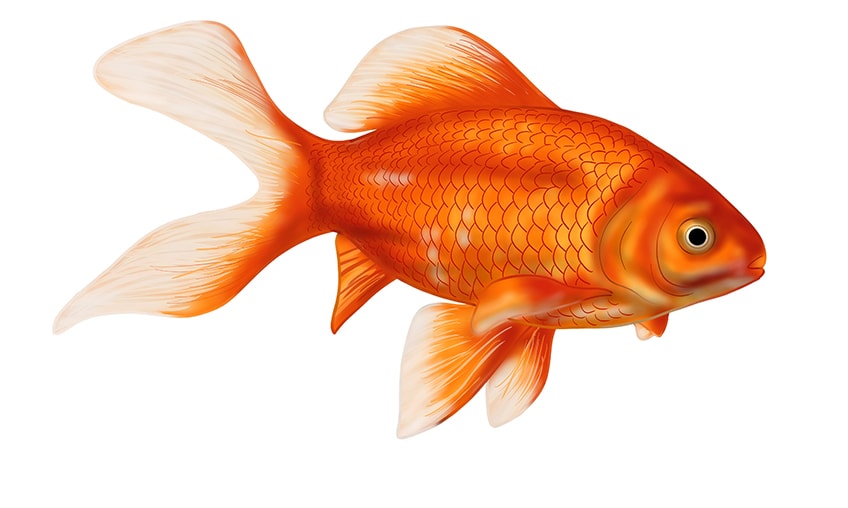
Step 18: Removing the Outline and Admiring Your Goldfish Sketch
The last step of this how to draw a goldfish tutorial involves removing the outline. If you do not want to remove the outline, you are more than welcome to keep it. If, however, you are looking for the greatest sense of realism, removing the outline is your best bet.
To retain the sharpness of your outline once you have removed the black, you can use a touch of very light orange on a fine brush to outline your goldfish.
Well done, you have made it to the end of this in-depth how to draw a goldfish tutorial! We hope that you have enjoyed the process and that you are happy with your final goldfish art piece.
Frequently Asked Questions
Is It Hard to Create Goldfish Art Works?
Goldfish do have many little details that you need to get right, but it is not difficult to nail these if you follow our in-depth step-by-step goldfish drawing tutorial.
Can I Use the Same Drawing Process to Draw Other Fish?
You definitely can use the basic principles of this tutorial to draw other types of fish. You will need to find reference photographs for the other fish to discover how many fins they have, where they are, and how they are colored.

Matthew Matthysen is an educated multidisciplinary artist and illustrator. He successfully completed his art degree at the University of Witwatersrand in South Africa, majoring in art history and contemporary drawing. The focus of his thesis was to explore the philosophical implications of the macro and micro-universe on the human experience. Matthew uses diverse media, such as written and hands-on components, to explore various approaches that are on the border between philosophy and science.
Matthew organized various exhibitions before and during his years as a student and is still passionate about doing so today. He currently works as a freelance artist and writer in various fields. He also has a permanent position at a renowned online gallery (ArtGazette) where he produces various works on commission. As a freelance artist, he creates several series and successfully sells them to galleries and collectors. He loves to use his work and skills in various fields of interest.
Matthew has been creating drawing and painting tutorials since the relaunch in 2020. Through his involvement with artincontext.org, he has been able to deepen his knowledge of various painting mediums. For example, watercolor techniques, calligraphy and lately digital drawing, which is becoming more and more popular.
Learn more about Matthew Matthysen and the Art in Context Team.


