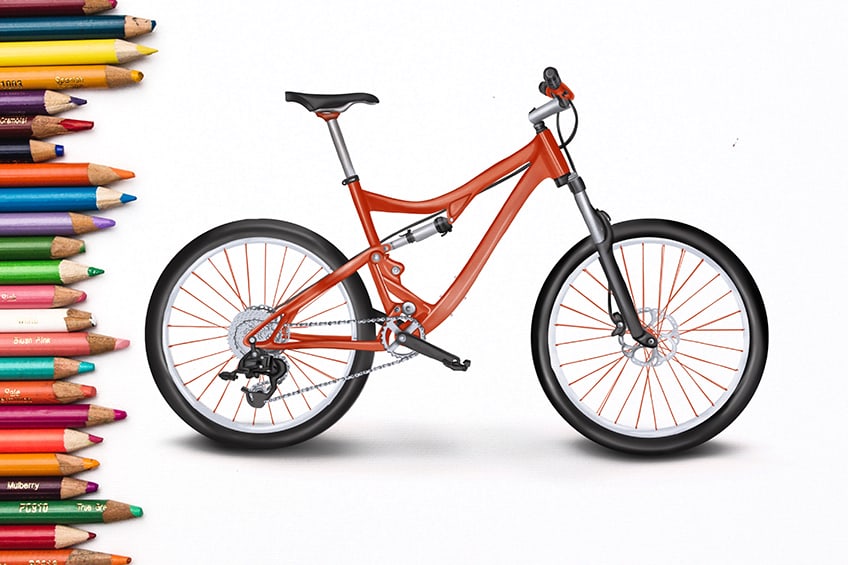
How to Draw a Bicycle – A Fun and Easy Bike Drawing
Bicycles, the two-wheeled wonders, have been a popular mode of transportation for over two centuries. From the thrill of riding down a steep hill to the convenience of commuting to work, bicycles have captured the hearts of people all over the world. They come in various shapes and sizes, from sleek road bikes to sturdy mountain bikes, and offer an eco-friendly way to stay fit and explore the outdoors. With the wind in your hair and the world at your feet, nothing beats the freedom and simplicity of riding a bicycle!
How to Draw a Bike With This Easy Step-by-Step Guide
In today’s drawing tutorial on how to draw a bike, we’ll guide you through the essential steps for creating a realistic-looking bicycle sketch. This easy-to-follow guide includes detailed instructions on coloring and shading to make your bicycle look so fun that you’ll want to take a ride on it immediately!
Scroll down to see a visual collage of each step to help you achieve your desired outcome.
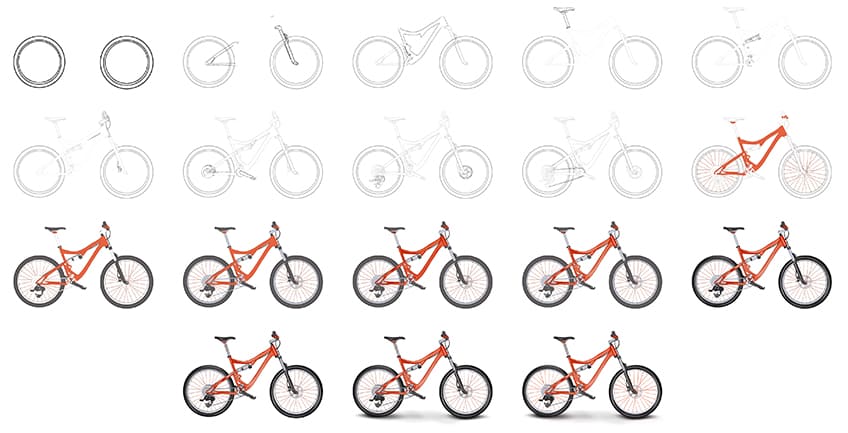
Step 1: Draw the Wheels on Your Bike Drawing
Begin your bike drawing by drawing two large circles on either side of your drawing page. Within each circle, draw two smaller circles within each other.

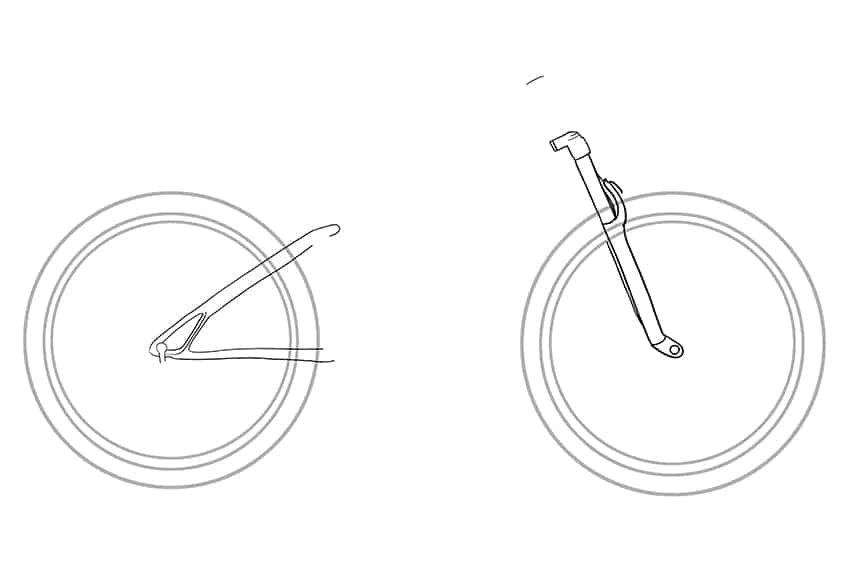
Step 2: Draw the Front and Rear Arms
Begin by drawing the rear-angled arms, leading from the center of the rear wheel and going outwards. Draw a straight line, connected to the rear-angled arms, and lead out the wheel once more. In the center of the front wheel, draw a visible shock absorber.
Step 3: Complete the Main Frame
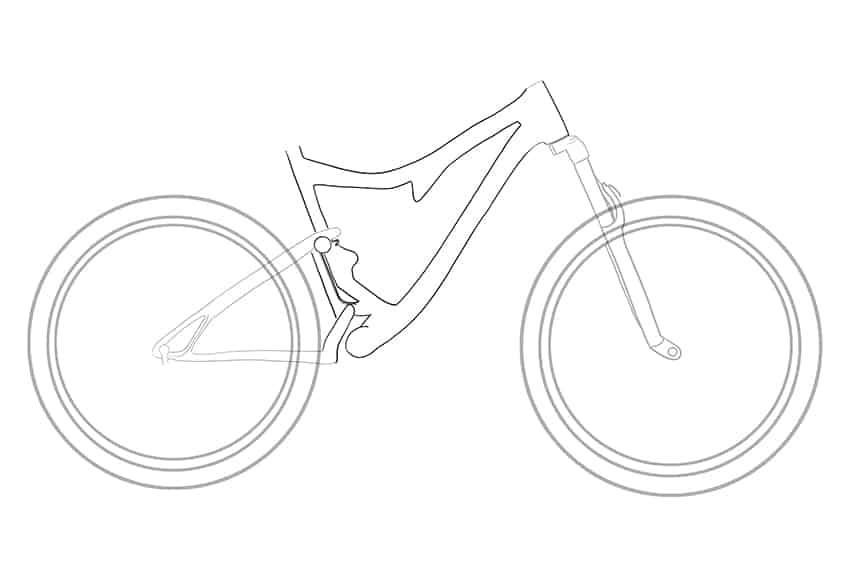
Draw the rest of the main frame connecting both the front and rear arms. The main frame should have a bent top line where the seat will be placed. Add in the pedals towards the bottom of the rear wheel. Once complete, erase any unnecessary construction lines.
Step 4: Add the Seat to Your Bike Drawing
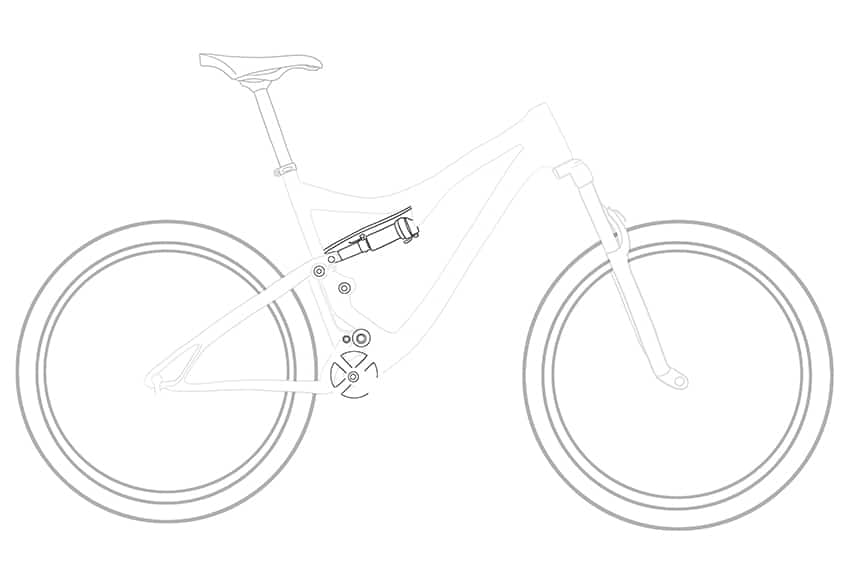
In this step, draw the seat adjustment bracket above the seat arm drawn in the previous step. Follow this by drawing the extended seat arm and above this, the seat cushion.

Step 5: Draw the Main Frame Shock Absorber
In the center of the main frame, draw the center shock absorber. Above the shock absorber, draw the rear gear cables. Add in additional bolts and screw holes as multiple small circles along the main frame.
Complete this step by drawing the small pedal gear at the bottom of the main frame.
Step 6: Add the Handlebars to Your Bicycle Sketch
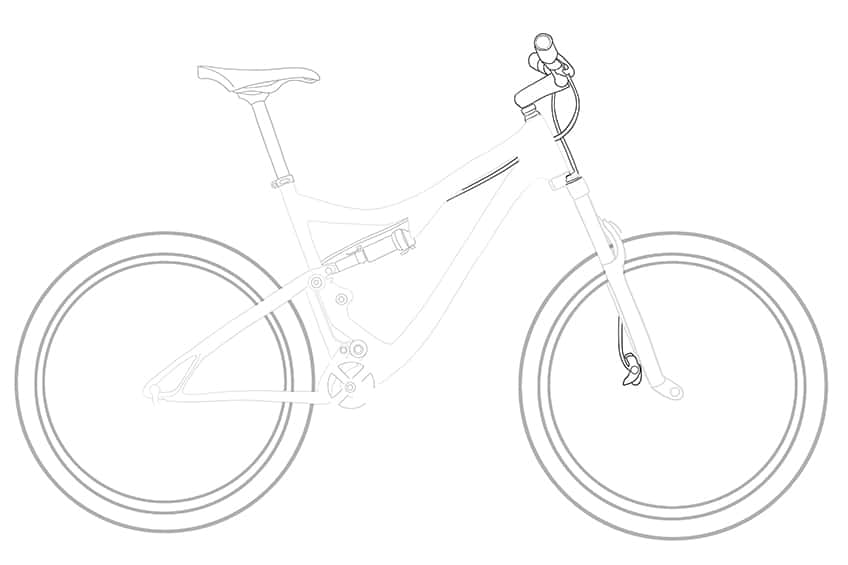
Draw the extended steering arms to the front of your bicycle drawing. Attached to this, draw the rear and front brake cables.
Step 7: Draw the Rear Gear Wheels
Within the center of your rear wheel, draw the gear wheels with spiked edges. Complete this step by drawing the pedal gear wheels around the pedal.
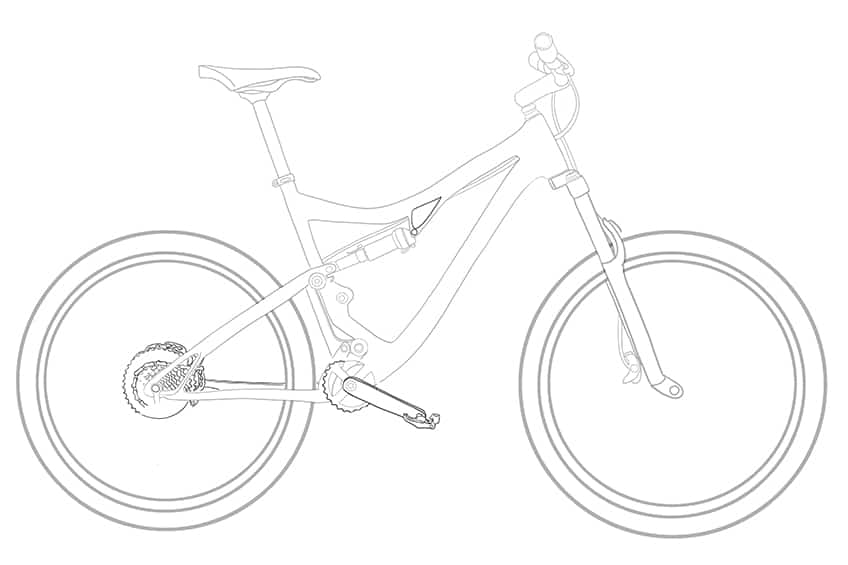
Step 8: Draw the Gear Selector and Front Brake Disc
Attached to the bottom of the rear gear wheels, draw a gear selector. Complete this step by drawing the front disc brake with a looping hole design.
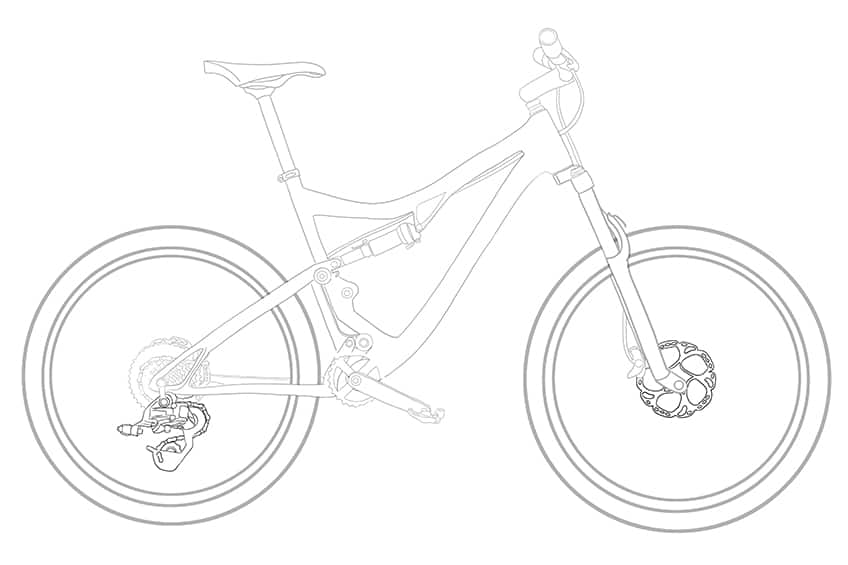
Step 9: Complete the Chain on Your Bike Drawing
Continue the chain from the large rear gear wheel, leading towards the pedal and looping back to the rear gear selector. The chain should be drawn as individual chain links connected to one another.
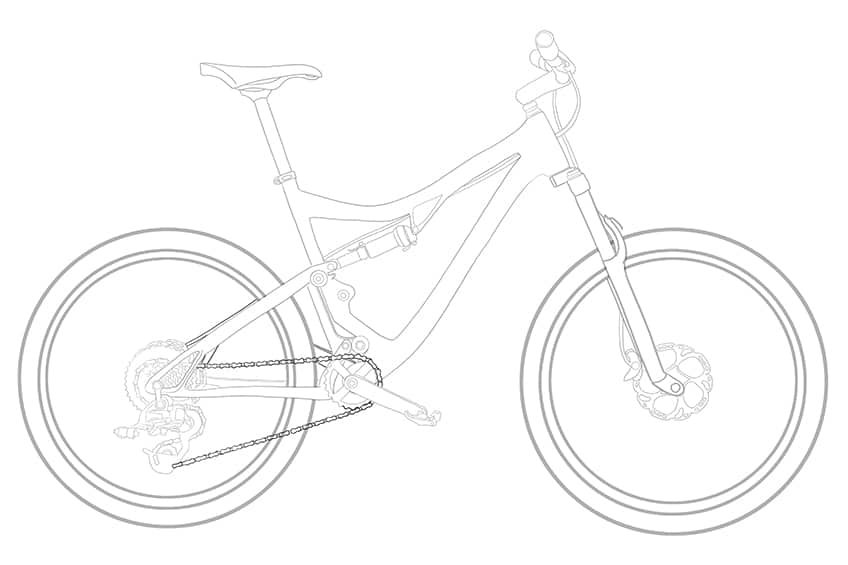
Step 10: Add the First Color Coat
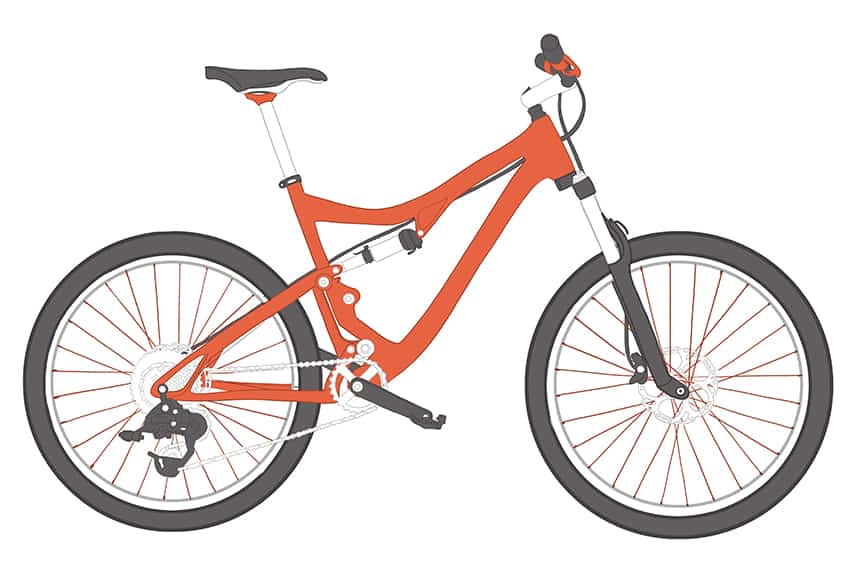
Make use of a fine, sharp brush and orange paint, and color the main frame, rear frame, seat attachment, and handlebars. Use a dark shade of orange paint and add short, fine brushstrokes within each wheel.

Step 11: Add the Second Coat of Color
Use the same brush as previously and dark gray paint, and color the tires, rear gear selector, pedals, cables, top seat, handlebar grips, and front arm shock absorber.
Step 12: Paint the Third Coat of Color
Select a thin brush and light gray paint, and color the rear gear wheels, front brake disc, chain, pedal gear wheel, screws, bolt holes, extended seat arm, the inner rim of each wheel, and the steering arm.
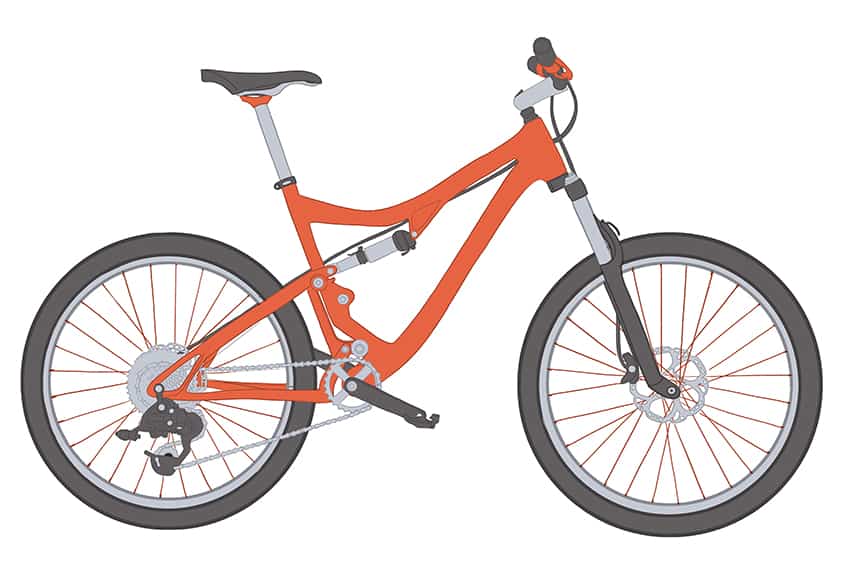
Step 13: Shade the Frame on Your Bike Drawing
Use a soft brush and dark orange paint, and add soft shading and contouring to the edges of the frame, seat mount attachment, and handlebar attachment. With a blending brush, begin to soften and blend the coat colors.
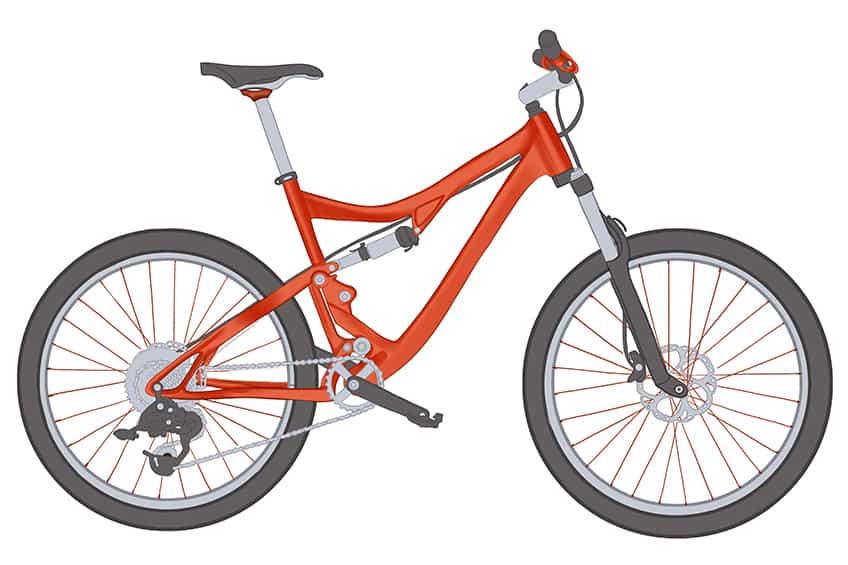
Step 14: Highlight the Frame
Select a small, soft brush and white paint, and add a soft highlight to the main frame, seat mount attachment, and handlebar attachment. Follow this with a clean blending brush to blend the highlights into the frame of your bicycle sketch.
Complete this step with a thin, sharp brush and white paint, and add fine hairline brushstrokes along the main frame of your bicycle drawing.
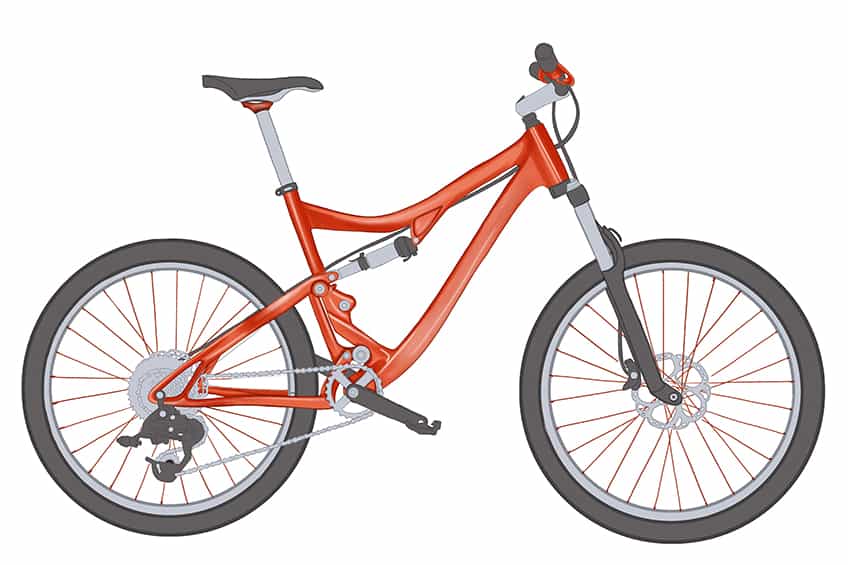
Step 15: Shade the Wheels on Your Bike Drawing
With a soft brush and black paint, apply soft shading within the tires, pedals, top seat cushion, handlebar grip, main frame shock absorber, and front shock absorber. Use white paint to add soft highlights to these darkened areas.

Step 16: Shade the Chain
Make use of a fine, sharp brush and a dark shade of gray paint, and apply shading to the chain, links within the chain, and front brake. Using a small, soft brush and the same paint color, apply shading to the main frame shock absorber, extended seat arm, and front steering arms. Complete the step using white paint to add highlights to your bike drawing.

Step 17: Add a Ground Shadow
Make use of a small, soft brush and black paint to add a dark spot beneath each wheel. Continue by using a blending brush to soften and spread the casted shadow in both directions.

Step 18: Finalize Your Bicycle Sketch
You are almost at the end of our tutorial on how to draw a bicycle! To finish off, erase any outlines that are still visible and are possible to erase. For the remaining outlines and any inner texture lines, make use of a fine, sharp brush and the corresponding colors to trace these outlines to create a final seamless result.

Congratulations on finishing our tutorial on how to draw a bicycle! Your realistic and spectacular bike drawing has left us in awe. We hope that you have gained valuable drawing skills from this tutorial that you can apply to your future artwork. Keep in mind that practice makes perfect, and with continuous practice, your skills will only get better. Remember, everyone has an artist within them just waiting to be unleashed!
Frequently Asked Questions
What Are the Basic Shapes and Lines Required to Draw a Bicycle?
To draw a bicycle, you will need to create a basic frame using straight lines, circles for the wheels, and curved lines for the handlebars and seat. Once you have the basic framework in place, you can add details like the pedals, chain, and brake mechanisms. Our easy tutorial on how to draw a bike will take you step-by-step through this entire process!
Can I Use Different Colors for My Bicycle Drawing?
Yes, you can use different colors to add interest and depth to your bicycle drawing. When choosing colors, consider the color of the bicycle frame, the material it’s made of, and the surroundings. You can use contrasting colors to create a more vibrant image, or you can use a monochromatic color scheme for a more subtle effect. Additionally, you can add shadows and highlights to create a three-dimensional look. Experiment with different color combinations until you find the one that works best for your drawing!
Matthew Matthysen is an educated multidisciplinary artist and illustrator. He successfully completed his art degree at the University of Witwatersrand in South Africa, majoring in art history and contemporary drawing. The focus of his thesis was to explore the philosophical implications of the macro and micro-universe on the human experience. Matthew uses diverse media, such as written and hands-on components, to explore various approaches that are on the border between philosophy and science.
Matthew organized various exhibitions before and during his years as a student and is still passionate about doing so today. He currently works as a freelance artist and writer in various fields. He also has a permanent position at a renowned online gallery (ArtGazette) where he produces various works on commission. As a freelance artist, he creates several series and successfully sells them to galleries and collectors. He loves to use his work and skills in various fields of interest.
Matthew has been creating drawing and painting tutorials since the relaunch in 2020. Through his involvement with artincontext.org, he has been able to deepen his knowledge of various painting mediums. For example, watercolor techniques, calligraphy and lately digital drawing, which is becoming more and more popular.
Learn more about Matthew Matthysen and the Art in Context Team.


