How to Paint a Watercolor Galaxy – An Easy Watercolor Galaxy Tutorial
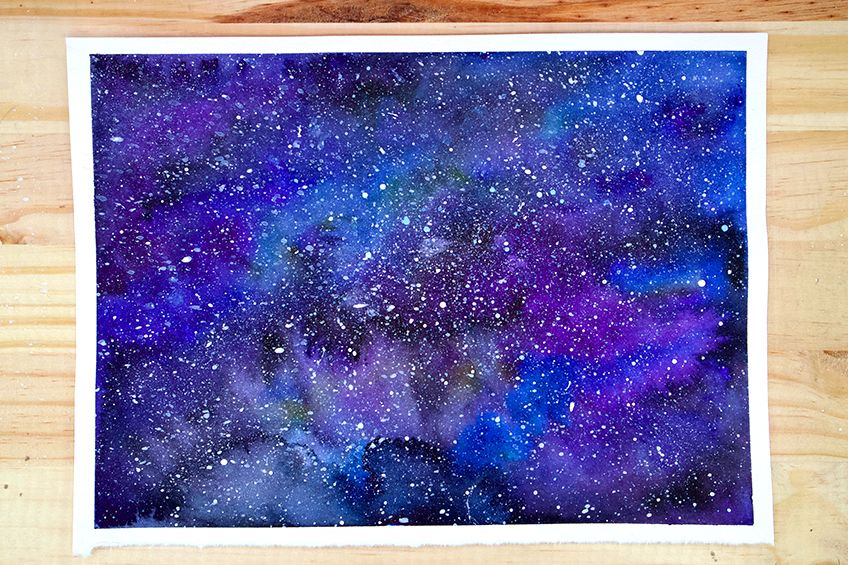
Learning how to paint a watercolor galaxy is a useful task as it can be incorporated into a variety of landscapes. We do this by first understanding the basics of a watercolor galaxy painting which means we will be doing something a little simpler that teaches you how to make a beautiful watercolor galaxy. As we go through this watercolor galaxy you will find that this easy and simple activity is both fun and can be utilized in a variety of ways for future landscape paintings. In this tutorial, we make galaxy painting easy in a few simple steps.
An Easy Watercolor Tutorial for Beginners
A watercolor galaxy painting is a really fun and easy activity that can result in a really beautiful galaxy painting. Learning how to paint a watercolor galaxy teaches you some interesting tips and techniques with the watercolor medium. As you learn how to paint a galaxy you will find that we will create a deep space quality by the combination of cold and dark colors. We will also learn in this galaxy painting easy ways to paint stars, or better yet, how to create stars using interesting painting methods. With that said let us see what we will need.

Necessary Materials
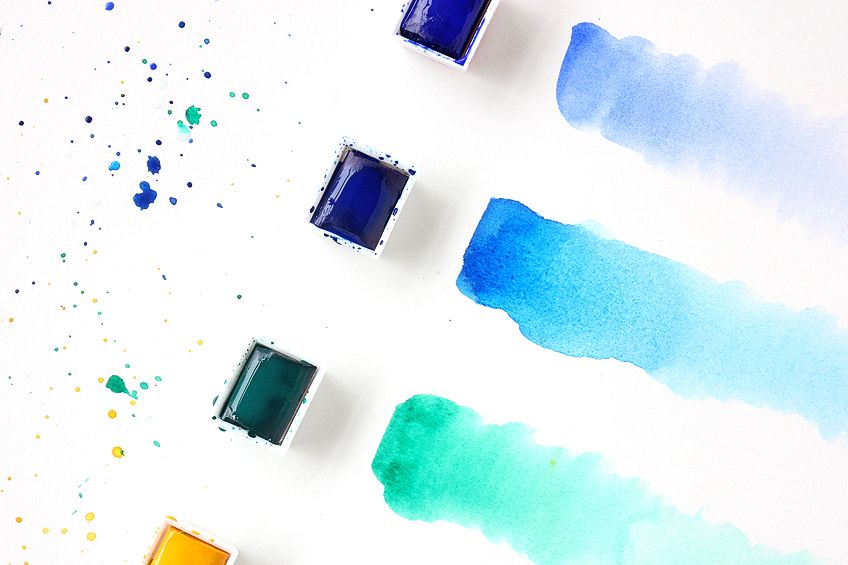
Having the correct materials makes a world of difference when doing a watercolor galaxy painting. However, in this tutorial, we do not need too many materials, most of which you can probably get at your local stationery shop. We will need some watercolor brushes, mostly larger round brushes. We will need some good watercolor paper, preferably 300GSM in thickness because we are using a water-based medium. We will need some acrylic paint for the stars, some masking tape to firmly hold our page, and lastly some pan watercolor paints. The only item that is not listed is a toothbrush, which you perhaps can find an old one in your home. Here is a list of the supplies needed.
Preparation
Once we have all the right materials we want to make sure we have a nice even surface to place our paper on. Painting is a very calming and relaxing process however, often we can find ourselves being interrupted by our environments. Try to place yourself somewhere where you might not be interrupted.
Another good idea is to maybe listen to some music whilst you do this tutorial because the most important part of this tutorial is about being relaxed and having fun.
Step-by-Step Instructions on How to Paint a Watercolor Galaxy
In this galaxy painting, we will go through the color combinations that will set the tone for our galaxy painting. We will learn how to merge and mix colors that will create a feeling of deep space in our watercolor galaxy. Learning how to paint a watercolor galaxy requires knowing how to paint stars. To depict stars in our watercolor galaxy painting we will use some white acrylic paint and a toothbrush alongside our normal watercolor paint. We will learn the technique of spraying color onto the image that will depict the quality of stars in a galaxy. That’s the general process of painting a watercolor galaxy using a very simple method.
Step 1: Adding the First Layer of Color
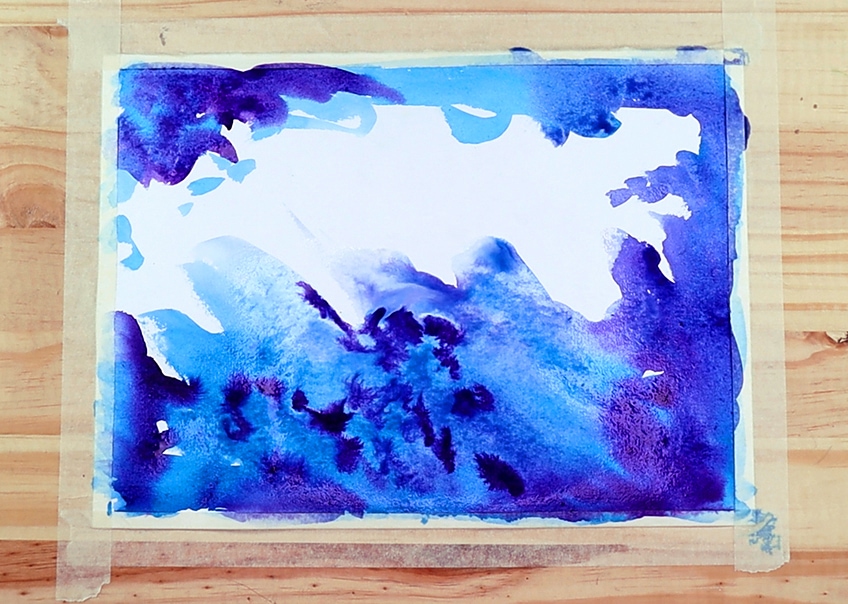
When painting a galaxy there are two ways to merge colors, one is where we pre-wet the page and the other is where we apply a lot of colors with a very wet brush. Either way, we need to utilize the water to allow the colors to merge more seamlessly. Let us begin with applying some light blue paint, working from the edges of the paper toward the center.

We want to act fast so that the colors can integrate into each other whilst they are still wet. However, you can also just make sure that your brush is very watery when you add paint. Again, we want to work the lighter layers onto the page first, focusing on the light blue.
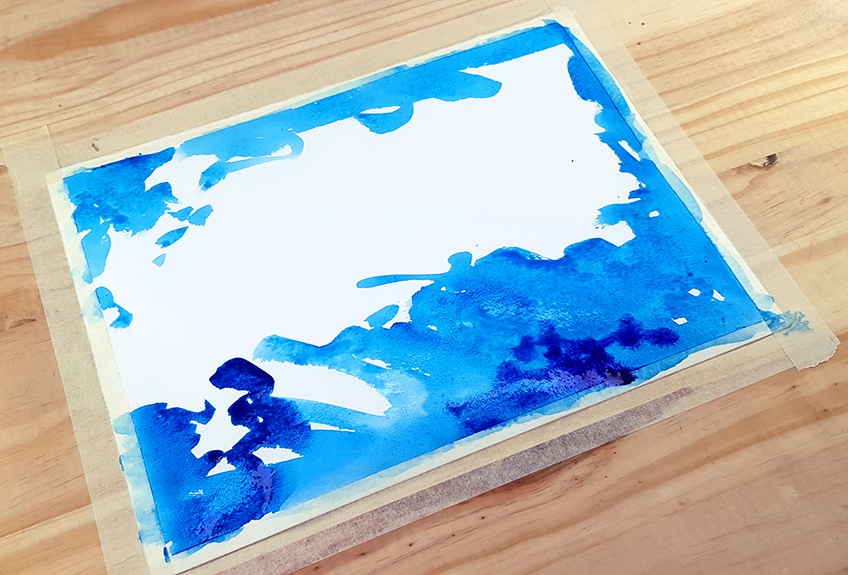
Slowly begin to work in some darker blue into the scene. The aim is to apply paint quite randomly in various areas of the page. As the paints dry this will create a seamless integration between the colors as they dry together. Keep working in these colors whilst the page is still wet.
Step 2: Adding the Second Layer of Color
We can start integrating some purple into the mix. Even though the page is wet and the colors will integrate seamlessly, we want to add these light layers before we add these darker layers. This is because there will be a drying effect where the light layers will dry under the darker layers which will create depth and distance in the image.

Allow yourself to apply your paint in various ways exploring different methods of application. For instance, you can make a dabbing action with your paint around the page in different areas. Another good suggestion is to make strokes through the page with the paint. These will create different effects in the image as it dries.
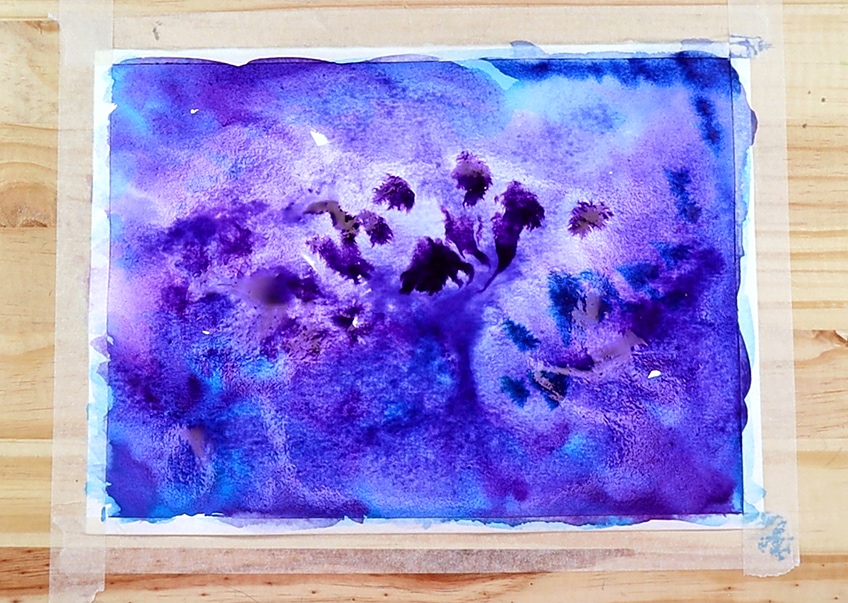
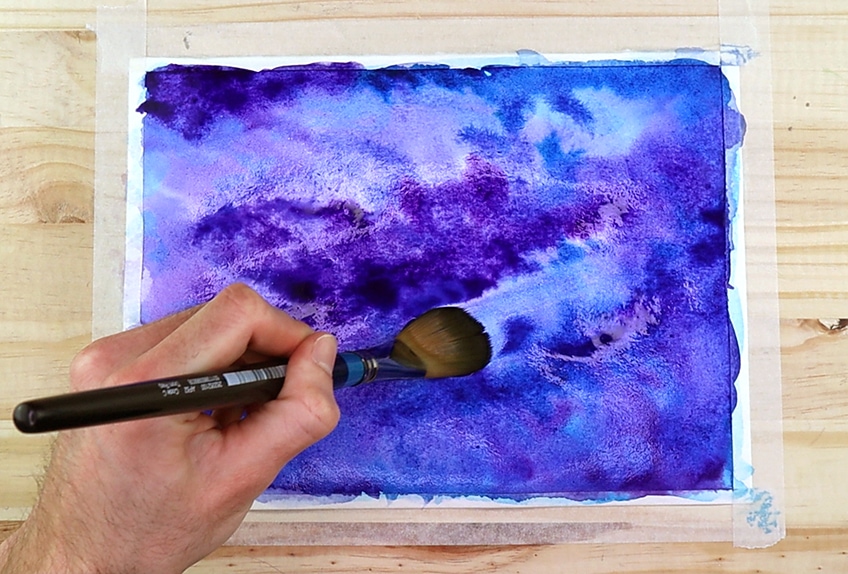
We should have a fully covered page with a mixture of light blue, dark blue, and purple. These colors will create a more deep space effect as these colors carry a cold quality that resembles darker parts of the galaxy. You can also take a clean wet brush and move your paint around to shape the areas that are darker and lighter.
Step 3: Adding the Third Layer of Color
Before we add the darkest color in the painting, which will be black, let’s make some strokes and dabs of yellow paint within the galaxy painting. Adding little hints of yellow can create interesting moments of light in the galaxy.
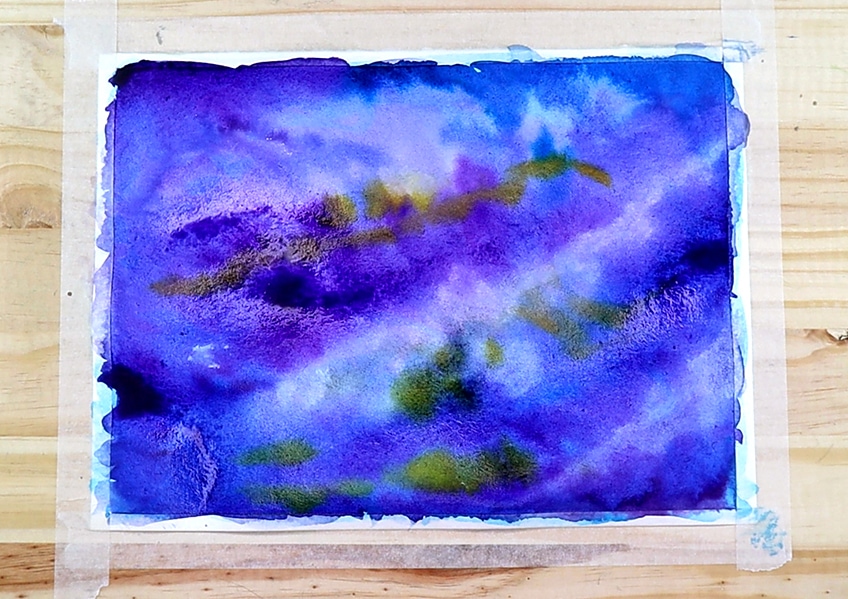
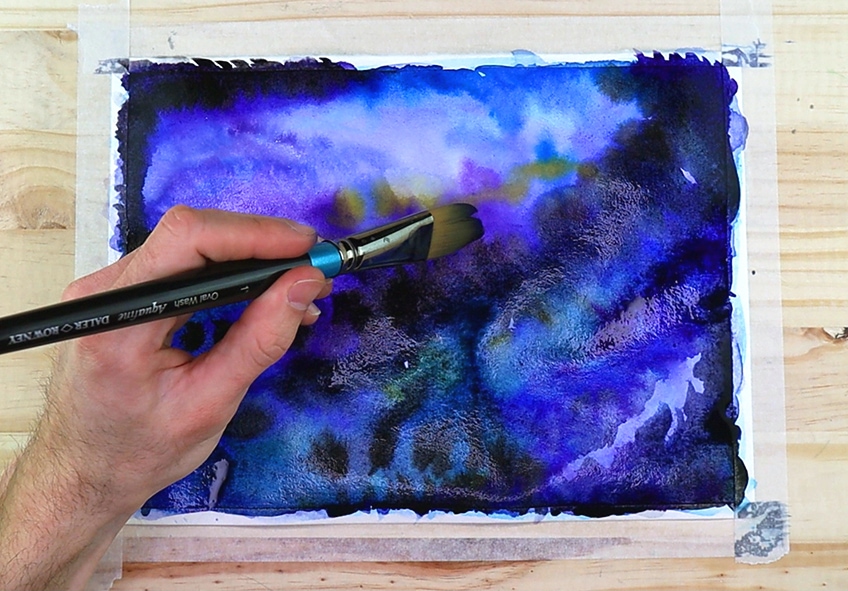
Lastly, we want to add a lot of black paint to the image. The black paint doesn’t need to cover the whole image because we don’t want it to overpower the moments of color. However, try to apply black along the edges and slowly pull the paint toward the center. Think of the paint as webbing through the image with moments of light colors.

We want to work fast and allow the wet black paint to integrate with the lighter colors whilst they are still wet. However, a galaxy painting is quite abstract which means that the various moments in the paint that may dry quicker than others might create some interesting features in the galaxy painting. This is okay and is unique to watercolor.
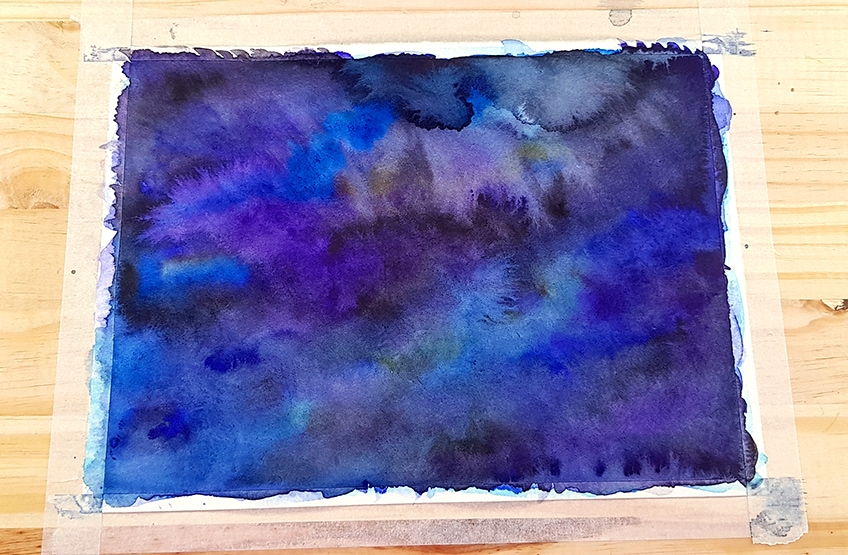
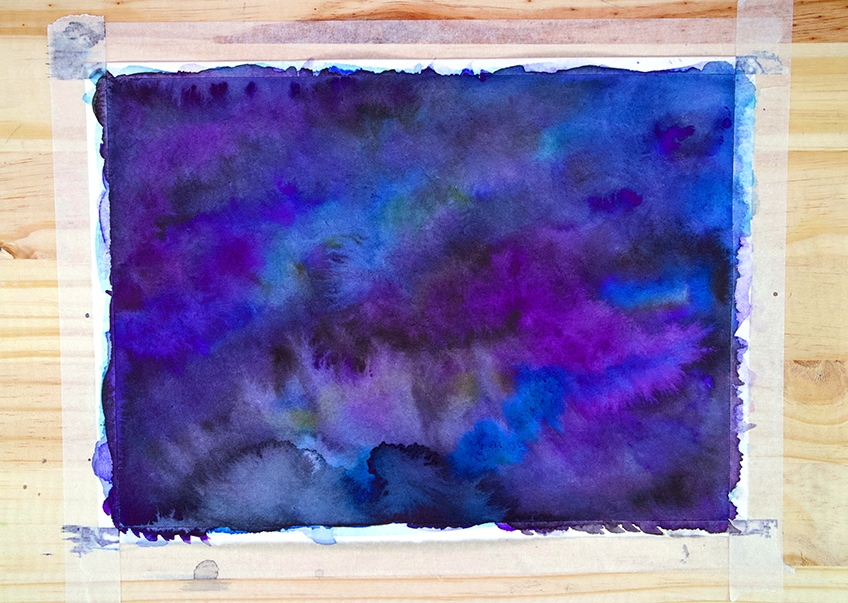
Once our painting is completely dry we should have a combination of various colors that have dried together and integrated. If your galaxy painting has moments of blooms where the paint dried sooner than other moments, that is okay. Again, galaxies are abstract so there are many ways they can look.
Step 4: Painting the Stars
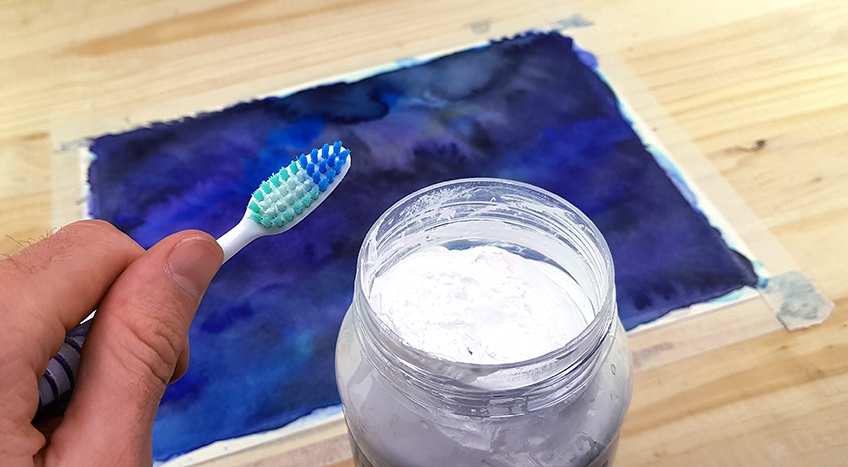
Once our painting has completely dried we can begin to add the stars. We can do this with both white acrylic paint and watercolor paint. What we want to do is wet our toothbrush and dip it into white acrylic paint. We will then proceed to rub our thumb against the bristles so that the paint sprays onto the page.
As we apply the white sprays of paint you want to do one practice spray on some spare paper to make sure that no large unwanted blotches fall onto the page. However, if that does happen you can take some toilet paper and wipe it before it dries.
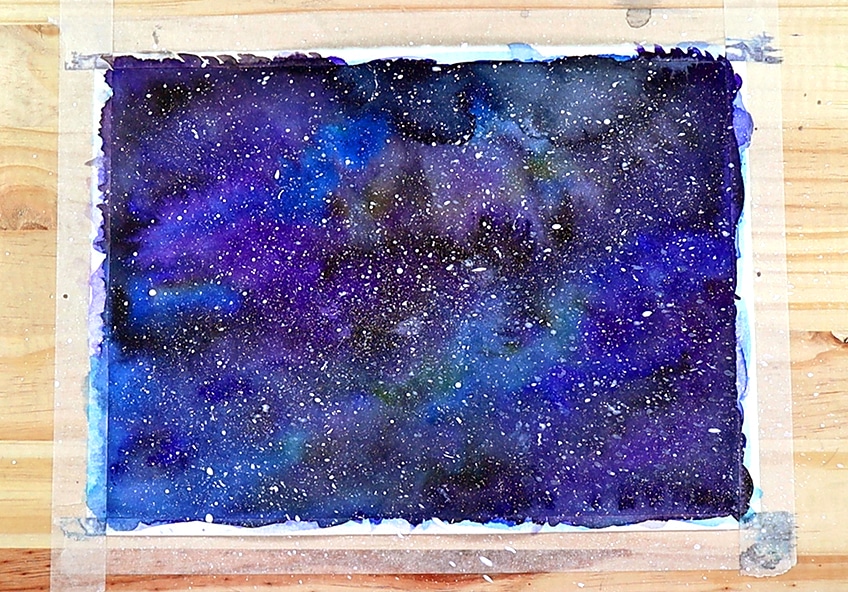
The white paint sprays will begin to evolve the painting into an identifiable galaxy. The freedom of the color combinations that you use before the stars will be contextualized once you apply the stars to the painting.
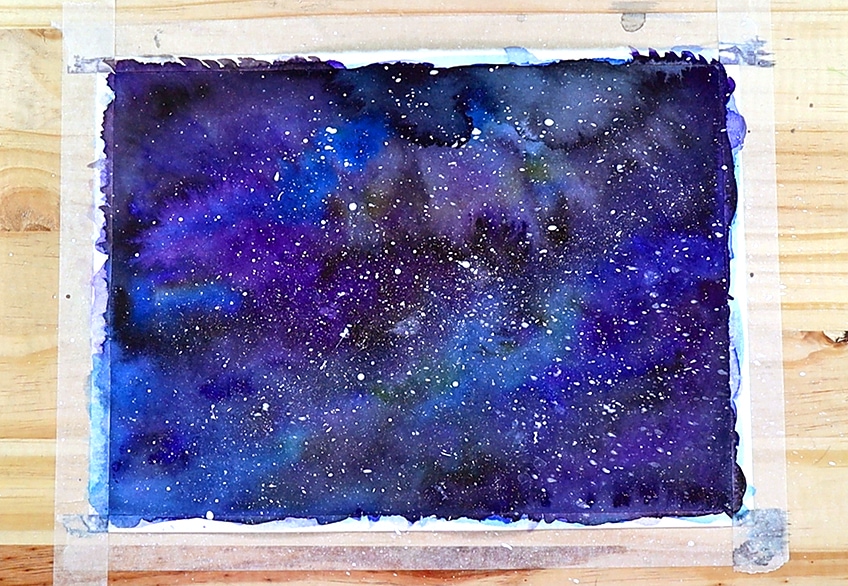
Remember to consider how many stars you want on your page. Potentially you might not want too many stars, in the case of overpowering the image. Again, make sure you do test sprays before you apply these marks to your painting. That’s it, a simple and easy way to make a galaxy painting!
Tips to Remember
Learning how to paint a watercolor galaxy is such a fun activity. It requires a very small amount of materials and displays how watercolors mix. Here are some great tips and tricks to help you out!
- When doing a galaxy painting you want to make sure you pick the right color combination. If you do deep space, use darker colors, such as blue, purple, and black.
- You want to keep your page wet as you mix the colors that will create the galaxy. This will allow for more seamless color merging as all the colors will dry together.
- Always have two jars of water nearby when doing watercolor, one for a first rinse and the other for a second rinse to make sure your brushes are clean.
- Make sure you tape down your image nice and firmly due to the high usage of water that can warp the page.
Watercolor galaxies can be painted in a variety of ways whereby one can make colors that fade from light to dark or create galaxies with different types of mark-making styles. However, this easy watercolor galaxy painting breaks down how to paint a watercolor galaxy that looks beautiful and is done in a few easy steps.
Frequently Asked Questions
How Do You Paint a Watercolor Galaxy?
There are many ways in which one could learn how to paint a watercolor galaxy. In this tutorial, we go through the process of forming color combinations that will serve as the color palette of the galaxy. Firstly we carefully choose our colors, using various blues, with black and purples is a good choice. As you apply these colors to your page you want to allow them to mix whereby, you will also begin to add moments of black into the scene so that the blues and purples slowly start to merge with black paint. Once they have merged and dried completely, you should be left with an interesting composition of dark and light moments in your galaxy. Lastly, you will splatter some white paint onto your image for the stars and that’s it.
What Colors Do You Need to Paint a Watercolor Galaxy?
When painting a watercolor galaxy, you want to be conscious of what kind of tone you want to set in the landscape. Making a watercolor galaxy that depicts deep space is best produced with color combinations that describe the dark qualities of space. This is why using blues, purples, and black is the most simple color combination to use for a watercolor galaxy painting. You want to apply all the colors into the scene at once, whilst the page is wet. Adding the colors whilst the page is wet can help the colors merge into one another more seamlessly.
How Do You Paint Stars in a Watercolor Painting?
When learning how to paint a watercolor galaxy you need to understand that stars are often seen from a great distance. When doing a galaxy painting, an easy way to depict stars is by flicking paint onto the dried painting itself. Once you have made your color combination for your galaxy and it has completely dried, you can either take a brush, dip it in some white watercolor paint, and then proceed to rub your thumb along the edges of the bristles so that the paint flicks onto the page making starts. Other ways to do this are by using a toothbrush and acrylic paint. You can use the toothbrush by dipping it into acrylic paint and again rubbing your thumb along the bristles to create a splattering effect that sprays onto the painting. However, be careful when doing this as you can create unwanted blotches of white paint.
Matthew Matthysen is an educated multidisciplinary artist and illustrator. He successfully completed his art degree at the University of Witwatersrand in South Africa, majoring in art history and contemporary drawing. The focus of his thesis was to explore the philosophical implications of the macro and micro-universe on the human experience. Matthew uses diverse media, such as written and hands-on components, to explore various approaches that are on the border between philosophy and science.
Matthew organized various exhibitions before and during his years as a student and is still passionate about doing so today. He currently works as a freelance artist and writer in various fields. He also has a permanent position at a renowned online gallery (ArtGazette) where he produces various works on commission. As a freelance artist, he creates several series and successfully sells them to galleries and collectors. He loves to use his work and skills in various fields of interest.
Matthew has been creating drawing and painting tutorials since the relaunch in 2020. Through his involvement with artincontext.org, he has been able to deepen his knowledge of various painting mediums. For example, watercolor techniques, calligraphy and lately digital drawing, which is becoming more and more popular.
Learn more about Matthew Matthysen and the Art in Context Team.
Cite this Article
Matthew, Matthysen, “How to Paint a Watercolor Galaxy – An Easy Watercolor Galaxy Tutorial.” Art in Context. February 14, 2022. URL: https://artincontext.org/how-to-paint-a-watercolor-galaxy/
Matthysen, M. (2022, 14 February). How to Paint a Watercolor Galaxy – An Easy Watercolor Galaxy Tutorial. Art in Context. https://artincontext.org/how-to-paint-a-watercolor-galaxy/
Matthysen, Matthew. “How to Paint a Watercolor Galaxy – An Easy Watercolor Galaxy Tutorial.” Art in Context, February 14, 2022. https://artincontext.org/how-to-paint-a-watercolor-galaxy/.


