How to Draw the Solar System – Sketching Cosmic Creations
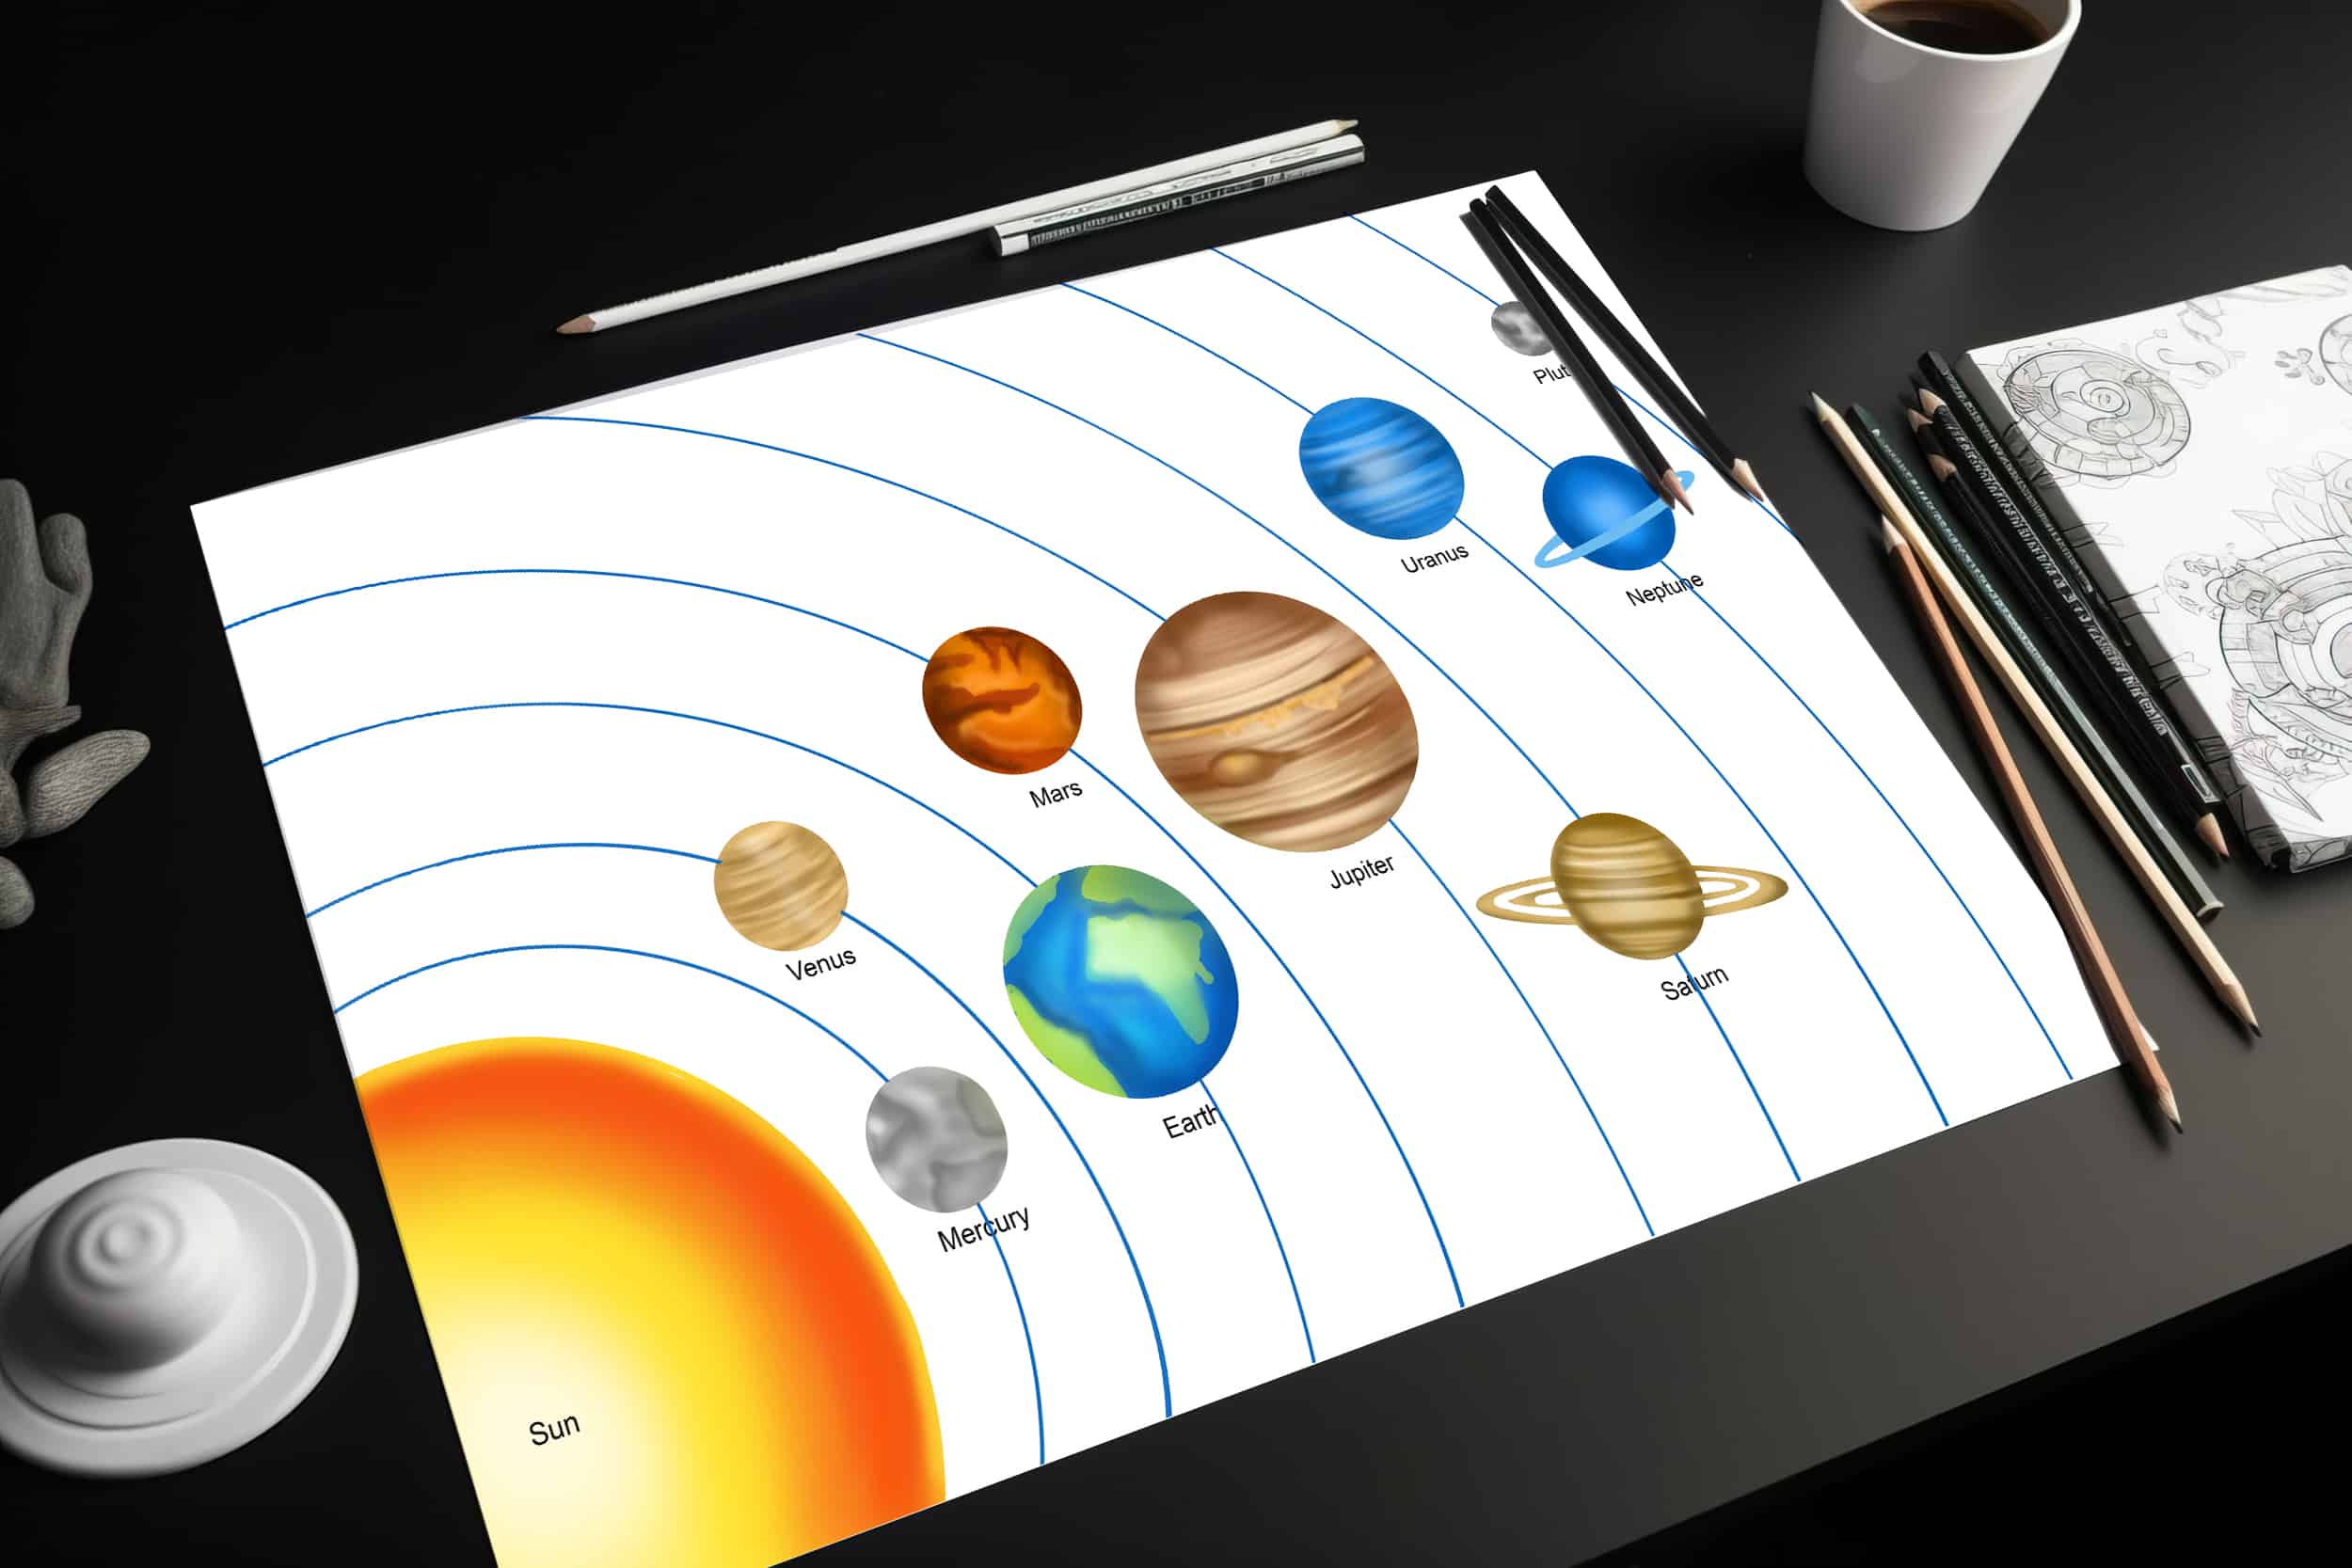
Embark on an otherworldly journey through the cosmic wonderland that is our solar system! Picture this: a dance of planets, moons, and celestial marvels swirling amidst the velvety expanse of space. Mercury, the swift-footed messenger, races around the Sun in a sizzling tango, while Venus shimmers like a radiant jewel, concealing mysteries beneath its veil of clouds. Earth, our precious blue orb, teems with life nestled in its delicate embrace. Mars beckons with its rusty allure, a potential future home for intrepid explorers. Behold the regal giant Jupiter, a swirling masterpiece of storms, and Saturn, adorned with its ethereal rings—a cosmic jewel box. Uranus and Neptune, the ice giants, bewitch with their frigid splendor. As we strive to unravel the enigmas of our solar system, we find ourselves humbled by the vastness of space and the captivating secrets it holds. Take a trip through our easy tutorial where we focus on the main planets of our solar system.
Space Odyssey: Creating Your Solar System Illustration
Get ready to embark on an artistic voyage through the cosmos as you delve into the captivating world of learning how to draw the solar system! Imagine capturing the grandeur of the planets suspended in the ink-black canvas of space, each one a unique masterpiece waiting to take shape beneath your fingertips. From the fiery intensity of Mercury to the distant allure of Neptune, you’ll explore a palette of colors and textures that bring these celestial bodies to life. Let your creativity orbit the planets, just like they revolve around the Sun. With each stroke of your pencil, you’ll unlock the mysteries of the universe and translate them onto paper.
So, grab your art supplies, harness your imagination, and get ready to craft your own cosmic masterpiece—one that will not only teach you about the solar system but also let you infuse your own artistic spirit into the vastness of space.
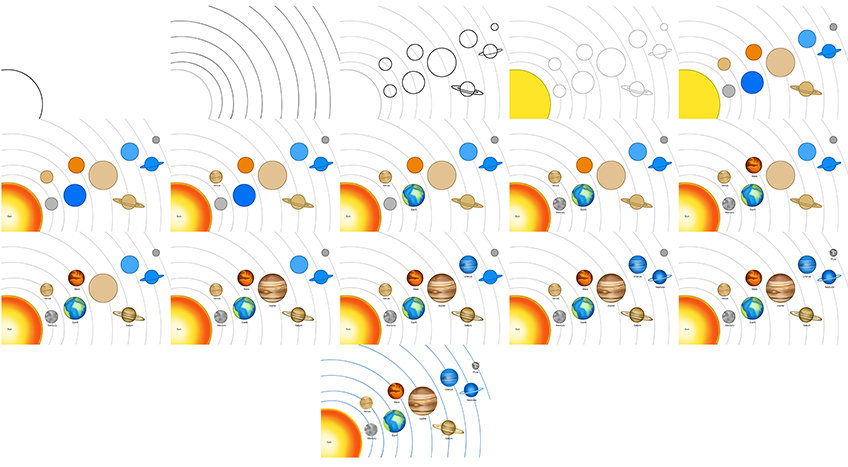
The collage presented below outlines the progression of steps that led to the eventual outcome. Join in the process, and you’ll also acquire the skill of how to draw planets!
Step 1: Draw the Sun
At the bottom left corner of your drawing area, draw a large half circle, this will depict the sun.

Step 2: Add the Solar System Rings
Continue drawing the curving line pattern leading to the furthest top right corner.

Step 3: Draw Each of the Planets in Your Solar System Drawing
Overlapping each of the previously drawn solar system rings, draw each of the planets on each ring according to their size and shape.
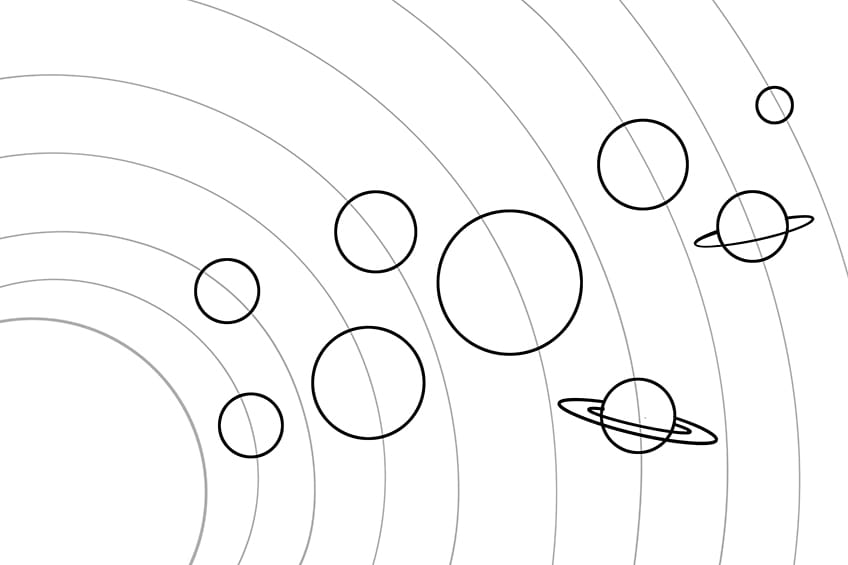
Step 4: Add Color to the Sun
Employ a finely pointed brush and yellow paint to uniformly cover the sun.
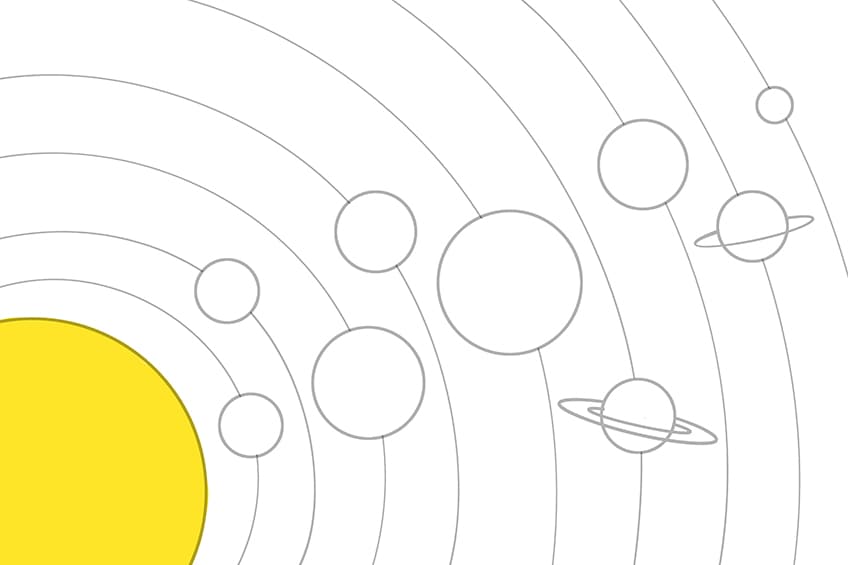
Step 5: Color the Rest of the Planets
Begin this step by utilizing a fine, pointed brush to apply gray paint to Mercury and Pluto. Following that, employ khaki paint to color Venus and Saturn, blue paint for Earth and Neptune, and orange paint for Mars. Proceed with the fine sharp brush to paint Jupiter using tan paint, and for Uranus, opt for a light blue hue.
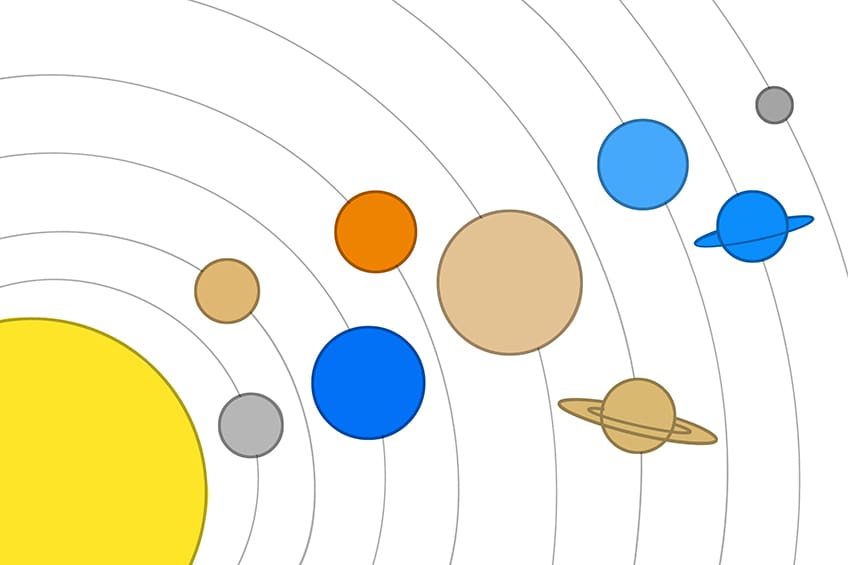
Step 6: Begin to Color Blend the Sun
Using a compact, gentle brush along with orange paint, apply a secondary coat of color to the sun’s edges. Repeat this process, utilizing white paint for the sun’s central area. Subsequently, employ a blending brush to create a seamless transition between the coats.
Conclude this step by labeling it as the ‘Sun’.
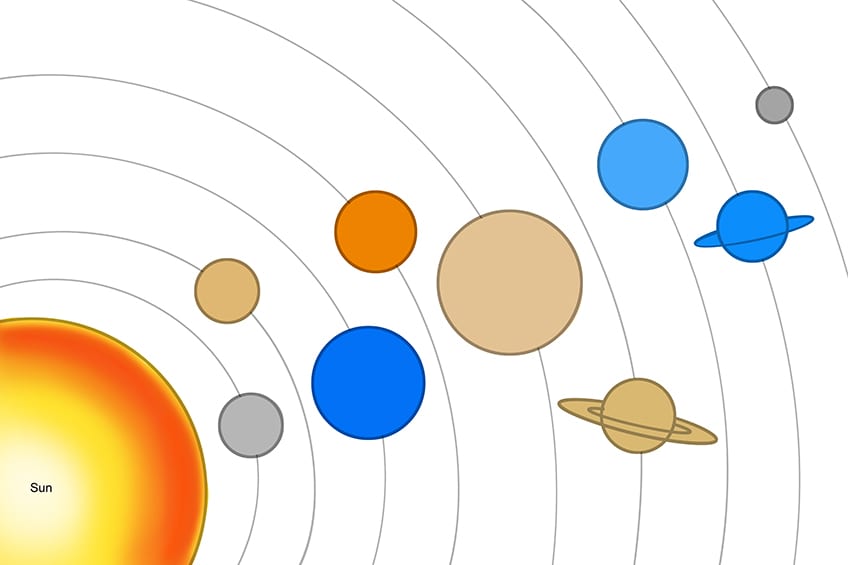
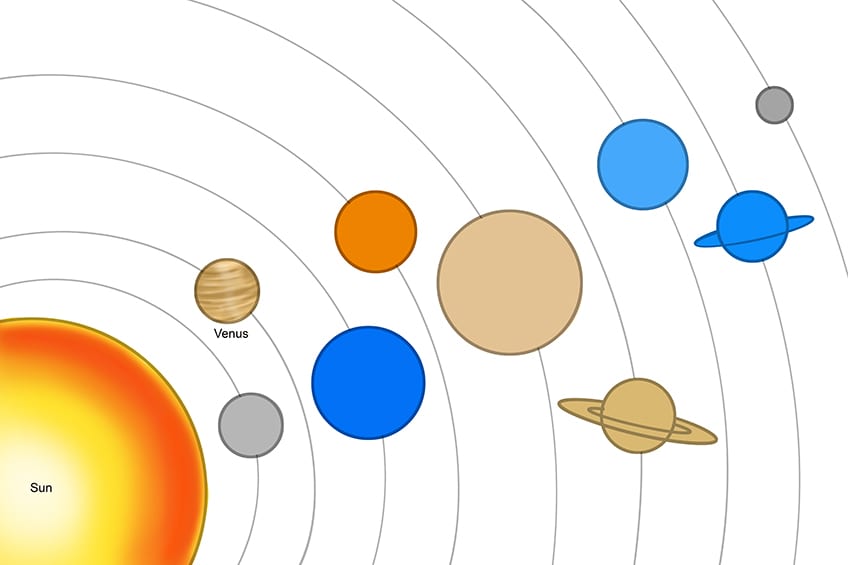
Step 7: Detail Venus in Your Solar System Drawing
Utilize a precise, sharp brush and a deeper khaki hue to incorporate a series of curved brush strokes encircling the planet, allowing glimpses of the initial color layer to remain visible. Employ a small, soft brush and white paint to delicately introduce highlights to the planet’s central region. Conclude this stage by designating it as ‘Venus’.
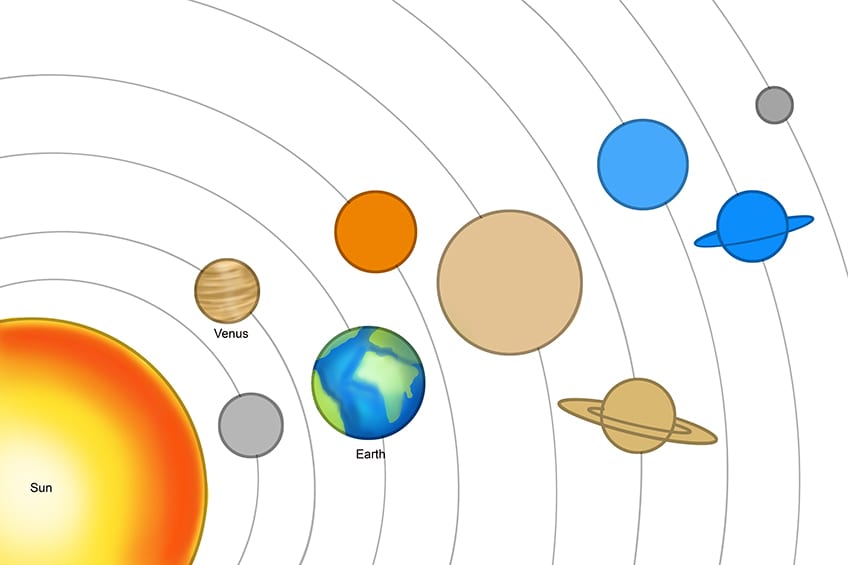
Step 8: Begin to Detail Earth
With the aid of a precise, sharp brush and green paint, incorporate the continents onto Earth. Then, employing a small, gentle brush and white paint, introduce subtle highlights to both the continents and the oceans. Repeat this process using black paint to create gentle shading along the edges. Conclude this phase by labeling it as ‘Earth’.
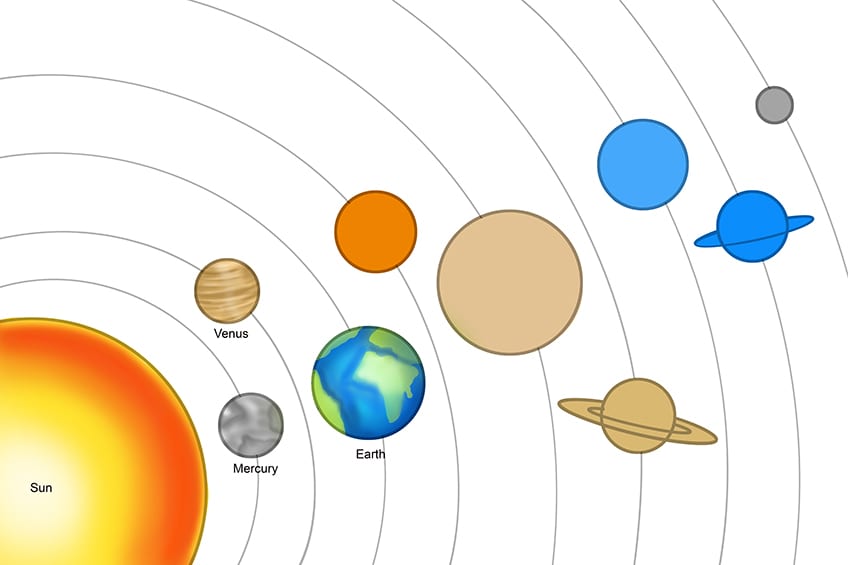
Step 9: How to Draw Planets: Detail Mercury
Utilize a precise, sharp brush along with a deeper gray shade to outline Mercury with a textured effect; duplicate this process with white paint to introduce gentle highlights. Employ a blending brush to refine and soften the tones. Conclude this stage by labeling it as ‘Mercury’.
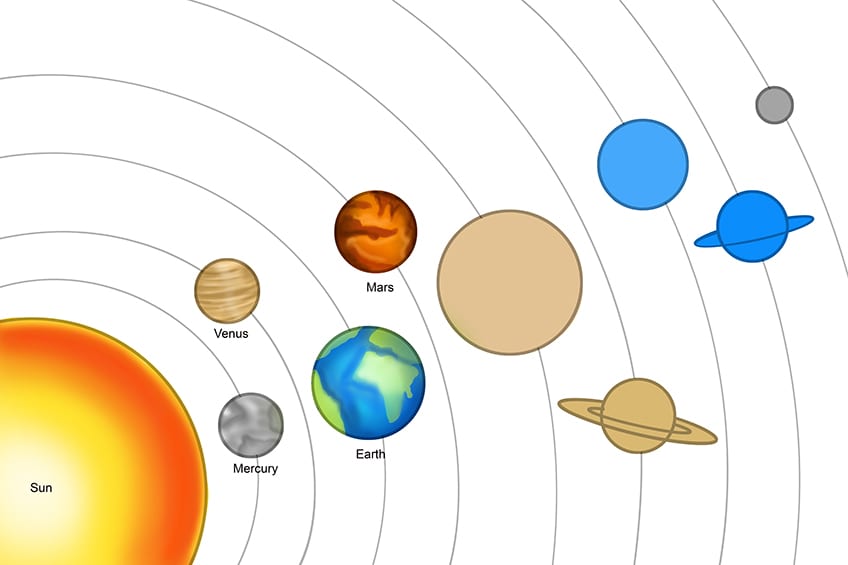
Step 10: Detail Mars
With a precise brush and dark orange paint, add several pattern lines leading inwards from the surrounding edges of the planet. Switching to a soft brush and black paint, add a gentle shadow to the planet. Complete the step by labeling ‘Mars’.
Step 11: Add Detail to Saturn
With the aid of a fine, sharp brush and a darker khaki hue, incorporate delicate ring patterns encircling the planet. Reiterate this step using white paint, extending the process to encompass the outer ring. Utilize a small, soft brush and black paint to introduce subtle shading. Finalize this stage by affixing the label ‘Saturn’.
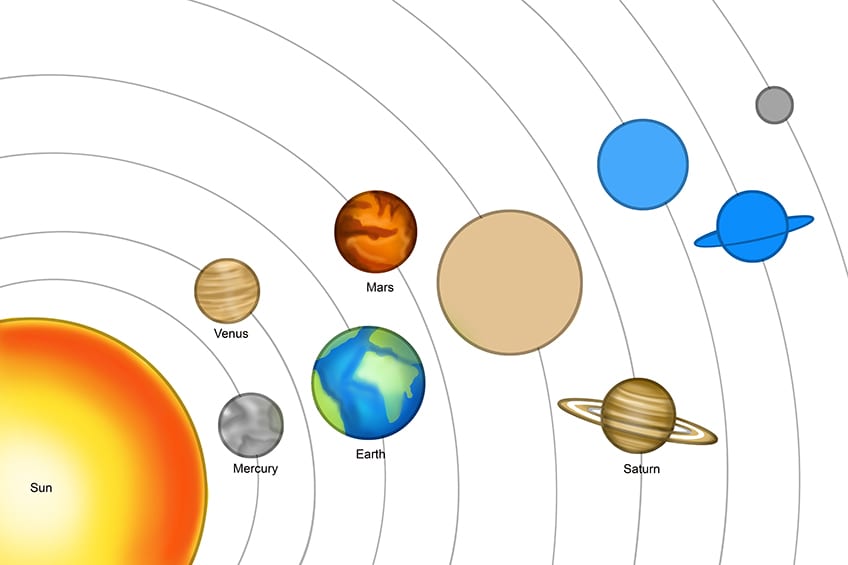
Step 12: Detail Jupiter in Your Solar System Drawing
Commence by employing a precise, sharp brush and brown paint to incorporate multiple ring lines at distinct regions of the planet. Redo this process using a tint of off-white and sand-yellow paint to introduce supplementary texture lines, allowing the initial color layer to peek through between these lines. Utilize a blending brush to seamlessly merge the coats.
Conclude this phase by designating it as ‘Jupiter’.
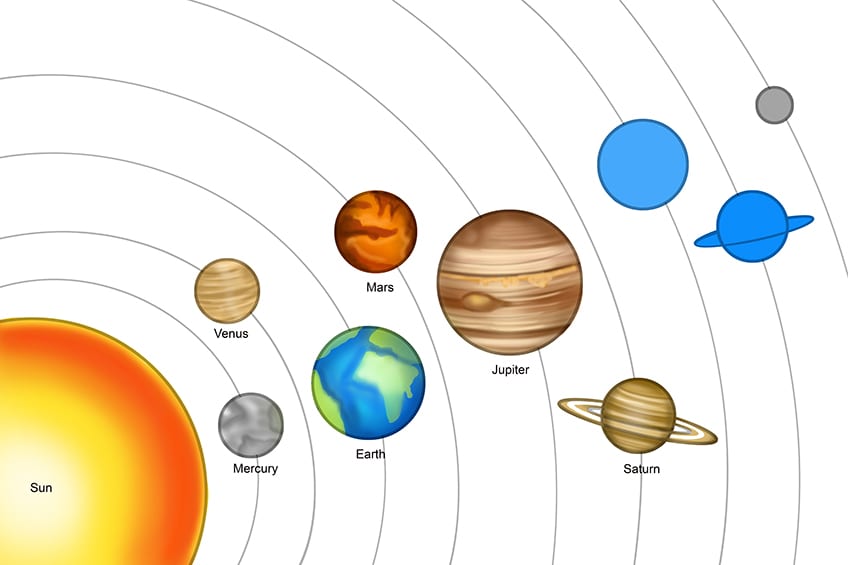
Step 13: Detail Uranus
Begin this step with a sharp brush and a darker shade of blue paint, and add fine texture lines within the planet. Repeat this process using white paint. With a softer brush, begin to add gentle highlights along the center of the planet. Complete the step by labeling ‘Uranus’.
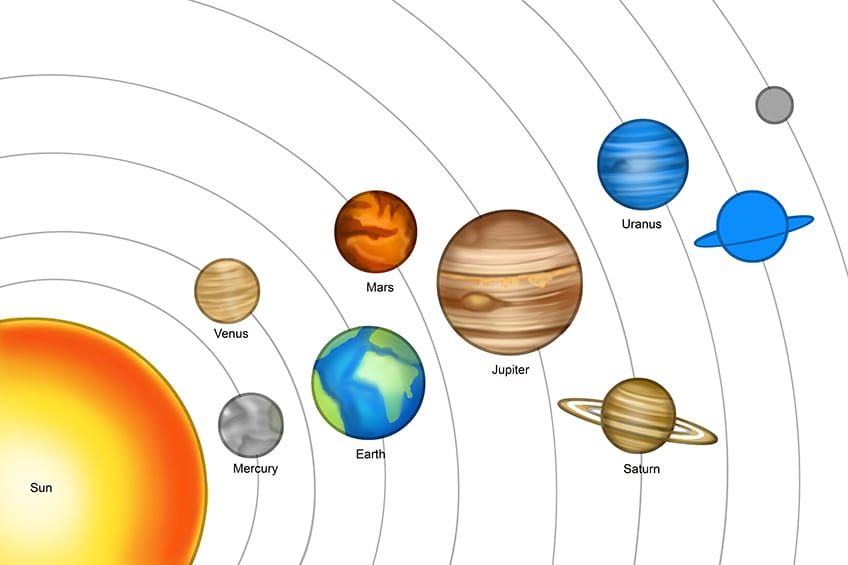
Step 14: Continue to Add Detail to Neptune
With a compact, gentle brush and black paint, introduce shading along the planet’s edges. Redo this step with white paint to apply a gentle highlight to the central area. Utilize a precise, sharp brush and teal paint to fill the encircling ring. Clear out excess areas or fill them in with white. Finalize this stage by labeling it as ‘Neptune’.
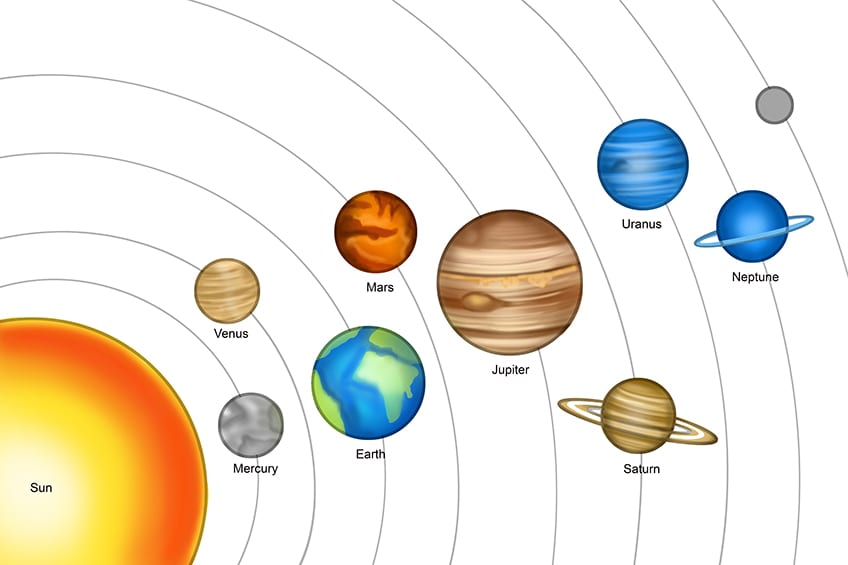
Step 15: Finally Add Detail to the Last Planet: Pluto
Employ a precise, sharp brush and a deeper gray shade to incorporate a textured pattern within the planet. Redo this process with white paint to introduce gentle highlights. Use a small, gentle brush and black paint to delicately shade the edges. Conclude this phase by designating it as ‘Pluto’.
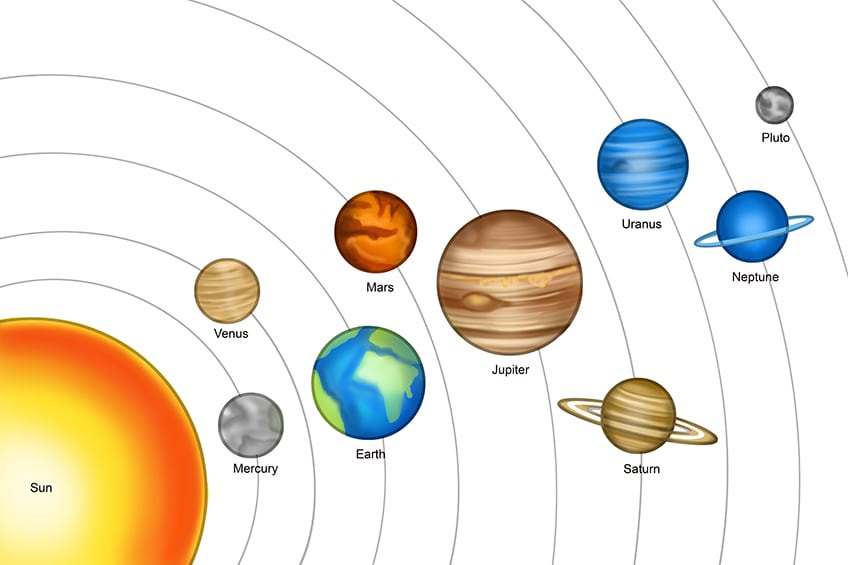
Step 16: Finalize Your Stunning Solar System Drawing
To finish off our drawing tutorial on how to draw planets, begin to remove any remaining visible outlines. If needed, utilize a precise, sharp brush along with the appropriate colors to meticulously trace the outlines.
Conclude the tutorial by using a fine, sharp brush and blue paint to delineate the solar system’s ring lines.
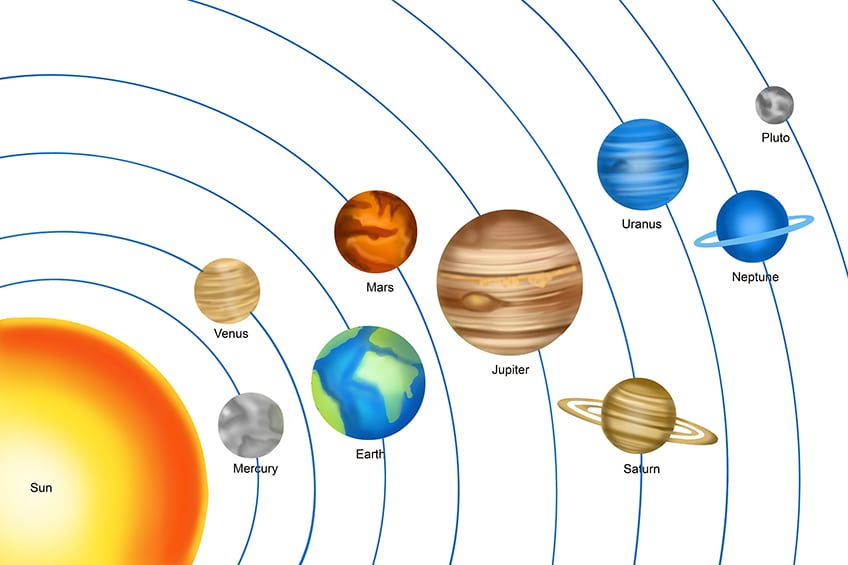
Congratulations on mastering the art of learning how to draw the solar system! Your dedication and effort have truly paid off, and it’s awe-inspiring to see how you’ve brought the celestial bodies to life on paper. Your newfound skill not only captures the beauty of the cosmos but also reflects your passion and determination. Remember, just as each planet has its unique place in the universe, your artistic journey holds its own special significance. Keep reaching for the stars and continue to explore the limitless possibilities of your creativity. Well done!
Frequently Asked Questions
How Do You Draw the Planets to Scale in Relation to Each Other?
Achieving accurate scale when learning how to draw the planets can be challenging due to the vast differences in their sizes. One approach is to decide on a common scale factor, where each planet’s size is proportional to its actual diameter compared to the diameter of the largest planet, Jupiter. For instance, if Jupiter’s size is represented as 1 unit, Earth would be about 0.1 units, and smaller planets like Mercury would be even smaller fractions. This method ensures a rough sense of relative scale among the planets. Remember, achieving perfect scale might sacrifice the visibility of smaller planets, so finding a balance between accuracy and visual representation is key.
What Are Some Tips for Adding Realistic Textures to the Planets When Drawing the Solar System?
Creating convincing textures for the planets involves a mix of observation and technique. For rocky planets like Mars and Mercury, try lightly sketching irregular patterns to mimic craters and surface features. Gas giants like Jupiter can be rendered with swirling bands using smooth, flowing strokes. Experiment with layering colors to add depth and realism. Adding subtle gradients can convey the planets’ spherical nature. For planets with prominent features, like Earth’s continents, use references to accurately depict their shapes. Consider using a variety of brushes and blending tools to achieve the desired textures, always aiming for a balance between detail and artistic interpretation. If you are unsure of how to do this, take a look at our step-by-step tutorial on how to draw the solar system.
Matthew Matthysen is an educated multidisciplinary artist and illustrator. He successfully completed his art degree at the University of Witwatersrand in South Africa, majoring in art history and contemporary drawing. The focus of his thesis was to explore the philosophical implications of the macro and micro-universe on the human experience. Matthew uses diverse media, such as written and hands-on components, to explore various approaches that are on the border between philosophy and science.
Matthew organized various exhibitions before and during his years as a student and is still passionate about doing so today. He currently works as a freelance artist and writer in various fields. He also has a permanent position at a renowned online gallery (ArtGazette) where he produces various works on commission. As a freelance artist, he creates several series and successfully sells them to galleries and collectors. He loves to use his work and skills in various fields of interest.
Matthew has been creating drawing and painting tutorials since the relaunch in 2020. Through his involvement with artincontext.org, he has been able to deepen his knowledge of various painting mediums. For example, watercolor techniques, calligraphy and lately digital drawing, which is becoming more and more popular.
Learn more about Matthew Matthysen and the Art in Context Team.


