How to Draw a Unicorn – Create a Cute Unicorn Drawing
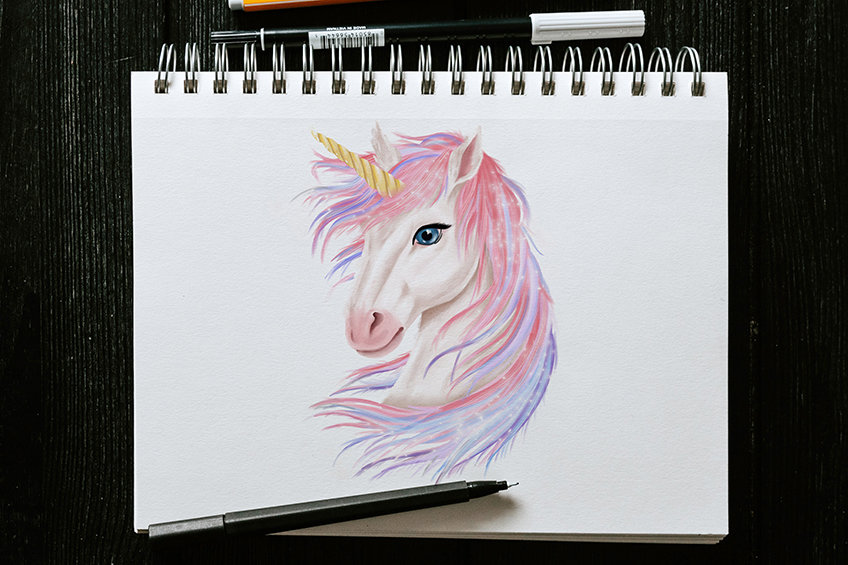
Unicorns are described as mythological creatures that resemble a horse with a single horn in the middle of their forehead. They are known to have appeared in early Mesopotamian artworks, and have powers such as speed, ferocity, and invincibility! So join us today for a magical tutorial on how to draw a unicorn!
An Easy Guide to a Unicorn Head Drawing
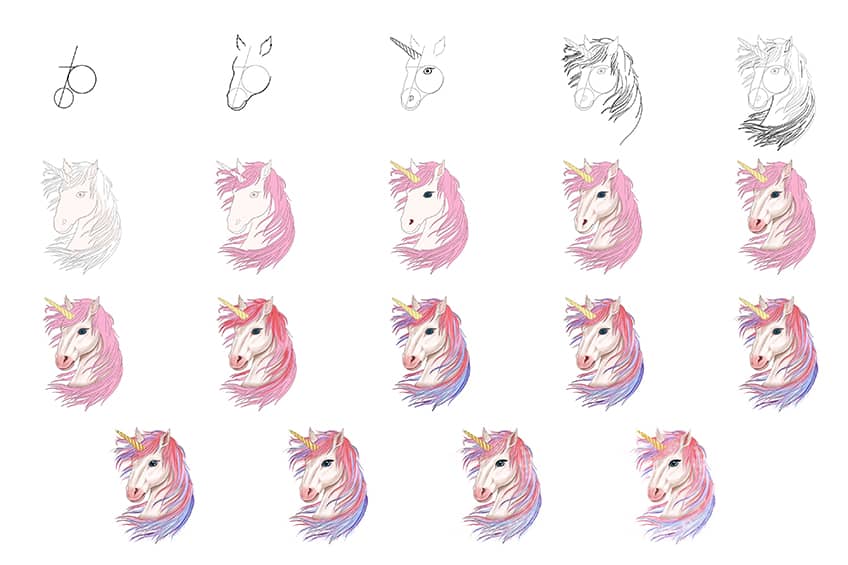
Unicorns can be challenging to draw as they require intricate details. However, in today’s tutorial on how to draw a unicorn, we will take you step-by-step through the construction process before we begin adding in all the fun coloring details! After today’s how-to-draw-a unicorn drawing tutorial, you will be able to create an effortlessly majestic, and realistic unicorn drawing! You can also browse through the brief outline of the unicorn drawing collage below.
Step 1: Draw Construction Lines of the Unicorn Head Outline
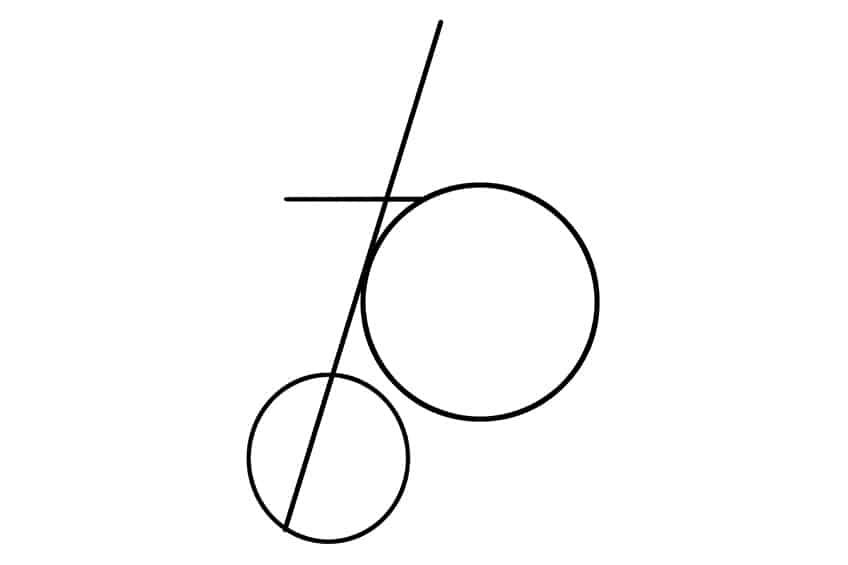
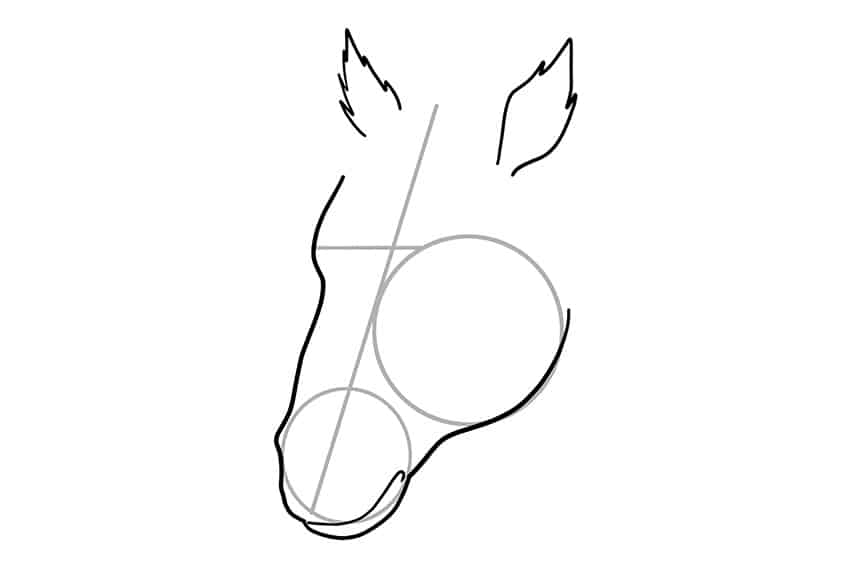
Begin by drawing a straight sloped line, with a short horizontal line overlapping it. Attached to these lines, draw a large circle and a small circle directly underneath one another.
Step 2: Outline the Unicorn Sketch
Make use of the previously drawn lines to help guide you in outlining a more realistic unicorn head outline. Draw a curved line, around the larger circle, to represent a rounded jaw. Continue this line around the smaller circle.
Draw the mouth of the horse around the smaller circle, before completing the face. Begin by sketching the ears of the unicorn drawing.
Step 3: Sketch the Unicorn Horn
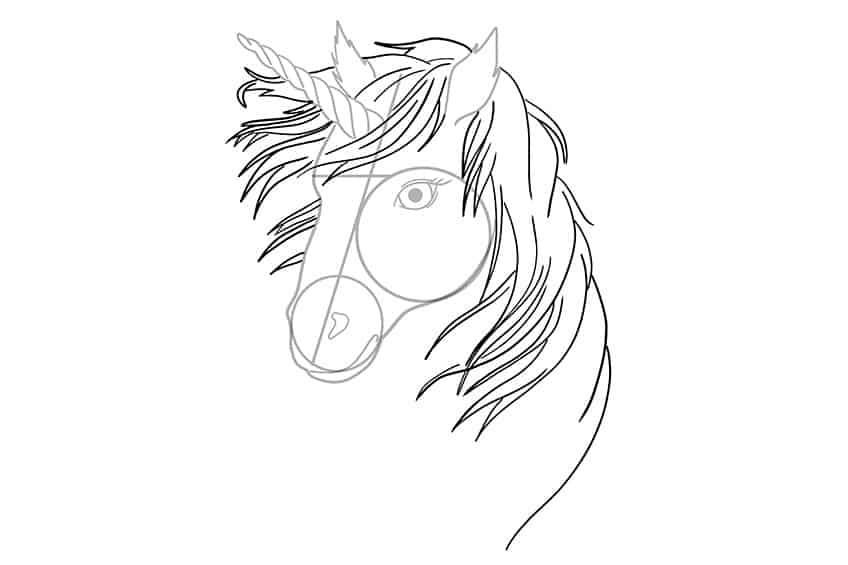
Begin by locating the center of the unicorn head drawing. Draw the horn, also known as the alicorn, and tilt it slightly to the left. Continue the step by drawing the eyes and nostrils of the unicorn drawing.

Step 4: Draw the Mane on the Unicorn Sketch
For this step, we will start to integrate more realistic details into the unicorn head outline. Begin by drawing fine hairlines blowing towards the direction of the head.
The mane of the unicorn should look as if it has been blowing in the wind, so most of the hairlines should be drawn in the same direction.
Step 5: Complete the Mane on the Unicorn Head Drawing
Begin by drawing a neckline at the front of the unicorn. Continue filling out the mane from the back of the neckline towards the front. Complete this step by adding fine hairline strokes within the mane, and draw an inner ear outline.
Erase any visible construction or overlapping lines, so your cute unicorn drawing can look seamless!

Step 6: Add the First Coat of Color
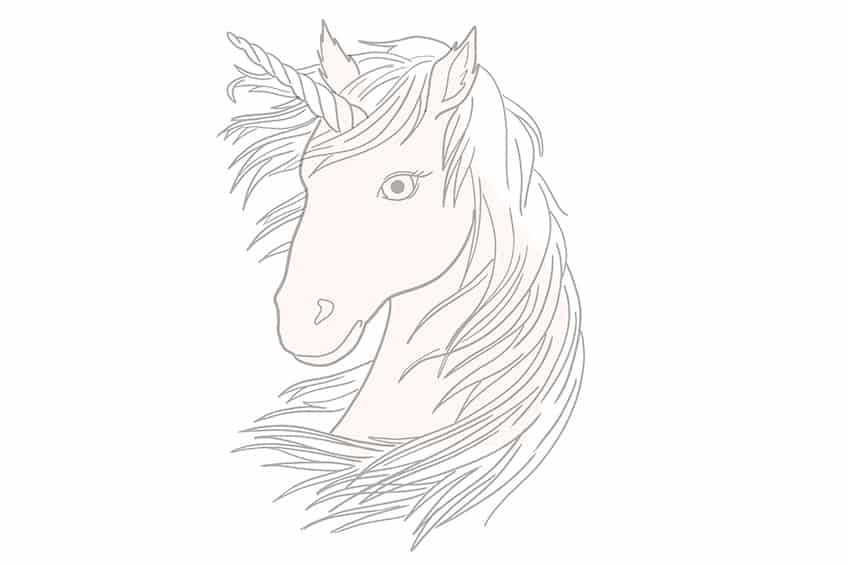
In this step, we are beginning to add color to your unicorn drawing! Make use of a regular paintbrush and peach paint, and evenly paint the entire unicorn head drawing.
Step 7: Color in the Mane of Your Unicorn Artwork
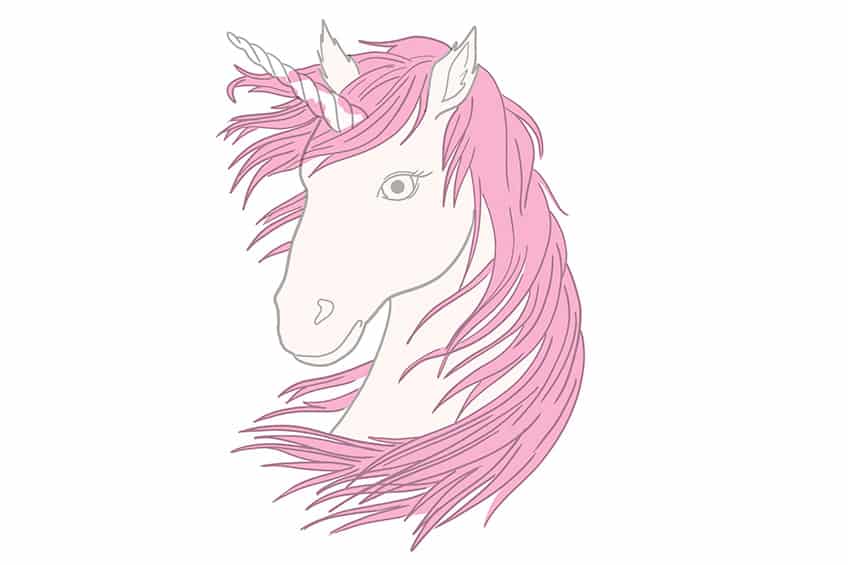
Make use of a fine, sharp brush and a light shade of pink paint, and begin evenly coloring the entirety of the unicorn’s mane.
Step 8: Color in the Facial Features
Begin by using a fine, sharp brush and a light shade of yellow paint, and paint the horn of the unicorn sketch. Continue this step by using the same brush but switching to light pink paint, and paint the inner part of the ear.
Use a fine, sharp brush and navy blue paint, and paint the eye of the unicorn drawing. Continue by using dark gray paint for the iris and black paint for the outline of the eye.
Complete the step by using brown paint, and paint the nostril of your cute unicorn drawing!
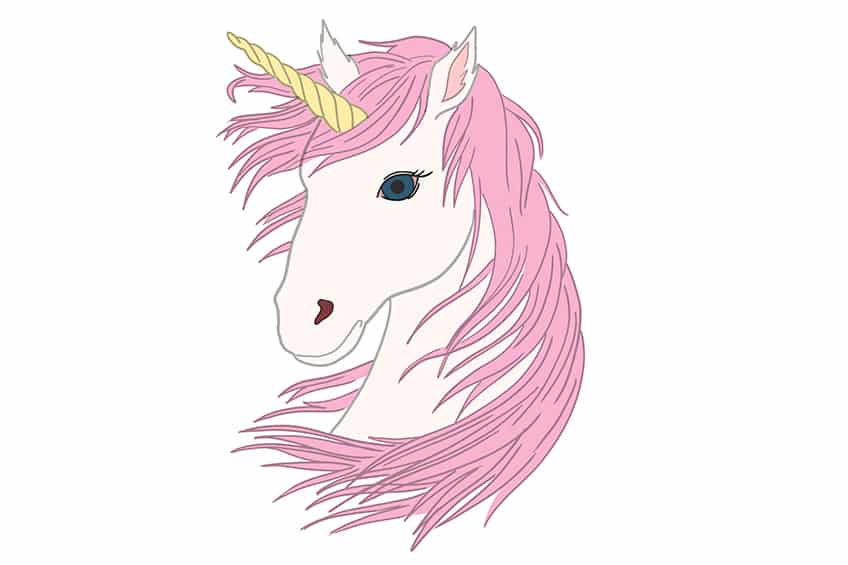
Step 9: Contour and Structure the Unicorn Head Drawing
Make use of a small, soft brush and brown paint, and add soft brush strokes around the lower jawline and in between the mane. This will create light shading, making a more realistic unicorn drawing.
Using the same brush and paint, begin to add more defined structure lines around the nostrils, and the curvatures of the face, and along the center of the face.
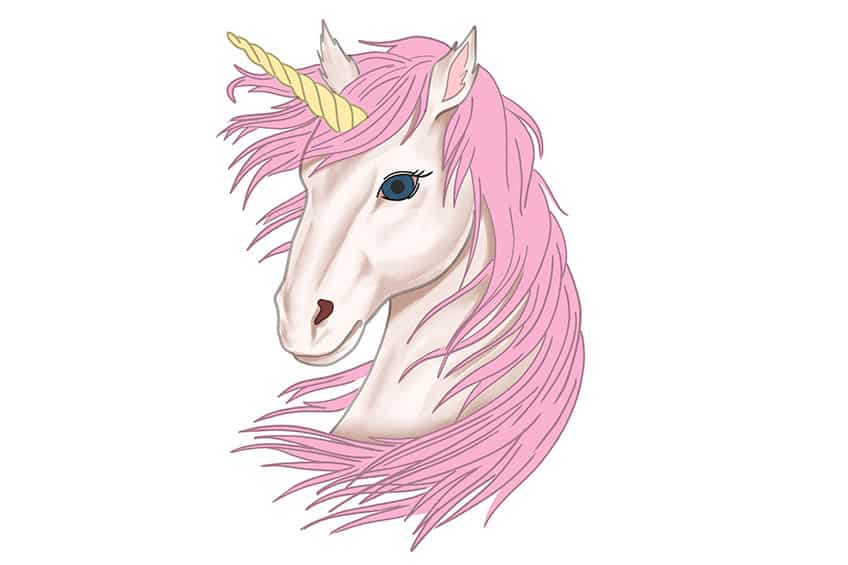
Step 10: Add Color to the Nostril and Mouth Area
Use a soft brush and a bright shade of pink paint, and paint the front of the face, which includes the nostrils and mouth area. Using the same brush and now brown paint, add contour and shading around the eyes and ear area.

Step 11: Texture the Fur on the Unicorn Artwork
In this step, we are going to start adding texture to the fur of the unicorn head drawing. Begin by selecting a fine brush and tan paint, and add fine lines along the mane and head of the unicorn drawing.
You are on your way to creating a realistic and majestic unicorn drawing!
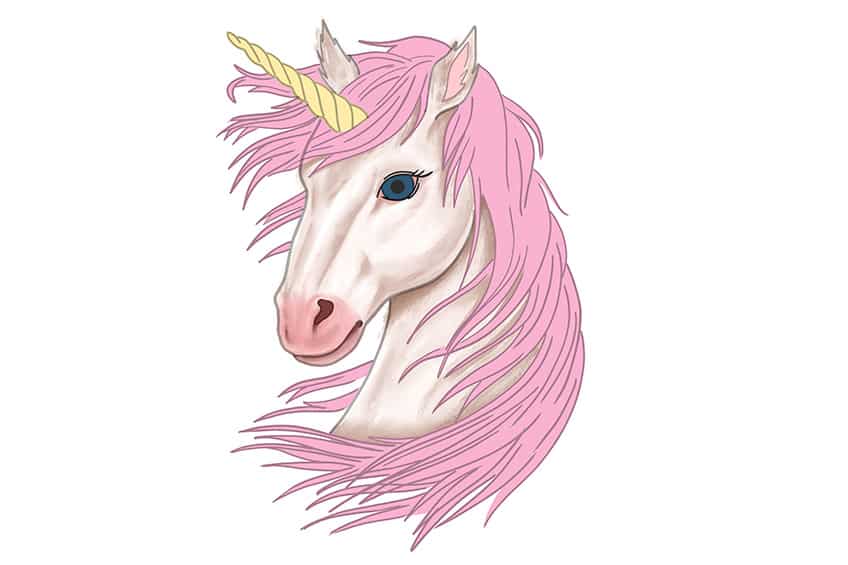
Step 12: Add a Second Color Coat to the Mane
Using a soft brush and a light shade of red paint, add soft brush strokes within the mane, concentrating mainly on the top of the mane. The first coat of color should still be visible under the red paint.
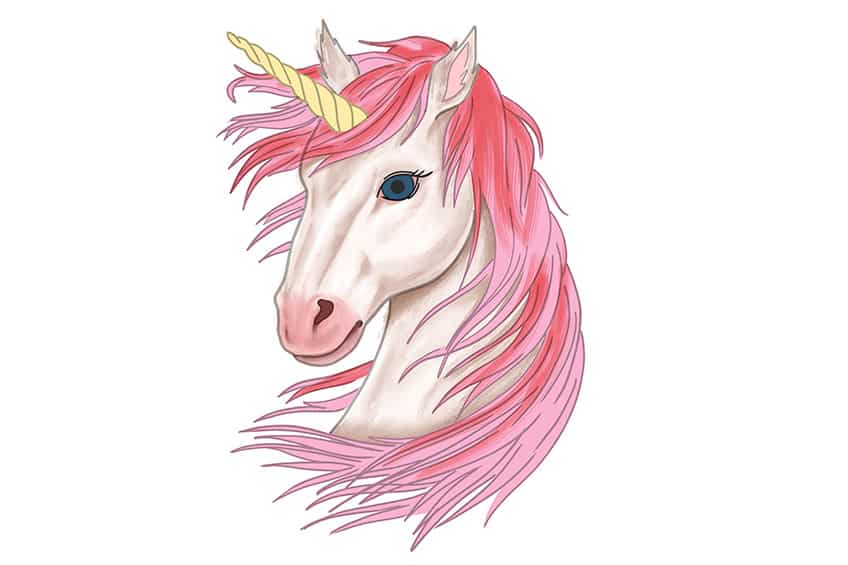
Step 13: Begin to Color Blend the Mane
Begin by selecting a soft paintbrush and blue paint, and add fine brush strokes within the hairlines of the mane. Repeat this step, with the same brush, and switch to purple and turquoise paint.
Complete the step using a blending brush, and blend out the respective colors to create a smooth area.
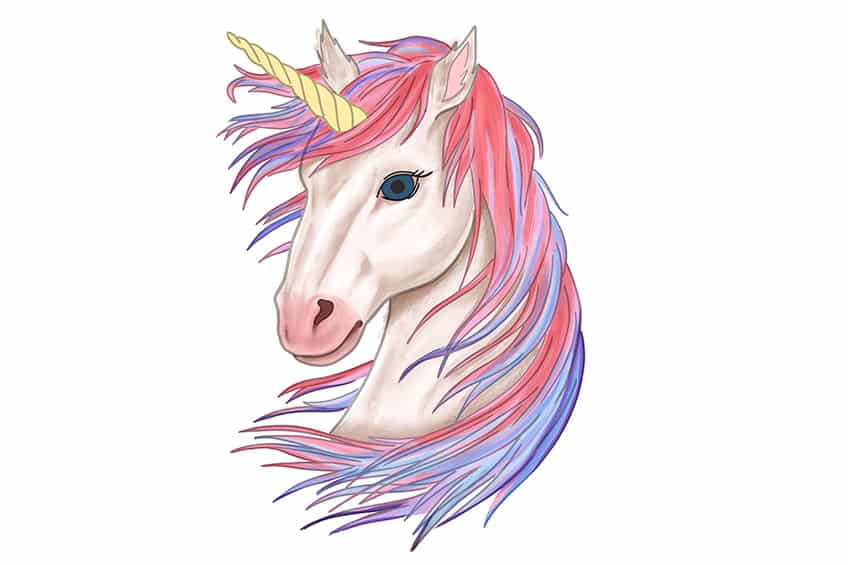
Step 14: Add Highlights to the Mane
In this step, we are adding highlights to the image to help create a cute unicorn drawing. Select a small, soft brush and white paint, and add subtle brush strokes along the edges of the mane.
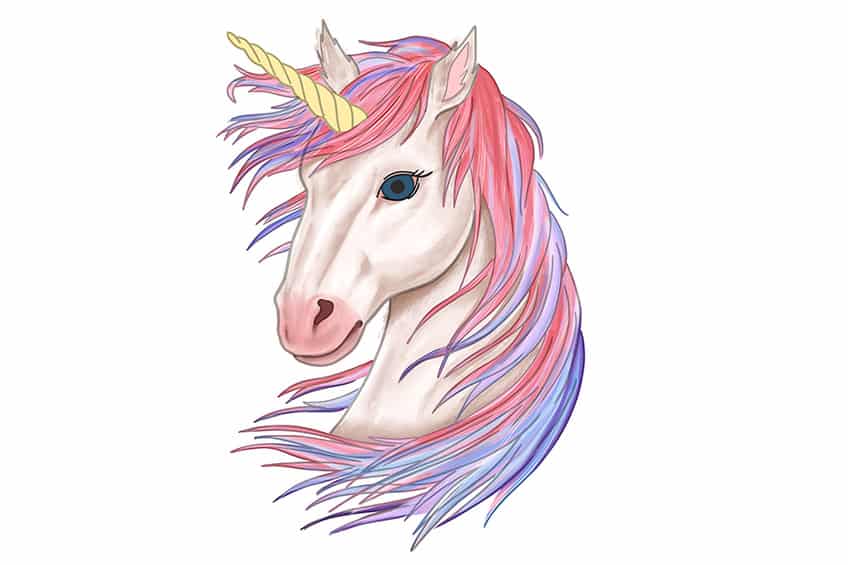
Step 15: Enhance the Unicorn Head Outline
Make use of a soft brush and the corresponding colors, and add a soft shadow around the outline of the unicorn. This will stop you from having a “cut-out” look to your unicorn drawing.
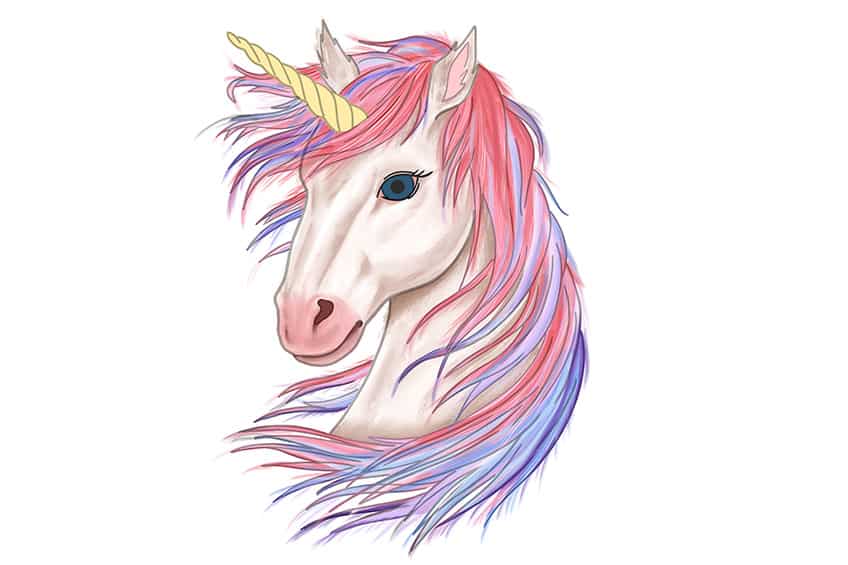
Step 16: Add Final Details to the Facial Features
In this step, we are beginning to add finer details to the facial features, creating a more realistic unicorn drawing. Select a soft brush and white paint, and apply a soft fade on the eye. Repeat this step, switching to a finer brush, and add a shimmer around the eye and iris.
Use a soft brush and white paint, and add a soft highlight to the nostril area. Continue using the same brush but switch to brown paint, and add a soft contour to the horn.
Complete the step using brown paint, and fill in the inner part of the ear.
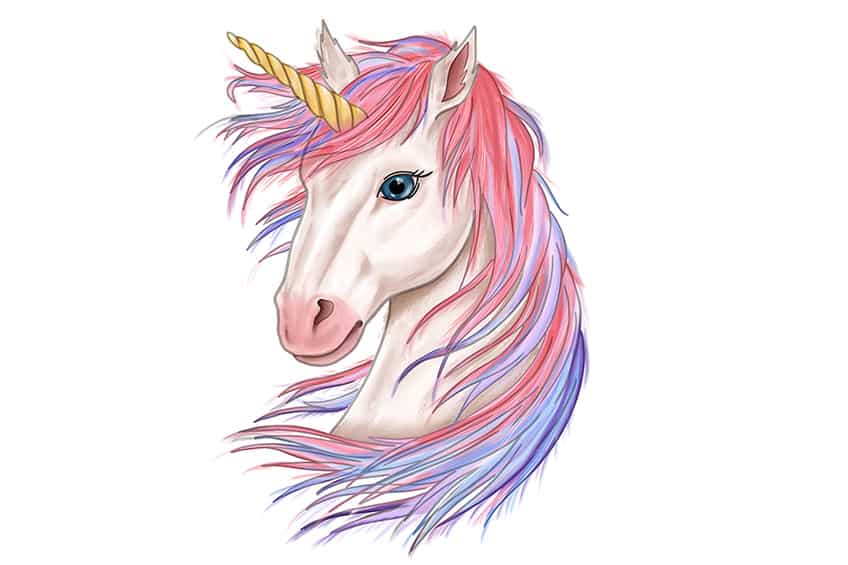
Step 17: Add the Final Details to the Unicorn Sketch
Make use of a fine brush and black paint, and paint an eyebrow above the eye of the unicorn. Using the same brush and switching to white paint, add a fine layer of brush strokes onto the twirl of the horn, creating highlights.
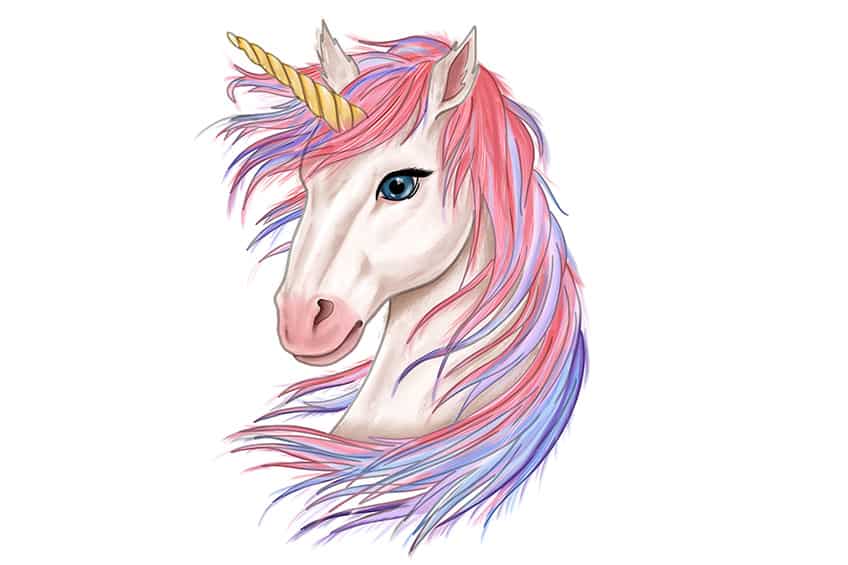
Step 18: Add Glitter and Sparkles to Your Unicorn Artwork
Use a fine, sharp brush and white paint, and add small spots onto the mane and the surrounding area of the unicorn. This will add a shimmer and sparkle that will elevate the majestic look of your unicorn drawing.
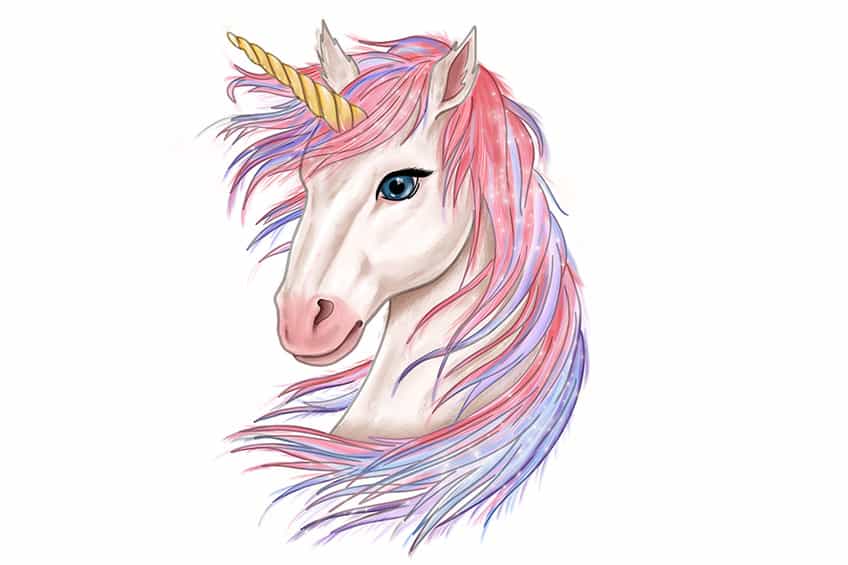
Step 19: Finalize Your Cute Unicorn Drawing
This is your final step to achieving your realistic unicorn drawing! Begin by erasing any visible construction and overlapping lines. Complete the step by using a fine brush and the corresponding colors, and trace the entire outline of the unicorn head drawing.
This will erase any harsh outlines and will leave you with a majestic and magical-looking unicorn!
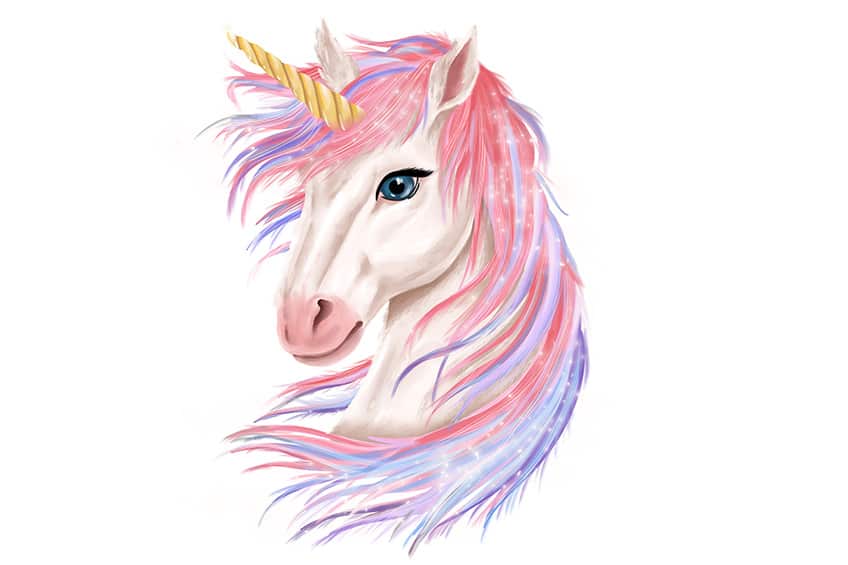
Step 20: Bonus Step
We have added a bonus step for you to achieve a more majestic final result! We suggest coloring in the background in a darker tone, and this can be done as a final step or you can simply draw on a darker-colored page.
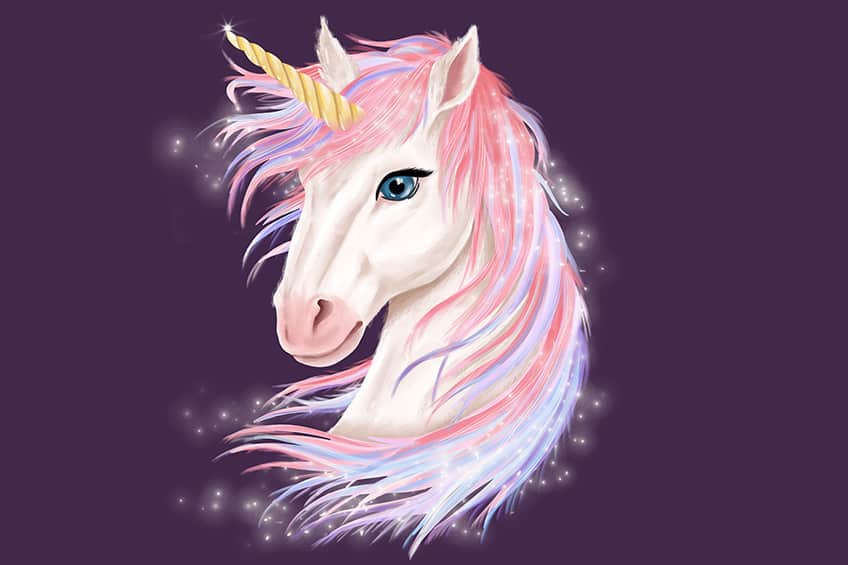
Congratulations, you have just learned how to draw a unicorn! Well done on completing our easy 19 steps to creating a realistic unicorn drawing. We hope that you have enjoyed our magical tutorial, and we encourage you to look at our other fun-filled drawing tutorials!
Frequently Asked Questions
How to Draw a Unicorn Realistically?
Drawing a realistic unicorn lies in the coloring process. In our tutorial, we will take you step-by-step through the coloring process, so it is easy for you to follow and becomes an effortless journey. In no time, you will be able to draw a magical and realistic unicorn!
What Colors Are Needed for a Unicorn Sketch?
Unicorns are known for their rainbow hues, however, there are a few different options for you. In our how to draw a unicorn drawing tutorial, we took on a more traditional, bright, and colorful approach. However, this does not stop you from creating any color pallet for your unicorn (i.e. a more pastel approach or even a metallic color scheme), the options are endless!
Matthew Matthysen is an educated multidisciplinary artist and illustrator. He successfully completed his art degree at the University of Witwatersrand in South Africa, majoring in art history and contemporary drawing. The focus of his thesis was to explore the philosophical implications of the macro and micro-universe on the human experience. Matthew uses diverse media, such as written and hands-on components, to explore various approaches that are on the border between philosophy and science.
Matthew organized various exhibitions before and during his years as a student and is still passionate about doing so today. He currently works as a freelance artist and writer in various fields. He also has a permanent position at a renowned online gallery (ArtGazette) where he produces various works on commission. As a freelance artist, he creates several series and successfully sells them to galleries and collectors. He loves to use his work and skills in various fields of interest.
Matthew has been creating drawing and painting tutorials since the relaunch in 2020. Through his involvement with artincontext.org, he has been able to deepen his knowledge of various painting mediums. For example, watercolor techniques, calligraphy and lately digital drawing, which is becoming more and more popular.
Learn more about Matthew Matthysen and the Art in Context Team.
Cite this Article
Matthew, Matthysen, “How to Draw a Unicorn – Create a Cute Unicorn Drawing.” Art in Context. February 14, 2023. URL: https://artincontext.org/how-to-draw-a-unicorn/
Matthysen, M. (2023, 14 February). How to Draw a Unicorn – Create a Cute Unicorn Drawing. Art in Context. https://artincontext.org/how-to-draw-a-unicorn/
Matthysen, Matthew. “How to Draw a Unicorn – Create a Cute Unicorn Drawing.” Art in Context, February 14, 2023. https://artincontext.org/how-to-draw-a-unicorn/.


