How to Draw an Impala – The Best Step-by-Step Impala Drawing Tutorial
Roaming the long grassy planes of Africa, the impala is one of the most elegant deer with long lean legs, majestic horns, and a slim face. In today’s drawing tutorial, we take you through an easy step-by-step process to help you create your very own realistic impala sketch. Drawing an impala is a good challenge for both beginners and more experienced artists. So, let us jump right into this fun and interesting impala drawing tutorial!
How to Draw an Impala In 19 Easy Steps
All animal drawings come with a little bit of a challenge for all artists because they are all unique. The unique shape of each animal can prove difficult for beginners and experienced artists, particularly when it comes to knowing where to start. In all of our animal drawing tutorials, we begin by using various construction shapes and lines, to help us lay down the general shape of the animal before we start adding details.
You can see a brief outline of the tutorial in the image below.
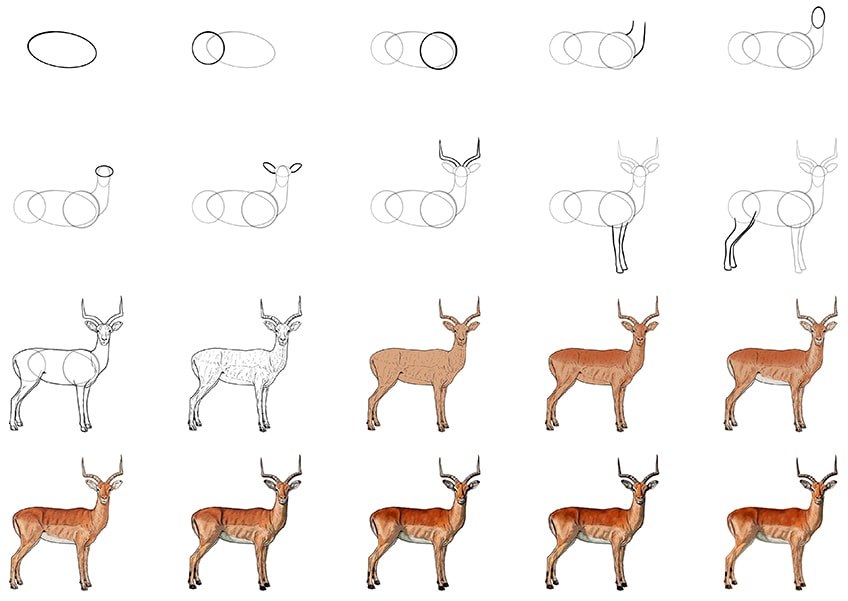
When it comes to the final coloring stages, our tutorial is written for a painting medium. This does not mean, however, that you need to use paint or even a physical medium. If you are a graphic artist, then you can easily adapt the coloring steps to suit your methods. The same goes for any other physical coloring medium.
Gather your drawing supplies, and let us begin constructing our impala drawing.
Step 1: How to Shape the Main Body
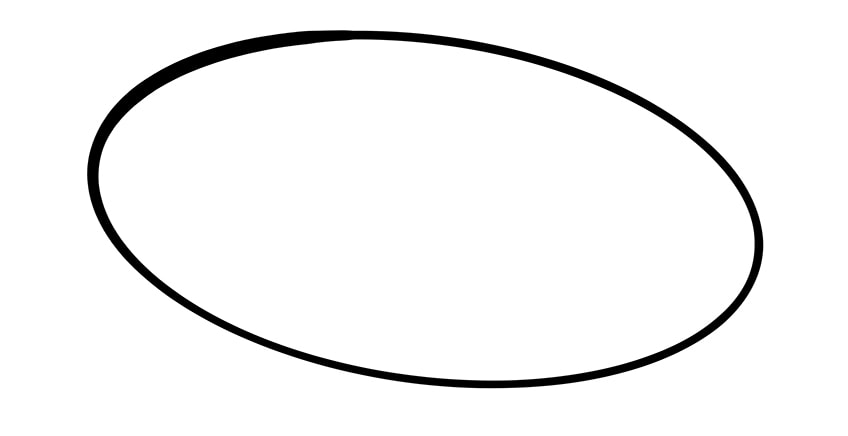
Before we start drawing anything, you need to make sure that you use a soft and light pencil for all of the construction shapes. When we begin drawing the final outline, we will need to erase any visible construction lines, so you want to make your life as easy as possible. The best way to construct any animal is to start with the largest part of the body. As such, we are going to begin our impala drawing by outlining the main part of the body using an oval shape.
At the very center of your canvas, draw a large oval shape that slopes with the right side being higher than the left. Make sure that you leave plenty of space on all sides of the oval for the rest of the impala’s body parts.
Step 2: Shaping the Rear end of the Impala Sketch
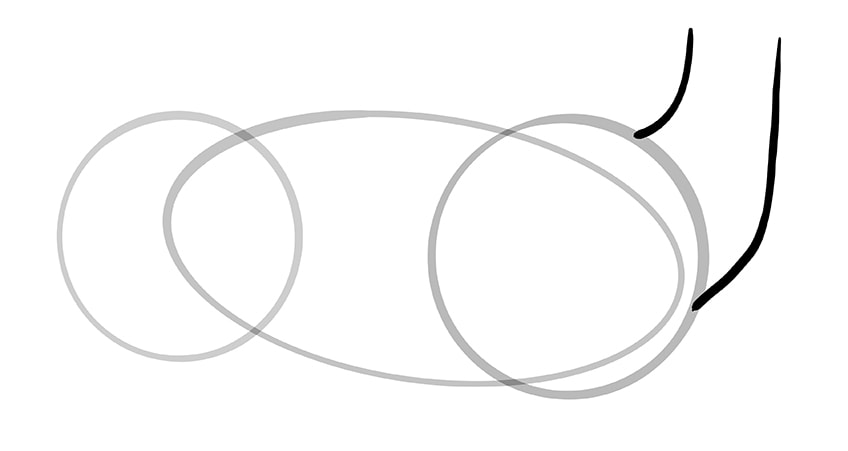
For ease, we are splitting the main body of the impala into three separate parts. In this step, we are going to create the shape of the rear body or the buttocks of the impala.
On the left side of the main body oval, draw a circle that overlaps the end.

Step 3: Shaping the Front of the Impala’s Body
Now we are going to create another circle to represent the front part of the impala sketch. This circle should be slightly larger than the back body circle and should be on the right side of the main body oval.
We will use this shape in later steps to help us form the chest and the top of the front legs.

Step 4: Creating the Shape of the Impala’s Neck
From the front chest circle, you are now going to draw two necklines that curve upwards. Begin with the top neckline, curving a short line up from the top side of the front body circle.
Finish this step by drawing a longer curved line from just below the right halfway point of the front body up to the same height as the first.
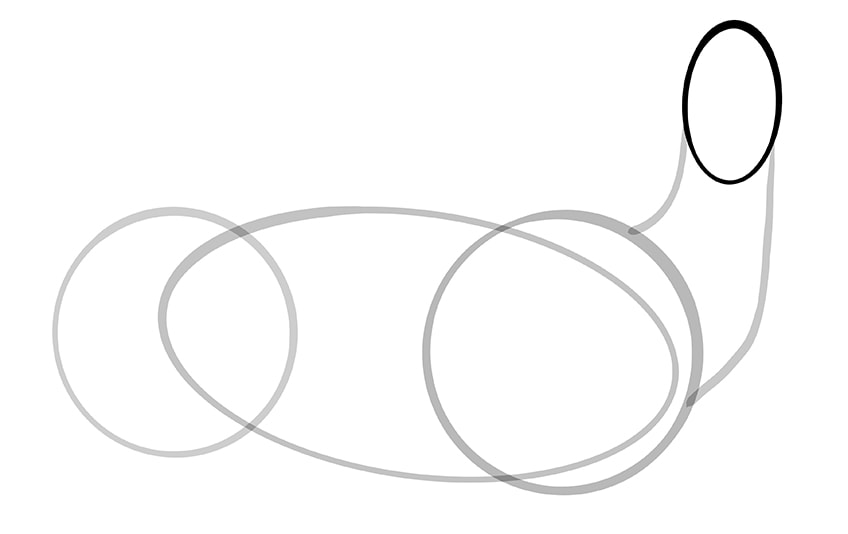
Step 5: Shaping the Head of Your Impala Sketch
Impalas have very long and narrow faces, so we need a long and narrow shape to represent the base of it. In between the two necklines you just drew, draw a small and very long vertical oval.
At this stage of the tutorial, you should be able to see the final shape of the impala starting to emerge.
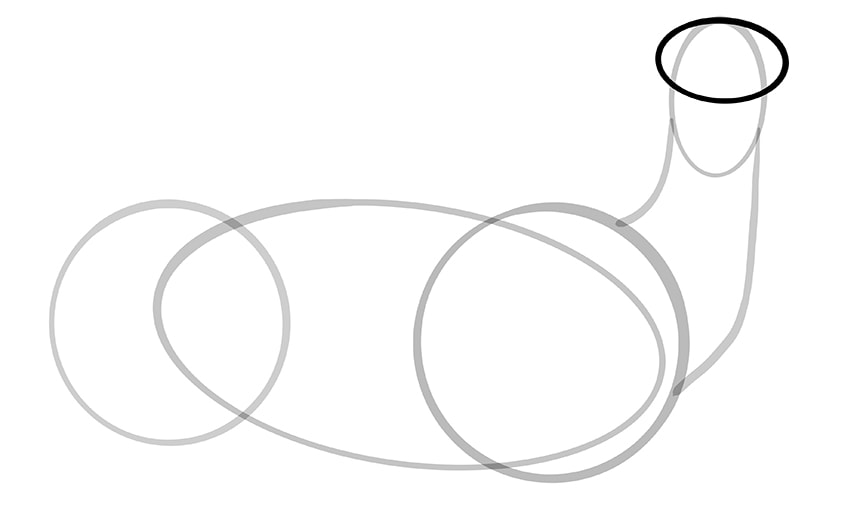
Step 6: Shaping the Top of the Head
You will see from the final impala drawing that the top of the head, where the ears extend from, is significantly wider than the nose. To account for the shape, we are now going to add a horizontal oval shape over the top half of the head oval.
In the next step, we are also going to use this shape to help us place the two ears.
Step 7: Drawing the Impala’s Ears
We are now going to draw in the iconic ears of the impala sketch. On each side of the horizontal head oval, draw a large ear with a slight point.

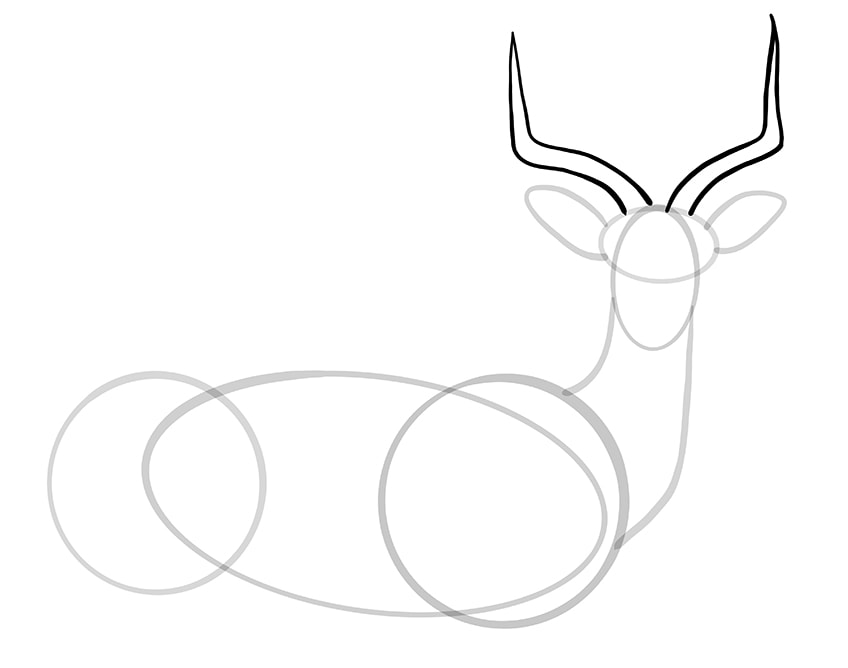
Step 8: Outlining the Horns
One way to identify the different types of deer on the African planes is by using their horns. Impalas have horns that curve up and out, and then extend up towards the top. Begin each horn from the center point of the head oval curving it up and out, before turning directly upwards. End each horn with a sharp point, and then bring the line down again.
The horns are freehand, so it is unlikely that they will be perfectly identical and symmetrical. Nature is not symmetrical, so there is no need to worry.
Step 9: Shaping the Front Legs
As we are drawing the impala from the side, the leg that is furthest away from us is going to be partially hidden by the one closest to our perspective. Begin with the leg that is closest to us, taking it down from the main body oval and curving it ever-so-slightly forward. Create a slightly triangular hoof at the bottom.
Next, in front of this leg, draw the front line and hoof of the second leg.

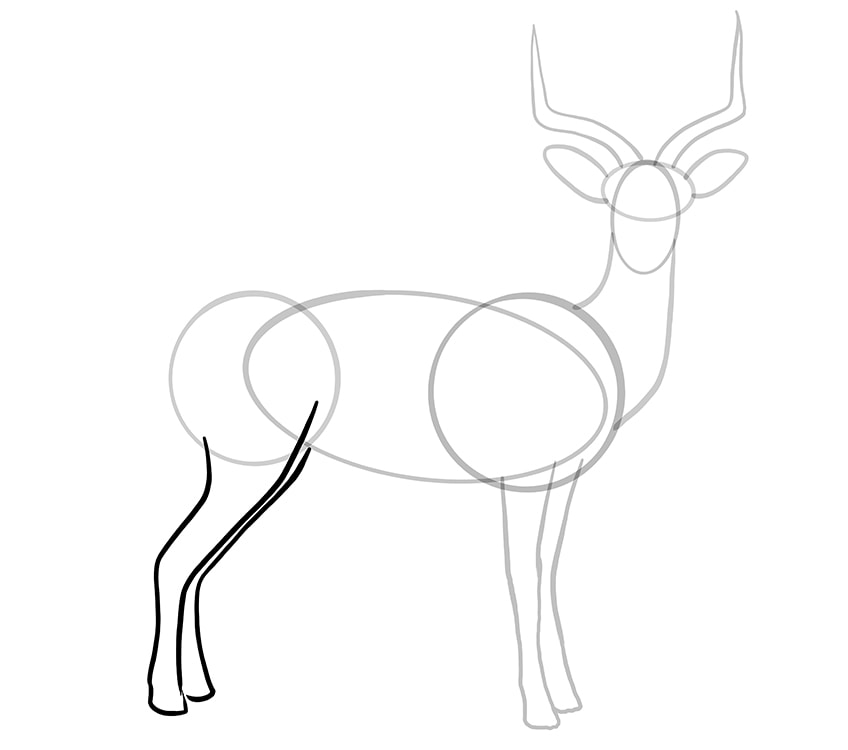
Step 10: Shaping the Back Legs
The back legs are slightly differently shaped from the front legs. They curve backward before extending down towards the ground. Begin by curving the thigh within the rear body circle, taking the line backward, and then down to form a triangular hoof. You can then bring the line back up and curve it up to meet the back bottom side of the rear body circle.
Finish this step by adding the front line of the second leg just in front of the other one.
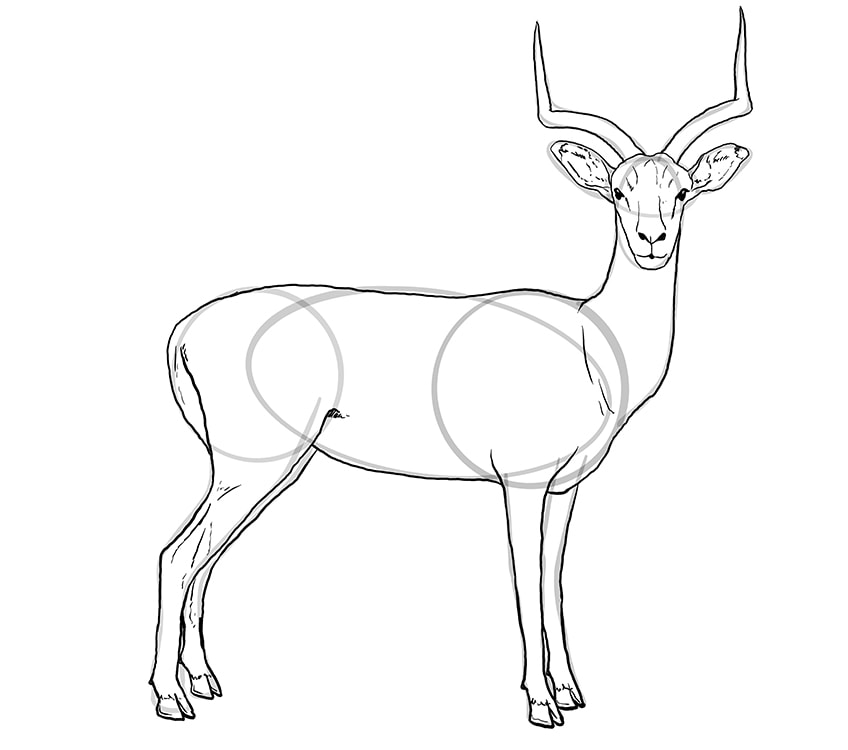
Step 11: Outlining Your Impala Sketch
The time has finally come to put all of the construction lines and shapes to use in creating the final outline of your impala drawing. Begin by outlining the head, following the exterior construction lines closely. Towards the end of the nose, you can make it a little narrower to form a slim nose.
Outline the horns and ears, and then add some facial details, including the eyes, nose, nostrils, mouth, and some textural lines on the forehead and ears.
Continue to follow the construction lines closely throughout the rest of the body, adding a few lumps and bumps here and there for a more realistic outline. Finish the legs with a slight rough outline, adding the two-toed hooves on each foot. You can now erase any remaining construction lines.
Step 12: Creating Texture in Your Impala Drawing
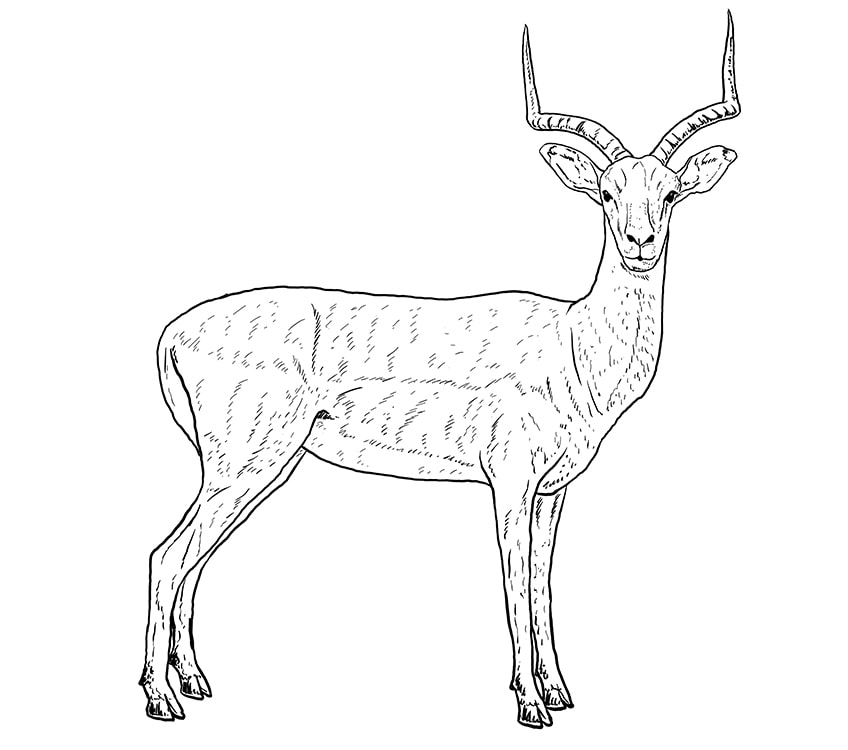
You are now going to use short lines scattered throughout the impala’s body. You want to create wave-like patterns across the body to give the impression of a short fury texture.
For the horns, add curved lines that wrap around them. Finally, add short line texture to all of the hooves.
Step 13: Applying the Base Coat
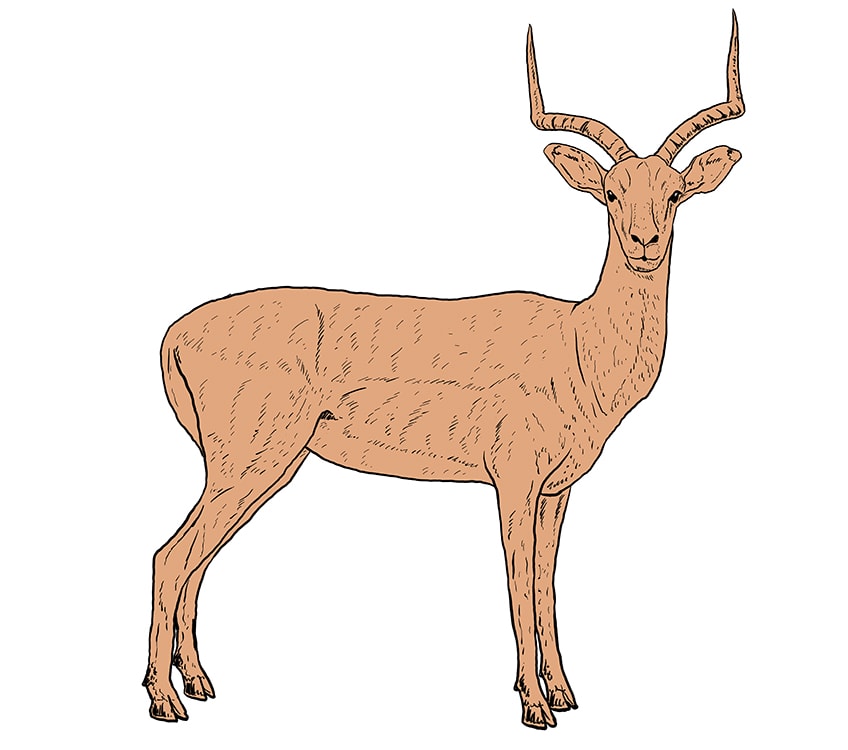
To begin building up a realistic color coat, we need to start with a neutral base coat. For the impala drawing, a light tan beige shade is the best option. Using a regular brush, fill the entire body of the impala sketch with this base coat.
Regardless of the medium you are using for your impala drawing, make sure that this base coat is smoothly applied and does not contain any blotches.
Step 14: Adding the Second Coat of Color
Now, we are going to use a light orange-brown shade to fill the top part of the impala’s body and add some contouring to the shape. Use a soft blending brush to lightly apply this cinnamon color to the top of the back, on the forehead and down the nose, down the front of the neck and chest, and along the chest.
You can also add a few vertical lines of contour along the belly and legs.

Step 15: Using White to Accent
Find some white paint and use a very small blending brush to add a layer of white to the very bottom of the belly. You can also add some white to the rear body just behind the back legs, on the tip of the nose, along the side of the neck, and throughout the ears and horns of the impala.
While you are here, you are welcome to add touches of white to any area that you believe could do with a highlight.

Step 16: Adding Structure with Contour
Contouring is an essential part of creating a realistic drawing because it helps us to add a sense of three-dimensionality. We are going to use a darker tone in the main areas to emphasize the dimensions of the impala drawing. Begin by using a soft blending brush and a slightly darker brown paint to frame the top of the body. You can then lightly paint patches of this dark contour shade throughout the main body, following the texture lines you drew earlier. With this darker shade and a small blending brush, contour the facial structure. Next, use a touch of tan color to add a little more painted texture.
Finally, you are going to add some highlights to emphasize the contouring of the facial features. Use a small blending brush and a touch of white paint to add a highlight above the eyes and on the nose. You can also add streaks of highlight within the ears.

Step 17: Creating More Shading
In this step, we are going to use a touch of black paint to add some shadows throughout the body of your impala sketch. Use a small and soft blending brush and just a tiny amount of black paint to add shading around the previously contoured areas, including the horns, ears, face, neck, and main body. Add a few small spots on the legs, and add a light shadow coat on the thighs and legs.
Finish this step by coloring the hooves black.

Step 18: Adding the Final Touches of Vibrance
In this second last step, we are going to add a final layer of vibrant color throughout the body and then blend it together to create a seamless look. Begin with a regular paintbrush and a bright cinnamon brown and add a final coat of color to the top half of the body. Take a clean blending brush and lightly blend these coats together to create a seamless coat. You can repeat this step on the head.
Finally, use a soft brush with black paint to strengthen the contours of the facial structure and the ears.
Step 19: Completing Your Impala Drawing
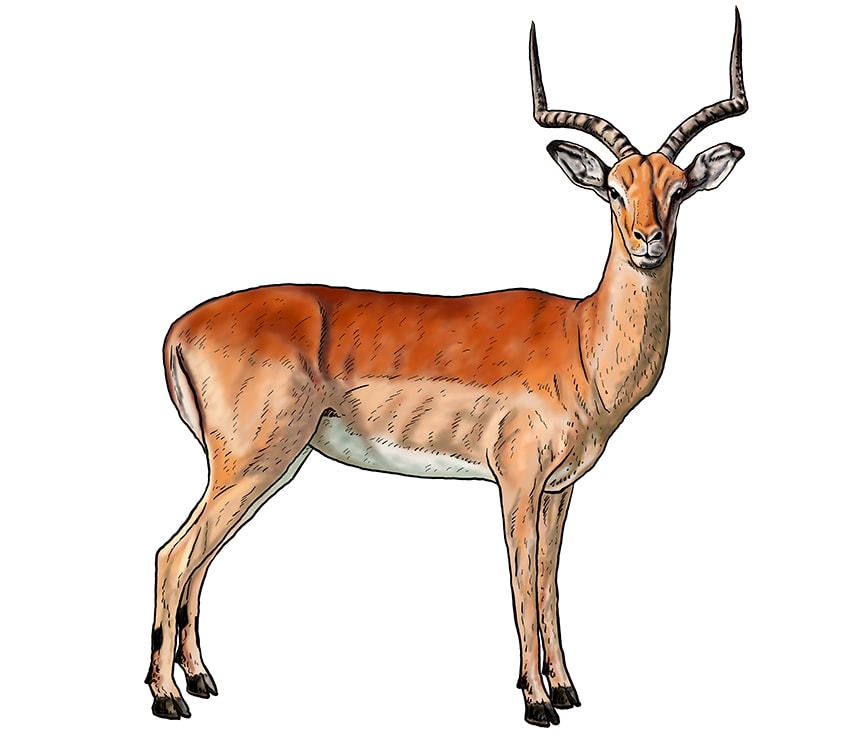
To finish your realistic impala sketch, you are going to finish shading the horns with a touch of black paint. Finally, trace the outlines with the corresponding color at each point to create a seamless artwork without any visible outlines. You can do the same for all of the internal texture lines.
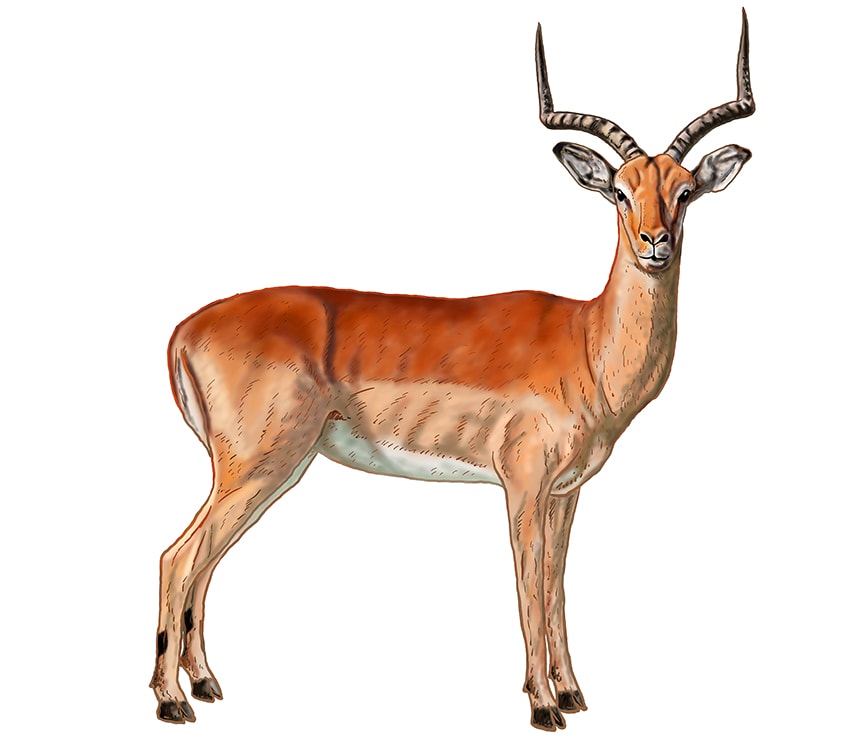
Just like that, you have completed your very own unique and beautiful impala drawing. Now that you know how to use construction lines and shapes, you can draw any animal your heart desires.
Frequently Asked Questions
How Difficult Is It to Create a Realistic Impala Drawing?
Learning how to create an impala drawing can appear a little tricky at first, but if you use construction lines and shapes to set up the shape, it becomes much easier. In our tutorial, we show you exactly how to lay down the foundations of your impala sketch, and then how to turn this into a fully realized and realistic impala drawing.
What Color Should my Impala Drawing be?
Impalas have a few different colors throughout their bodies. The back of your impala sketch should have a darker caramel color, while the belly and neck should be more of a light beige. In our impala drawing tutorial, we show you how to build up the color of your sketch to capture realistic shades.
Matthew Matthysen is an educated multidisciplinary artist and illustrator. He successfully completed his art degree at the University of Witwatersrand in South Africa, majoring in art history and contemporary drawing. The focus of his thesis was to explore the philosophical implications of the macro and micro-universe on the human experience. Matthew uses diverse media, such as written and hands-on components, to explore various approaches that are on the border between philosophy and science.
Matthew organized various exhibitions before and during his years as a student and is still passionate about doing so today. He currently works as a freelance artist and writer in various fields. He also has a permanent position at a renowned online gallery (ArtGazette) where he produces various works on commission. As a freelance artist, he creates several series and successfully sells them to galleries and collectors. He loves to use his work and skills in various fields of interest.
Matthew has been creating drawing and painting tutorials since the relaunch in 2020. Through his involvement with artincontext.org, he has been able to deepen his knowledge of various painting mediums. For example, watercolor techniques, calligraphy and lately digital drawing, which is becoming more and more popular.
Learn more about Matthew Matthysen and the Art in Context Team.
Cite this Article
Matthew, Matthysen, “How to Draw an Impala – The Best Step-by-Step Impala Drawing Tutorial.” Art in Context. November 11, 2021. URL: https://artincontext.org/how-to-draw-an-impala/
Matthysen, M. (2021, 11 November). How to Draw an Impala – The Best Step-by-Step Impala Drawing Tutorial. Art in Context. https://artincontext.org/how-to-draw-an-impala/
Matthysen, Matthew. “How to Draw an Impala – The Best Step-by-Step Impala Drawing Tutorial.” Art in Context, November 11, 2021. https://artincontext.org/how-to-draw-an-impala/.


