


How to Draw a Bunny – An In-Depth and Easy Bunny Drawing Tutorial
Have you ever wanted to draw a bunny but you just do not know where to start? If so, you have come to the right place! Rabbits are thought to symbolize good luck, abundance, and the circle of life. In this article, we show you how to draw a bunny step-by-step. In this tutorial, we make the process of how to draw a bunny easy for artists of any level. There are quite a few stages in this easy bunny drawing tutorial, so get into something comfy, grab your materials, and let us dive right in.
The Meaning and Symbolism of the Rabbit
Before we get stuck into the easy bunny drawing tutorial, it is nice to know a little more about the different symbolic meanings associated with rabbits. Bunnies are often associated with the freshness, new life, and fertility that comes with spring. Many cultures also associate bunnies with the circle of life, as a result of their incredible abilities to reproduce in great numbers. Bunnies can also bring good luck, so if you think you need a little luck in your life right now, perhaps this was meant to be!
How to Draw a Bunny Step-by-Step
Rabbits have several features that are important to nail if you want to draw a realistic bunny. With their long ears, little triangular noses, and big bag feet, some artists may feel intimidated when faced with drawing a bunny. There is no need to feel intimidated, however, as we have an easy bunny drawing tutorial below, that anyone can follow.
You can use any medium you like when following this tutorial, be that pen and ink, acrylic or watercolor paint, a graphic tablet, or colored pencils.
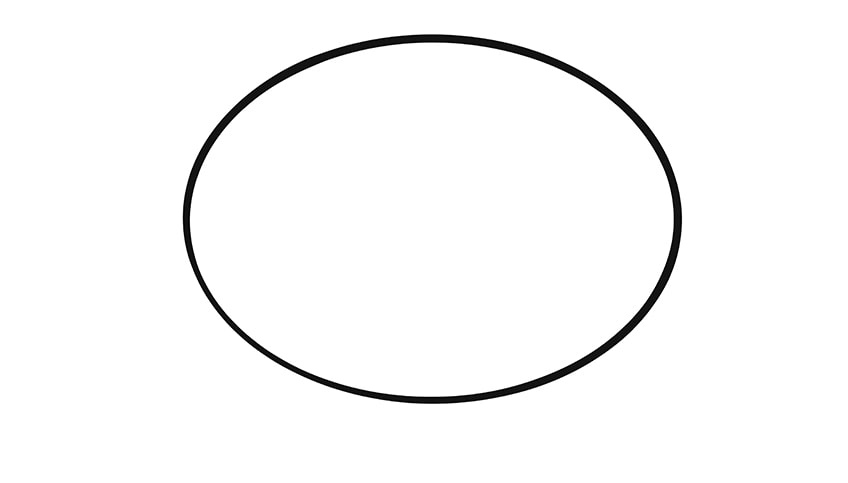
Step 1: Constructing the Bunny’s Body
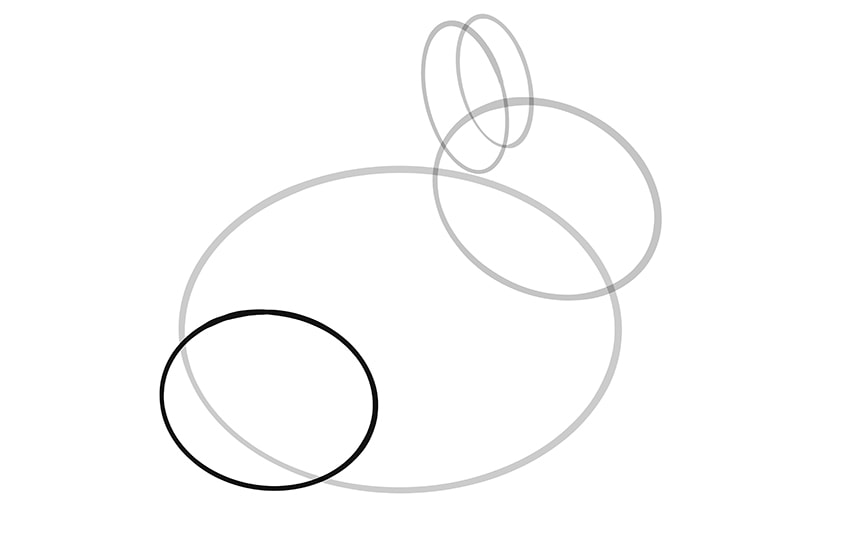
The first step of this drawing tutorial is very important because it sets the foundations for everything to follow. In all of our drawing tutorials, we start by using construction lines to help us get the most realistic dimensions in our bunny drawing. Begin by drawing a large, horizontal, and slightly oval circle in the center of your canvas or paper. This oval represents the main body of your bunny which we will use in later steps to shape our furry friend.
The most important part of this first step is making sure that your oval is in the middle of your page or canvas, and that there is plenty of space all around it for the other features of your bunny drawing.
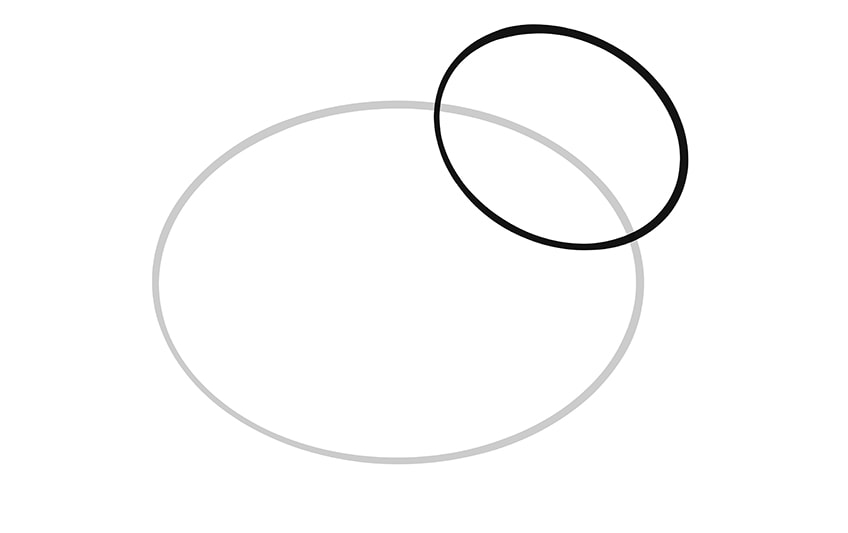
Step 2: Constructing the Bunny’s Head
Step 2 of our easy bunny drawing tutorial is another construction step. In this step, use a slightly smaller oval that slopes slightly from left to right to represent the head of your bunny. You want this oval to overlap with the front section of the main body oval quite a bit. In the next few steps, you will be using this head oval to shape the bunny’s head, ears, and face.
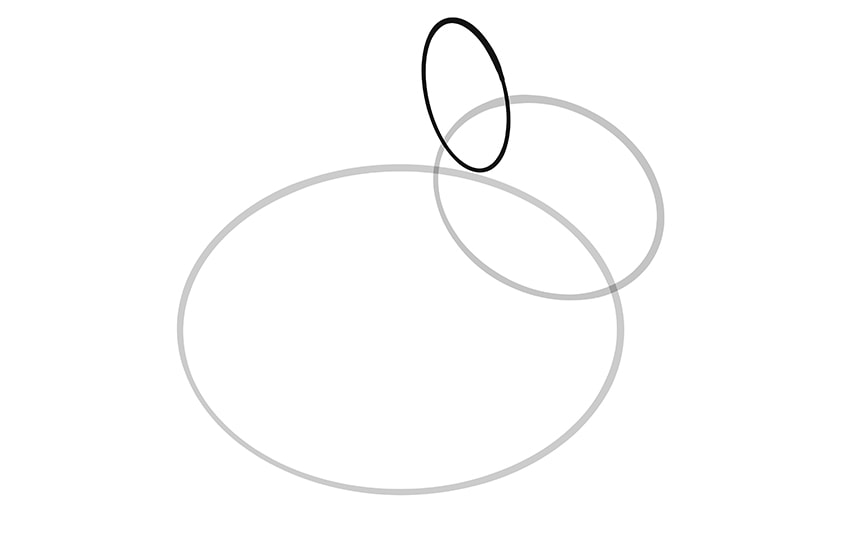
Step 3: Constructing the Bunny’s Ears
In the third step of this easy bunny drawing tutorial, you are going to draw the construction shapes for the bunny’s ears. Begin by drawing a vertical oval shape that slopes slightly to the left. You want this oval shape to be more elongated than the other ovals you have drawn so far. It is also important that you make sure that the bottom of this ear oval overlaps with the head oval that you drew in the last step.
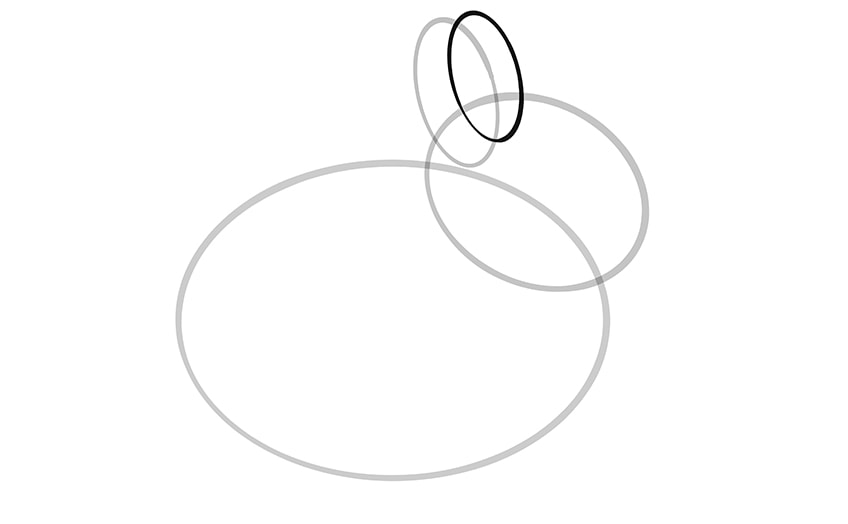
Now, using a slightly smaller elongated oval shape just in front of the first ear oval. This smaller oval shape should overlap with the bigger ear oval quite a lot, and the top of it should be ever so slightly higher than the larger one.
The difference in size is essential for achieving realism in your bunny drawing, because this second ear is going to be further away from our perspective.
Step 4: Constructing the Bunny’s Back Legs
In this fourth step, you need to draw the construction shape that will represent the big back leg of the bunny. These large strong back legs give bunnies a surprising amount of power, allowing them to jump and leap high into the air. Use a small oval around the same size and shape as the head oval, and place it near the back of the main body oval. In the next few steps, you will use this oval as a reference point to place the back feet and shape the back of the bunny.
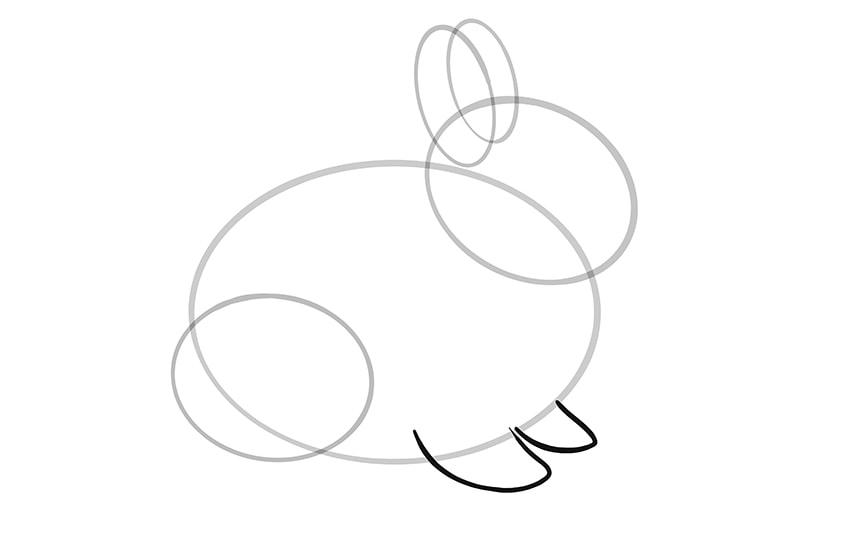
Step 5: Constructing the Bunny’s Front Feet
In this step, you will see your bunny drawing come to life. For the front feet, you can draw a “U” shape with a slight point at the end. The front line of the “U” shape should begin inside the main body oval, just in front of the middle. Just above the other end of the front foot that is closest to you, draw another, slightly smaller foot.
Remember that the features of your bunny that are furthest away from your perspective need to be slightly smaller than the ones that are closer. If you nail this difference in size, you will nail the overall realistic perspective.
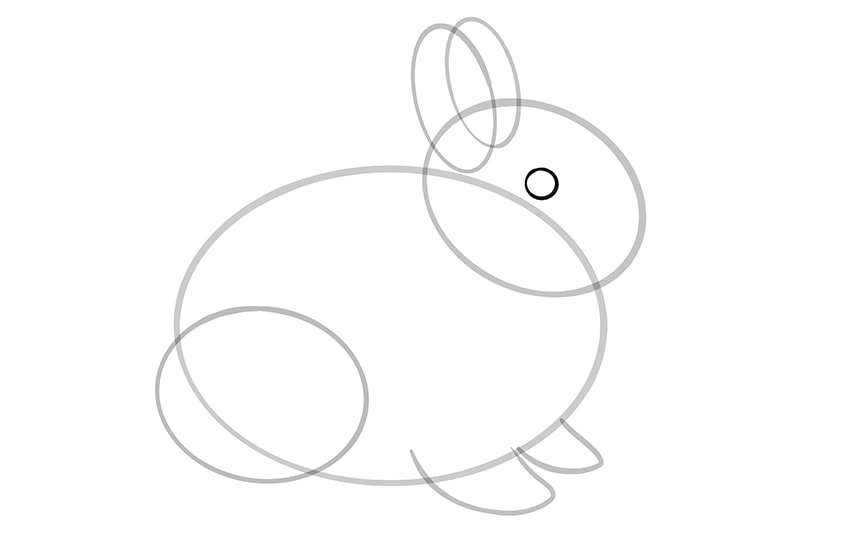
Step 6: Outlining the Bunny’s Eye
In this step, you are going to use a small circle to represent the eye in your easy bunny drawing. This is a very simple step, and unlike the ears and the front feet, you only need to draw one eye because bunnies have their eyes on the side of their head, so the other eye is not visible to us. You want to place the eye circle just above the center point of the head oval. You can find this spot by first finding the center point, which lies on the line of the main body oval. Then, draw your circle just above this line.
Step 7: Outlining the Bunny’s Body
The last step was the final construction step. Now, we are going to move on to draw the final outline of the bunny’s body, using the construction lines as guidelines. For the most part in this step, you are going to ignore the construction lines inside the main outline, and just connect all of the external construction lines.
Begin by using the head oval as a reference to outline the head of your bunny. Take the line from the top of the bunny’s head up and around the top curves of both of the ears. For the bigger, front ear, you can take the outline down until it almost meets the top of the head construction line. Take the outline down the back of this bigger ear, and trace the dip along the back of the head oval between the ear and the main body. You can then roughly follow the outline of the main body oval all the way down, joining with the back legs oval at the bottom.
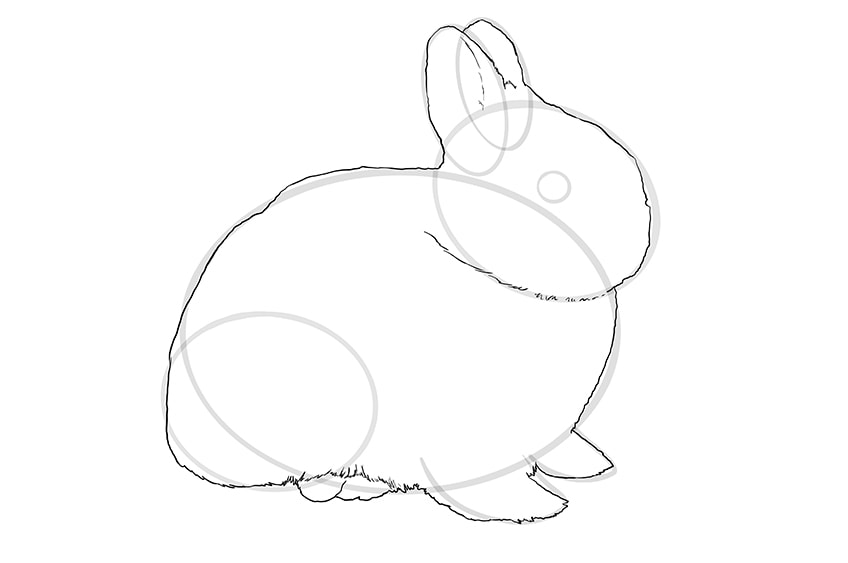
Just in front of the back legs construction oval, add two little curves to represent the back feet poking out from under the bunny’s belly. You can create a slightly furry line above these curves and then carry this line around the front feet construction lines, up the front of the main body until you join with the head oval.
Tip: to add a more realistic visual look, add slight edges and fur strokes underneath the lower back, front feet, and along the bottom of the head oval to separate the head from the body.
When you are happy with the outline of your easy bunny drawing, you can erase all of the remaining construction lines, except the eye.
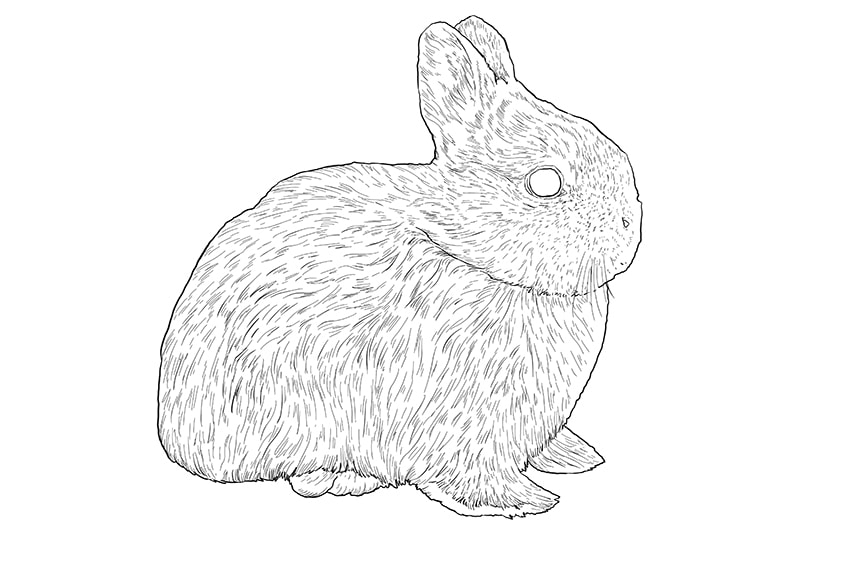
Step 8: Adding Fur and Other Details
The first stage of this step is to add the fine-line outline of the eye. Around this circle, you can add another small and slightly imperfect circle. Next, beginning with the head, use short strokes and dots to create a slightly fluffy texture around the front of the bunny’s nose. As you move towards the back of the bunny’s head and body, you can use slightly longer and curvy strokes to create the fur texture.
You do not have to fill the entire body of your bunny with thick fur. You can make your drawing more realistic by leaving small areas of blank space between areas of longer strokes of fur and shorter ones. You can see an example of how we did this around the bunny’s ears.
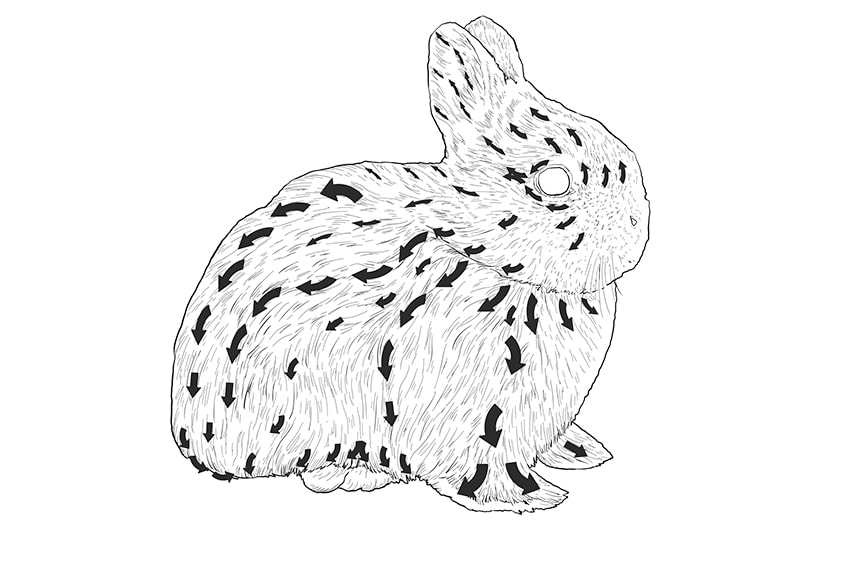
The most important thing to be aware of while you are drawing the fur on your bunny is the direction that the fur is flowing. You want to make sure that you use the curves of the bunny’s body to help you decide which direction the fur should be flowing in. You should draw each stroke of fur separately, which may take some time but the results will be worth it. In this photo, you can see the arrows we have placed on the bunny to help you nail the direction of the fur. You can also use a few longer strokes to add some whiskers to the front of your bunny’s nose.
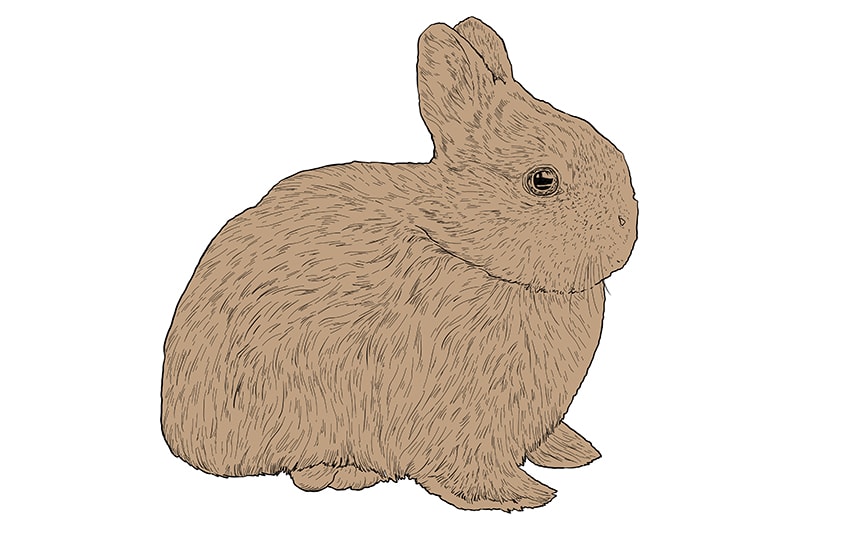
Step 9: Adding More Details and the First Layer of Color
Begin this step by using a single, light brown color to fill the entire body of your bunny. If you are using paint, try to work quickly and consistently so that you do not end up with certain areas that are darker than others. We have chosen to color our bunny light brown, but you can use your own artistic creativity to decide which color you would like it to be. The important thing is that you do not use a dark color for this first layer, as we will be adding shading in the next few steps. Once your color is set and dry, you can fill the center of the eye with black and use the same dark color to outline the other eye details. Remember to leave a small gap of open space in the iris to create a reflection.
Step 10: Adding Color Highlights to Your Bunny
For this step you will need a white color, whether that is paint or coloring pencils, to add highlights to different parts of your easy bunny drawing. When it comes to how to draw a bunny that is realistic, adding highlights is one of the most important steps. It is best to decide where your light source will be before adding any highlights, as you want to highlight the areas where the light will hit the bunny.
The best places to add highlight are around the ears, the top of the head, just above the eye, on the front of the nose, the top of the back, on the chest, and any other areas that we want to define as separate parts of the body. We have also added a highlight to the bottom of the bunny’s feet, to show a difference in fur patches.
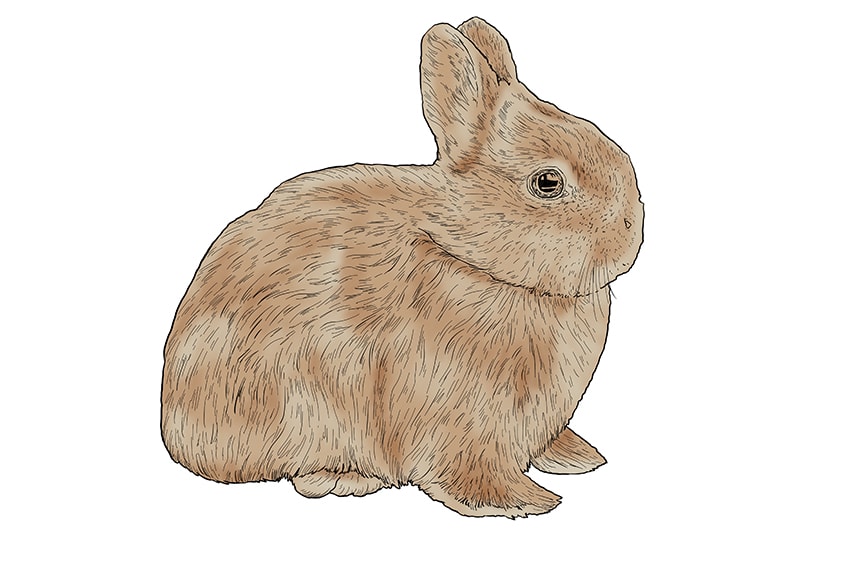
Step 11: Adding the Final Highlights and Shadows
The first part of this step involves using a shadow color that is slightly darker than your main color to emphasize the darker parts of the bunny’s fur. Add a dark shadow below the eye and around the base of the ear. You can also add a shadow underneath the bunny’s head to emphasize its separation from the body. We also suggest using this darker brown shade to highlight the curvature on the top of the feet.
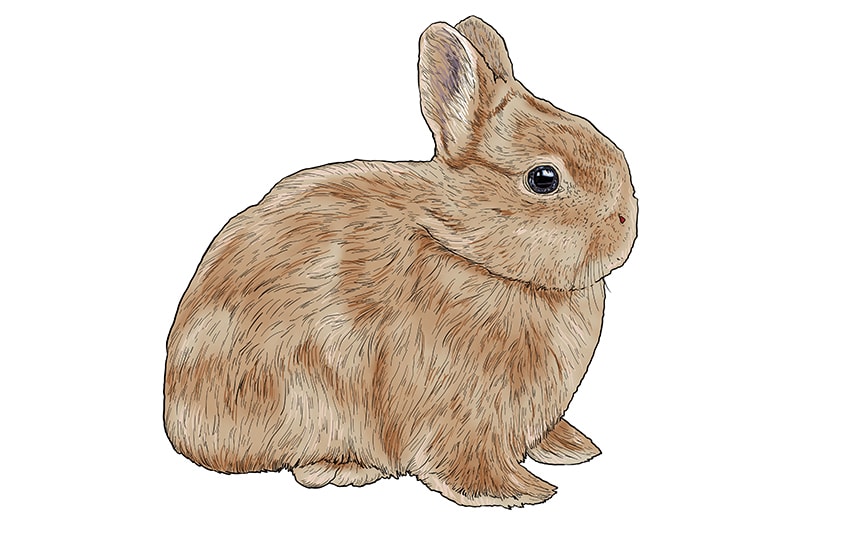
Using a darker shade of color, paint a few fur strokes inside the ear, and then gently use a white shade to highlight the outer edge of the ear. You can also use the white shade to highlight the reflection in the iris. Finally, take a light peachy color, and use this to create additional strokes of fur around the areas where the fur follows the curve of the body. These areas include the curve of the bunny’s back, the chest, and around the eye.
Step 13: Removing the Outline for Additional Realism
This final step is optional. If you like your easy bunny drawing with the outline in place, then you are more than welcome to leave it there. If, however, you want to know how to draw a bunny that is very realistic, you can use an eraser to remove the outline. You can then take your color and add a few strokes of fur that extend beyond the outer edge of your bunny’s shape.

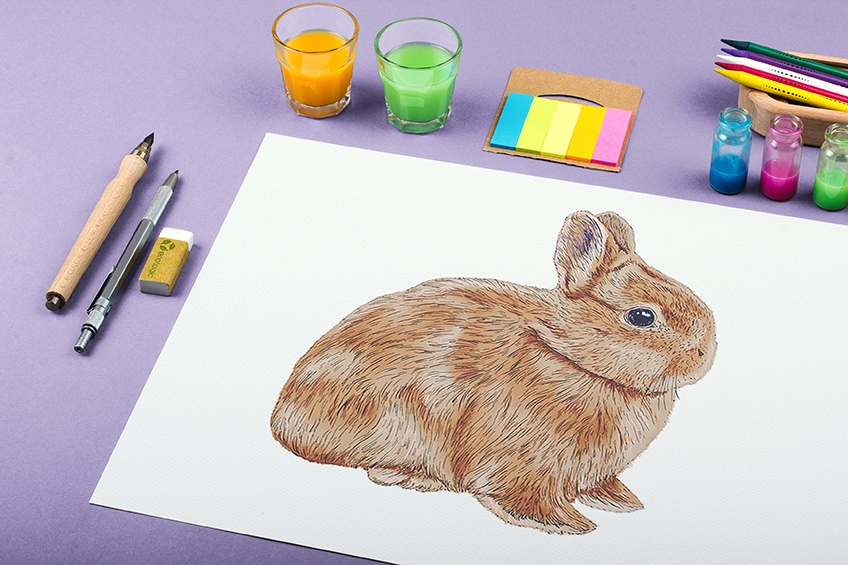
You Have Finished!
Well done! You have successfully completed this tutorial on how to draw a bunny step-by-step. We hope that you have enjoyed it, are happy with your final drawing, and learned a few things. Your bunny may look completely different from our bunny, but that is okay, even good! We all have our own unique style and that should be celebrated.
We hope your bunny drawing does not stop here! Now that you know the basic process, you can explore different types of bunny in all sorts of different positions and colors.
Frequently Asked Questions
Does This Tutorial Make Learning How to Draw a Bunny Easy?
Absolutely! We have made this tutorial the most in-depth and easy bunny drawing tutorial available. We take you from drawing the construction lines to adding highlights and details in very easy-to-follow steps.
What Does a Bunny Mean?
Rabbits have many symbolic meanings in various cultures. Some of these meanings include that they are symbols of good luck, fertility, and change.

Matthew Matthysen is an educated multidisciplinary artist and illustrator. He successfully completed his art degree at the University of Witwatersrand in South Africa, majoring in art history and contemporary drawing. The focus of his thesis was to explore the philosophical implications of the macro and micro-universe on the human experience. Matthew uses diverse media, such as written and hands-on components, to explore various approaches that are on the border between philosophy and science.
Matthew organized various exhibitions before and during his years as a student and is still passionate about doing so today. He currently works as a freelance artist and writer in various fields. He also has a permanent position at a renowned online gallery (ArtGazette) where he produces various works on commission. As a freelance artist, he creates several series and successfully sells them to galleries and collectors. He loves to use his work and skills in various fields of interest.
Matthew has been creating drawing and painting tutorials since the relaunch in 2020. Through his involvement with artincontext.org, he has been able to deepen his knowledge of various painting mediums. For example, watercolor techniques, calligraphy and lately digital drawing, which is becoming more and more popular.
Learn more about Matthew Matthysen and the Art in Context Team.


