How to Draw a Raccoon – Draw a Mischievous Raccoon Sketch
Raccoons, with their distinctive black mask and bushy tail, are some of the most intelligent and mischievous creatures in the animal kingdom. These nocturnal bandits are known for their excellent problem-solving skills, nimble fingers, and curious nature. They can open doors, raid trash cans, and even use tools, making them formidable urban scavengers. Despite their reputation for being pests, raccoons are fascinating animals with complex social structures and a wide range of vocalizations. So, next time you spot one of these adorable troublemakers in your backyard, take a moment to appreciate their resourcefulness and intelligence. Get ready for today’s tutorial on how to draw a raccoon, and we will guide you through creating a realistic raccoon!
A Step-by-Step Tutorial on How to Draw a Raccoon
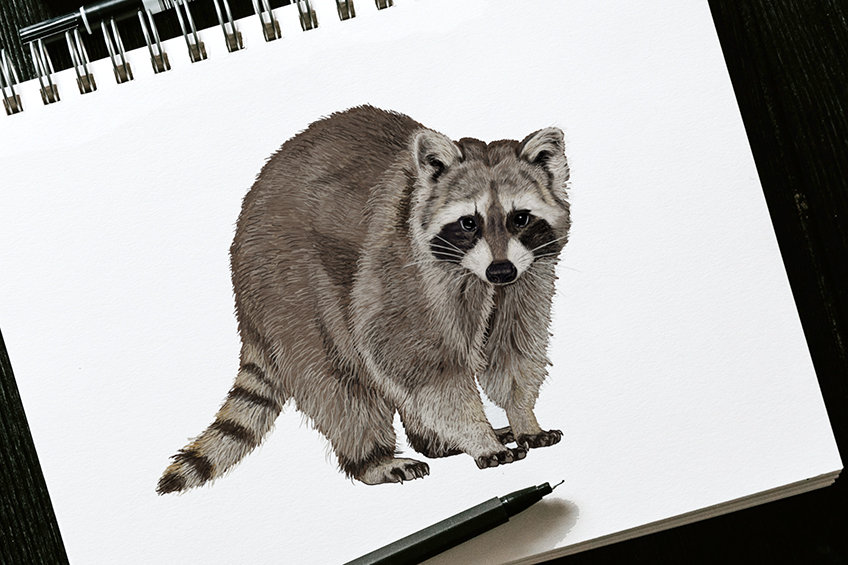
Get ready to have some fun and create a raccoon drawing! These animals are full of character and have some unique features that make them stand out. Start by sketching out their distinctive black mask around their eyes, which makes them instantly recognizable. Their fur is typically grayish-brown, and they have bushy tails with black rings. Raccoons also have sharp claws and nimble fingers, which they use to manipulate objects and open doors.
The below raccoon sketch illustrates the steps you will take to create a playful and mischievous raccoon drawing!
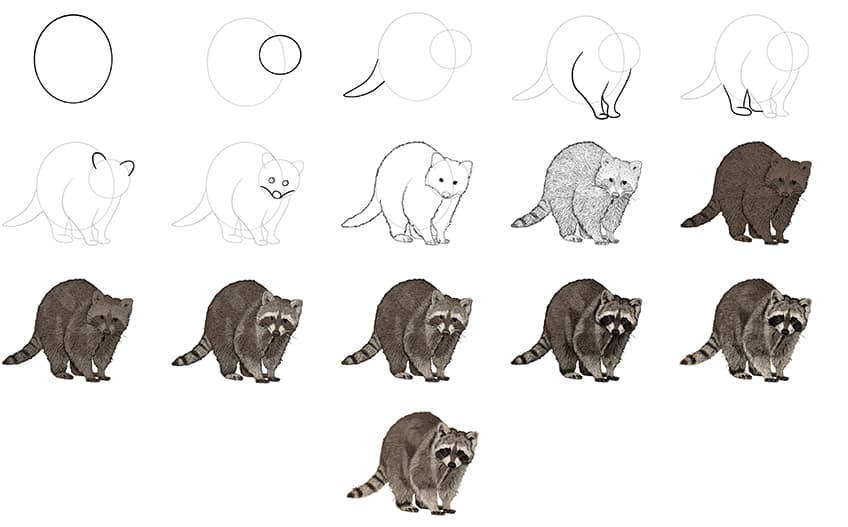
Try to capture their curious expression and alert posture, as they are always on the lookout for their next adventure. Remember that raccoons are known for their intelligence and problem-solving skills, so make sure to add some personality to your drawing. With a little practice, you’ll be able to capture the essence of this fascinating animal on paper.
Step 1: Draw the Raccoon’s Body
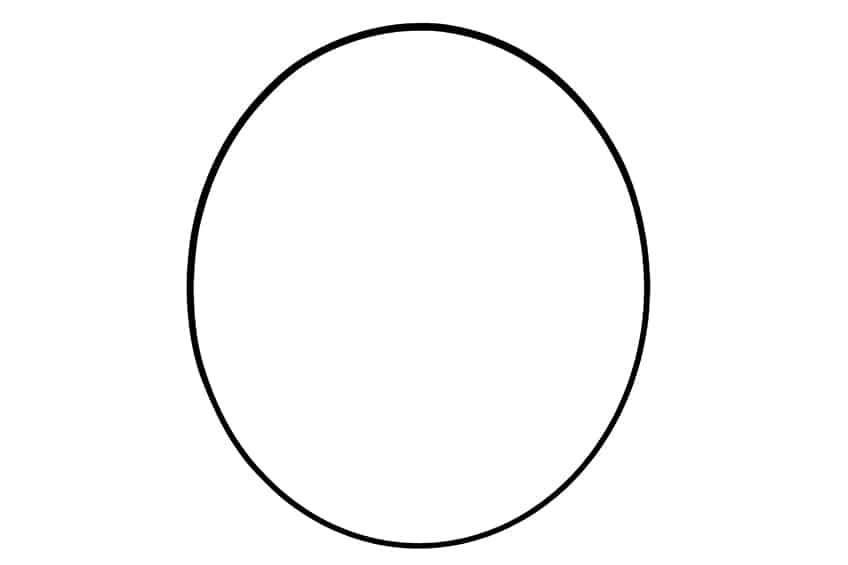
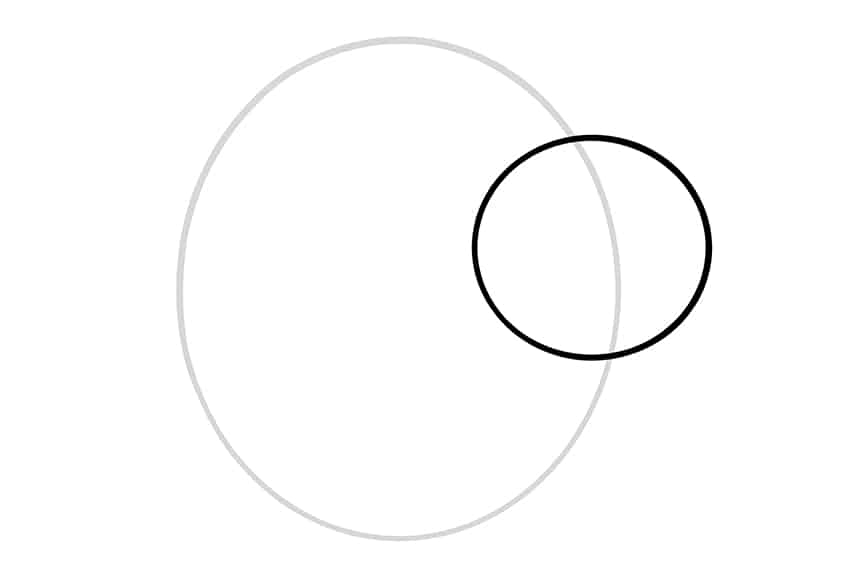
Begin your raccoon drawing by drawing a vertical oval shape that will act as the body of the raccoon.
Step 2: Drawing the Head of Your Raccoon Sketch
To the right of the body, draw a smaller horizontal oval shape that will represent the head of your raccoon drawing.
Note! The head should overlap your raccoon’s body.
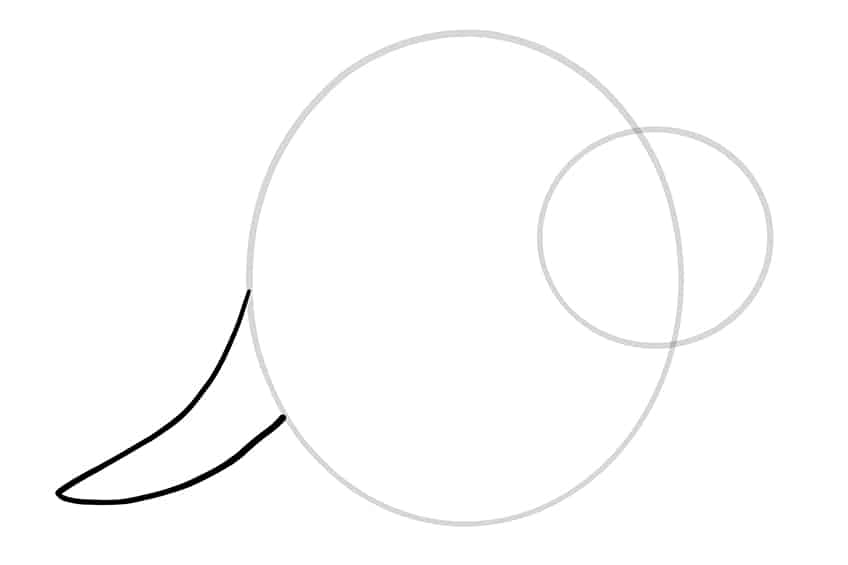
Step 3: Add the Tail
Attached to the left side of the main body, draw the tail of your raccoon.
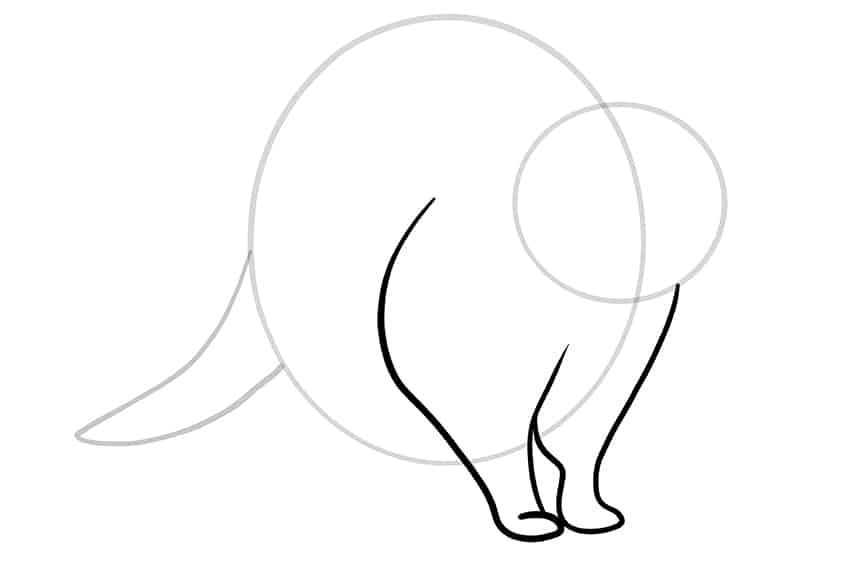
Step 4: Draw the Front Arms
Overlapping the main body, draw the two front arms each with a curving cup-like paw.
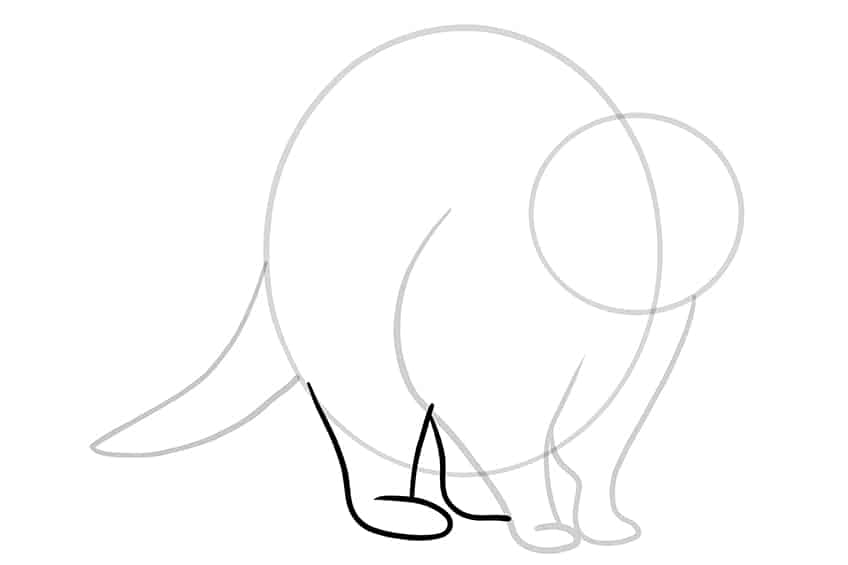
Step 5: Continue onto the Rear Legs
Attached to the lower half of the main body, draw the rear legs which should be larger in scale compared to the front arms. One rear leg should only be partially visible.
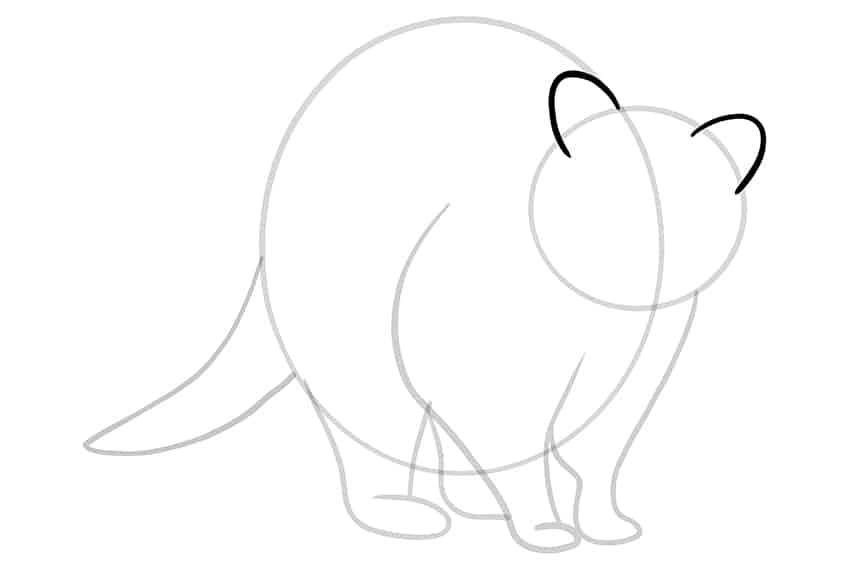
Step 6: Draw the Ears of Your Raccoon Sketch
Attached to the head, draw the ears as half-curved ovals.
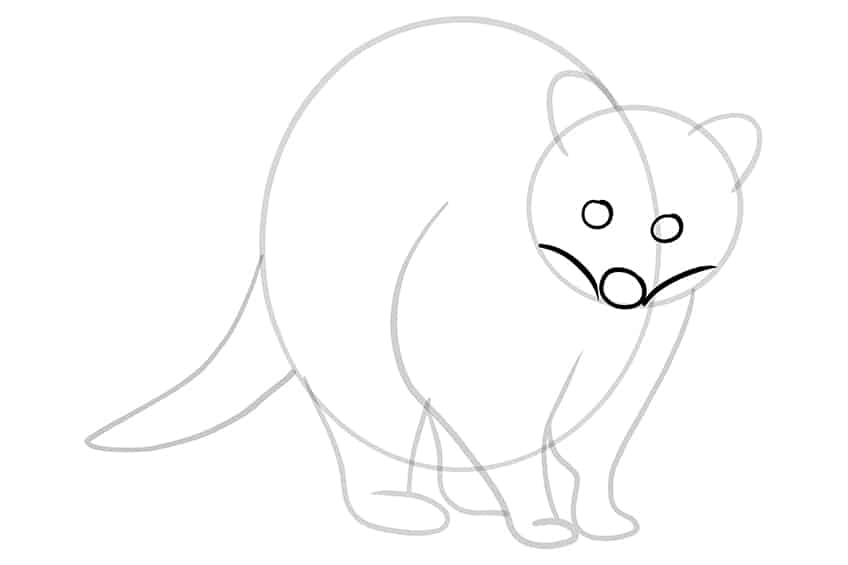
Step 7: Add the Facial Features
Within the head, draw two small circles to represent the eyes. Continue by drawing another small circle at the bottom of the head to represent the nostrils. To complete this step, draw two curving lines to represent the facial structure.
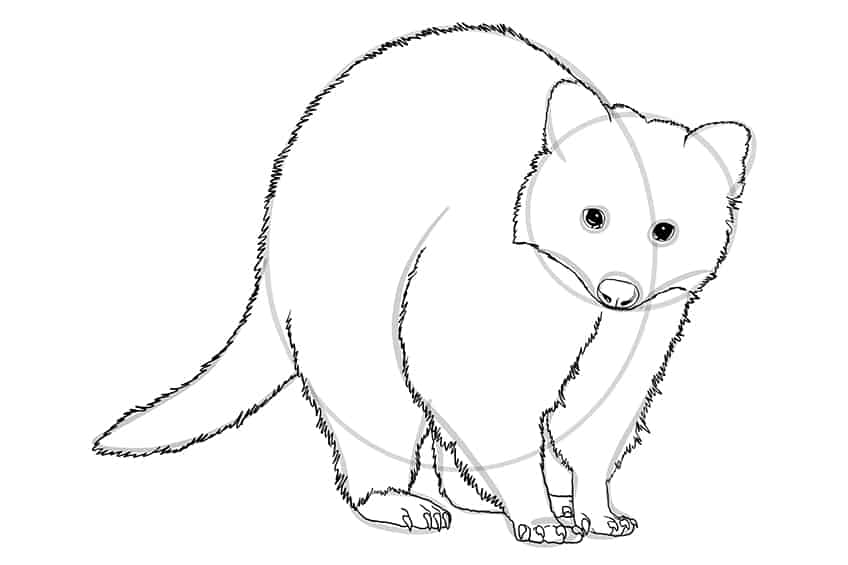
Step 8: Outline Your Raccoon Illustration
Use your previously drawn construction lines to aid you in outlining a more realistic raccoon drawing. Continue to outline your raccoon with rough edges to represent the texture of the raccoon’s fur.
Once completed, draw the sharp claws on each paw, complete the eye by filling it in, and add details to the nostrils. You are now ready to erase any construction lines that are still visible!
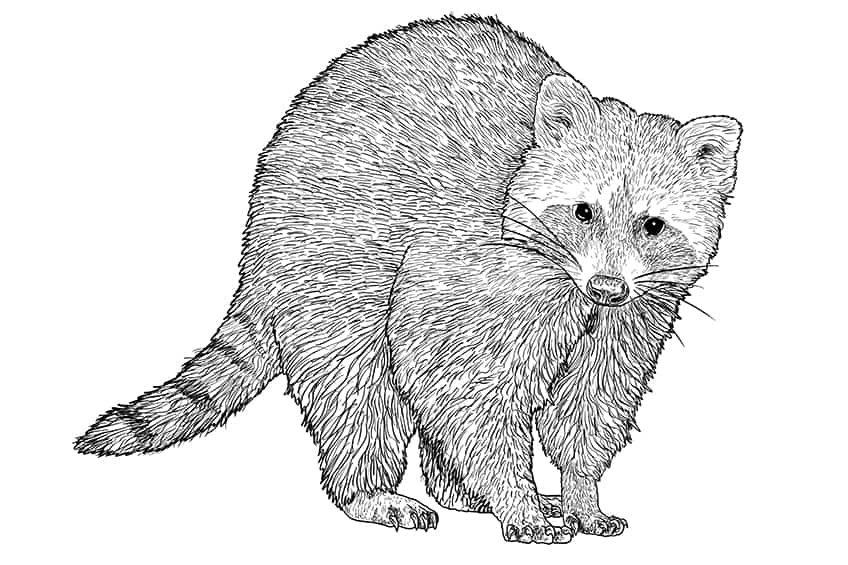
Step 9: Texture Your Raccoon Illustration
In this step, remember the entirety of your raccoon drawing is covered in fur. To do this, begin by adding fur texture on the top area of the head, curving each fur line. Draw the long whiskers on either side of the raccoon’s face. Continue to add texture to the nostrils of your raccoon drawing. Begin to fill each arm with longer wavy fur lines leading to the tail. Ensure that several patches should be darker to create a pattern. Complete the step by filling the paws with texture and roughness to the claws.
Step 10: Apply the First Color Coat
Select a regular brush and dark brown paint, and color the entirety of your raccoon sketch.
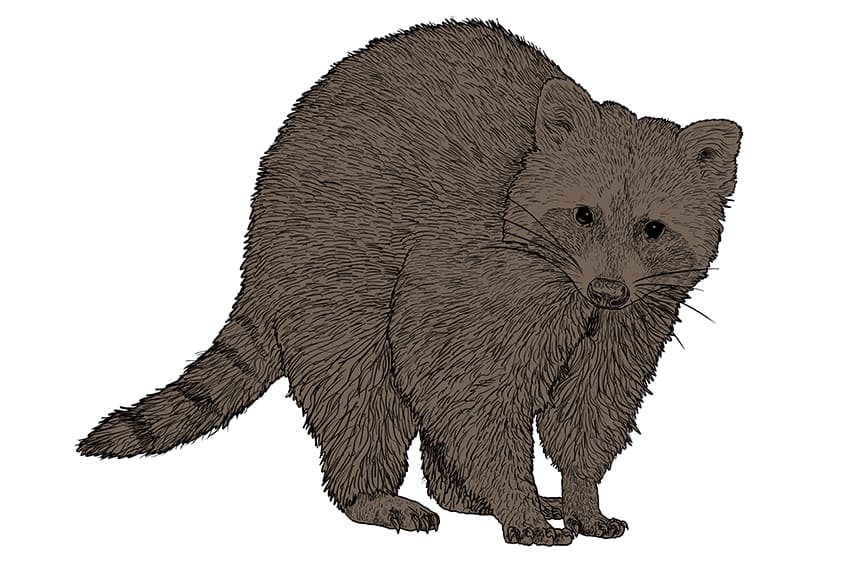
Step 11: Lighten Your Raccoon Sketch
With a small, soft brush and light tan paint, begin to lighten the facial pattern, and ears. Continue by gently applying patches along the body and tail to lighten the fur coat to create a distinct pattern.
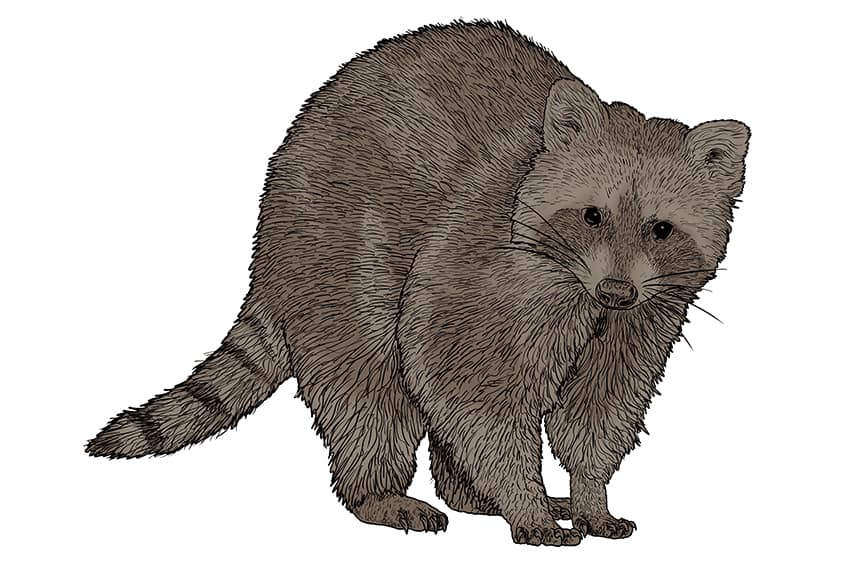
Step 12: Apply the Second Color Coat
Apply a second color coat to the facial pattern and above the eyes to create an eyebrow pattern, using a normal brush and white paint. Continue to lighten the ears. Switch to a soft brush and paint around the edges of the eyes.
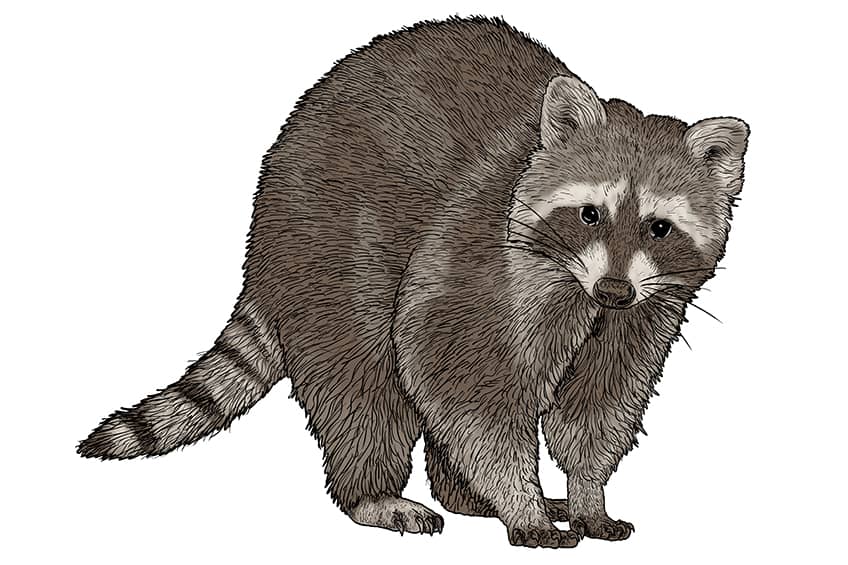
Step 13: Highlight Your Raccoon Drawing
In this step, you will enhance the eyes, nose, and ears using a soft brush and light tan paint. Repeat onto the tail, and paws, and add patches of highlights along the raccoon’s body.
Tip! Face the colors towards the direction of your raccoon’s fur lines to create a more realistic look.
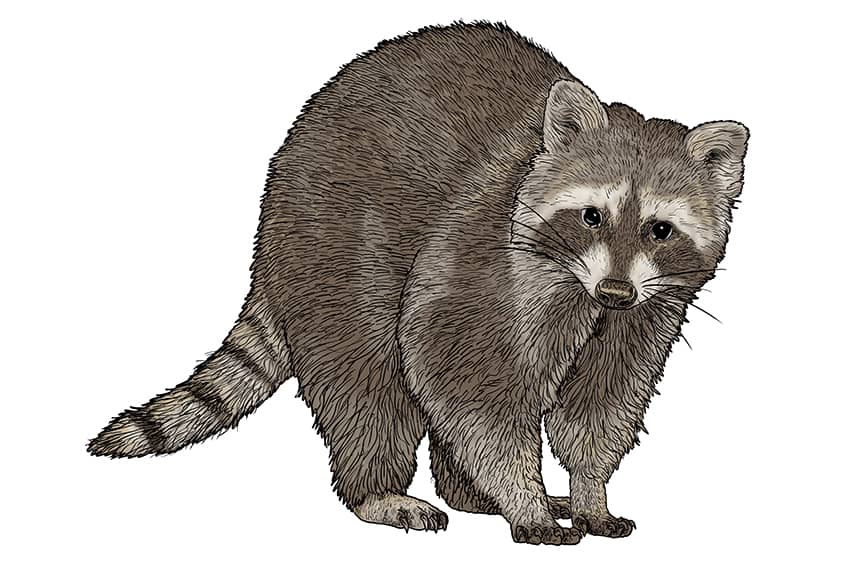
Step 14: Add Shading
Use the same brush as previously and switch to black paint, and enhance the facial pattern on your raccoon drawing. Continue to apply light strokes to the facial structure surrounding the face, ears, and nostrils. Complete this step and add shading to the paws of your raccoon drawing.
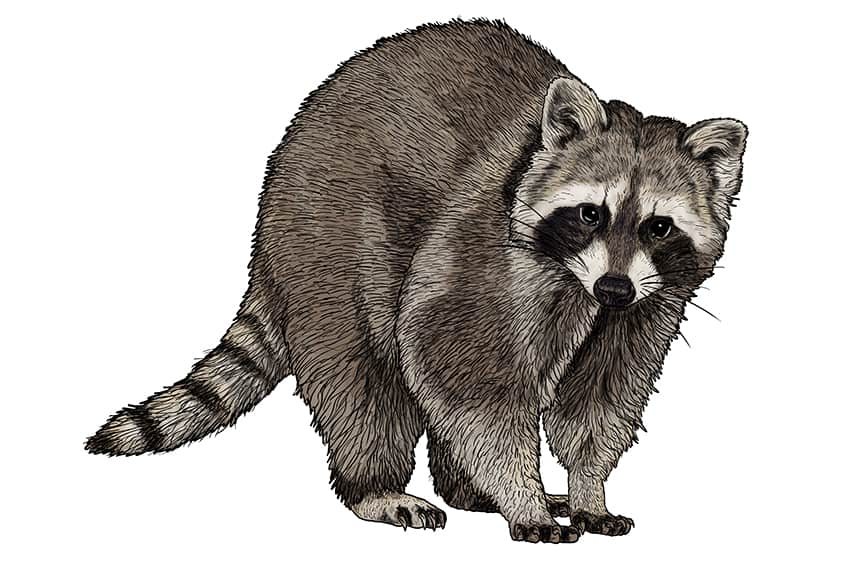
Step 15: Enhance the Fur Coat
With a thin brush and a combination of light grey, light brown, and white paint, and add a secondary fur coat on the entirety of the raccoon’s body. Repeat the fur strokes to create a puffier look.
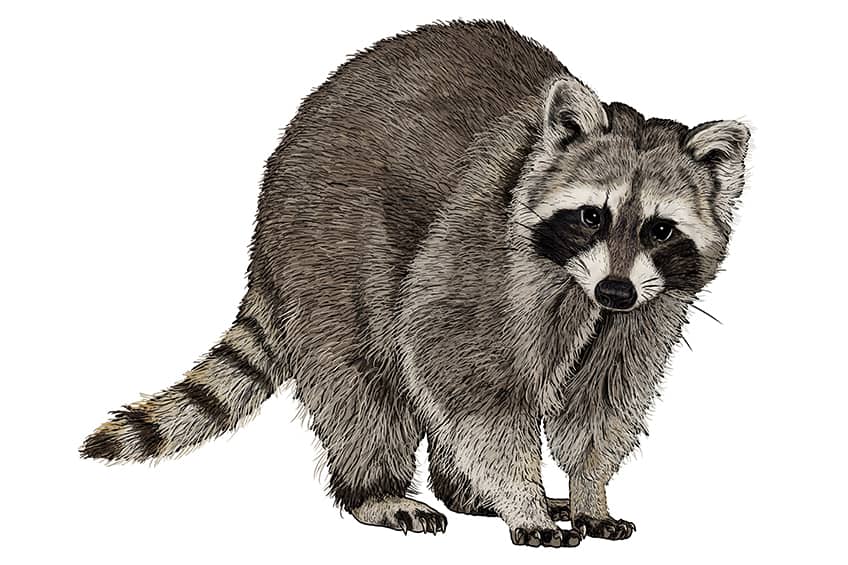
Step 16: Finalize Your Raccoon Illustration
To finish your drawing on how to draw a raccoon, trace the entire outline including the inner texture lines, fur lines, and any detail lines of your raccoon drawing. This will create a final seamless result!
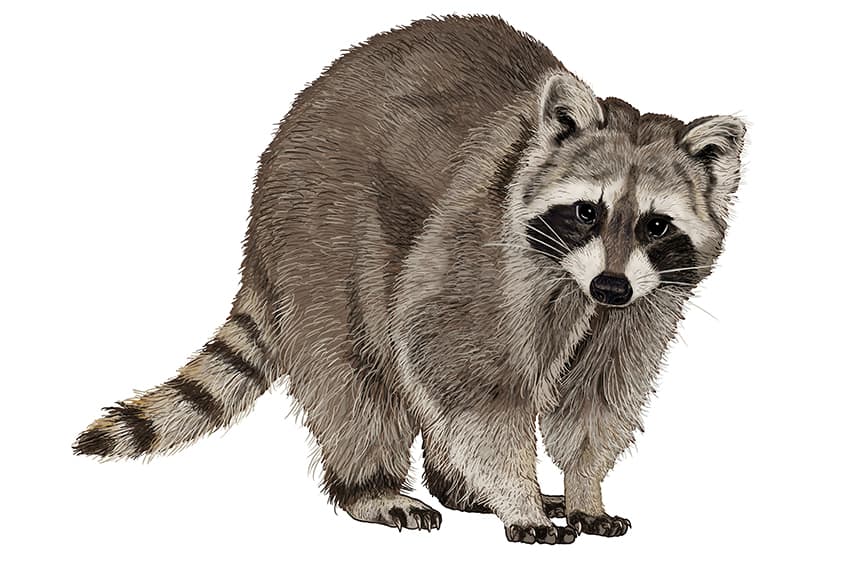
Step 17: Bonus Step
This is a bonus step you can take to if you want to add a realistic ground shadow to your raccoon sketch. To do this, select a fine, brush and black paint, and add a dark shadow directly underneath your raccoon. Switch to a blending brush and spread out the edges of your shadow.
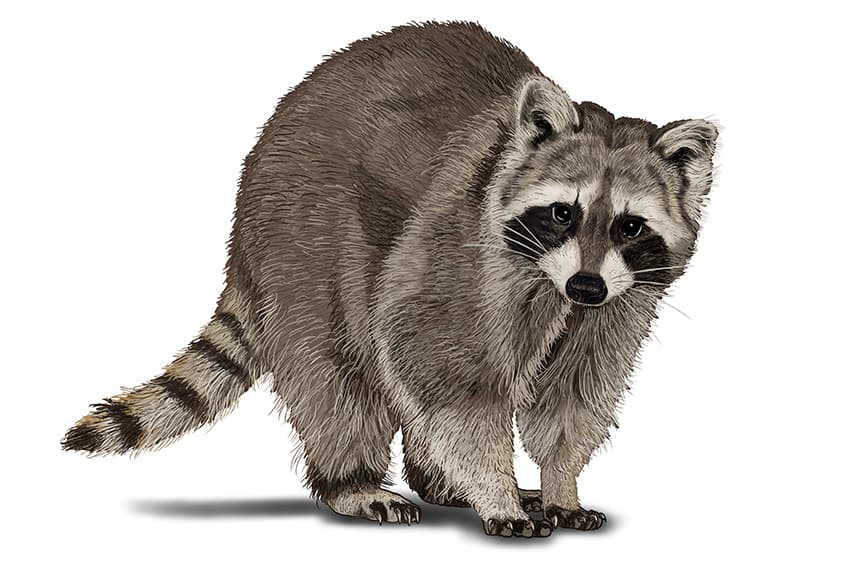
Way to go! You have managed to finish our tutorial on how to draw a raccoon. Not only have you gained new drawing skills, but your shading and coloring has managed to create depth and dimension, making your raccoon appear almost lifelike. Your patience and dedication have paid off, resulting in a cute and mischievous raccoon drawing!
Frequently Asked Questions
How to Add Texture to a My Raccoon Drawing?
One popular method to add texture to a drawing is by using hatching. This technique helps you to create a shading effect that will add more depth and dimension to your drawing. Practice this technique on your raccoon drawing and in no time you will be able to create a realistic raccoon sketch! If you are stuck, feel free to browse our tutorial on how to draw a raccoon for step-by-step instructions to add texture to a raccoon.
How to Draw a Raccoon Realistically?
To draw a raccoon realistically, always start by sketching the basic shape of your raccoon. Do this by drawing simple shapes such as ovals and circles. Note the proportions of your raccoon and try to capture the texture of the raccoon’s fur. Add details like whiskers, and patterns focusing on the face and tail, and use highlights and shading to create depth and dimension. Don’t forget to add shadows to create the illusion of a light source to create a realistic look. With practice and patience, you can master the art of drawing an adorable raccoon!
Matthew Matthysen is an educated multidisciplinary artist and illustrator. He successfully completed his art degree at the University of Witwatersrand in South Africa, majoring in art history and contemporary drawing. The focus of his thesis was to explore the philosophical implications of the macro and micro-universe on the human experience. Matthew uses diverse media, such as written and hands-on components, to explore various approaches that are on the border between philosophy and science.
Matthew organized various exhibitions before and during his years as a student and is still passionate about doing so today. He currently works as a freelance artist and writer in various fields. He also has a permanent position at a renowned online gallery (ArtGazette) where he produces various works on commission. As a freelance artist, he creates several series and successfully sells them to galleries and collectors. He loves to use his work and skills in various fields of interest.
Matthew has been creating drawing and painting tutorials since the relaunch in 2020. Through his involvement with artincontext.org, he has been able to deepen his knowledge of various painting mediums. For example, watercolor techniques, calligraphy and lately digital drawing, which is becoming more and more popular.
Learn more about Matthew Matthysen and the Art in Context Team.
Cite this Article
Matthew, Matthysen, “How to Draw a Raccoon – Draw a Mischievous Raccoon Sketch.” Art in Context. March 30, 2023. URL: https://artincontext.org/how-to-draw-a-raccoon/
Matthysen, M. (2023, 30 March). How to Draw a Raccoon – Draw a Mischievous Raccoon Sketch. Art in Context. https://artincontext.org/how-to-draw-a-raccoon/
Matthysen, Matthew. “How to Draw a Raccoon – Draw a Mischievous Raccoon Sketch.” Art in Context, March 30, 2023. https://artincontext.org/how-to-draw-a-raccoon/.


