How to Draw a Ladybug – Ladybird Beetle Drawing Lesson
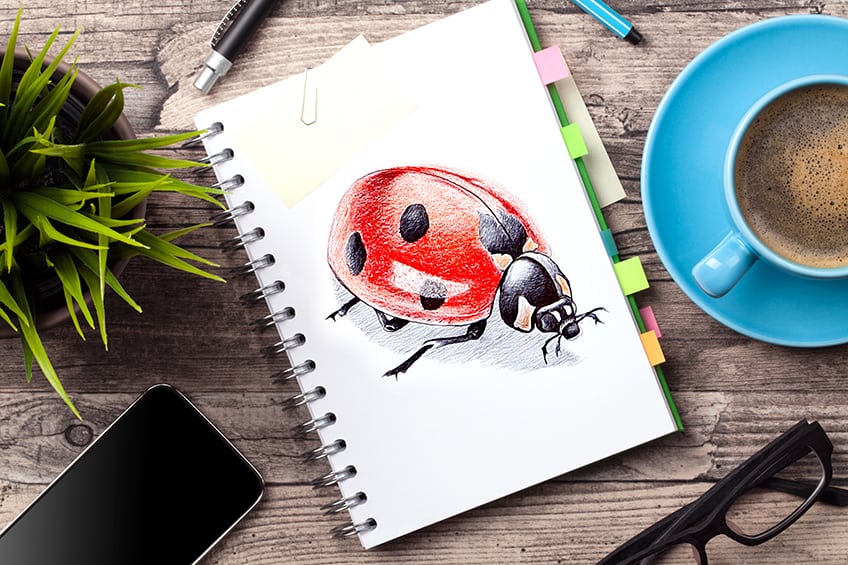
Learning how to draw a ladybug is a really fun creature to draw because it is so small yet so interesting in its features. Ladybugs are so unique in their symbolism as they can often be associated with good luck and peace. Ladybug art can be really beautiful in its simplicity as it is a creature that can stand on its own as a singular ladybug drawing. Ladybug drawings can also be done in so many ways, as it works well within an illustrative genre, and a ladybug illustration can be a beautiful addition to their artworks. In this easy ladybug drawing tutorial, we will look at how to create a realistic ladybug with a simple few-step drawing process.
An Easy Guide to Drawing a Ladybug
In this tutorial, we will find that making a realistic ladybug drawing is quite an easy process. This easy ladybug drawing tutorial breaks down the drawing process into a few simple digestible steps. In this tutorial, we will look at how we can develop a simple ladybug sketch into a beautiful and nuanced ladybug drawing. Ladybugs also have a unique structure, which provides us with a unique challenge to create shining effects on its exoskeleton as well as capture the unique qualities of a ladybug.
All these features that make the ladybug unique are easy and simple to draw and only require common materials that are often accessible.
Necessary Materials
Learning how to draw a ladybug requires only the simplest materials. In this tutorial on how to draw a ladybug, we will be drawing it both in pencil and pen, which will give it a contrasted illustrative quality. This means we will want to have at least an HB and 2B pencil as well as a ballpoint pen.
A ladybug drawing can have moments that will be a little intricate.
Because of this, we will want to have a sharpener for fine lines and an eraser for any silly mistakes that we might make along the way. Lastly, we will want to have some good paper. All these materials can be found through the links below:
- HB pencil
- Red pencil
- Orange pencil
- Ballpoint pen
- Eraser
- Sharpener
- Good paper (200 g/m – 250 g/m recommended)
Step-by-Step Instructions on How to Draw a Ladybug
In this tutorial on how to draw a ladybug from a side angle. We will start with a simple ladybug sketch, where we will work on shaping the ladybug. from there we will then proceed to add some light shading to our ladybug sketch, slowly working out the shadows and light within our ladybug drawing. From there we will slowly work on some darker shading, taking our time capturing the different tonal values within the ladybug drawing.
Lastly, we will work with our ballpoint pens to create more contrast within our drawing.
This will give the drawing a darker and more vivid effect that will enhance the features within the ladybug drawing. Now that we are aware of what to expect, we can get into the tutorial on how to draw a ladybug.
Step 1: Sketching the Ladybug Shape
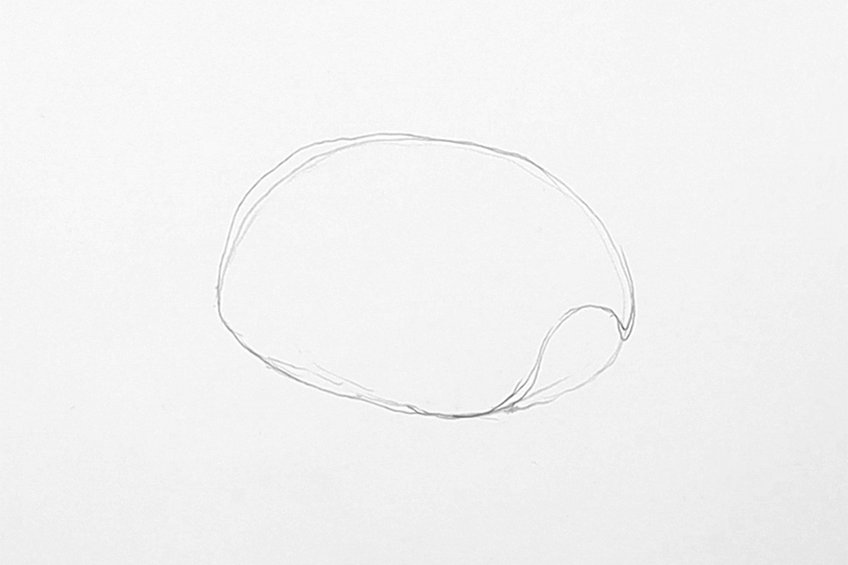
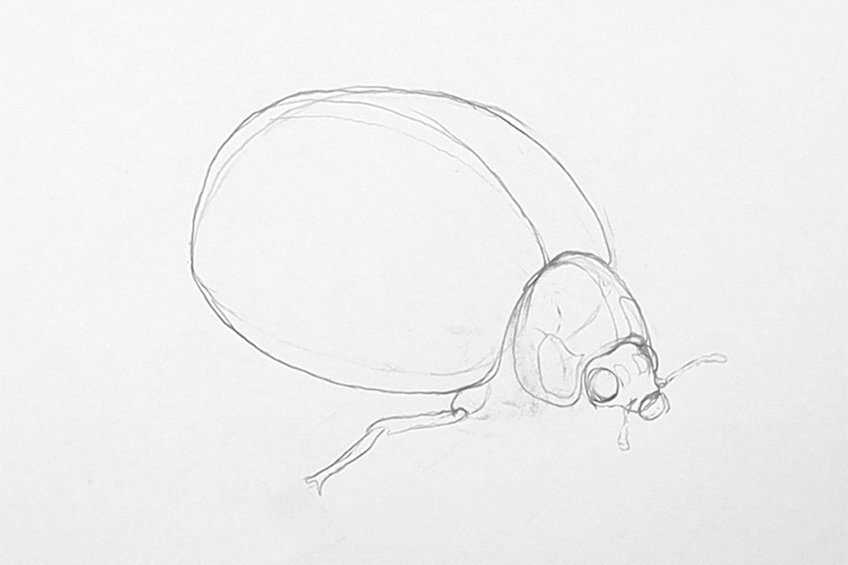
We want to start by using our HB pencils to draw a dome shape. We want to draw this shape in the middle of the page, which will represent the larger part of the ladybug’s body.
Since we are drawing the ladybug from the side view, we want to imagine if we are seeing the dome shape from the side view.
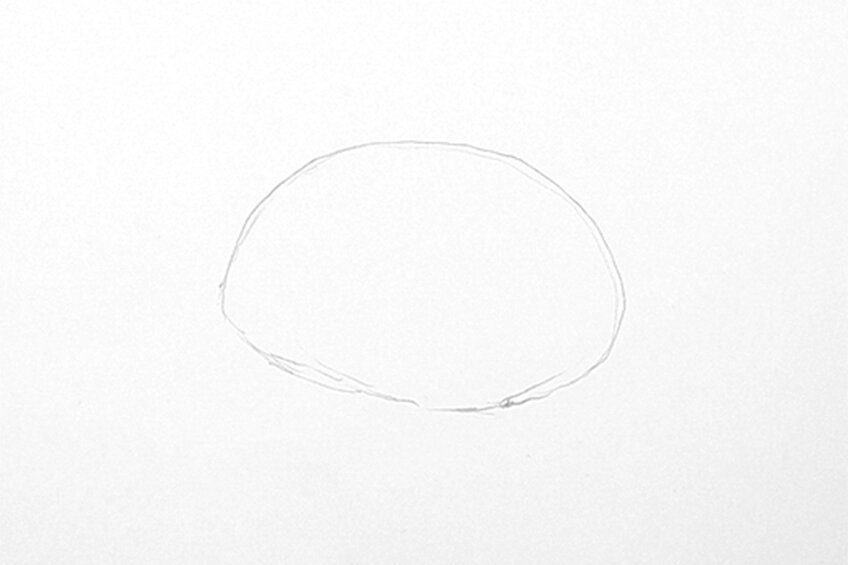
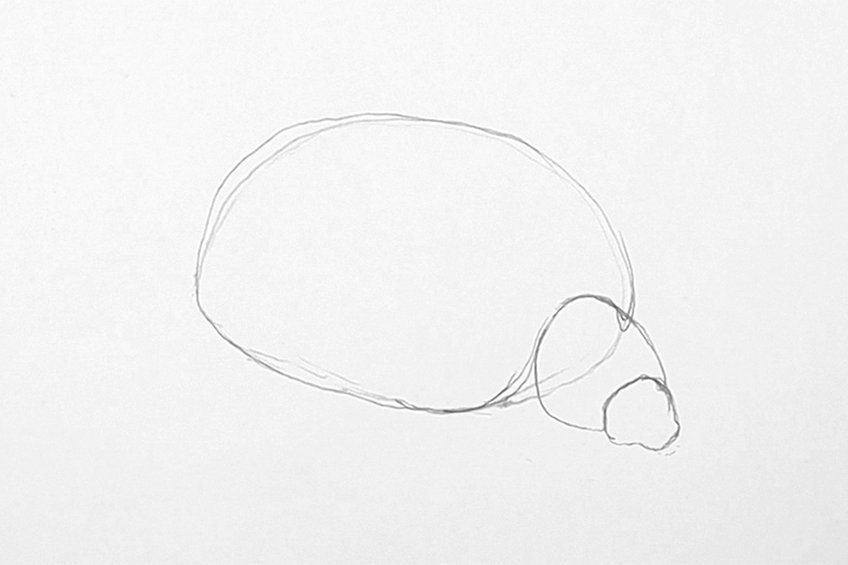
Imagine it as a second dome shape that could slide into the larger one.

The last shape will have more of a flat arrow-head shape.
Step 2: Sketching the Ladybug’s Features
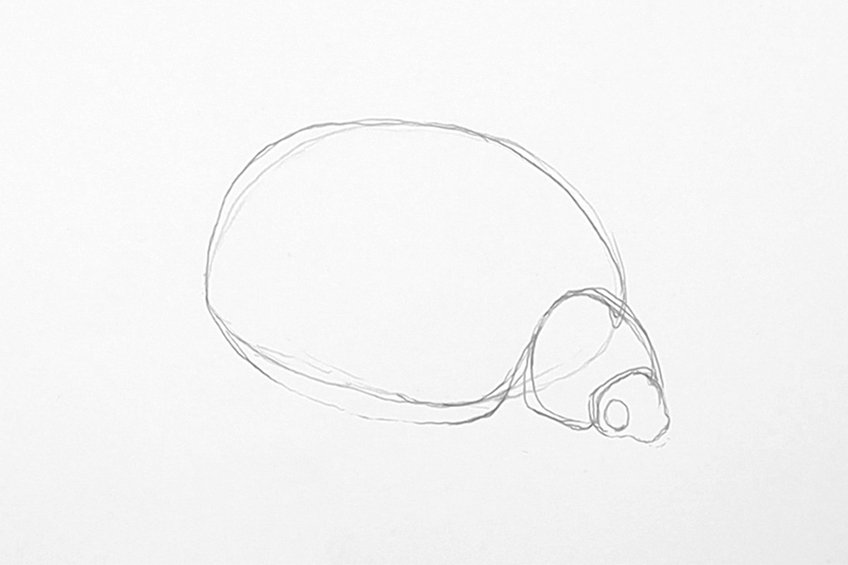
We should be left with a generic ladybug structure, that consists of three shapes placed next to one another. Again, the ladybug shape consists of three basic shapes, all three are dome-shaped and fit together like three pebbles. The smallest shape, where the ladybug’s face will be, is more of a spearheaded shape with a flat top.
Since we are drawing the ladybug from a side angle, we want to place only a single eye on the smallest shape.
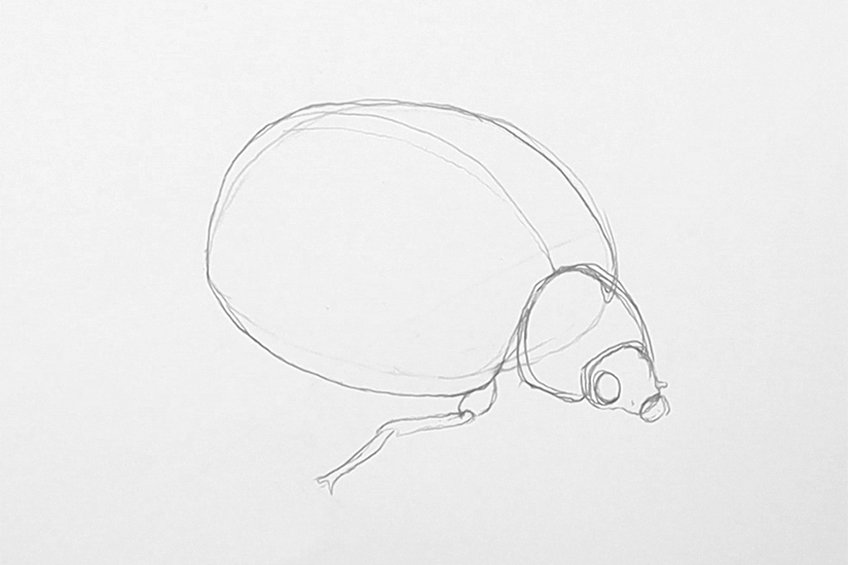
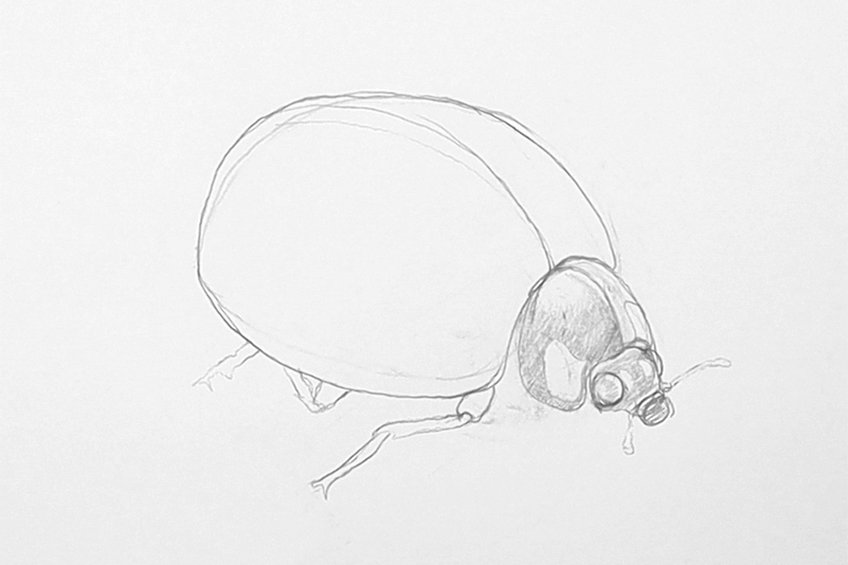
Again, make sure the leg sprouts away from the body, giving the bug a more realistic quality in its structure.
Again, consider that the bug is seen from a side angle, this means that only one of the shapes on the pronotum will be completely visible.
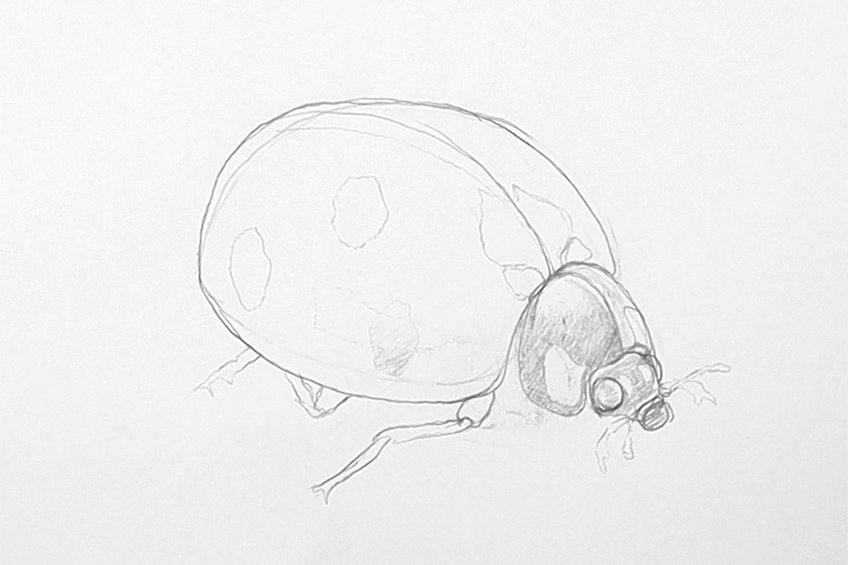
As you draw in the spots that will be black, remember not to add too many, as this is unrealistic for a ladybug.
Step 3: Adding Color to Our Ladybug Drawing
Using our red pencils, we will proceed to add color to the ladybug drawing. With ladybug art, there are many ways to color in the insect, however, we want to use our coloring pencils to create a variety of different tonal values within our ladybug drawing.
Start to add in some red coloring, lightly within the ladybug’s elytra or wings area.
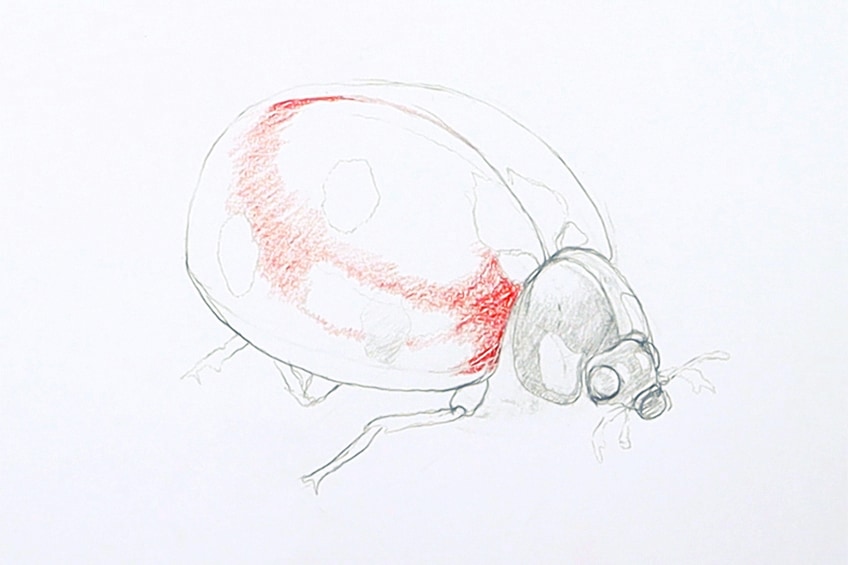
By doing this, we will suggest that light is interacting with the smooth surface of the ladybug’s structure. Use your orange pencil to start blending into the red strokes within the ladybug’s elytra.
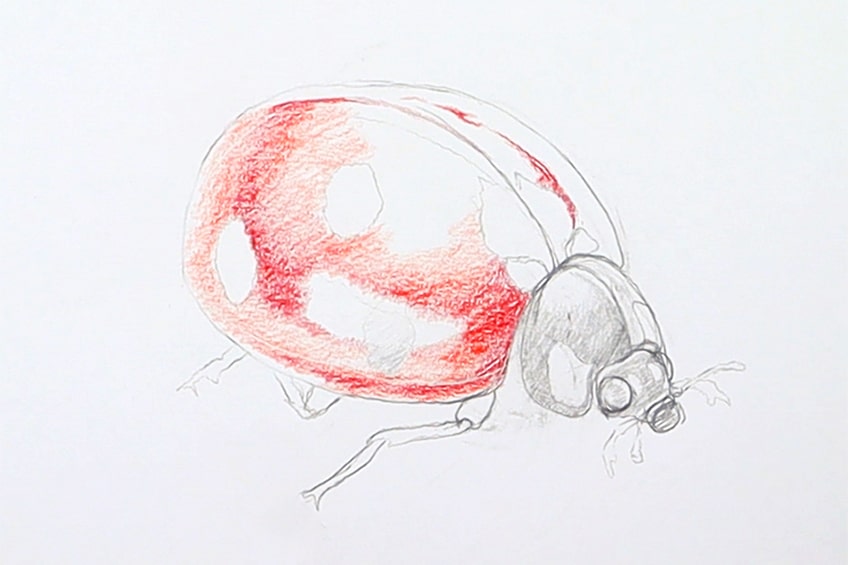
However, we want to make sure that red is the main or most predominantly seen color, making the ladybug vivid. Allow yourself to play around with how you add in these colors.
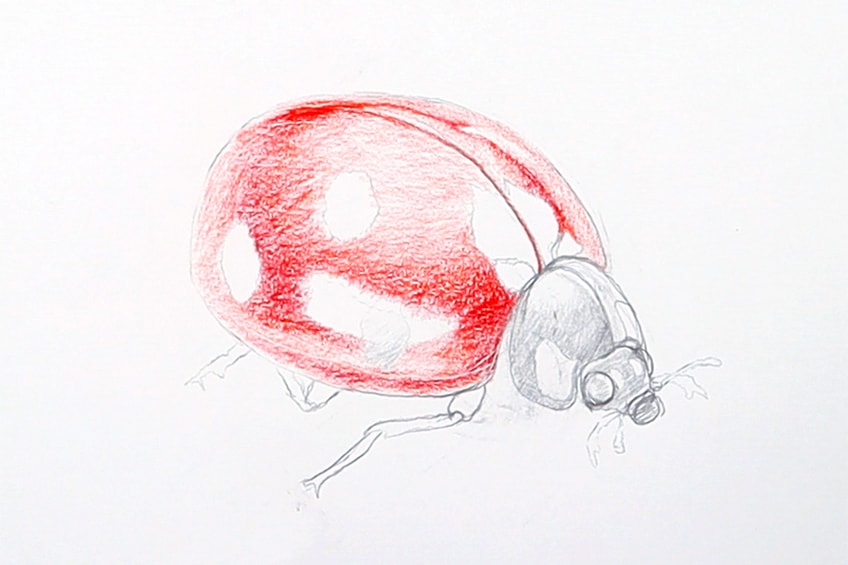
Remember, we want to slightly go over our colors more and more, with emphasis on the red as the dominant color.

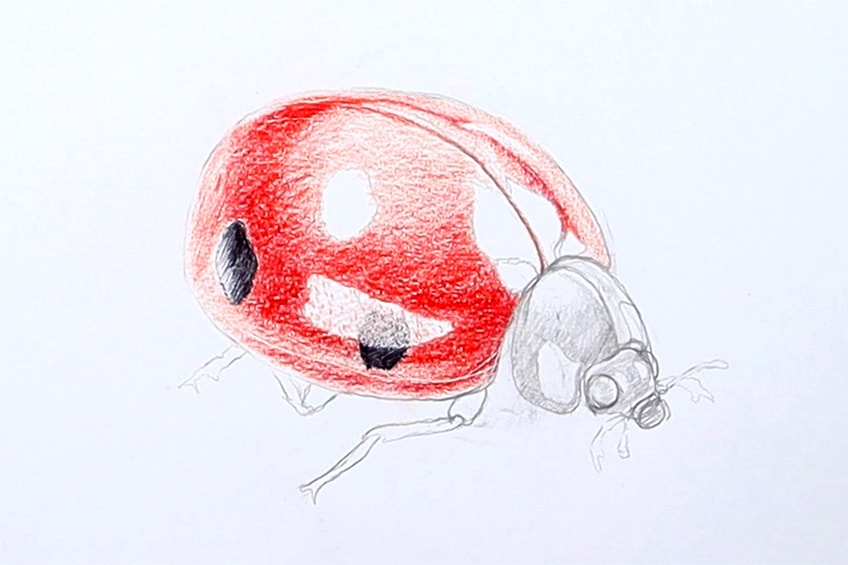
Play around with adding highlights to the ladybug drawing to capture this effect.
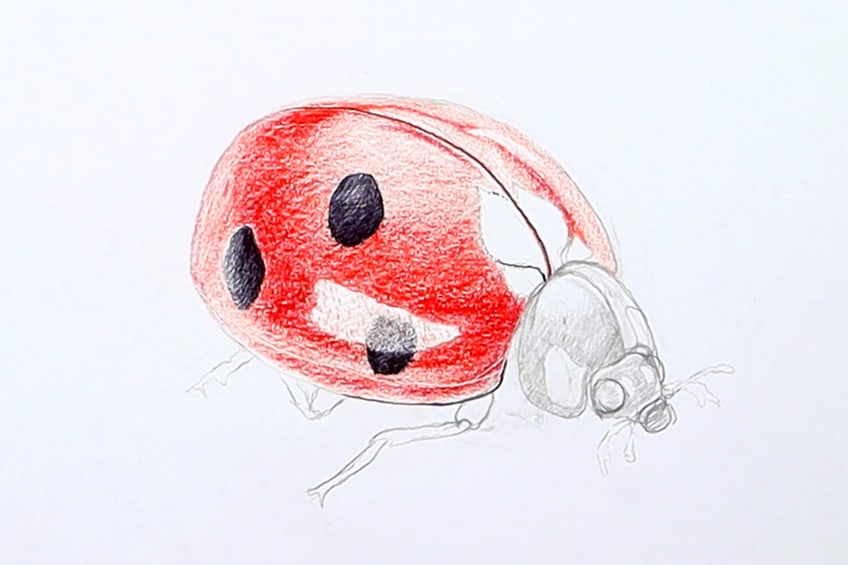

Step 4: Shading in the Ladybug Face with Pen
We want to now move on to shading in the ladybug drawing with our black ballpoint pens, emphasizing the dark areas of the ladybug insect. This includes the pronotum and face area of the ladybug. With your ballpoint pen, proceed to shade in the pronotum area.
Make sure that you shade around the rectangular shape.

Again, take your time as the pen is quite susceptible to mistakes. Be cautious as you attempt to create little sections of light and shine in the black features.
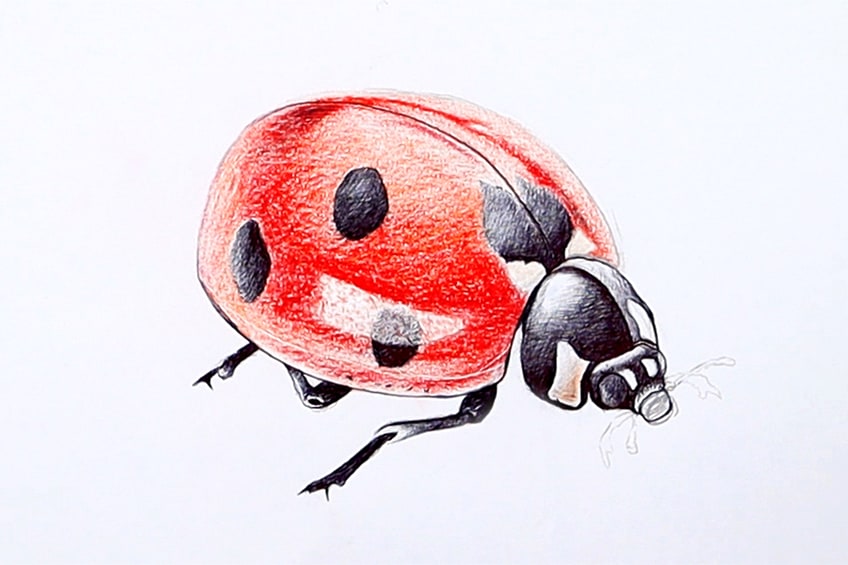
Step 5: Shading in the Ladybug Legs with Pen
We will proceed to do the same with the legs of the ladybug, where we use our ballpoint pens to shade in the legs. However, again we can leave little sections of white in the legs to suggest a hard exoskeleton quality the legs.
By doing this we will have a more realistic ladybug drawing in the end.

However, the shading process is still the same, where the legs are predominantly black with little light areas of white.
Step 6: Adding in the Last Little Details
Let us return to the face of the ladybug, where we can start to add in the antennae. We can add these features with our ballpoint pens as they are quite simple structures to draw. However, still, take your time and be cautious as you add them on the face.
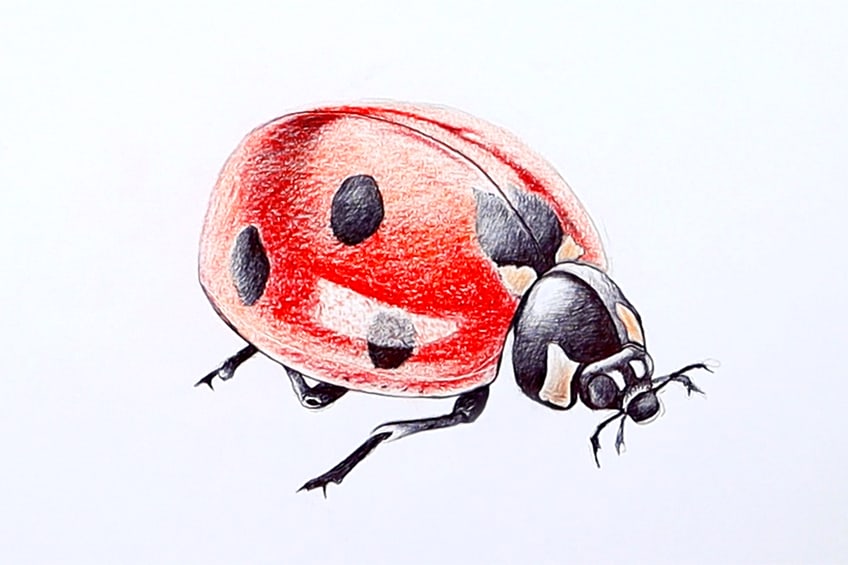

Now you know how to draw a ladybug and can use it in other artworks!
Tips to Remember
- Work on blending the colors. As you add color to your ladybug drawing, you want to make the gradients as seamless as possible, so work on this skill.
- Highlights are important. Most of the ladybug, if not the entire structure, is hard and smooth. This means there will be a lot of reflective and shining areas.
- Work out the general shape. Again, regardless of which perspective you draw a ladybug from, it will always have the same set of three basic shapes that make up its body.
- Less is more. This is especially true when it comes to drawing the black spots on the wings, so don’t draw too many.
- Adapt the skills you have learned. Play around with the features and how you use them in the ladybug drawing.
A ladybug drawing is simple but there are a few ways to enhance it and make it look more interesting. In this tutorial, we see how ladybug art can be approached with a unique perspective and how we develop a simple ladybug sketch into something more unique. This tutorial breaks down the basic process of creating a ladybug illustration that has some realistic characteristics. Remember that this tutorial describes a set of skills that can be used in various ways that can be used for other artworks.
Frequently Asked Questions
How Do You Draw a Shine on a Ladybug Shell?
Creating the shine on the ladybug wings is quite a simple process, as we are essentially using negative space as the highlights. This means that as you color in the wings of the ladybug, we want to create a sheen and smooth effect on the surface of the wings. We do this by drawing shapes onto the ladybug’s wings, around which we will color, leaving the shape blank and white. As we add color to the wings and leave the shape blank, we are allowing the white shape to represent the highlights on the surface of the wings. This will give the impression of light reflecting off of the surface of the ladybug’s wings, resulting in a shining effect. As you create your ladybug drawing, you want to play around with adding highlights on the surface of the wings. This is because ladybug wings are quite smooth and are able to reflect light. Using the process that has been described will enable you to achieve this effect in your ladybug drawing.
How Do You Draw the Ladybug Body Shape?
A ladybug drawing can be drawn in various ways, although, the shape of the ladybug is always relatively the same form. You want to imagine that the ladybug is made of three conjoined pebbles that these pebbles are connected from large to small. The largest part would be the elytra or the wings, the second largest part would be the pronotum or face, and then the smallest part would be the head. The angle at which you are drawing the ladybug will determine how they are formed along a single plane. However, we can imagine that each pebble is flat near the ground with a rounded top, depicting a dome shape. From there, it’s a matter of adding extra features to contextualize the insect and define certain characteristics more distinctly. However, the body shape will always be the same in the drawing process, where connecting the three pebble shapes together creates an accurate ladybug drawing.
Matthew Matthysen is an educated multidisciplinary artist and illustrator. He successfully completed his art degree at the University of Witwatersrand in South Africa, majoring in art history and contemporary drawing. The focus of his thesis was to explore the philosophical implications of the macro and micro-universe on the human experience. Matthew uses diverse media, such as written and hands-on components, to explore various approaches that are on the border between philosophy and science.
Matthew organized various exhibitions before and during his years as a student and is still passionate about doing so today. He currently works as a freelance artist and writer in various fields. He also has a permanent position at a renowned online gallery (ArtGazette) where he produces various works on commission. As a freelance artist, he creates several series and successfully sells them to galleries and collectors. He loves to use his work and skills in various fields of interest.
Matthew has been creating drawing and painting tutorials since the relaunch in 2020. Through his involvement with artincontext.org, he has been able to deepen his knowledge of various painting mediums. For example, watercolor techniques, calligraphy and lately digital drawing, which is becoming more and more popular.
Learn more about Matthew Matthysen and the Art in Context Team.
Cite this Article
Matthew, Matthysen, “How to Draw a Ladybug – Ladybird Beetle Drawing Lesson.” Art in Context. July 1, 2022. URL: https://artincontext.org/how-to-draw-a-ladybug/
Matthysen, M. (2022, 1 July). How to Draw a Ladybug – Ladybird Beetle Drawing Lesson. Art in Context. https://artincontext.org/how-to-draw-a-ladybug/
Matthysen, Matthew. “How to Draw a Ladybug – Ladybird Beetle Drawing Lesson.” Art in Context, July 1, 2022. https://artincontext.org/how-to-draw-a-ladybug/.


