How to Draw a Skateboard – An Easy Skateboard Drawing Tutorial
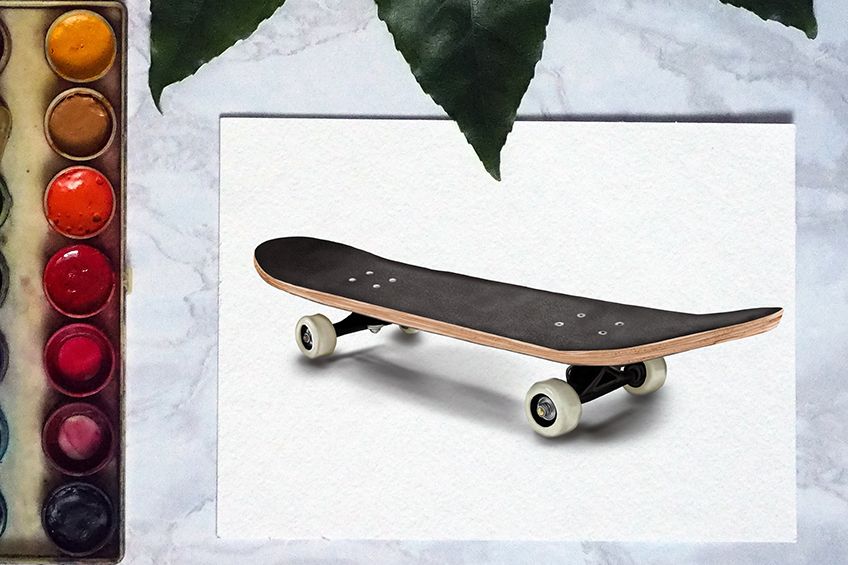
Whether you are a pro skateboarder, or you simply want a fun drawing challenge, today’s tutorial is perfect for you! In this short and easy skateboard drawing guide, we show you how to create a realistic skateboard in 18 easy steps. We begin by constructing the basic shape of the skateboard sketch, before creating realistic detail and texture with color. If you are ready to heelflip your way into this tutorial, let us begin!
A Step-by-Step Drawing of a Skateboard
When it comes to creating any realistic three-dimensional sketch, it is important that we approach it in logical steps. In our skateboard drawing tutorial, we begin by using simple shapes to create the basic shape, before we add any details. This process allows us to set up our sketch so that we do not have to erase too much hard work if we make a mistake. You can see an outline of the steps of our drawing of a skateboard in the collage below.
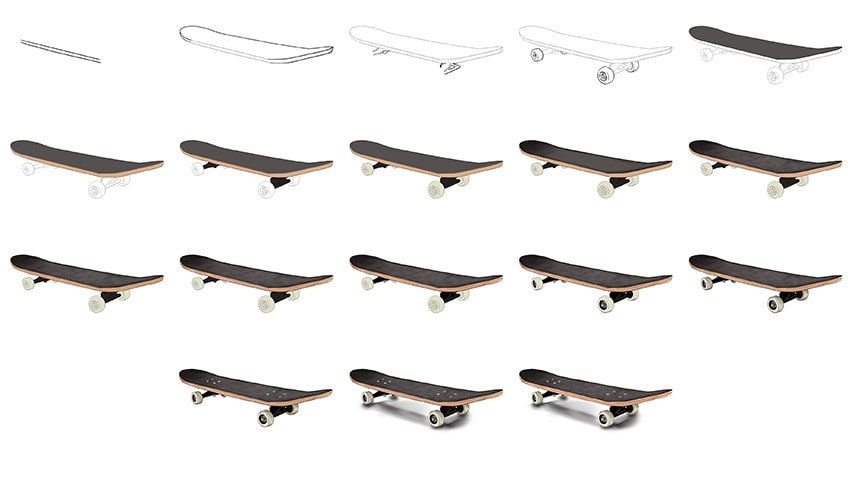
When it comes to choosing a medium for this skateboard drawing tutorial, we suggest going with whatever you feel most comfortable with. If you are new to the art world, it is always best to be comfortable with your medium when trying new skills. Our easy skateboard drawing is also suitable for all mediums, be that digital or physical mediums like paint or coloring pencils. You can easily adapt the instructions to suit your needs.
Our top tip is to use something easily erasable for the outline steps. A light pencil for physical mediums or a separate layer for digital drawings.
Step 1: Begin by Drawing the Sidewall
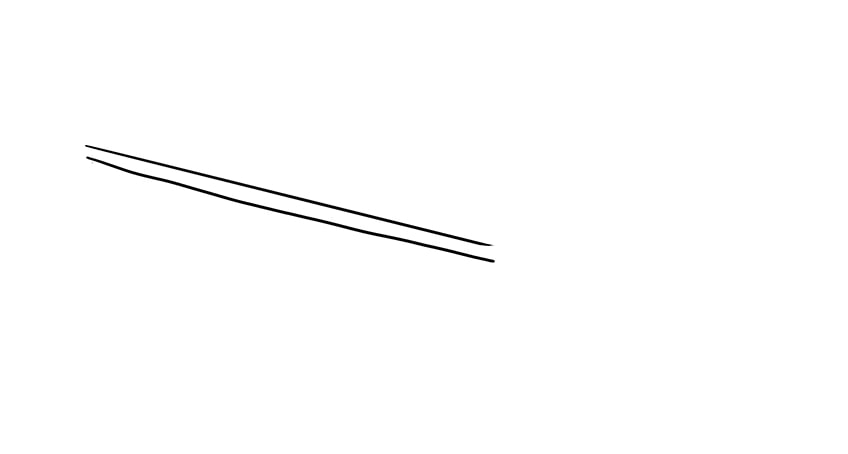
We are going to begin our skateboard sketch by constructing the sidewall of the board. This initial step will help us lay down the length and perspective of the skateboard. Begin by locating the center of your drawing area and draw two angled lines that slope down from the right to the left.
Step 2: Shape the Rest of the Deck
You are now going to use this initial sidewall outline to create the rest of the deck. On either side of the sidewall, curve these two lines upwards and around. The back right side of the deck should be rounded, while the left side can come to a point.
If it takes you a few attempts to get this perfect, do not worry!

Step 3: Outline the Skateboard Trunks
Now that you have the basic outline of the skateboard deck complete, we can begin to add some finer details. Below the deck, you can now draw the partially visible trunks, where the wheels are mounted. These trunks typically take the shape of a slightly rounded triangle.
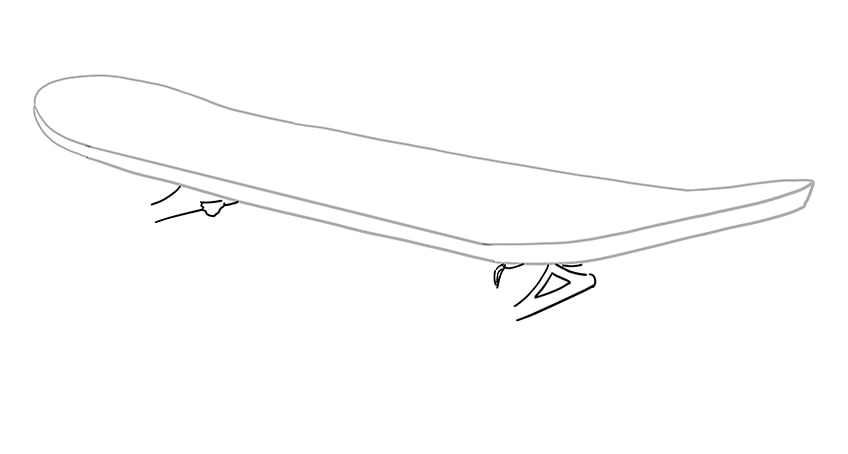
Step 4: Draw the Wheels of Your Skateboard Sketch
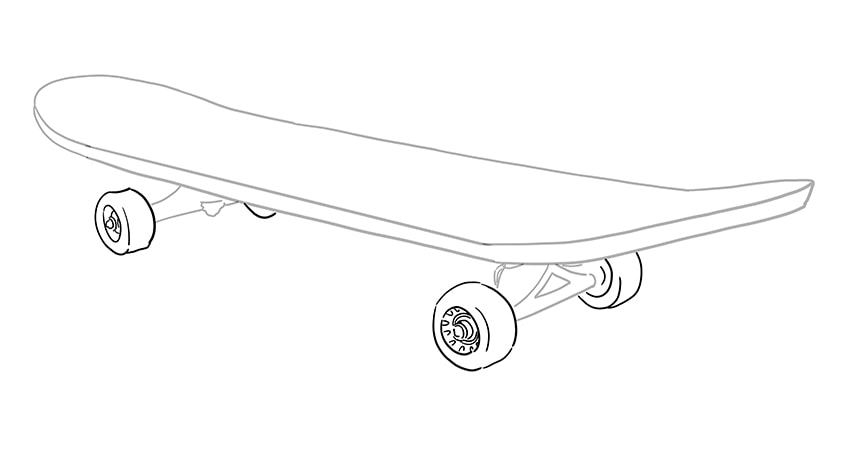
In this step, you are now going to draw the wheels attached to the trunks that you placed in the previous step. The perspective of our drawing of a skateboard is important to keep in mind for this step. Only two of the wheels are going to be fully visible from this angle. Begin by drawing the two fully visible wheels, including the central nut and thread.
For the other two wheels, draw them partially visible, with the back left wheel only peeking out a little.
Step 5: Begin Coloring Your Skateboard Sketch
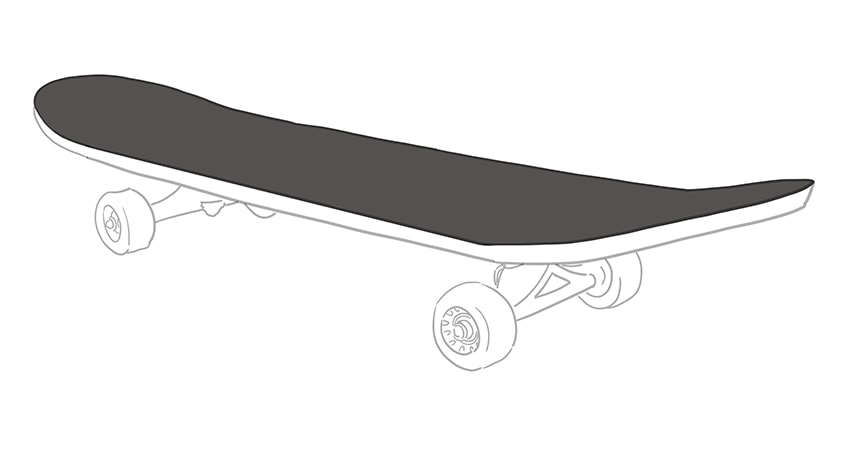
In this step, we are now going to begin adding color to our realistic skateboard drawing. We begin by coloring the top of the deck with an even coat. Use a regular paintbrush and some dark grey paint to fill the deck with an even layer of color.
Step 6: Color the Sidewall
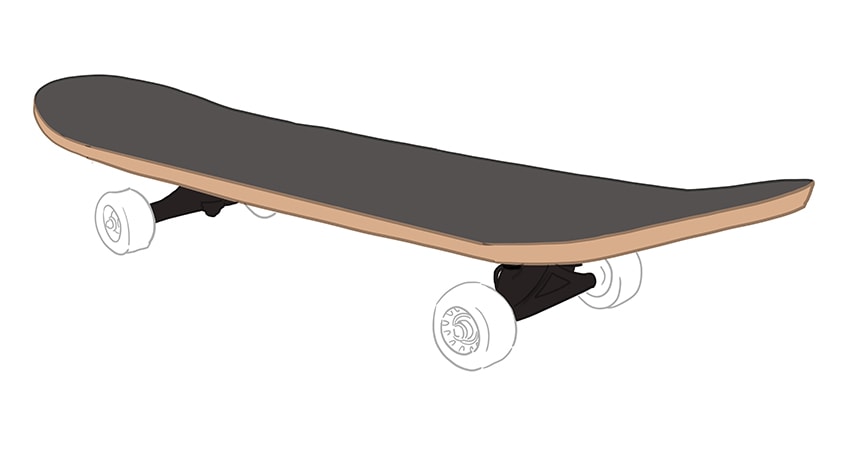
We are now going to add some color to the sidewall panel. Most skateboards are made from some kind of wood, so we are going to use a light brown shade of paint for this step. Use a small brush and carefully fill the sidewall of the skateboard sketch with an even coat of color.

Step 7: Apply Color to the Trunks
As we gradually move down our easy skateboard drawing, we come to the trunks. For these, you will need a dark grey or black shade of paint and a small paintbrush.
Using these tools, color both of the trunks evenly.
Step 8: Color the Wheels of Your Skateboard Sketch
For the wheels, you will need a light shade of beige or off-white paint. Use a small paintbrush to color the wheels with an even coat of color.

Step 9: Begin Shading the Deck
Now that we have the base colors for our skateboard drawing applied, we can begin to work on realism. With a small blending brush and some black paint, begin gently shading along the edges of the top of the deck and the front lip. This initial shading should be focused around the edges, not protruding too far into the body of the deck.
On the far left end of the deck, you can bring the shadows down a little more.

Step 10: Add Texture to Your Realistic Skateboard Drawing
The top deck of a skateboard has a rough almost sandpaper-like texture. This texture is what we are going to focus on in this step. Use a rough stipple brush and some darker grey paint to create a light pattern of small spots throughout the top of the deck. You can repeat this process using light grey and white paint, gradually building up the texture.
To finish the step, you can use a clean blending brush to gently smooth over your texture.
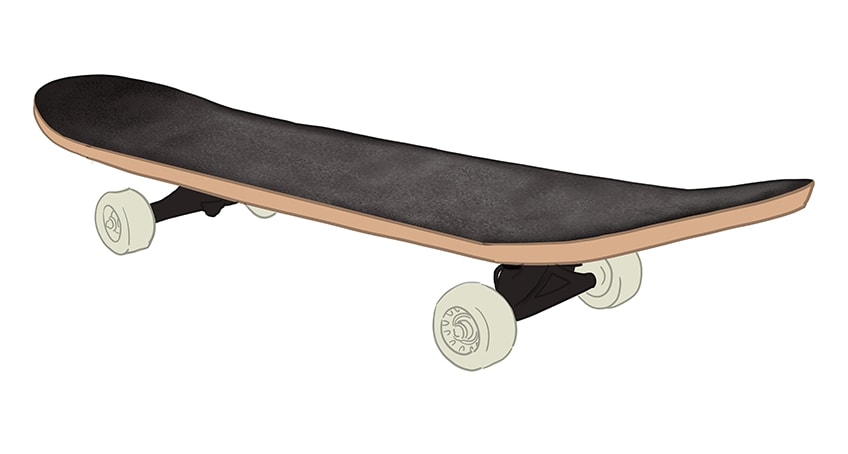
Step 11: Texture the Sidewall
Once again, we are moving downwards on our skateboard drawing as we create realistic textures. For the sidewall, we want to create the impression of the light wood grain. Use a fine detail brush and some dark brown paint to create fine hairline brush strokes. These lines should follow the curve of the sidewall, curving up the rear and front lips.
Repeat this process with peach and lighter brown shades for a greater depth of texture.
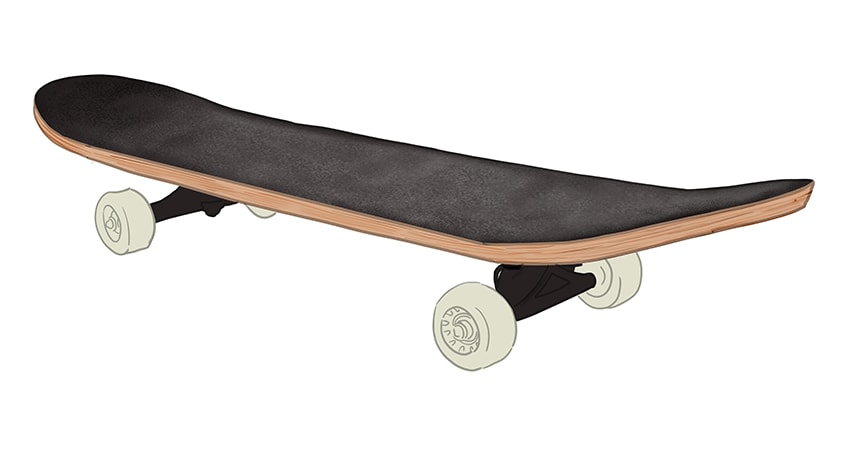
Step 12: Complete the Sidewall Texture
In this step, we are going to create some additional texture and add some highlights to the wood grain pattern. Begin by using a fine detail brush and repeat the previous step using white paint. You can then use a small blending brush and some dark brown paint to add some mud splatter to the front and rear lips of the sidewall.

Step 13: Shade the Trunks
We are now going to create some definition in the trunks of our realistic skateboard drawing. Use a small blending brush and some black paint to shade around the edges of the trunks. Leave the main triangle shapes lighter.
To finish the step, use a light beige shade of paint to color the visible bot and nut underneath the left trunk.

Step 14: Create Coloring Details on the Wheels
Let us move on to the wheels. Begin with a small blending brush and some silver paint, carefully coloring the nut and bolt in the center of the wheels. Repeat this process with some white paint, adding subtle highlights to the areas that would naturally catch the light. You can then use some light yellow paint to highlight the top thread a little. Next, use a fine detail brush and some black paint to evenly color the rear and front portions of each wheel.
To complete this step, use a small blending brush to add a little light shading underneath each of the wheels.
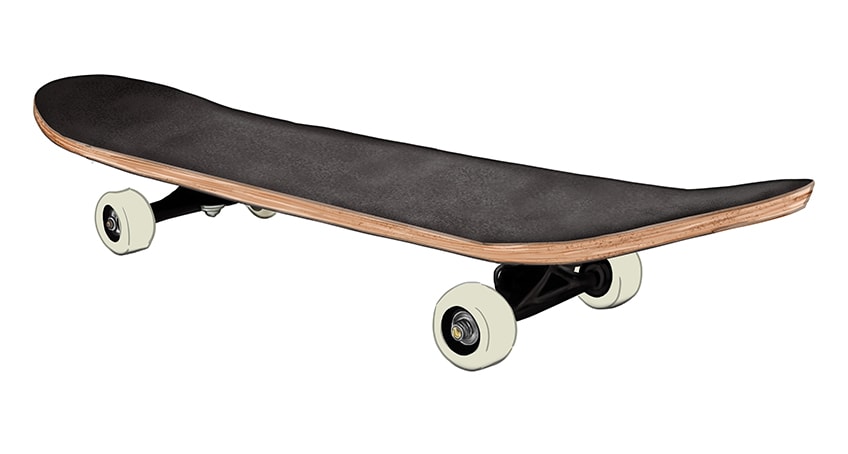
Step 15: Shade and Highlight the Skateboard Wheels
We are now going to create some more realistic proportions in the wheels using shadows and highlights. Begin with a small blending brush and some dark grey paint, lightly applying some shading around the curvature of each wheel. This shading should be done very lightly, creating a contour rather than simple shadows. Next, use a small blending brush to create some white highlights on the side walls of each wheel.

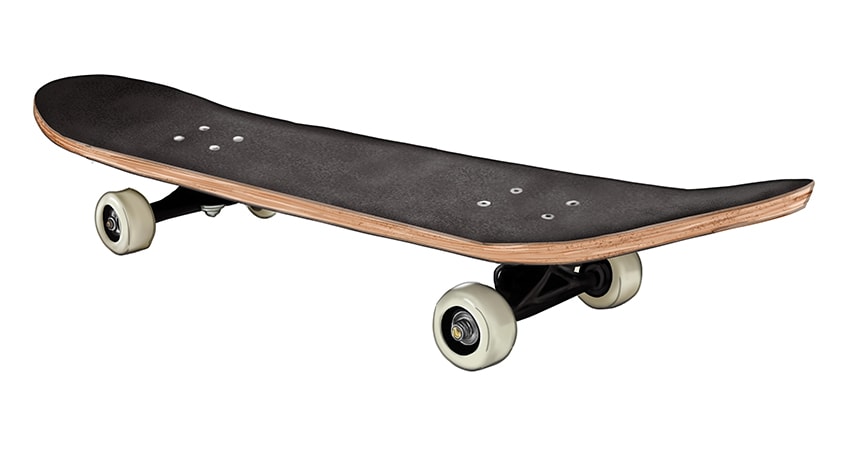
Step 16: Paint the Bolts for the Trunks
The final detail that we are going to add to our realistic drawing of a skateboard is the small bolts that connect the trunks to the deck. On the top deck, above each of the trunks, create four small ovals using white paint.
You can then add a small dot of dark grey paint in the center of each of these bolts.
Step 17: Paint the Ground Shadow
Just before we finish our easy skateboard drawing, we are going to create a ground shadow below the skateboard. Use a small blending brush and some black paint to apply a casted ground shadow below the skateboard and along the wheels and trunks. Soften these shadows with a clean blending brush.
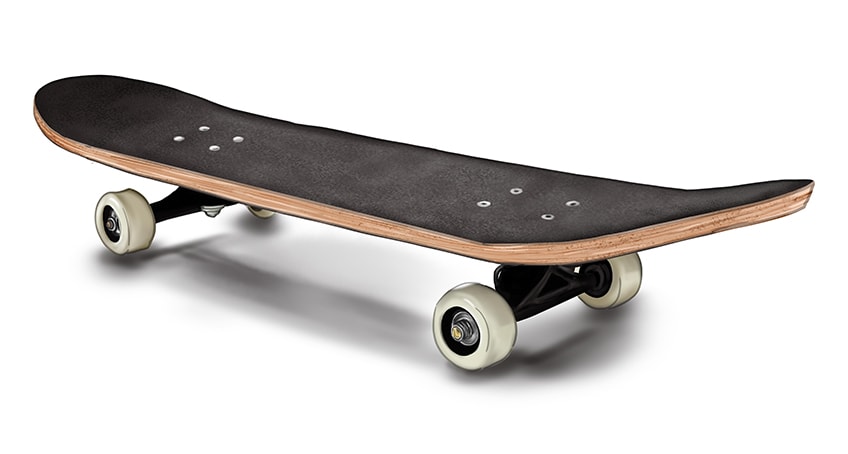
Step 18: Finish Your Drawing of a Skateboard
We are now going to remove the entire outline of your skateboard sketch to create a seamless final result. If you are working with a physical medium, use the corresponding color at each point of the outline to trace over it. If you are working digitally, simply delete the outline layer.
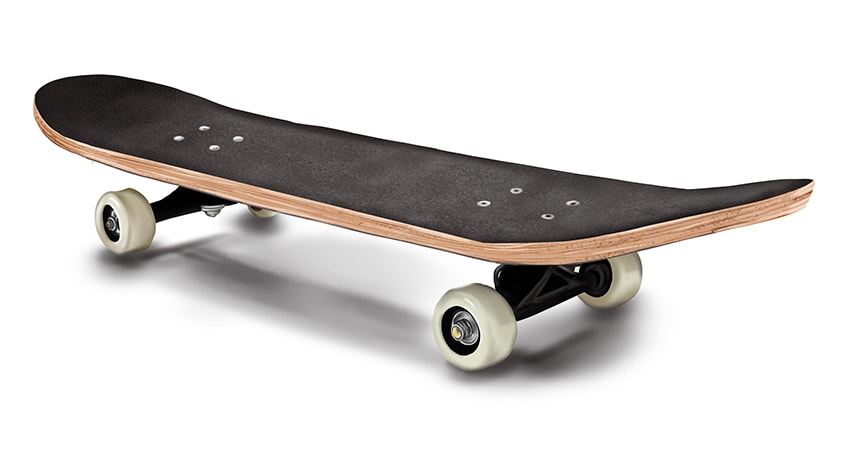
Now you know how to draw a skateboard in only 18 easy steps! We hope that you have enjoyed the skateboard drawing process, and that you feel inspired to try drawing new and interesting things. We have many more drawing tutorials for you to try, and we hope to see you soon!
Frequently Asked Questions
How to Create a Realistic Skateboard Drawing?
The key to creating a realistic drawing of a skateboard lies in the way that you use color to create detail and texture. We spend a lot of time in our skateboard drawing tutorial showing you how to create realistic textures in very simple steps.
How do You Make a 3D Drawing of a Skateboard?
In order to create a three-dimensional skateboard sketch, we focus on using shading and highlighting to create realistic proportions. Getting the perspective correct in the early steps is also important, and we use construction shapes to gradually build this up in a realistic way.
Matthew Matthysen is an educated multidisciplinary artist and illustrator. He successfully completed his art degree at the University of Witwatersrand in South Africa, majoring in art history and contemporary drawing. The focus of his thesis was to explore the philosophical implications of the macro and micro-universe on the human experience. Matthew uses diverse media, such as written and hands-on components, to explore various approaches that are on the border between philosophy and science.
Matthew organized various exhibitions before and during his years as a student and is still passionate about doing so today. He currently works as a freelance artist and writer in various fields. He also has a permanent position at a renowned online gallery (ArtGazette) where he produces various works on commission. As a freelance artist, he creates several series and successfully sells them to galleries and collectors. He loves to use his work and skills in various fields of interest.
Matthew has been creating drawing and painting tutorials since the relaunch in 2020. Through his involvement with artincontext.org, he has been able to deepen his knowledge of various painting mediums. For example, watercolor techniques, calligraphy and lately digital drawing, which is becoming more and more popular.
Learn more about Matthew Matthysen and the Art in Context Team.


