How to Draw a Bridge – An Easy-to-Follow Bridge Drawing Tutorial
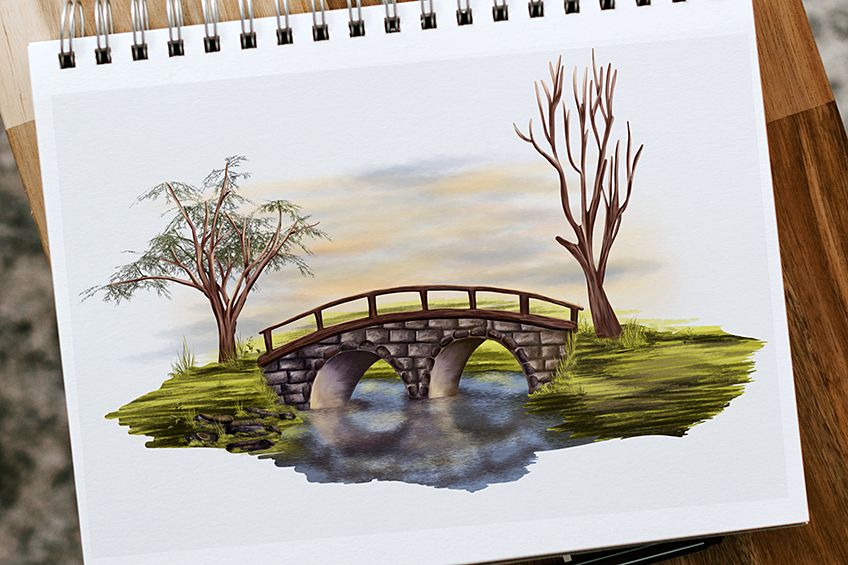
In today’s drawing tutorial, we are going to show you how to draw a bridge over a sweet bubbling stream. Hopefully, this is not a bridge over troubled water, but a path on a new artistic journey. As with all of our easy-to-follow drawing tutorials, we break down the bridge drawing process into simple steps for artists of any level. We begin by constructing the basic shape of the bridge sketch, before adding detail and color. With that being said, let us begin learning how to draw a bridge over water!
How to Draw a Bridge Over Water
In order to make our bridge drawing tutorial as simple as possible, we break the drawing down into several easy steps. We begin with some basic construction shapes, gradually building up the final picture. We then add some sketched details before adding color to flesh out our realistic bridge drawing. You can see an outline of all the steps in the collage below.
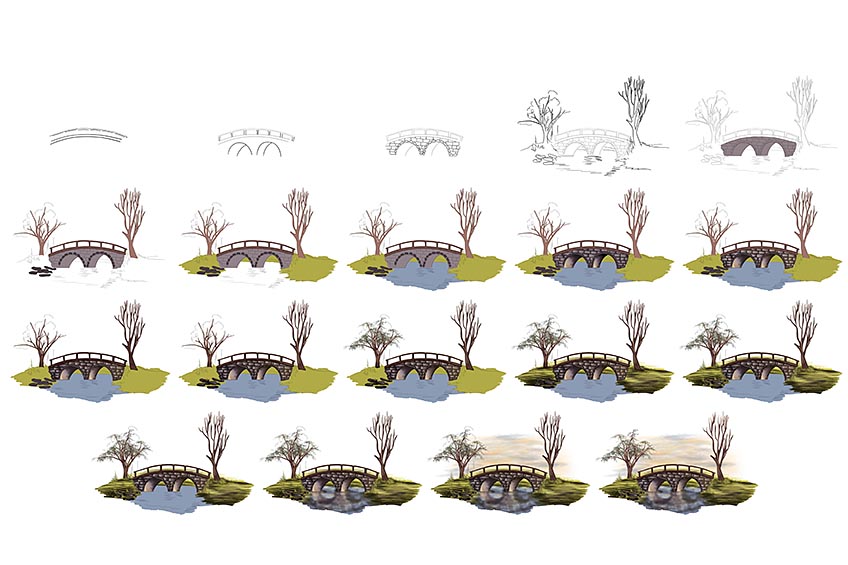
When it comes to choosing a medium for this bridge drawing, there are really no limitations. You are welcome to use any medium that you feel most comfortable and confident with, whether that be paint or a digital drawing tablet. Regardless of the medium that you choose, you want to ensure that the basic outline is easy to erase later. For physical mediums, we suggest using a light and easily erasable pencil. For digital mediums, it would be best to create the basic outline on a separate layer that can be removed towards the end.
Once you have all of your drawing supplies ready, find somewhere comfortable to sit, and let us begin learning how to draw a bridge.
Step 1: Shape the Overall Bridge Arch
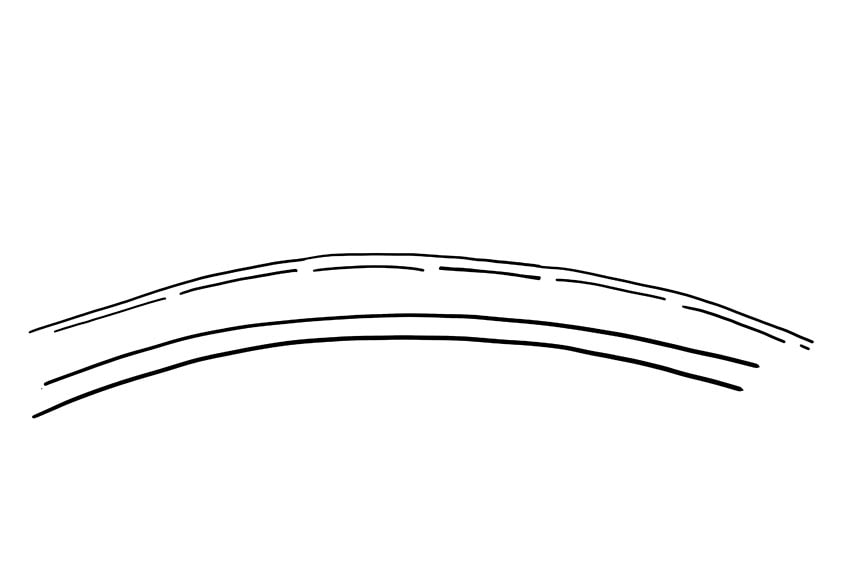
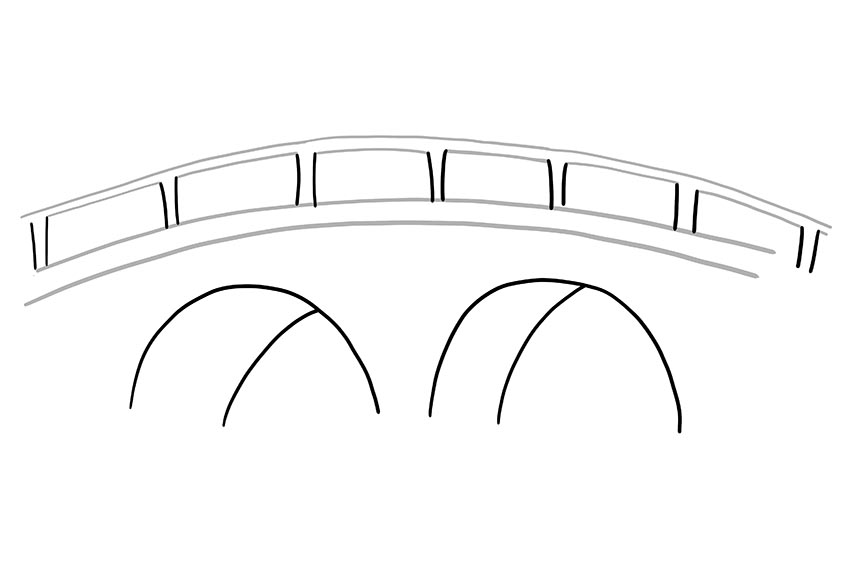
We are going to begin by creating the main shape of the bridge arch. Find the center of your drawing area, and begin with a large, slightly shallow upwards curve. The right side of the curve should end slightly higher than the left, creating the dimensions we are looking for. Above this first curve, create another that is parallel to it. Next, slightly higher, draw another curve and then add a dotted curve just below it.
Step 2: Add the Tunnel and Rail Details
There are two parts to this step. Let us begin by creating the tunnels below the bottom arch. Draw two half circles, and to the left of them, draw a secondary partially visible tunnel arch. This will create a three-dimensional appearance.
Next, use the gaps within the dotted arch to create the side rail by creating vertical lines.
Step 3: Add Brick Details
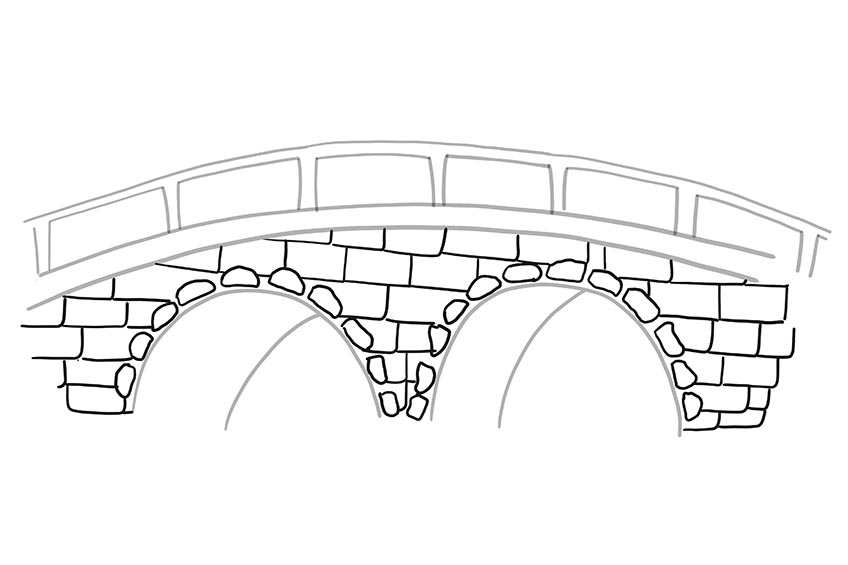
Now that we have the basic shape of the bridge completed, we are going to begin adding some detail. Within the framework of the tunnel arches, you can now draw some brick and stone detail. Begin around the tunnel arches, creating an outline of small, unevenly shaped stones.
You can then create rows of bricks within the rest of the bridge shape.
Step 4: Draw the Scenery Detail
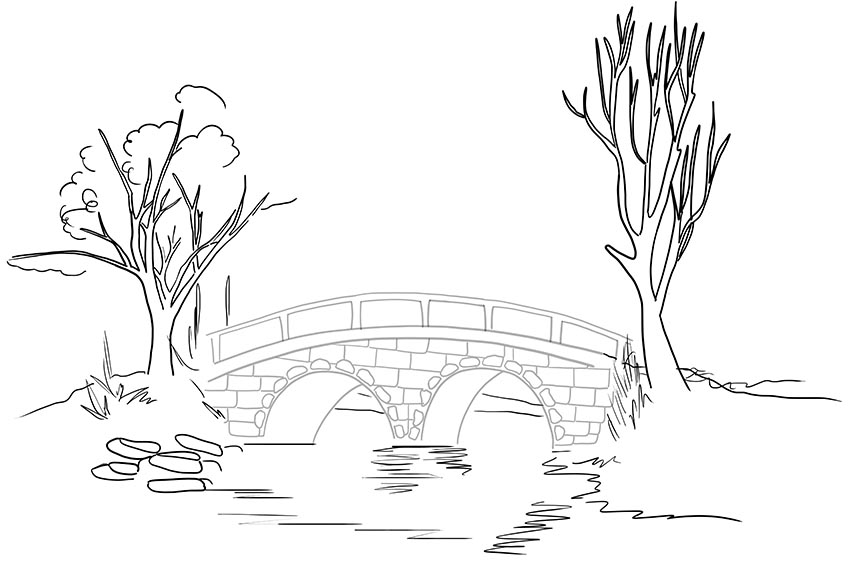
Now that we have the bridge in place, we are going to add some background scenery. Begin at either end of the bridge, drawing gently sloping hills. You can then draw a single tree on each side. Each tree can be different, and as this is a sketch, there is no need to stress about too much realism at this stage. Next, beneath the bridge and trees, you can draw some rocks lining the river bank. You can then add the effect of water below the bridge, with lines around the tunnel and the edge of the river.
Finally, around the base of the trees and the edge of the river bank, you can add some grass patches.
Step 5: Begin Coloring Your Bridge Drawing
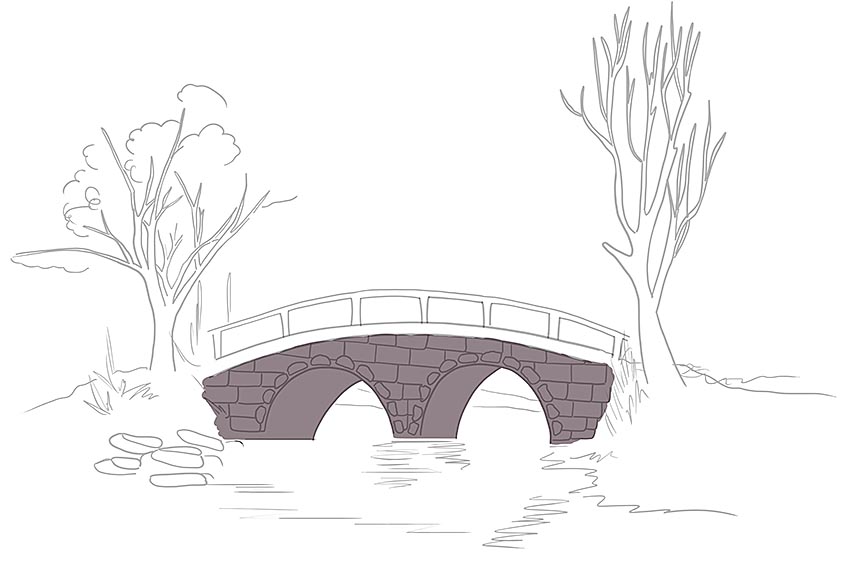
Now that we have the basic bridge sketch completed, we can begin adding color. We will start with the stones of the bridge. Use a shade of fossil grey paint and a regular paintbrush to paint an even coat of color over the stones.
Step 6: Color the Trees and Detail the Bridge
In this step, we are going to add a few more details with color. Let us begin with the bridge, using a smaller paintbrush and some dark grey paint to fill the small stones around the tunnel arches. You can use the same color to fill the stones along the bank of your river. Next, with a small paintbrush and some dark brown paint, carefully color the side rails of the bridge.
Finally, with a small brush and some light brown paint, carefully color the trees, including the trunk and the branches.
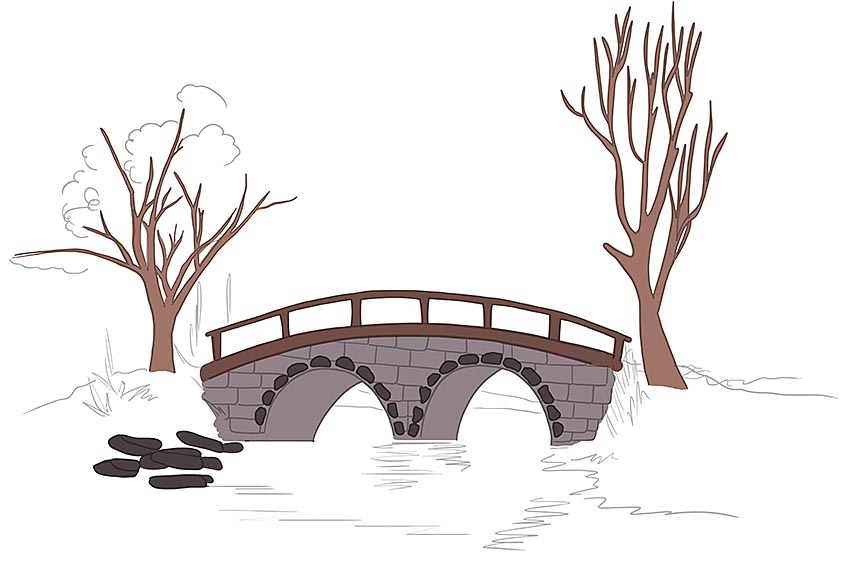
Step 7: Color the Landscape
We are now going to add some color to the landscape. Find a bright green color and use a regular paintbrush to fill the grassy hills with color.
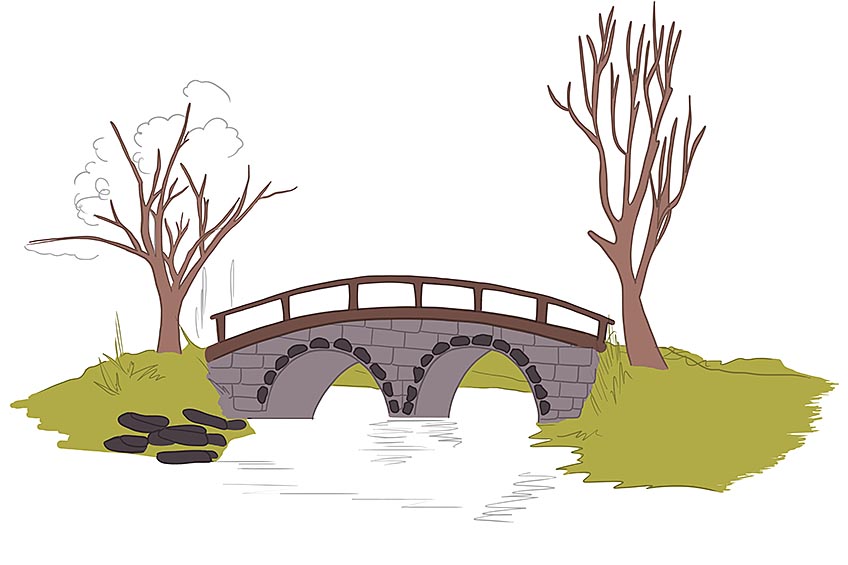
Step 8: Add Color to the River Water
We are now going to color the river. For this, you will need a light shade of stone blue paint and a regular paintbrush.
Apply an even coat of color to the water, bringing it out as far as you would like.
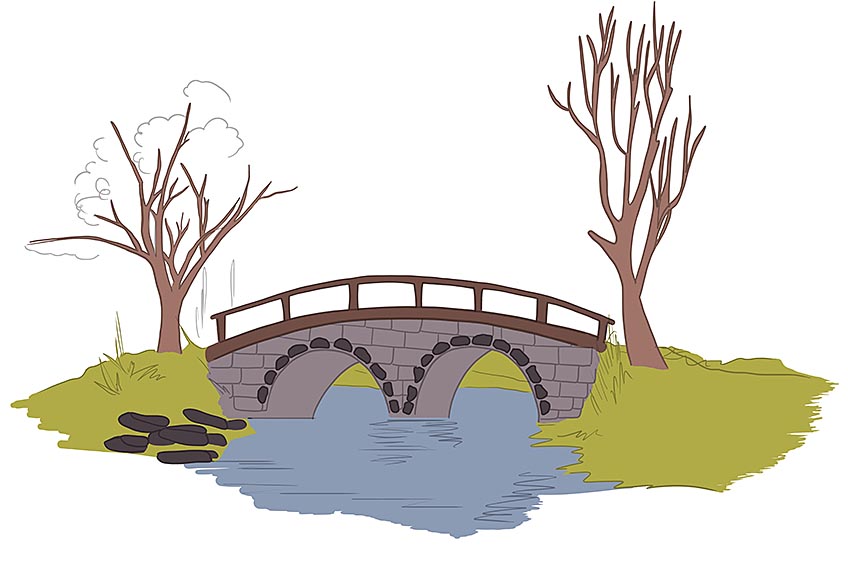
Step 9: Begin Shading the Bridge
In this step, we are now going to begin adding some realistic dimension to the bridge using shadows and highlights. Begin with a small blending brush and some black paint, adding some soft shading around the edges of the bricks in the bridge. Next, using the same tools, shade the top of the inner area of the tunnels.
You can then use a clean small blending brush and some tan paint to add highlights to the bottom of the tunnel arches and blend this up into the shadow.
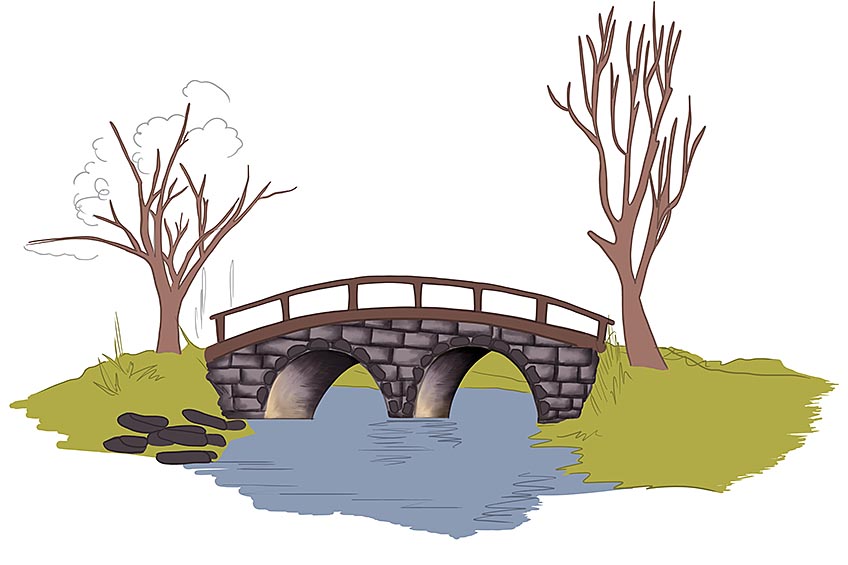
Step 10: Highlight the Bridge Stones
In the last step, we added shadows to the bridge stones. In order to complement this, we are now going to add some highlights to make these stones pop. With a small fine brush and some white paint, create fine hairline brush strokes within each block of stone.
Follow this with a small blending brush and some tan paint, gently softening the highlight on the face of some of the stone blocks.
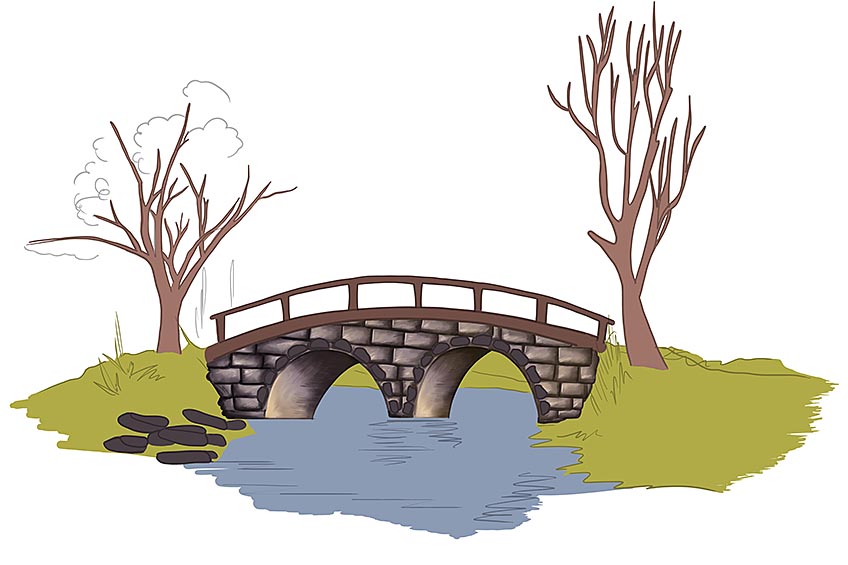
Step 11: Create Texture in the Bridge
Let us now create some texture in the bridge. Begin with a small rough brush and a combination of dark brown and black paint. Use these to create a rough splatter stone texture within the stone blocks of the bridge. Repeat this process using a lighter shade of brown to enhance the combination of texture layers. Next, add shading on the side railing using a small soft brush and a combination of black and dark brown paint. Softly create strokes within the railing, leaving some areas of the undercoat still visible.
Finally, repeat this step on both of the trees, using fine brush strokes to enhance the structure.
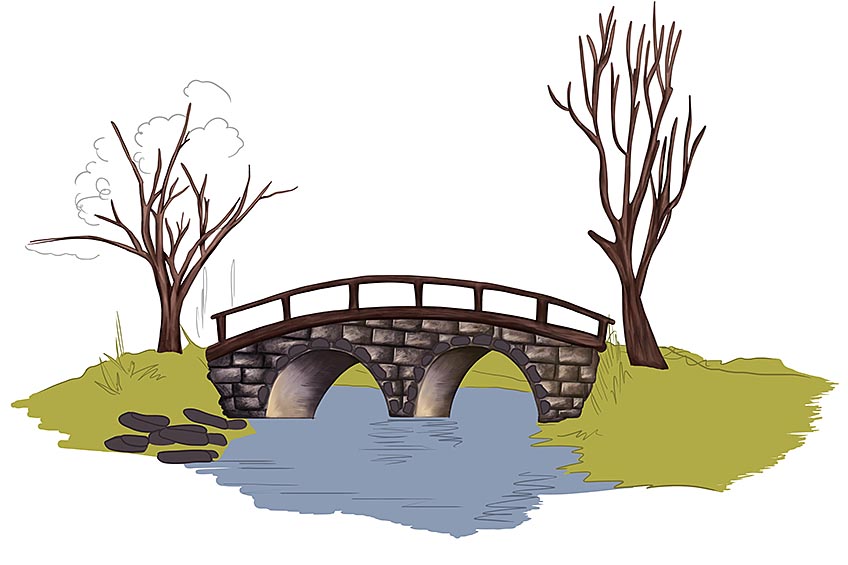
Step 12: Continue Texturing the Trees
Using a combination of tan and white paint with a fine sharp brush apply fine hairline brush strokes within the trees to add fine texture lines, this will also act as the highlights. Repeat once more using a small soft brush. Next, use a small soft brush or blending brush to smooth these colors together. Continue using a fine sharp brush and a combination of tan and white paint to apply fine hairline brush strokes within the bridge side railings.
To complete the step, use a small soft brush and black paint to apply soft shading to the laying rocks on the river bank and the bridge-tunnel arches. Repeat this process with a rough brush and a combination of black, brown, and tan paint.
Finally, add some soft spots of highlight on the rocks by the river with some white and grey paint.
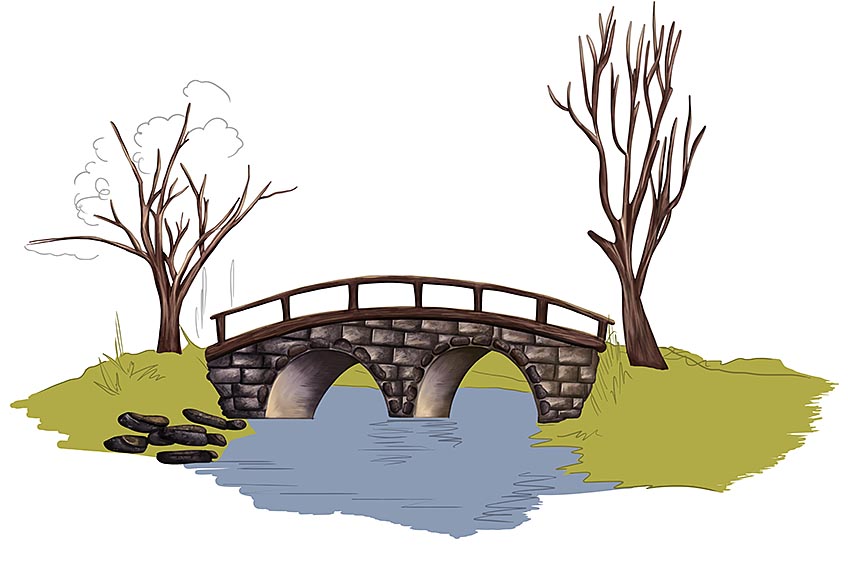
Step 13: Add Painted Details to the Tree Branches
Let us now add some detail to the tree branches. Begin with a fine sharp brush and some dark olive paint, and create fine hairline brush strokes in layers on the branches of the left tree. Gradually build up the impression of small leaves with these short little strokes.
To complete this step, add some ground shading around the base of the tree trunk.
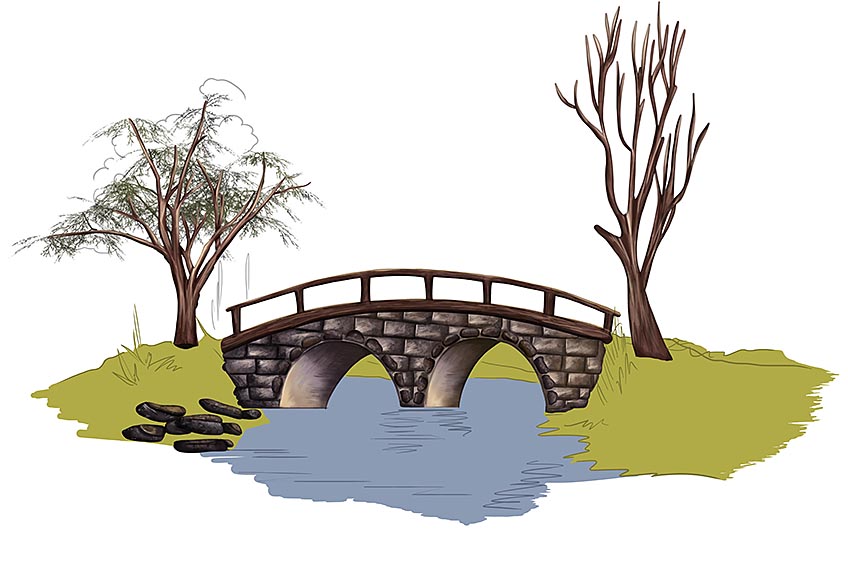
Step 14: Create Texture in the Landscape
Using a small blending brush and a combination of black, fossil grey, and bright green paint to create a rough texture in the landscape. Begin with the bright green paint, and follow it with black and grey. You can then use a clean blending brush to smooth these colors together, bringing life to your bridge drawing.
Tip: only paint the texture of the landscape horizontally.
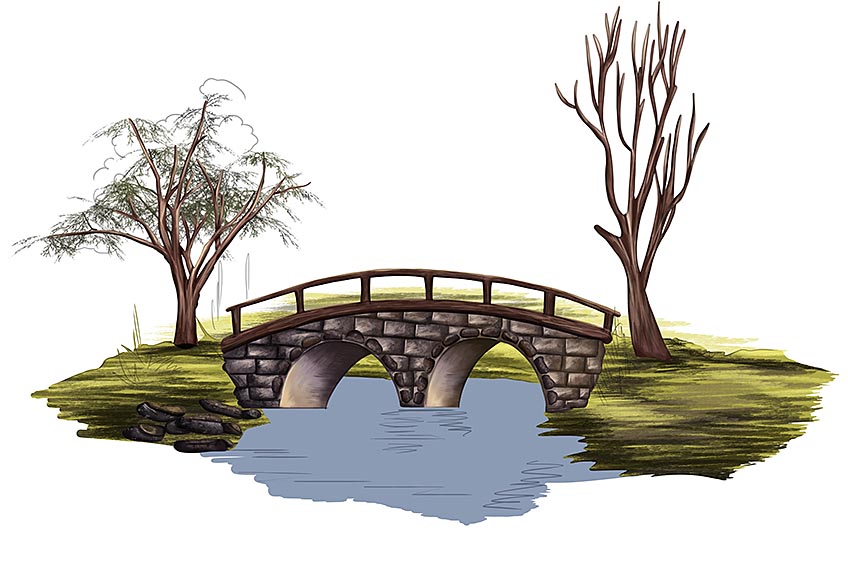
Step 15: Paint Some Grass Texture
We are now going to add some fine grass texture around the edge of the river bank and the base of the tree trunks. Use a fine sharp brush and some bright green paint to create fine hairline strokes.
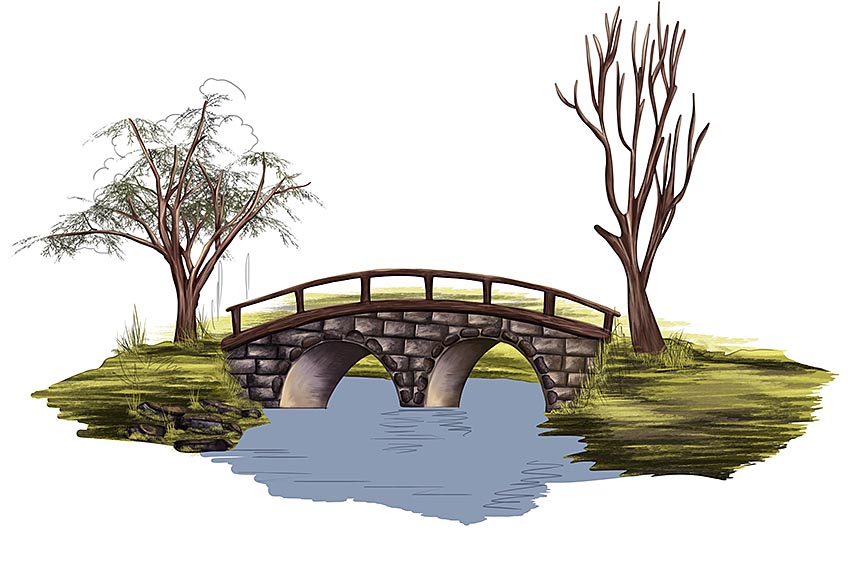
Step 16: Continue Painting Smaller Plants
Make use of a fine sharp brush and a combination of both bright and dark green paints to paint fine hairline brush strokes to represent the smaller patches of grass and plants along the landscape area around the bridge sketch.
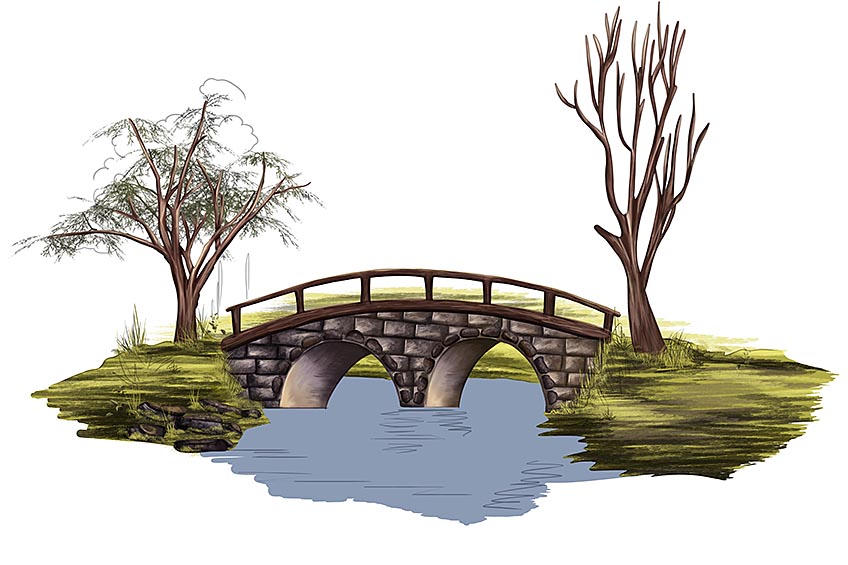
Step 17: Detail the River Water
Begin by using a small soft brush and light blue paint to coat the first layer of the water. Repeat this process with the colors of the bridge, creating a soft reflection in the water. Next, to create some flowing texture, use a fine brush and some white paint to sharply paint flowing dots and line patterns along the water under your bridge drawing.
Complete this step by making use of a small soft brush or blending brush to soften and smooth the area with a fade of color to both ends and only in a horizontal direction.

Step 18: Paint the Sky
Make use of a small soft brush using yellow, orange, and a lighter shade of navy blue to add soft patches of color in the sky background. Use a clean soft brush to gently blend these colors together. 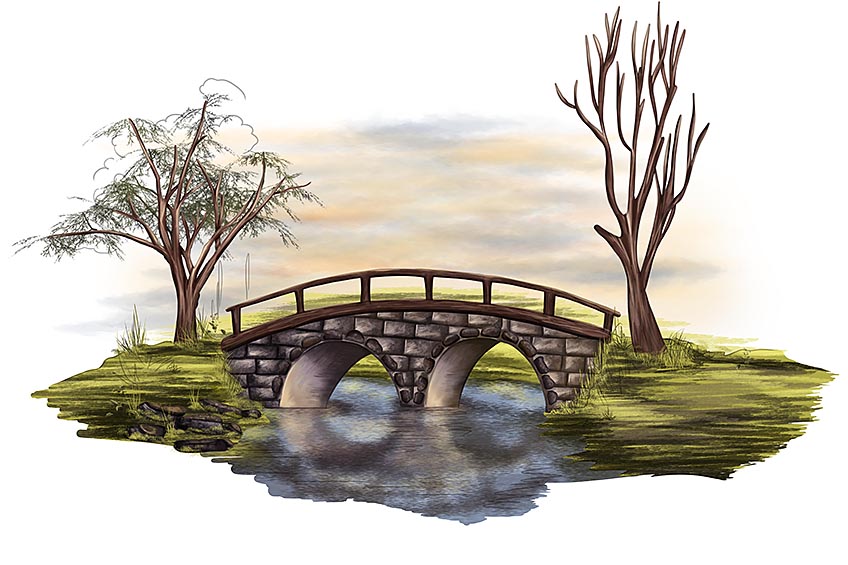
Step 19: Finishing Your Bridge Drawing
To complete your tutorial on how to draw a bridge over water, we are going to remove any construction lines that may still be visible. This will create a seamless finished result.
You can either trace over the lines with the corresponding color or you can delete the layer if you are working digitally.
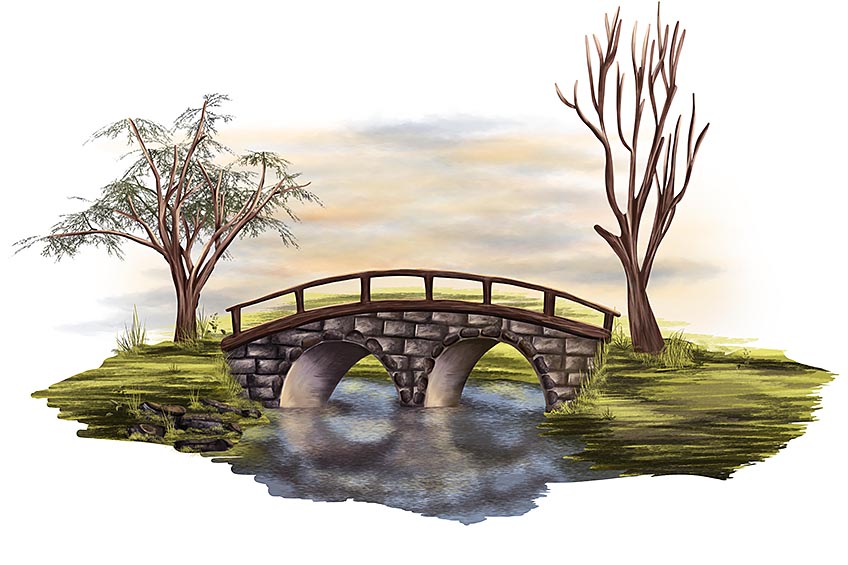
We hope that you have enjoyed learning how to draw a bridge over water! This easy-to-follow tutorial was designed for anyone with a passion for art and landscape. From constructing the shape of your bridge sketch, to adding realistic color and contours, you can now apply these skills to other landscape paintings.
Frequently Asked Questions
How do You Create Realistic Water Under Your Bridge Drawing?
Creating realistic water to flow under your bridge sketch, we create a reflection of the bridge and use highlights to create a ripple texture. You will need the colors of the bridge for the reflection, and white to create a fine ripple texture.
What Style Is this Bridge Sketch?
While we cannot say that this bridge sketch is hyperrealistic, it definitely has some elements of realism. Some of the texture is a little more obvious than we see with hyper-realism, but the water is certainly very realistic.
Matthew Matthysen is an educated multidisciplinary artist and illustrator. He successfully completed his art degree at the University of Witwatersrand in South Africa, majoring in art history and contemporary drawing. The focus of his thesis was to explore the philosophical implications of the macro and micro-universe on the human experience. Matthew uses diverse media, such as written and hands-on components, to explore various approaches that are on the border between philosophy and science.
Matthew organized various exhibitions before and during his years as a student and is still passionate about doing so today. He currently works as a freelance artist and writer in various fields. He also has a permanent position at a renowned online gallery (ArtGazette) where he produces various works on commission. As a freelance artist, he creates several series and successfully sells them to galleries and collectors. He loves to use his work and skills in various fields of interest.
Matthew has been creating drawing and painting tutorials since the relaunch in 2020. Through his involvement with artincontext.org, he has been able to deepen his knowledge of various painting mediums. For example, watercolor techniques, calligraphy and lately digital drawing, which is becoming more and more popular.
Learn more about Matthew Matthysen and the Art in Context Team.


