How to Draw a Girl – A Complete Guide on Creating a Girl Drawing
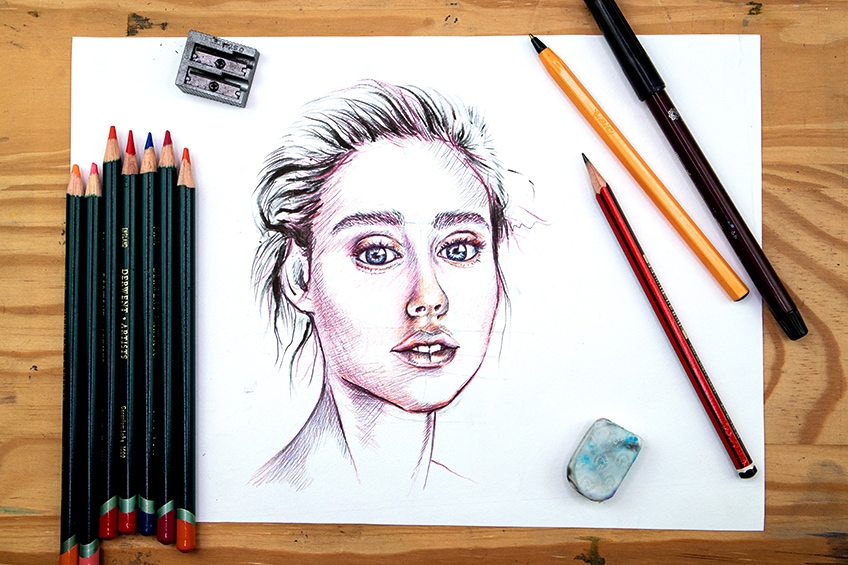
Portraiture is perhaps one of the most important skills to learn and learning how to use color adequate within a portrait is an essential skill for an artist. There are many ways to explore how to draw a girl and, in this tutorial, we will look at how to draw a girl with the use of colored pencils and a ballpoint pen. Learning how to draw a girl also provides you with a unique opportunity to explore your color values, and how different colors create different effects on facial features. In this tutorial we will look at how to draw a girl step by step, breaking down the process into a digestible and understandable process. Creating a girl drawing will also give you more confidence when attempting to do other portraits or when you might want to incorporate a feminine figure into your artwork.
An Easy Guide to Drawing a Girl with Colored Pencils
We will learn how to draw a girl easily and simply, going through the process of refining a simple sketch into a more refined girl drawing. A girl’s drawing can seem intimidating because creating realistic features can be difficult to achieve.
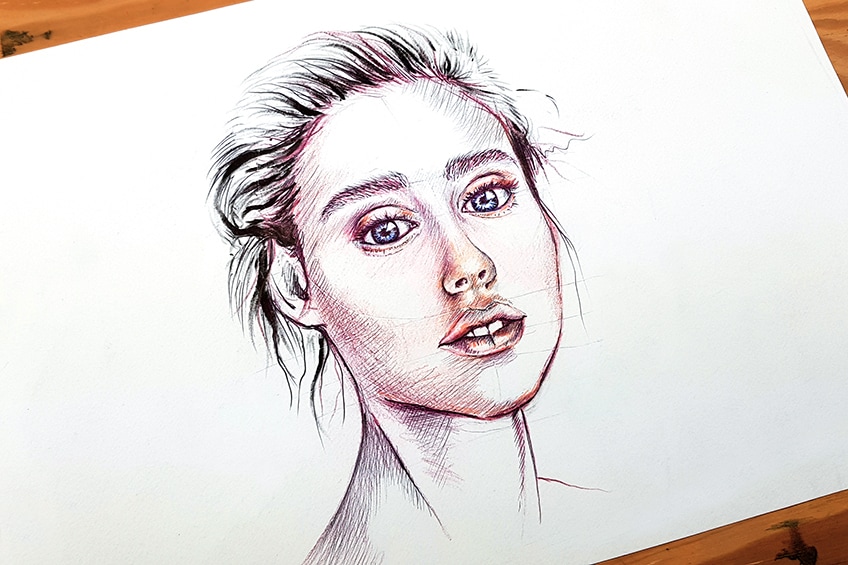
A girl drawing is a great opportunity to refine your shadow and light skills through the use of shading.
Necessary Materials
For this tutorial on how to draw a girl, we will be drawing a portrait using colored pencils, a ballpoint pen, and a marker. We will want to make sure that we have an HB pencil for the beginning stages of the tutorial where we work out the basic form and structure of the girl’s face. we will also want to make sure we have an eraser and a sharpener for any little mistakes we make along the way.
- HB pencil
- Ballpoint pen
- Marker pen
- Eraser
- Sharpener
- Derwent coloring pencils
- Good paper (200 g/m – 250 g/m recommended)
How to Draw a Girl Step-by-Step
In this tutorial, we will start with a basic sketch of a female face. We will create a simple guideline drawing, where we spend some time sketching the face from a side view angle. From there, we will proceed by utilizing our colored pencils to enhance the different features of the face. We will spend some time experimenting with color combinations, and then we will move on to the last step.
Once we have added color to our girl drawing, we will then use our ballpoint pens to add more distinct linework to the girl drawing, where we give different features more contrast and vivid detail.
Step 1: Sketching the Girl’s Face
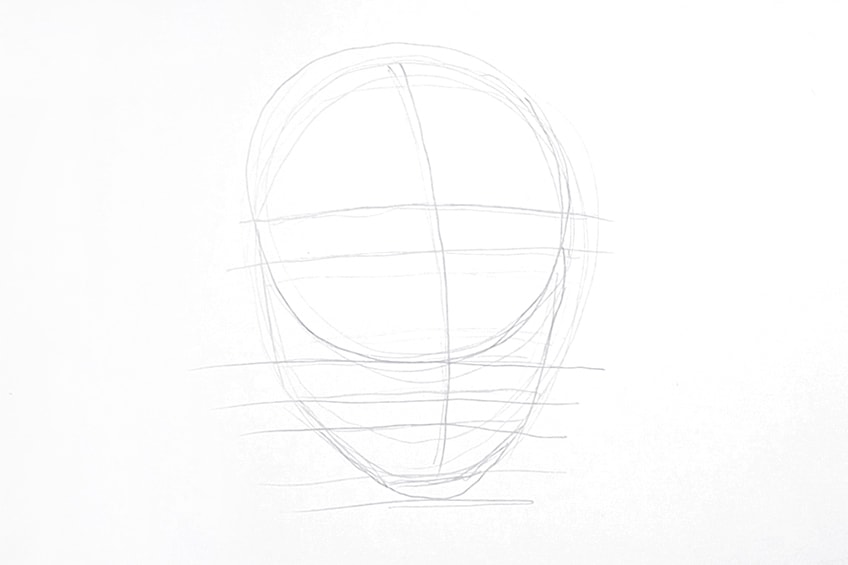
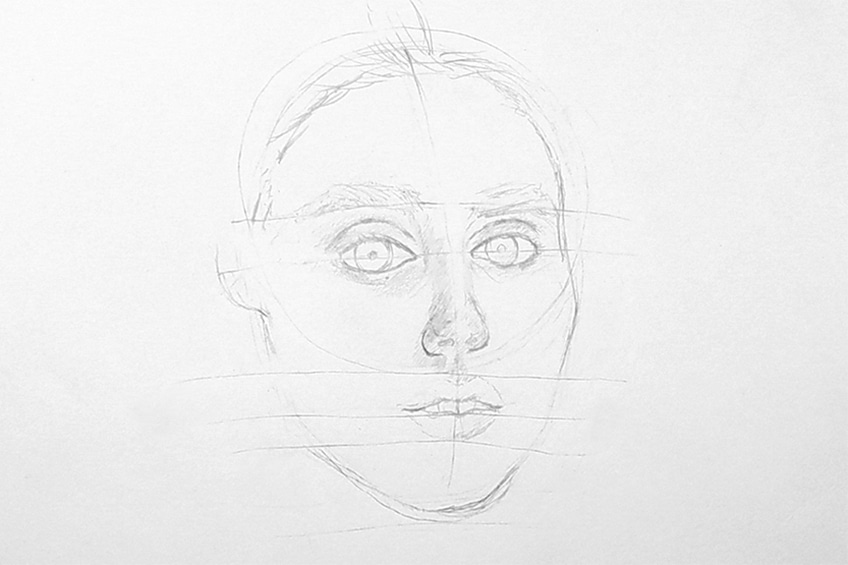
We can begin by taking our pencils and drawing a circle. That circle can then be divided into two by a horizontal line that will establish the eye level. From either side of that horizontal line, you can draw a generic jaw shape that forms underneath the circle shape.
From the bottom of the circle, we can draw three equally divided horizontal lines in the jaw shape.
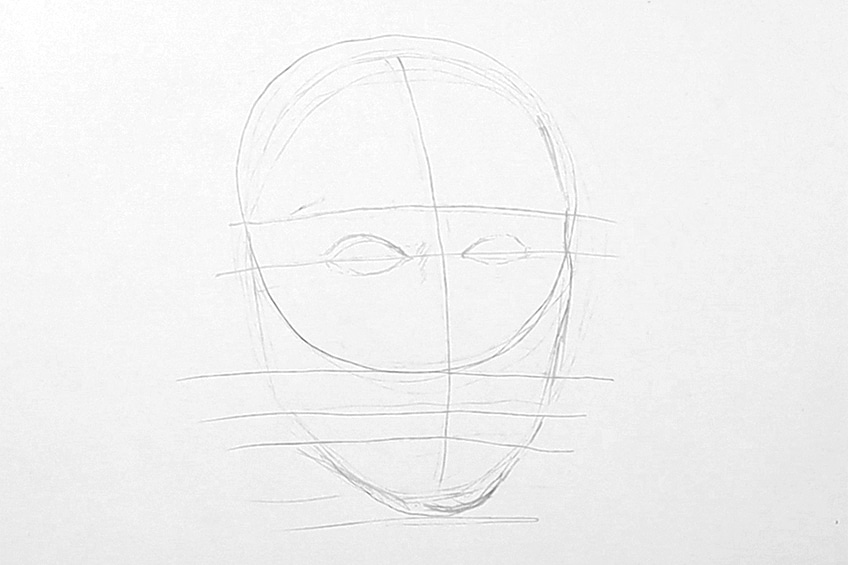
You might find that you will draw, erase, and then redraw again until certain features are correct.
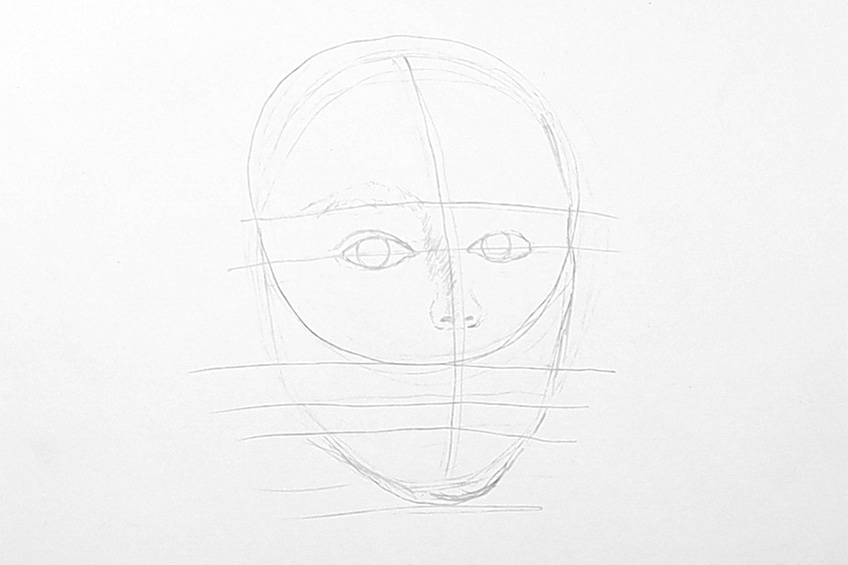
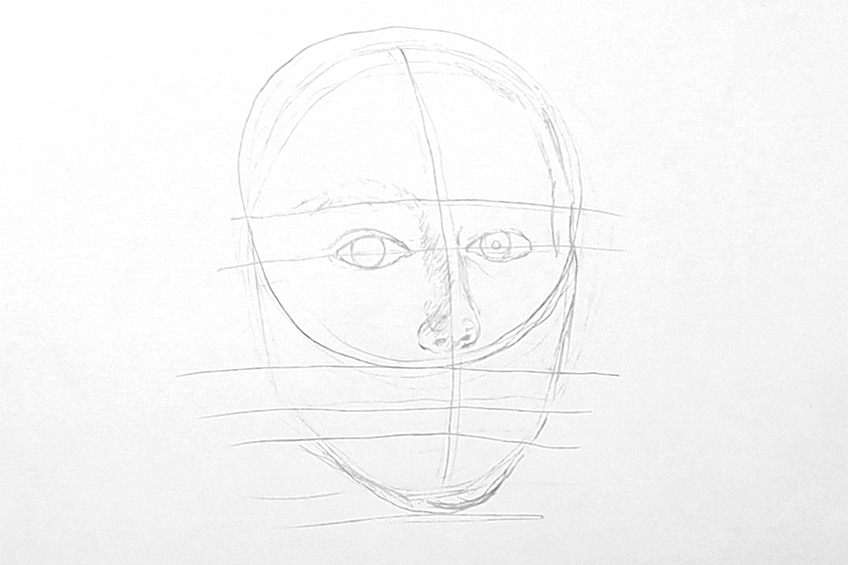
However, a good suggestion would be to keep them as symmetrical as possible.
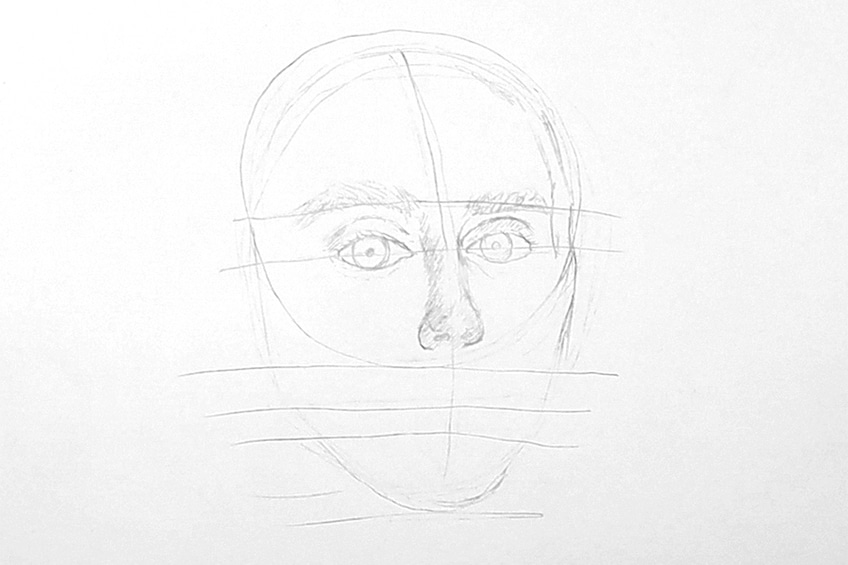
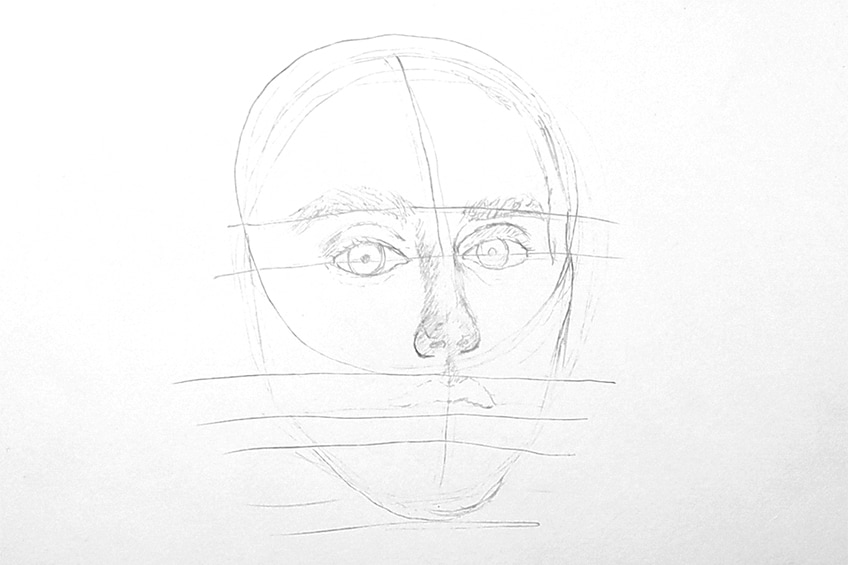
All these little tricks in combination will slowly establish a girl drawing in the end.
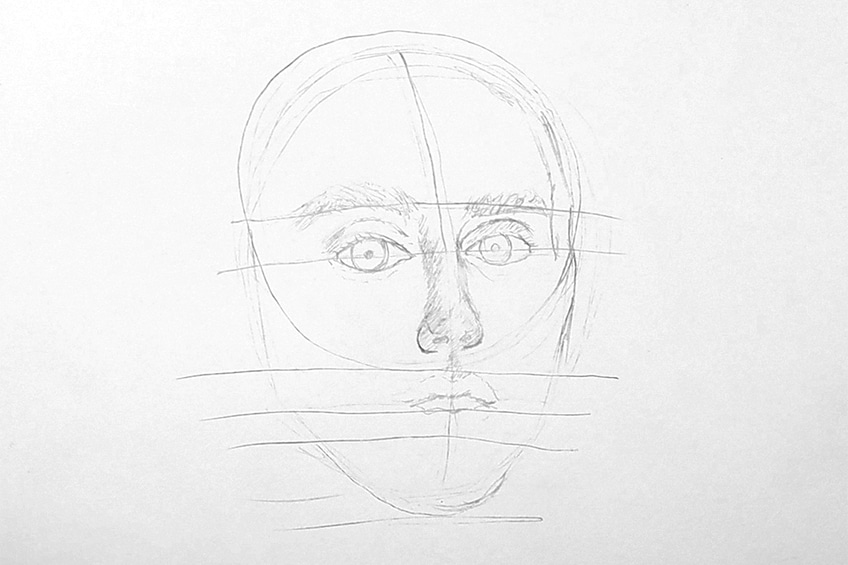
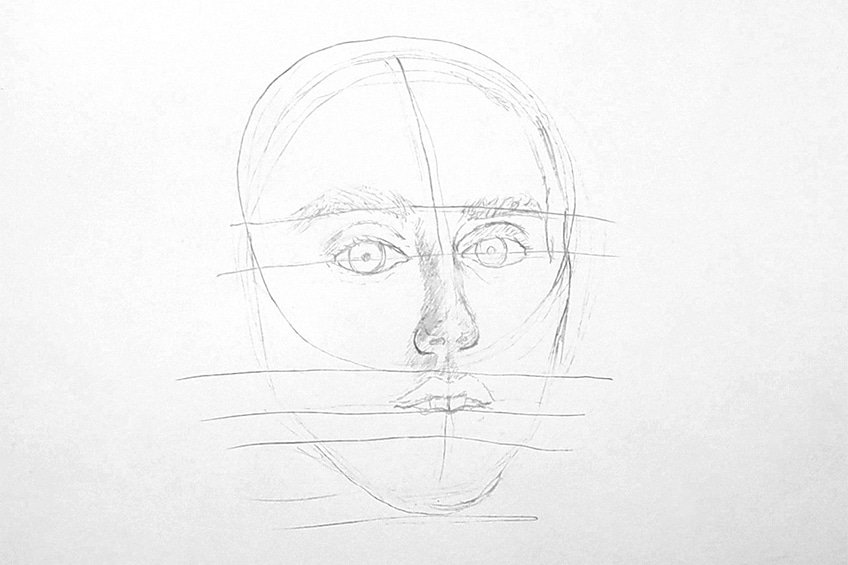
Preferably just draw the front two teeth.
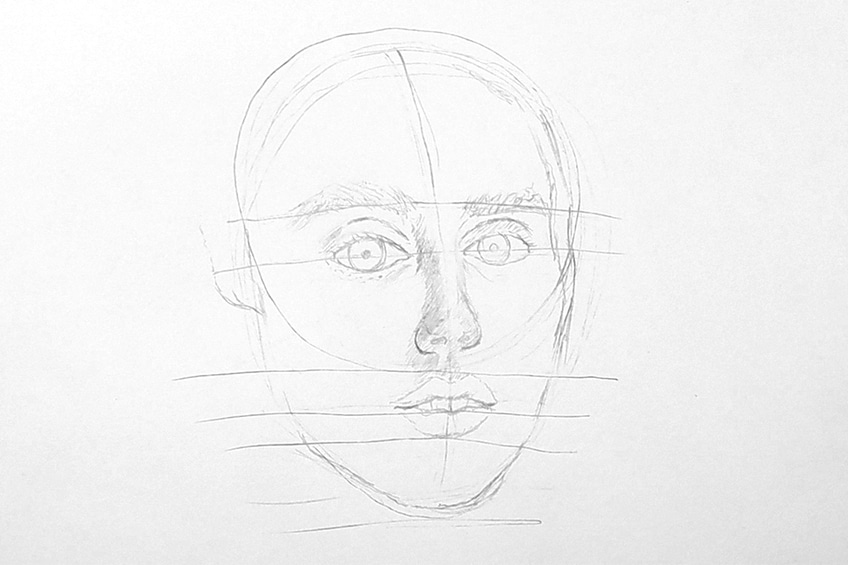
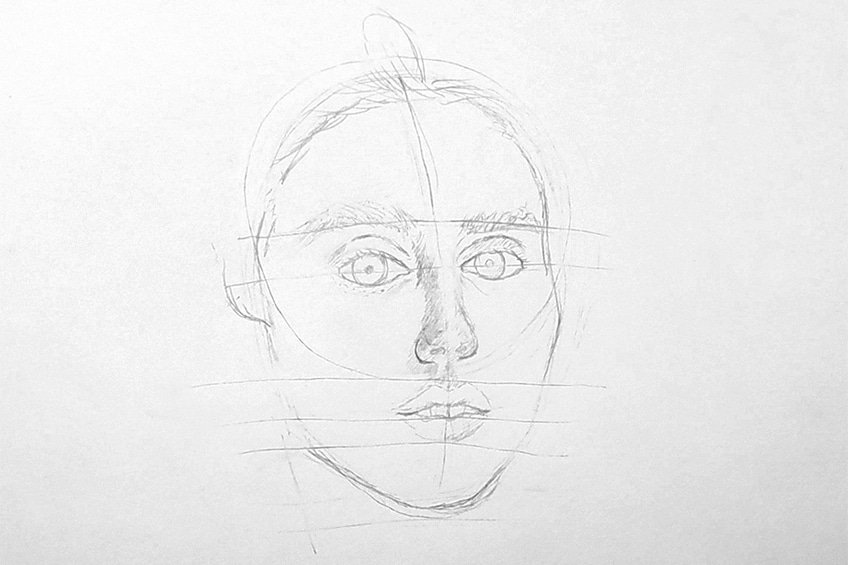
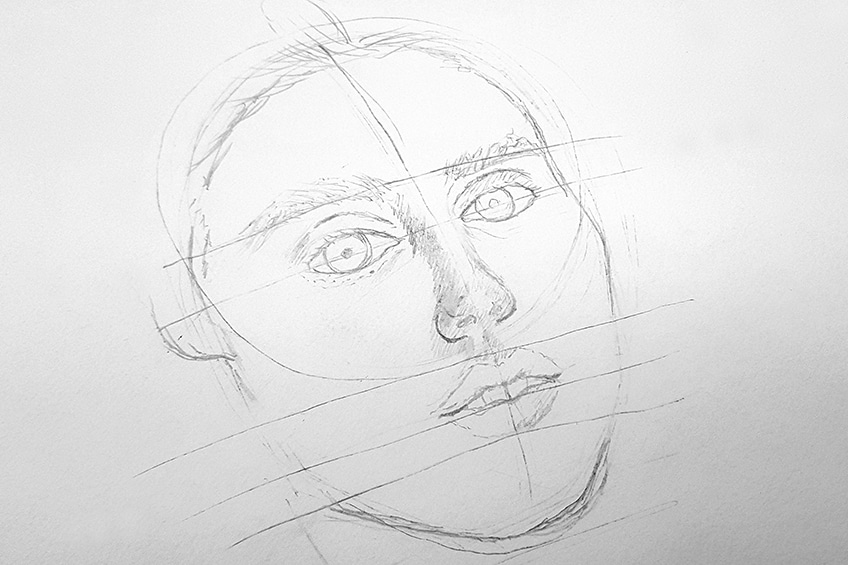
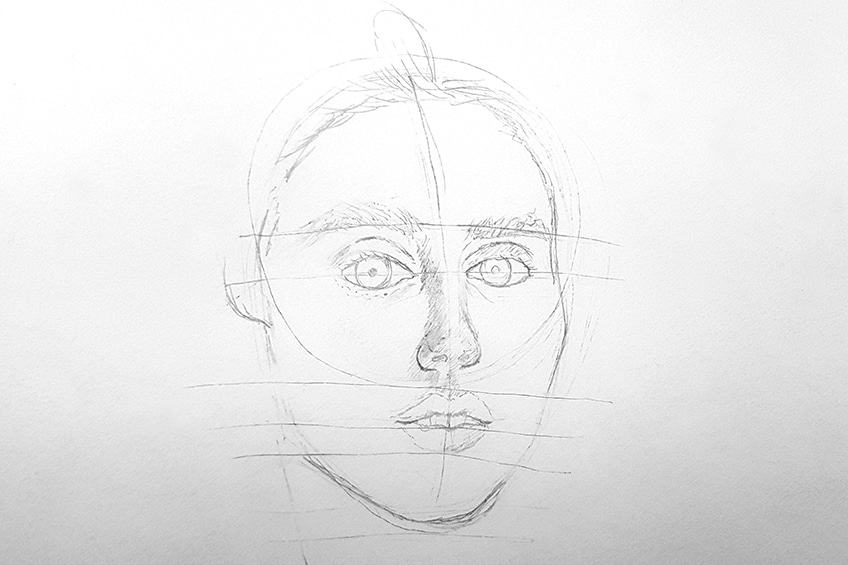
We want the bottom lip to be slightly larger.
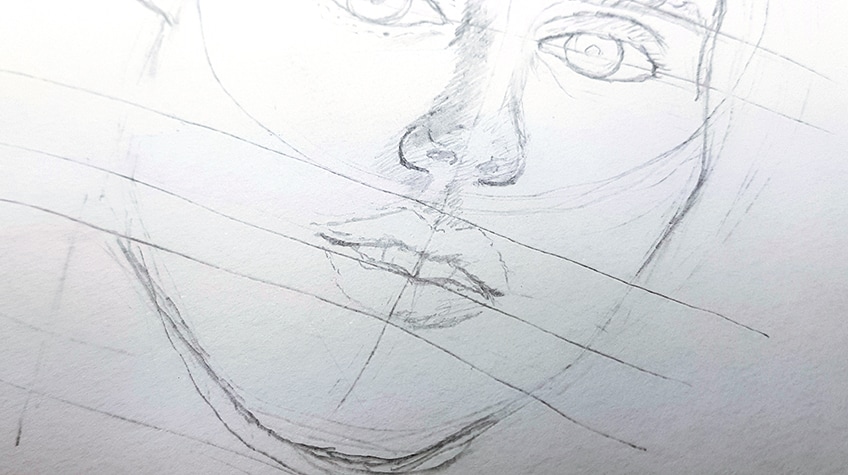
Go through all the features before we move on to using color.
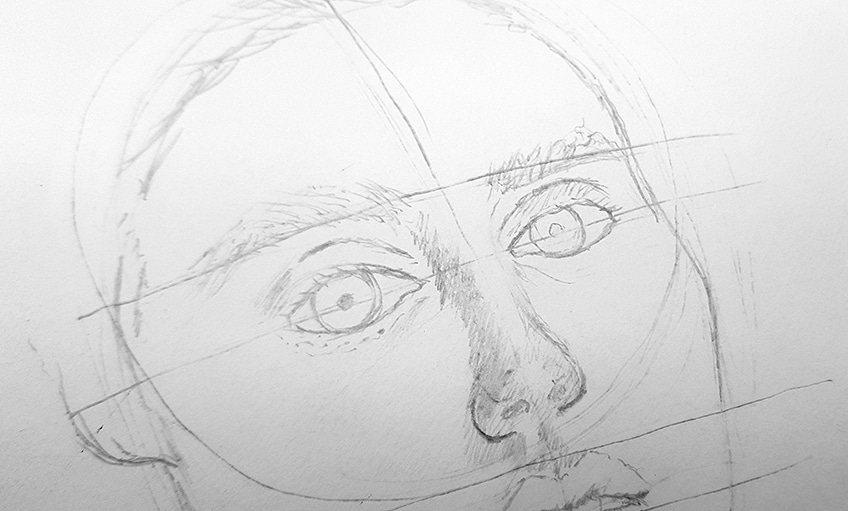
Step 2: Coloring in the Girl’s Face
Now we get to the fun part, where we can explore color values and how they enhance the facial features. Starting around the eyes let’s work with a soft color to set a tone, this could be pink or yellow, but it is up to you.
Using these colors for features around the eyes can enhance the eyes themselves if we give the eyes a different color such as blue or green.
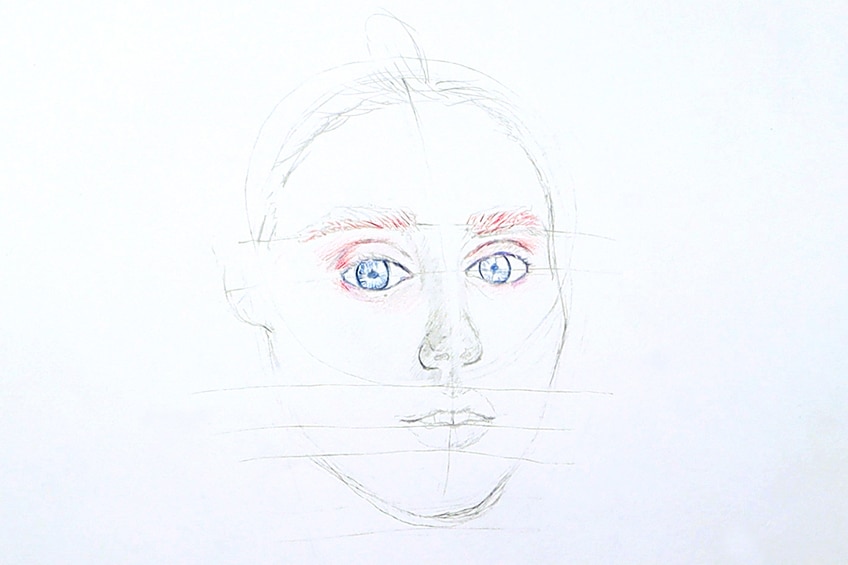
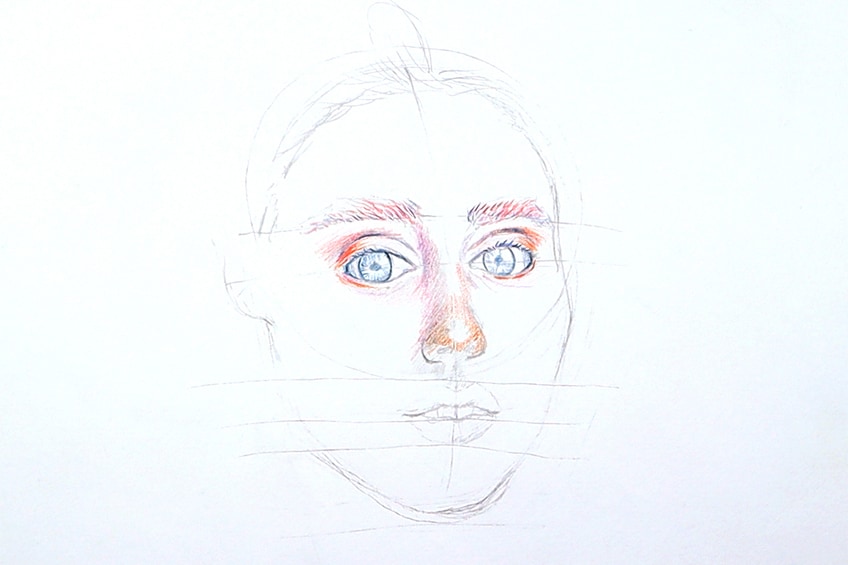
This means that both the ridge of the nose and the bulge of the eyelids will be more exposed to the light and therefore should be the lightest.
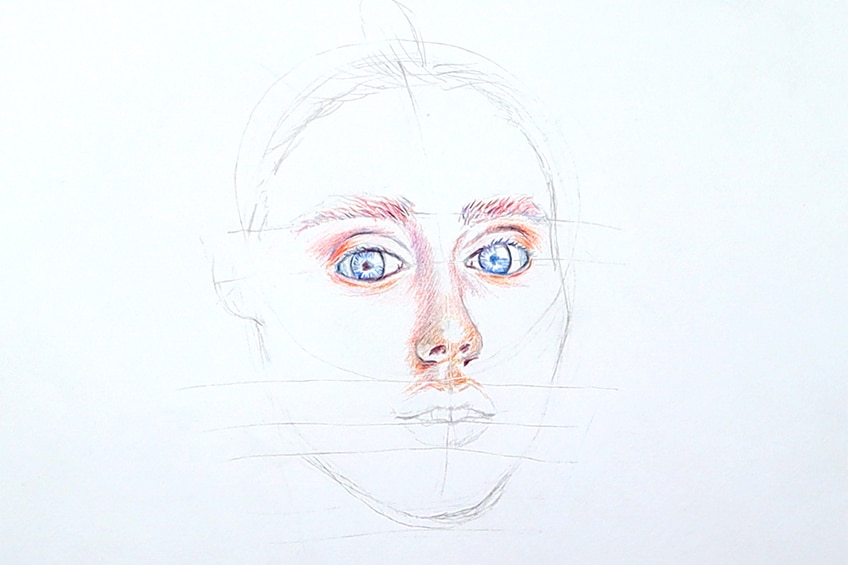
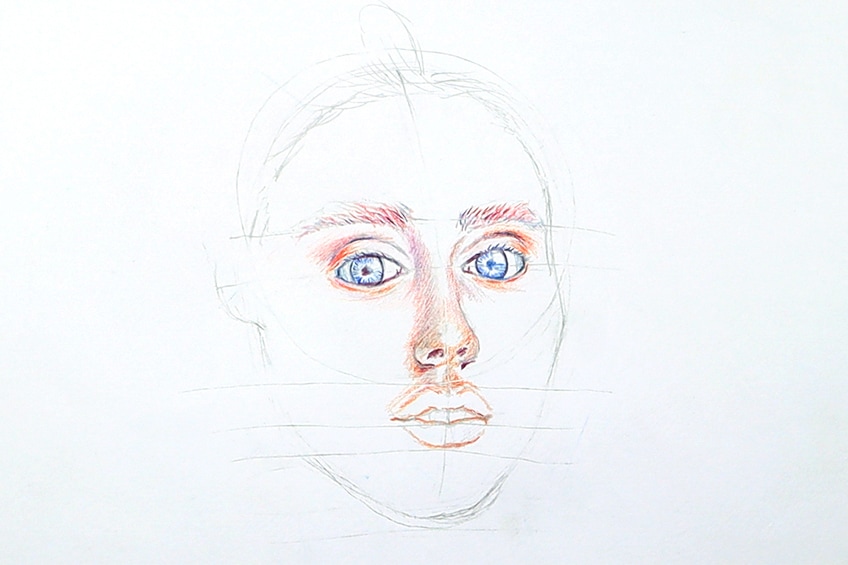
When facial features protrude, they have more exposure to light which means they’ll be lighter.
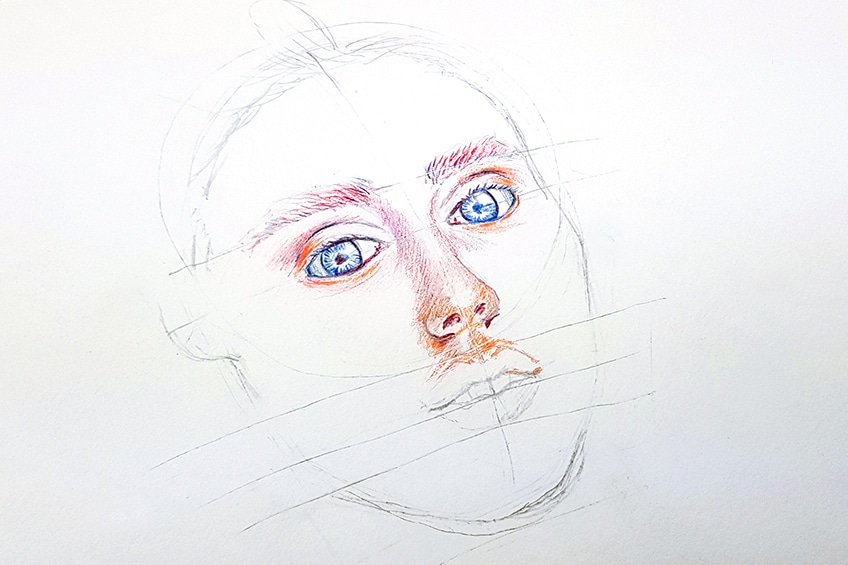
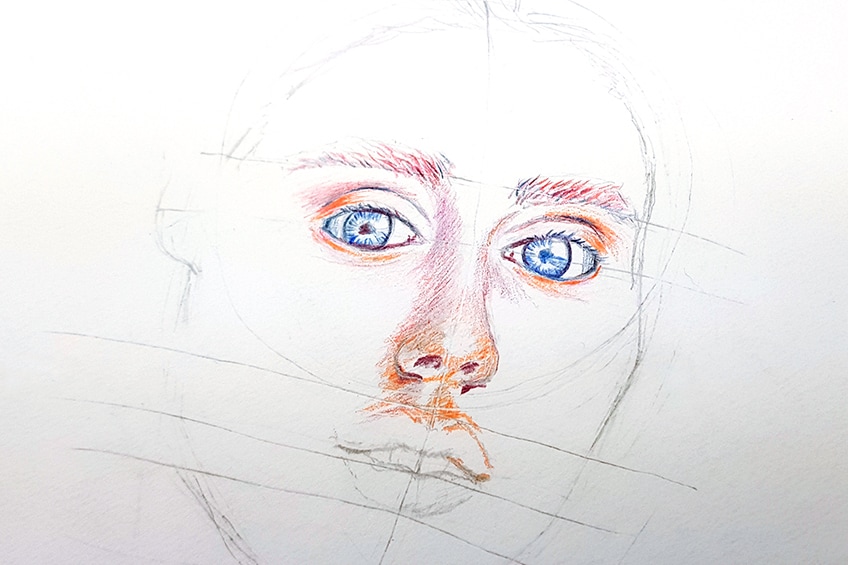
These colors can also be useful for creating shadows, such as the inner parts of the mouth.
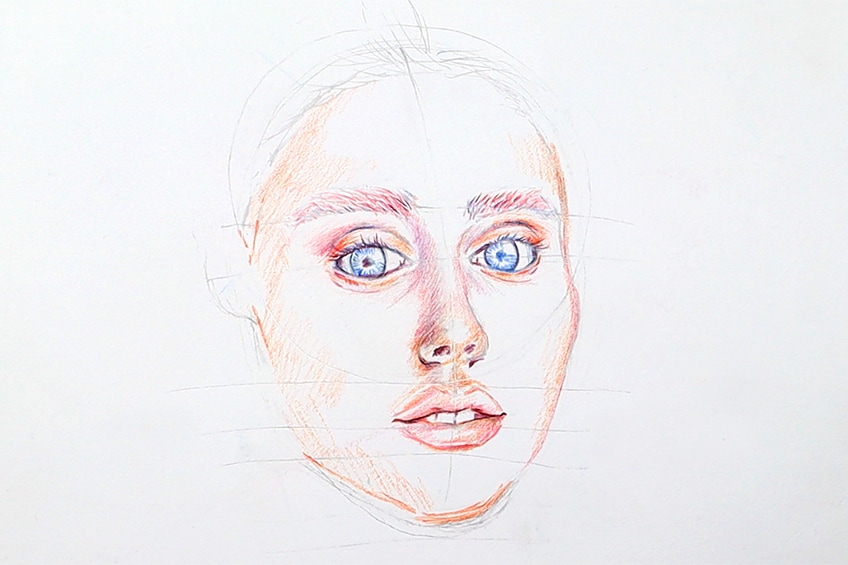
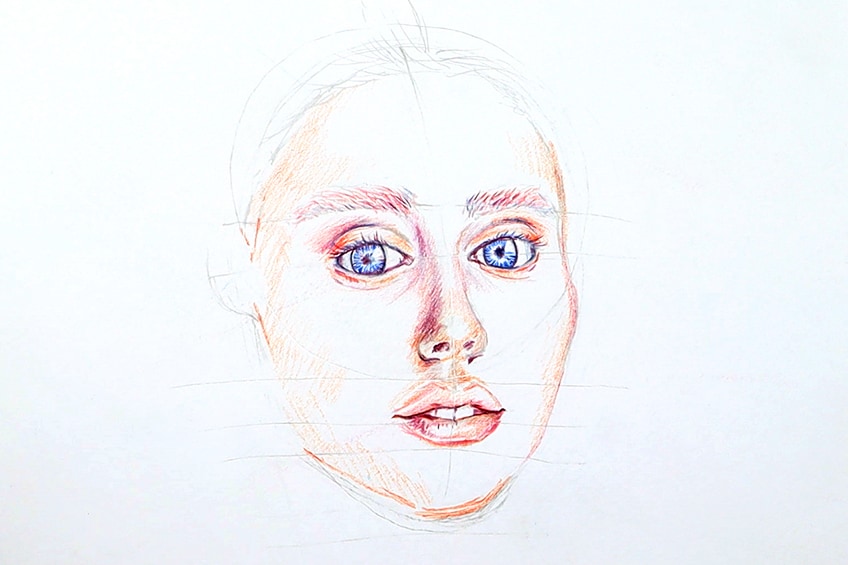
We could also layer purples over oranges near the ridges of the eyes to create more depth in the brows.
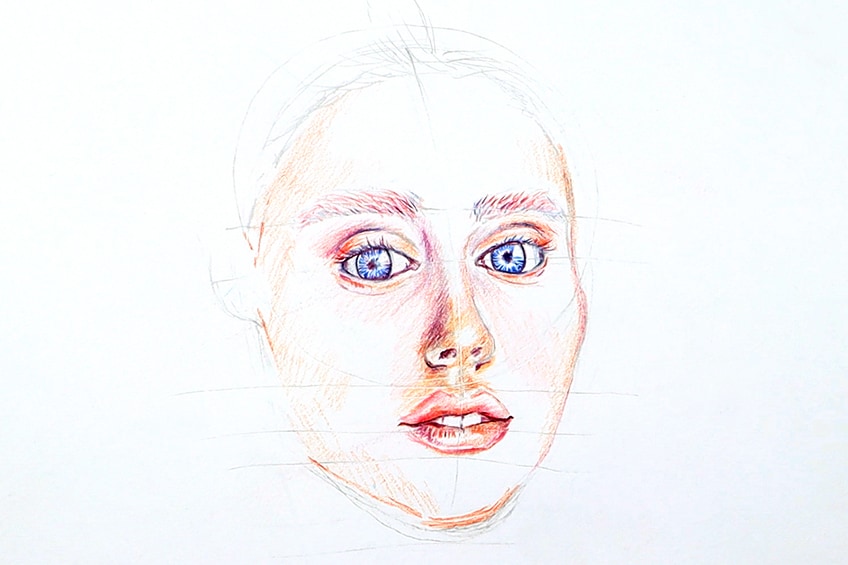
The eyelashes can also be fairly long as this is another little hack for feminizing the face.
Step 3: Contextualizing the Head with Surrounding Features
We want to also draw surrounding features such as neck and hairline to give the head more context. Make sure you consider the angle at which the face is positioned when drawing the neck.
Also, make sure you don’t draw on top of the circle but into the circle as you draw the hairline.
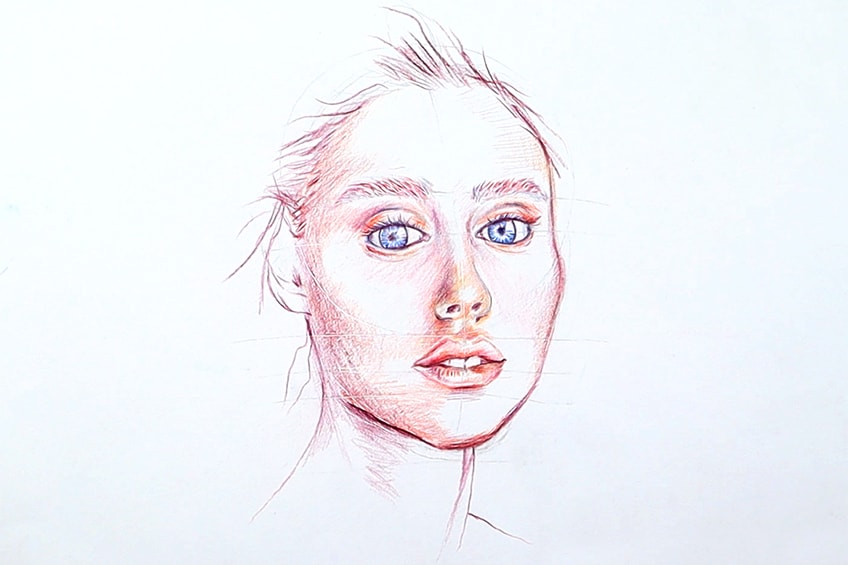
Step 4: Adding Penwork for More Contrast
We now want to work on some penwork to give the drawing a little more refined lines and detailing. Starting with the eyes, we want to use our ballpoint pens strategically as we add in-line work and some shading to emphasize the features.
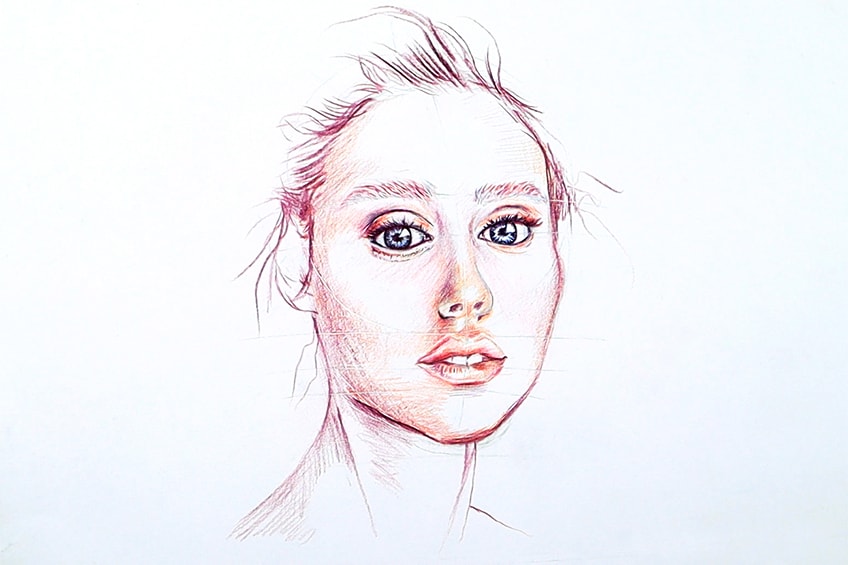
Take time with the eyes first as they are the most delicate part of the face.
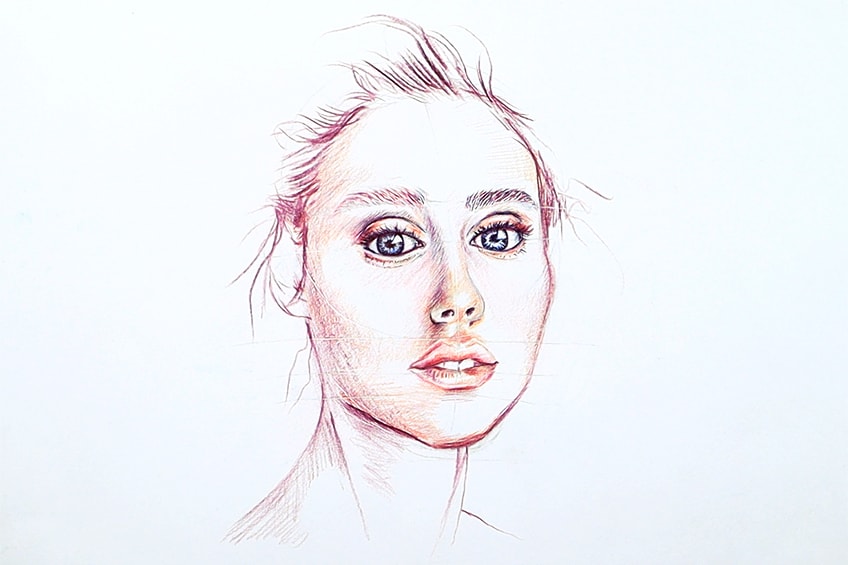
The nose can be darkened slightly with pen shading in the areas it is most dark. With the mouth, we can work on shading along the inside of the mouth.
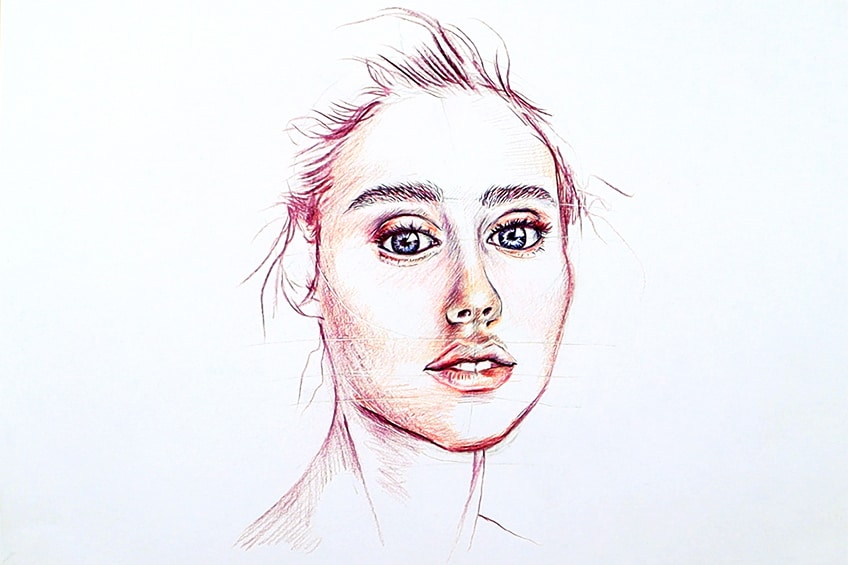
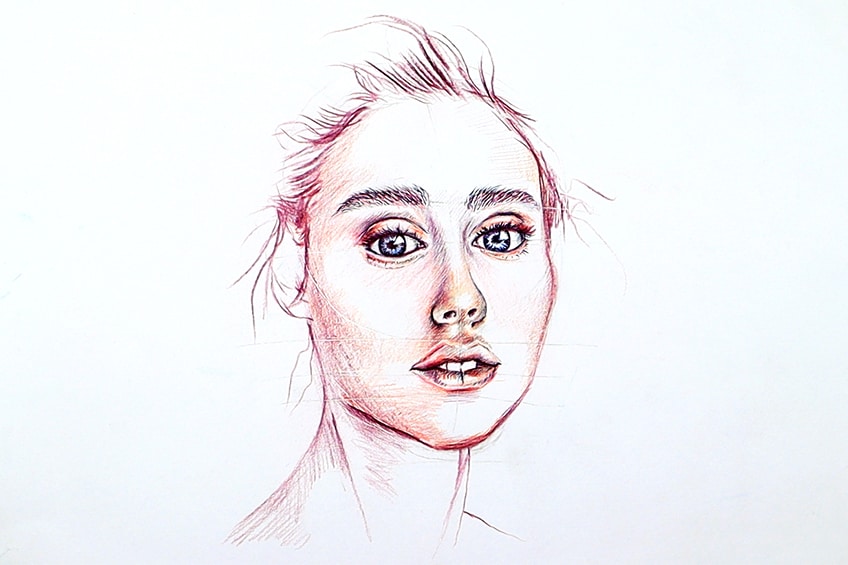
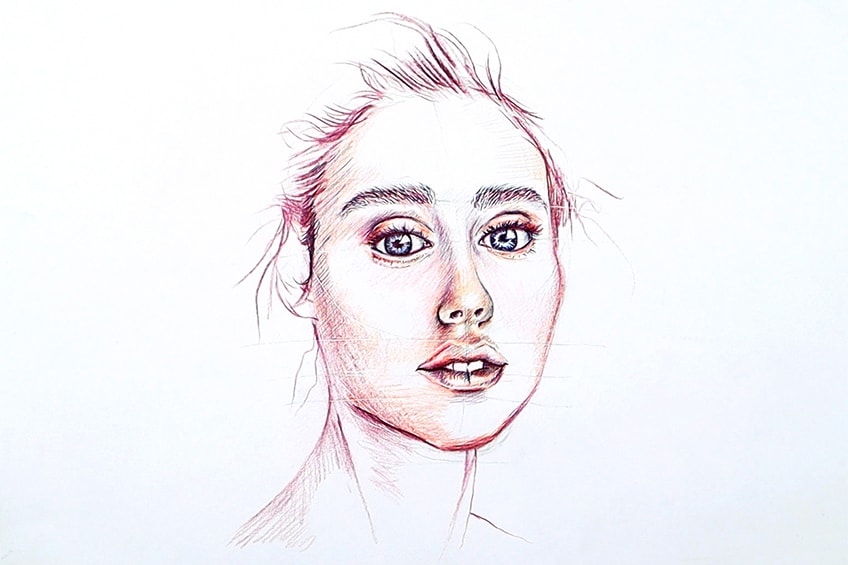
Try working with a purple pencil, ballpoint pen, and a marker to create different strokes for the hair, giving it dimension and texture.
Step 5: Tweaking and Refining the Drawing
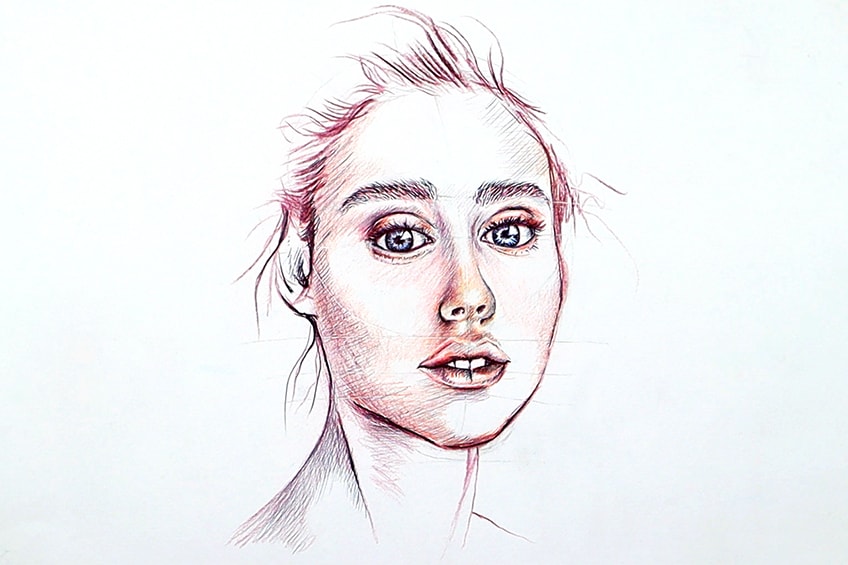
At this point, we should have a fairly refined drawing of a girl but we now want to work with all our tools to add in little bits here and there. We want to think about adding in darker marks to give more form to the various facial features. We want to think about which shadows are darkest and which areas of the face are lightest.
We can also use our ballpoint pens to add shading over the different colored areas to darken them if need be.
Tips to Remember
- Be sure to work out the facial form in pencil. You want to get the facial structure drawn correctly before moving on to adding in color.
- Take your time. Make sure you consider which colors pair well with the different features of the face.
- Experiment with different color values. Different colors can create different vibes within the drawing, so play around with different color combinations.
- Use a reference for guidance. We do not use a reference image in this tutorial, but you may look at images of faces to assist you in the drawing process.
- Consider light and shadow. Think about the protrusions and bulging of different features on the face that will cause shadows and be more exposed to the light source.
- Have fun! Enjoy the process of learning a new skill of how to draw a girl with colored pencils.
Is learning how to draw a girl easy? The process is easy and simple if one has patience. Being patient with the process is important because without a good pencil sketch, we cannot utilize the colored pencils correctly. Drawing proportions correctly is important for working out how the colors can be placed correctly to enhance different features of the face. The most important part is to make sure you have an adequately drawn face, from there, you can play around with your color choices.
Frequently Asked Questions
How Do You Draw the Proportions of the Face Correctly?
The face is broken up into a few segments that can be drawn with a diagram. The diagram is as follows. You start by making a circle, then dividing the circle into two even parts with a horizontal line. That horizontal line establishes the eye level and the bottom of the circle establishes where the bottom of the nose will be. From either side of the horizontal line, you will draw a triangular shape that flows down and around the circle, which will be divided into three segments with four lines. The middle row of the segments will be for the mouth and then the last segment will establish the bottom of the chin. This is a basic facial structure guide but it can also be changed according to how small or large someone might want certain features to be.
What Colors Do You Use for Facial Features?
A portrait is always a great subject for exploring color combinations because the face often has a complex array of color values within it. When exploring how to use the correct color combinations, you should always consider what kind of effect you want. If you want to create a warm sensation, you will want to have warmer colors, such as reds, yellows, greens, and oranges. If you would like to keep the drawing more cold or brooding, a good color combination would be colder colors such as blues and purples. However, you can explore giving different features of the face warmer or colder qualities by color choice. You can also blend colors to create more variety within the gradients on the face. It’s a matter of exploration and intention, but thinking about cooler or warmer color choices is a great way to make decisions.
Matthew Matthysen is an educated multidisciplinary artist and illustrator. He successfully completed his art degree at the University of Witwatersrand in South Africa, majoring in art history and contemporary drawing. The focus of his thesis was to explore the philosophical implications of the macro and micro-universe on the human experience. Matthew uses diverse media, such as written and hands-on components, to explore various approaches that are on the border between philosophy and science.
Matthew organized various exhibitions before and during his years as a student and is still passionate about doing so today. He currently works as a freelance artist and writer in various fields. He also has a permanent position at a renowned online gallery (ArtGazette) where he produces various works on commission. As a freelance artist, he creates several series and successfully sells them to galleries and collectors. He loves to use his work and skills in various fields of interest.
Matthew has been creating drawing and painting tutorials since the relaunch in 2020. Through his involvement with artincontext.org, he has been able to deepen his knowledge of various painting mediums. For example, watercolor techniques, calligraphy and lately digital drawing, which is becoming more and more popular.
Learn more about Matthew Matthysen and the Art in Context Team.
Cite this Article
Matthew, Matthysen, “How to Draw a Girl – A Complete Guide on Creating a Girl Drawing.” Art in Context. July 26, 2022. URL: https://artincontext.org/how-to-draw-a-girl/
Matthysen, M. (2022, 26 July). How to Draw a Girl – A Complete Guide on Creating a Girl Drawing. Art in Context. https://artincontext.org/how-to-draw-a-girl/
Matthysen, Matthew. “How to Draw a Girl – A Complete Guide on Creating a Girl Drawing.” Art in Context, July 26, 2022. https://artincontext.org/how-to-draw-a-girl/.


