How to Draw a Garden – In-Depth Drawing Tutorial
Garden drawing is a great exercise because it is essentially a landscape drawing in your backyard. What makes garden drawing so fun is that you can approach it as a simple, playful garden sketch, or you can explore a more realistic representation of your backyard. A garden is also quite a vague term, and in many ways, it is open-ended enough for us to decide what we classify as a garden. From flower bed drawings to greenhouses and vines, a garden is really a matter of subjective viewpoints and creative decisions. Most importantly, it is a great way to enhance our observational skills, drawing ability, and understanding of colors.
What You’ll Learn in This Tutorial
Learning how to draw a garden with flowers and various natural elements can be a great way to enhance your coloring skills. Gardens often present us with a wide variety of color values due to the vast range of flowers and plants available to us in our surrounding environment.
In this tutorial, we will find that the process of creating a garden sketch with color can be a great way to enhance our observational skills and garden drawing ability. We will also find that the process of creating a garden drawing is really simple and can be done in a few simple steps.
An Easy Guide to Drawing Gardens
In this tutorial on drawing gardens, we will explore how to create a beautiful flower bed drawing. We will also learn how to create a sense of depth and perspective to establish a more realistic composition within our flower garden drawing. We will also learn how to be playful with the way in which we represent structure, form, and most importantly, how color can be used strategically to represent various features in our garden drawing.
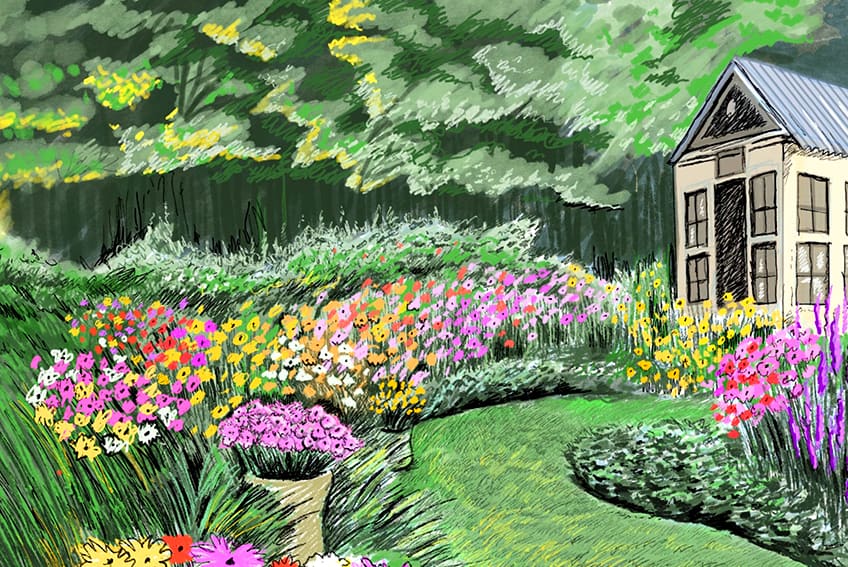
Now that we know what to expect, let’s get started on how to draw a garden.
Step 1: Shaping the Scene
The first thing we want to do is start with a light sketch of a scene, providing that we have found a space that is interesting and worth drawing. Always try to look for a space with a variety of different elements and colors to provide yourself with a more enriched scene.
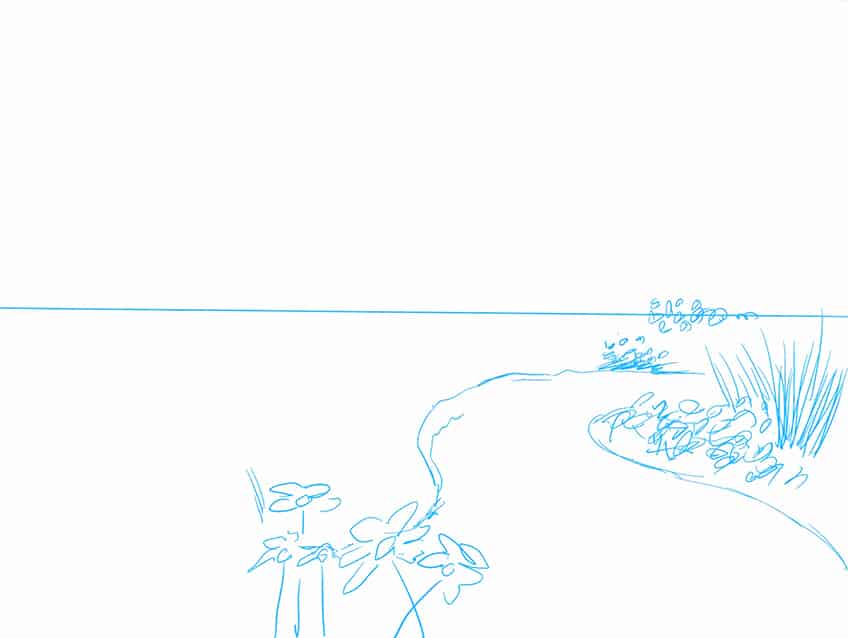
We can then start to lightly sketch in the horizon line which will start to define how large and how far elements should be drawn. The idea is to take note of how elements sit in the foreground, midground, and background.
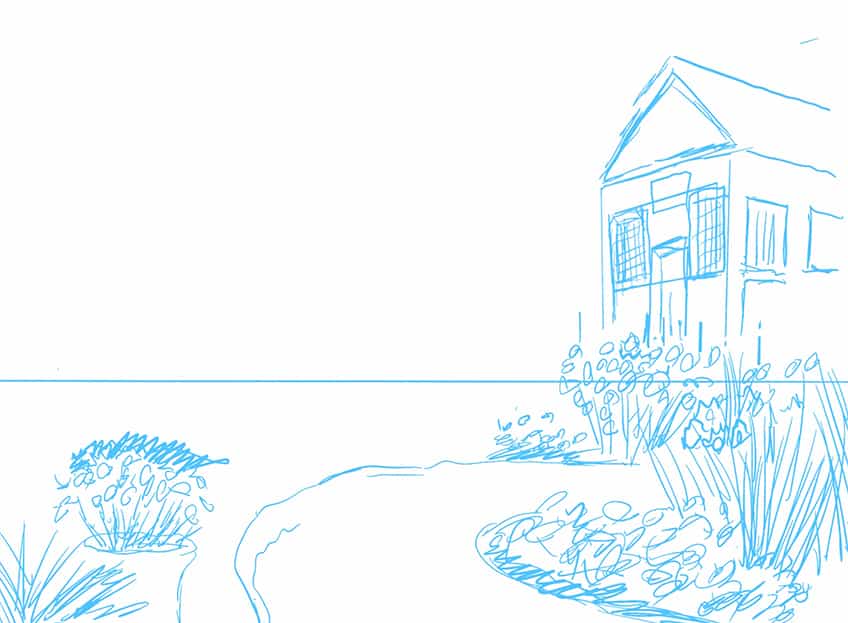
From there, we can start to work in a light sketch of the various features, concentrating on their size as they shift from the foreground into the background.
At this point, we should start to lightly establish the difference in scale of these various features.
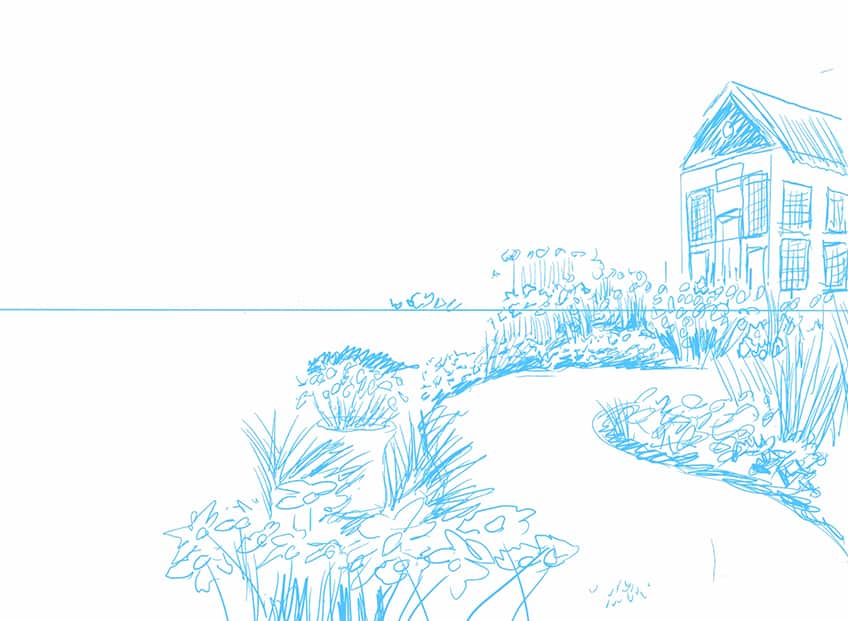
By doing this lightly with our pencils, we are setting up a quality of depth within our garden drawing, which is essentially a landscape drawing. Try to notice how different features are also sized in comparison to one another.
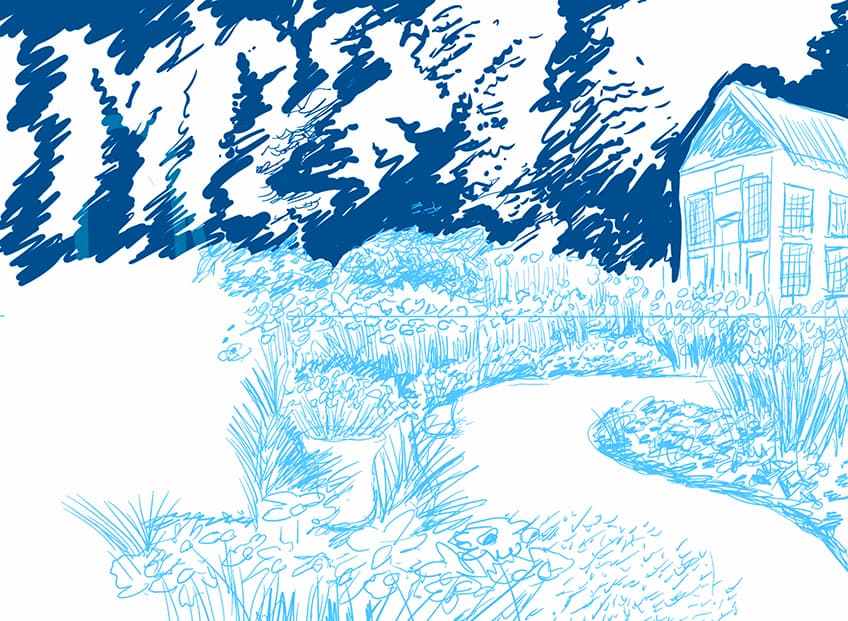
We also want to start thinking about tonal values at this point and which areas are more illuminated than others. However, the intention is to keep your scene quite lightly sketched at this early stage.
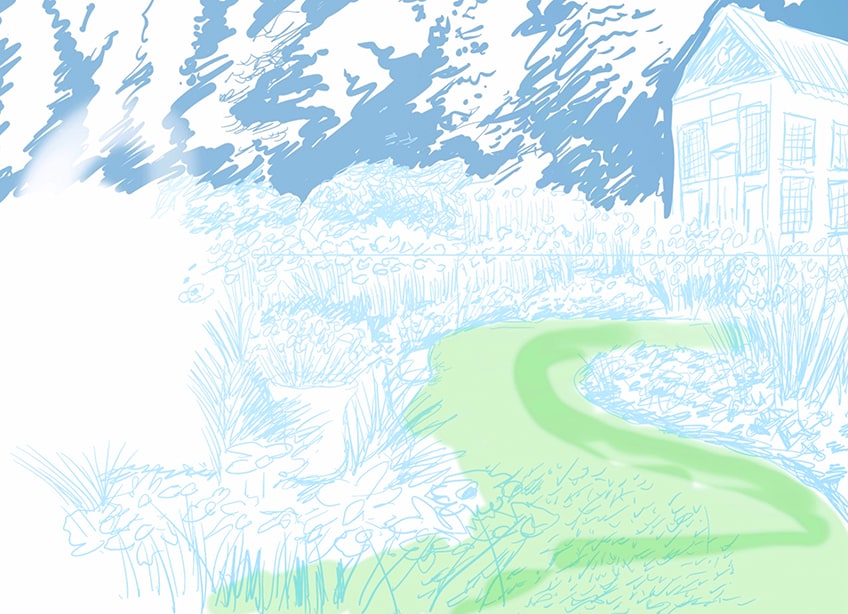
Step 2: Lightly Erasing the Scene
Once we have worked out the basic structure of the main elements within our composition, we can then proceed to lightly erase our drawing. By doing this we allow the remaining ghost lines to assist us as we proceed to add color on top of them.
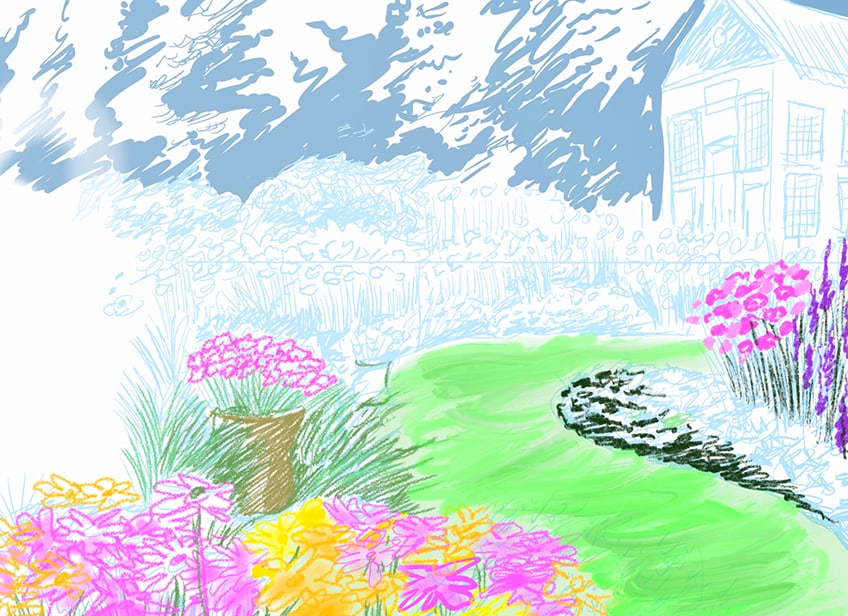
Step 3: Adding the First Layers of Color
The idea of adding color is that you want to build them up through the process of layering. This way we can work with lighter elements, to establish the main color values found within various areas of the composition.
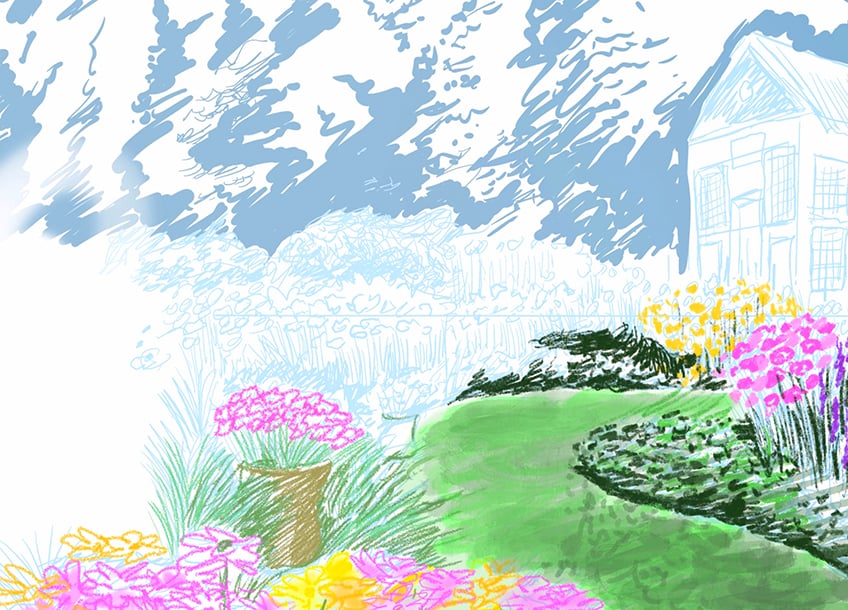
What we are essentially doing is loosely adding colors in the shape and form of various elements, for instance, we can add dots of various colors to represent various colored flower heads and then we can also add strokes of green to represent grass.
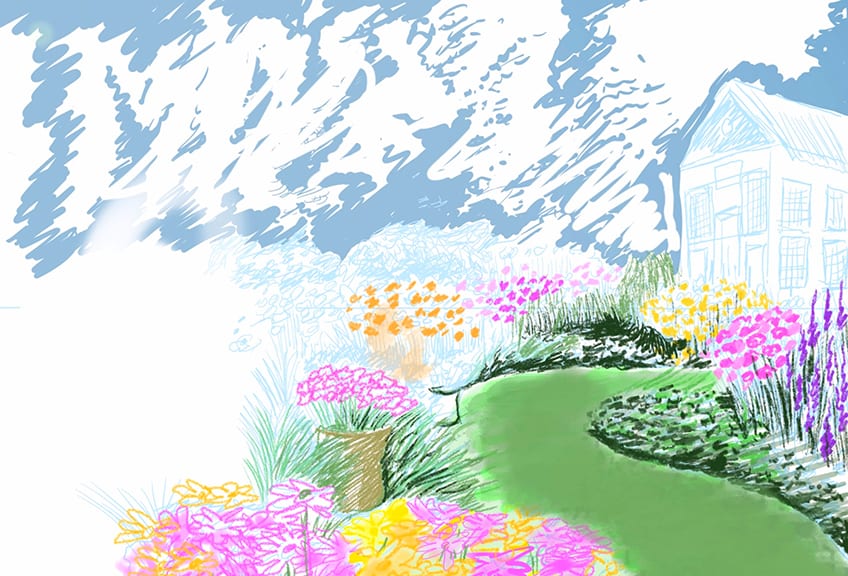
With a garden ketch, in this case, we can be quite playful with our mark-making and representation of various elements. We do not need to worry too much about perfectly replicating features, but working more with suggestive marks to represent them.
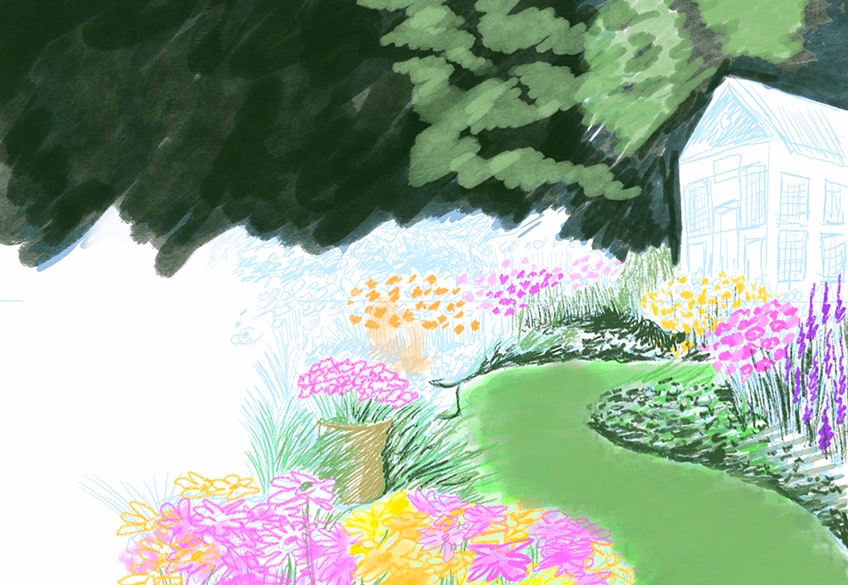
With color, we also want to have a more general observation of how our environment represents them. Depending on the scene that you are drawing, you can consider the main ways in which shadows and highlights appear.
You want to consider the space you are drawing and consider which spaces are darker or lighter. By doing this, you will be able to be more strategic with which features should remain lighter and which features can be darker in their tonal values.
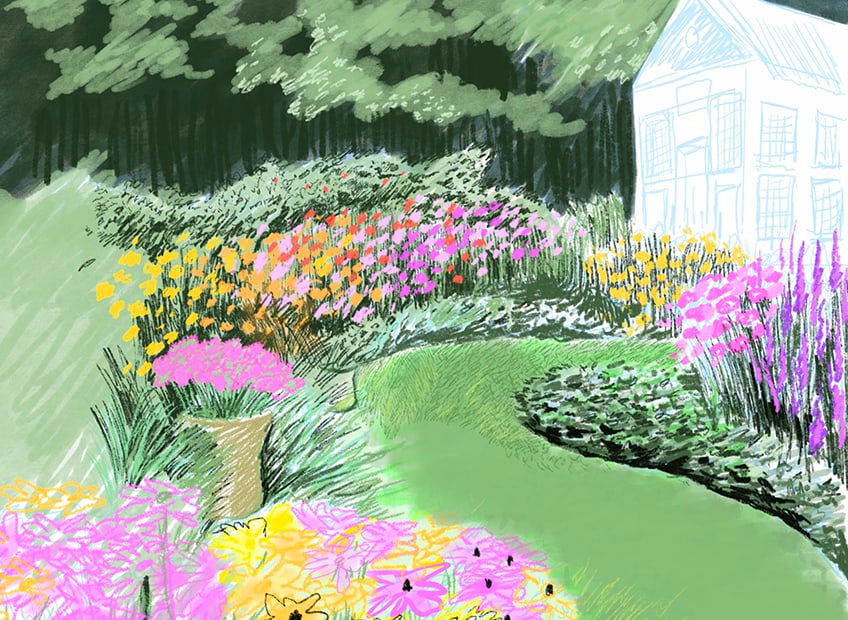
Step 4: Working with Shadow and Light
The reason we start with lighter tonal values in our drawings is to then use them to guide how darker the other features should be. A good example would be if you were to draw a shed, and one side is more exposed to the light source than the other.
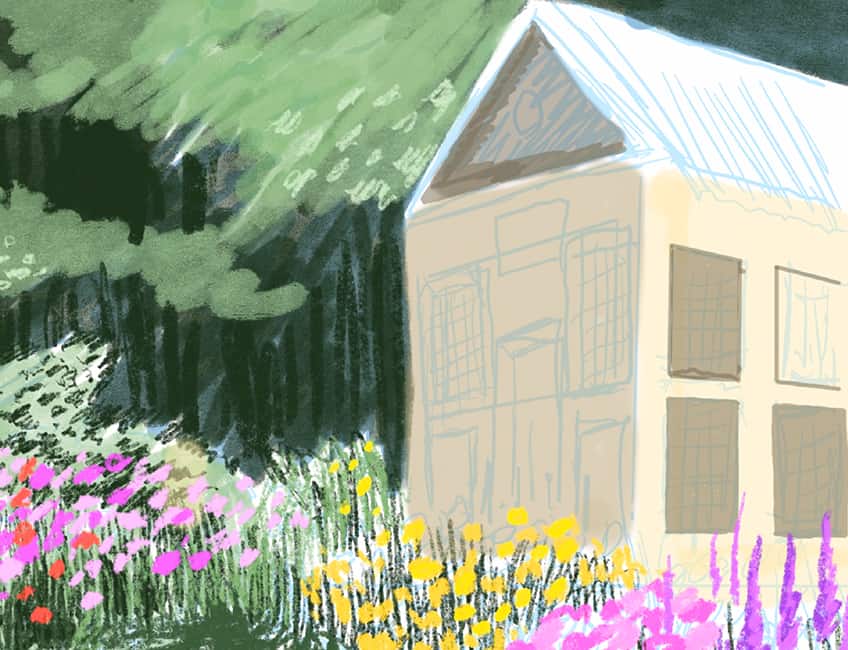
To further emphasize this detail, you can also see how dark or light the entire shed is compared to the surrounding features. Once we start understanding tonal values in this way we create a sense of depth.
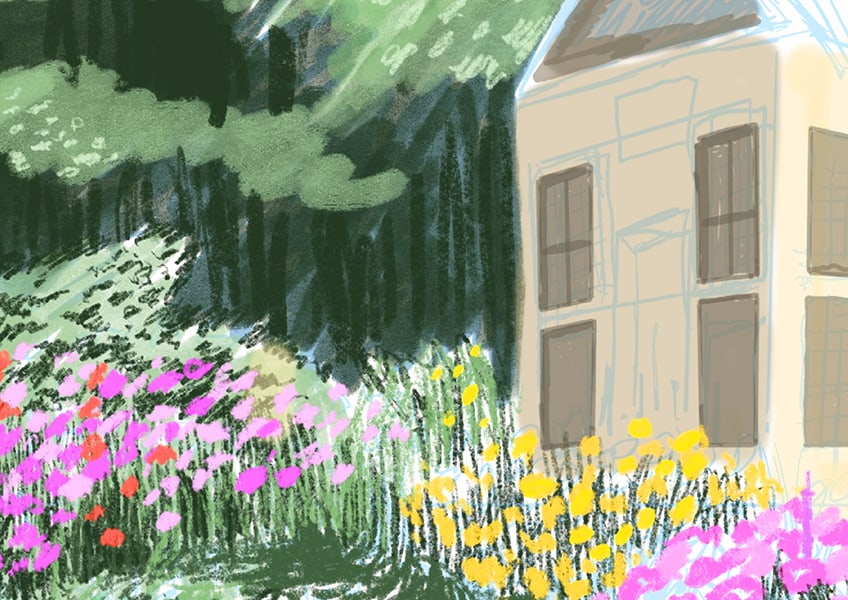
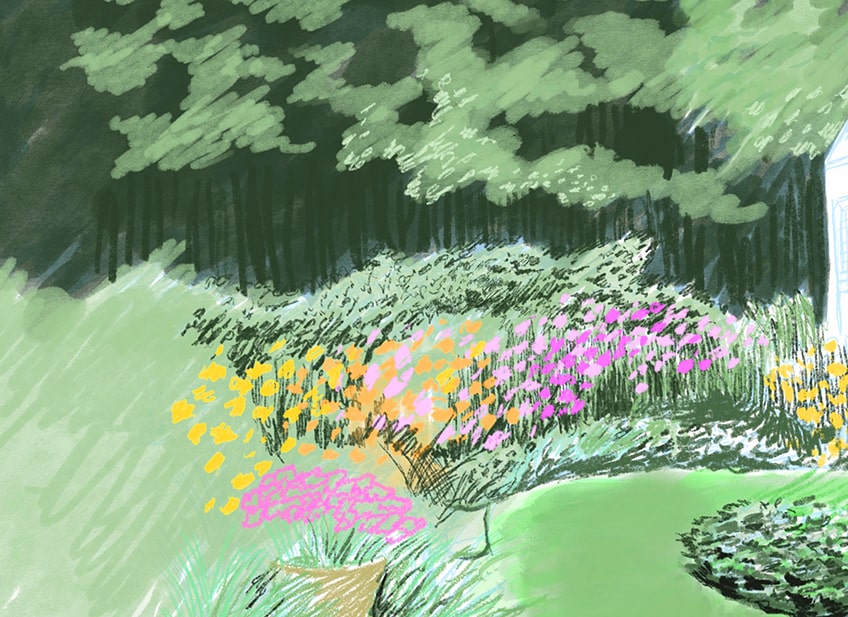
Another way we could understand this is that the details in the background start to become less distinct. So if there were trees in the background, we could darken them with vague vertical marks to represent the qualities of tree trunks or a forest.
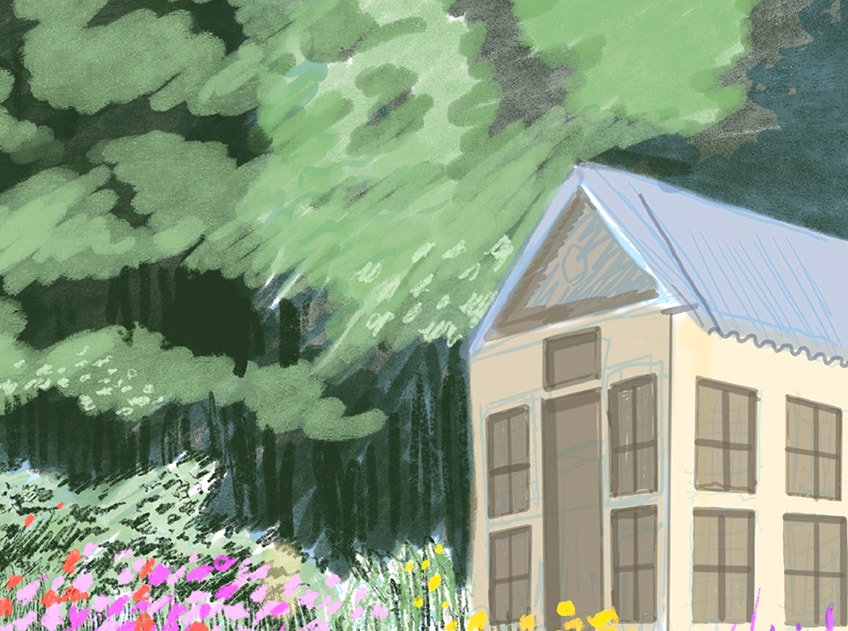
The opposite is true for details that shift from the midground into the foreground, they become more clear and distinct in their form and structure. As features start to shift into the foreground we can define them more clearly.
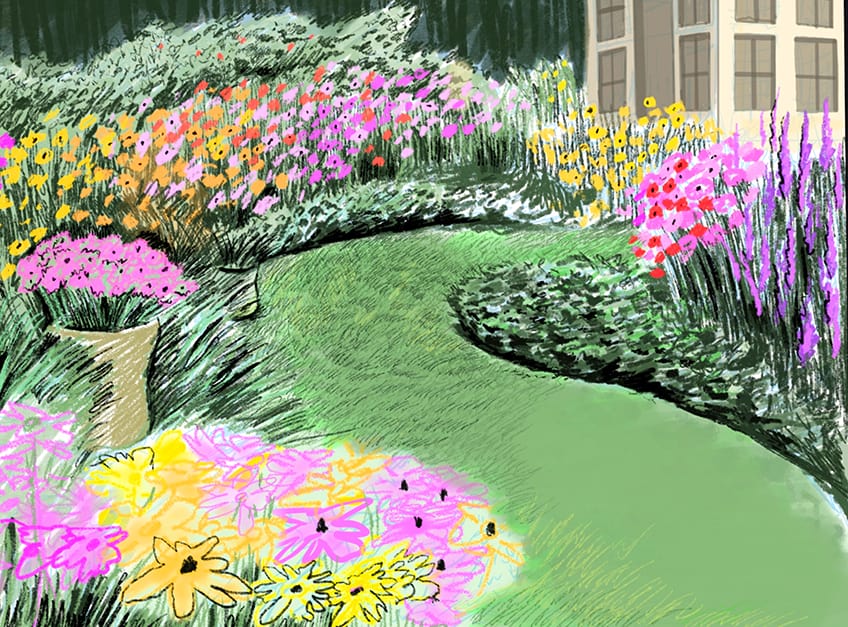
We can also start to integrate darker marks on top of our lighter marks to emphasize shadows. However, it is important to consider the form of various features and how darker marks can be used to define the form of different features.
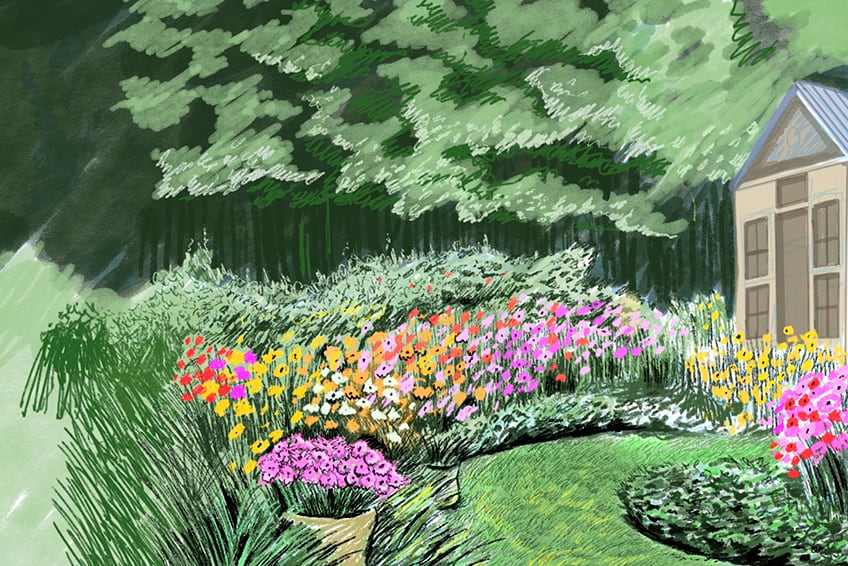
Step 5: Playing With Details
As we proceed with our garden sketches, allow yourself to play with detailing. For instance, we can loosely outline flowers and give them disc florets by adding little spots to the center of their structure.
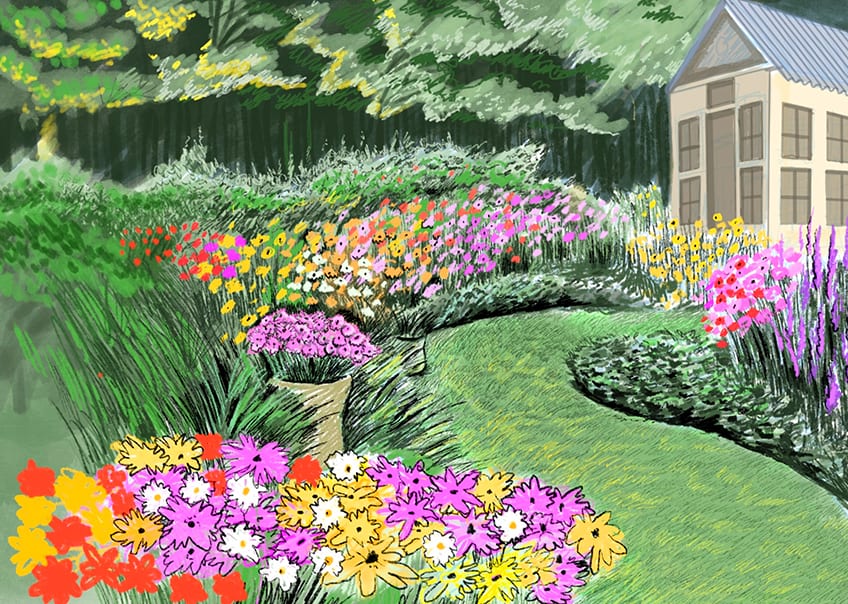
We can also bring more shape and form to other elements with some linework by emphasizing their features. However, don’t worry about making the details too perfect.
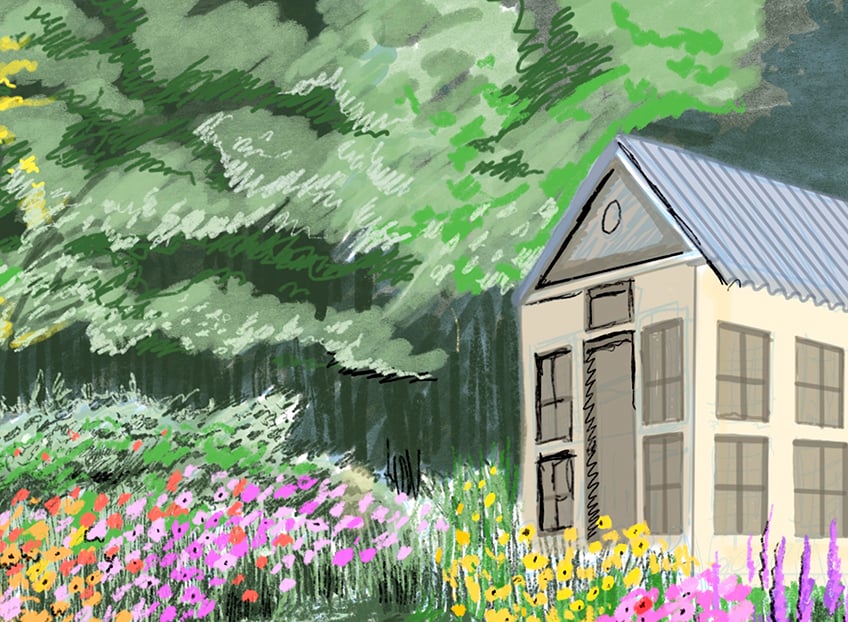
Once again, there are no rules, and in the case of flower garden drawings, it is more a matter of exploring colors.
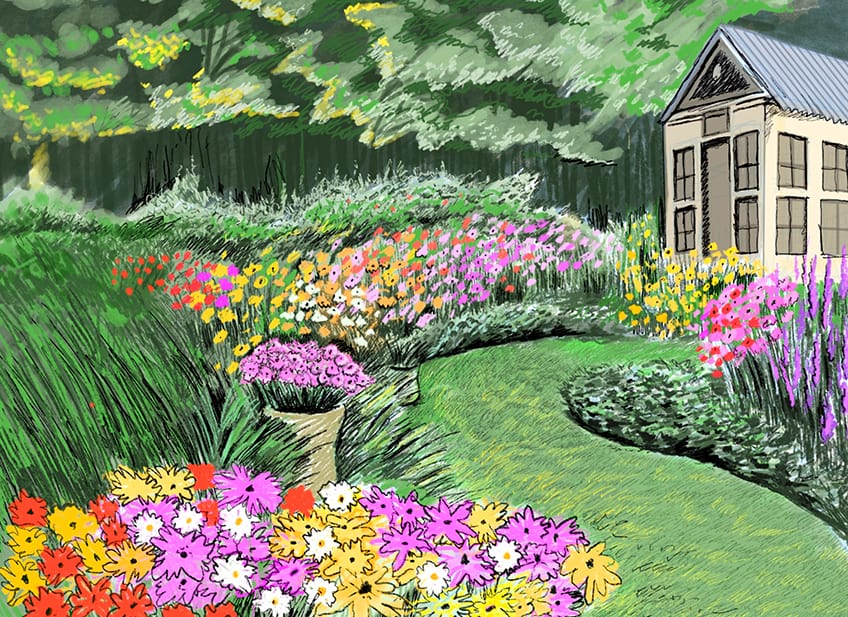
Naturally, as you proceed with adding more layers of color to emphasize various features, you are giving your garden drawing a more enriched quality of details.
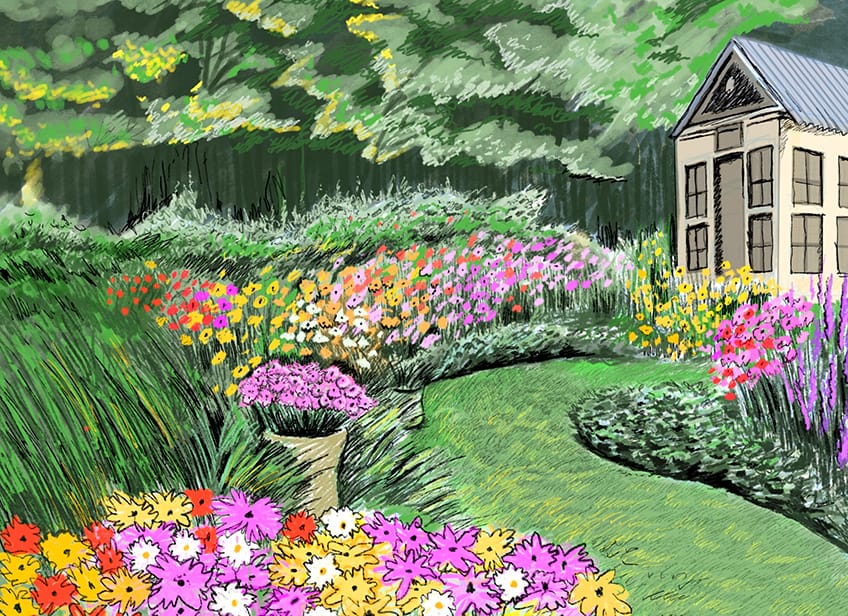
Remember, it is important to always consider the form of various elements. With grass, for instance, we want to keep elongated strokes to represent the blades.
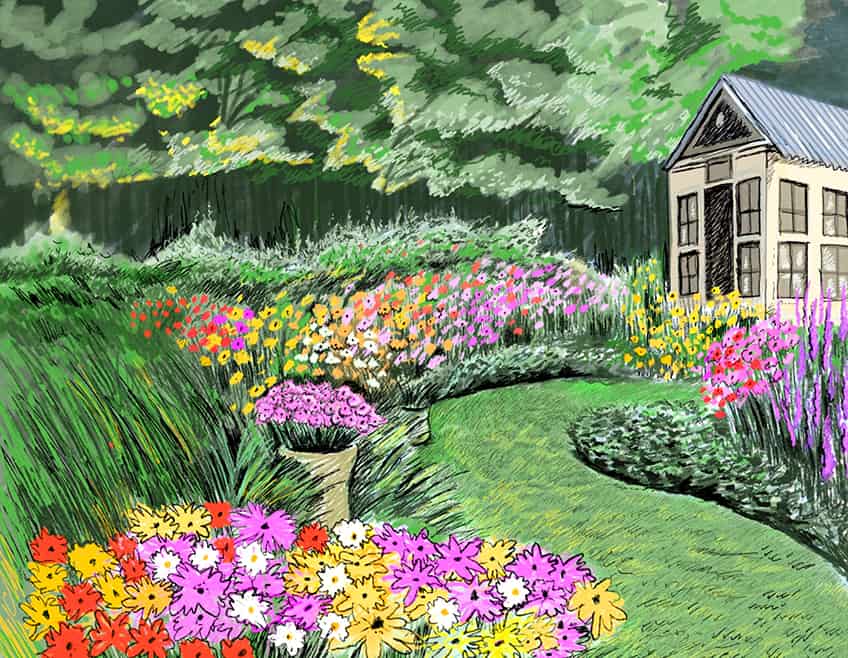
With flowers we can play around with adding line work over an established mark of color, to give those areas of color more unique qualities. However, as we add moments of color in the instance we can make them smaller to emphasize that they are far away.
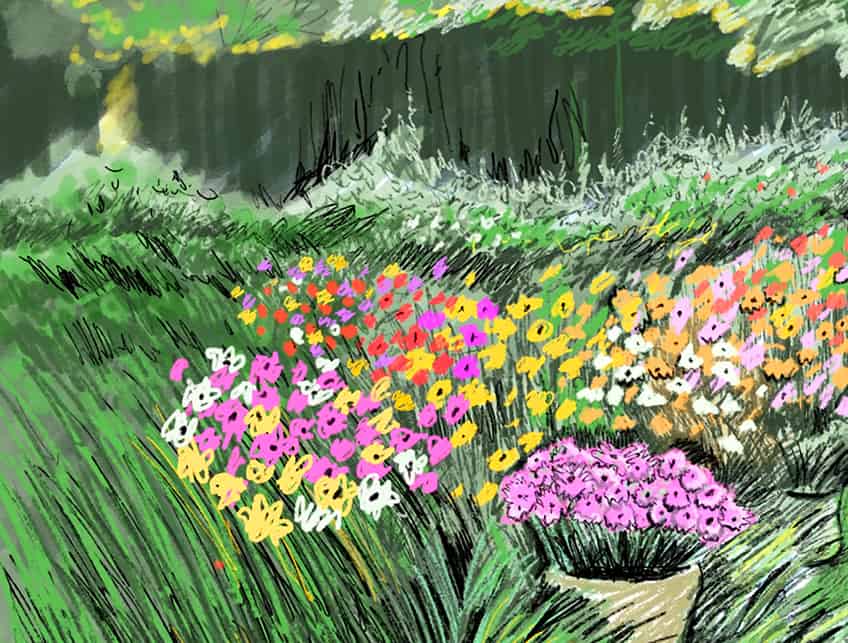
Remember that scale is another way we define depth within our landscape garden drawing. The idea is that we always want to make details less distinct and smaller in size as they move into the distance.
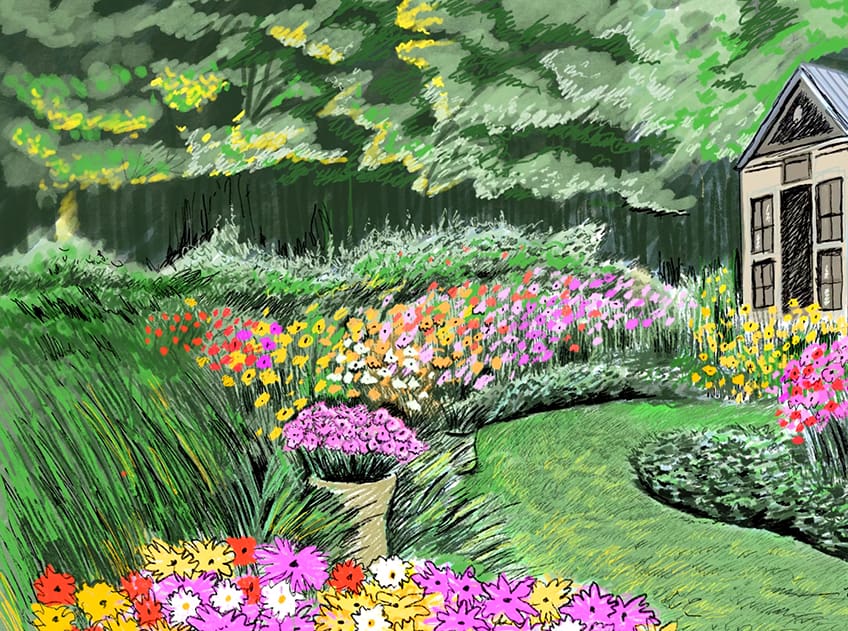
This is particularly true for flowers, as they can be a great and clear feature that determines a sense of scale.
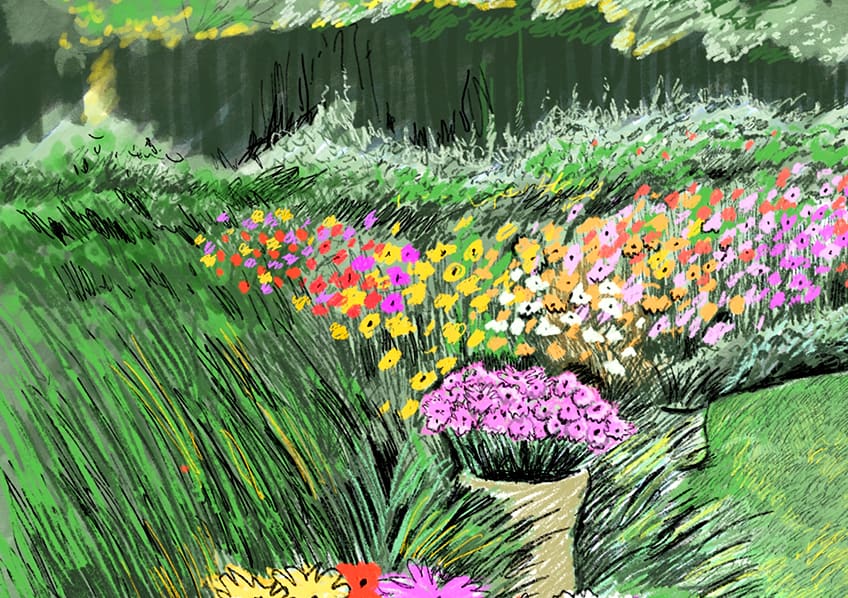
By strategically drawing flowers large and making them smaller in the distance, we emphasize the quality of depth within our garden drawings. Lastly, always consider light and shadow in all elements, from the background to the foreground.

And there you have it! How to draw a garden in a few easy steps. Most importantly, have fun and explore colors, gardens provide us with a great opportunity to work on our color knowledge.
Key Concepts to Consider
- Develop a light sketch. Always establish a light garden sketch before enhancing it with color and details.
- Build up layers of color. Build up your colors from light to dark, as this way you have control over tonal values.
- Consider light and shadow. Consider how light or dark certain features should be to develop more depth within your drawing.
- Most importantly, play around and try different things.

Learning how to draw a garden is really fun because there are so many ways in which you can create a garden drawing. In this tutorial, we look at a more loose sketching process and how to represent a garden space through some key concepts of depth, mark-making styles, and color. Once you understand some simple skills, you will find that they can be very effective in representing the qualities of various features such as flowers, grass, and trees, making it a fun and playful way to create future garden sketches!
Frequently Asked Questions
How Do You Create Depth Within a Garden Drawing?
The most important thing to remember is that scale becomes an essential part of setting up qualities of distance. This is because the closer an object is, the larger it appears to be. We want to carry this concept with us in the process of creating any landscape, including a garden drawing. This also affords a lot of freedom within our drawing process, because we can keep details fairly vague within the distance due to the fact that they are less distinct from a distance. In the case of a flower bed drawing, for instance, you can play around with loose marks of color integrated into your garden drawing especially if they sit in the background. As we start to draw features in the foreground you can start making them much clearer and more defined.
How Do You Draw Flowers in a Garden Drawing?
What’s fun about creating a garden drawing is that you can be quite loose with how you represent various features. In the case of a flower bed drawing, having colorful features present you don’t have to worry too much about shaping these features perfectly. The idea is that you could simply draw a group of dots and shapes of color in a group, and by nature of being in a group, they will be contextualized as a bed of flowers. The idea of drawing flowers is more of a color exploration, where you establish a set of colorful shapes within a scene as the starting point. From there, you can be looser by adding in some line work to define the flower shapers, however, this becomes unnecessary once they start to sit far within their background. By keeping your color placement and line work loose, you are giving your sketch a more playful quality. Also, you are simultaneously contextualizing them as flowers within your garden drawing simply by the application of some colors and simple line work.
Matthew Matthysen is an educated multidisciplinary artist and illustrator. He successfully completed his art degree at the University of Witwatersrand in South Africa, majoring in art history and contemporary drawing. The focus of his thesis was to explore the philosophical implications of the macro and micro-universe on the human experience. Matthew uses diverse media, such as written and hands-on components, to explore various approaches that are on the border between philosophy and science.
Matthew organized various exhibitions before and during his years as a student and is still passionate about doing so today. He currently works as a freelance artist and writer in various fields. He also has a permanent position at a renowned online gallery (ArtGazette) where he produces various works on commission. As a freelance artist, he creates several series and successfully sells them to galleries and collectors. He loves to use his work and skills in various fields of interest.
Matthew has been creating drawing and painting tutorials since the relaunch in 2020. Through his involvement with artincontext.org, he has been able to deepen his knowledge of various painting mediums. For example, watercolor techniques, calligraphy and lately digital drawing, which is becoming more and more popular.
Learn more about Matthew Matthysen and the Art in Context Team.
Cite this Article
Matthew, Matthysen, “How to Draw a Garden – In-Depth Drawing Tutorial.” Art in Context. July 28, 2023. URL: https://artincontext.org/how-to-draw-a-garden/
Matthysen, M. (2023, 28 July). How to Draw a Garden – In-Depth Drawing Tutorial. Art in Context. https://artincontext.org/how-to-draw-a-garden/
Matthysen, Matthew. “How to Draw a Garden – In-Depth Drawing Tutorial.” Art in Context, July 28, 2023. https://artincontext.org/how-to-draw-a-garden/.


