How to Draw a Phoenix – Beautiful Phoenix Illustration Guide
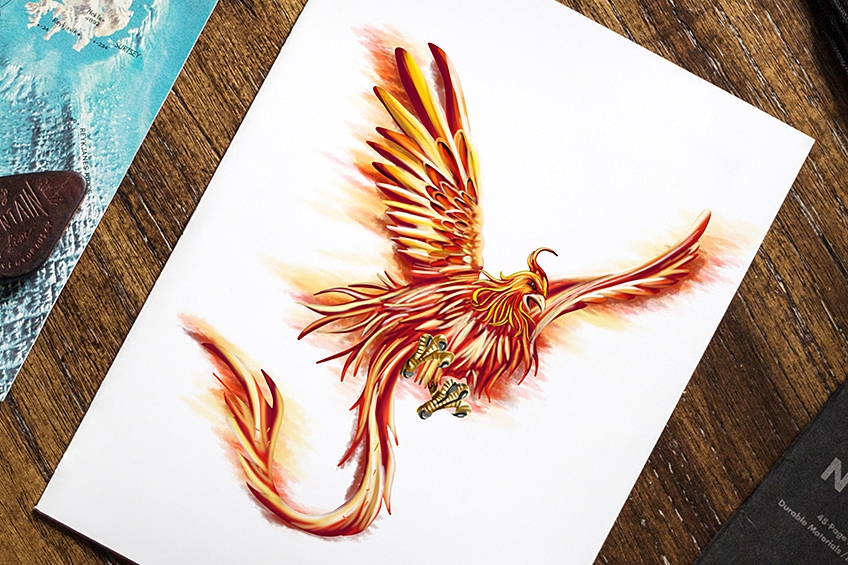
Like a phoenix rising from the flames, this drawing tutorial makes creating a phoenix sketch incredibly easy. Although a phoenix may appear quite complex to draw, if you break it down into simple steps, the process becomes very easy. That is what we do in our phoenix drawing tutorial. We will help you bring a fiery and flamboyant phoenix sketch to life!
A Step-by-Step Phoenix Line Drawing Tutorial
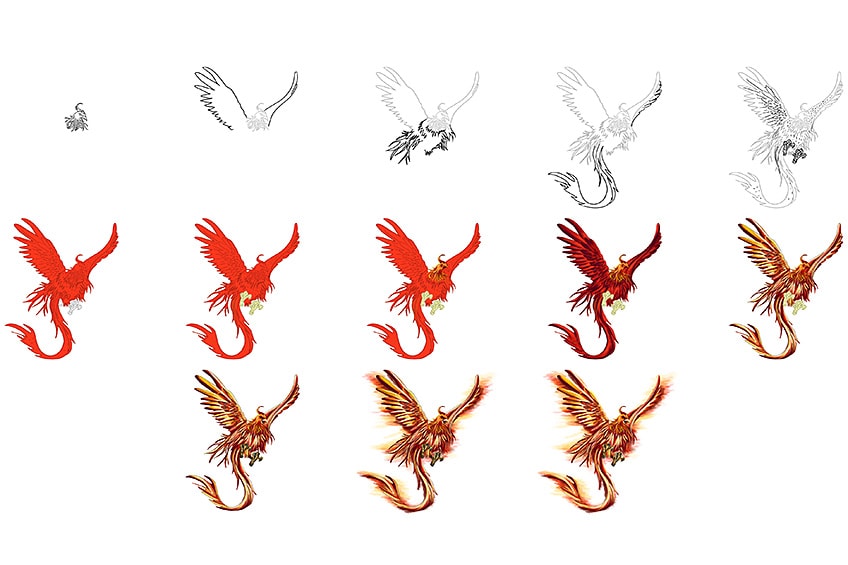
Follow along and learn how to draw a Phoenix step by step! Today we take a closer look at drawing this beautiful immortal bird according to Greek mythology. Our phoenix sketch tutorial breaks the process down into very easy-to-follow steps. We begin with the very basic elements of drawing a phoenix, creating the base shape. We then begin to add more detailed feather details and use color to breathe this fire into life. You can see all of the steps in the phoenix drawing tutorial in the collage below. Our phoenix illustration is suitable for digital or physical mediums too!
Step 1: Draw the Head of the Phoenix
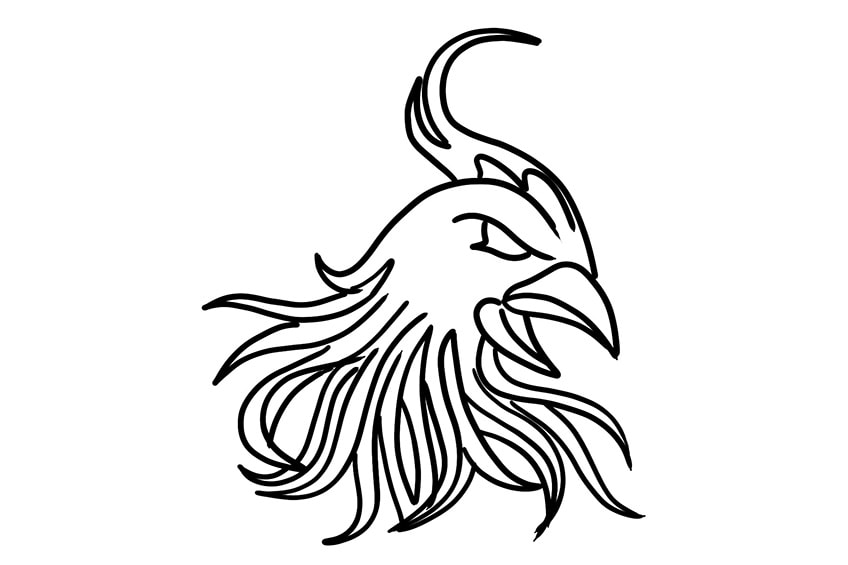
We are going to begin by drawing the head of our phoenix sketch. The head should have a sharp beak attached to it and an aggressive eye shape, with long curved feathers that flow out in all directions.
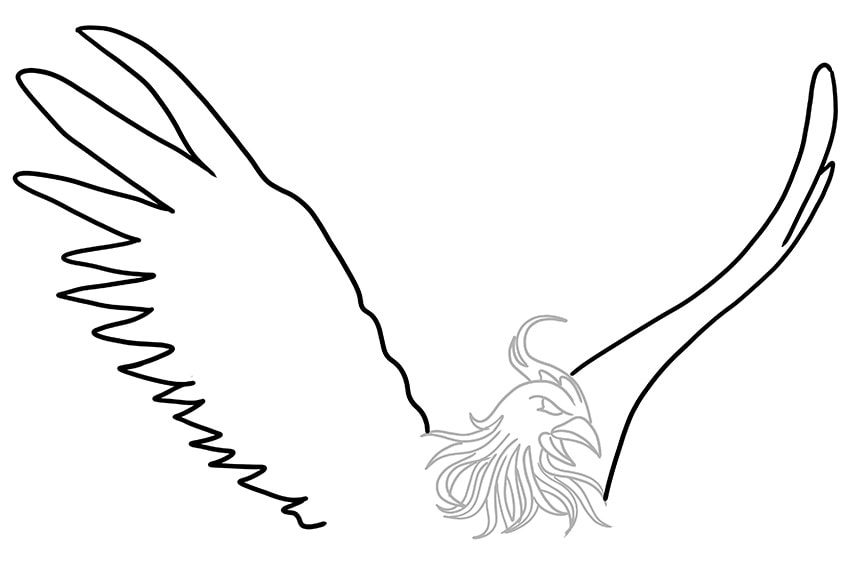
Step 2: Outline the Phoenix Wings
Draw the first fully visible wing attached to the lower feather off from the head. Draw the spikey wing outline and complete this step by drawing the partially visible second wing.
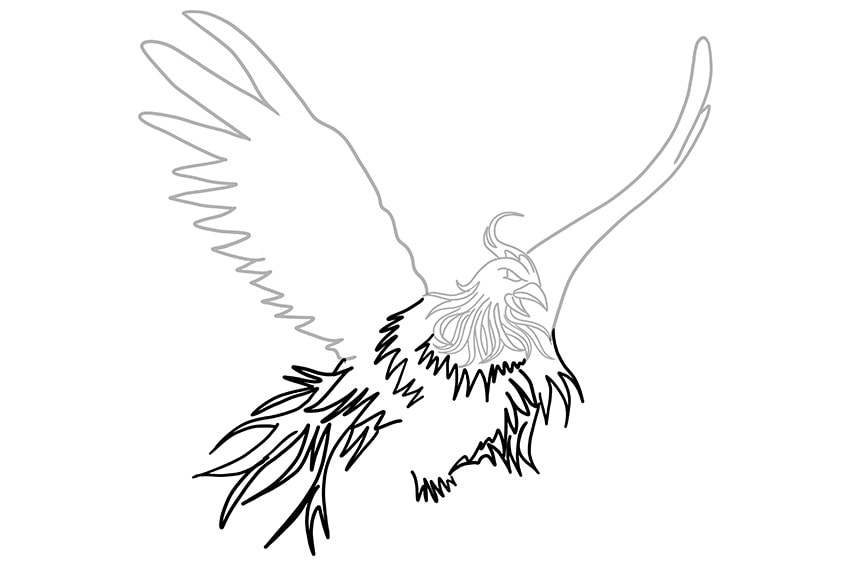
Step 3: Draw the Main Body
Now that we have the head and wings placed, we can move on to the body. At this point, the body is going to be constructed out of a series of sharp feather shapes. Draw the main body leading off from the head and the wings by drawing fine sharp wild feathers to represent the main body area.
You are not going to finish the body by adding in the legs just yet, we are going to do that in the next steps.
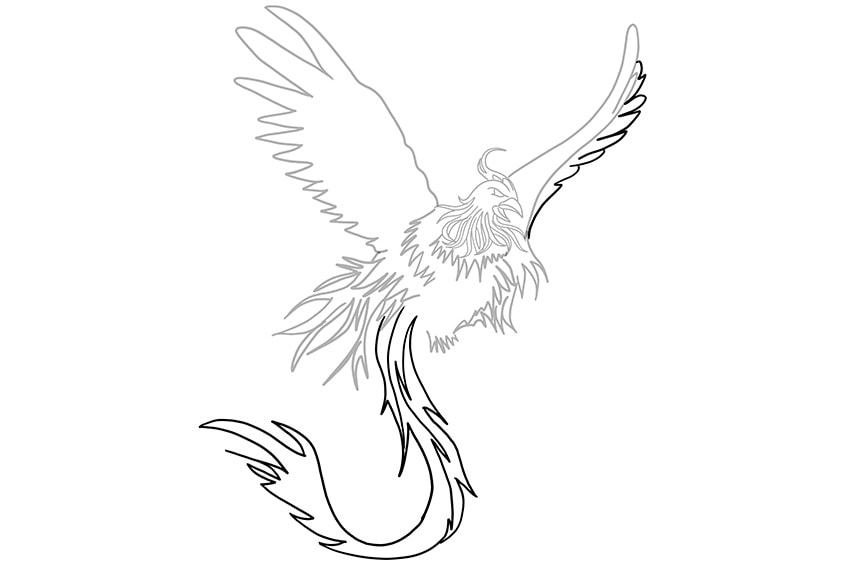
Step 4: Shape the Tail
We are now going to draw that signature phoenix tail. Think of the bottom of an “S” shape for the basic form. Draw the lengthy curving tail with an edgy sharp outline. As with all of the outlines in this tutorial, this outline should not be smooth but should consist of sharp feathers that look like a flame. Complete the step by drawing the partially visible feathers on the second wing.
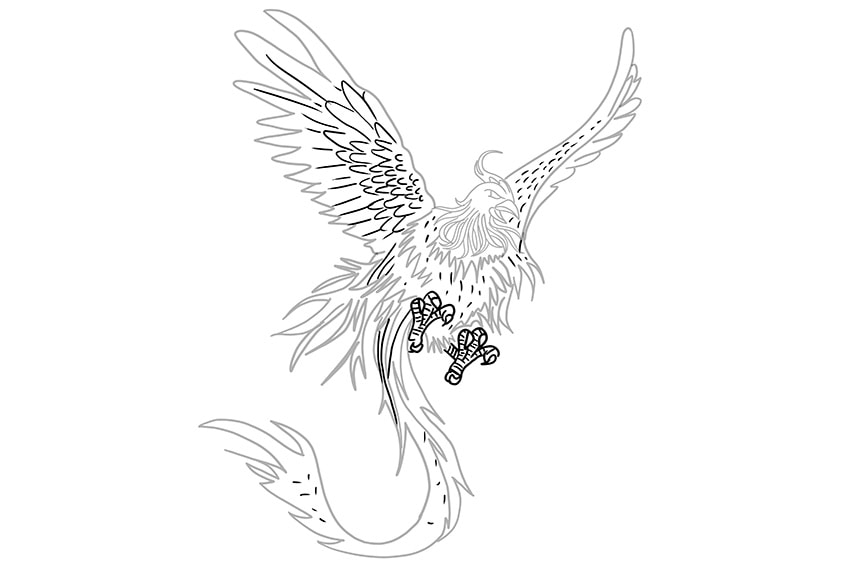
Step 5: Create Texture and Draw the Feet
Now that we have the basic shape of the phoenix complete, we are going to begin creating some more complex details. We are going to start by drawing the feet and adding some feather texture within the wings, body, and tail. Within the wings, draw the individual feather layers, getting gradually smaller as they move away from the edge of the wing. Use small fine texture lines on the tail and remaining body areas to create a basic feather texture.
Complete the step by drawing the two claws of the Phoenix and draw fine curving lines within these claws.
Step 6: Add the First Color Coat
We are now going to begin the coloring process, starting with a base coat. This base coat will be a bright red shade. Use a regular paintbrush and color the entire shape of the phoenix evenly.
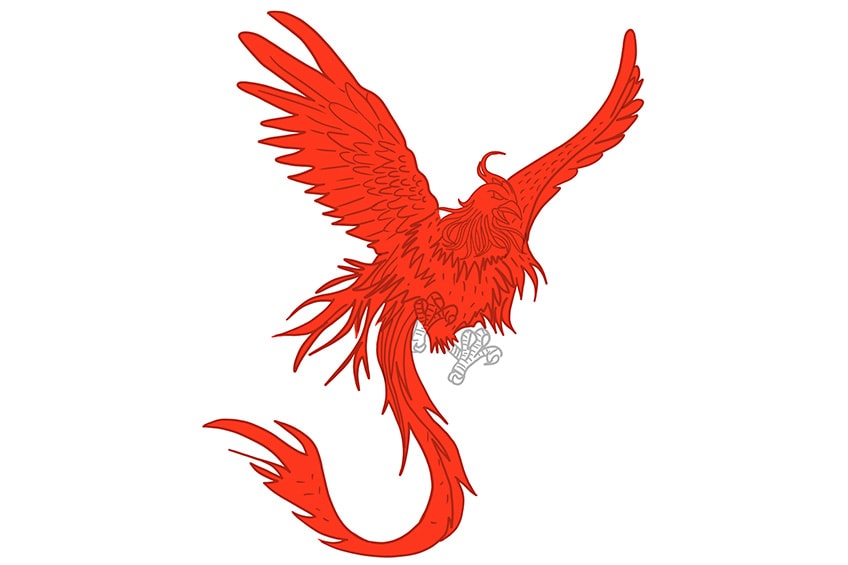
Step 7: Color the Feet of Your Phoenix Sketch
Let us now color the feet. With a smaller paintbrush and some very light yellow paint, evenly color both of your claws.
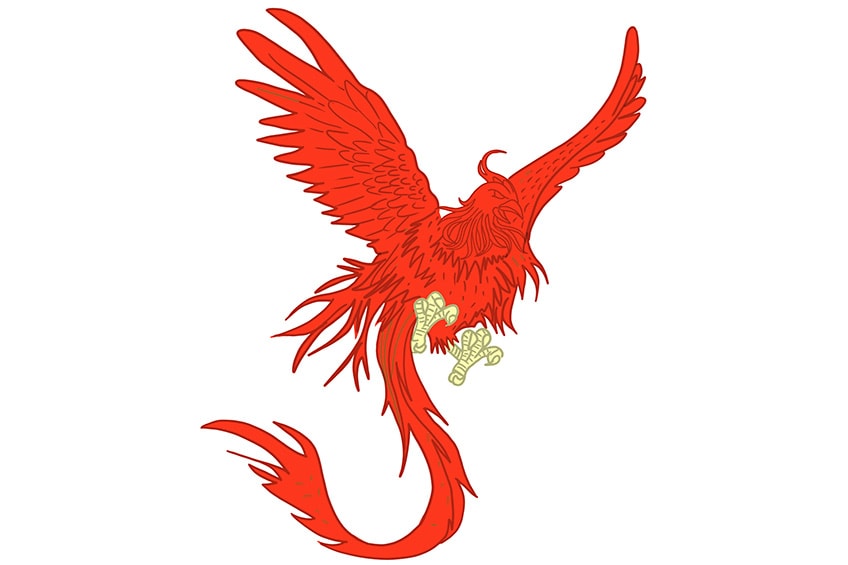
Step 8: Add Color Detail to the Head
In this step, we are going to add more detailed coloring on the head of the Phoenix. Use a fine sharp brush and yellow paint to add fine brush strokes within the curving feather lines. Do this again with red and white.
Finish this step by using a small blending brush and black paint to shade the edges.
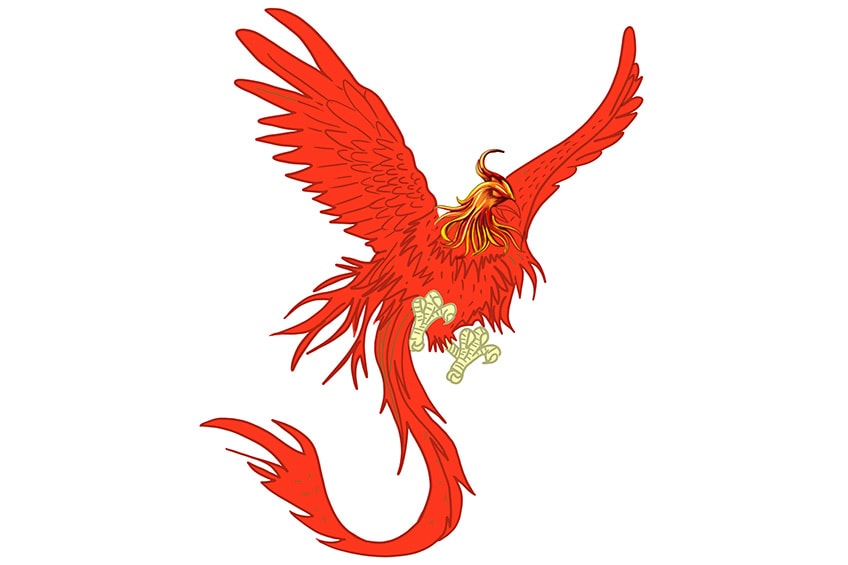
Step 9: Shade Your Phoenix Illustration
Let us now begin shading our phoenix drawing. Make use of a small soft brush and black paint and add shading onto each individual feather layer, the edges of the tail, and the wings to enhance the structure.
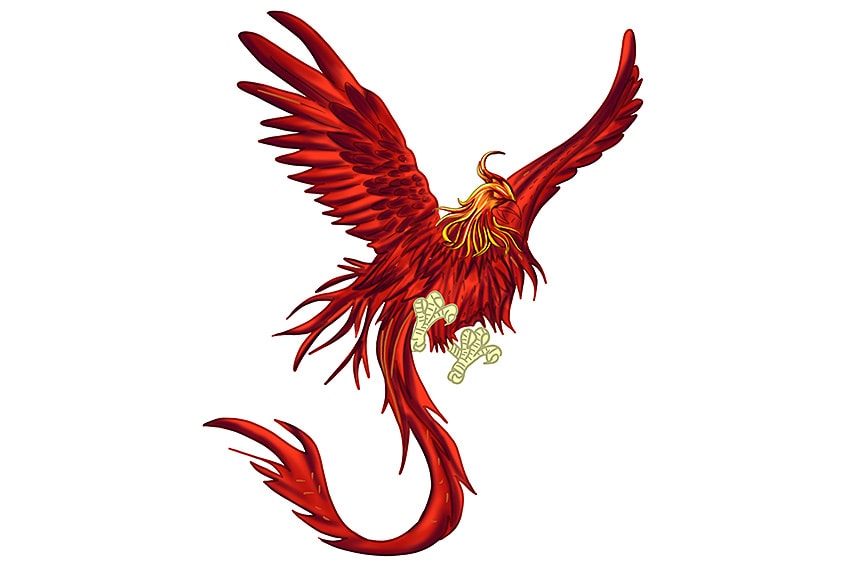
Step 10: Color Blend Your Phoenix Sketch
Using a small soft brush and yellow paint, apply soft brush strokes between the edges of each feather layer including those of the tail, main body, and wings. Repeat this step using a sharp brush and white, red, and orange shades.
The first color coat should somewhat be visible including the previously added shading.
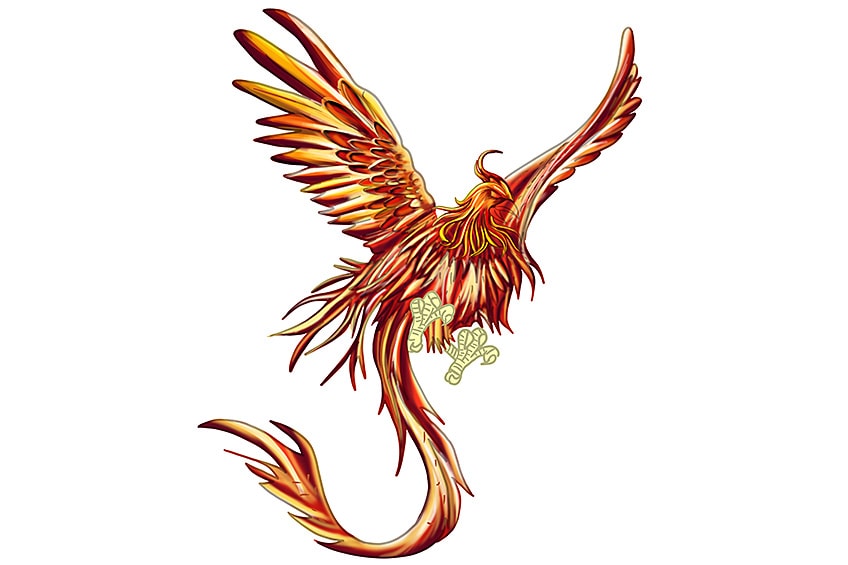
Step 11: Add Shading Detail to the Feet
Begin by using a small soft brush and golden-brown paint to evenly trace the texture lines of the claws. Do this again with some white paint, creating a highlight along the edges of each claw. Continue with a fine sharp brush and a combination of black and gray paint to fill the nails. Complete the step with a sharp brush and white to color the beak, and repeat using a combination of orange and yellow paint to soften the beak.
Fill the inner beak with black paint, and using a fine sharp brush and brown paint color the eye area.
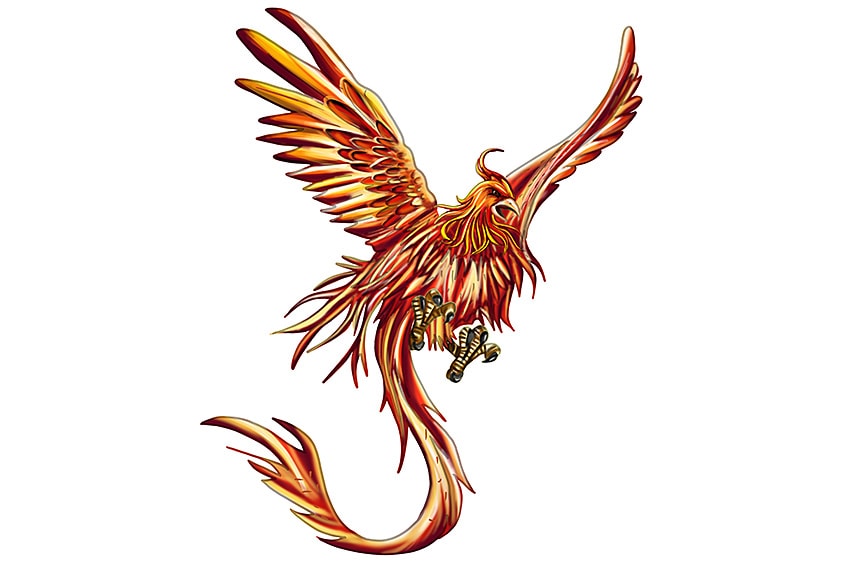
Step 12: Add the Glow to Your Phoenix Illustration
In this step make use of a rough brush and a combination of maroon, red, orange, and yellow paints to apply an outer fire-like glow to the Phoenix.
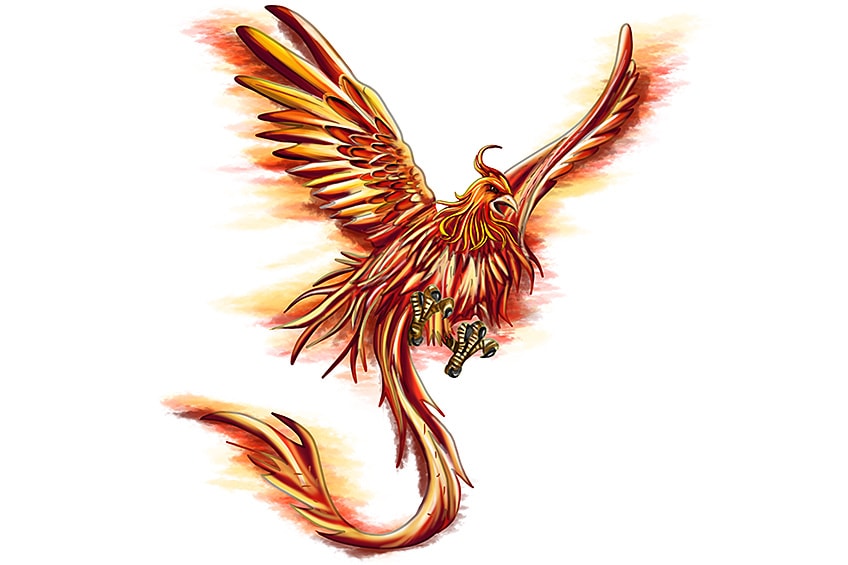
Step 13: Finishing Your Drawing of a Phoenix
To finish your phoenix illustration, you are going to remove the dark outline. You can trace over it with the corresponding color, or simply delete the outline if you are using a digital tablet.
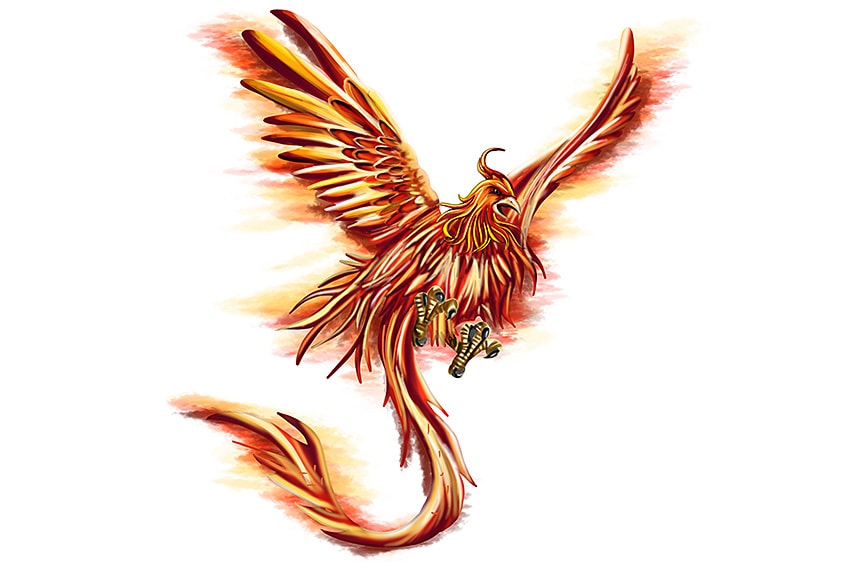
We really hope that you have enjoyed learning how to draw a phoenix that is rising from the fire. From learning how to create a phoenix line drawing, to using color to bring it to life, we have covered all of the basic elements of creating a realistic drawing.
Take a look at our phoenix drawing webstory here!
Frequently Asked Questions
How to Add Color to a Phoenix Illustration?
Because a phoenix is a bird of fire, getting the coloring right is very important to the final result. You are going to need all of the colors typically associated with fire, like red, orange, yellow, and black. You will also need to keep fire in mind when applying the color, creating the impression of whispy flames.
What Is the Hardest Part of Drawing a Phoenix Sketch?
The hardest part of a phoenix drawing is creating a smooth and natural shape. The phoenix needs to have a very smooth and naturally flowing shape, so using curving fluid lines is essential.
Matthew Matthysen is an educated multidisciplinary artist and illustrator. He successfully completed his art degree at the University of Witwatersrand in South Africa, majoring in art history and contemporary drawing. The focus of his thesis was to explore the philosophical implications of the macro and micro-universe on the human experience. Matthew uses diverse media, such as written and hands-on components, to explore various approaches that are on the border between philosophy and science.
Matthew organized various exhibitions before and during his years as a student and is still passionate about doing so today. He currently works as a freelance artist and writer in various fields. He also has a permanent position at a renowned online gallery (ArtGazette) where he produces various works on commission. As a freelance artist, he creates several series and successfully sells them to galleries and collectors. He loves to use his work and skills in various fields of interest.
Matthew has been creating drawing and painting tutorials since the relaunch in 2020. Through his involvement with artincontext.org, he has been able to deepen his knowledge of various painting mediums. For example, watercolor techniques, calligraphy and lately digital drawing, which is becoming more and more popular.
Learn more about Matthew Matthysen and the Art in Context Team.
Cite this Article
Matthew, Matthysen, “How to Draw a Phoenix – Beautiful Phoenix Illustration Guide.” Art in Context. January 24, 2023. URL: https://artincontext.org/how-to-draw-a-phoenix/
Matthysen, M. (2023, 24 January). How to Draw a Phoenix – Beautiful Phoenix Illustration Guide. Art in Context. https://artincontext.org/how-to-draw-a-phoenix/
Matthysen, Matthew. “How to Draw a Phoenix – Beautiful Phoenix Illustration Guide.” Art in Context, January 24, 2023. https://artincontext.org/how-to-draw-a-phoenix/.


