How to Draw a Bat – A Step-by-Step Guide to Create a Bat Drawing
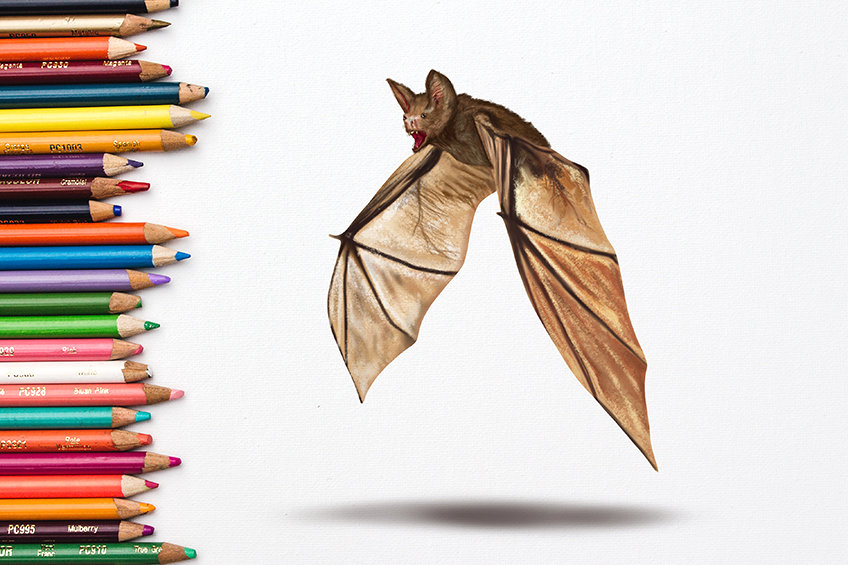
Bats are fascinating creatures that have captured the human imagination for centuries. Did you know that some species of bats can consume up to 1,200 mosquitoes in an hour, making them nature’s own pest control experts? Despite all their amazing abilities, bats often get a bad reputation, but they are important for our planet. They help pollinate plants by spreading seeds so that new plants can grow. So, next time you see a bat flying in the sky at night, remember how special and important these creatures are! Let’s get started with today’s fun tutorial on how to draw a bat.
How to Draw a Bat Step-by-Step
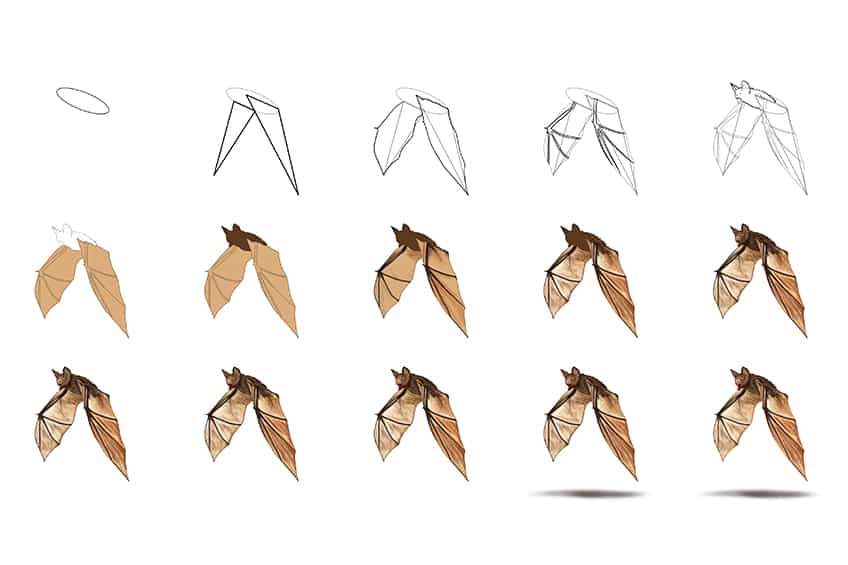
Come and join us today to discover the art of bat drawing! This tutorial covers the fundamental elements of a bat drawing, which is suitable for both beginners and advanced artists. You will master new detailing skills, including adding texture, shadows, and highlights to your bat artwork. By following the step-by-step guide illustrated in the collage below, you will acquire the skills needed to create a realistic and authentic bat drawing.
Don’t miss out on this amazing opportunity to develop your artistic abilities!
Step 1: Draw the Body of Your Bat Sketch
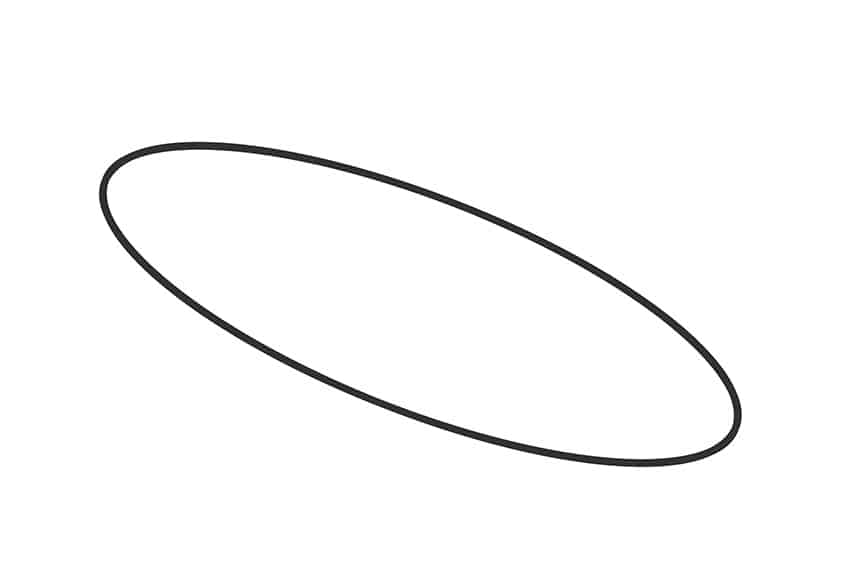
Begin your how-to-draw a bat step-by-step by drawing a slightly angled oval shape to represent the main body of your bat.
Step 2: Draw the Wings
Attached to the main body, draw two flapping wings represented by sharp, elongated triangles.
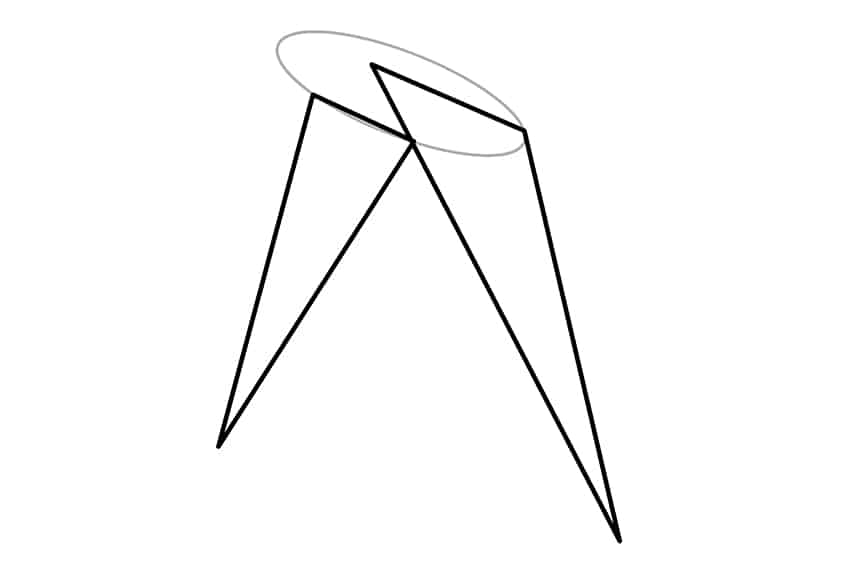
Step 3: Continue Drawing the Wings
Use your previously constructed lines to aid you in outlining a realistic look for your bat wings.
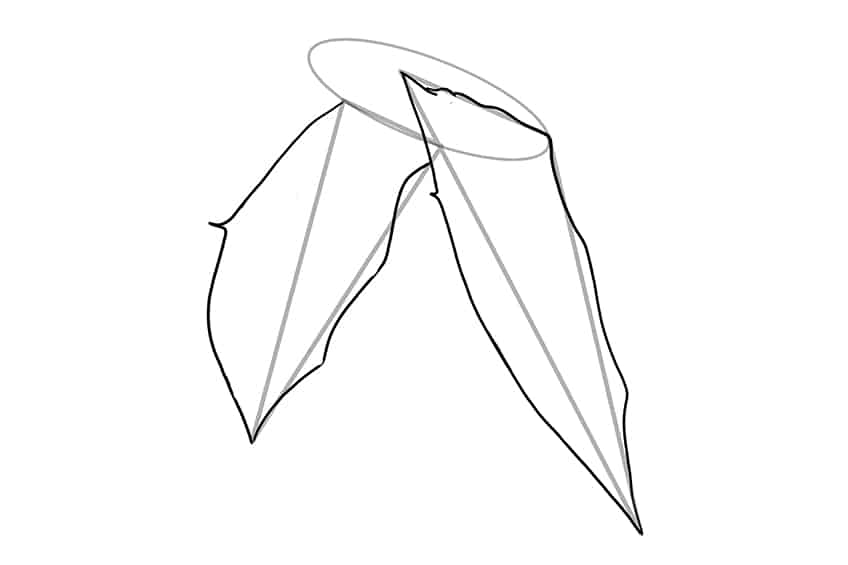
Step 4: Add Structure to Each Wing
Within each wing, begin to draw arching lines. This should begin was a wide bone splitting into three or four sharp ends.
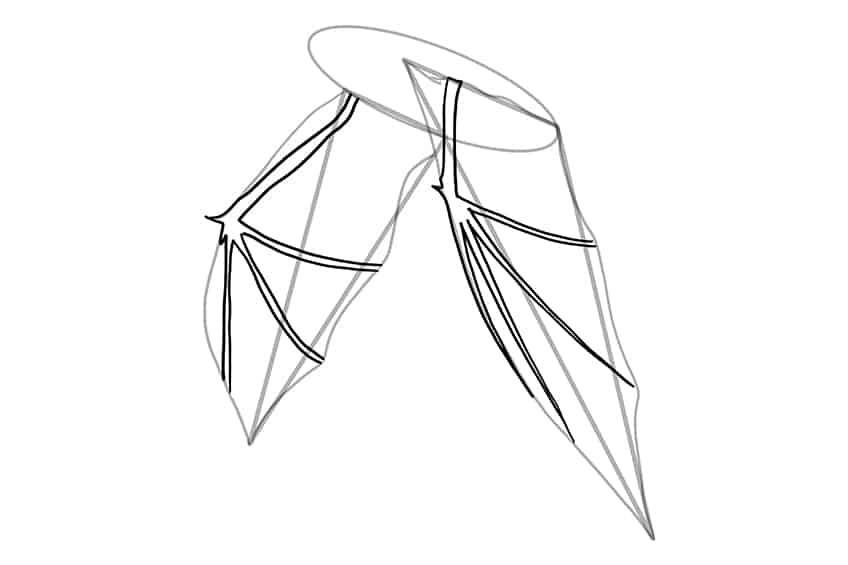
Step 5: Outline the Head and Body of Your Bat Sketch
Begin to outline a more realistic head to your bat drawing, including ears and a rough body outline. Continue to add the mouth, eyes, and nostrils to the face of the bat. Once complete, you may erase any unnecessary construction lines.
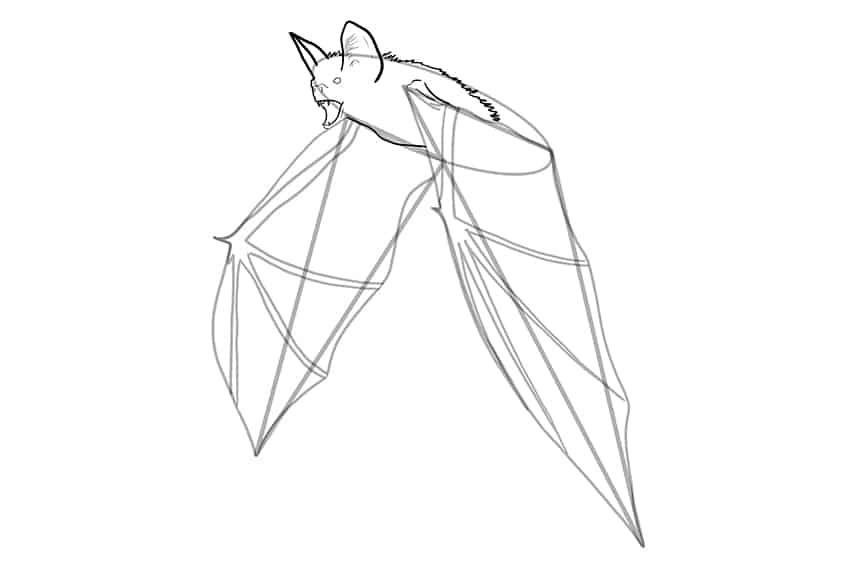
Step 6: Add the First Color Coat
With a regular paintbrush and light brown paint, begin to evenly color the wings of your bat sketch.
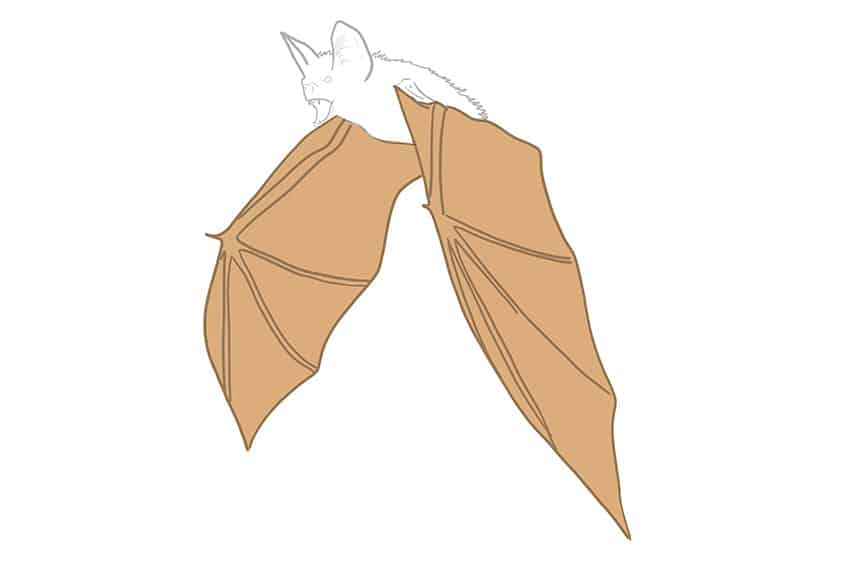
Step 7: Add the Second Coat of Color
Use the same brush as previously and switch to dark brown paint, and evenly paint the entire body and head of your bat drawing.
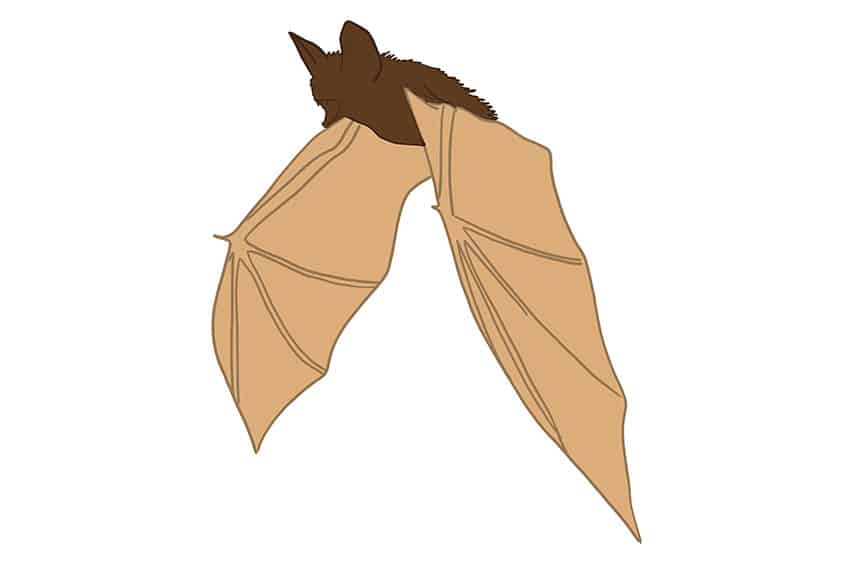
Step 8: Shade and Contour the Wings
Begin by selecting a small, soft brush and tan paint, and add a light contour along the edges and outline of each wing. Repeat using gray paint. Once complete, use a blending brush to softly fade the colors into one another. With a fine brush and black paint, add shadows within the main wing bone line.
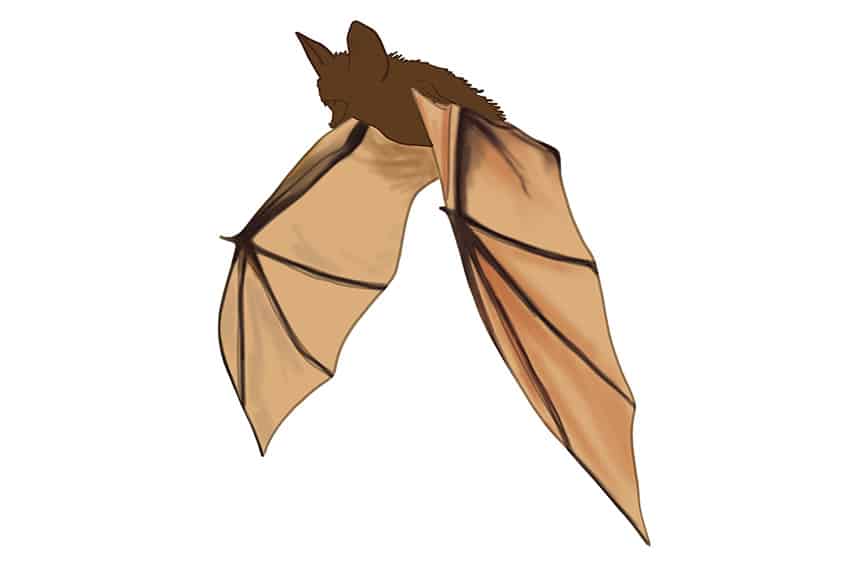
Step 9: Texture the Wings on Your Bat Sketch
Select a fine, sharp brush and a combination of dark brown and black paint, and add fine hairline streaks along the top areas of each wing. They should look somewhat like veins. Switch to a soft brush and dark brown paint and add a soft fade to each wing.
With a rough brush and white paint, dab rough patterns around each wing bone. Repeat using yellow paint.
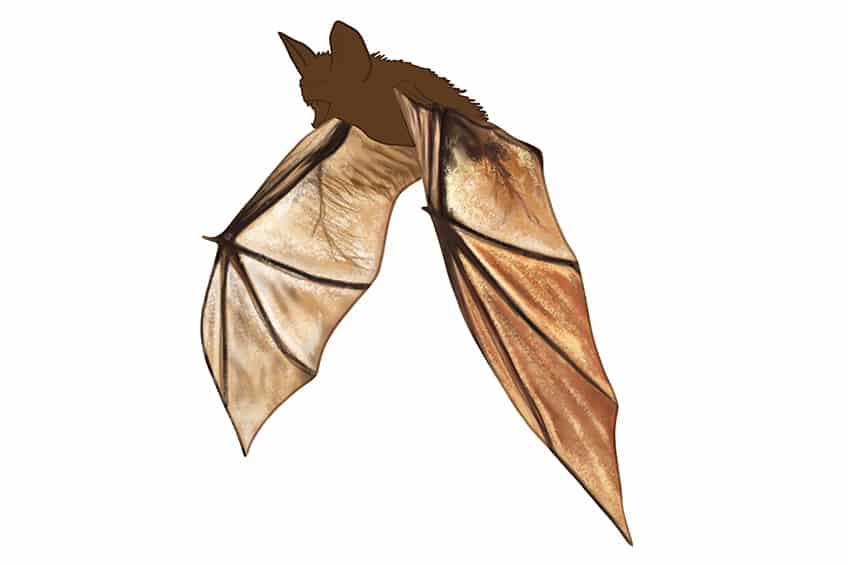
Step 10: Texture the Main Body
Use a small, soft brush and tan paint, and add a light coat along the head and lower area of the body. Continue with a combination of white and gray paint, and add fine texture lines within the ears and along the nostril area. Complete this step using a blending brush to soften the colors.
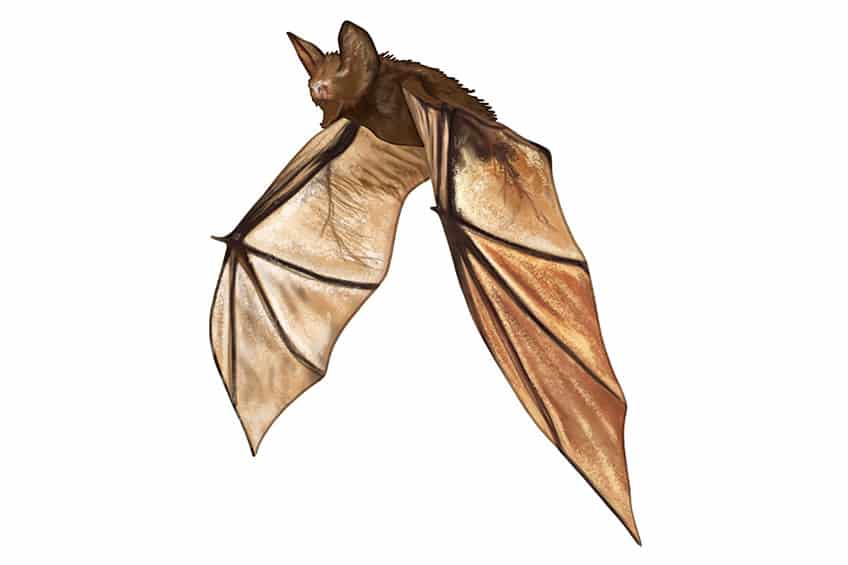
Step 11: Enhance the Texture on the Main Body
Repeat the previous step, only this time using a fine, sharp brush and a combination of white, gray, and light brown paint, and paint fine individual brushstrokes on the main body and head.
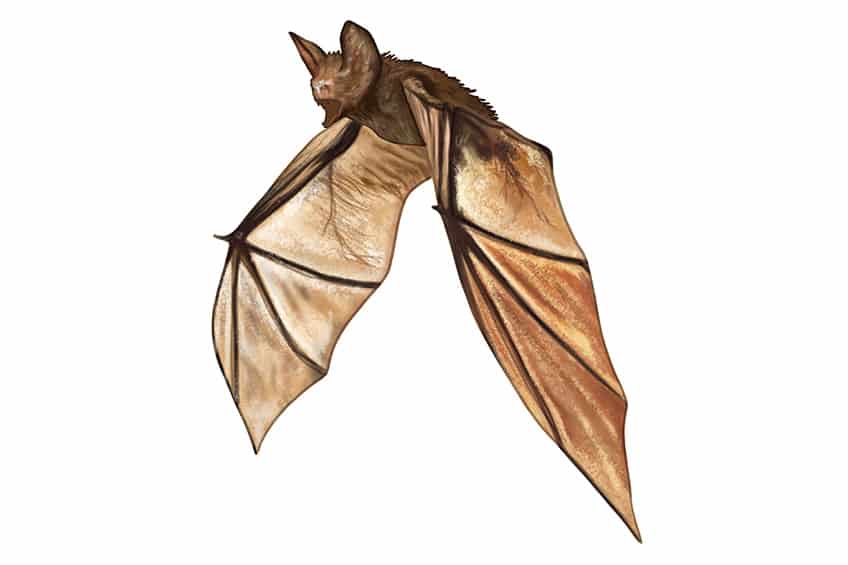
Step 12: Detail the Facial Features of Your Bat Drawing
Use the same brush as previously and black paint, and fill in the eyes of your bat drawing. Repeat using white paint and add a shimmer to the center of each eye. With a small, soft brush and dark red paint, paint the inner mouth area. Repeat using black paint and add a surrounding shadow.
With a fine, sharp brush and light yellow paint, paint the teeth on your bat drawing. Complete the facial features by defining the nostrils using pink paint.
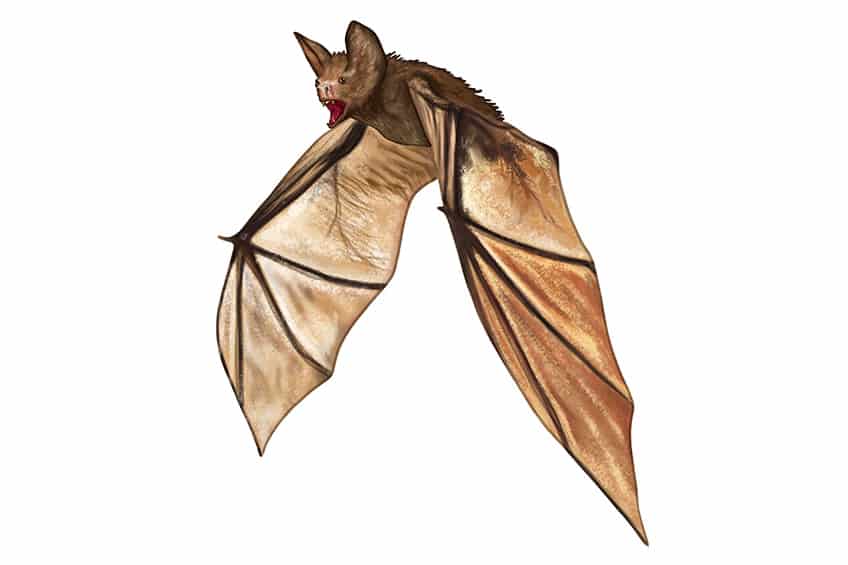
Step 13: Enhance the Fur Coat
To enhance the bat’s fur coat and create a more realistic look, use a fine, sharp brush and a combination of brown and light brown paints to add thin, hairline brush strokes along the entire outline of the bat’s body. This technique will help to eliminate the cut-out appearance and bring more texture and depth to the bat’s fur.
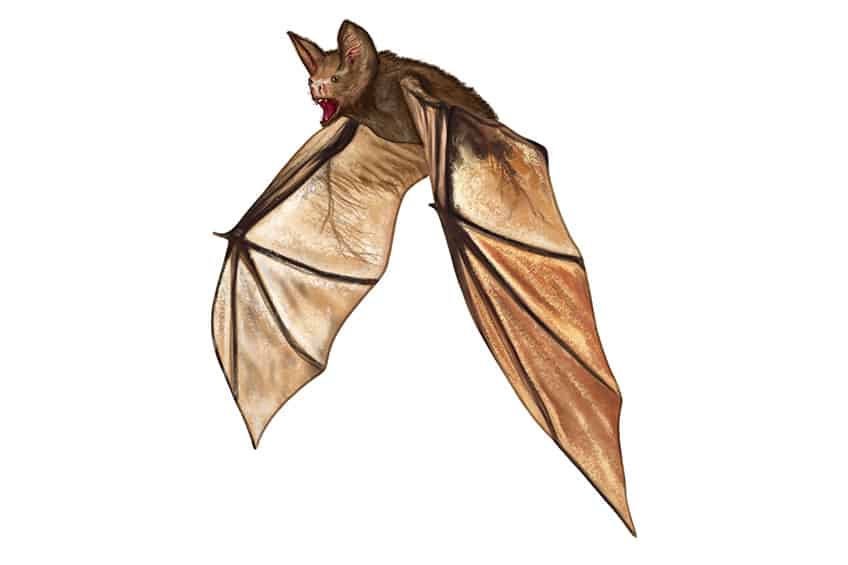
Step 14: Add a Ground Shadow
Directly below the bat, paint a dark spot using black paint and a soft brush. Use a clean blending brush to soften out the edges and create a realistic ground shadow.
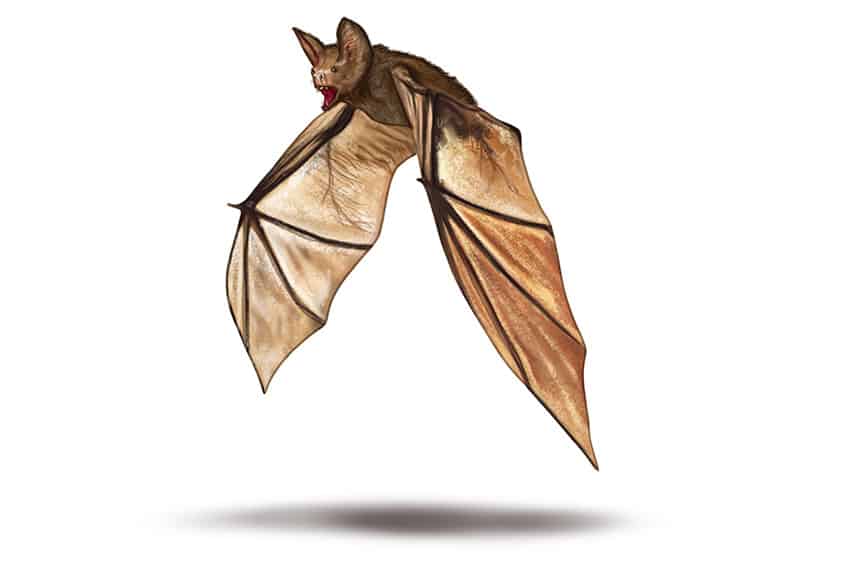
Step 15: Finalize Your Bat Drawing
For a seamless and professional final result without any harsh outlines, use a fine, sharp brush and the corresponding colors to trace the entire outline and any inner texture lines of the bat. This technique will ensure that the bat’s details are emphasized without any visible break in the lines, creating a polished and seamless finished product!
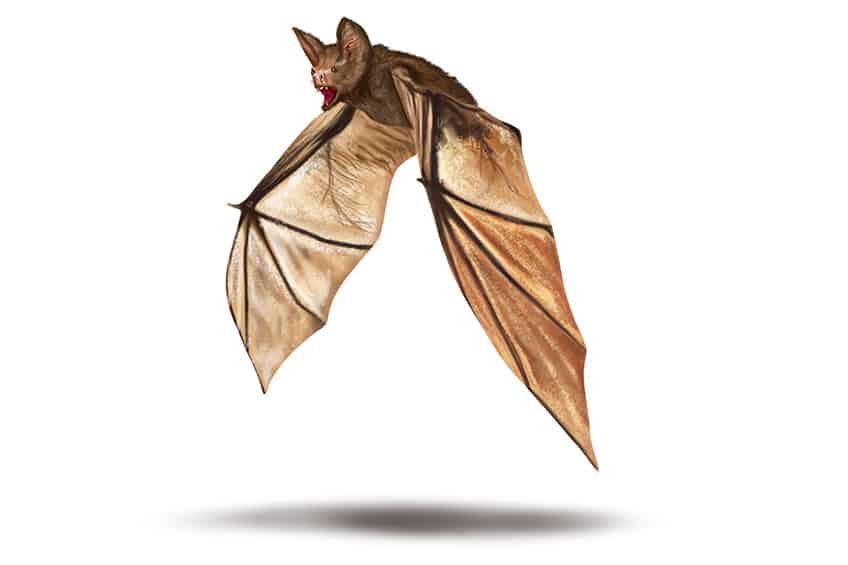
Horray! You’ve just completed your bat drawing. You should be proud of your hard work and determination to bring your artistic vision to life. By creating this realistic tutorial on how to draw a bat, you have demonstrated a mastery of new drawing skills and techniques. Keep up the great work! Remember, you can always come back to our drawing tutorials to continue improving your skills and learning new techniques. We can’t wait to see what you create next!
Frequently Asked Questions
How Do I Shade the Bat’s Wings to Give Them a More Realistic Look?
To shade the bat’s wings, start by identifying the light source in your drawing. This will help you determine which areas of the wings should be lighter and which should be darker. Use light paint colors to sketch the basic shape of the wing, then gradually build up layers of shading to create a smooth transition between light and dark areas. By following our tutorial on how to draw a bat, we will guide you through the whole process!
How Can I Create Texture in the Bat’s Fur?
To create texture in the bat’s fur, use a combination of short, quick strokes and longer, sweeping strokes to mimic the look of real fur. Start by sketching the basic shape of the bat’s body, then gradually build up layers of shading to create depth and dimension. Use a variety of shades of brown to create a realistic color for the bat’s fur.
Matthew Matthysen is an educated multidisciplinary artist and illustrator. He successfully completed his art degree at the University of Witwatersrand in South Africa, majoring in art history and contemporary drawing. The focus of his thesis was to explore the philosophical implications of the macro and micro-universe on the human experience. Matthew uses diverse media, such as written and hands-on components, to explore various approaches that are on the border between philosophy and science.
Matthew organized various exhibitions before and during his years as a student and is still passionate about doing so today. He currently works as a freelance artist and writer in various fields. He also has a permanent position at a renowned online gallery (ArtGazette) where he produces various works on commission. As a freelance artist, he creates several series and successfully sells them to galleries and collectors. He loves to use his work and skills in various fields of interest.
Matthew has been creating drawing and painting tutorials since the relaunch in 2020. Through his involvement with artincontext.org, he has been able to deepen his knowledge of various painting mediums. For example, watercolor techniques, calligraphy and lately digital drawing, which is becoming more and more popular.
Learn more about Matthew Matthysen and the Art in Context Team.
Cite this Article
Matthew, Matthysen, “How to Draw a Bat – A Step-by-Step Guide to Create a Bat Drawing.” Art in Context. March 3, 2023. URL: https://artincontext.org/how-to-draw-a-bat/
Matthysen, M. (2023, 3 March). How to Draw a Bat – A Step-by-Step Guide to Create a Bat Drawing. Art in Context. https://artincontext.org/how-to-draw-a-bat/
Matthysen, Matthew. “How to Draw a Bat – A Step-by-Step Guide to Create a Bat Drawing.” Art in Context, March 3, 2023. https://artincontext.org/how-to-draw-a-bat/.


