How to Draw a Snake – A Fun and Easy Snake Drawing
Snakes are one of the most feared animals on the planet. Kaa, the snake in the jungle book, and Nagini in Harry Potter are always portrayed as evil and frightening characters, when in reality, they just live to protect themselves. However, we aren’t sure if they would make for a cuddly pet! Snakes have many unique features, although the strangest one is the fact that they can smell with their tongues! Let’s get going with today’s how to draw a snake tutorial.
An Easy Step-by-Step Guide to Creating a Snake Drawing
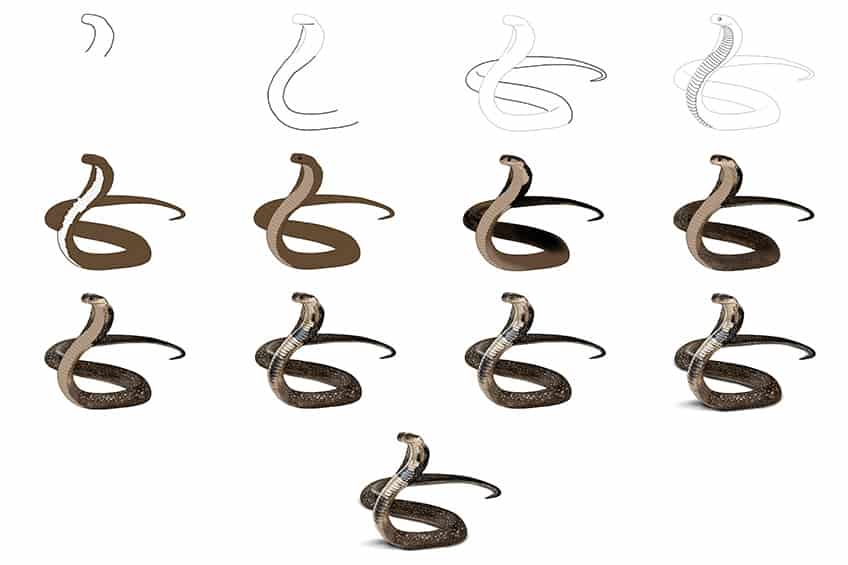
In today’s drawing tutorial, we will be teaching you how to draw a snake in 13 easy steps! We will take you through the basic elements to create a realistic snake drawing, including the coloring and shading process. This tutorial is super simple and easy to follow so anyone can enjoy it!
The below snake sketch collage demonstrates each step you will take to achieve your final result.
Step 1: Draw the Head of Your Snake Sketch
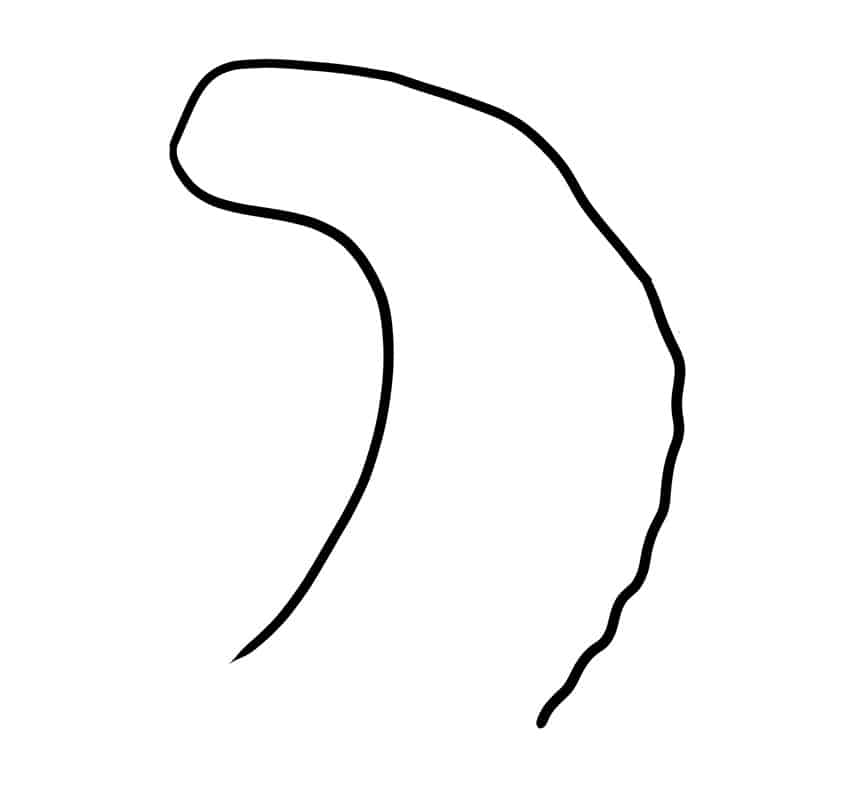
Begin your snake drawing by drawing a slightly curved head shape.
Step 2: Draw the Mid Body
Draw the neckline from the underside of the head, leading downwards. This should also curve slightly but in the opposite direction to the head.
Step 3: Add the Rear Body and Tail
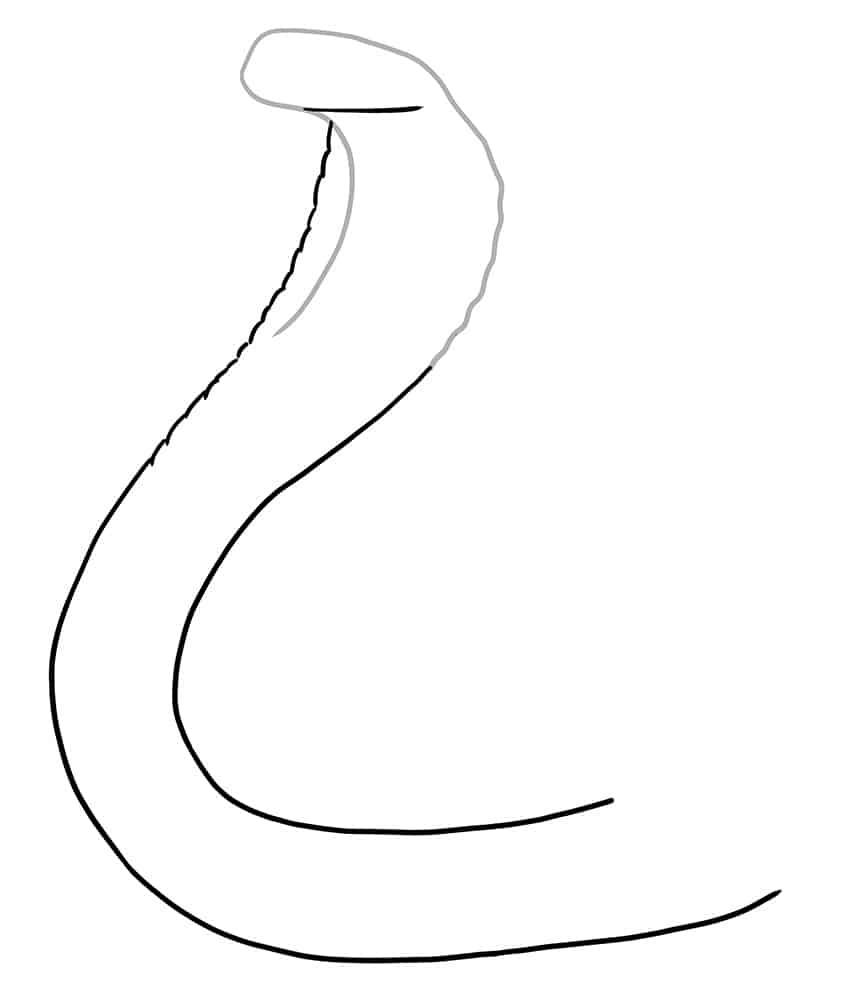
Continue to curve the rear body and add a sharp turn that will represent the tip of the tail.
Step 4: Draw the Belly on You Easy Snake Drawing
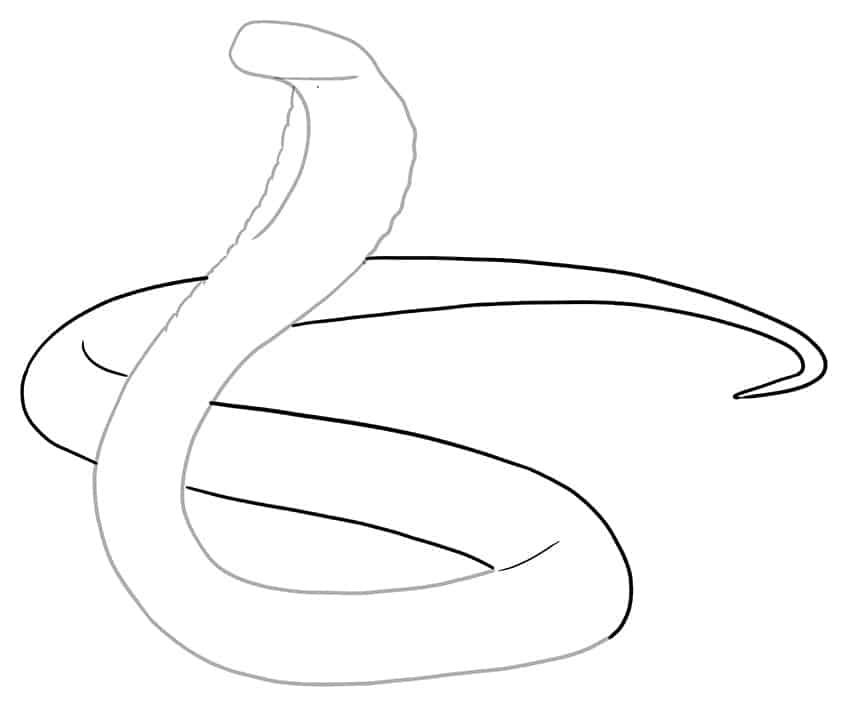
Draw individual stipes curving with the body of your snake drawing. Within the head of your snake, draw a small circle to represent the eye.
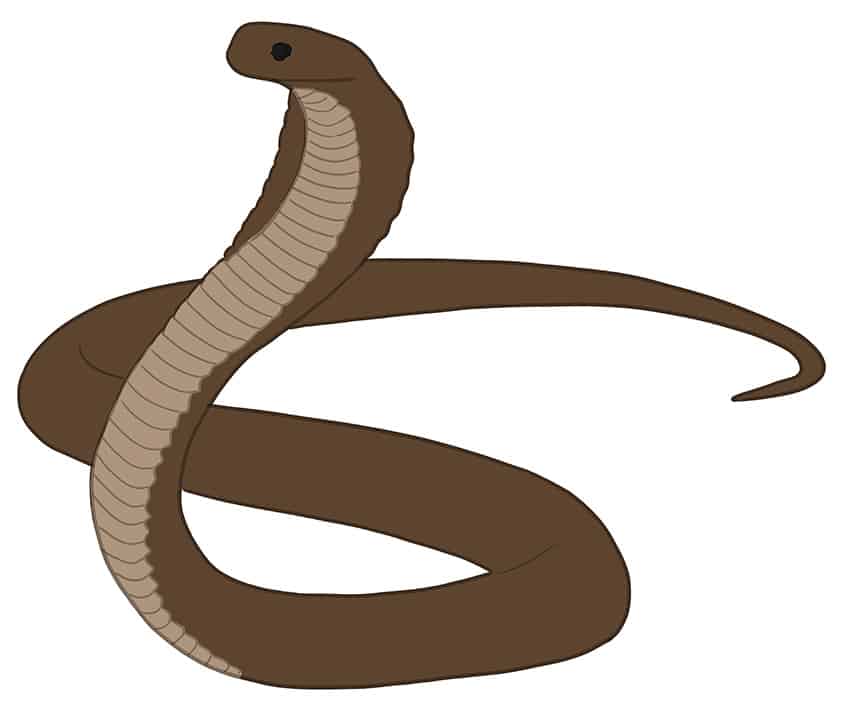
Step 5: Add the First Color Coat
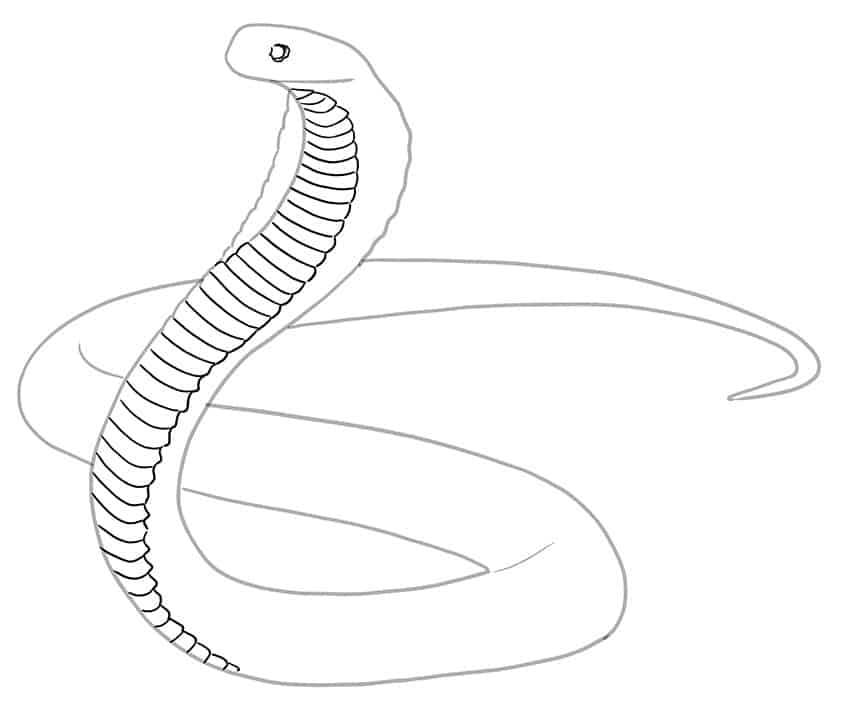
Make use of a regular brush and brown paint, and evenly coat the entire body of the snake.
Note! Leave the belly of the snake blank for now!
Step 6: Add the Secondary Color Coat
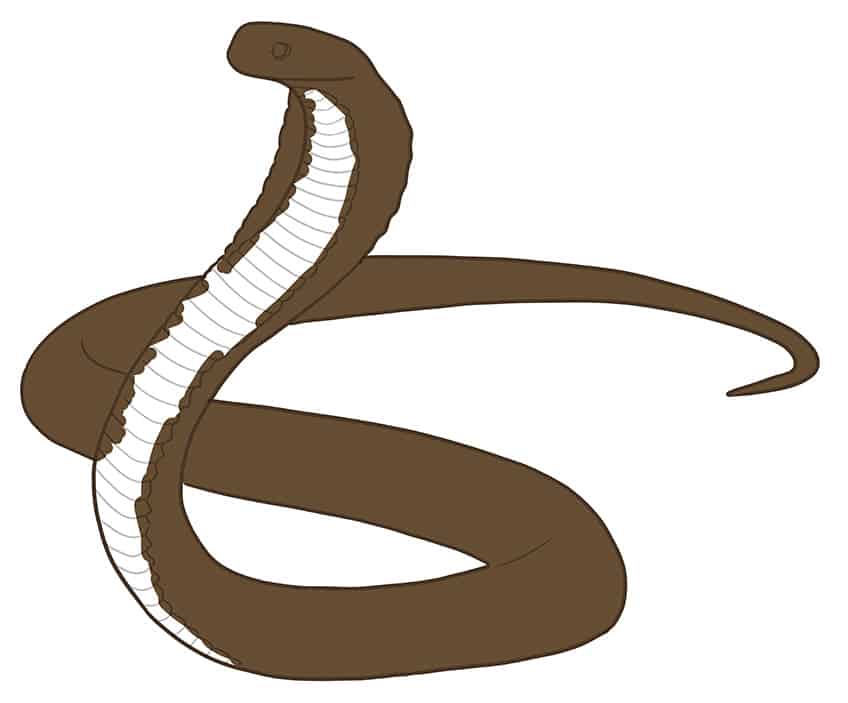
With the same brush you used before, switch to light brown paint, and evenly color the belly of your snake drawing. Complete with a fine, sharp brush and dark gray paint, and fill in the eye.
Step 7: Shade in Your Snake Sketch
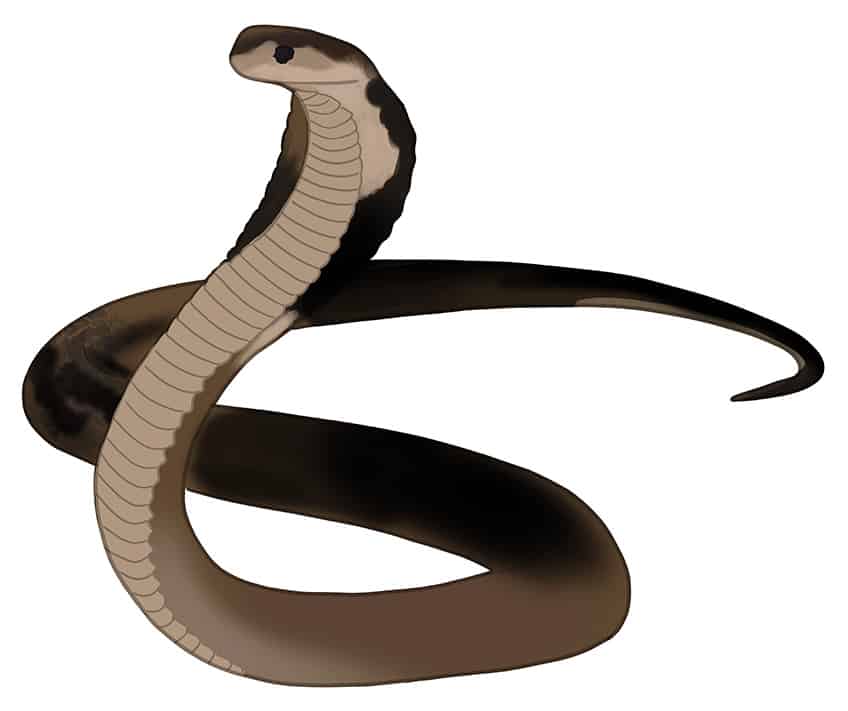
Select a small, soft brush and light brown paint, and add a soft secondary color coat between the lower half of the neck and the top of the head. Continue this process onto the body of your snake drawing.
With a small brush and black paint, add shading along the top area of the head, neck curves, remaining body, and tail.
Complete this step with a blending brush and smooth out the shading.
Step 8: Texture Your Snake Drawing
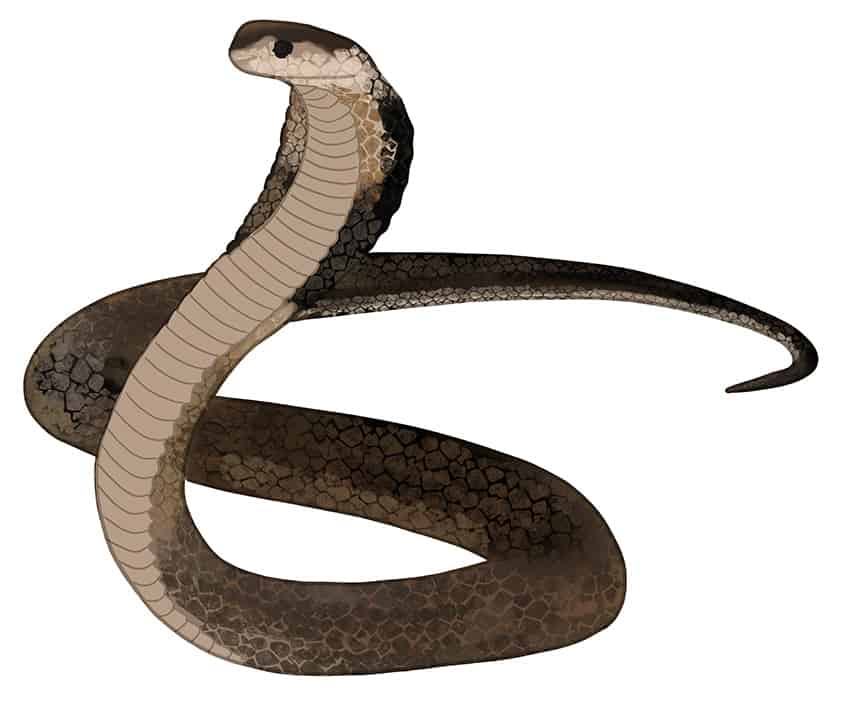
Begin this step with a pattern brush and tan paint, and paint individual diamond pattern scales on the face and side neckline of your easy snake drawing. Repeat this step with black, dark brown, and light brown paint, and paint along the rest of the body and tail.
Step 9: Define the Features of Your Snake Drawing
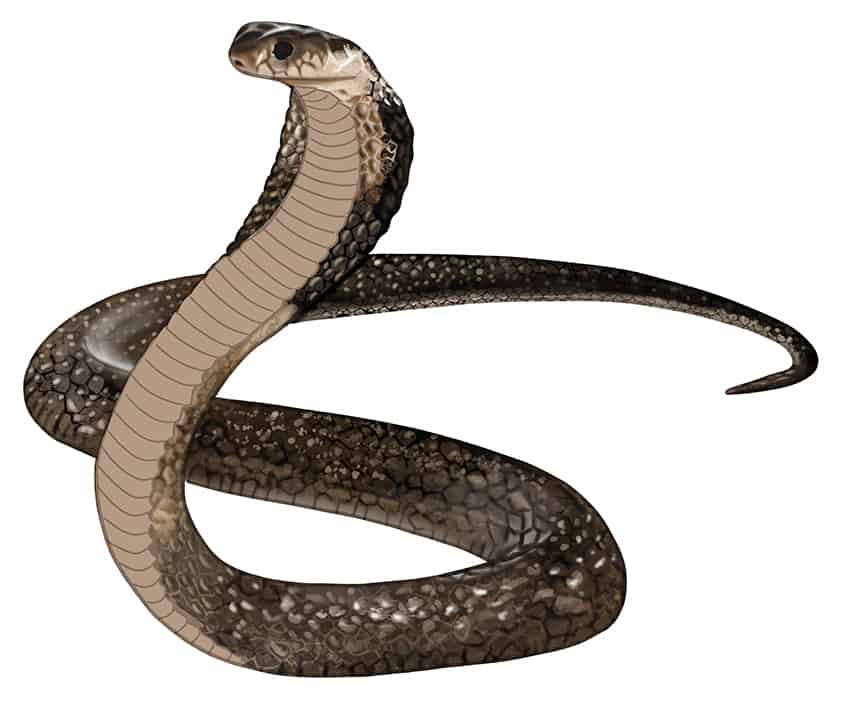
Select a fine, sharp brush and black paint, and trace the outline of the diamond pattern on your snake’s skin. Once complete, paint the mouth with black paint. Continue with white paint, and apply soft highlights on each scale pattern. Repeat with light brown paint, and paint on several spots to create diversity and depth.
With a soft brush and white paint, add soft brush strokes along the curvature of your snake drawing to add realistic highlights.
Step 10: Texture the Belly
In this step, you will start to add texture to create a more realistic snake drawing! To do this, you will need to select a soft brush and tan paint and add a soft color blend along the belly. Repeat using black paint and add several dark spots along the scales. Select a blending brush and smooth out these newly painted areas.
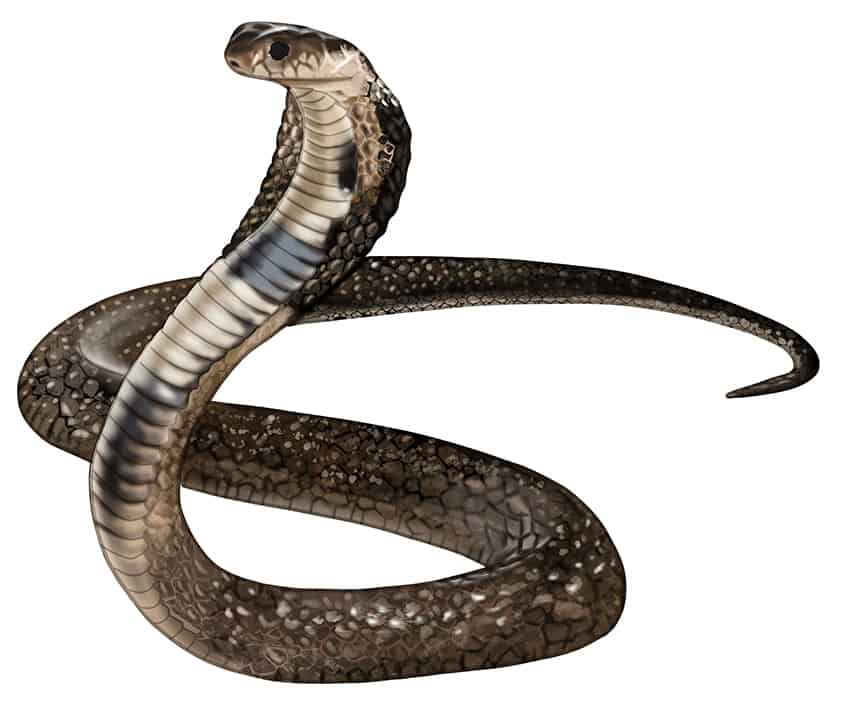
Step 11: Highlight the Belly
To add highlights to your snake sketch, use a fine brush and white paint and add soft brush strokes to the lower part of your snake belly. For the upper part of the belly, add more intensity to the highlights. Apply a final central highlight line. Complete this step by adding a soft highlight to the eye of your snake drawing.
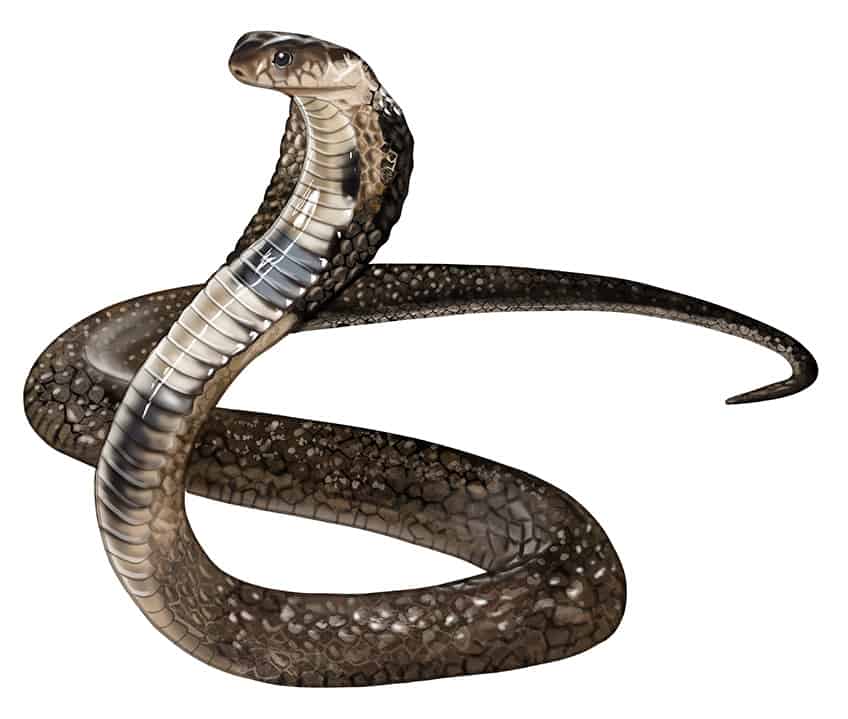
Step 12: Add a Ground Shadow
With a soft brush and black paint, add a soft shadow directly underneath the snake. Select a blending brush and smooth out the edges of your shadow.
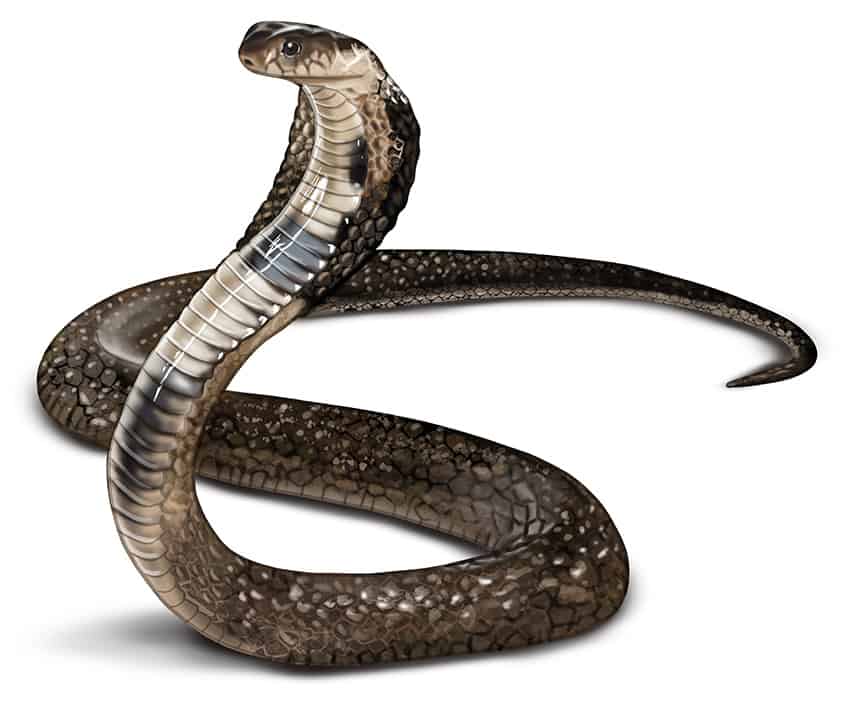
Step 13: Finalize Your Easy Snake Drawing
Make use of a fine brush and the corresponding colors, and trace the entire outline and any inner texture lines to create a flawless and seamless look!
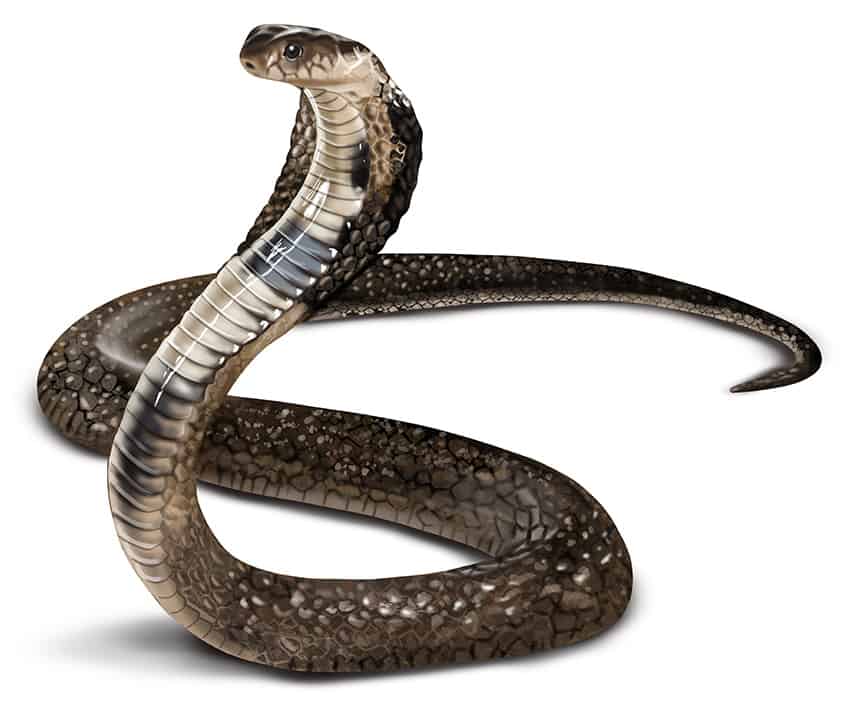
Well done on completing our tutorial on how to draw a snake! You have just created your very own realistic snake drawing, and have made it look so easy! We hope you have learned some important and new drawing skills that you can take with you and apply to your other drawings!
Frequently Asked Questions
How to Draw a Snake Realistically?
Drawing a snake and making it look realistic lies in the shading and contouring process. By adding the necessary details, you are creating depth and character in your snake drawing. After some practice, you will be able to create a realistic snake drawing!
What Color Can My Snake Sketch Be?
Snakes can come in numerous colors. Some of those colors are more neutral, whereas others can be very vibrant and colorful. You are allowed to be as creative as you want, so let your artistic side run wild and color your snake in any way you wish!
Matthew Matthysen is an educated multidisciplinary artist and illustrator. He successfully completed his art degree at the University of Witwatersrand in South Africa, majoring in art history and contemporary drawing. The focus of his thesis was to explore the philosophical implications of the macro and micro-universe on the human experience. Matthew uses diverse media, such as written and hands-on components, to explore various approaches that are on the border between philosophy and science.
Matthew organized various exhibitions before and during his years as a student and is still passionate about doing so today. He currently works as a freelance artist and writer in various fields. He also has a permanent position at a renowned online gallery (ArtGazette) where he produces various works on commission. As a freelance artist, he creates several series and successfully sells them to galleries and collectors. He loves to use his work and skills in various fields of interest.
Matthew has been creating drawing and painting tutorials since the relaunch in 2020. Through his involvement with artincontext.org, he has been able to deepen his knowledge of various painting mediums. For example, watercolor techniques, calligraphy and lately digital drawing, which is becoming more and more popular.
Learn more about Matthew Matthysen and the Art in Context Team.
Cite this Article
Matthew, Matthysen, “How to Draw a Snake – A Fun and Easy Snake Drawing.” Art in Context. February 24, 2023. URL: https://artincontext.org/how-to-draw-a-snake/
Matthysen, M. (2023, 24 February). How to Draw a Snake – A Fun and Easy Snake Drawing. Art in Context. https://artincontext.org/how-to-draw-a-snake/
Matthysen, Matthew. “How to Draw a Snake – A Fun and Easy Snake Drawing.” Art in Context, February 24, 2023. https://artincontext.org/how-to-draw-a-snake/.


