How to Draw a Peach – An Easy Step-by-Step Peach Illustration Tutorial
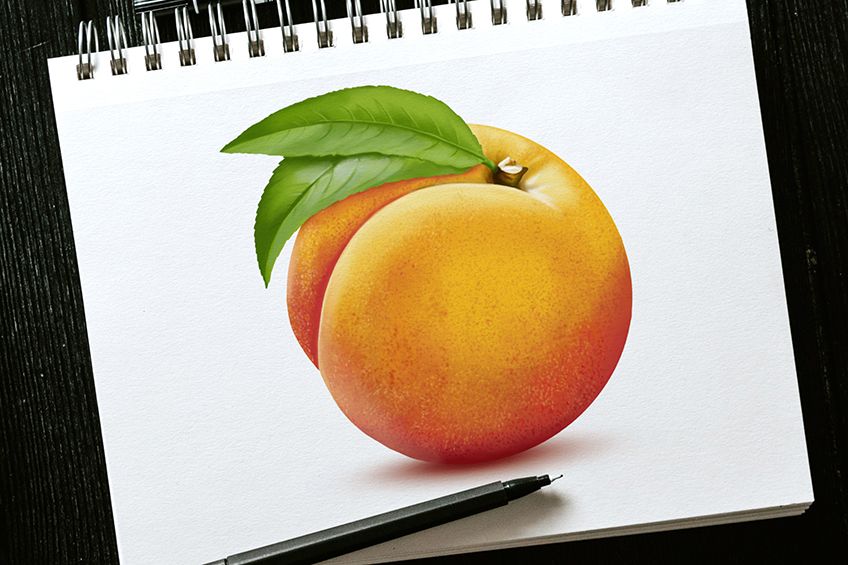
We’re feeling a little peachy today, so join us and learn how to draw a realistic Peach! With sweet and juicy flesh and soft fuzzy skin, peaches are undoubtedly one of the best fruits out there. Whether it is a warm summer’s day, or you simply want to imagine that it is, this easy peach drawing is the perfect activity. We begin by constructing a basic peach outline, before creating a more realistic peach illustration with color and texture.
Create an Easy Peach Illustration in 16 Steps
Our easy peach drawing tutorial is suitable for artists of all levels. Even if you are just beginning to explore your creative side, you can easily complete this peach sketch. In order to help you draw a peach, we break the process down into easy-to-follow steps. You will start with a series of construction steps that help you to create a perfectly dimensional peach outline. Following this, we create a realistic texture in our peach illustration with different layers of color. You can see a brief outline of our easy peach drawing tutorial in the image below.
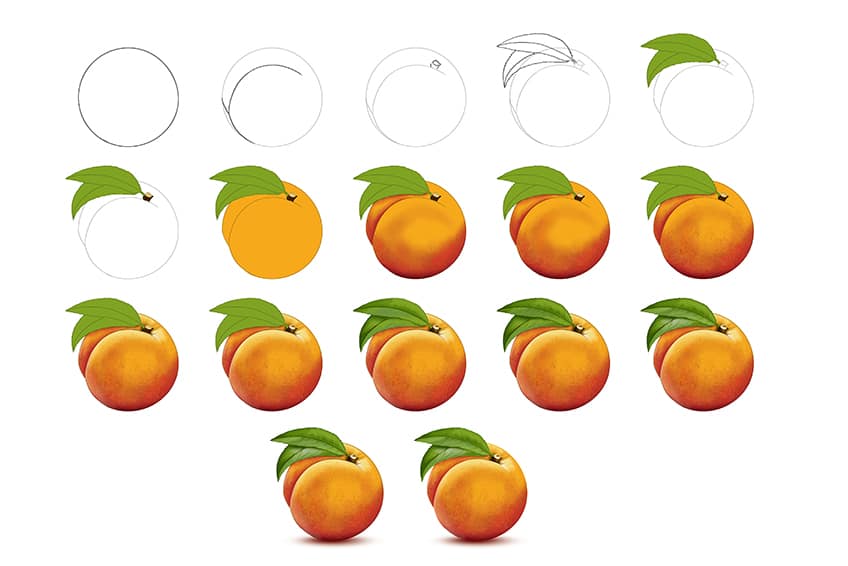
Another way that we make this peach drawing tutorial easy for everyone is by leaving the choice of medium up to you. If this is one of your first drawings, then it is important that you are comfortable with the medium. So, whether you are a graphic artist, or you prefer pastels or paint, you can simply adjust the coloring instructions to meet your needs.
With that being said, let us begin learning how to draw a peach together.
Step 1: Construct the Basic Peach Outline
We begin our peach drawing with a single construction shape. Find the center of your drawing area, and draw a large circle here. Although peaches are not perfectly round, this base shape will help us to get the general shape before we adjust it to create more realism.

Step 2: Shape the Peach Dip
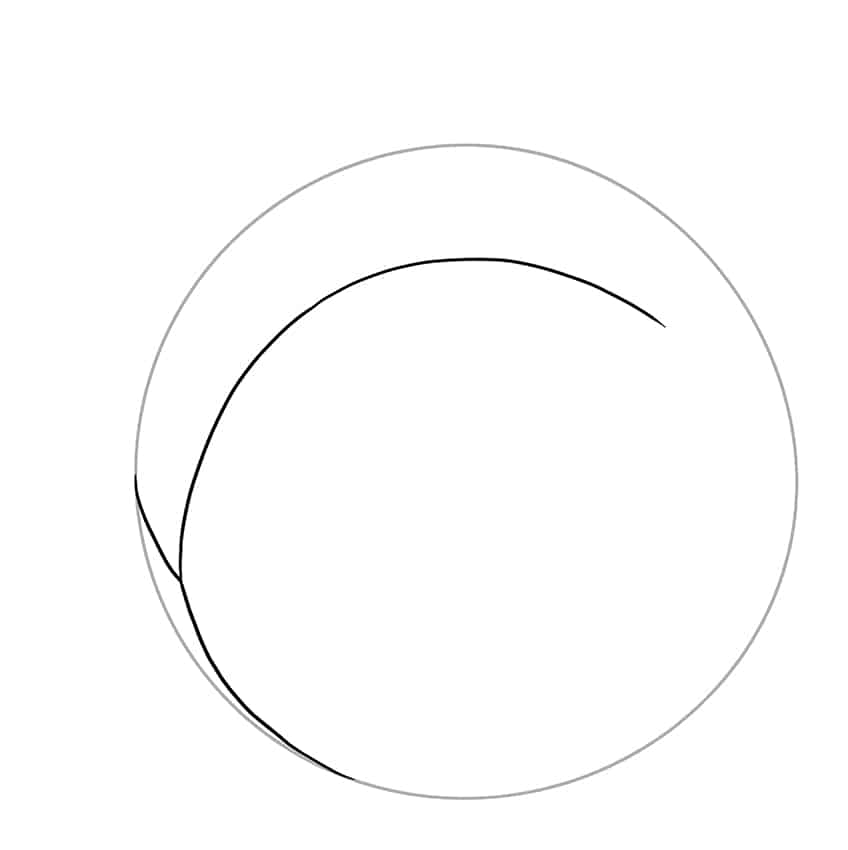
In this step, we are now going to begin shaping a more realistic peach outline. Within the base circle shape, draw a long split arch that curves around and down on the left side.
Then, at the bottom of this arch create a more indented shape that separates from the circular outline.
Step 3: Draw the Base of the Stem
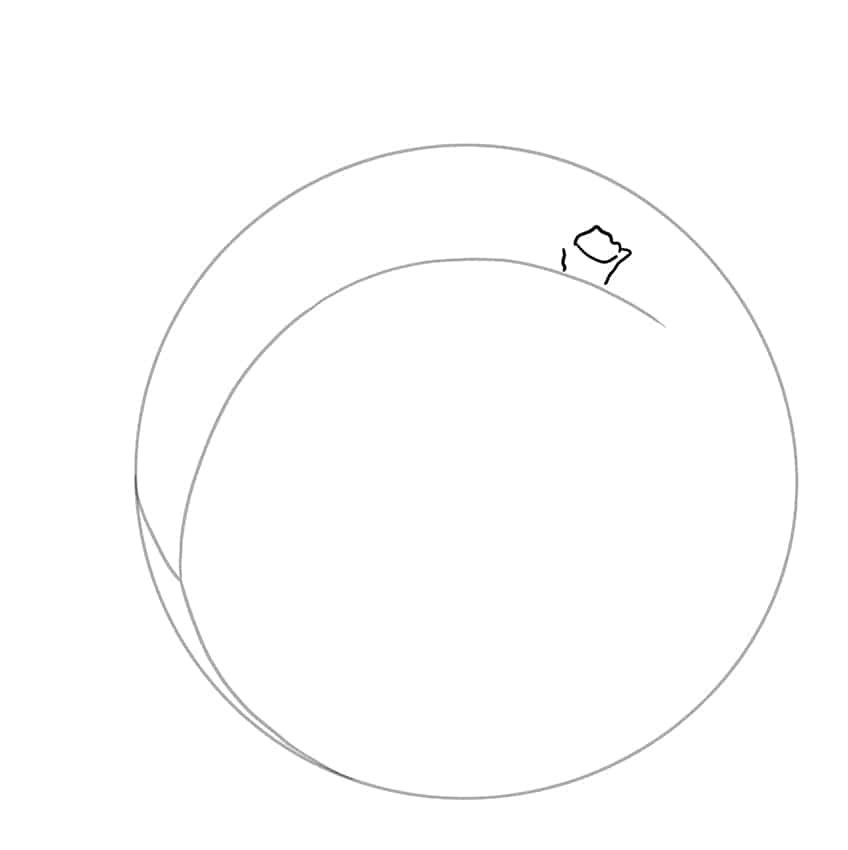
On the right side of the arch line that you drew in the previous step, draw a little short stem. The component shapes of this stem include a round shape and two inwardly sloping side lines.
Step 4: Shape the Peach Leaves
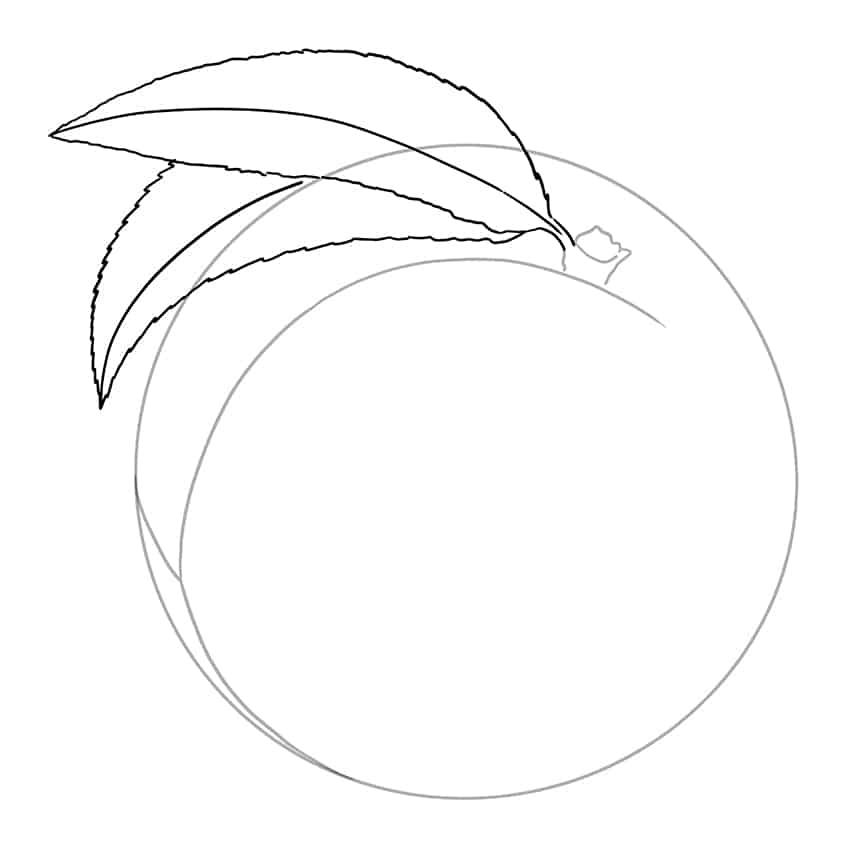
Now that you have the stem, you can draw two peach leaves that extend from it. Begin with the upper leaf which is going to be fully visible. Draw a center line, and then slightly jagged leaf outlines. The second leaf should sit below the first, and the base of it should be obstructed by the first one. This second leaf should curve down around the side of the peach outline.
When you have completed this step, you can erase all of the visible construction lines and any overlapping lines, leaving a perfect peach outline.
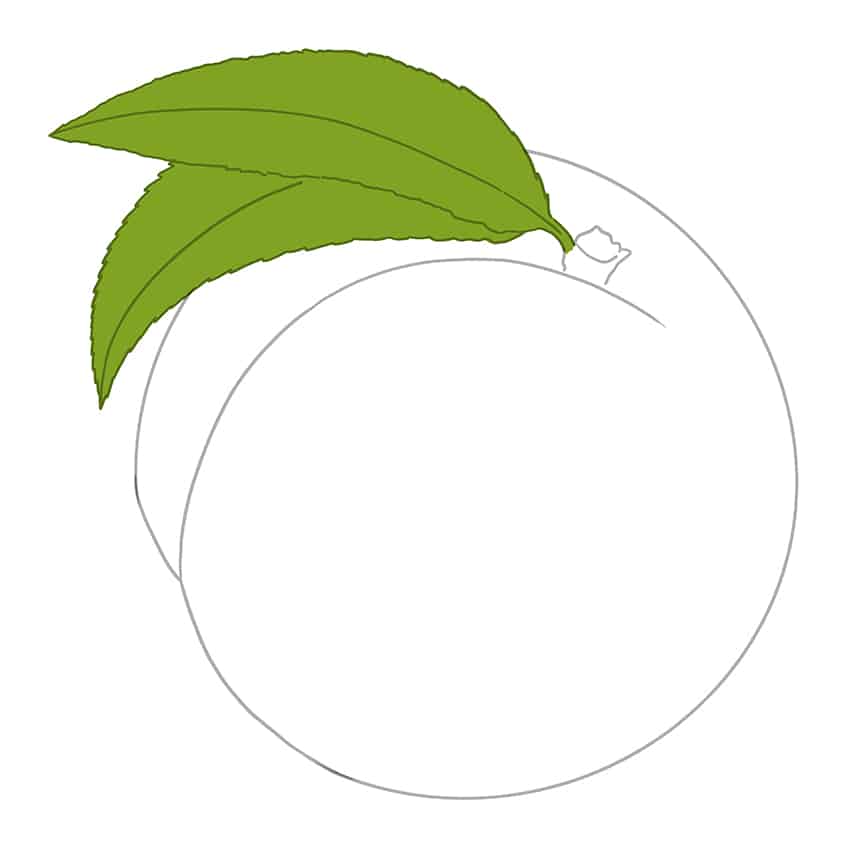
Step 5: Begin Coloring the Leaves
With all of the coloring elements in this peach drawing tutorial, we are going to build up the final impression with different layers. To begin coloring the leaves, you will need a regular brush and some light green paint. Paint both leaves evenly.
Step 6: Color the Stem
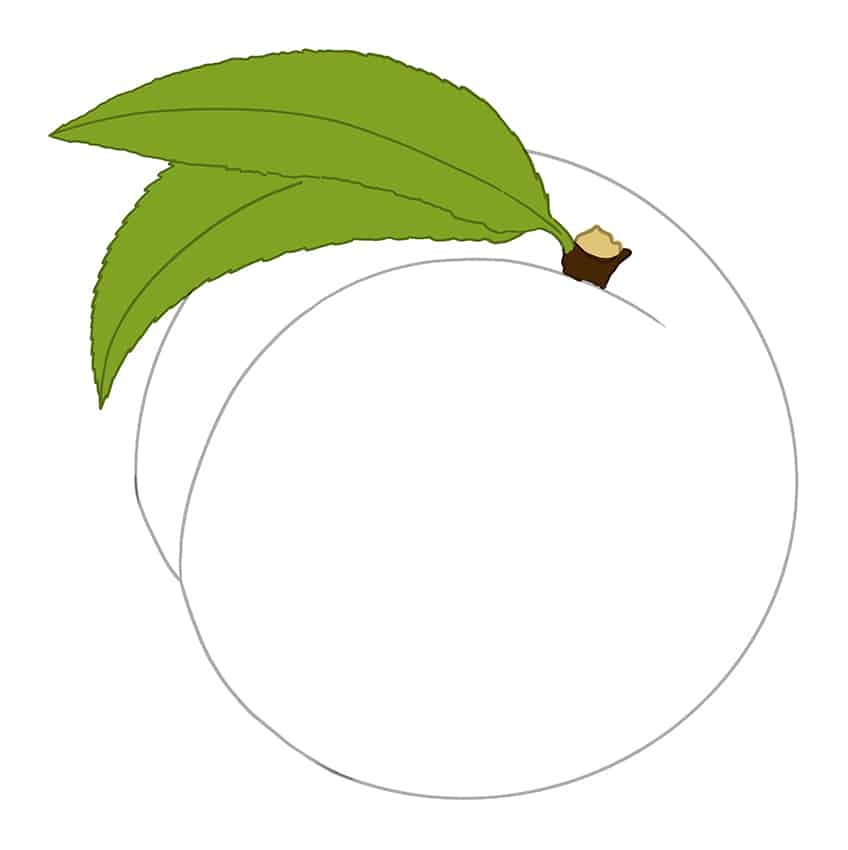
You will need two different colors for the initial coloring of the stem. With a small brush and some dark brown paint, fill the bottom half of the stem evenly. Next, with a clean small brush and some light tan paint, fill in the round top bit of the stem.
Step 7: Apply A Base Color Coat to the Peach Outline
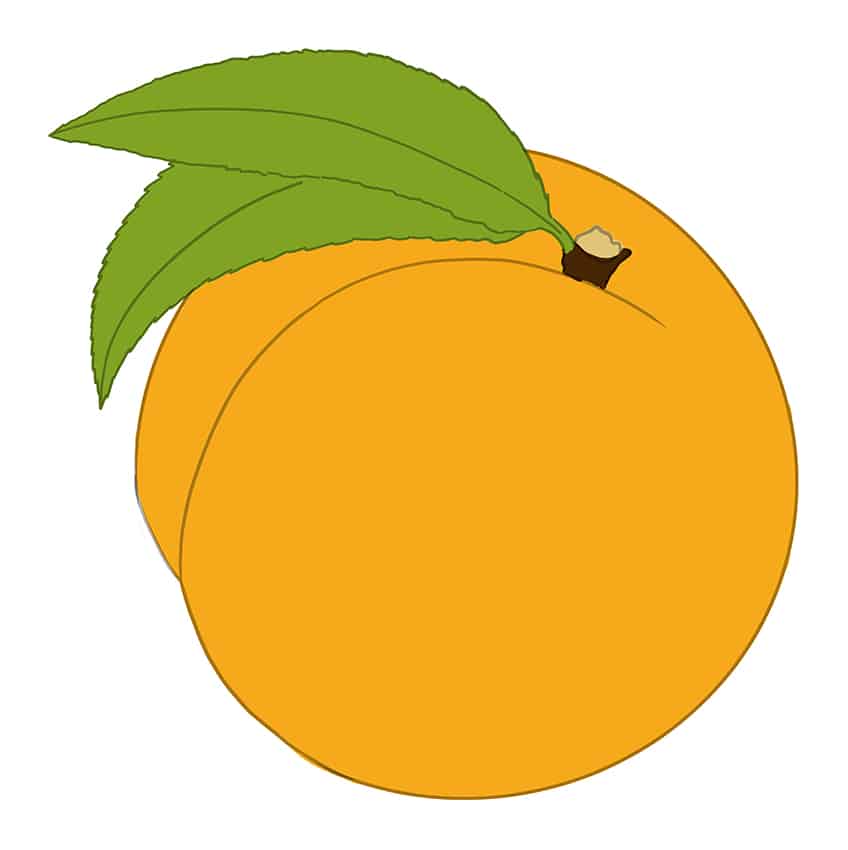
Now that we have the base color coat for the stem and leaves, we can begin to focus on the actual peach. For the base coat, you will need a bright and cool orange color and a regular paintbrush. Carefully apply an even coat of color to the entire shape of the peach drawing.
Step 8: Create A Secondary Color Coat
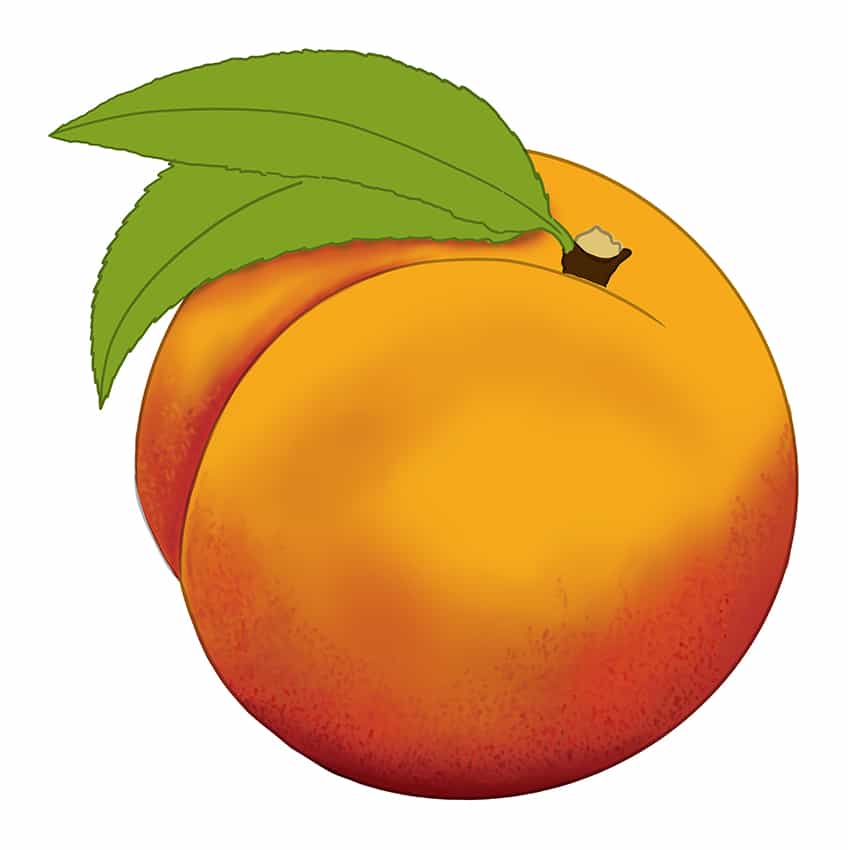
We are now going to apply the second color to the peach illustration. With the same regular brush from the previous step and a darker shade of orange, apply a secondary coat to the bottom half of the peach. You want this second coat to hug the outline around the sides of the peach sketch, and to go up into the crease. The final place where you want this darker shade is just below the leaves. You can then repeat this step with a slightly lighter orange color. To create a smooth blend between all of these shades, use a clean blending brush to melt them together.
Finally, use a sharp brush and a combination of darker and lighter orange colors, and apply some texture spots to the darker areas of the peach illustration.
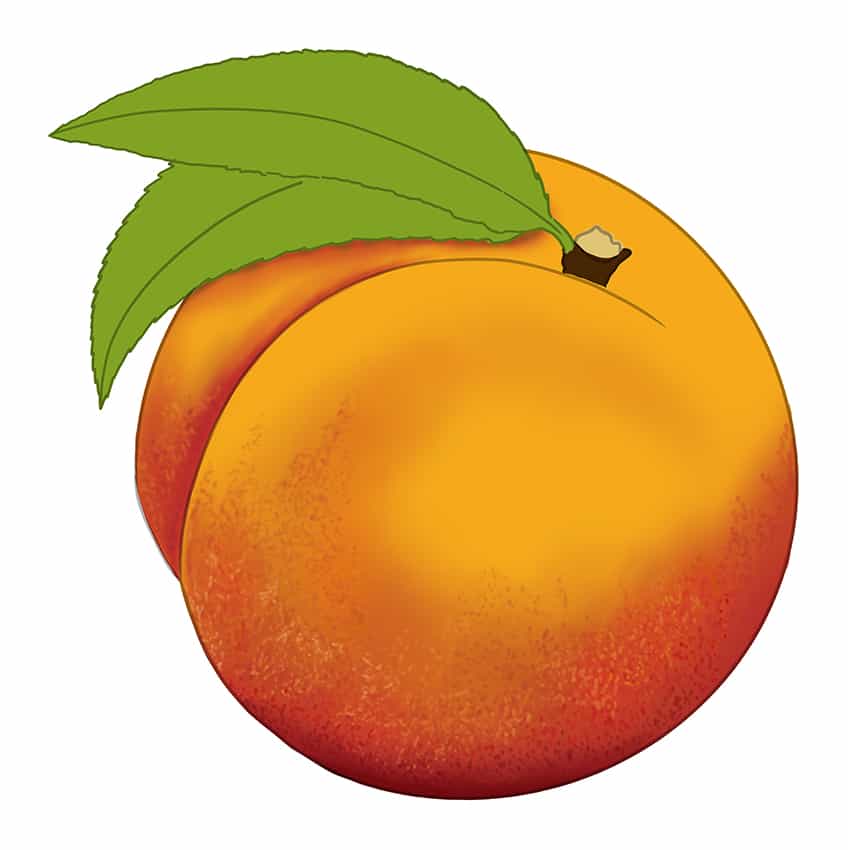
Step 9: Enhance the Texture
In this step, you can now enhance the texture that you began in the previous step. With a small brush and some white paint, apply some small spots in the darker areas of the peach sketch. You can then repeat this process with darker shades of orange, bringing the spots upwards following the curves of the peach.
Step 10: Complete the Texture
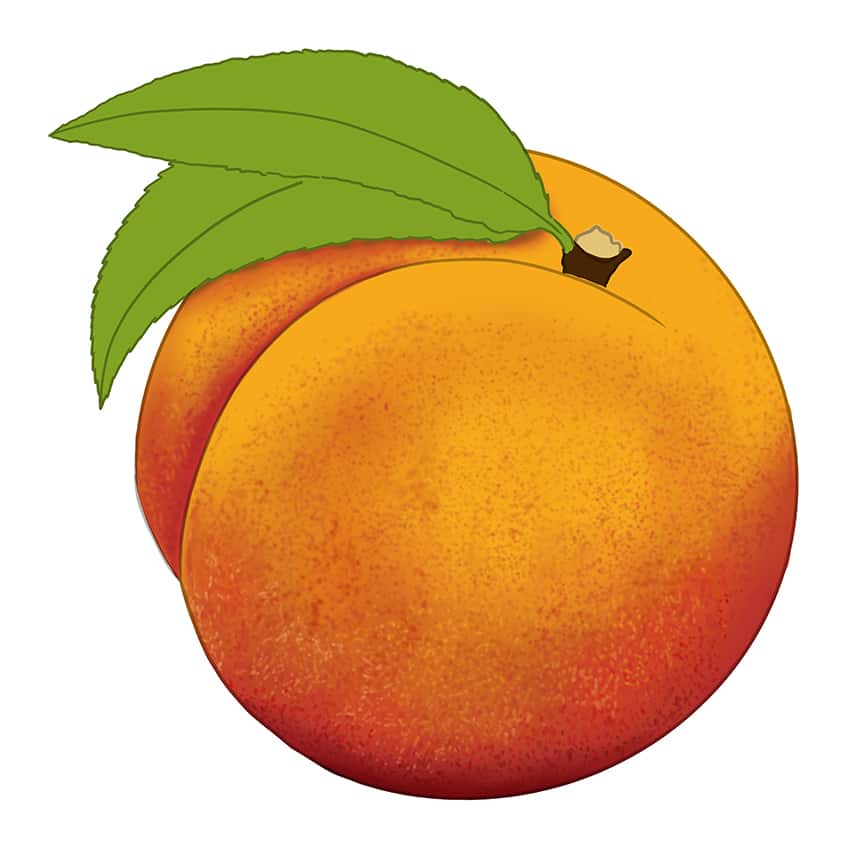
In this step, you can simply repeat the previous step with a darker shade of orange. This time, you can bring the texture further up the peach, almost to the top. Repeat this process several times, creating texture throughout your peach illustration.
Step 11: Highlight Your Peach Sketch
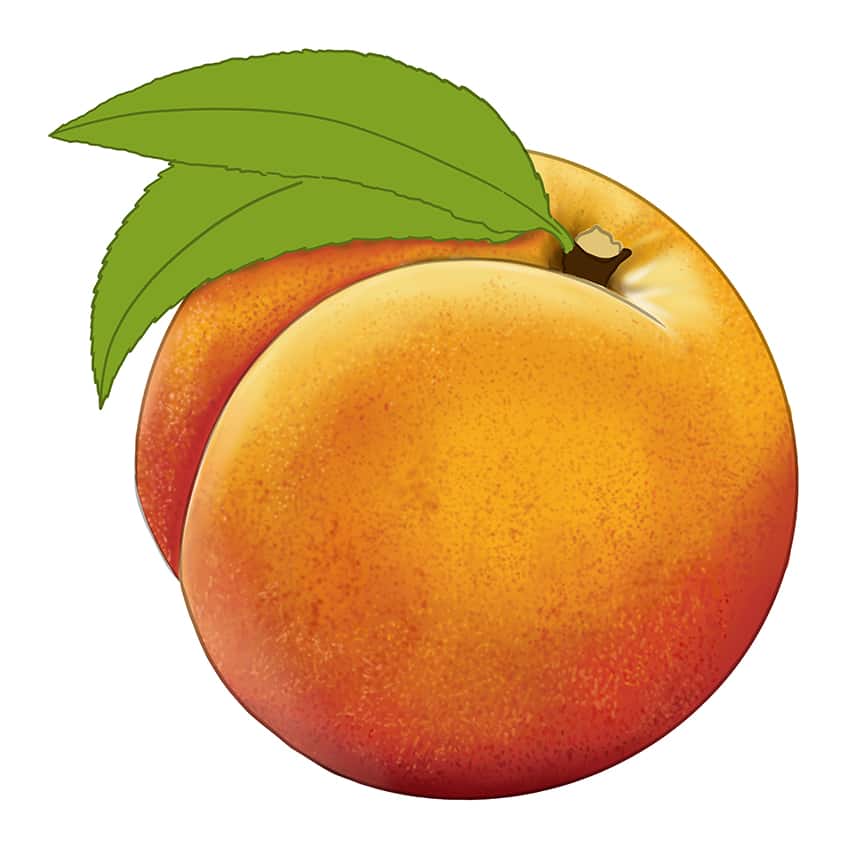
Although we have used the word “highlight”, we are going to begin with a little shading. With a small blending brush and a little black paint, add a small amount of shading around the base of the stem. Next, with a clean blending brush and some white paint, create strokes of highlight along the top of the split and around the edges of the peach.
Using a larger blending brush and some white paint, apply a soft glow to the left bottom area of the peach.
Step 12: Add Detail to the Stem
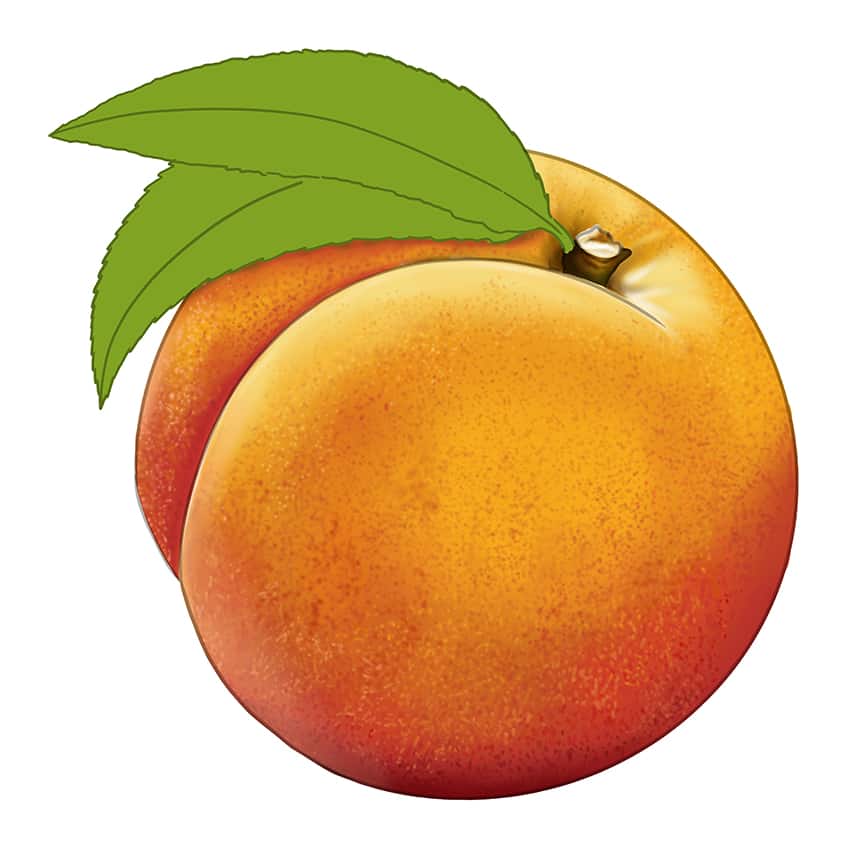
As we near the end of the peach drawing tutorial, we are going to complete the stem by adding color detail. With a small blending brush and some black paint, apply some shading texture within the stem. This texture should curve horizontally around the stem. Repeat this process using light green paint.
Finally, use a small blending brush to fill the top of the stem with white paint.
Step 13: Shade the Leaves
To shade the leaves, you will need a dark green shade and a blending brush. Using these tools, apply shading and contouring onto each leaf, particularly along the center lines.
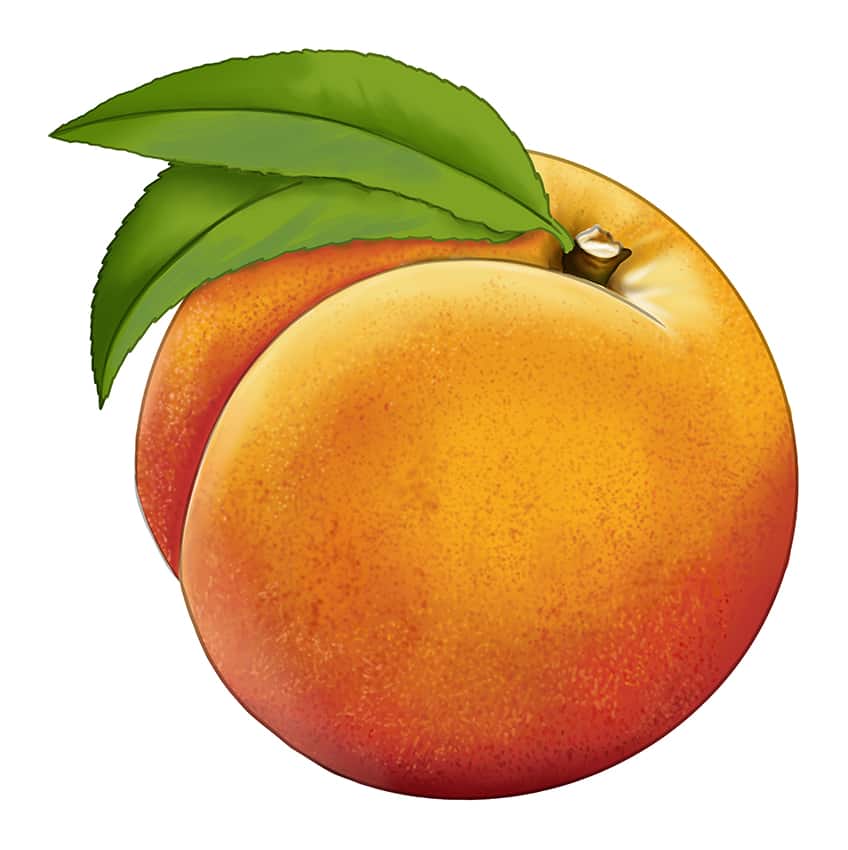
Step 14: Create Texture in the Leaves
With a fine brush and dark green paint, trace over the center lines on each leaf, and create the veins that extend outwards. You can then trace over these texture lines with a lighter green shade.
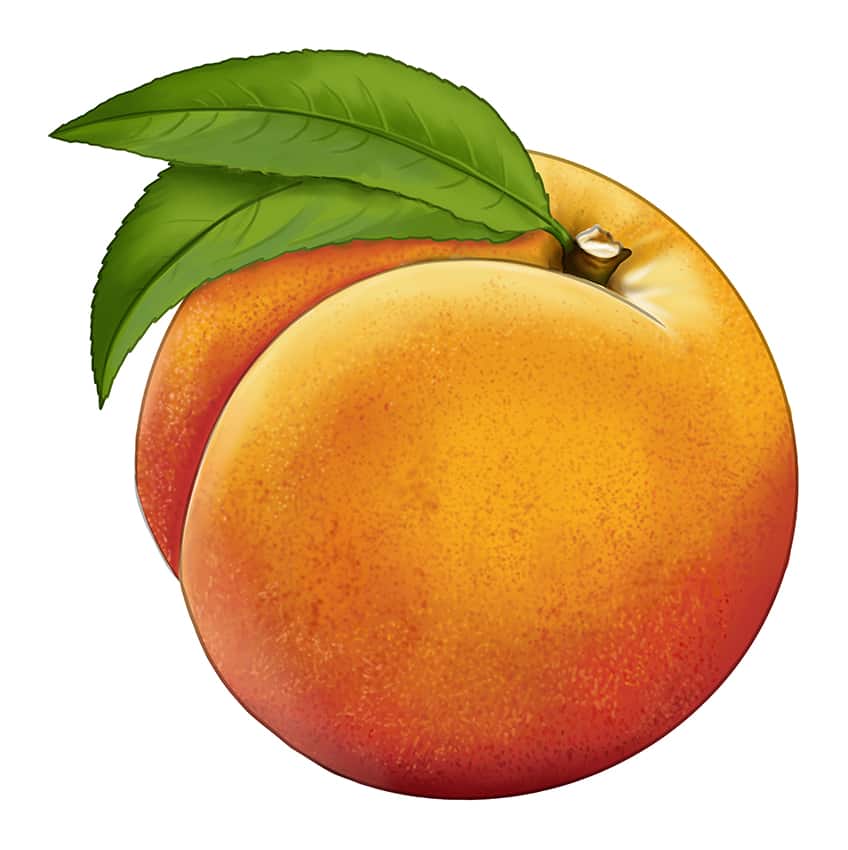
Step 15: Highlight the Leaves
To highlight the leaves, simply use a soft blending brush and some white paint to create patches along the main frame of each leaf.
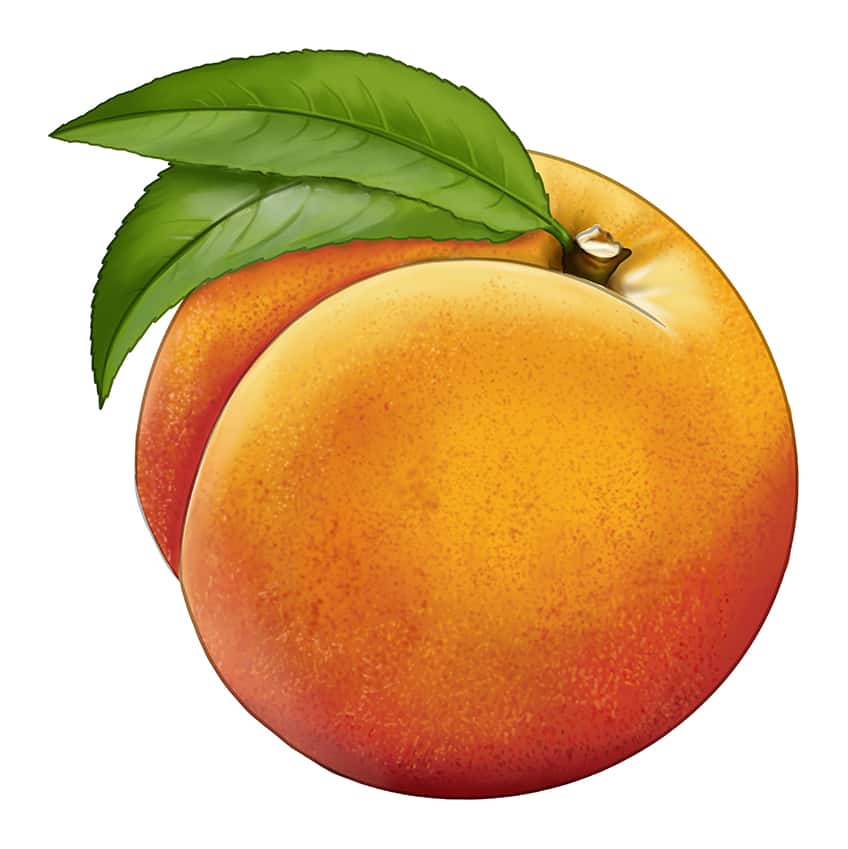
Step 16: Create a Ground Shadow Below Your Peach Sketch
To enhance the realism of your easy peach drawing, you can now create a shadow at the base of your peach. This will give the impression that your peach is sitting on a surface and casting a shadow. With a small blending brush and a dark orange color, apply a small patch of shading right below the peach.
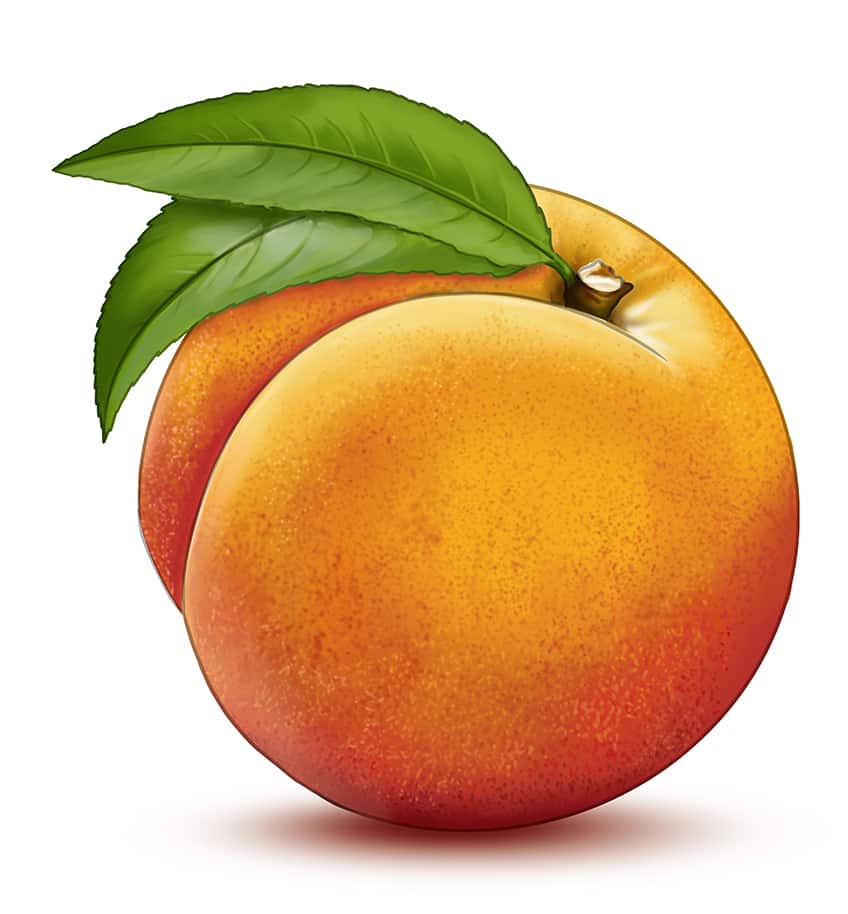
Step 17: Complete Your Peach Illustration
In this last step of the peach drawing tutorial, you are going to complete the drawing by removing the black outline. You can do this by carefully tracing over the outer and inner outlines with the corresponding color at each point. Once you have done this, you will be left with a perfectly realistic peach illustration.
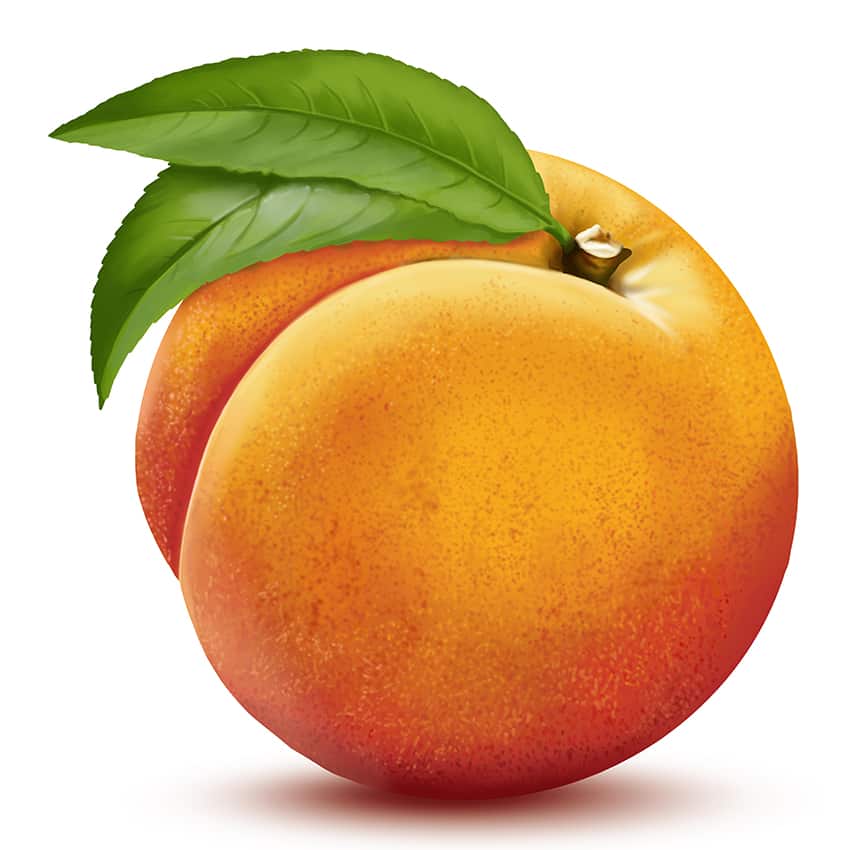
Well done! You have just completed a very easy peach drawing in only 17 steps. You now know how to draw a peach in very easy steps that break the process down. Hopefully, you now feel confident in your ability to draw a peach, and you can apply these tools to other drawing ideas.
Frequently Asked Questions
How to Draw a Simple Peach Illustration?
Although our peach looks complicated, the process to create it is actually very simple. We break the peach drawing process down into easily digestible steps. Beginning with some construction steps, we then create a final peach outline and enhance the realism of the peach sketch with color and texture.
What Colors Do I Need for My Peach Sketch?
For your very own peach drawing, you will need various shades of orange for the fruit itself. For the leaves, you will need a darker and lighter shade of green, and for the stem, you will need a dark brown and a light tan shade. Finally, you will need some black and white for the shadows and highlights.
Matthew Matthysen is an educated multidisciplinary artist and illustrator. He successfully completed his art degree at the University of Witwatersrand in South Africa, majoring in art history and contemporary drawing. The focus of his thesis was to explore the philosophical implications of the macro and micro-universe on the human experience. Matthew uses diverse media, such as written and hands-on components, to explore various approaches that are on the border between philosophy and science.
Matthew organized various exhibitions before and during his years as a student and is still passionate about doing so today. He currently works as a freelance artist and writer in various fields. He also has a permanent position at a renowned online gallery (ArtGazette) where he produces various works on commission. As a freelance artist, he creates several series and successfully sells them to galleries and collectors. He loves to use his work and skills in various fields of interest.
Matthew has been creating drawing and painting tutorials since the relaunch in 2020. Through his involvement with artincontext.org, he has been able to deepen his knowledge of various painting mediums. For example, watercolor techniques, calligraphy and lately digital drawing, which is becoming more and more popular.
Learn more about Matthew Matthysen and the Art in Context Team.
Cite this Article
Matthew, Matthysen, “How to Draw a Peach – An Easy Step-by-Step Peach Illustration Tutorial.” Art in Context. June 27, 2022. URL: https://artincontext.org/how-to-draw-a-peach/
Matthysen, M. (2022, 27 June). How to Draw a Peach – An Easy Step-by-Step Peach Illustration Tutorial. Art in Context. https://artincontext.org/how-to-draw-a-peach/
Matthysen, Matthew. “How to Draw a Peach – An Easy Step-by-Step Peach Illustration Tutorial.” Art in Context, June 27, 2022. https://artincontext.org/how-to-draw-a-peach/.


