How to Draw a Mango – An Easy Mango Drawing Tutorial for Beginners
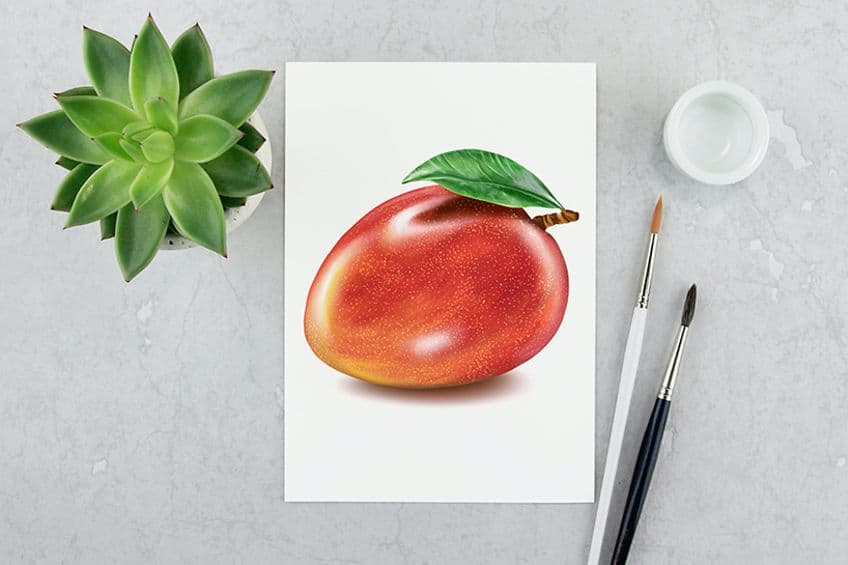
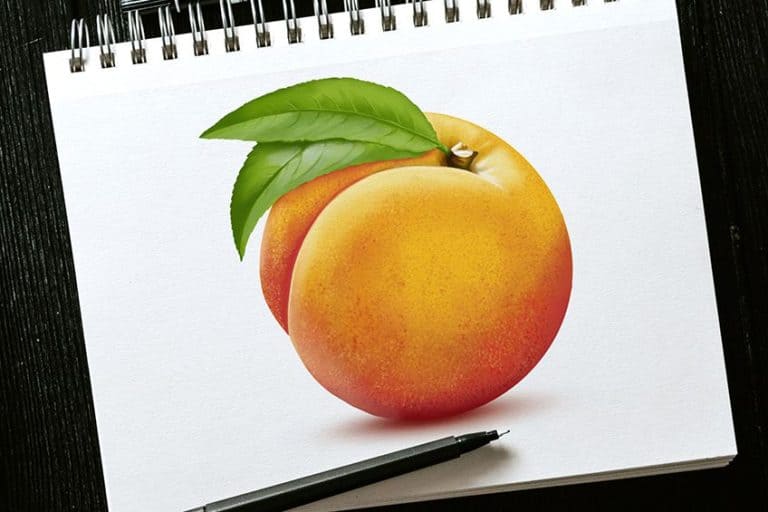
Mangos are a beautiful fruit, both in and out but today we are focusing on the outer appearance. In this mango illustration tutorial, we show you how to create a succulent mango sketch that makes you want to take a bite. We begin by constructing a mango outline before we flesh out the drawing and add realistic coloring. Join us as we learn how to draw a mango in 18 easy steps!
A Step-by-Step Mango Illustration Tutorial
This mango drawing tutorial is specially catered to artists of all levels, particularly those who are just starting out on their artistic journey. In order to make the mango sketch easy for everyone, we break the process down into easy-to-follow steps. We begin by using construction steps that form the basic shape of the mango sketch. Following this, we create a more fleshed-out mango outline and then create texture and realistic definition with color. Take a look at the image below for an outline of all of the steps.
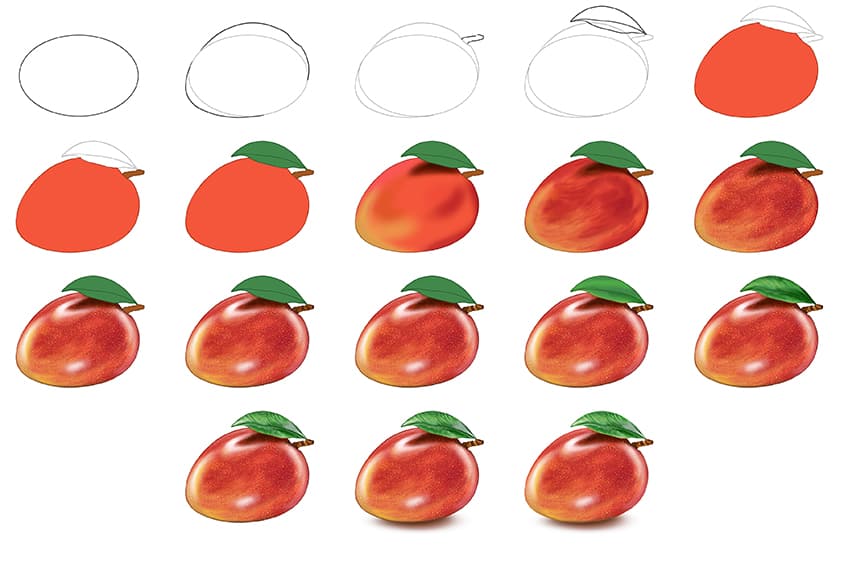
You will see that the majority of the steps involve coloring, and our tutorial is written for a painting medium. Despite this, you are welcome to use whichever medium you feel most adept with. If you are a coloring pencil or marker artist, or you prefer to use a digital drawing tablet, you can easily adapt the steps to suit your individual needs.
Once you have gathered your supplies and found somewhere comfortable to sit, let us begin learning how to draw a mango.
Step 1: Shape the Base of the Mango Sketch
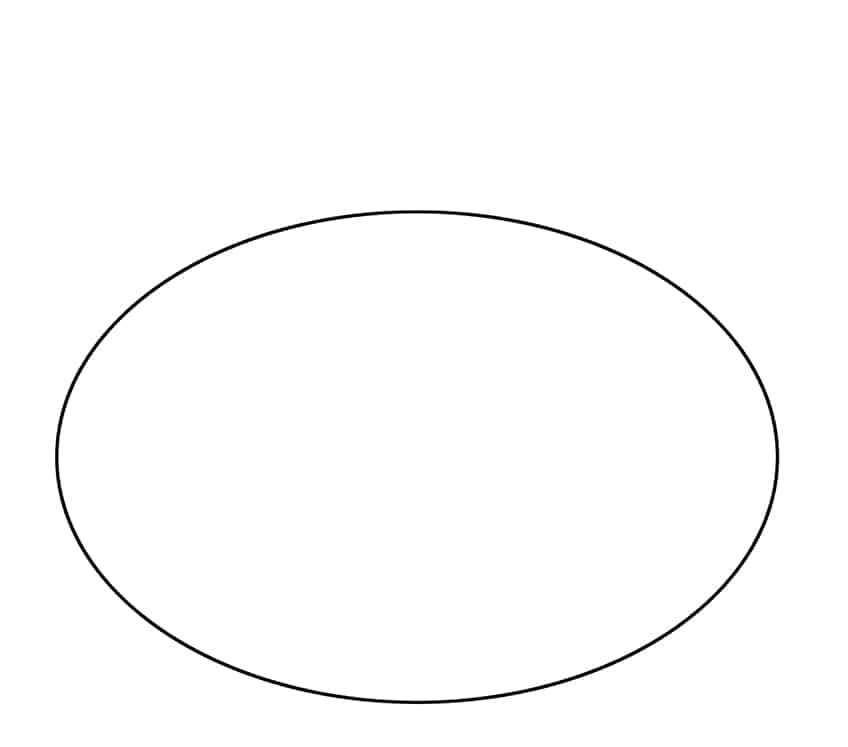
We start our mango drawing by using a single construction shape. For our mango illustration, this initial shape is a long horizontal oval. In the very center of your drawing area, draw this large oval which will represent the main body of the mango outline.
Step 2: Create a More Realistic Mango Outline
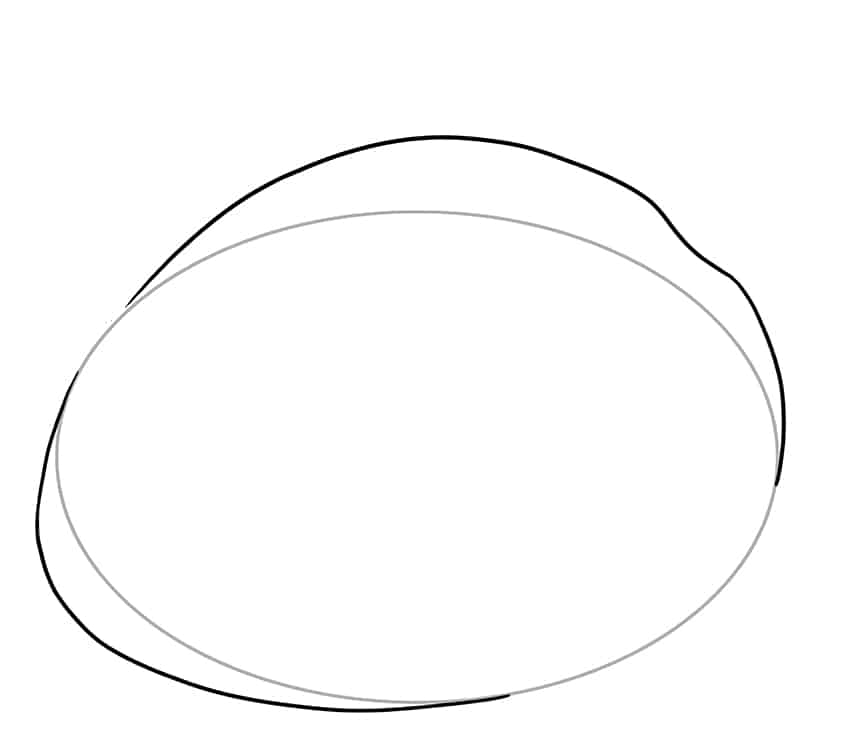
In this step, we are going to create a more realistic mango outline by fleshing out the construction oval. Extend the left end of the oval downwards a little, so that the point is a little lower. On the top right side of the mango construction shape, draw another line that extends upwards quite a bit, creating a more rounded shape.
Tip: draw a slight indent on the top area (right end) where the stalk will be drawn.
Step 3: Shape the Mango Stalk
Now, you want to draw a stalk shape at the top right side of the mango outline. Find the indent that you drew in the previous step, and draw the fruit stalk. Leave a slight opening at the top of the stalk so that we can attach the leaf in the next step.
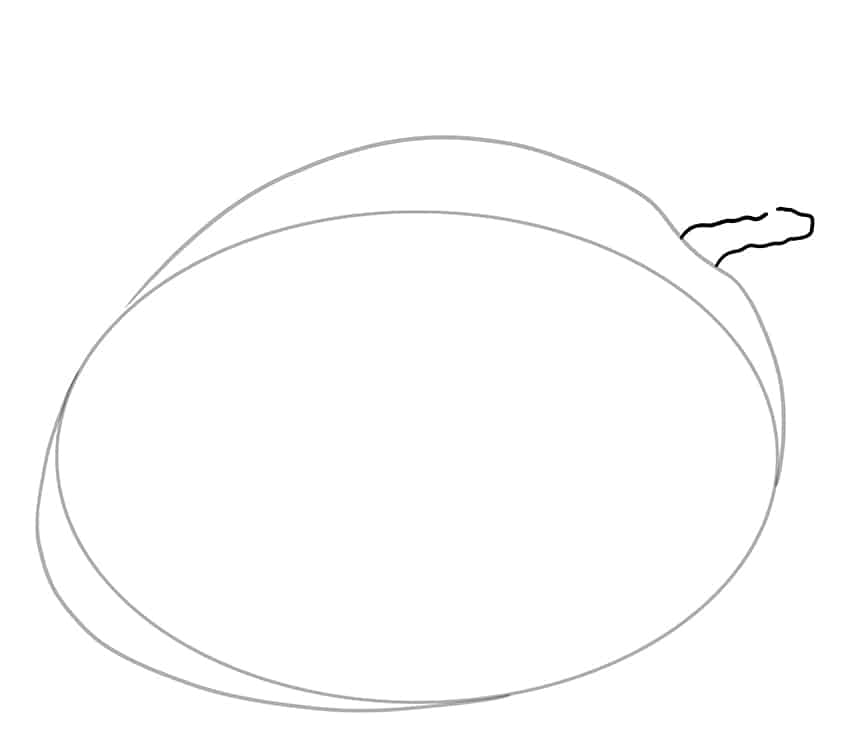
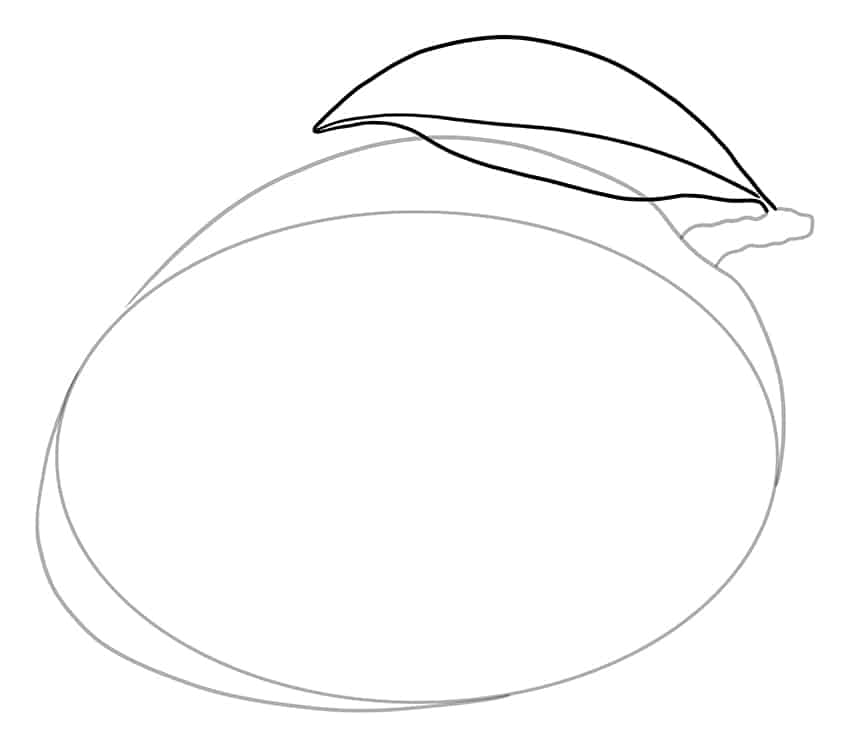
Step 4: Draw a Mango Leaf
In this final mango outline step, you are going to draw the large mango leaf. Begin at the little gap on the mango stalk, and create a large leaf that sweeps back over the main body. Draw a center leaf line too.
When you are happy with your final mango sketch, you can erase any of the still visible construction lines and lines that overlap.
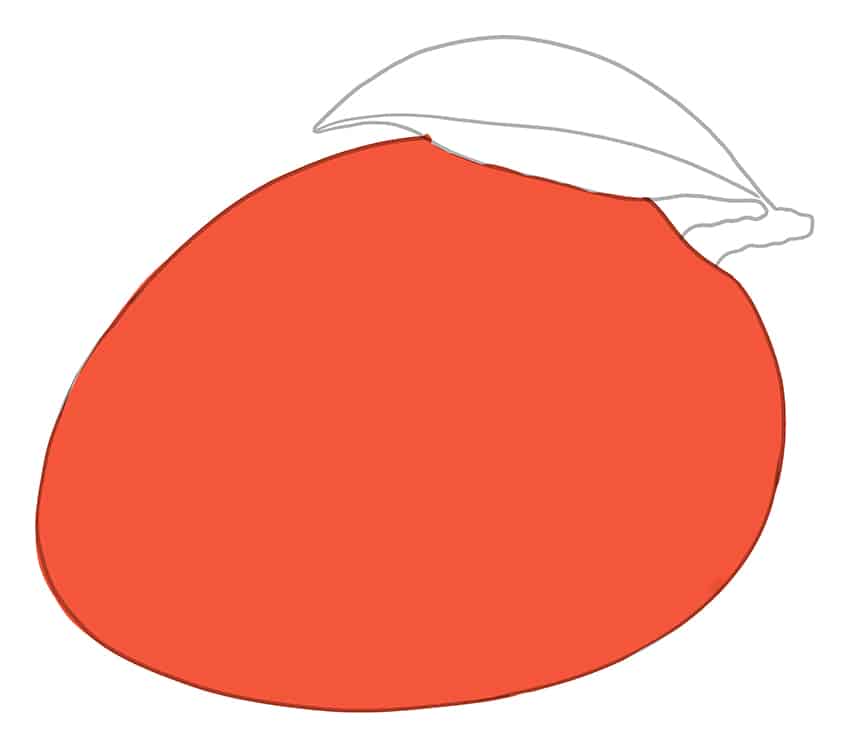
Step 5: Apply a Base Color Coat
This is the first coloring step of our easy mango drawing. From here, we will gradually build up realistic color and texture using various layers. Begin with a regular brush and a bright orange paint, and fill the entire mango outline with an even coat.
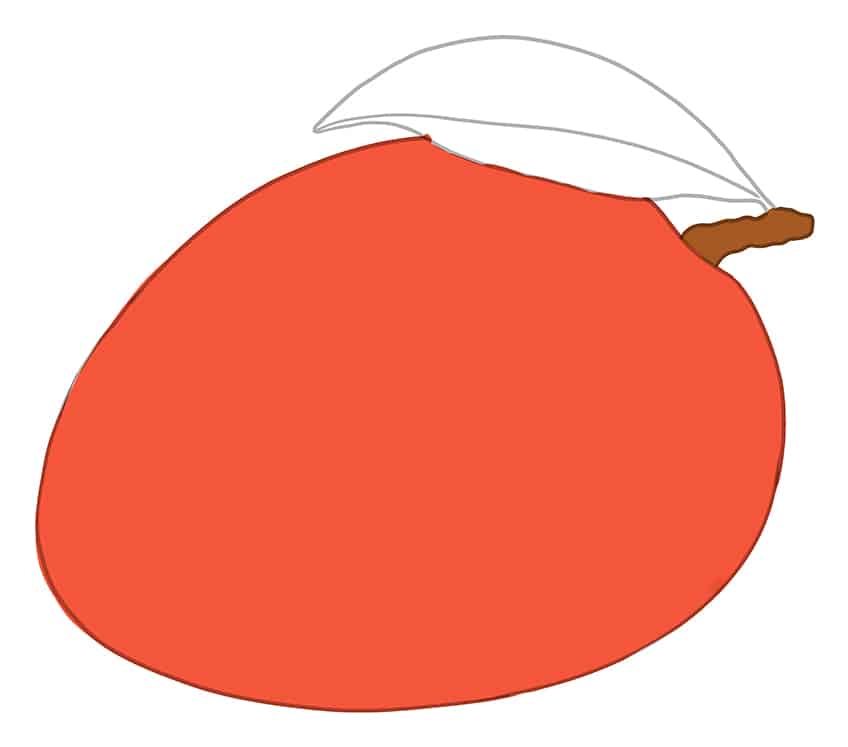
Step 6: Color the Mango Stalk
With a small brush and some light brown paint, create an even layer of color in the stalk of your mango illustration.
Step 7: Apply the Base Shade for the Leaf
Using a regular brush and some middle green paint, carefully fill the entire shape of the mango leaf with an even color coat.
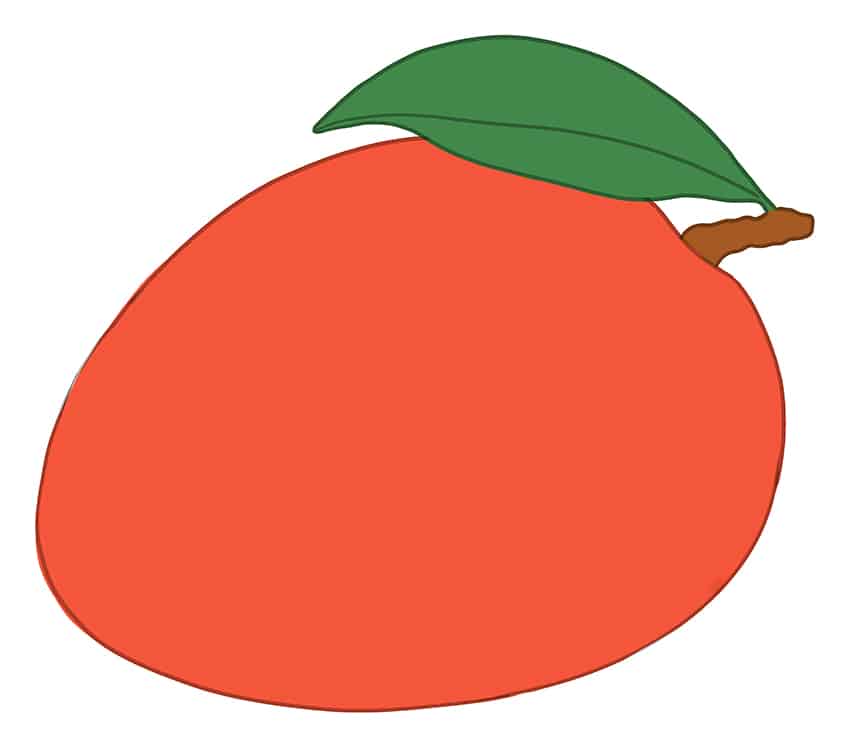
Step 8: Begin Shading Your Mango Sketch
This step is the first that begins to focus on creating more realism in your mango illustration. Use a medium-sized blending brush and a slightly darker shade of orange paint to apply some soft circular coats around the curves of your mango. You can then repeat this step using a light yellow color, lightening the bottom end of the mango outline a little. To create a realistic and smooth blend between all of these shades, use a clean blending brush to carefully smooth them together.
The final part of this step is to create a shadow beneath the mango leaf. Use a small blending brush and a touch of black paint to create a small leaf-shaped shadow.
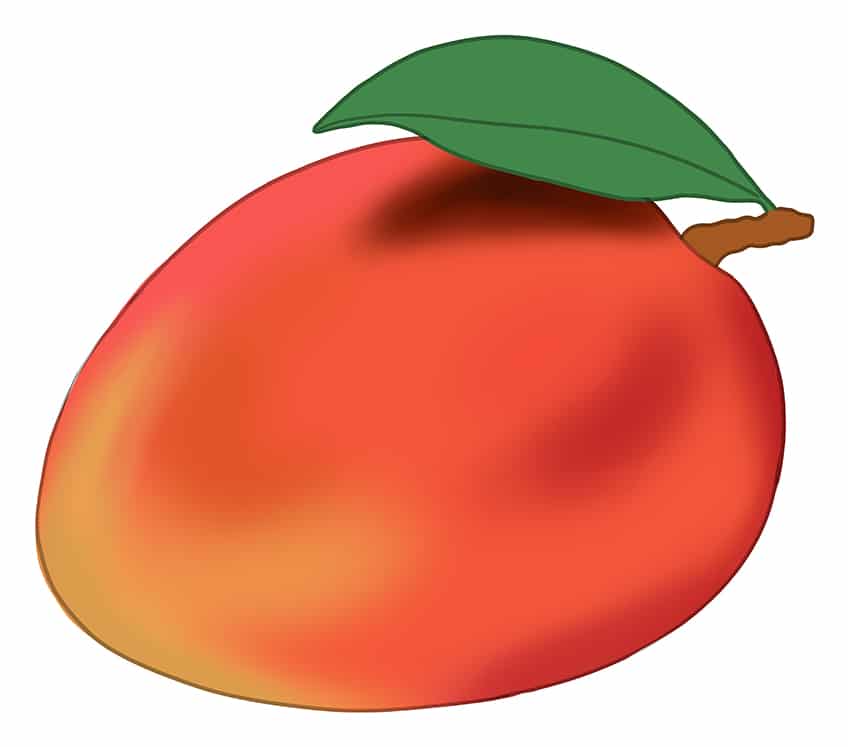
Step 9: Create Skin Patterns
In this step, you can use color to create some unique skin patterns on your mango drawing. You will need a combination of a small blending brush and a medium one. You will also need a darker shade of orange. Using these tools, create some freehand swirls and patterns all throughout your mango drawing. As you create these patterns, keep the overall shape of the mango in mind. Paint swirls that follow the curves of the mango, increasing the realism in your mango illustration.
Finally, smooth the colors together with a clean blending brush.
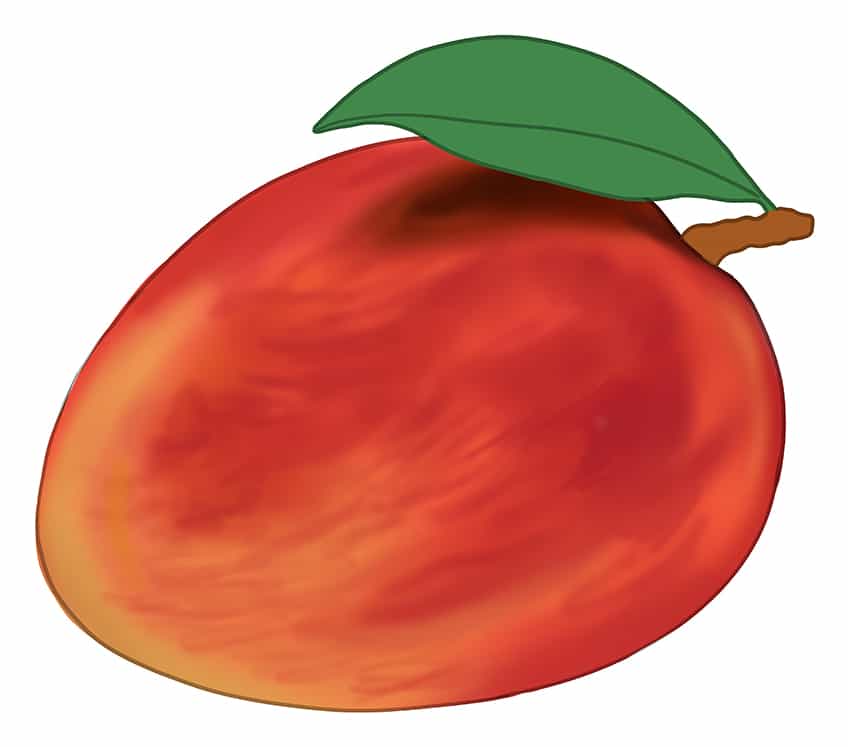
Step 10: Add A Speckled Texture
You are now going to create a light speckled texture on the skin of your mango sketch. There are two ways that you can do this. Firstly, you could use a large rough brush and create a spray-like effect. The other way to complete this step is by using a fine brush and creating each spot individually. Use light yellow paint to start with, and then use some white paint to create some slightly brighter spots.
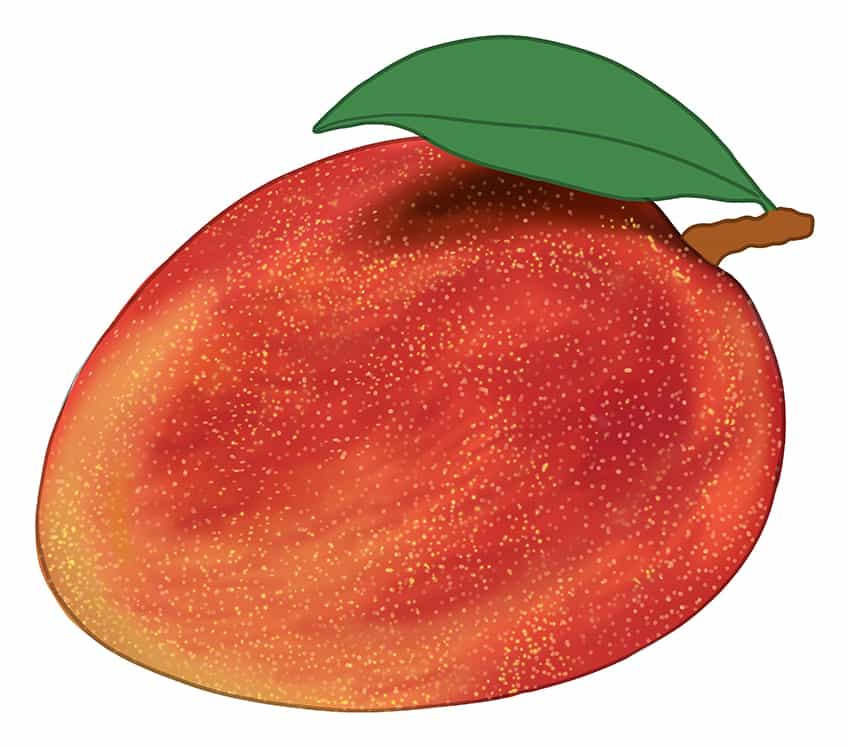
Step 11: Highlight Your Easy Mango Drawing
This is our last step that focuses on the actual mango. To finish your realistic mango drawing, you can now add some bright highlights. These highlights will give the mango sketch that signature shine. Use a medium blending brush and some white paint, to add highlight spots that follow the curves of the mango. Some important spots are the top of the left end, the right edge, and around the leaf shadow.
You can then finish this step by using some bright yellow paint to enhance the highlighted areas.
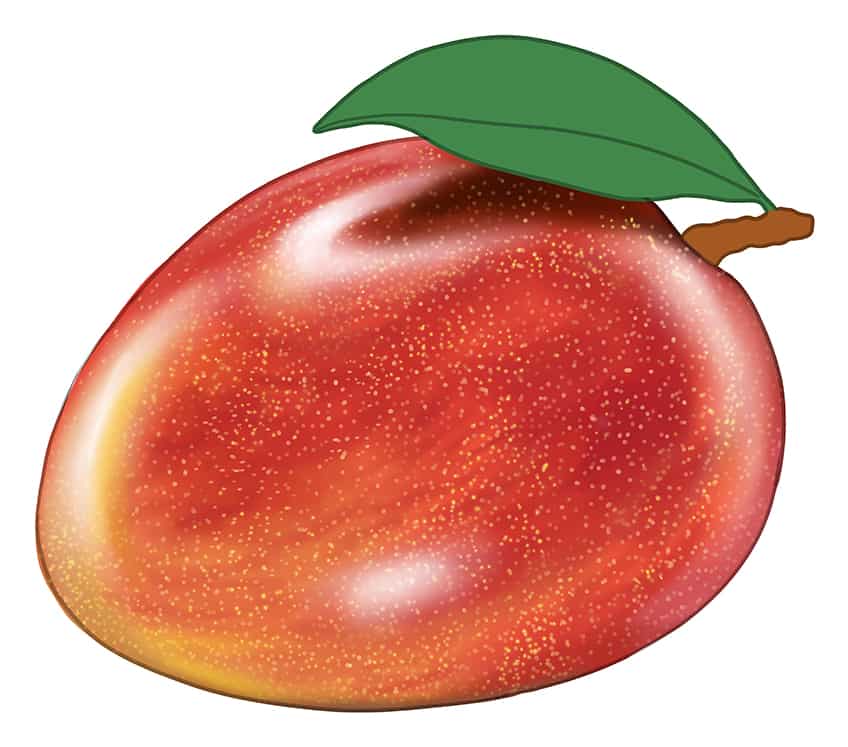
Step 12: Shade the Stalk Of Your Mango
We are now going to create some shapes in the mango stem. With a fine brush and a dark brown paint color, fill the majority of the stem. Leave several spots of the base color visible, creating the impression of wrinkles in the stem.

Step 13: Highlight the Stalk
To highlight the brighter areas of the mango stalk, use a light tan color. You can also repeat this process using some white paint to increase the vibrancy further. Finish this step with a small blending brush and some black paint to carefully shade the edges of the dark brown areas in the stem.
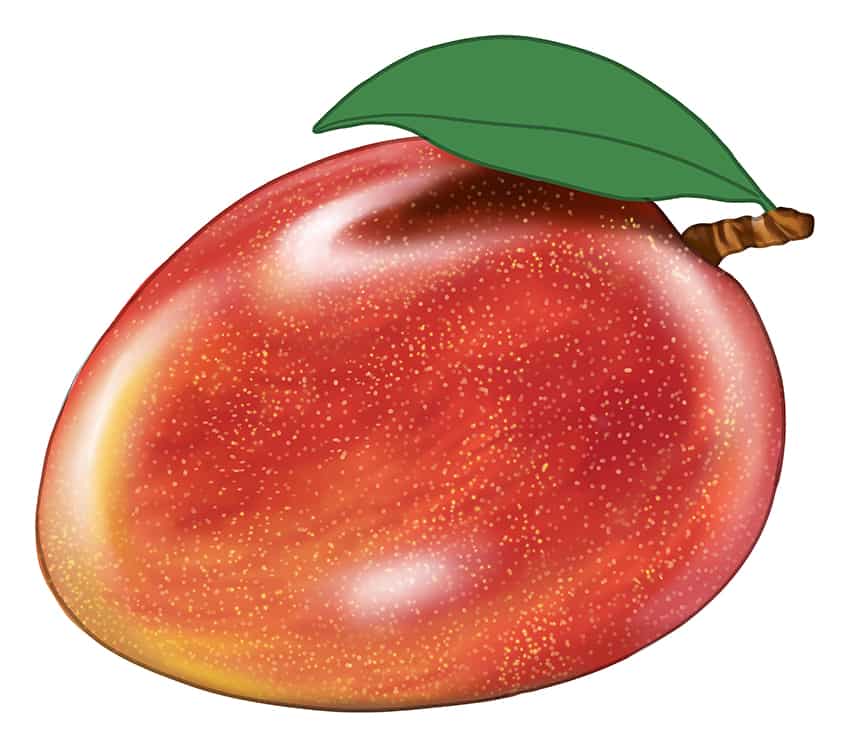
Step 14: Highlight Your Mango Leaf
We now begin to create a more realistic leaf. With a small blending brush and some light green paint, create a soft highlight on both sides of the leaf. Trace the center line of the leaf with some darker green paint, and complete this step by softening the highlight with a clean blending brush.
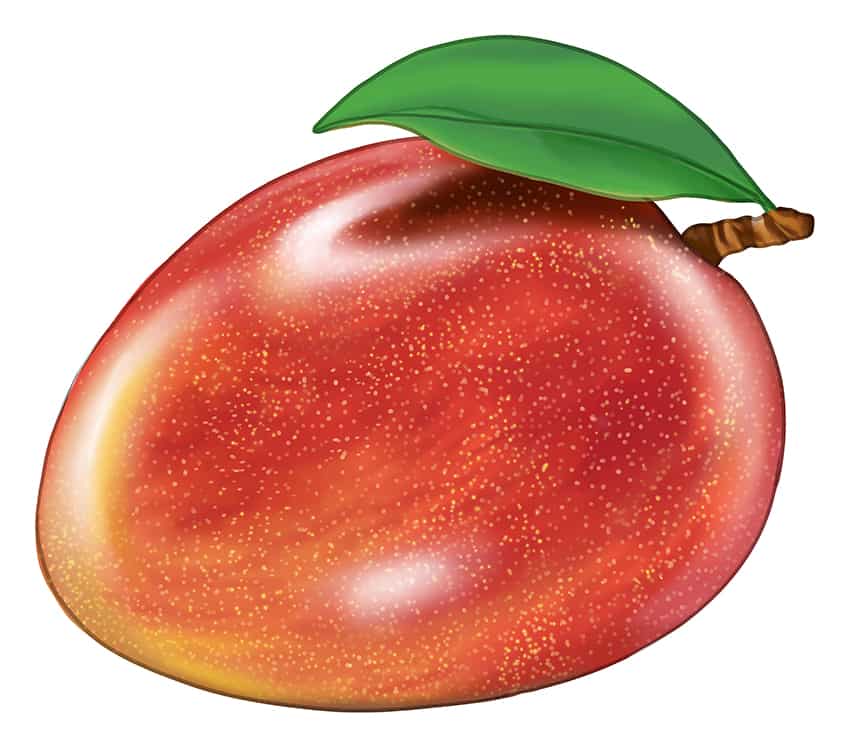
Step 15: Create Leaf Texture
To create a realistic texture in your mango leaf, you will need a small blending brush and a darker shade of green. Use these tools to add a soft brushed fade on both sides of the leaf, following the curvature. Continue creating texture using a combination of white and light green to add a natural fade in the center of the leaf.
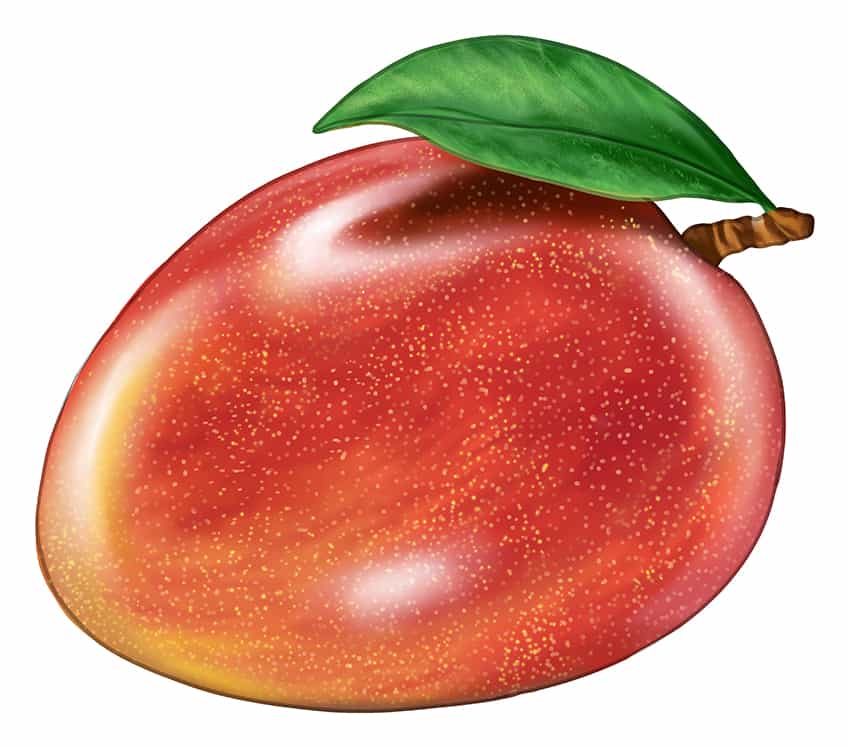
Step 16: Final Details and Highlights
Using a fine sharp brush and a darker shade of green paint, paint the leaf sidelines from the outline edge leading towards the center line. Repeat this step using a small soft brush and white paint to add a soft highlight along the structured and detailed areas.
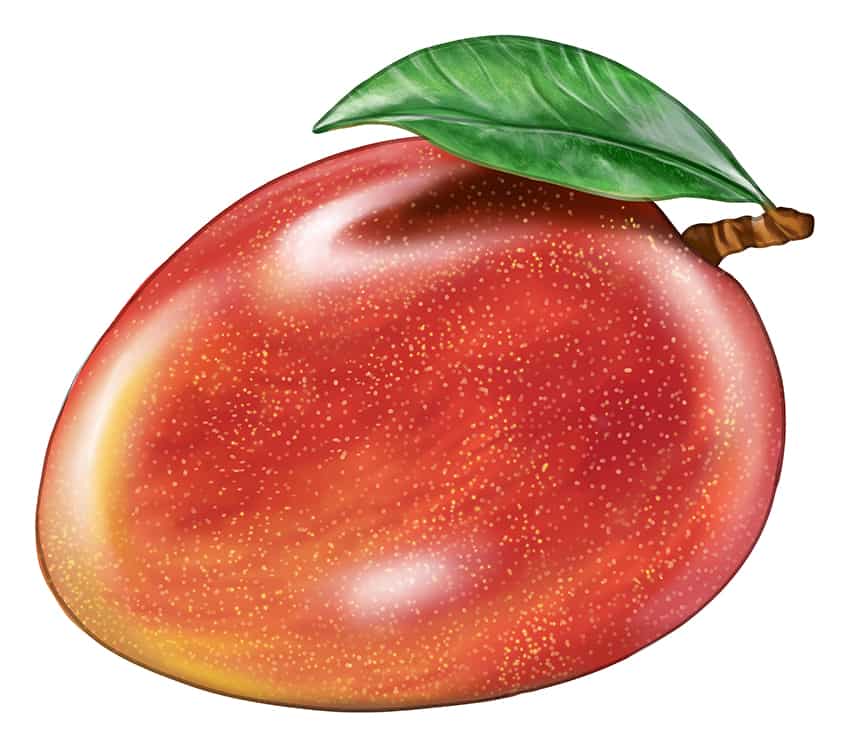
Step 17: Add a Ground Shadow
Just before we finish our easy mango drawing, we are going to create a ground shadow below the fruit. Begin the shadow with a small blending brush and some light orange paint.
You can then darken the center of this shadow with some black paint.
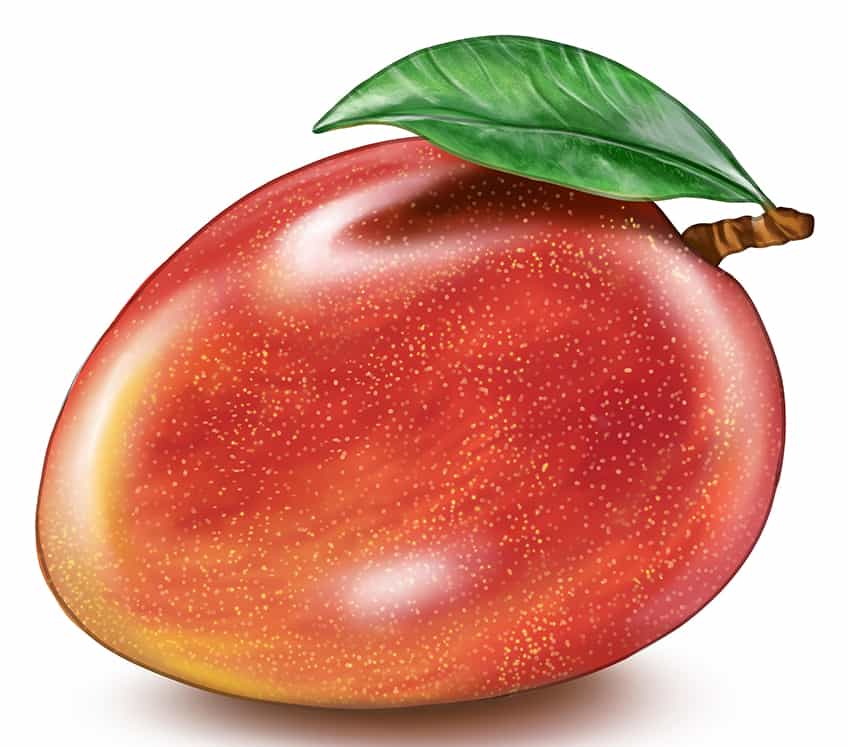
Step 18: Finish Your Mango Illustration
To complete your drawing, you can simply remove the dark mango outline. With a sharp brush and the color that corresponds with each point of the outline, carefully trace over the black lines. This will create a final realistic mango drawing.
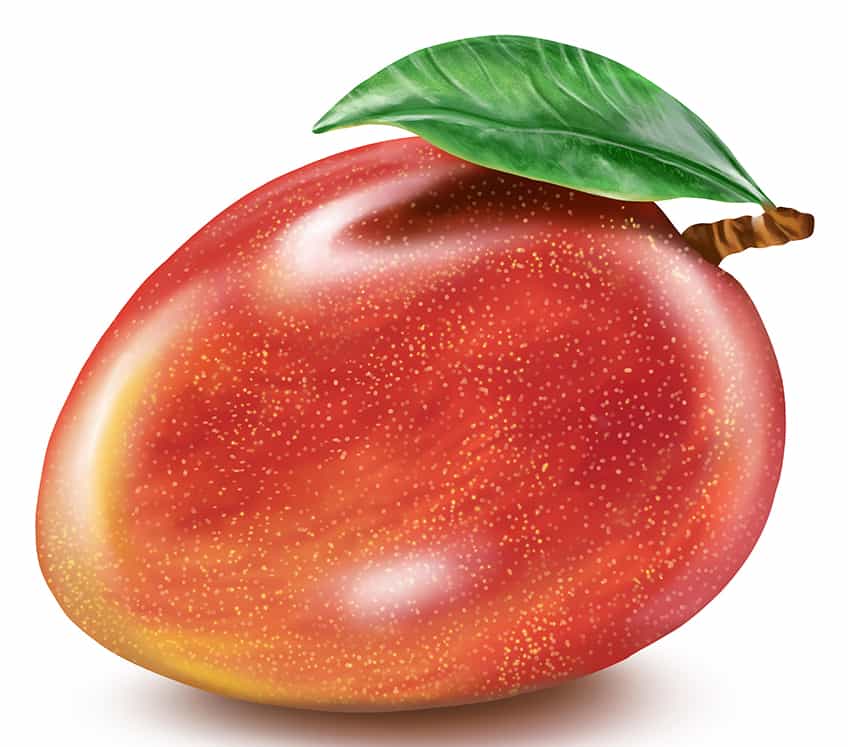
Hopefully, you can now see how easy it is to learn how to draw a mango. Even if you are just beginning to explore your artistic side, it is easy to draw a mango if you follow some simple steps. We hope that you are happy with your final mango illustration, and should you be encouraged to keep exploring different fruit drawings, we have many other fun and easy drawing tutorials to try!
Frequently Asked Questions
How to Create a Realistic Mango Outline?
Creating the mango outline appears to be the hardest part of the process. In our mango drawing tutorial, we make it very easy to create a realistic mango outline by using a series of construction steps. By using easy shapes to create the base of the mango, we can create a perfectly three-dimensional mango with no problem!
What Colors Should You Use to Draw a Mango?
Mangos are orange fruits, but it is not as simple as just using orange. In order to make our mango illustration more realistic, we use a series of different shades of orange, yellow, and white. By building up the color in stages, we can create a smooth and realistic blend.
Matthew Matthysen is an educated multidisciplinary artist and illustrator. He successfully completed his art degree at the University of Witwatersrand in South Africa, majoring in art history and contemporary drawing. The focus of his thesis was to explore the philosophical implications of the macro and micro-universe on the human experience. Matthew uses diverse media, such as written and hands-on components, to explore various approaches that are on the border between philosophy and science.
Matthew organized various exhibitions before and during his years as a student and is still passionate about doing so today. He currently works as a freelance artist and writer in various fields. He also has a permanent position at a renowned online gallery (ArtGazette) where he produces various works on commission. As a freelance artist, he creates several series and successfully sells them to galleries and collectors. He loves to use his work and skills in various fields of interest.
Matthew has been creating drawing and painting tutorials since the relaunch in 2020. Through his involvement with artincontext.org, he has been able to deepen his knowledge of various painting mediums. For example, watercolor techniques, calligraphy and lately digital drawing, which is becoming more and more popular.
Learn more about Matthew Matthysen and the Art in Context Team.
Cite this Article
Matthew, Matthysen, “How to Draw a Mango – An Easy Mango Drawing Tutorial for Beginners.” Art in Context. June 27, 2022. URL: https://artincontext.org/how-to-draw-a-mango/
Matthysen, M. (2022, 27 June). How to Draw a Mango – An Easy Mango Drawing Tutorial for Beginners. Art in Context. https://artincontext.org/how-to-draw-a-mango/
Matthysen, Matthew. “How to Draw a Mango – An Easy Mango Drawing Tutorial for Beginners.” Art in Context, June 27, 2022. https://artincontext.org/how-to-draw-a-mango/.


