How to Draw a Cupcake – A Step-by-Step Easy Cupcake Drawing Tutorial
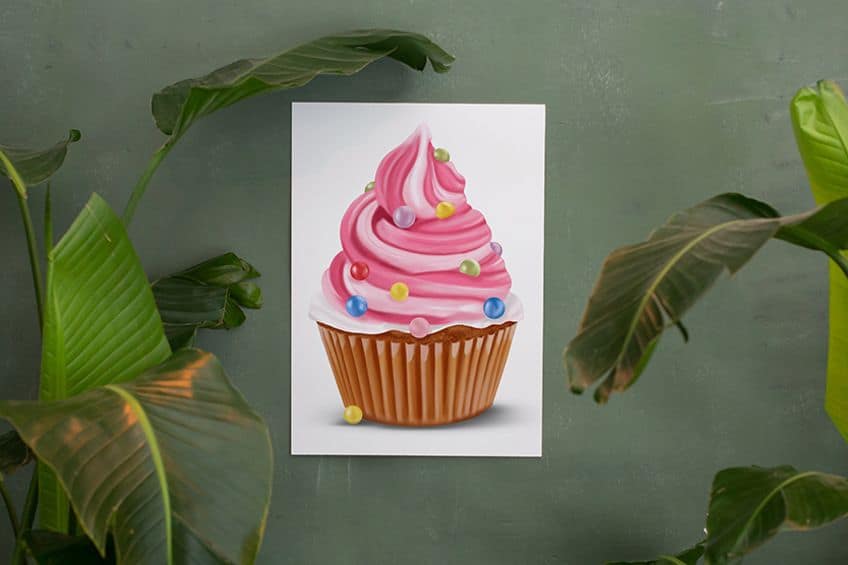
Today, we are focussed on the sweeter side of things! In many ways, the cupcake is the perfect sweet treat. All the joys of a cake but in the perfect size for a quick treat. This tutorial shows you how to create a realistic cupcake drawing! We begin by constructing a realistic cupcake shape, before adding detailed texture and color to our cupcake drawing. So let us dive into the frosting and learn how to draw a cupcake!
How to Draw a Cupcake in 17 Easy Steps
Starting this cupcake drawing tutorial, you may think that it will be a tricky process. However, with all of our drawing tutorials, we make drawing a realistic cupcake very simple. We begin with a series of construction steps, using basic shapes to form the foundation for our cupcake sketch. We then begin to define the final shape of the cupcake drawing with more detail and then add realistic coloring. You can see an outline of all of the steps in the image below.
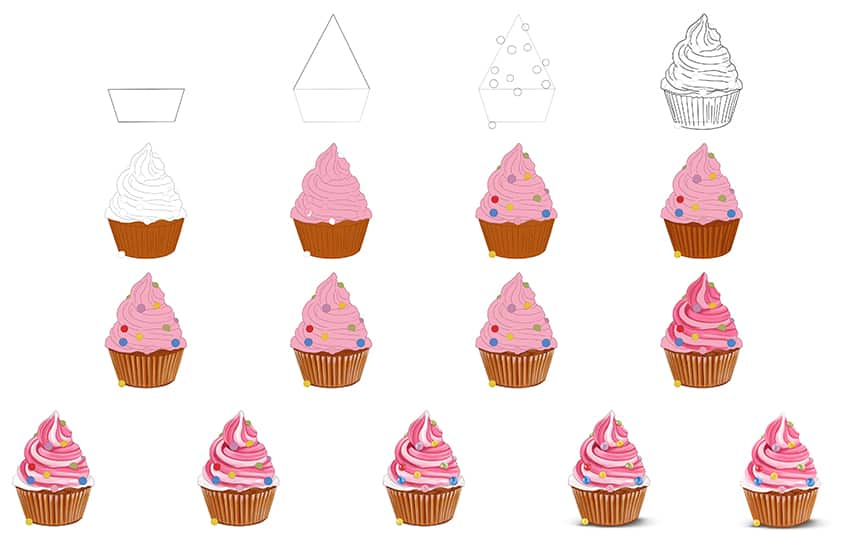
For this cupcake drawing, we encourage you to use whichever medium you feel most comfortable and confident with. When learning new skills, it is best to start from a place of certainty. So, if you are a watercolor artist, or you prefer to use a digital drawing tablet, gather your required tools and find somewhere comfortable to sit.
Let us begin learning how to draw a cupcake!
Step 1: Construct the Cupcake Case
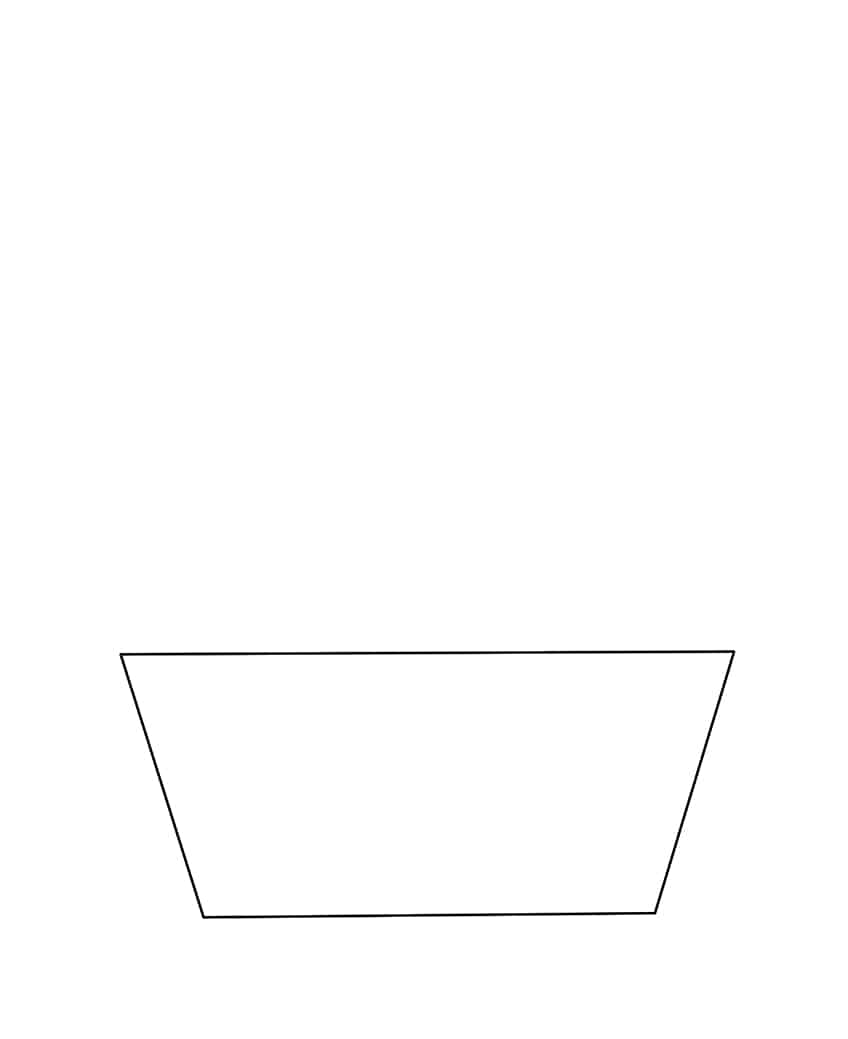
We begin our easy cupcake drawing by using a single trapezoid shape to represent the case of our little cake. Find the center of your drawing area, and draw a large inverted trapezoid shape. Remember that you will need to draw the frosting above this base shape, so leave enough space for it.
Step 2: Shape the Base of Your Cupcake Frosting
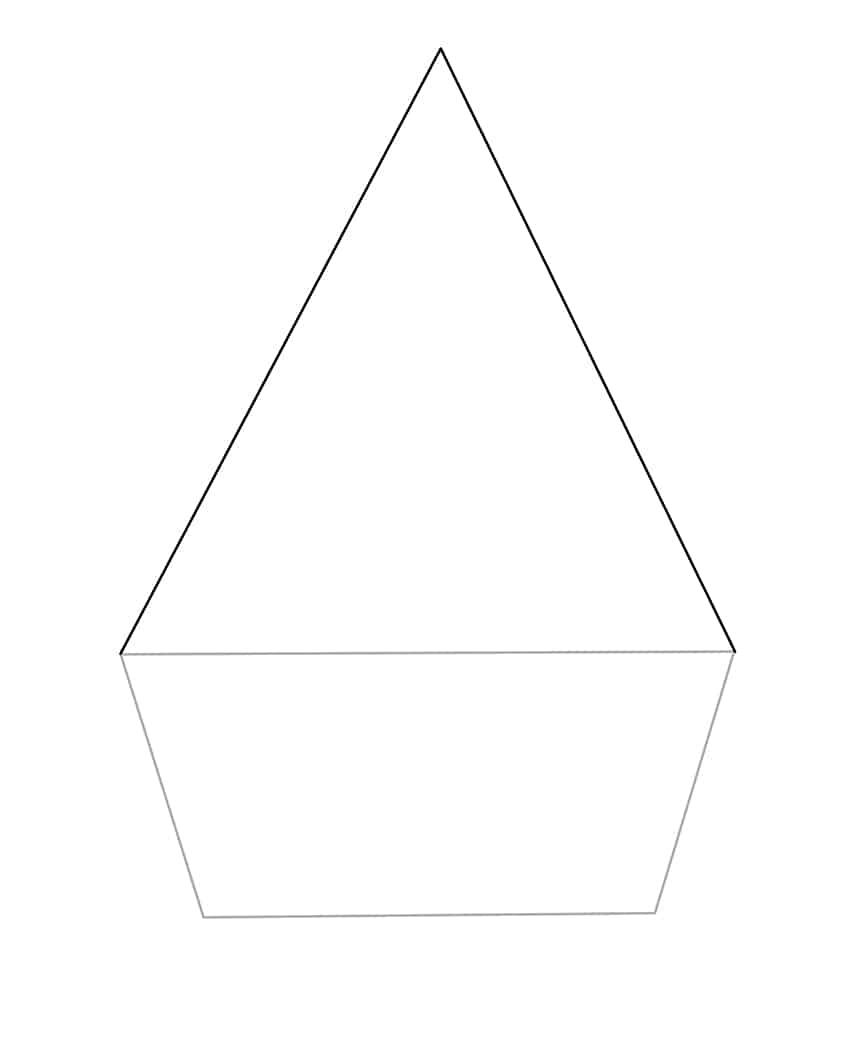
Now that you have the cupcake base constructed, it is time to finish the basic shape of our cupcake sketch. From each end of the cup, draw two lines that slope upwards and inwards. These lines should meet at a single point, creating a triangular shape. This triangle will form the general shape of the frosting, helping us to create symmetry.
Step 3: Outline the Sprinkle Shapes
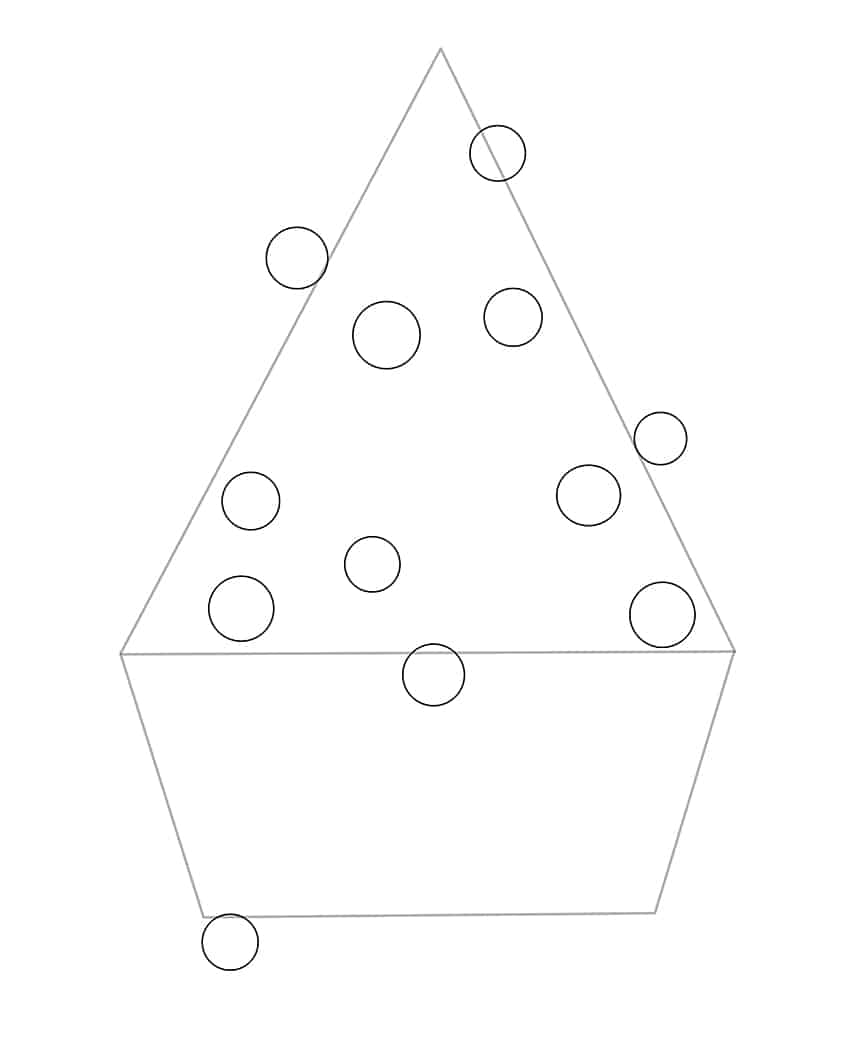
Now that the base of the cupcake sketch is complete, we can move on to the decorations. In this step, you are going to place the sprinkles for your cupcake drawing, using different-sized circles. Place these circles throughout the upper frosting triangle, making them as random as possible.
To finish this step, draw one final sprinkle ball on the ground near the cupcake case.
Step 4: Create a More Detailed Final Outline
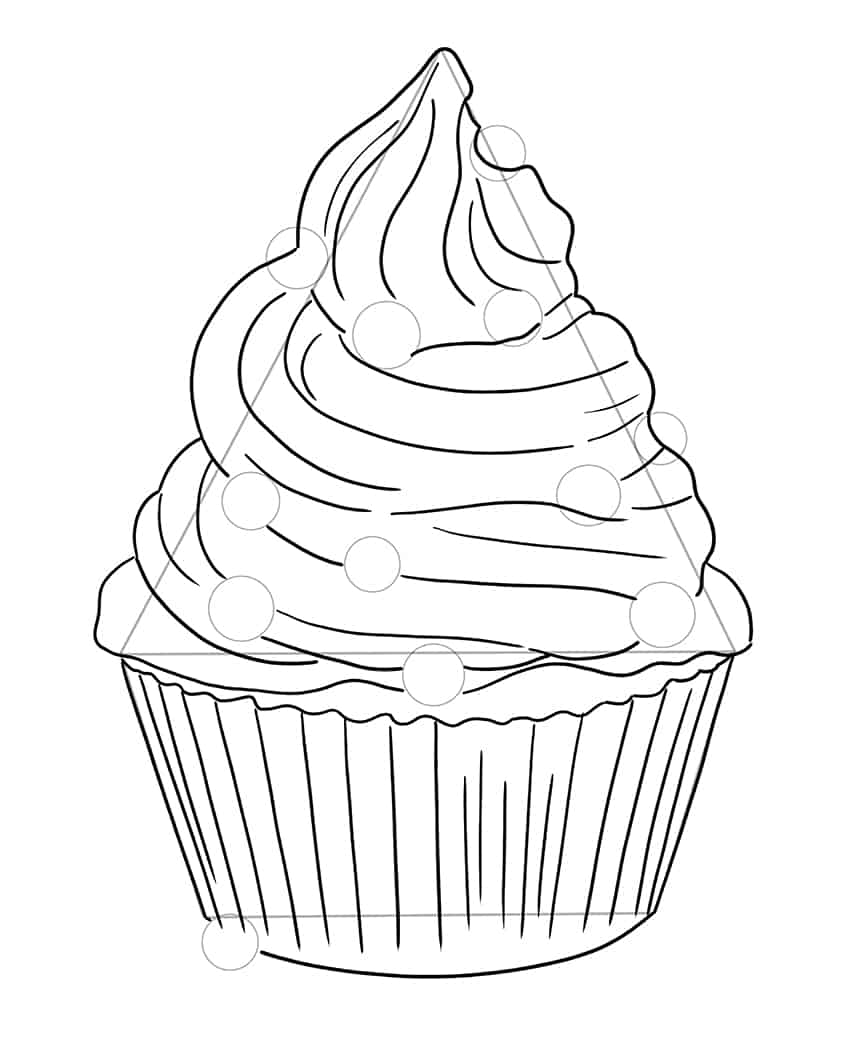
In this step, you are going to use your construction lines to help you create a more realistic fleshed-out outline. Begin with the cupcake case, starting by creating a wave-like pattern across the top. Then, create verticle lines from the top to the bottom to create those signature ridges. For the frosting, use the triangular shape to create swirls.
When you have finished this outline, you can erase any of the remaining construction lines.
Step 5: Add A Base Color Coat to the Cupcake Case
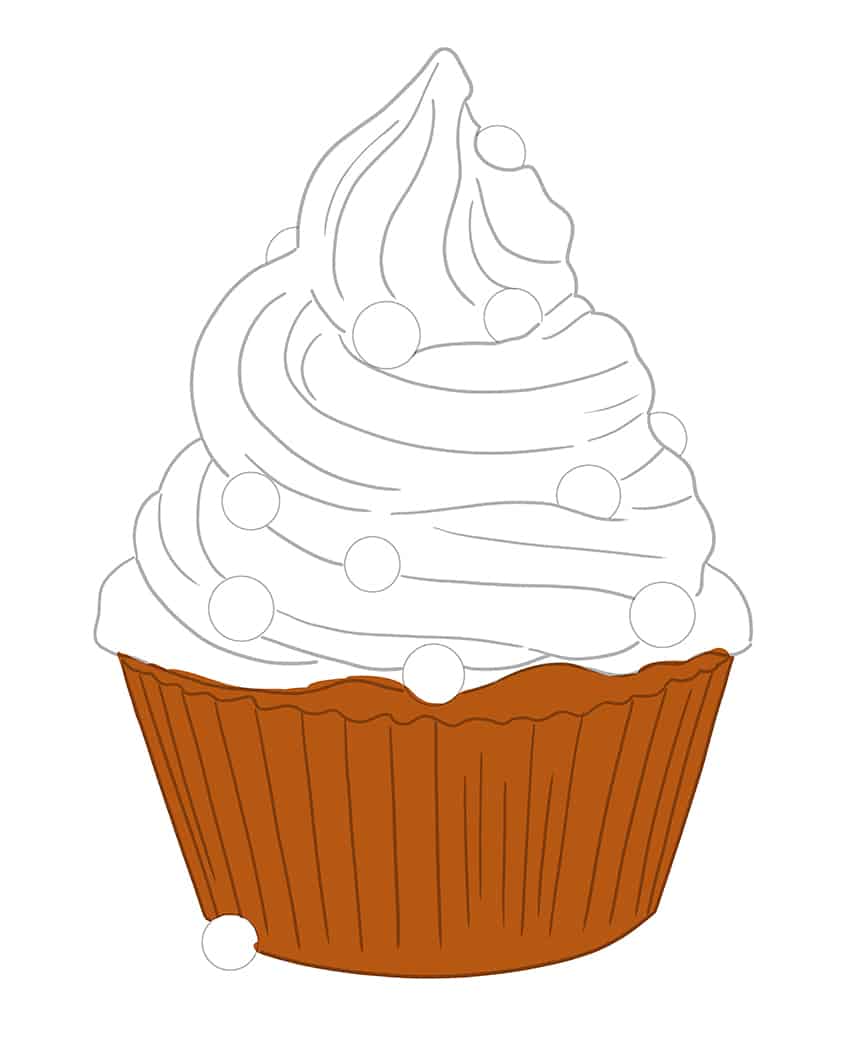
For our first coloring step, you will need a regular brush and some light brown paint. With these tools, apply a single even coat of color to the case of your cupcake drawing.
Step 6: Color the Frosting
With a regular brush and some dusty pink paint, apply an even coat of color to the entire area of frosting.

Step 7: Apply Color to the Sprinkles
To color the sprinkle balls, you will need a small brush and a variety of different colors. Carefully fill each of the sprinkle balls, with blue, red, yellow, green, and purple. Ensure that the spread of colors is random.
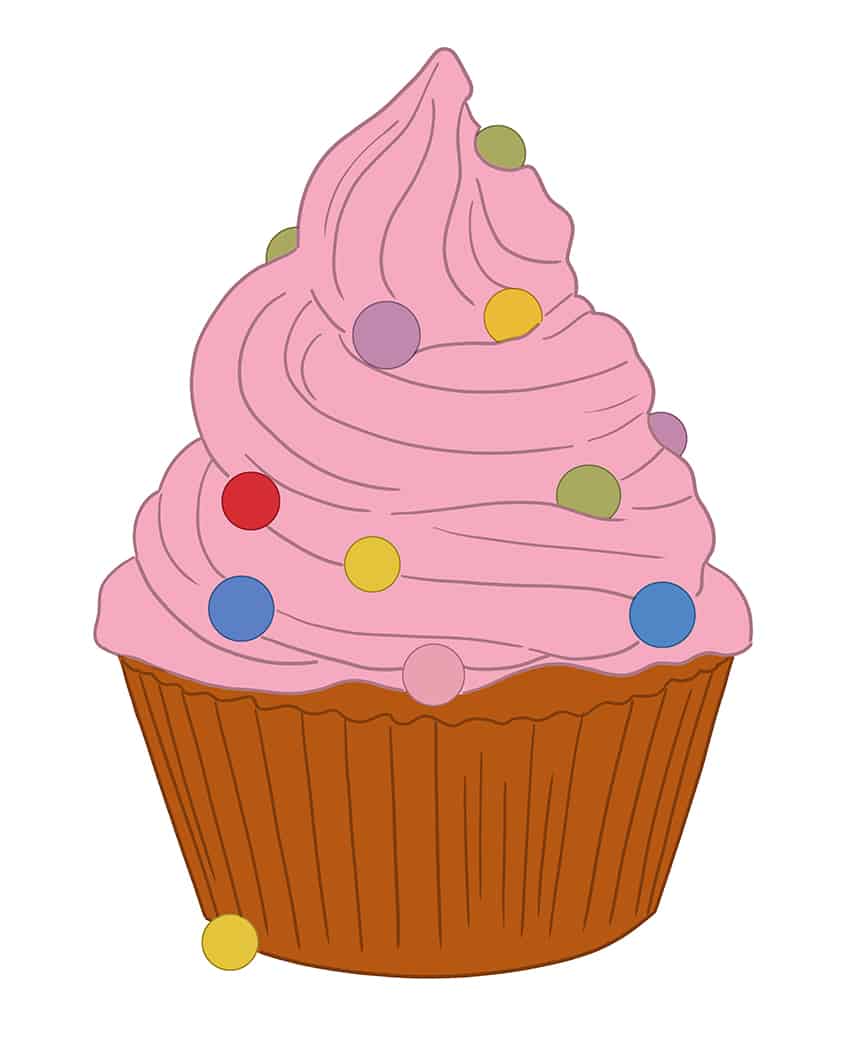
Step 8: Shade the Cupcake Case
For this step, you are going to need a small blending brush and a slightly darker shade of brown. Using these, you are going to apply some subtle shading to the right edge of each fold in the realistic cupcake case. This step is the first advanced shading step in our easy cupcake drawing.
The shading helps us to create realistic definitions, bringing our cupcake sketch to life.

Step 9: Highlight the Cupcake Case
To complement and contrast the shading of the cupcake case, you can now add some highlights. With a soft blending brush and light tan paint, add a lighter streak next to the shadows from the previous step. Apply soft downwards brush strokes that follow the direction of the detail lines.
Finish this step by using a clean blending brush to blend all of the colors together.
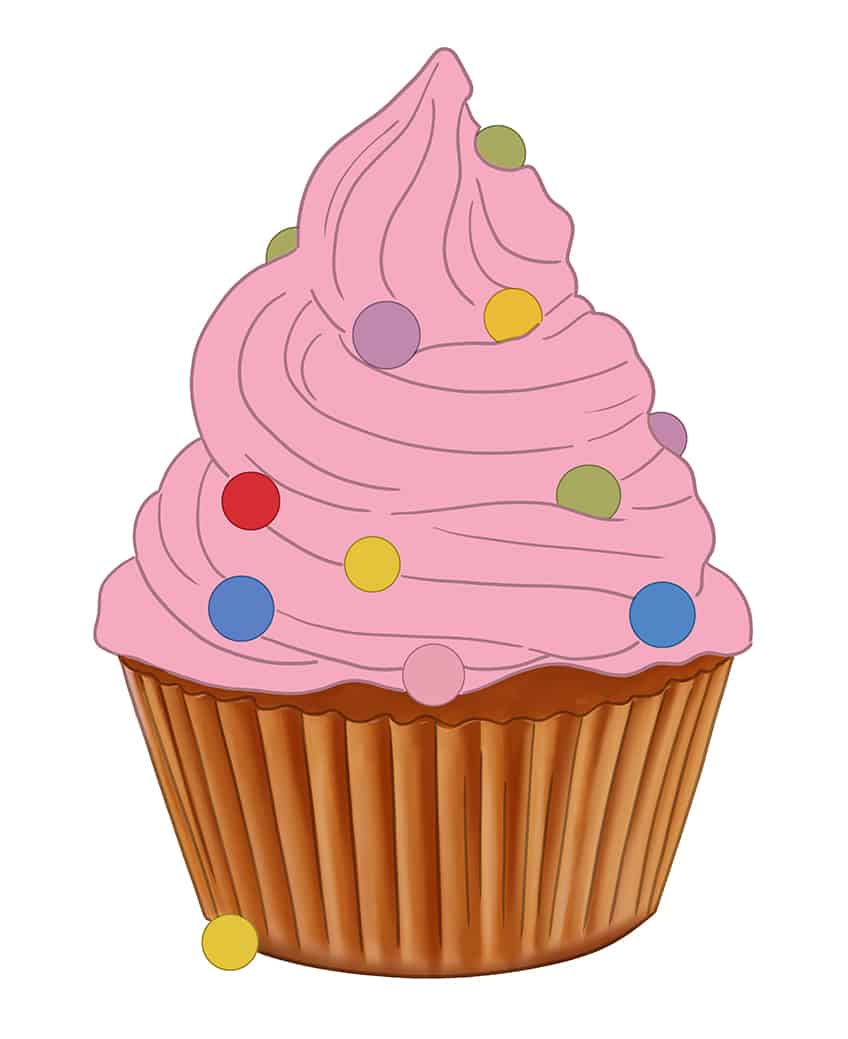
Step 10: Enhance the Cup Highlights
In this step, you are going to enhance the highlights on the cupcake case. Use a small blending brush and some white paint to add a spot of highlight on the top of each crease in the case. You can carefully blend these highlight spots down a little along the texture lines of the case. Finish this step with a clean blending brush to create a smooth blend between colors.
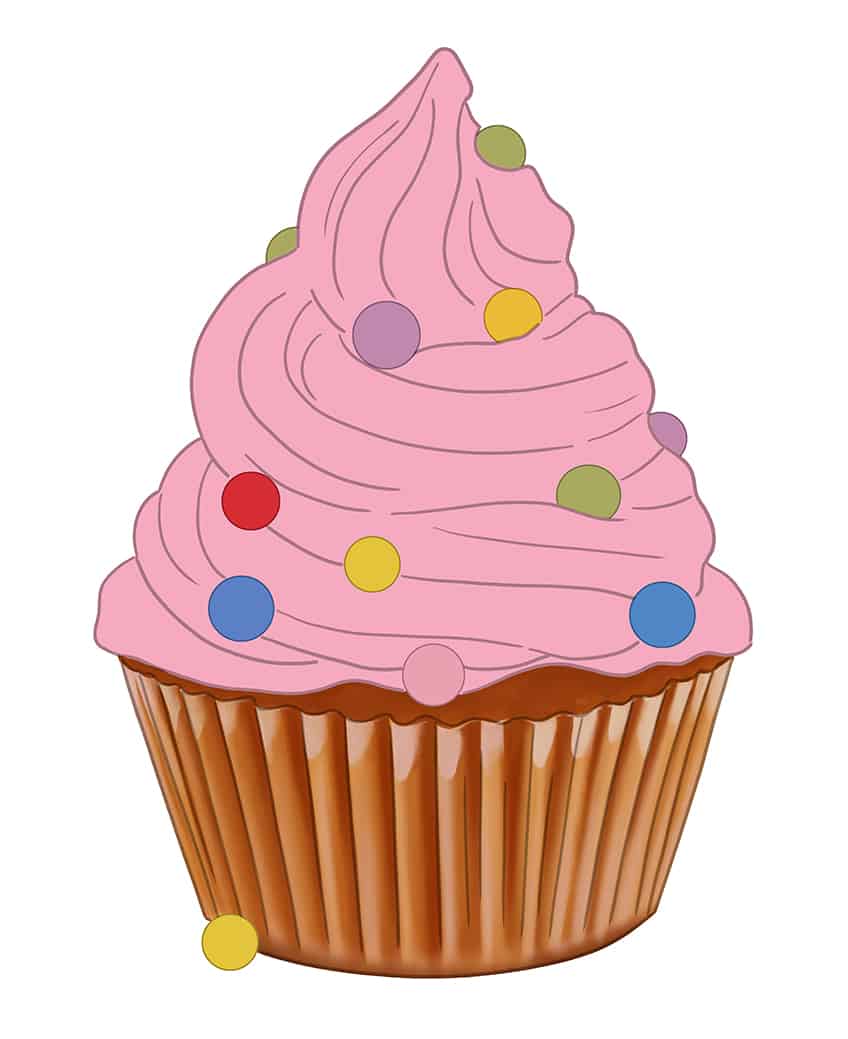
Step 11: Add Realistic Cupcake Texture
Just above the case of your cupcake sketch, there is a small patch of visible cake. You are going to add texture to this cake in this step with a rough stipple brush. Using some light brown or tan paint, apply some rough patches of stippling on the visible cake.
Remember to leave the base color coat visible.
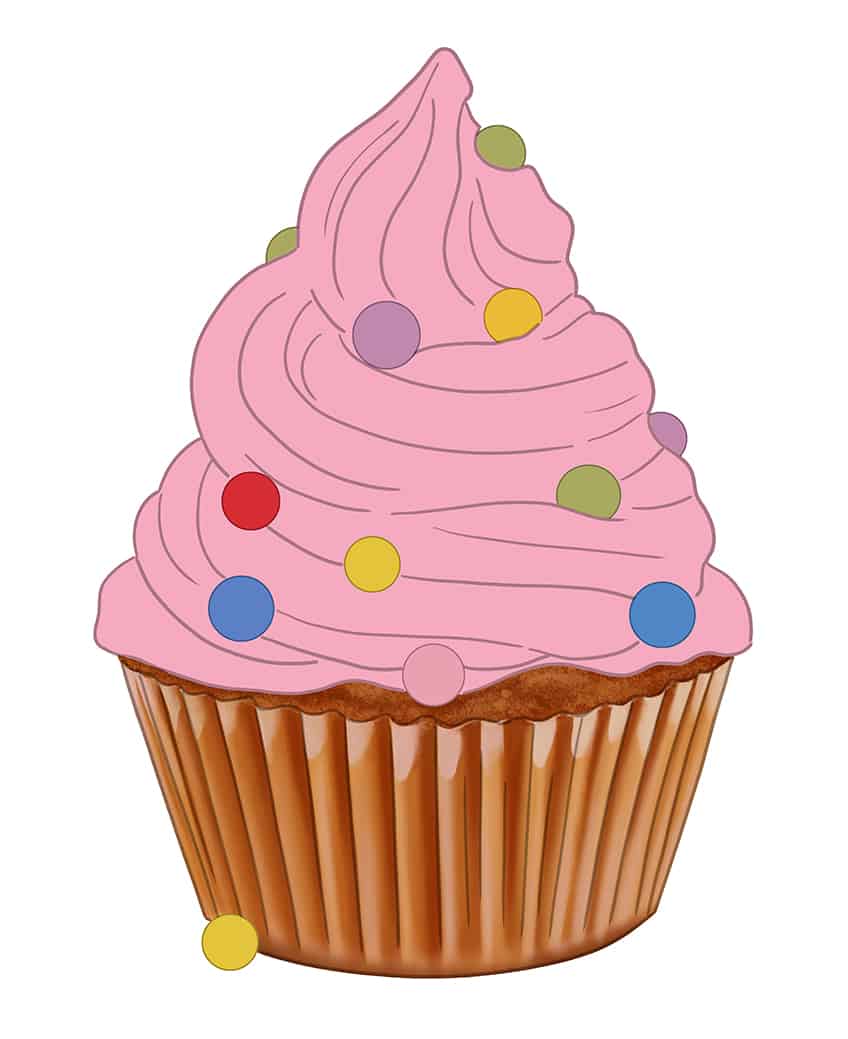
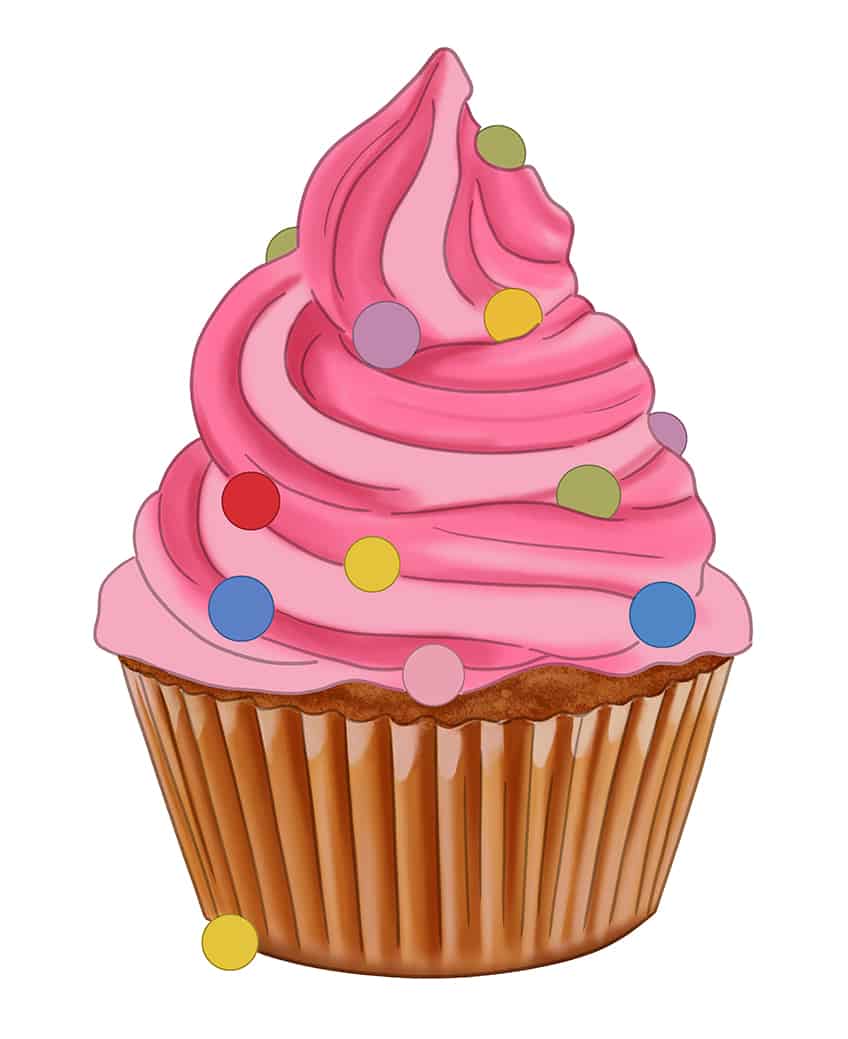
Step 12: Add a Second Color to the Cupcake Frosting
In this step, you are going to add a darker shade of pink to the swirls of frosting. Use a small blending brush and a darker pink paint and add a color fade between the layers of frosting. Ensure that your brush strokes are light and smooth. You want to leave a streak of light pink between the darker pink.
Step 13: Highlight the Frosting
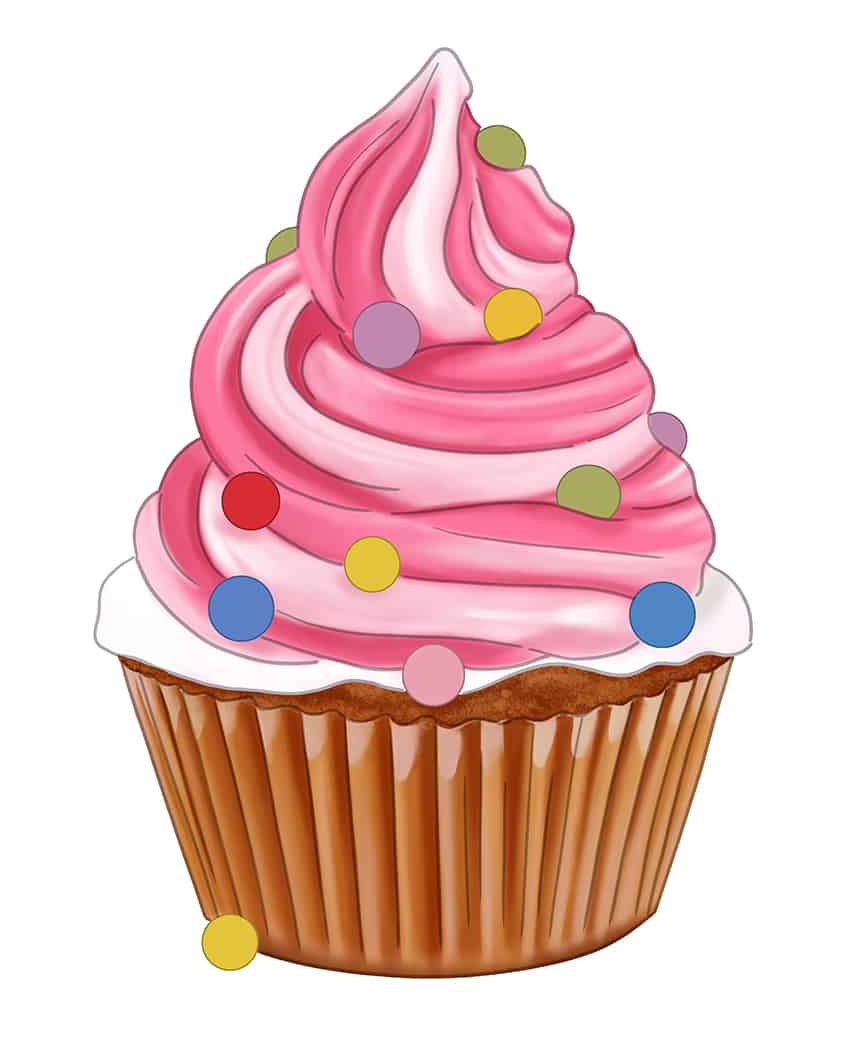
With a small soft brush and white paint, add a highlighted coat to the light pink part of the cupcake frosting. Use soft brush strokes between the two color coats to create a smooth light pink fade. On the bottom layer of the frosting, apply a fully white coat.
Finish this step by using a clean blending brush to create a smooth blend.
Step 14: Shade the Frosting of Your Cupcake Drawing
Using a small blending brush and some black paint, add a small amount of shading in the areas of the frosting where there is more depth. This shading should be concentrated between the layers of frosting and in the folds of the swirls.

Step 15. Highlight the Sprinkle Balls
As we come to the end of our cupcake drawing, we move on to focus on the sprinkle balls. With a small blending brush and some white paint, add gentle highlight spots and reflective areas to each sprinkle ball.

Step 16: Apply a Ground Shadow
Using a small soft brush and black paint, apply soft brush strokes from the bottom of the cupcake outwards in both directions. Then, use a small blending brush to spread and fade the shadow realistically.

Step 17: Finish Your Easy Cupcake Drawing
To finish your realistic cupcake drawing, you can now remove the outline. With a very fine brush and the color that corresponds to each point of the outline, carefully trace over the dark black lines and any inner texture lines.

Congratulations on finishing your very own realistic cupcake drawing! Hopefully you have enjoyed the drawing process and you feel more comfortable in your ability to create a cupcake sketch. For more sweet and enjoyable drawing ideas, take a look at our other tutorials.
Frequently Asked Questions
How to Draw a Cupcake That Is Realistic?
When it comes to creating a realistic cupcake sketch, the focus lies in the way that we construct the shape and apply realistic coloring and shading. We use construction steps to ensure that our cupcake drawing has the correct proportions, and then we use shadows and highlights to add three dimensions.
What Is the Hardest Part of a Cupcake Drawing?
The hardest part of drawing a realistic cupcake certainly lies in getting the correct proportions. As in all of our drawing tutorials, we begin the cupcake sketch by using different base shapes. We then use these shapes to create a more detailed outline that we can color.
Matthew Matthysen is an educated multidisciplinary artist and illustrator. He successfully completed his art degree at the University of Witwatersrand in South Africa, majoring in art history and contemporary drawing. The focus of his thesis was to explore the philosophical implications of the macro and micro-universe on the human experience. Matthew uses diverse media, such as written and hands-on components, to explore various approaches that are on the border between philosophy and science.
Matthew organized various exhibitions before and during his years as a student and is still passionate about doing so today. He currently works as a freelance artist and writer in various fields. He also has a permanent position at a renowned online gallery (ArtGazette) where he produces various works on commission. As a freelance artist, he creates several series and successfully sells them to galleries and collectors. He loves to use his work and skills in various fields of interest.
Matthew has been creating drawing and painting tutorials since the relaunch in 2020. Through his involvement with artincontext.org, he has been able to deepen his knowledge of various painting mediums. For example, watercolor techniques, calligraphy and lately digital drawing, which is becoming more and more popular.
Learn more about Matthew Matthysen and the Art in Context Team.
Cite this Article
Matthew, Matthysen, “How to Draw a Cupcake – A Step-by-Step Easy Cupcake Drawing Tutorial.” Art in Context. June 21, 2022. URL: https://artincontext.org/how-to-draw-a-cupcake/
Matthysen, M. (2022, 21 June). How to Draw a Cupcake – A Step-by-Step Easy Cupcake Drawing Tutorial. Art in Context. https://artincontext.org/how-to-draw-a-cupcake/
Matthysen, Matthew. “How to Draw a Cupcake – A Step-by-Step Easy Cupcake Drawing Tutorial.” Art in Context, June 21, 2022. https://artincontext.org/how-to-draw-a-cupcake/.


