How to Draw a Paw Print – Easy Step-by-Step Guide
An animal’s paw is more than just a simple appendage—it’s a complex and fascinating tool that allows them to navigate the world around them. From the sharp claws of a tiger’s paw to the padded, sensitive feet of a cat, every aspect of an animal’s paw has evolved to suit its specific needs. Whether it’s climbing trees, digging for food, or running at lightning-fast speeds, an animal’s paw is an incredible adaptation that showcases the power and versatility of the natural world.
An Easy Step-by-Step Guide to a Dog Paw Print Drawing
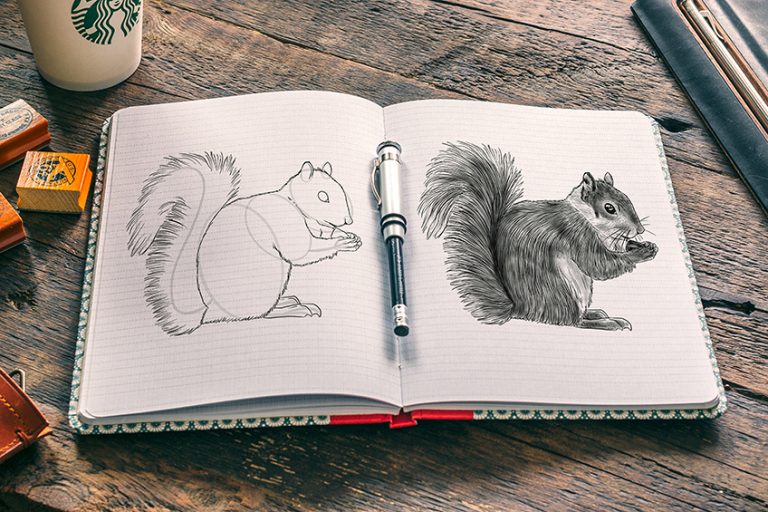
Congratulations on taking the first step toward learning how to draw a paw print! You’re about to embark on a creative journey that will not only help you develop your artistic skills but also deepen your appreciation for the intricate beauty of animal anatomy. As you begin your tutorial, remember to approach each stroke with patience and curiosity, allowing yourself to make mistakes and learn from them. Focus on the details of the paw, from the individual pads to the curves of the claws, and don’t be afraid to experiment with different styles and techniques. By the end of this tutorial, you’ll have a newfound confidence in your ability to capture the essence of an animal’s paw on paper!
The below collage shows each step taken to achieve your final drawing of a paw print!

Step 1: Draw the Construction Lines
Begin your tutorial on how to draw a paw print, by drawing three circles close to each other.

Step 2: Outline Your Dog Paw Print
Use the previously drawn construction circles to aid you in outlining a symmetrically curved paw shape. Once you have completed this step, you may erase any unnecessary construction lines.

Step 3: Draw the Center Digital Pads
Above the paw print, draw the two center digital pads. Note, they should be symmetrically inverted.

Step 4: Add the Side Digital Pads
On either end of the paw, draw the side digital pad symmetrically inverted to the other.

Step 5: Draw the Nails
Above each digital pad, draw a sharp and slightly curving nail.

Step 6: Add the First Color Coat
Select a regular brush and gray paint, and evenly coat the entirety of the paw. Complete this step by tracing the outline using a fine, sharp brush and a darker shade of gray paint.

Step 7: Shade Your Dog Paw Print
With a soft brush and black paint, apply soft shading along the outline edges of each digital pad and the main paw. The first color coat should still be visible.
Complete the step using a blending brush to soften and spread the shading.

Step 8: Texture the Paw
To finalize the tutorial on how to draw a paw print, simply select a small, soft brush or a rough, pattern brush and white paint, and dab spots within each digital pad and the main paw base. With enough coverage, the paw should look textured. Complete this step, and apply softer spots onto darker areas of your dog paw print.

Congratulations! You have just finished drawing a paw print. You’ve done an excellent job capturing the unique shape and texture of an animal’s paw. Whether it’s a cat paw drawing or a bear paw drawing, you have the basic outline down. You can consider adding some more detail to really make your drawing pop. Don’t be afraid to get creative and add your own personal touch to the drawing – after all, art is all about self-expression. With some practice and dedication, you’ll be able to create stunningly realistic paw prints that will impress even the most discerning art critic. Keep up the great work!
Frequently Asked Questions
What Are the Basic Shapes and Lines Required to Draw a Paw Print?
To draw a cat paw drawing, bear paw drawing, or dog paw drawing the basic shapes and construction lines are the same. Start with a circle for the main pad of the paw, and add three smaller circles above it to represent the toes. Connect the circles with lines to create the basic shape of the paw. Next, add small triangles at the top of each circle to form the claws. You can add texture to the pads of the paw by drawing small ovals or lines inside the circle. Once you have the basic shape down, you can add shading and texture to make the paw print look more realistic.
How to Create Depth in My Paw Print Drawing?
To create depth in a paw print drawing, you can use shading to add shadows and highlights. Pay attention to the light source in your drawing and shade areas that would be in shadow accordingly. Use darker shading around the edges of the paw print to create a sense of depth and make the paw look like it’s sitting on a surface. You can also use techniques like cross-hatching or stippling to add texture and depth to the pads and toes of the paw. Finally, consider using a white or light-colored pencil to add highlights to the claws and other areas that catch the light.

Matthew Matthysen is an educated multidisciplinary artist and illustrator. He successfully completed his art degree at the University of Witwatersrand in South Africa, majoring in art history and contemporary drawing. The focus of his thesis was to explore the philosophical implications of the macro and micro-universe on the human experience. Matthew uses diverse media, such as written and hands-on components, to explore various approaches that are on the border between philosophy and science.
Matthew organized various exhibitions before and during his years as a student and is still passionate about doing so today. He currently works as a freelance artist and writer in various fields. He also has a permanent position at a renowned online gallery (ArtGazette) where he produces various works on commission. As a freelance artist, he creates several series and successfully sells them to galleries and collectors. He loves to use his work and skills in various fields of interest.
Matthew has been creating drawing and painting tutorials since the relaunch in 2020. Through his involvement with artincontext.org, he has been able to deepen his knowledge of various painting mediums. For example, watercolor techniques, calligraphy and lately digital drawing, which is becoming more and more popular.
Learn more about Matthew Matthysen and the Art in Context Team.
Cite this Article
Matthew, Matthysen, “How to Draw a Paw Print – Easy Step-by-Step Guide.” Art in Context. March 27, 2023. URL: https://artincontext.org/how-to-draw-a-paw-print/
Matthysen, M. (2023, 27 March). How to Draw a Paw Print – Easy Step-by-Step Guide. Art in Context. https://artincontext.org/how-to-draw-a-paw-print/
Matthysen, Matthew. “How to Draw a Paw Print – Easy Step-by-Step Guide.” Art in Context, March 27, 2023. https://artincontext.org/how-to-draw-a-paw-print/.