How to Draw a Meteor – A Realistic Asteroid Drawing for All Artists
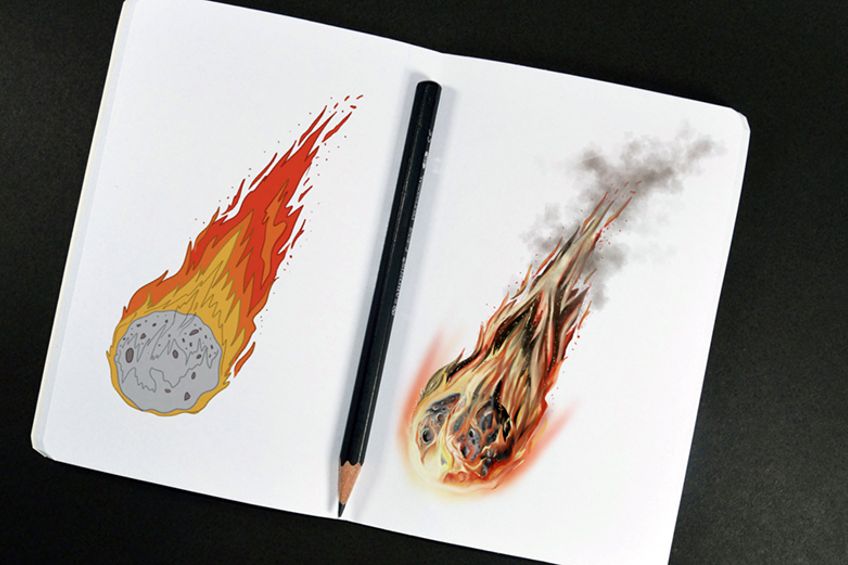
If you are looking for a drawing tutorial that is out of this world, then you have come to the right place! Today, we are going to show you how to draw an asteroid in 21 easy steps. This meteor sketch tutorial is very easy to follow and can be completed by artists of all levels. We hope that you are ready to blast off into the atmosphere with this fun meteor drawing.
How to Draw an Asteroid: An Easy Step-by-Step Tutorial
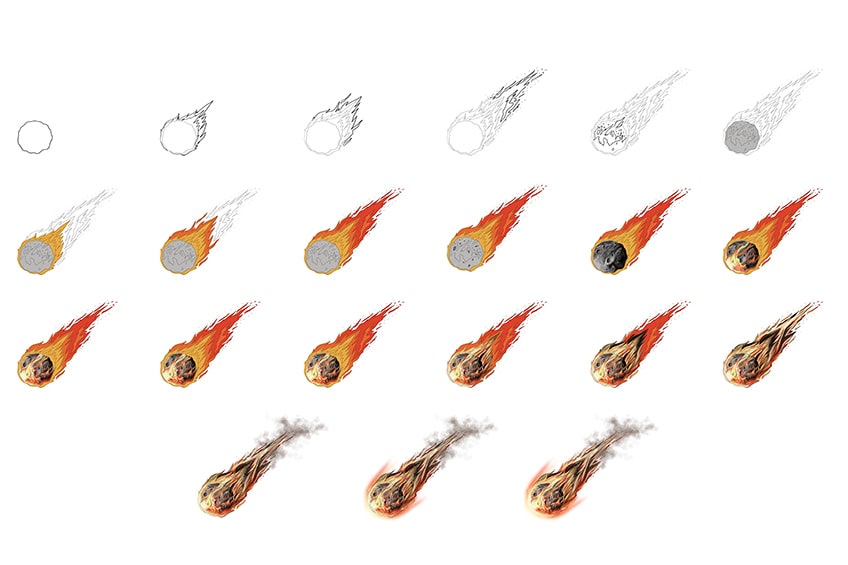
Are you fascinated with space and the world beyond? Perhaps you are an astrologer in the making! If so, this asteroid drawing is perfect for you to try. In only 21 easy steps, we show you how to create a realistic meteor sketch that seems to be blasting through the atmosphere. In the collage below, you can see a brief outline of each of the tutorial steps.
You will see that we begin very simply, with the basic shape of the asteroid. We will then create the flaming tail and add bright color and detail.
If you do this, you will easily be able to remove the outline at the end of the asteroid drawing tutorial.
Step 1: Shape the Main Body of the Asteroid Drawing
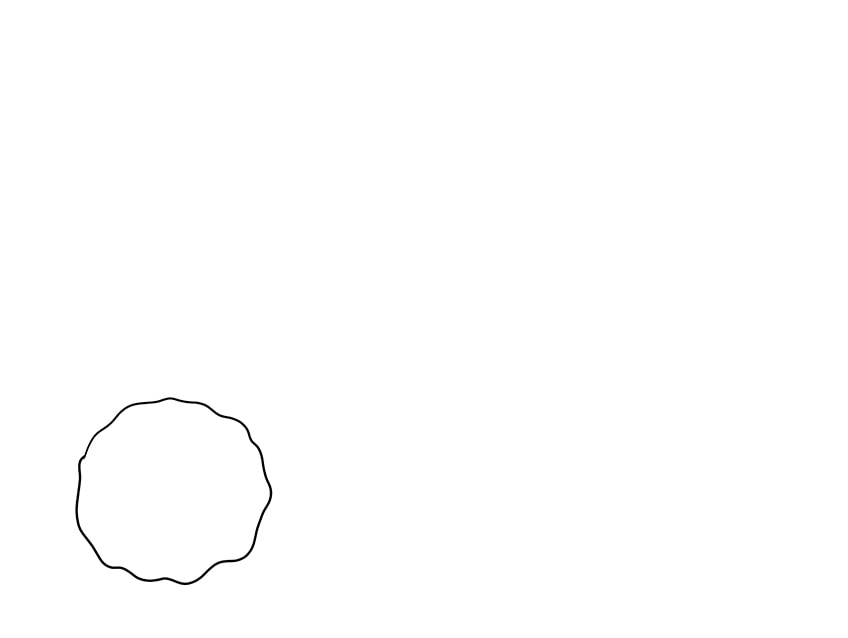
To begin your meteor drawing, you are going to create the basic outline of the meteor itself. Find the center of your drawing area, and create the uneven circle just to the left of this point. Remember that meteors are rocks that have been bashing about in space, so this shape should be rough with some sharper edges.
Step 2: Begin to Construct the Flame Tail
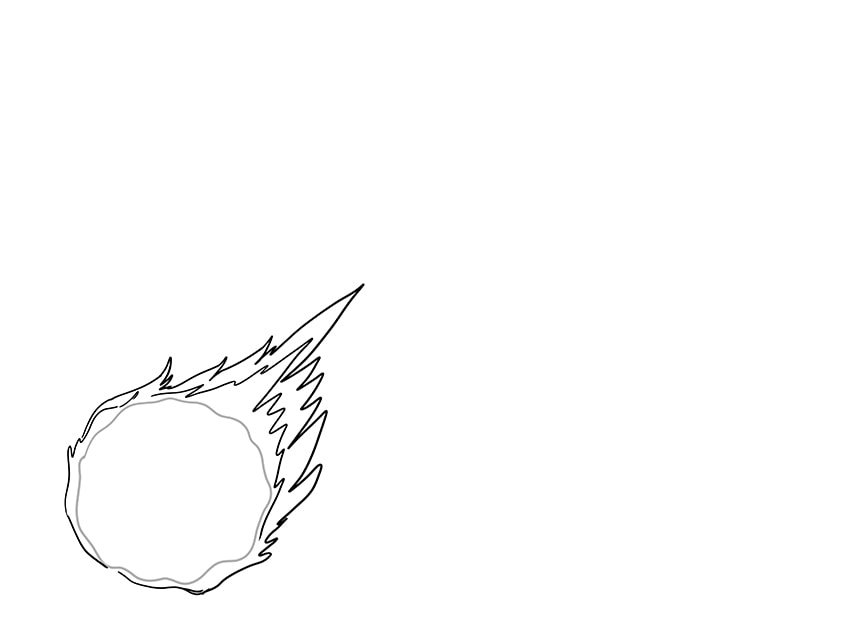
We are now going to begin building up the fiery tail of our asteroid drawing. We will begin small, and gradually lengthen the tail to create depth and perspective. The tail is going to extend outwards and upwards from the right side of the meteor sketch. Around the outside of the meteor sketch, draw the first wave of the flames, with the largest point extending to the right.
Remember that all of these flames should be angled in the same direction, as this will create the movement we are looking for.
Step 3: Add A Second Wave of Flames
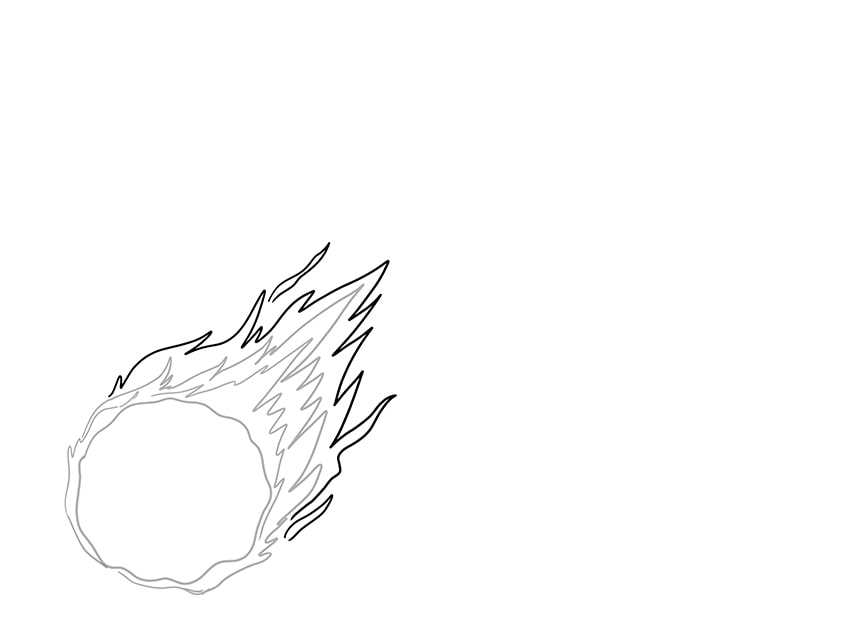
We continue building up the tail of flames in this step. Above the first wave, you can now create a second wave with slightly longer flames. This wave of flames should be slightly longer, but should still flow in the same direction.
Step 4: Create the Outer Layer of Flames
In this step, you are going to create the final outer layer of the fiery tail. Begin by creating a large wave of flames that almost doubles the length of the trail.
You can then create smaller outer flames and little specks around the edge of the tail for additional realism.
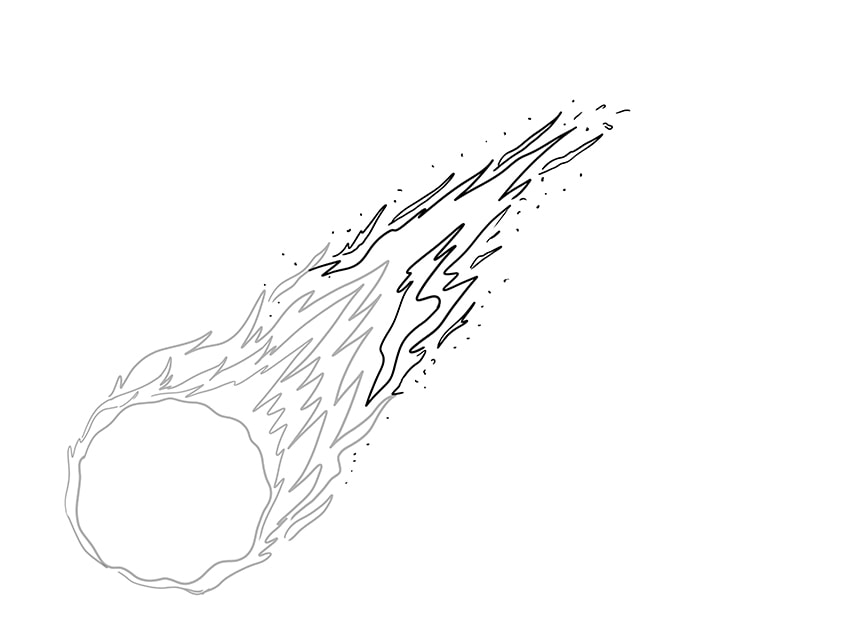
Step 5: Outline the Inner Meteor Flame
Before we begin to color our asteroid drawing, we are going to add some final flames within the body of the meteor. Draw several small flames that flow in the same direction as the others. These may overlap the main body and extend out into the main flame tail.
You can also draw some surface detail on the meteor sketch, creating small ovals and circles of different sizes.
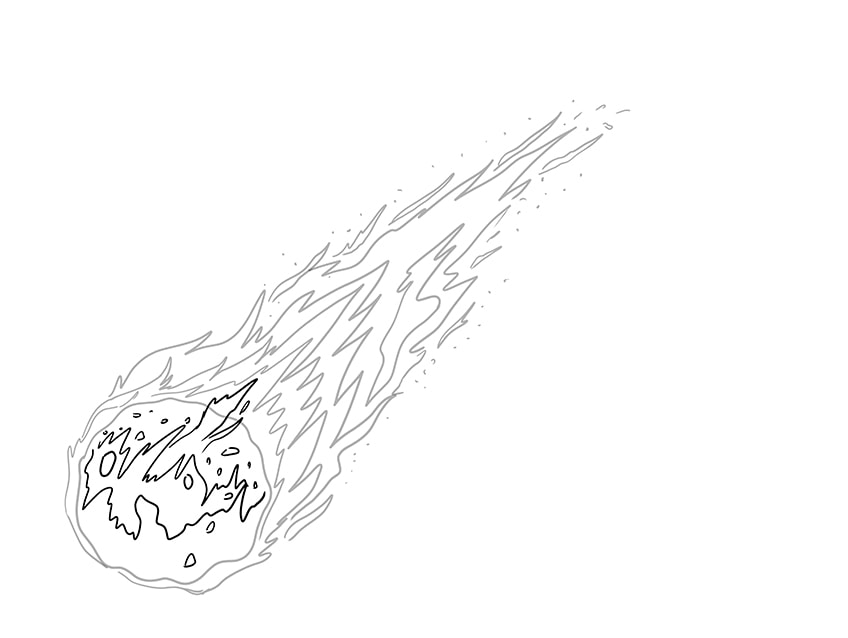
Step 6: Create a Base Color Coat for the Meteor Sketch
We are going to begin the coloring process by applying a single base coat to the meteor rock itself. With a regular paintbrush (or your chosen medium) apply an even layer of gray color to the body of the meteor.
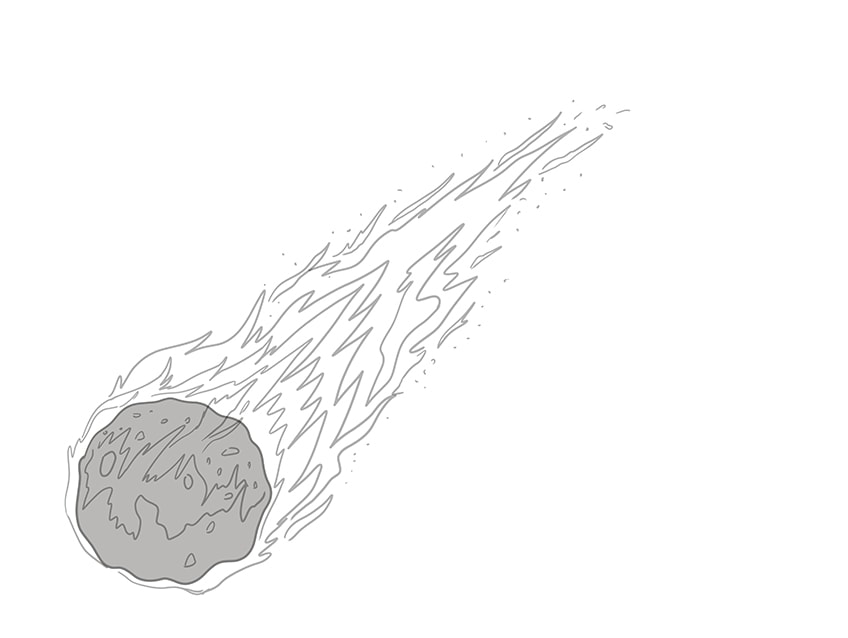
Step 7: Fill the Inner Layer of Flames with Color
In the same way that we built up the flame layers in steps, we are going to build up the color in steps. Beginning with the innermost layer of flames, use a honey-gold shade of paint and a regular brush. Fill the inner layer, the layer that you drew first, with an even coat of color.
Remember not to paint over the meteor sketch itself.

Step 8: Color the Second Flame Wave
You can now continue building up the color of the flame. We are going to get darker as we get towards the edge, mimicking the natural appearance of fire. The hottest part of the flame is yellow and will be around the meteor sketch itself. As we move away, the color will become orange and then red.
For the this flame wave, find a burnt orange color and use a regular brush to evenly fill the flames.
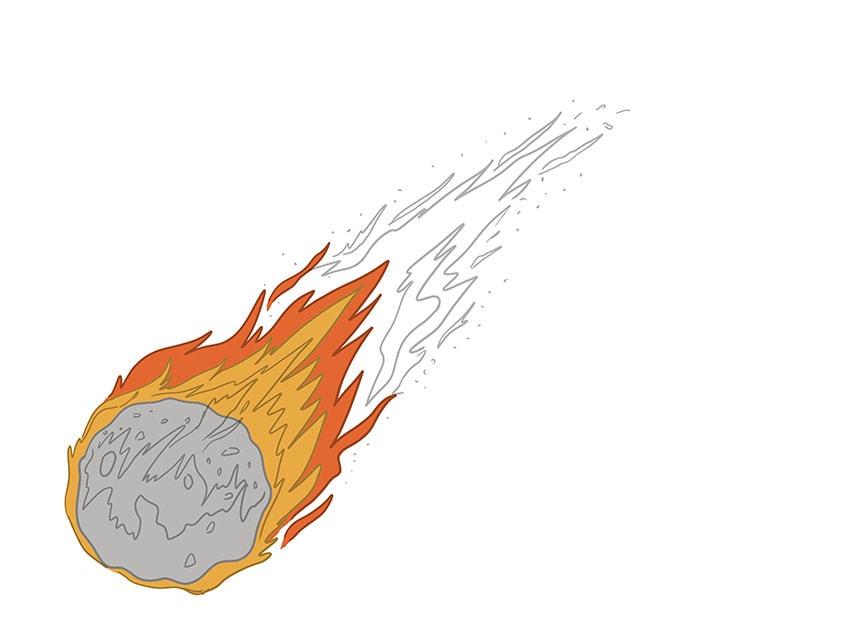
Step 9: Finish Coloring the Meteor Flame
We are now going to finish coloring the flame of the asteroid drawing. Find a bright red shade and use a small regular brush to evenly color the remaining flame wave. You can use this red to color the smaller outer flames and the flame particles too.
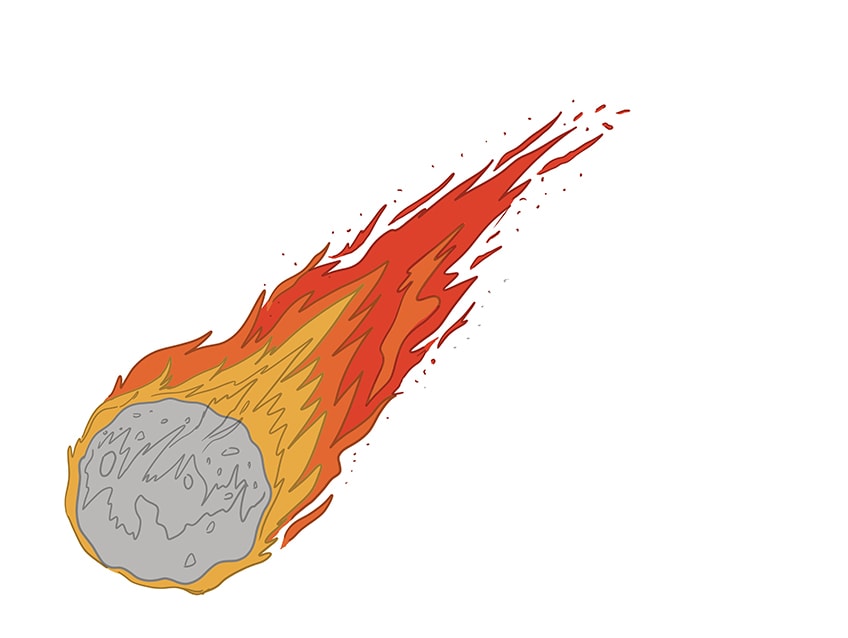
Step 10: Color Details on the Meteor Drawing
Now that we have the base colors for the flame tail complete, we are going to begin adding more realistic detail to the body of our asteroid drawing. You will need a small paintbrush and a darker shade of gray for this step.
Using these tools, carefully color in the round and oval spots that you drew on the body of your meteor sketch earlier.
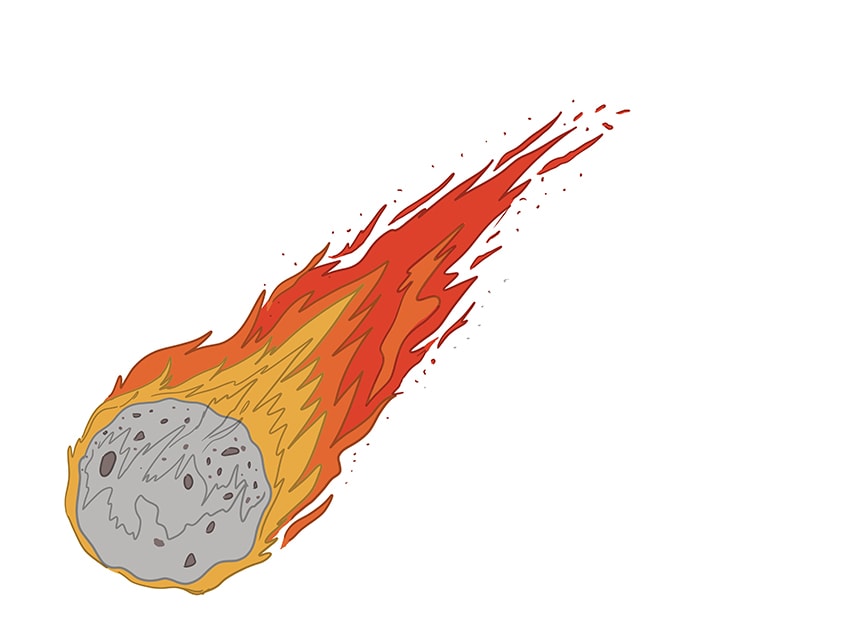
Step 11: Shade the Asteroid Drawing
In this step, you are going to create some more realistic definition within your meteor drawing. You will need a small blending brush and a touch of black paint. Begin with soft brush strokes, adding shading around the curvatures of your meteor sketch. The darkest areas should be the right side and the bottom edge. You can shade around the pits and holes in the asteroid to create a little more three-dimensionality. Remember when using black paint that you should start light and make it darker if necessary.
It is very difficult to remove black paint, so go slowly at first.
Next, use a very fine detail brush and some white paint to create highlights around the edges of the meteor holes. Finally, use a clean and dry blending brush to gently smooth all of your color coats together, creating a seamless blend.
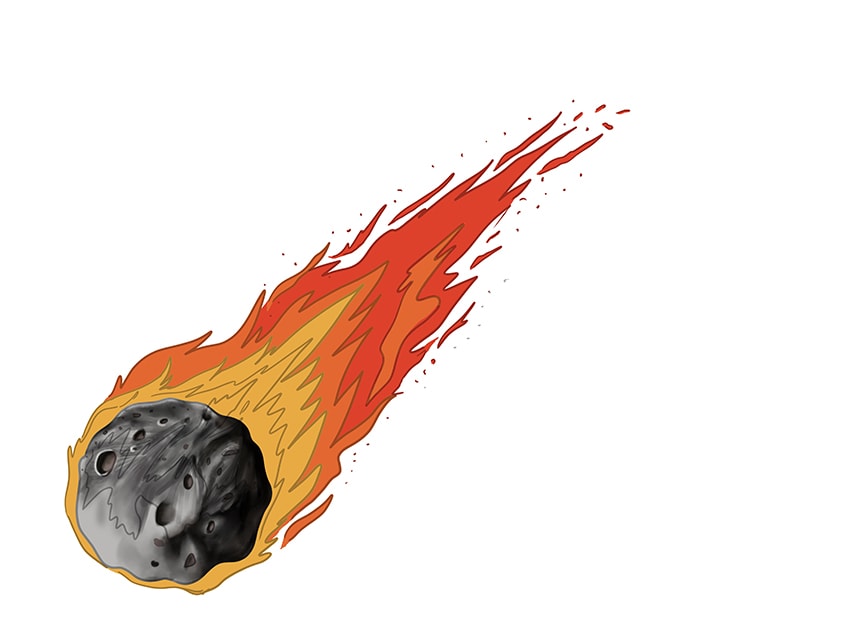
Step 12: Color the Inner Flame
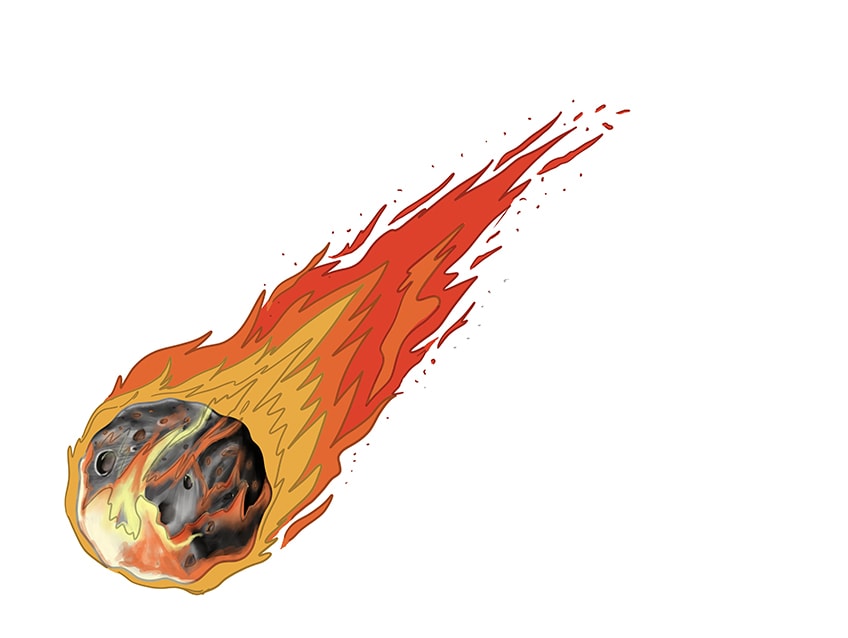
In this step, we are going to begin coloring the inner flame that curves around the bottom of the meteor drawing. Begin with a small blending brush and some light yellow paint. Add a light base color within the inner flame outline. You can then repeat this with some light orange and red paint, ensuring that the darkest colors are towards the back of the meteor.
Finish the step using a small blending brush with a combination of white and orange paint to lightly fill the bottom area of the asteroid drawing.
Step 13: Create Inner Flame Details
In order to infuse our asteroid drawing with a little more realism, we are now going to create some fine detail in the inner flames. Begin with a small blending brush and some orange paint, creating soft brush strokes beginning at the bottom outline of the inner flame towards the rear of the meteor. You can repeat this process using some red paint, leaving the base color coat partially visible.
Next, use a fine detailing brush and some white paint to create defined lines within the flames.
You can repeat this process several times, building the color up with yellow, orange, and red paint. To finish the step, use a small blending brush with a combination of yellow and white to add a soft structure to the inner flame. Finally, blend and smooth all of these colors together with a clean and dry blending brush.
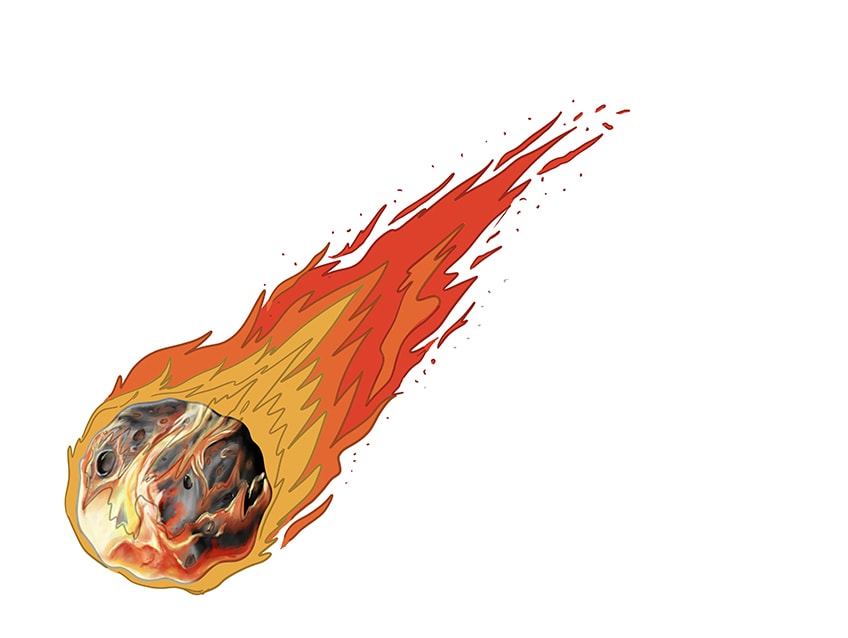
Step 14: Paint some Sparks Around Your Meteor Sketch
With a fine detail brush and some yellow paint, create some small dots and spots within the inner flame and on the body of the meteor. Repeat this process using light and dark orange, red, and white paint.
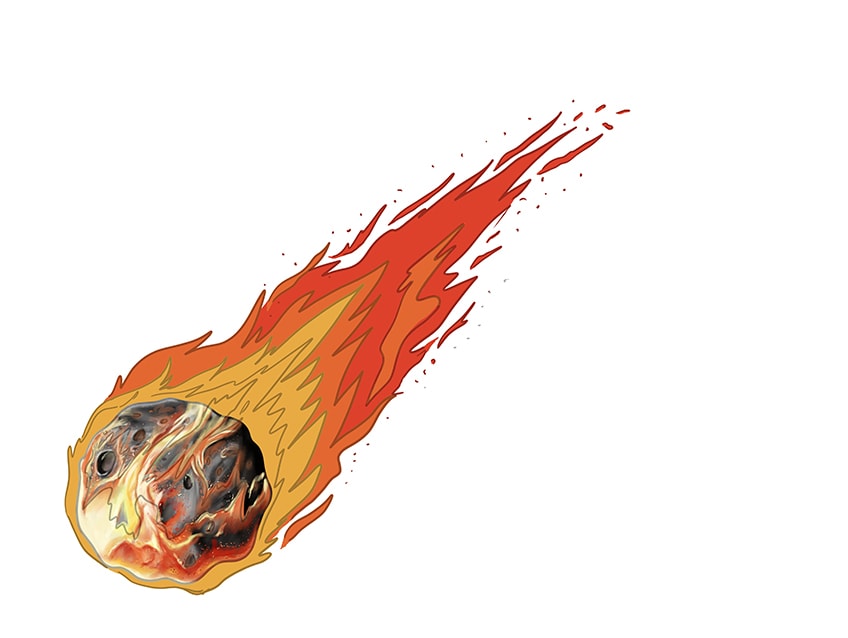
Step 15: Create Final Details on the Asteroid Drawing
You can now create some final details on the body of the meteor. Use a small blending brush and some black paint to create a few more holes within the meteor. Highlight the edges of these holes with a detail brush and white paint. You can then use a blending brush to soften these highlights a little.
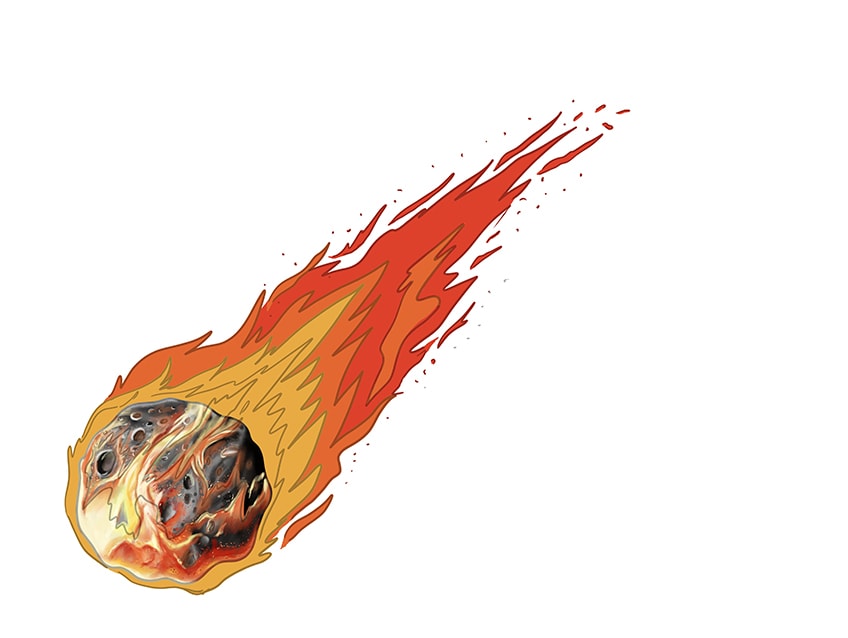
Step 16: Blend Out the Inner Flame Layers
With a small blending brush and a mixture of white and yellow paint, create some soft brush strokes within the first layer of flames around the meteor. You can then repeat this process, gradually building up different color gradients, with orange and red paint.
Finally, with the smallest touch of black paint and a small blending brush, add some darker tints to this flame layer.
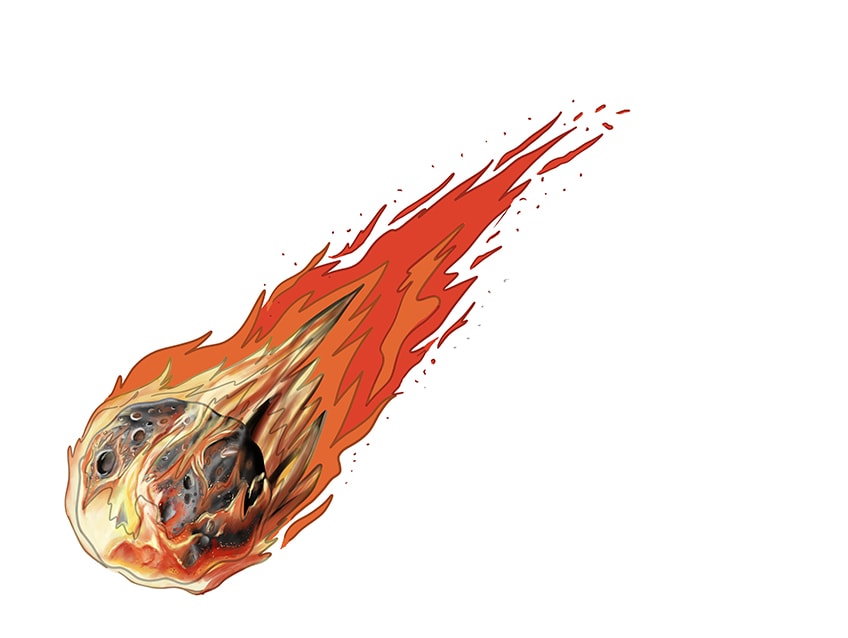
Step 17: Blend the Second Layer of Flames
Repeat the previous step in the second segment of the flame wave. Use a small blending brush and a combination of white, red, orange, and yellow paint to create a smooth blend from the first wave to the second.
You can use a clean blending brush to create a seamless blend between these two layers.
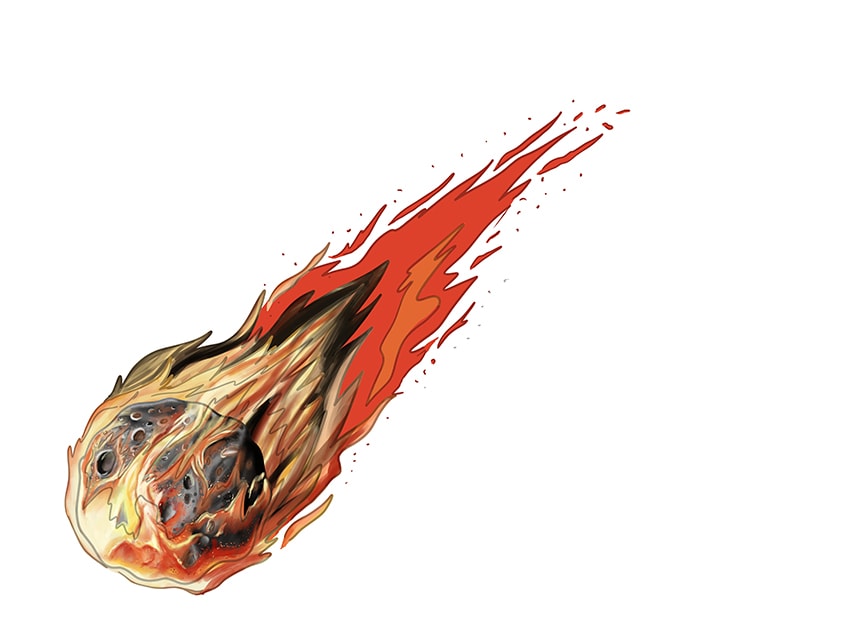
Step 18: Complete the Fiery Tail Blending
Continue the color blending for the remaining flame layers using the same method as the previous two steps. With a small blending brush and a mixture of white and yellow paint, carefully color the last segment of the flame tail. Repeat this process with orange and red paint. You can also add some black, and finish with some bright white highlights along the tips of the flames.
Finally, use a clean blending brush to blend the entire flame tail together.
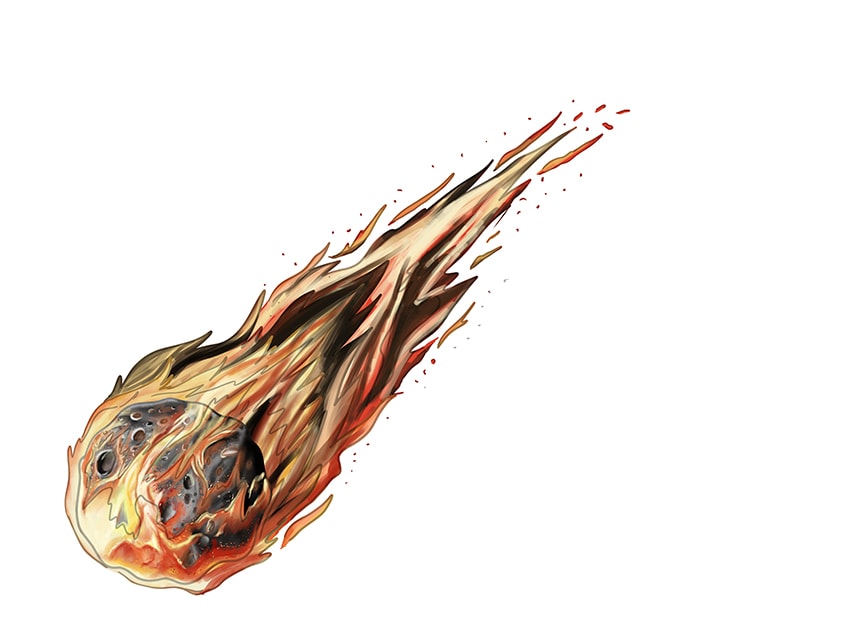
Step 19: Add Final Particles and a Smoke Trail
Begin this step with a fine detail brush and all of the colors that you have used for the flames. Add fine spots and dots throughout the entire flame tail, creating the impression of sparks and dust particles. You can then use a small blending brush and some yellow and white paint to create a soft glow around the front of the meteor.
Finally, use a blending brush and some dark brown paint to carefully add several patches of smoke around the last third of the flame wave.
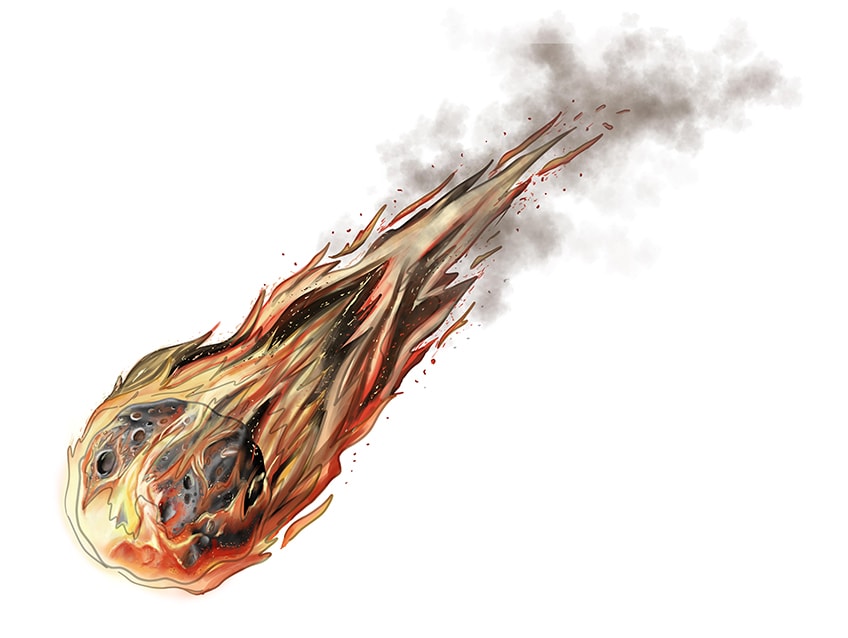
Step 20: Create the Burning Atmosphere
Before we finish our asteroid drawing, we are going to create a soft glow around the front of the asteroid to represent the burning gas of the atmosphere as it burns through. Use a small blending brush and layers of yellow, white, and red paint to create a glow that sweeps backward around the rock.
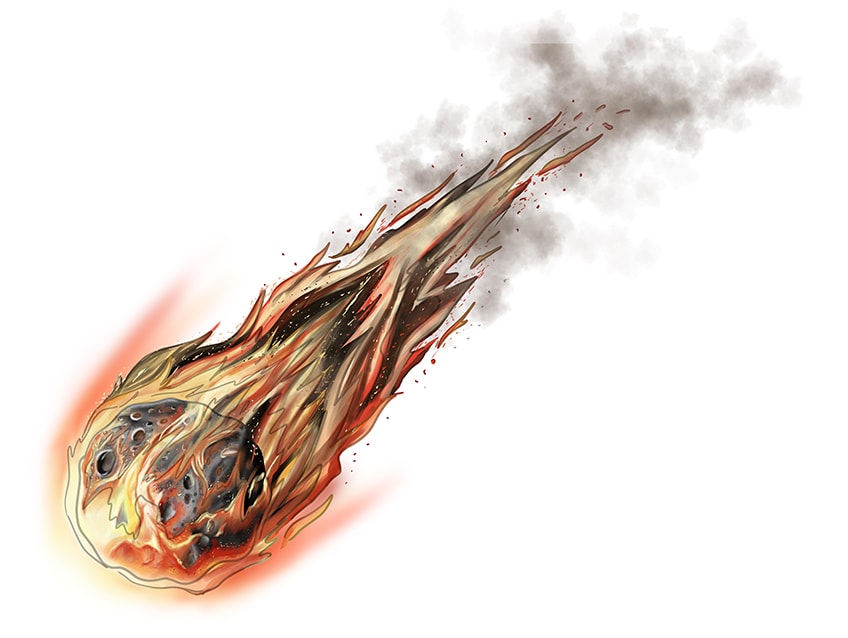
Step 21: Complete Your Realistic Meteor Drawing
To complete our asteroid drawing, we are simply going to remove the outline. If you are working digitally, you can simply erase the outline layer. For physical mediums, you can use the corresponding color at each point of the outline to trace over it.
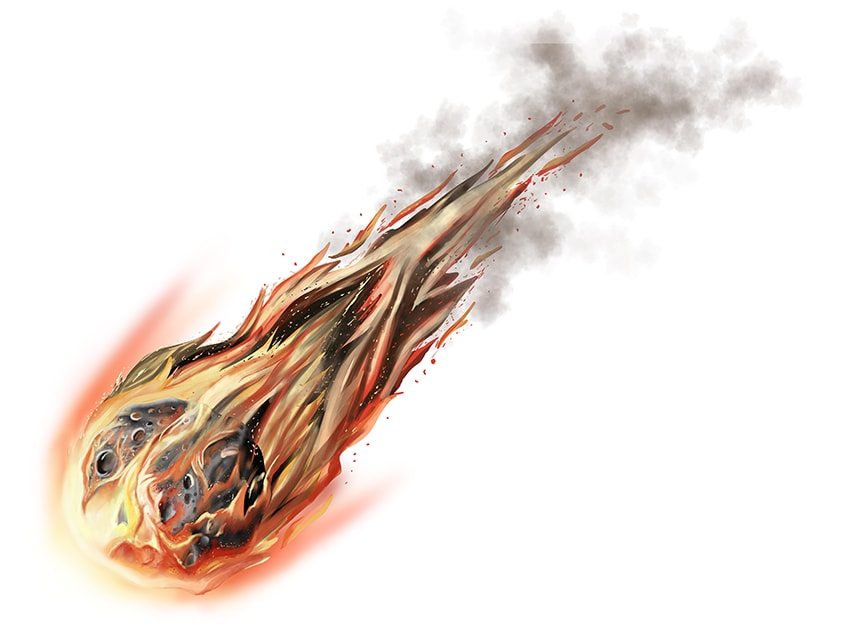
Just like that, you have just created an otherworldly realistic meteor sketch. You now know exactly how to draw an asteroid in only 21 simple steps, and you will have a strong grip on how to create smooth and realistic color blends. We hope that you have enjoyed the coloring process, and we hope to see you again soon for another drawing tutorial!
Frequently Asked Questions
How to Draw an Asteroid with Flames?
In our asteroid drawing tutorial, we show you how to create a burning rock with a long trail of flames behind it. We begin by drawing the meteor, and then build up the flames in three separate layers. We use realistic coloring to create a smooth blend between each flame layer.
What Colors Should a Meteor Sketch Be?
You will need a range of colors for this asteroid drawing, including different shades of gray, black, white, red, yellow, and orange.
Matthew Matthysen is an educated multidisciplinary artist and illustrator. He successfully completed his art degree at the University of Witwatersrand in South Africa, majoring in art history and contemporary drawing. The focus of his thesis was to explore the philosophical implications of the macro and micro-universe on the human experience. Matthew uses diverse media, such as written and hands-on components, to explore various approaches that are on the border between philosophy and science.
Matthew organized various exhibitions before and during his years as a student and is still passionate about doing so today. He currently works as a freelance artist and writer in various fields. He also has a permanent position at a renowned online gallery (ArtGazette) where he produces various works on commission. As a freelance artist, he creates several series and successfully sells them to galleries and collectors. He loves to use his work and skills in various fields of interest.
Matthew has been creating drawing and painting tutorials since the relaunch in 2020. Through his involvement with artincontext.org, he has been able to deepen his knowledge of various painting mediums. For example, watercolor techniques, calligraphy and lately digital drawing, which is becoming more and more popular.
Learn more about Matthew Matthysen and the Art in Context Team.


