How to Draw Legs – Detailed Instructions for Leg Anatomy Drawing
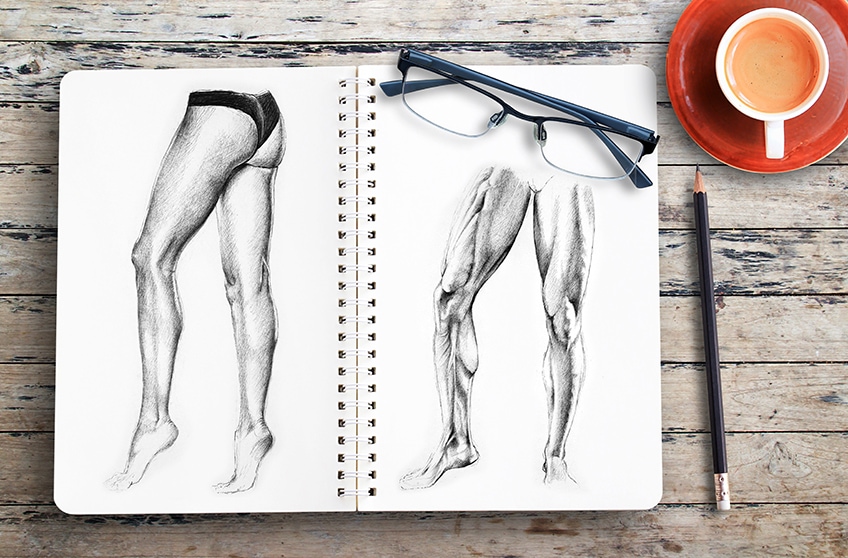
Drawing Legs are very interesting. The leg shapes make it a unique anatomical structure to draw. In this tutorial we will be drawing both male and female legs, more specifically we will be learning how to draw muscular legs, which will be male legs, from the front and back. We will also be drawing toned female legs from the front and back. Each anatomical structure is different in its drawing process due to the nature of the leg. This tutorial breaks down each leg drawing in a series of steps. With that being said, let us see what exactly we will need.
Necessary Materials
We will be using graphite pencils, as they are helpful for anatomy drawing for two reasons. Firstly they provide us with a full range of shades that are helpful for anatomical structures. Secondly, anatomical structures are inevitably going to be challenging to draw.
Therefore, using a medium where we can fix mistakes quite easily is very helpful.
Anatomical structures are complex and cast various shadows in ways that depict a range of shades. Graphite pencils can help us achieve and depict this range of shades visible in the anatomy. What you’ll need is simple:
- A full set of pencils (Derwent Graphic Pencils recommended)
- An eraser
- A sharpener
- Good paper (200 g/m – 250 g/m recommended)
- Source material (could be from your phone or a printed image)
Preparation and Source Image
We will be using a series of source images that we can use as a reference for both the male and female legs. You can either take a photo of your legs or someone else’s legs or source from the internet as long as it is not copyrighted. These images are drawn from images found on the internet. Try to use different kinds of devices to refer to when drawing as they can each come with a unique learning experience.
We will be using graphite pencils as they are a helpful medium when drawing complicated real-life structures. They are also easy to erase if need be.
How to Draw a Male Leg
Drawing the male leg is a matter of understanding the different components that the leg is comprised of. The male leg that we are drawing is very muscular which means that each aspect of the leg is uniquely defined. With that being said, let us look at how we do this.
How to Draw the Front of the Male Leg
With all our materials ready we can now begin our drawing process. We have our pencils sharpened and our eraser, sharpener, and a full range of pencils ready for use. We should also have our source image next to us and our drawing station in a well-lit room. With all that being said it is time to draw. Let us begin with the male legs. In this drawing, we will see how to draw muscular legs.
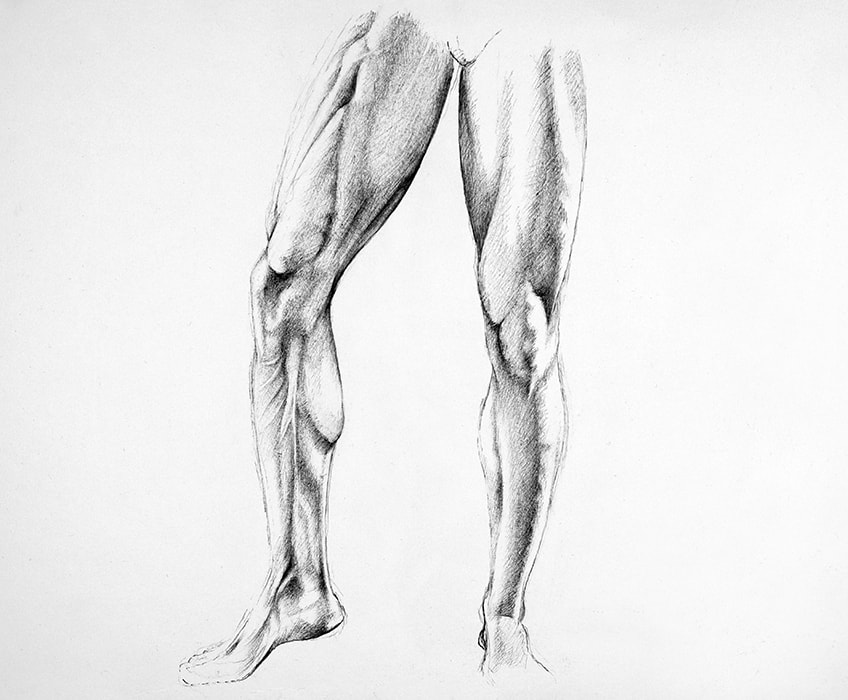
We will also learn how to define the shadows on the leg from the calf to the thigh. Learning how to draw thighs and calves differ depending on the various leg shapes that you draw. Let us go through the various steps for drawing muscular legs from front and back.
Step 1: General Shapes
What we want to do first is identify the generic shapes in the leg. With a light pencil, preferably your H pencil, begin to draw the general shapes of the leg. Generally, these shapes are like two elliptical or elongated ovals.
However, the bottom of the leg is generally slightly slimmer in its shape than that of the thigh.
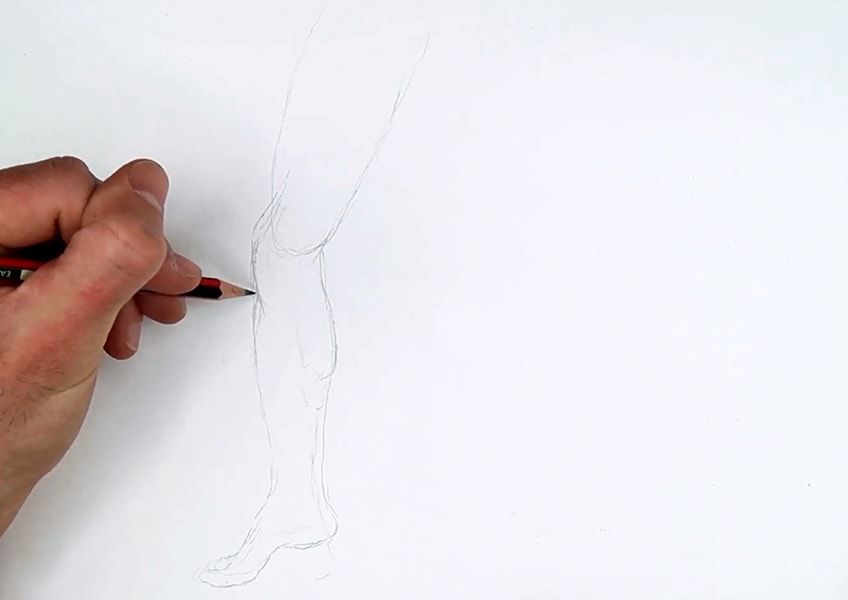
Don’t completely erase it as we want faint marks of our shapes to help guide us through the next step.
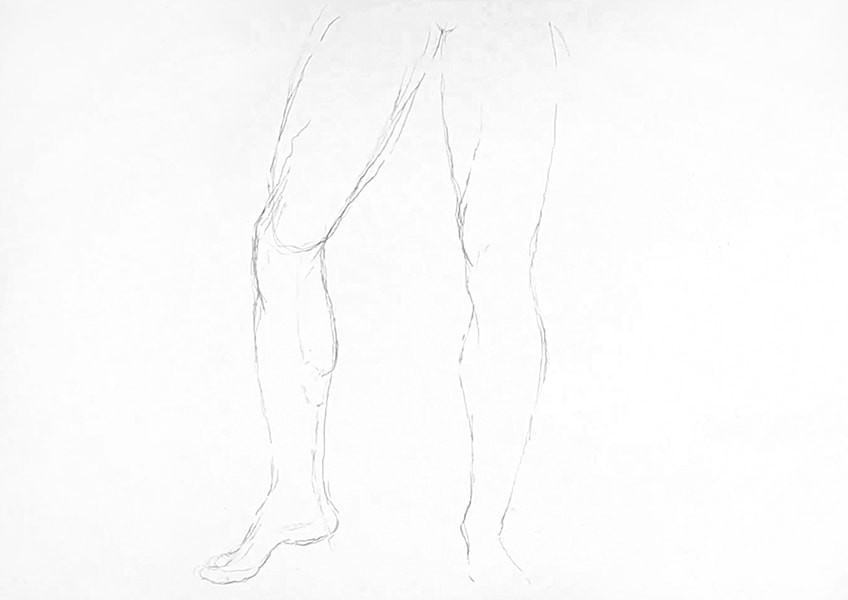
Step 2: Connecting the Lines
What we will begin to do is lightly draw lines to merge our shapes into a single structure that defines the leg. Keep using a lighter pencil during this stage, a good suggestion is an H pencil. By doing so, we will make it easier for ourselves to rectify any mistakes. Take your time during this stage as each step does require patience and attentiveness.
Remember, that the more time we spend in these early stages, the more accurate our drawing will be.
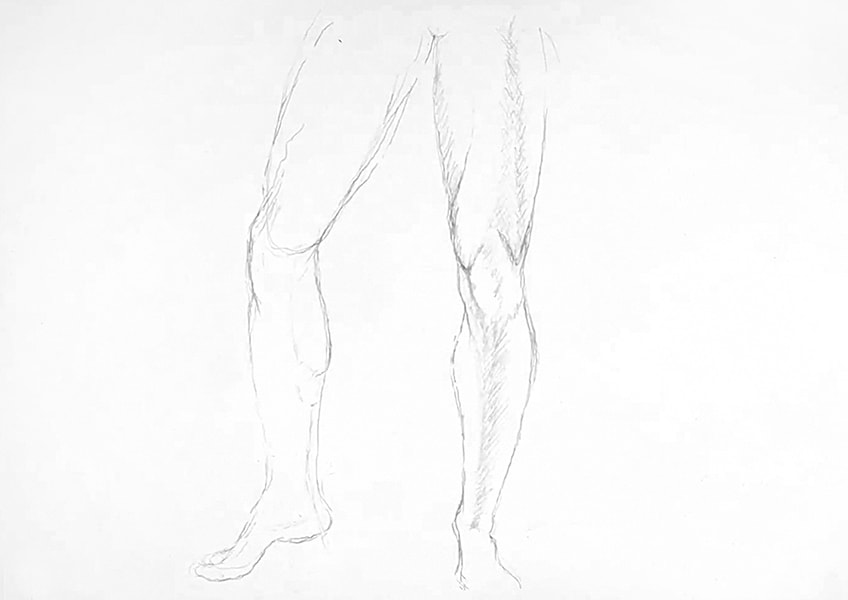
Feel free to use your eraser whenever necessary!
Step 3: Identifying the Lines and Light Shading
This is where we analyze the line movement of our shadows in our source image. If we analyze our source image we can see that the muscular leg displays various lines as an effect of the various muscles of the leg. Try to light shade and draw these lines as you see them.
A good suggestion is to start from the foot as it is the more complicated area of the leg.
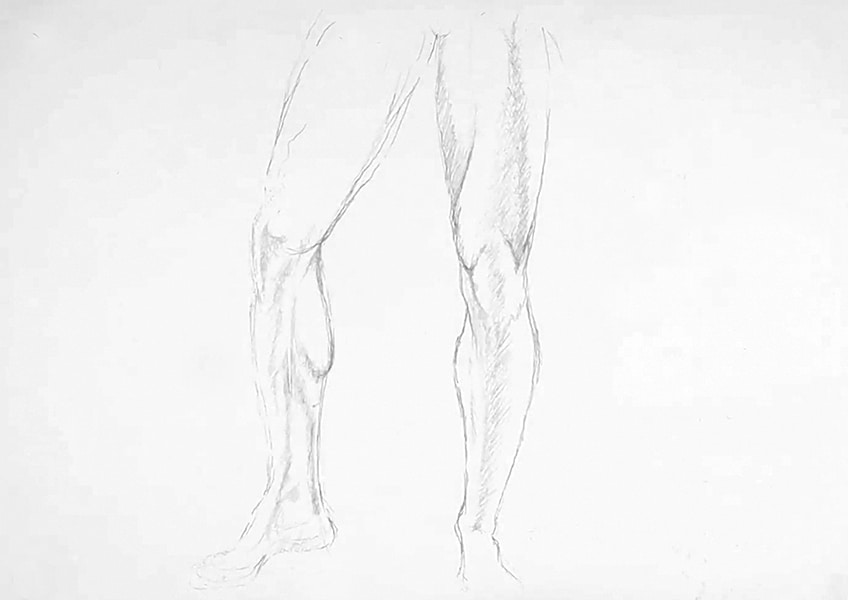
Try to use our line-work as a way to guide where you draw these shadows as they move along the lines and within the lines.
Try to work your way up the leg where you see how the shadows are defined on the knee and thigh in the source image. Take your time analyzing your source image to see how the shadows look on the leg. Do they seem thin or circular? Are they dark or light? Ask yourself similar questions as you draw.
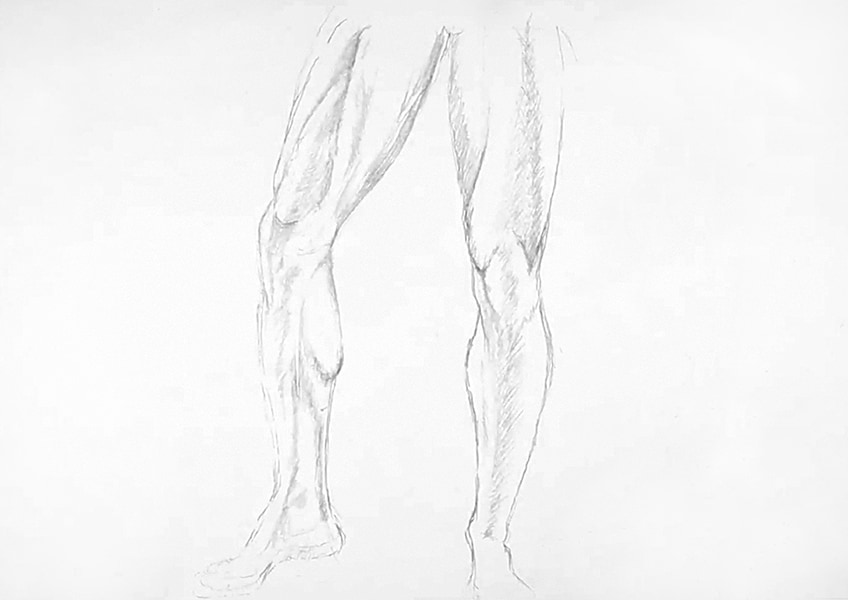
With a light pencil and a little bit of patience, begin to draw the shadows and muscles very lightly.
Step 4: Darker Shading
We should have a lightly drawn muscular leg that accurately resembles the source image we have been referring to. Remember that this is not about perfectly reflecting our source image in a drawing but rather that it just guides us to a more real-life resembling depiction of a muscular leg.
We can now begin going over the lighter marks with our darker pencils, preferably between a 2B and 4B.
With a range of darker pencils, preferably between 2B and 4B, start to draw your shadow’s darkest tones. We do this by analyzing our source image and seeing where exactly the light source is coming from. This will help us accurately place our shadows and draw their gradients more effectively.
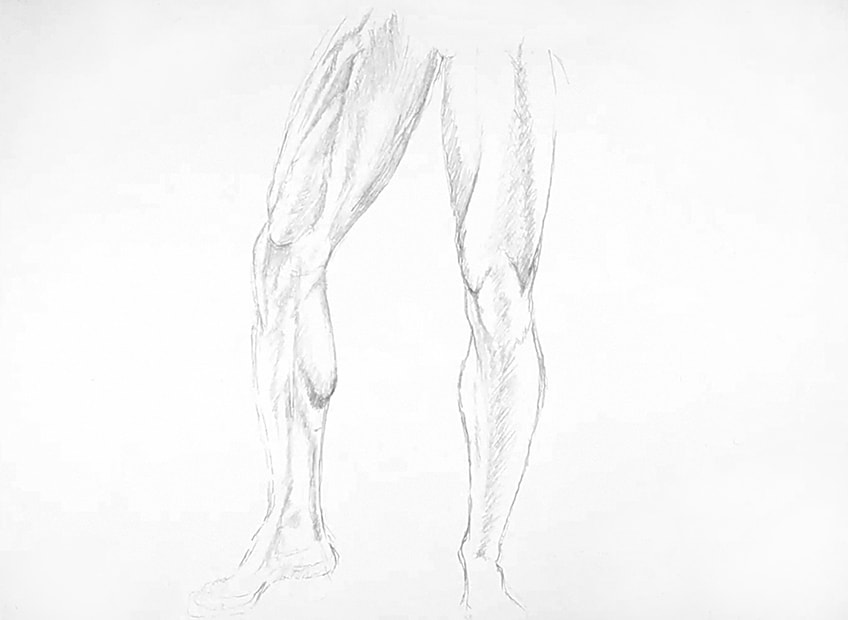
This way you don’t make unnecessary mistakes in the scale and placement of the shadows. Remember to take your time, it is easy to make mistakes during this step so try to be patient.
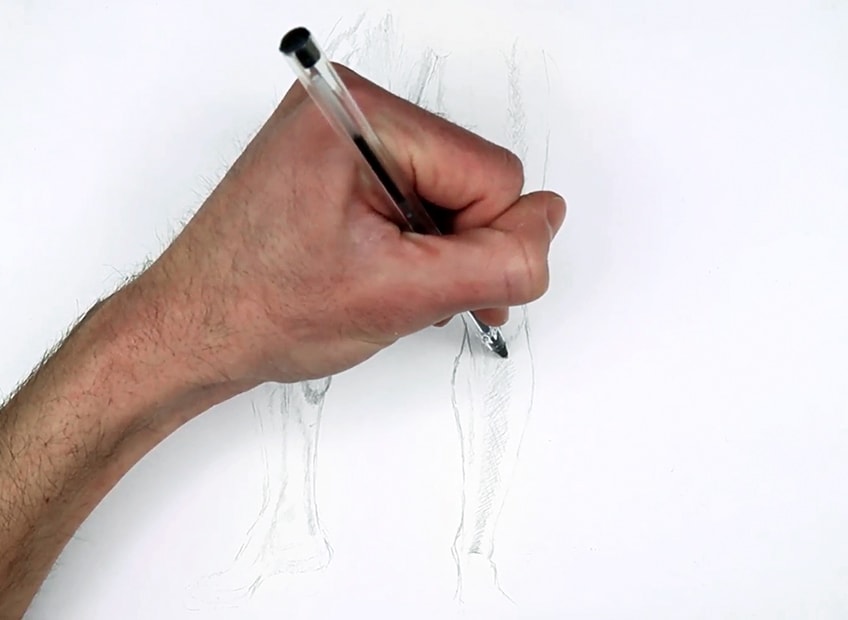
The thigh displays a series of muscles near one another.
This means they protrude with fine indentations between them. try to place your darkest tones in the center of these indentations. then we want to lightly shade outward from them so it seems a realistic interaction with the light source.
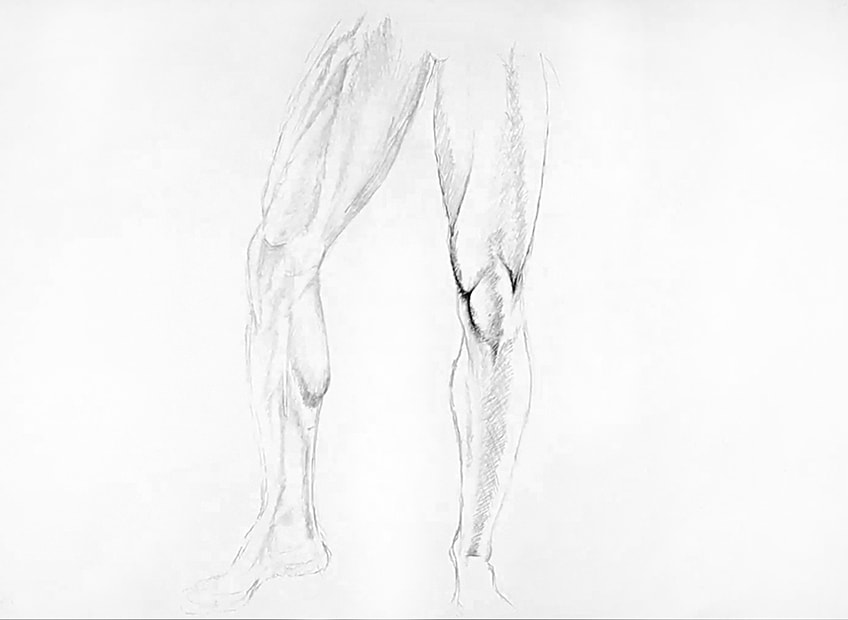
The source image is describing in detail where exactly you should shade and does so by defining the shadows on the leg. These are the areas that we will shade.
Once we feel we have attended to all areas of the leg always do a double check between your source image and drawing. analyze the similarities and rectify the differences that need it with light erasing and replacing the marks.
How to Draw the Back of the Male Leg
We should have a relatively accurate depiction of our front leg in relation to our source image. Through these various steps, we will use our first drawing as a way to scale the next. Now we can move on to the next step. Drawing male legs from the back is the same process as drawing them from the front.
Essentially, it is about configuring the general shapes and then using line work to morph them into an identifiable structure. From there on we begin our shading process to bring the leg to life.
Step 5: General Shapes
What we want to do first is identify the generic shapes in the leg. With a light pencil, preferably your H pencil, begin to draw the general shapes of the leg. Generally, these shapes are like two elliptical or elongated ovals similar to that of the front. However, the bottom of the leg is generally slightly slimmer in its shape than that of the thigh.
Use your previous drawing to help you in scale as you begin to draw next to it.
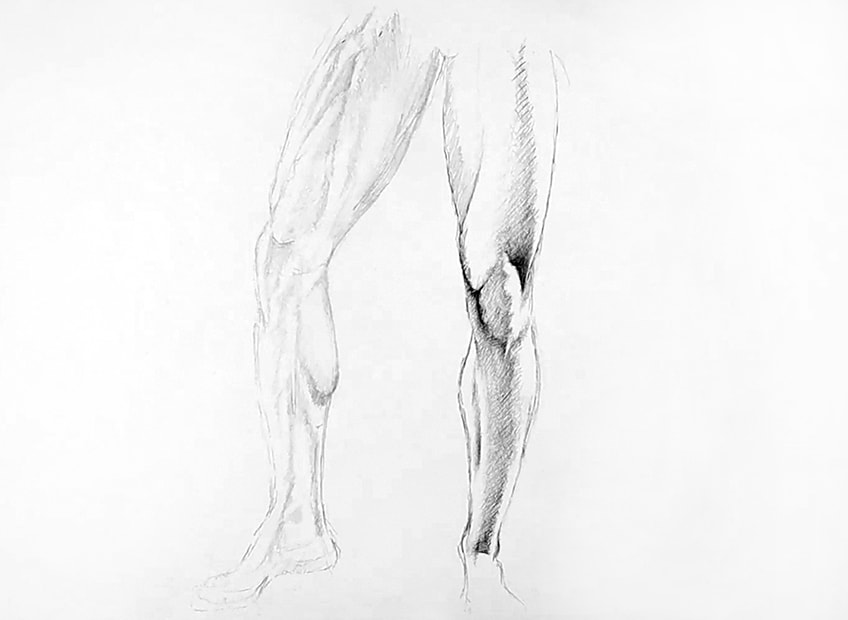
Step 6: Lines of the Back Leg
What we will begin to do is lightly draw lines to merge our shapes into a single structure that defines the leg. Keep using a lighter pencil during this stage, a good suggestion is an H pencil. By doing so, we will make it easier for ourselves to rectify any mistakes.
Take a moment to analyze the foot in the source image. when we draw a general foot shape we can better understand how the leg is posed.
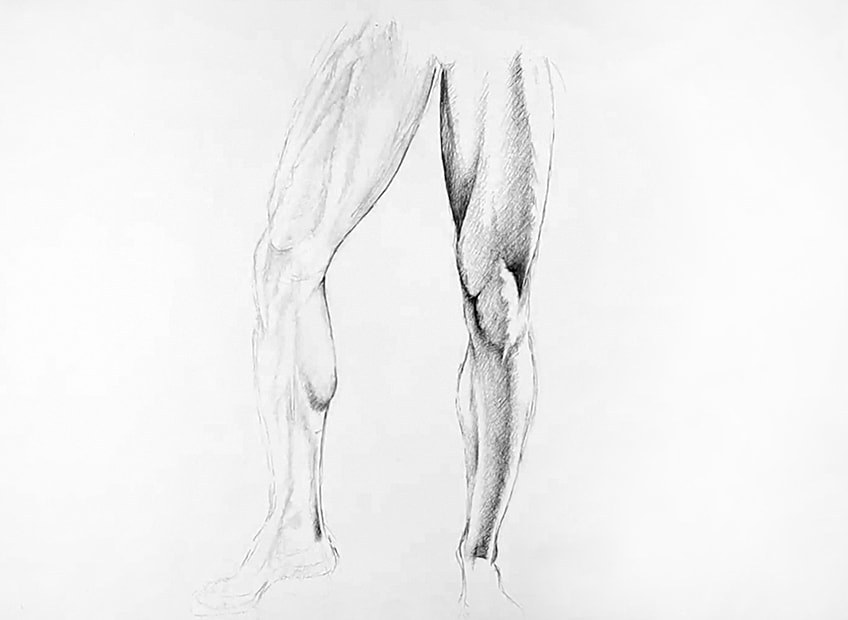
Feel free to use your eraser whenever necessary as you try to draw an outlined leg resembling your source image
Step 7: Light Shading
This is where we analyze the line movement of our shadows in our source image. If we analyze our source image we can see that the muscular leg displays various lines as an effect of the various muscles of the leg. Try to light shade and draw these lines as you see them.
A good suggestion is to start from the foot and work your way up the leg, paying attention to each aspect as you go through the whole leg. Take note of where the light source comes from in the source image, this will help with more accurate shadow placement.
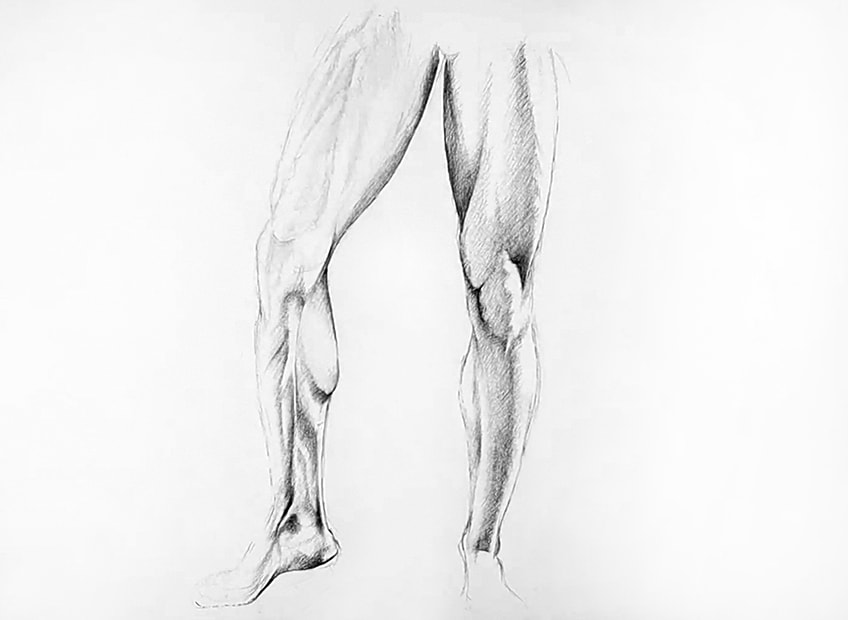
Consider how the indentations are sharp and rigid the more the muscle is pronounced.
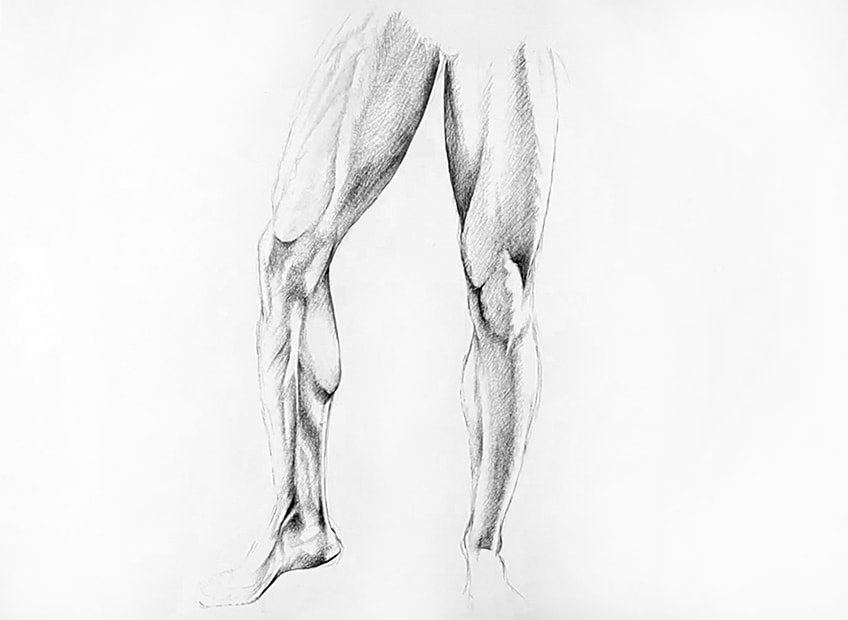
Step 8: Darker Shading
Now we can begin to go over the lighter shading with our darker pencils, preferably between a 2B and 4B. Consider the light shadows you have just drawn and see how they define where you’ll place your darkest marks.
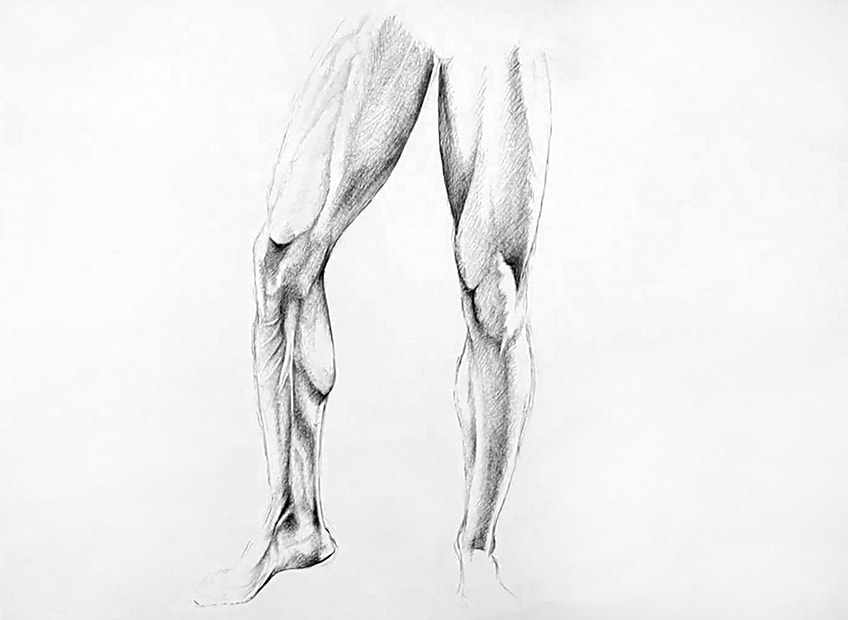
See how the shadow tones differ slightly between each aspect of the leg.
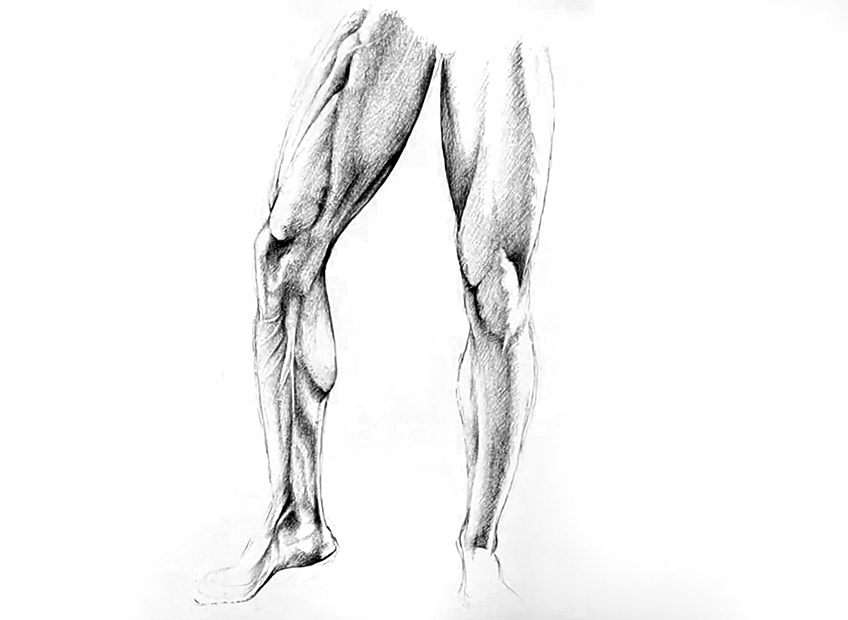
Do this until you are satisfied with the result, but remember, do not over-shade and know when to stop.
How to Draw a Female Leg
As we carry on this tutorial we will be moving into the section where we draw the female leg. Drawing the female leg. However, there are subtle differences between the two that differentiate between them. As we go through the various steps let us see how to achieve these differences.
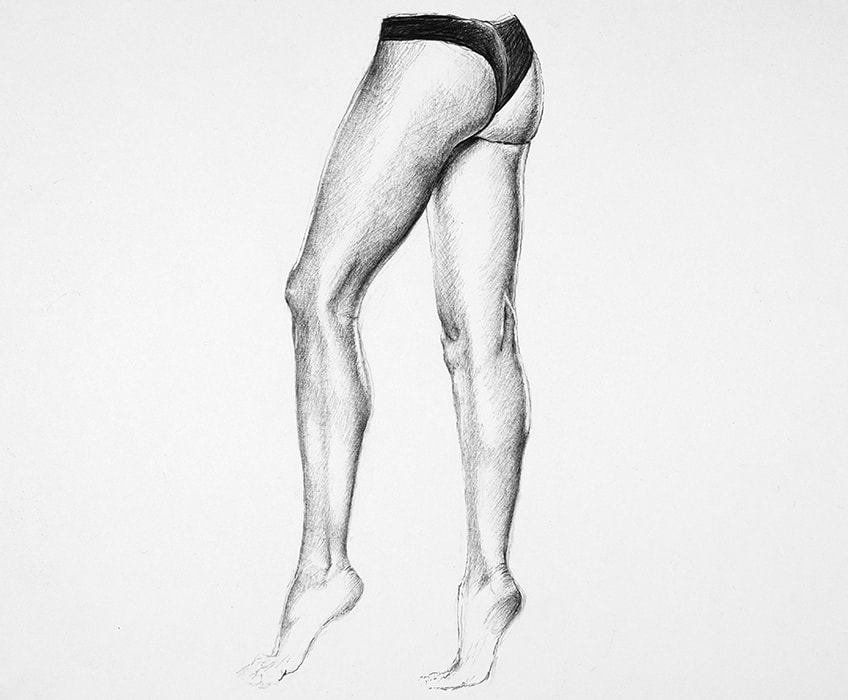
How to Draw the Front of the Female Leg
As we carry on with this drawing tutorial, we will now move on to the female legs. Drawing female legs can be less complicated in the shading process as their features are less pronounced. This makes the earlier stages more important in a sense. The shape of the leg is most essential when we try defining them as a female anatomical structure.
With that said let us get started on a step-by-step guide for drawing female legs.
Step 1: Shape and Foot
In this drawing as we refer to our source image try to take note of the general shapes of the leg and how they are formed. We can use our previous drawings to scale our legs correctly on our drawing paper. These two shapes tend to be elongated elliptical shapes.
With a light pencil (an H pencil), begin to draw the general shape of the leg down to the foot.
Step 2: Line Work
Here is where we refine these shapes with lines. Just as you did in the previous step, erase your shapes lightly so that they are faintly visible. Once you have done that, begin to merge the shapes with line-work as lightly as you can.
Do this with an H pencil.

Step 3: Light Shading
Here we can begin to lightly shade our drawing with a very light pencil, a good suggestion would be to use an HB pencil. The source image displays very subtle shadows that are mostly seen around the knee and the feet. Begin with a single area of the leg and move your way through the leg as you eventually attend to all aspects of the leg.
A good suggestion would be to start with the foot or the knee as both seem to be the most complicated areas of the leg.
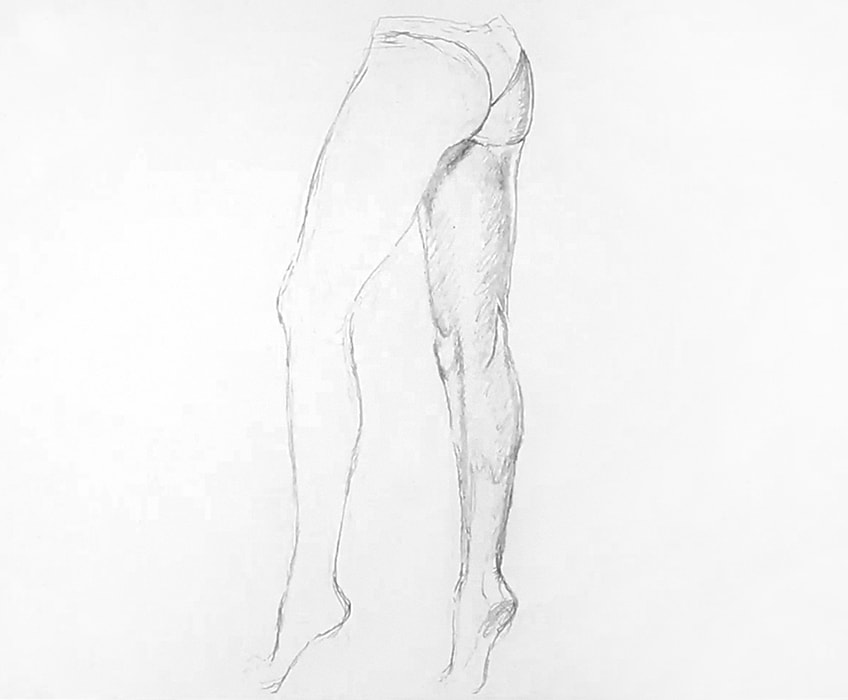
Be patient and gentle as you apply these marks. The gradients should be very soft, so try to keep a light hand when drawing.
Step 4: Dark Shading
This is where we use our light shading to guide us in drawing our darkest tones. This source image defines the leg in a very soft way so we want to be very sparing with our dark shading. Begin to draw your darkest tones as you refer to your source image as a guide.
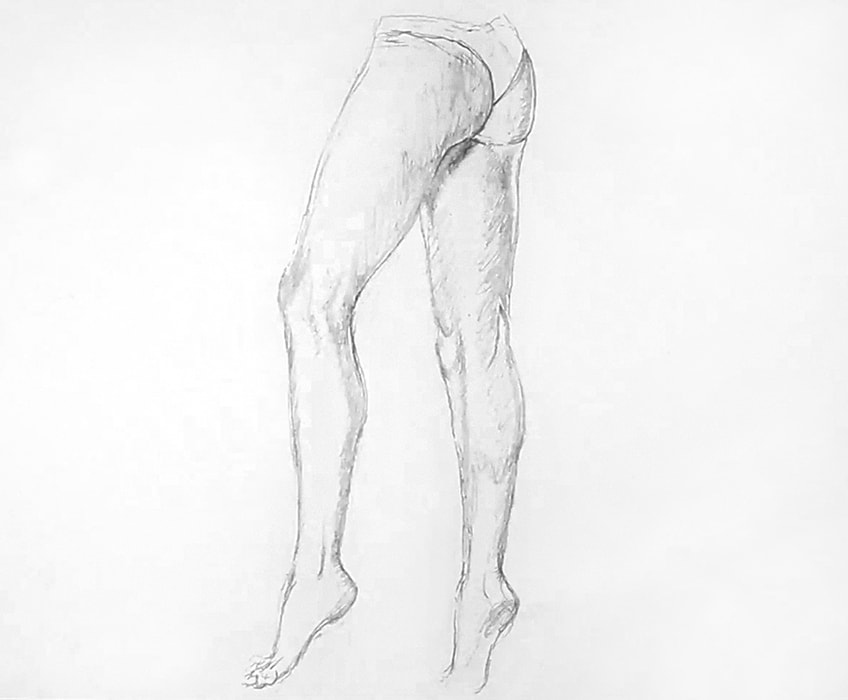
Consider your light shading’s movement through the leg. The light source in your source image should guide the movement of the shadows on the leg. As you analyze your source image and proceed to draw keep doing this back-and-forth action as you place these dark tones on the leg.
Do this until you have attended to all components in the leg.
Make sure you have gone through the whole leg and considered how the light source interacts with each aspect, from the foot to the shin and lastly to the upper leg. We are not doing too much shading here as we want to keep the tonality of the drawing relatively light.
How to Draw the Back of the Female Leg
Drawing the female leg from the back, regarding this source image, displays a leg that is relatively fit and toned. We can see that the leg has a foot that is pressed on its toes which accentuates the muscles in the leg. This will imply the way we represent these features within the drawing. So let us go through the steps.
Step 5: Shape and Foot
Start by analyzing your source image and see what general shapes the leg is made of. While you are analyzing your source image begin to lightly draw the shapes of the leg. These shapes are generally elongated and elliptical.
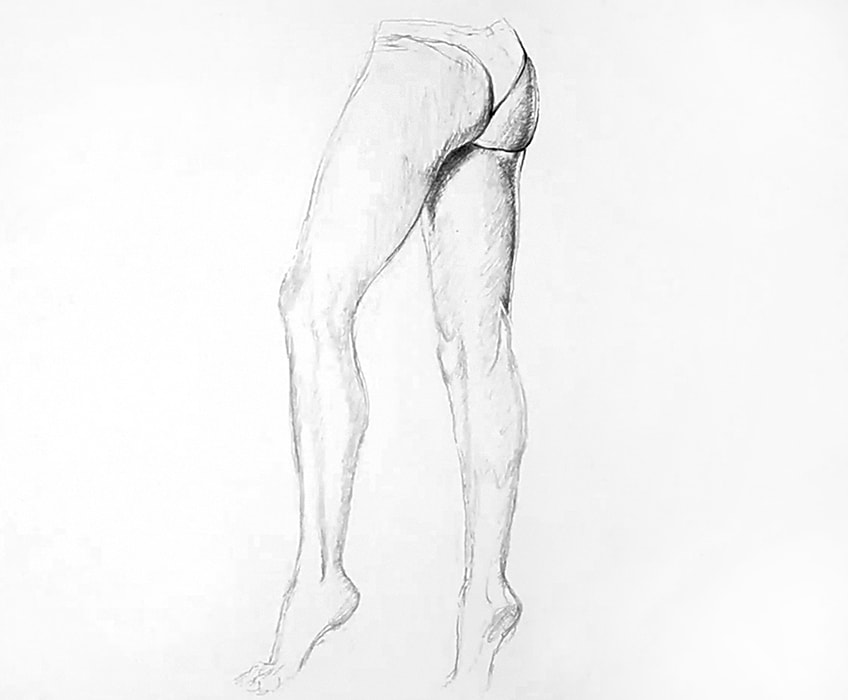
Consider the scale of the leg shapes concerning your previous drawings as a way to help size your leg in its correct proportions. By looking at the front female leg drawing we should have a guide that accurately describes how we draw the scale for the back of the leg. Once we are satisfied we can light erase our drawing again to prepare us for the linework.
Remember to not completely erase these lines but rather keep them faint as a way to guide you through the next process.
Step 6: Completing the Lines
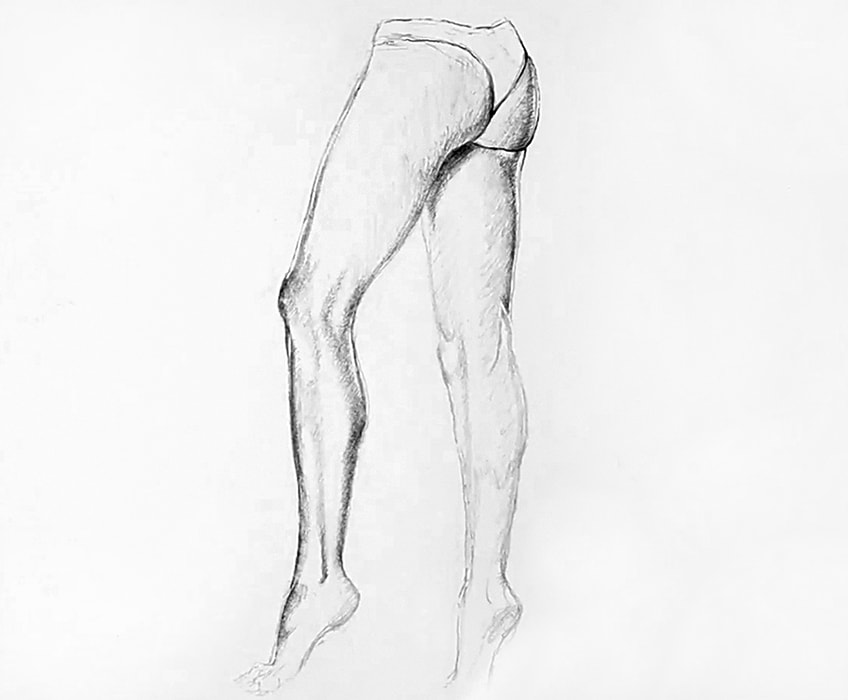
By now, we should have a general shape that describes the structure of the leg relatively accurately. Once we have this we can now begin to draw lines into our shapes to connect the shapes so that they accurately begin to display the leg more clearly. Perhaps spend time on the foot as it is a unique position. The foot will also affect the movement of the calf, therefore the movement of the shadows.
You want to see how the proportions are described in your source image as a way to guide you.
Step 7: Light Shading
Here we can begin to lightly shade our drawing with a very light pencil, preferably an H pencil. As you look at your source image begin to analyze how the shadows form from the foot into the calf. Proceed to make soft light shading marks as you go back and forth between your source image and your drawing.
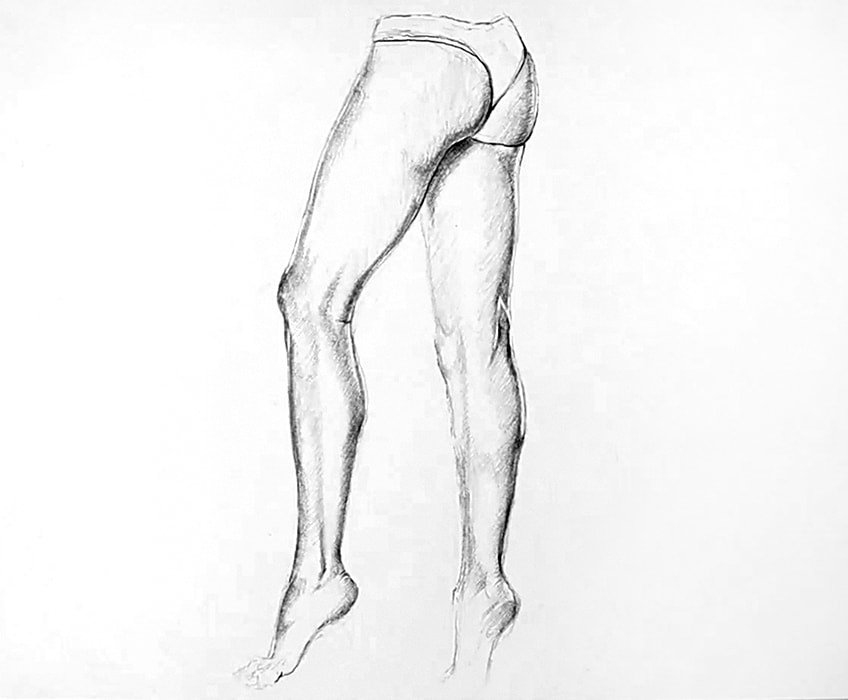
A good suggestion is to work down the leg this time.
Step 8: Dark Shading
We should have a leg that seems realistic in a very light tone of graphite pencil. Now we can begin to go over these marks with our darker pencils. Remember that we must be very attentive to our source image during this step.
Begin to apply the darker shades of your drawing as you refer back and forth between your source image and drawing.
We want to go about this process gently. As before, a good suggestion is to start from the foot and work your way up through the leg. By doing this we can attend to all aspects of the leg and compare our marks as we move through the whole leg.
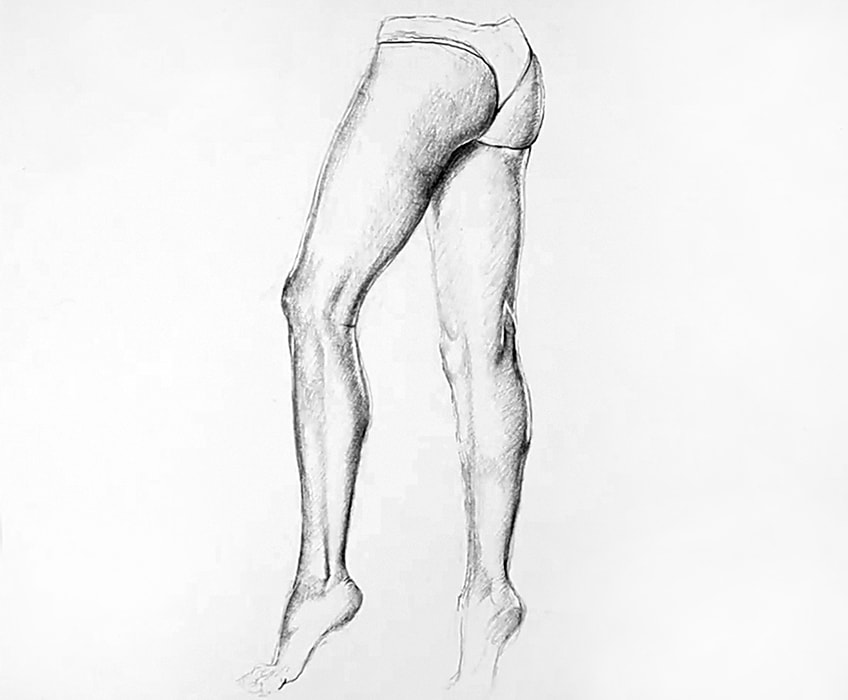
Sometimes this may cause light or dark shadows, depending on how the leg is exposed to the light.
If you feel that you have gone through the whole leg feel free to go through the leg a second time. A duplicate check is always helpful as you compare your drawing to the source image.
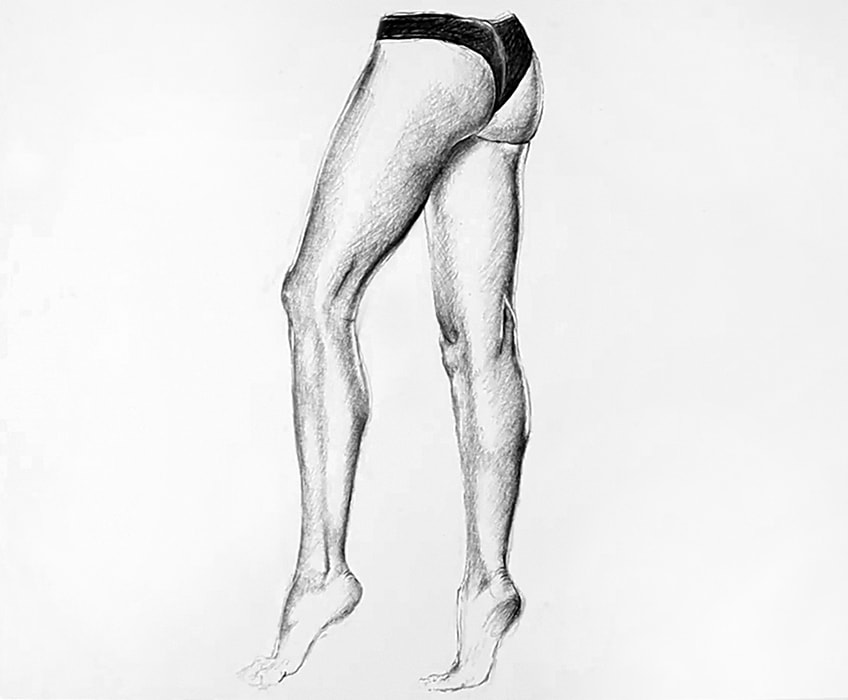
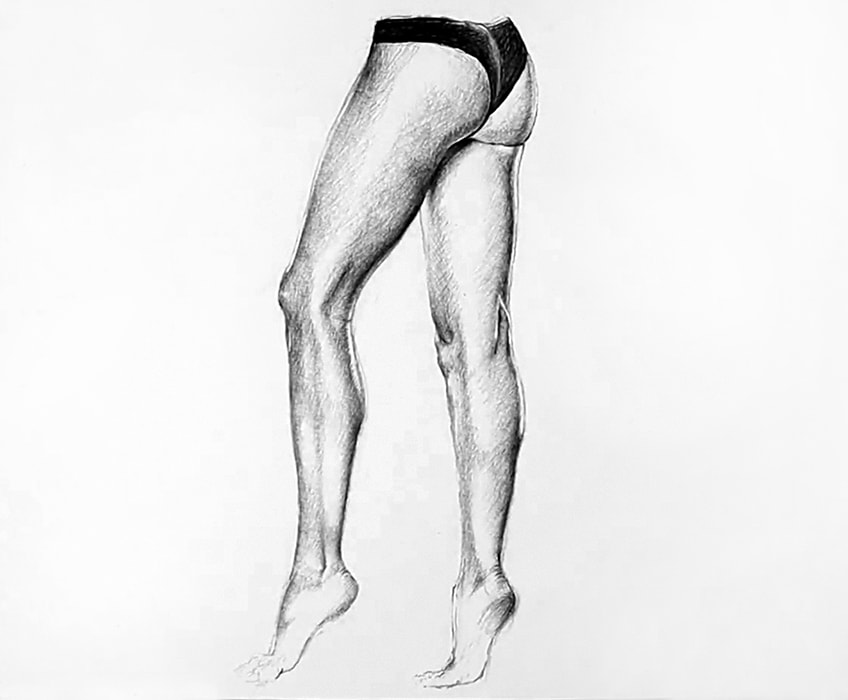
For instance, consider the foot and the creases around the Achilles heel.
Tips to Remember:
- Drawing legs is not easy. As is drawing any anatomical structure, we should be patient and attentive to each aspect.
- Think of this tutorial as applying layers. You always want to put down the general marks that allocate a space for you to shade within.
- Always remember the light source, as this is the reason for shadows cast on a body part.
- Muscle bulges are generally the main way to differentiate between feminine and masculine legs. In this tutorial, we see how these bulges are more subtle for the female leg.
Drawing legs in a way that we can compare to each other is a helpful exercise for scale and position. The differences between the size of male and female legs can be difficult to describe in a drawing. This is why drawing a series of legs, both male and female legs, in various positions can help us to develop the skill of proportion and size. Generally, these are the most difficult moments in distinguishing the difference between the male and female leg.
Frequently Asked Questions
How Do You Get Better at Drawing Legs?
When drawing anatomy, it is all a matter of time and patience. It is simply about practicing and being patient with the results. However, if we aim to draw realistically, this tutorial describes some key principles to keep in mind when drawing. Shape, line, light source, and different ways of shading are all helpful concepts to learn as you try different drawing exercises.
How Do I Draw Muscular Legs?
Muscular legs are simply a matter of shadow formations against the structure. Remember, muscular legs are a result of fuller muscle composition. The muscle carries blood and water which makes them bulge. How we represent this in a drawing is a matter of understanding how light interacts with these bulges. Generally, it is a stark contrast that is produced which means there are generally more dark tones in the shadow gradients between each muscle in the leg.
How Do I Draw Feminine Arms?
Feminine legs are generally defined by softer gradients. This is because the muscles are not as prominent in a feminine leg which means that light is more capable of wrapping around the female leg. This makes the shadow gradients more soft and gentle with a subtle fade between the darkest and lightest tones.
Matthew Matthysen is an educated multidisciplinary artist and illustrator. He successfully completed his art degree at the University of Witwatersrand in South Africa, majoring in art history and contemporary drawing. The focus of his thesis was to explore the philosophical implications of the macro and micro-universe on the human experience. Matthew uses diverse media, such as written and hands-on components, to explore various approaches that are on the border between philosophy and science.
Matthew organized various exhibitions before and during his years as a student and is still passionate about doing so today. He currently works as a freelance artist and writer in various fields. He also has a permanent position at a renowned online gallery (ArtGazette) where he produces various works on commission. As a freelance artist, he creates several series and successfully sells them to galleries and collectors. He loves to use his work and skills in various fields of interest.
Matthew has been creating drawing and painting tutorials since the relaunch in 2020. Through his involvement with artincontext.org, he has been able to deepen his knowledge of various painting mediums. For example, watercolor techniques, calligraphy and lately digital drawing, which is becoming more and more popular.
Learn more about Matthew Matthysen and the Art in Context Team.
Cite this Article
Matthew, Matthysen, “How to Draw Legs – Detailed Instructions for Leg Anatomy Drawing.” Art in Context. July 11, 2022. URL: https://artincontext.org/how-to-draw-legs/
Matthysen, M. (2022, 11 July). How to Draw Legs – Detailed Instructions for Leg Anatomy Drawing. Art in Context. https://artincontext.org/how-to-draw-legs/
Matthysen, Matthew. “How to Draw Legs – Detailed Instructions for Leg Anatomy Drawing.” Art in Context, July 11, 2022. https://artincontext.org/how-to-draw-legs/.


