How to Draw a Ribbon – Steps to Create a Realistic Ribbon Drawing
Generally used for decorations, ribbons make the perfect addition to a wrapped present, a Christmas tree, or in any hairstyle! Ribbons are also very popular to denote awareness of certain causes, with different colors representing specific issues. In today’s drawing tutorial, follow along and learn how to draw a ribbon from the very beginning using our easy instructions. Once you are finished, you will be left with a gorgeous ribbon sketch. Select the drawing supplies that you will be using and unwrap this tutorial with us!
How to Draw a Ribbon in 15 Easy Steps
Join us and learn how to create your very own realistic ribbon drawing with our 15 easy steps! In our tutorial, we cover everything that you need to know when it comes to drawing a ribbon, from the instructions to adding highlights and color to your ribbon sketch.
Our drawing tutorial is great for beginners and professional artists alike, and can be done on paper or even on a graphics tablet!
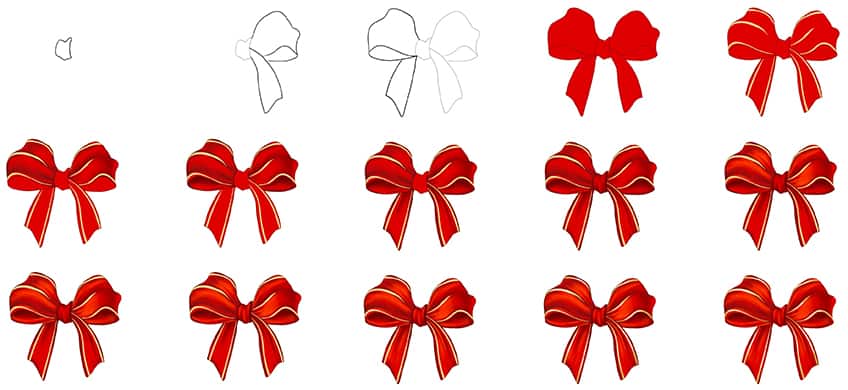
The above collage shows each of the 15 steps taken to achieve the final result of a ribbon sketch, and demonstrates what your drawing of a ribbon should look like at every step. Select the drawing supplies that you will be using today and let us get started!
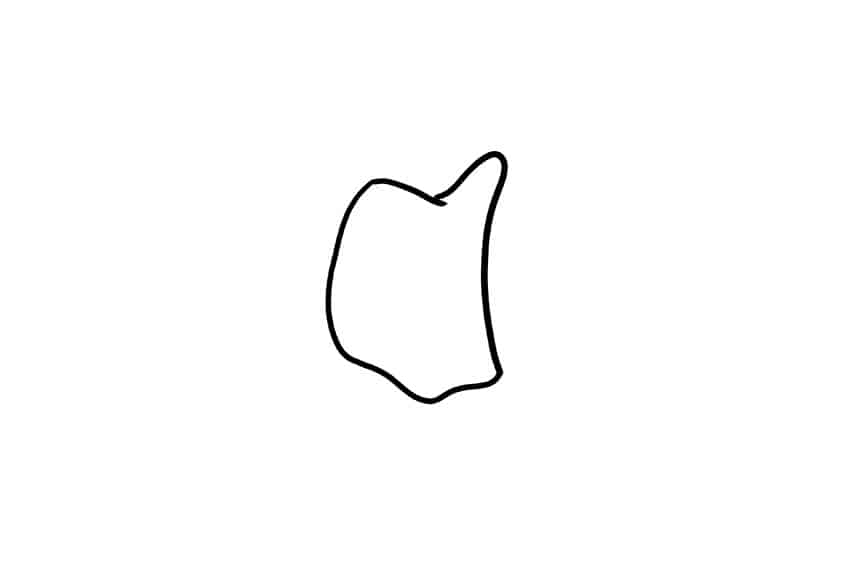
Step 1: Construct the Main Tie
To begin your drawing of a ribbon, we will draw the middle section of the tie first. Locate the center of your drawing area, whether it is on a piece of paper or a graphics tablet, and draw the main tie loop of the ribbon.
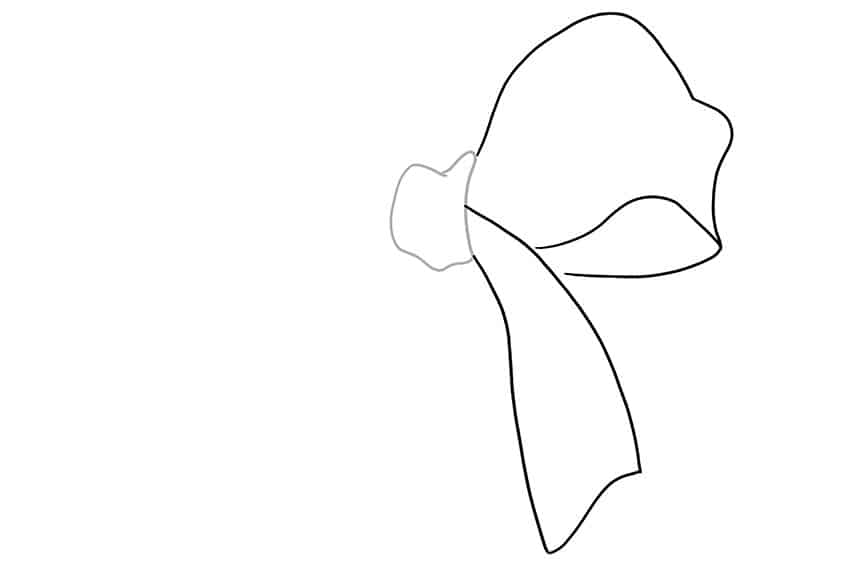
Step 2: Draw the Right Side of Your Ribbon Sketch
In the second step of your easy ribbon drawing, you will be adding the bows of the ribbon. Working on the right-hand side of the page first, draw the first half of the ribbon as a curving loop with a long tie, and attach it to the main tie.
You can draw your ribbon ties in any size you’d like!
Step 3: Add the Left Side Ribbon to the Drawing
Now that the right-hand side ribbon has been added, we can draw in the left-hand side one. Repeating the step above, draw the other half of the ribbon tie on the left. Do not forget to attach the left tie to the main tie as well.
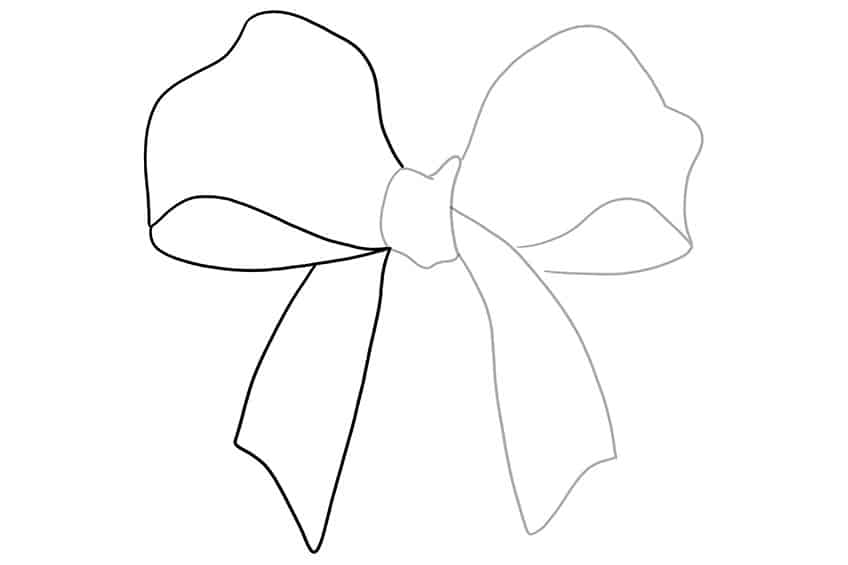
Step 4: Apply the First Color Coat to Your Ribbon Drawing
As all of the drawing steps have been completed for the tutorial, we can now add our first coat of color to our drawing of a ribbon! With a regular paint brush, select a shade of red and evenly color the entirety of the ribbon sketch.
We have chosen to use red in our ribbon drawing, but you are welcome to use any color you wish!
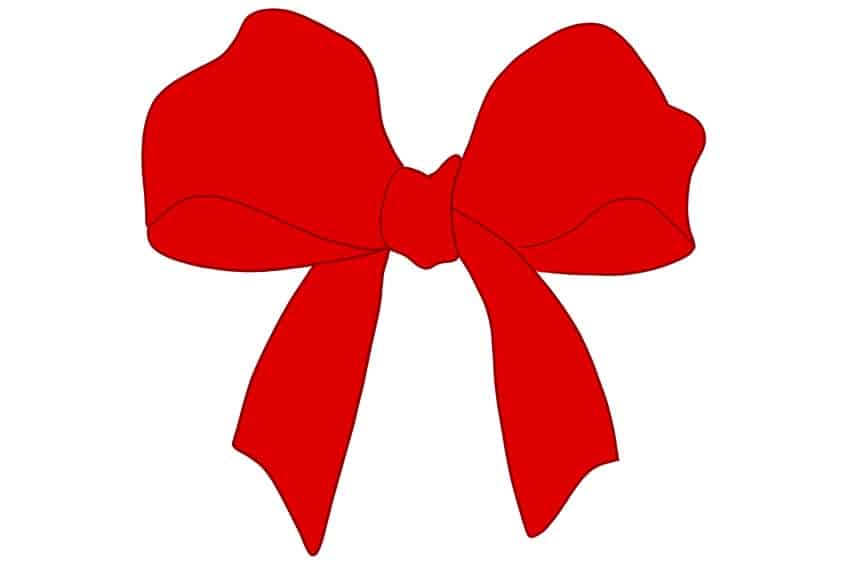
Step 5: Color the Accents of the Ribbon
Once the first coat of paint has dried, we can move on to adding some accents to our realistic ribbon drawing. Making use of a sharp paintbrush and a caramel paint color, add some fine accents along the bottom ties of the ribbons and on the top bows. Follow the curvature of the ribbon to help you in painting the correct curving accents.
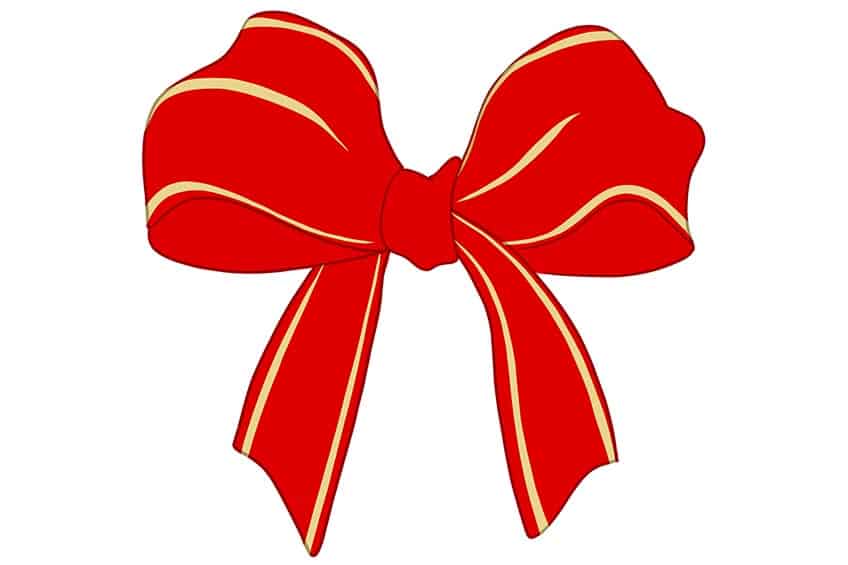
Step 6: Shade the Top of the Ribbon
At this step, we can begin to add several layers of shading to our easy ribbon drawing. Using a small soft paintbrush and black paint, apply a light to medium amount of shading along the edges and accents of the ribbon.
This will enhance the structure within the top bows of the ribbon.

Step 7: Add Shading to the Inner Ribbon
Still working on the shading of our ribbon sketch, repeat step 6 with a small paintbrush and black paint. Lightly shade the inner parts of each bow of the ribbon, making sure that your first coat of color is somewhat visible.

Step 8: Shade the Bottom Ribbons in Your Ribbon Sketch
Moving onto the bottom ties of the ribbon, complete the shading by using a small paintbrush and black paint to gently add some structure and shading to the two ties. When applying your shading, it does not need to look symmetrical on both sides; rather it should look natural and realistic according to the folds and creases of a ribbon.
This is why we add several strokes of shading to enhance the structure of these folds and creases.

Step 9: Create Shading in the Center Tie
This is the last step where we will be adding shading to our drawing of a ribbon. With a soft paintbrush and some black paint, apply some shading along the edges of the center tie. When doing this, make sure that the first coat of color is still visible.

Step 10: Apply Some Highlights to Your Ribbon Drawing
Now that all of the shading steps are complete, we can move on to adding some highlights to our ribbon sketch! Making use of a small and soft paintbrush, select a shade of light orange paint to create the effect of highlights.
Using the light orange paint, gently add some highlights along the top of the ribbon bow.

Step 11: Highlight the Inner Areas of the Ribbon
In this step, we are merely repeating the previous step to add some highlights to the inner areas of the ribbon. However, apply these highlights within the ribbon folds this time.

Step 12: Add Some Highlights to the Center Tie
Moving on to the center tie of the ribbon, we can work to add some highlights to this section of your ribbon drawing. Using a small and soft paintbrush, select a light shade of orange paint and begin to lightly add highlights to this area.
This will help to create structure in the center tie of the ribbon.

Step 13: Highlight the Bottom Ribbons in Your Ribbon Drawing
The last parts of the ribbon sketch that require highlights are the bottom ties. With a small paintbrush and the same shade of orange paint as before, lightly add highlights between the structure lines on each bottom tie of the ribbon.

Step 14: Complete the Accents in Your Drawing of a Ribbon
Before we can finalize our realistic ribbon drawing, we first need to complete our accents. Using a small paintbrush and a second layer of caramel-colored paint, paint along the accents to enhance their color darkness. After this, take a small paintbrush and white paint to add several strokes of highlights onto each accent.
Complete the step by using a small and clean paintbrush or blending brush to smoothen the areas.

Step 15: Finalize Your Easy Ribbon Drawing
In the final step, you will be tracing over your drawing of a ribbon to give it a seamless effect. With a fine paintbrush and the corresponding colors for each section, trace over the entirety of the drawing. Remember to include the inner texture lines to create a clean and seamless final result.
Once you are finished, you will be left with a realistic ribbon drawing with no visible outlines at all!

Well done, you have just created your very own easy ribbon drawing in only 15 steps! Now that you have mastered all of the steps needed to create a ribbon drawing, you can make as many sketches in as many different colors as you like. We hope that you enjoyed our tutorial on how to draw a ribbon and that you will join us again for more easy and exciting drawing guides!
Frequently Asked Questions
How Do You Create a Realistic Ribbon Drawing?
In our above tutorial, we have provided you with steps that will help make your ribbon drawing look as realistic as possible. Through using a range of techniques like highlighting, shading, texturing, and coloring, your drawing of a ribbon will be good enough to wrap around a present!
Is It Difficult to Make a Drawing a Ribbon?
Not at all! While 15 steps may seem quite daunting at first, especially if you are new to the drawing world, each step is explained in a very straightforward manner which makes the instructions easy to understand. Once you have mastered the steps above, you will be left with an easy ribbon drawing that you can recreate at any time you want.
Matthew Matthysen is an educated multidisciplinary artist and illustrator. He successfully completed his art degree at the University of Witwatersrand in South Africa, majoring in art history and contemporary drawing. The focus of his thesis was to explore the philosophical implications of the macro and micro-universe on the human experience. Matthew uses diverse media, such as written and hands-on components, to explore various approaches that are on the border between philosophy and science.
Matthew organized various exhibitions before and during his years as a student and is still passionate about doing so today. He currently works as a freelance artist and writer in various fields. He also has a permanent position at a renowned online gallery (ArtGazette) where he produces various works on commission. As a freelance artist, he creates several series and successfully sells them to galleries and collectors. He loves to use his work and skills in various fields of interest.
Matthew has been creating drawing and painting tutorials since the relaunch in 2020. Through his involvement with artincontext.org, he has been able to deepen his knowledge of various painting mediums. For example, watercolor techniques, calligraphy and lately digital drawing, which is becoming more and more popular.
Learn more about Matthew Matthysen and the Art in Context Team.


