How to Draw a Human Heart – Learn to Draw an Anatomical Heart
Learning how to draw a human heart is an interesting exercise. A drawing of a human heart allows you to enhance your realistic drawing skills whilst simultaneously giving you a better understanding of human anatomy. Learning how to draw an anatomical heart will refine your drawing skills as you learn how to draw various complex components that the heart is made up of. Realistic heart drawing gives you a better understanding of texture, this is because the human heart is made up of various components that all have different textures. The unique composition of the heart allows for very advanced development of your drawing skills. This is because you will learn new techniques and skills that will improve your drawing within this tutorial on how to draw a human heart.
Table of Contents
An Easy Guide to Drawing a Human Heart
However complicated a drawing of a human heart may seem, it can be quite a digestible task once it has been broken down into simple easy-to-follow steps. As we learn how to draw a human heart, we will find that the process is quite easy to follow.
When drawing anything realistic, you begin by creating a simple light sketch of the subject. Loosely sketching the heart allows you to figure out its shape and form, which you will then refine by drawing over as you slowly start to create a more realistic heart drawing.
The process of developing the artwork from sketching heart-like shapes to a more realistic human heart drawing is simple if you go through each step with attention and focus. For this tutorial on how to draw a human heart, we want to engage with the process as best we can, allowing ourselves to have the best opportunity for creating a realistic human heart drawing.
Necessary Materials
In this tutorial on how to draw a human heart, we will need the correct materials. We want to make sure we have the correct pencils for our drawing of a human heart. As we develop our artwork from sketching heart-like shapes into more realistic heart drawings, we want to have a good range of pencils that are conducive to this process. This means we will also need a sharpener for the drawing process.
We will also be drawing with a pen in this tutorial, so we will want to have the correct pens for finer and precise detailing.
As we will inevitably encounter mistakes, we will need an eraser throughout the process. We will also want to make sure we have a good paper to draw on through this human heart drawing tutorial. Lastly, we will be using a diagrammatic heart image for reference to guide our drawing process. All materials can be found online, following the links below:
- Pencils
- Eraser
- Sharpener
- Good paper (200 g/m – 250 g/m recommended)
Step-by-Step Instructions on How to Draw a Human Heart
In this tutorial on how to draw a human heart, we will begin by sketching heart-shaped structures, as we figure out the general shape and form of the heart. We will then proceed to shape the heart, slowly refining it with our pencils into a more realistic heart drawing. We want to go through this process with an attentiveness to the source image for guidance.
As we constantly refer to the source image going back and forth between our drawing and reference image, we will add some light pencil shading.
We want to keep all our pencil marks as light as possible. We do so because once we have finished the drawing with a pencil, we will then proceed to finalize our drawing with a pen. Drawing heart anatomy has unique and intricate details that can be captured and achieved quite beautifully in a pen. Now that we know what we are to expect, let us go through this tutorial on how to draw a human heart.
Step 1: Demarcating the Area for Drawing on the Page
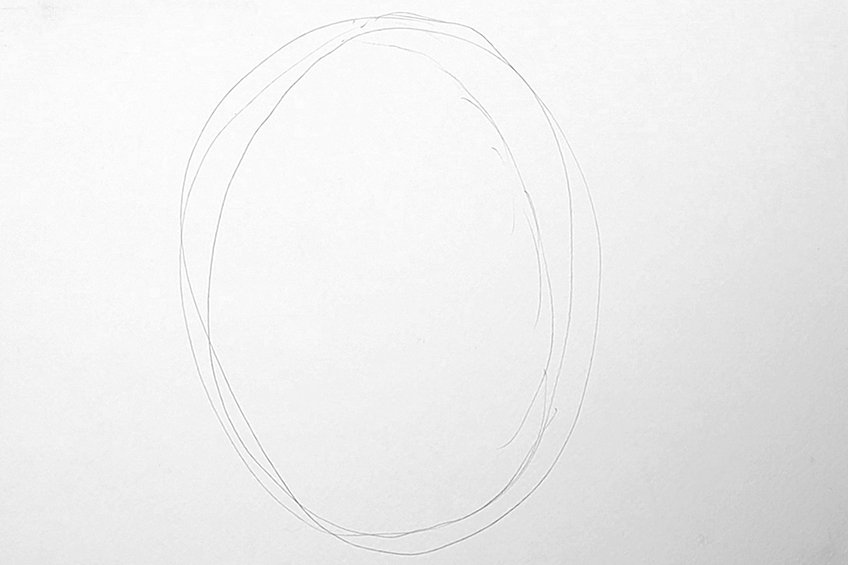
We will begin by creating a demarcated area on the page, which we will be drawing the heart within. We want to just make a general circle with our pencils on the page to indicate the scale of an area in which the heart will be drawn.
Doing so will help guide the drawing process a little as we define the shape of the heart.
Step 2: Light Sketching of the Heart
We want to now proceed with lightly sketching the heart with our pencils. We do this by using a light pencil, preferably an H or 2H pencil, and begin to lightly sketch the heart as we see it in the source image.
As we are drawing the heart from a frontal view, rather than a cross-section, we want to pay attention to how each feature is present in the source image.
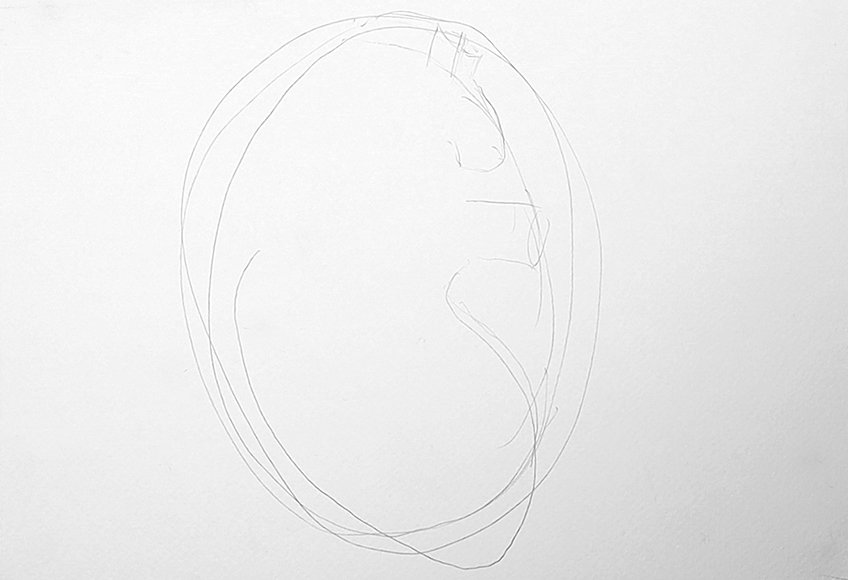
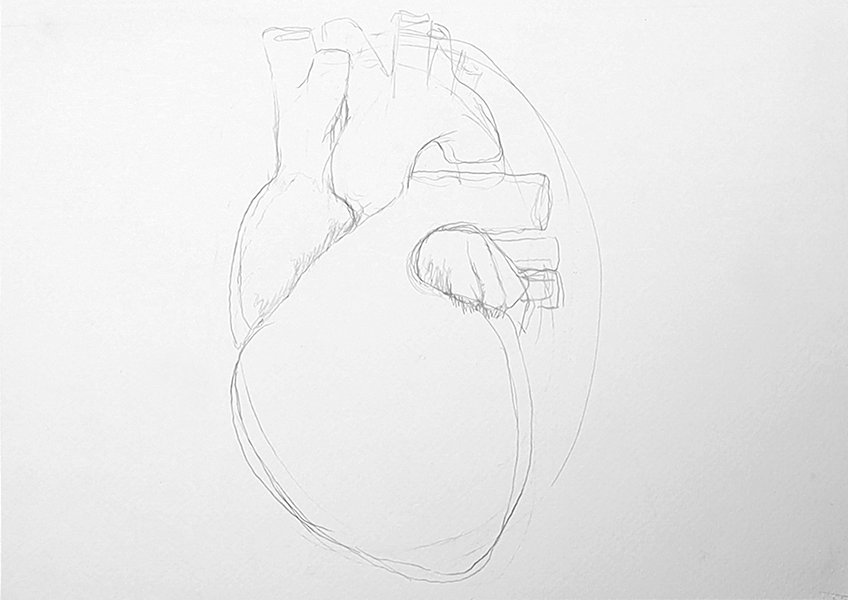
Always consider how different components are placed together, as you refer to your source image.
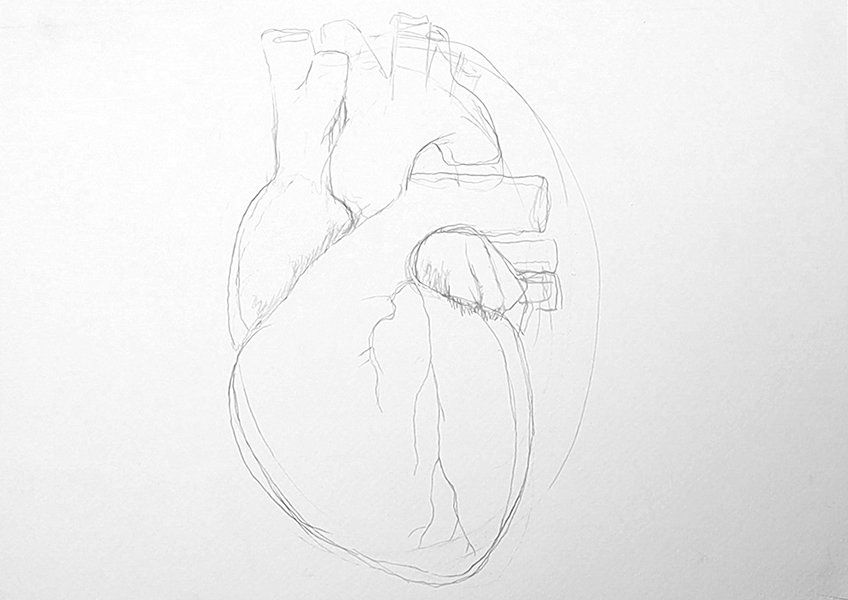
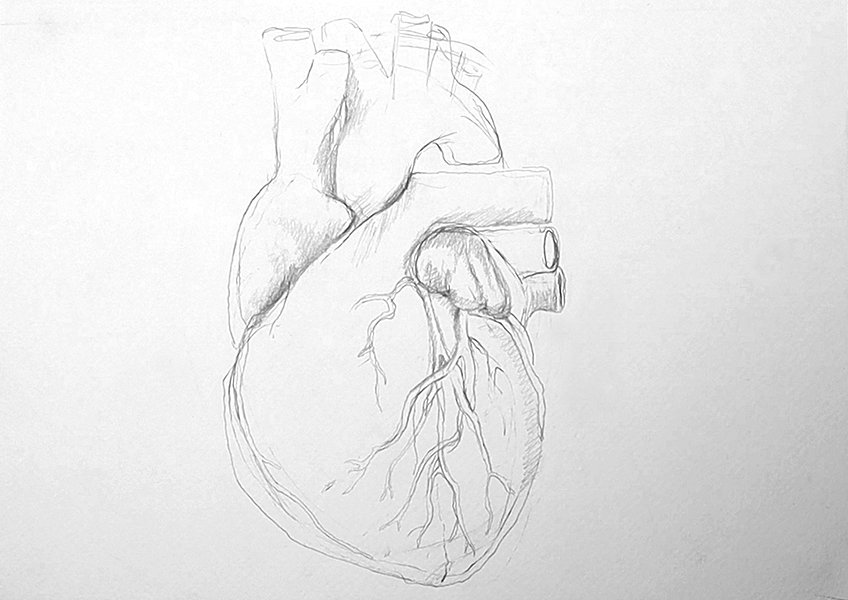
We want to capture the heart’s features as best we can before moving on to adding shading within the drawing. This means we want to take our time and pay attention to the source image and how our drawing compares in shape and features. Spend time here, trying your best to capture the shape of the heart and how features are placed.
Make sure you consider each component before moving on to the next step.
Step 3: Light Pencil Shading of the Heart
Once we are satisfied with the shape of our heart drawing and we feel that it resembles a correct representation of the source image we can move on to light shading of the drawing. This step aims to consider light and texture.
As you can see the heart in the source image defines various textures within each component of the heart. We want to consider this as we shade each feature.
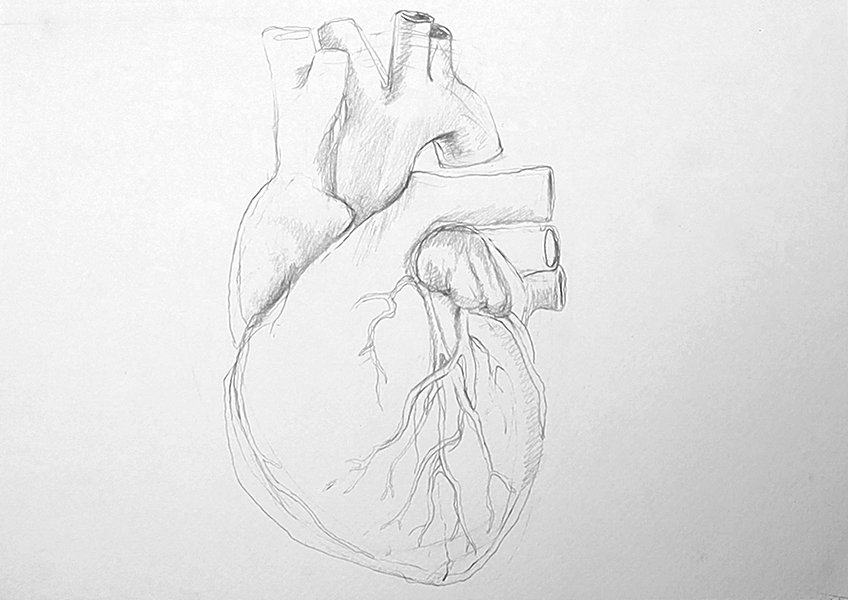
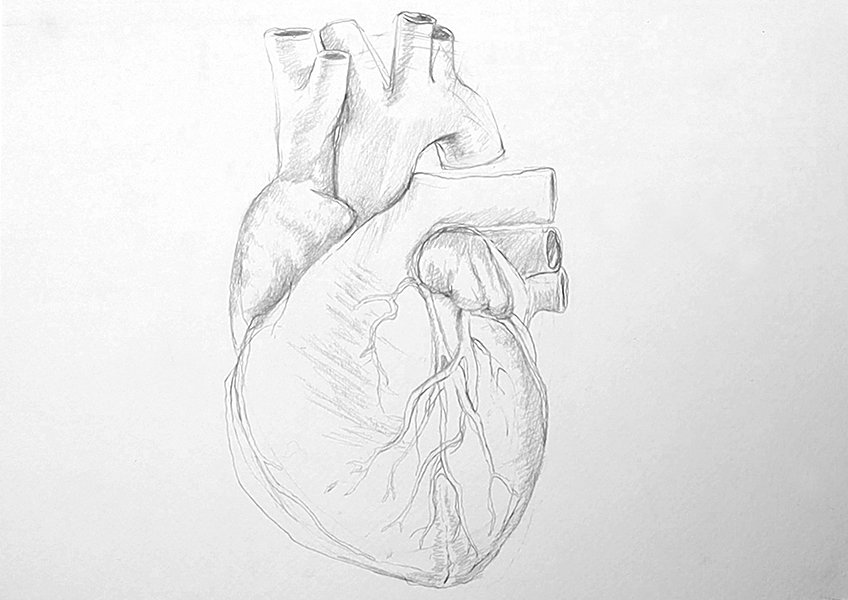
We want to consider each component’s texture as we shade in the drawing.
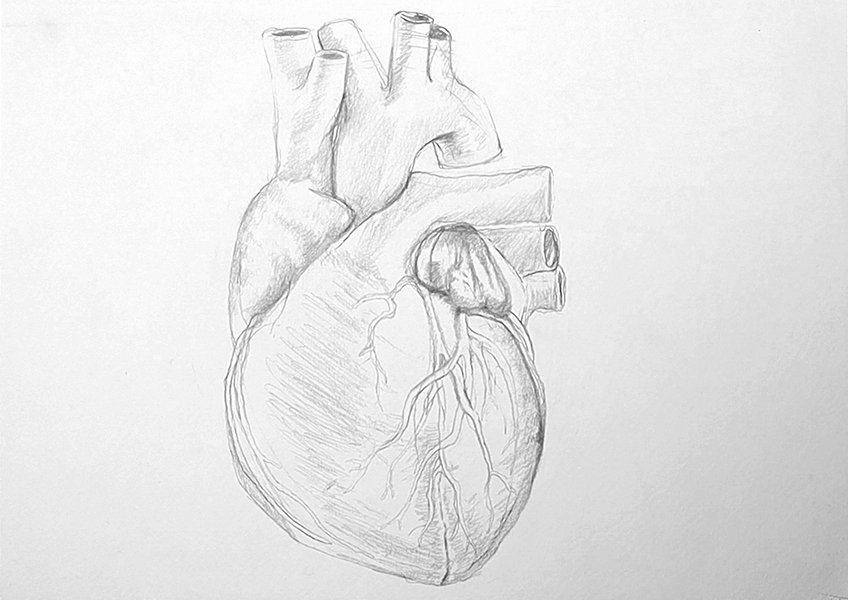
Step 4: Shading the Upper Sections of the Heart in Pen
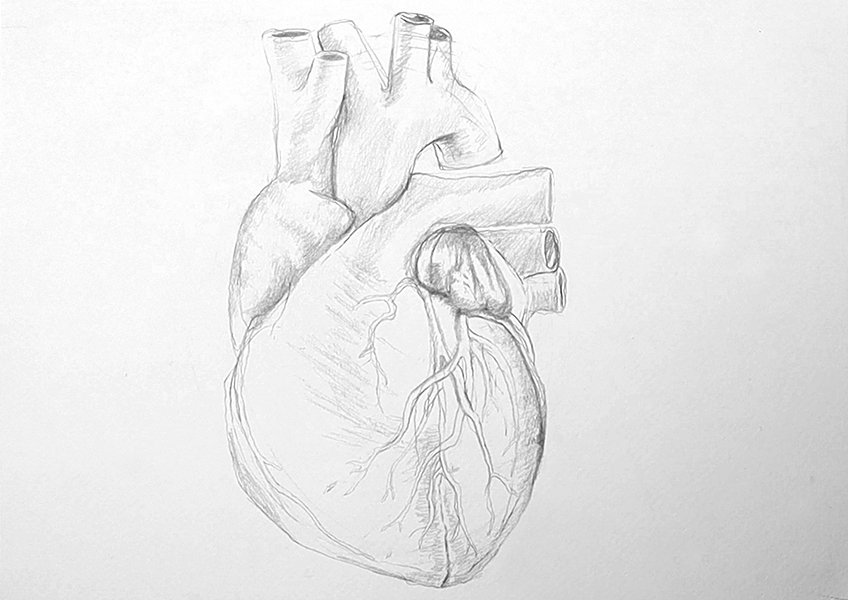
This is where we begin to use our pens for shading. We want to use ballpoint pens, as the ink comes out of the pen more sparingly, providing us with more control over our marks. Let us begin with the upper feature of the heart, such as the atriums and larger tubes and arteries. We want to allow both the pencil marks as well as the source image to guide us as we make these pen marks.
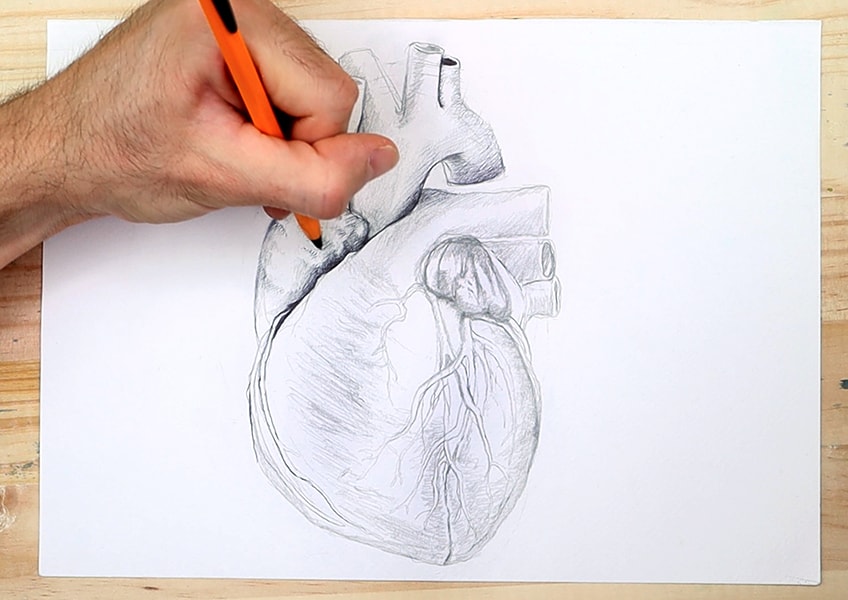
We want to lightly add linework with our pens over our pencil marks to achieve this quality of texture.
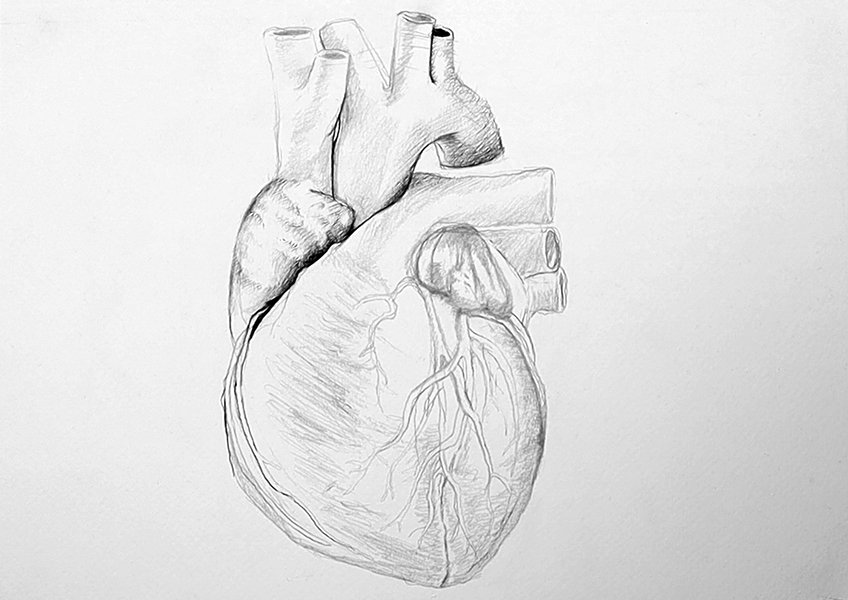
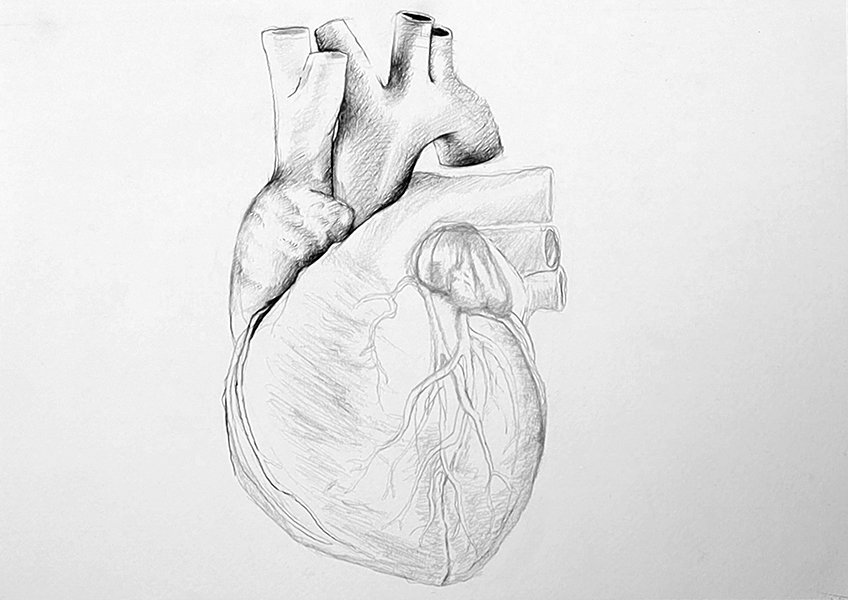
Another feature to focus on is the left atrium, which is positioned on the right side of the heart under the pulmonary trunk.
This component of the heart resembles a patty pan vegetable shape. Again, because of the muscular nature of the heart, this component also has a shine-like quality on its surface. Spend some time on this component as you refer to your source image for guidance.
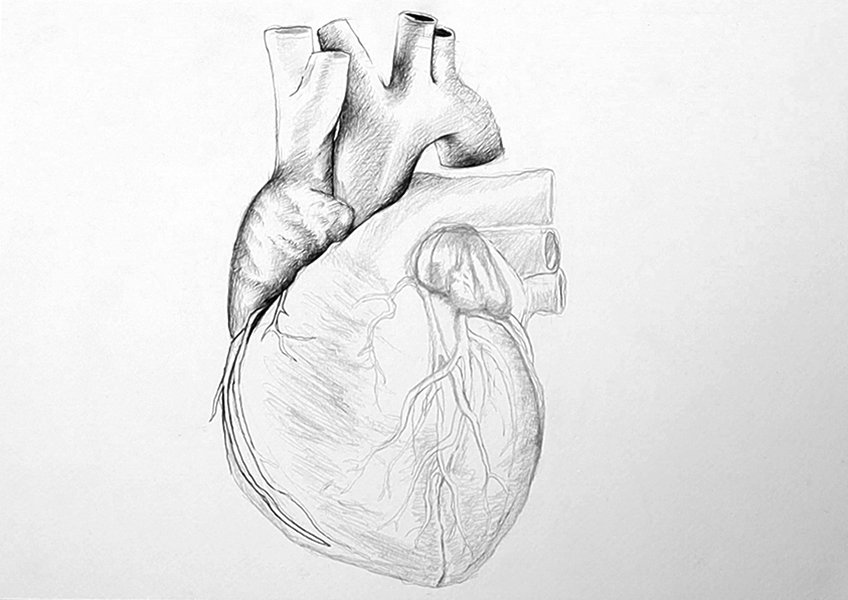
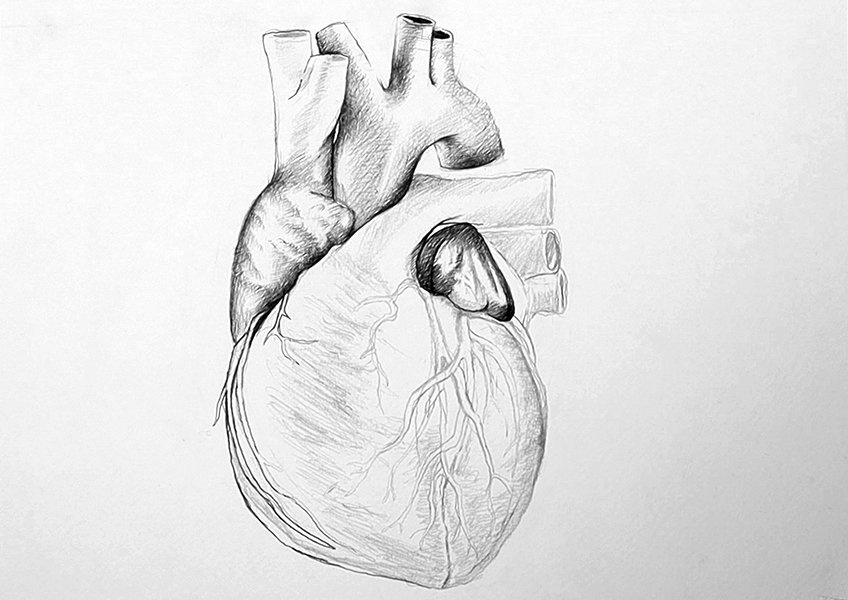
The left pulmonary artery as well as the pulmonary trunk, both have that smooth texture.
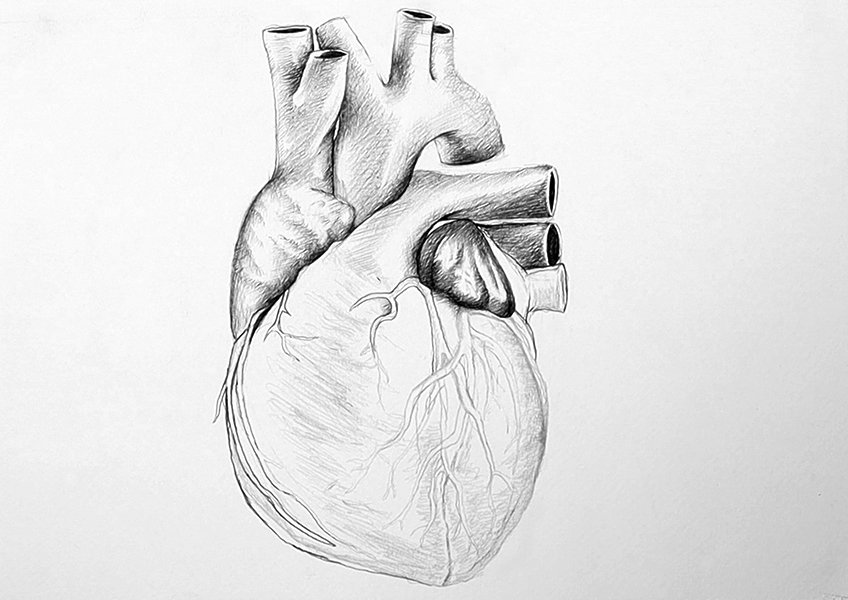
This, again, means that there is a slight shine-like quality that runs along the surface of these tubes. Constantly refer to the source image as you proceed to lightly shade in these features with your ballpoint pens in your drawing.
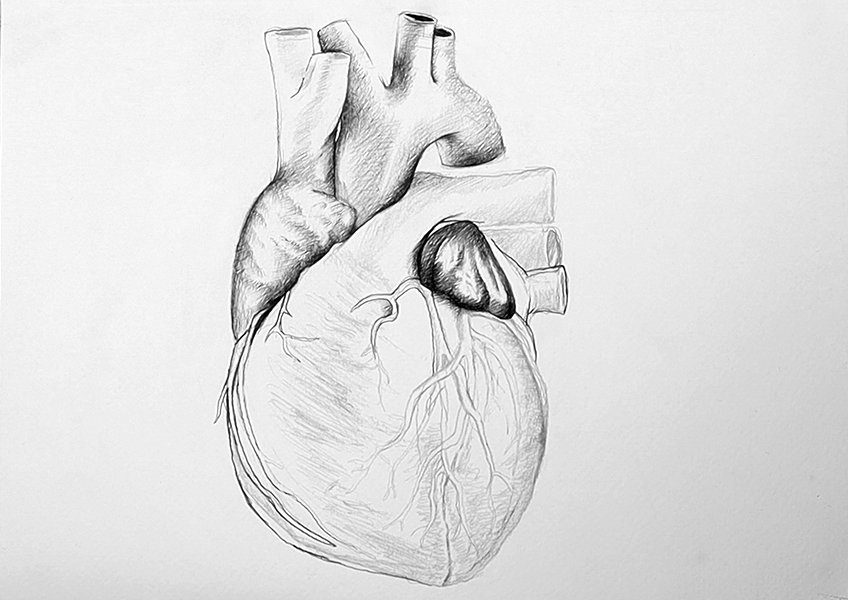
We can achieve this texture by leaving strips of white along their surface.
Step 5: Shading the Lower Sections of the Heart
As we proceed to shade the lower sections of the heart, we can begin by drawing the outlines of the veins and the thinner arteries that move down the heart with our pens. We might find that as we do this, we rectify the movement of the veins and arteries with our pens. This is okay, as long as we allow the source image to guide our drawing.
Most of the outer surface area of the heart is composed predominantly of the left and right ventricles.
We are observing the outer surface of these features which is depicted as smooth. We see that the inner parts of the ventricles, that lie under the veins and arteries, are darker. This means that most of our shading occurs within those areas.

As we constantly refer to our source image whilst we carry out the shading process, we want to focus on the veins and thinner arteries that run down the heart.
Spend some time on these components, as well as the shading of the ventricles in between the great cardiac vein and the anterior interventricular artery. As we shade along the bottom section of the heart we start to move toward the right ventricle. As we do so, consider how the shadows within the source image depict the right ventricle. We can see that there are scattered moments of shadow and darker shades, that zig-zag up along the right ventricle. We want to constantly refer to our source image as we proceed to shade in this quality of the heart.
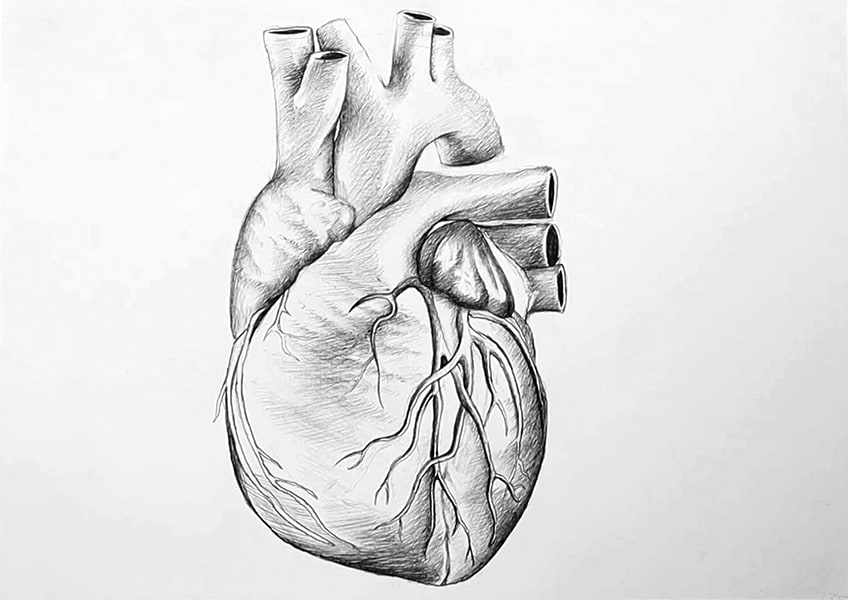
The heart within the source image defines the bottom-left side, near the right ventricle area, to be darker.
We can see that there are moments when the total value of the heart is lighter, such as in the center behind the great cardiac vein and near the left of the right ventricle. Consider these moments as you apply your shading marks.
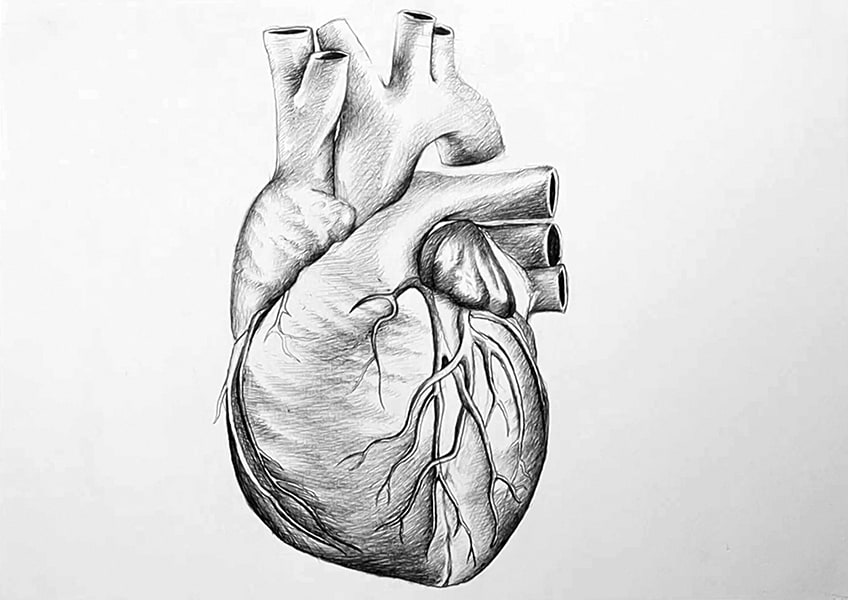
As you carry on, constantly refer to the source image.
Step 6: Finalizing Our Drawing
We should, at this point, have a realistic heart drawing by now. We want to proceed by closely looking at each component of the heart, both in our drawing and the source image. Comparing them to one another, and seeing if any small discrepancies might be rectifiable at this point.
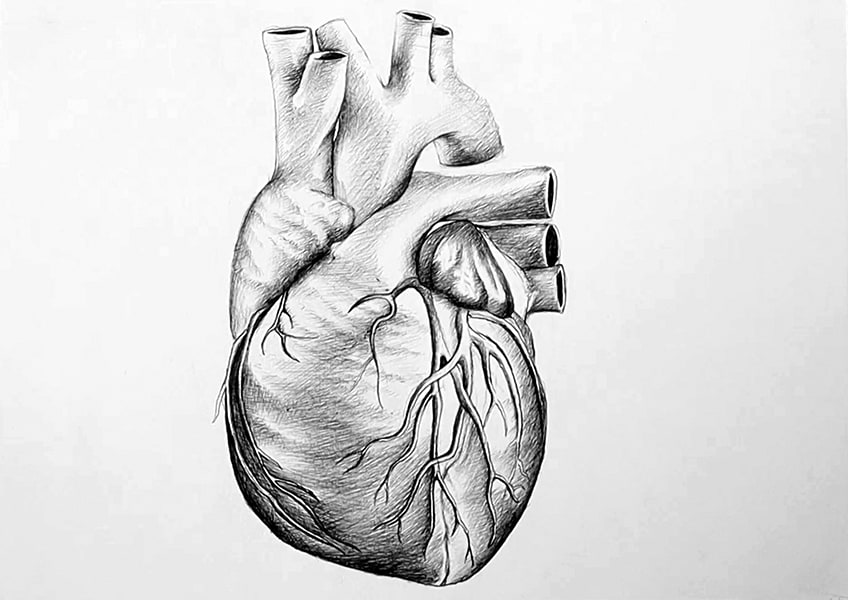
As you learn how to draw a human heart, we want to always make sure we are referring to the source image, meaning that we must take our time in each step.
Tips to Remember
- Take your time. To draw an anatomical heart requires a lot of attention and patience.
- Perfect the pencil drawing before moving on to the pen. This will make the pen drawing process much easier as we use the pencil marks for guidance.
- Take a break. The tutorial can be done in sections, so perhaps take a break if you need to.
- Constantly refer to the source image. By doing so, we will pay closer attention to all the finer details throughout the process.
- Most importantly, have fun! Enjoy the process of learning how to draw an anatomical heart, and allow yourself to engage with this tutorial when you are feeling relaxed and eager to get into it.
Learning how to draw a human heart is quite complex, but is very simple when broken down into a few straightforward steps. There is no singular right way on how to draw an anatomical heart but this tutorial provides an easy guide to follow. Human heart drawing is an activity that does require some attention, so try to take breaks in between, so that you can engage with a fresh mind. As you go through this drawing heart anatomy process, you will find that you may have a few skills to take away that may be applied to other artworks in the future.
Frequently Asked Questions
How Do You Draw a Realistic Human Heart?
We begin to draw an anatomical heart by figuring out the shape through sketching heart-shaped structures. We want to lightly and loosely sketch the main structures of the heart such as the vena cava and pulmonary arteries so that we have an understanding of how the heart is formed with various components. We then slowly start to refine the drawing with our pencils, trying our best to capture the correct shape and outline. Once we are satisfied with our human heart drawing, we then proceed to add shading. We want to consider the way light interacts with the structure, especially if you are using a source image for reference. From there you can either proceed to darken your shading or potentially use a pen to add more contrast to your drawing. However you choose to refine your drawing in its later steps, it is good to consider the pen as a medium for capturing finer details.
From Which Angle Is the Best Way to Draw a Human Heart?
When doing a realistic heart drawing, the best angle to draw an anatomical heart is from its outer surface, with the superior vena cava positioned behind the heart. This position allows us to see the complete outer surface of the heart, where the left and right ventricles’ outer surface is in the foreground. This is also the most common representation of the heart and allows us to capture the textures and surfaces, which result in a more realistic heart drawing. Drawing heart anatomy is tricky, however, to do so from this angle provides us with a realistic heart drawing representation whilst being the easiest way to draw a heart. As you draw a human heart, this frontal angle provides the artist with interesting features and textures to encapsulate within a drawing.
Matthew Matthysen is an educated multidisciplinary artist and illustrator. He successfully completed his art degree at the University of Witwatersrand in South Africa, majoring in art history and contemporary drawing. The focus of his thesis was to explore the philosophical implications of the macro and micro-universe on the human experience. Matthew uses diverse media, such as written and hands-on components, to explore various approaches that are on the border between philosophy and science.
Matthew organized various exhibitions before and during his years as a student and is still passionate about doing so today. He currently works as a freelance artist and writer in various fields. He also has a permanent position at a renowned online gallery (ArtGazette) where he produces various works on commission. As a freelance artist, he creates several series and successfully sells them to galleries and collectors. He loves to use his work and skills in various fields of interest.
Matthew has been creating drawing and painting tutorials since the relaunch in 2020. Through his involvement with artincontext.org, he has been able to deepen his knowledge of various painting mediums. For example, watercolor techniques, calligraphy and lately digital drawing, which is becoming more and more popular.
Learn more about Matthew Matthysen and the Art in Context Team.
Cite this Article
Matthew, Matthysen, “How to Draw a Human Heart – Learn to Draw an Anatomical Heart.” Art in Context. June 28, 2022. URL: https://artincontext.org/how-to-draw-a-human-heart/
Matthysen, M. (2022, 28 June). How to Draw a Human Heart – Learn to Draw an Anatomical Heart. Art in Context. https://artincontext.org/how-to-draw-a-human-heart/
Matthysen, Matthew. “How to Draw a Human Heart – Learn to Draw an Anatomical Heart.” Art in Context, June 28, 2022. https://artincontext.org/how-to-draw-a-human-heart/.


