How to Draw Blood – Create a Realistic Blood Drawing
Blood is the life force that courses through our veins, carrying vital oxygen, nutrients, and immune cells to every part of our bodies. It’s a complex fluid that contains a mesmerizing array of different cells and molecules, each with its unique role in maintaining our health and fighting off disease. From the deep crimson hue of freshly oxygenated blood to the pale pink of plasma, blood is a fascinating substance that has captured the attention of scientists, artists, and poets for centuries. So the next time you prick your finger or see a gory scene in a movie, take a moment to marvel at the remarkable substance that keeps us all alive!
How to Draw Blood Splatter and Make It Look Realistic
Congratulations on embarking on our tutorial on how to draw blood! Drawing blood can be an exciting and rewarding challenge for artists of all skill levels. Paying attention to the different textures and patterns that blood can create, such as spatters, drips, and puddles, can also help you capture its unique qualities on paper. By immersing yourself in the details and nuances of blood, you’ll be able to create striking and memorable artwork that captures the essence of this fascinating substance. Let’s get ready to explore the world of blood through the lens of your artistic vision!
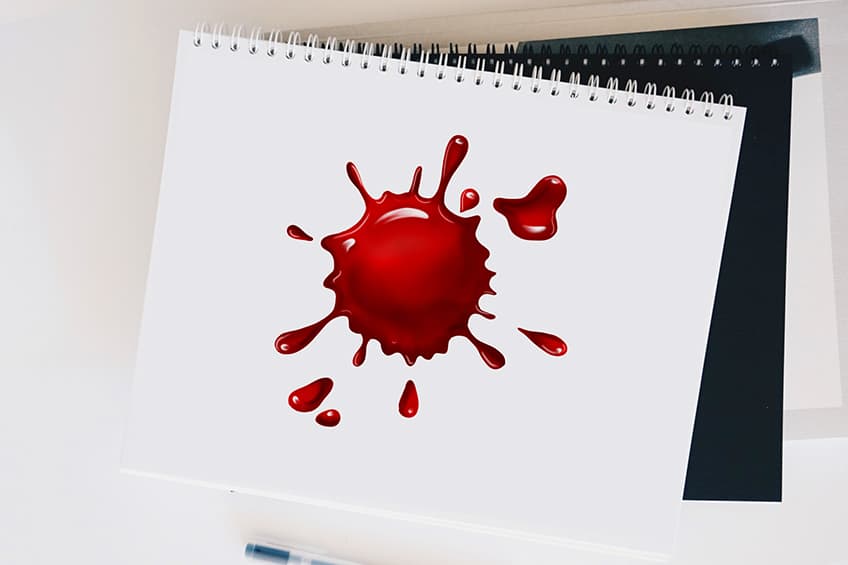
The below collage demonstrates each step you will take to create a realistic blood drawing!
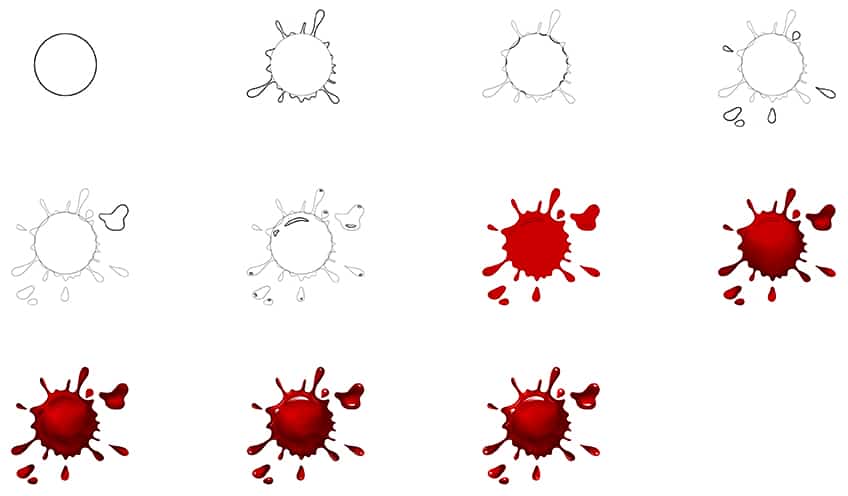
Step 1: Draw the Blood Spot
Begin your blood drawing, by drawing a large circle, in the middle of your drawing area, to represent the main blood spot.

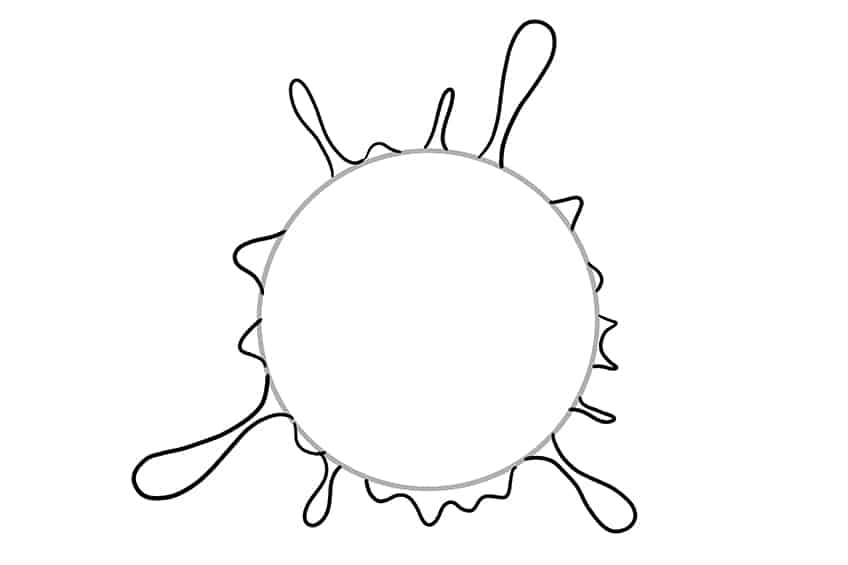
Step 2: Draw the Outer Splatter
Surrounding the previous circle drawn, draw the splatter waves of a blood spot.
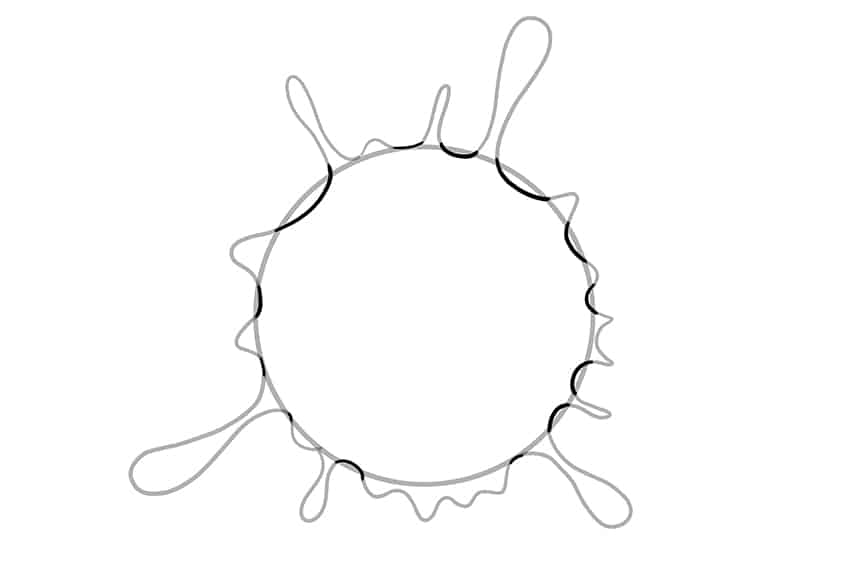
Step 3: Continue the Splash Lines
Within the circle of your blood drawing, attach the splash lines along the curving waves.
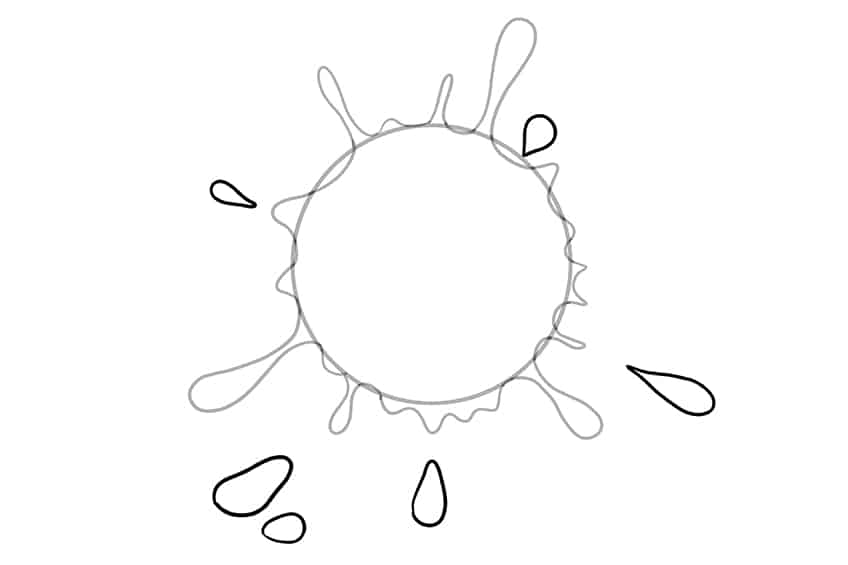
Step 4: Add the Blood Drops
Leading outwards from the circle, draw the teardrops of your blood splatter drawing.
Note! Make sure the blood drops are not attached to the center blood spot.
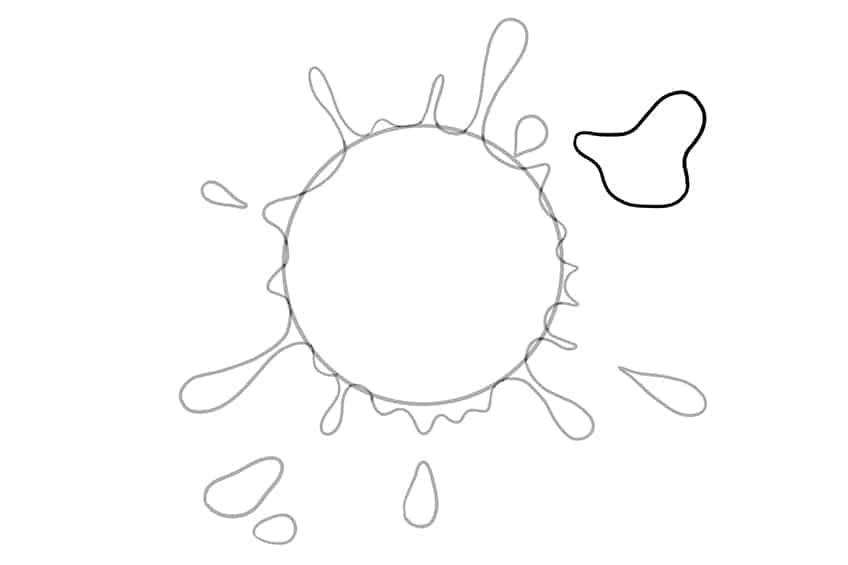
Step 5: Draw the Additional Blood Drops
Repeating the last step, draw an additional larger splatter droplet leading away from the blood spot. You may also add additional spots as you feel necessary. Once completed, begin to erase any visible construction lines and any overlapping lines.
Step 6: Add the Reflection Spots
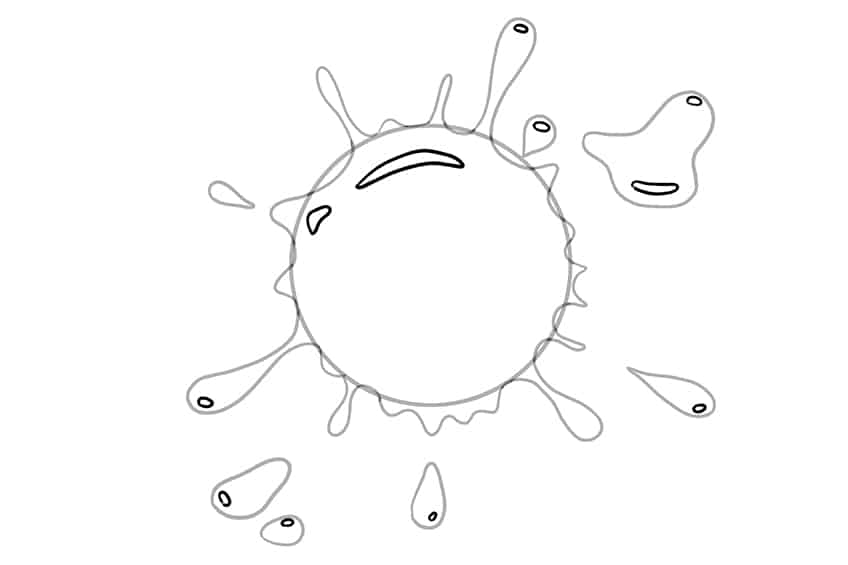
Within the main blood spot, draw a large, curving reflection line alongside a smaller reflection spot. Repeat this step on several of the spots and splattered droplets, by drawing small, fine-curving lines and spots.
Step 7: Add the First Color Coat to Your Blood Sketch
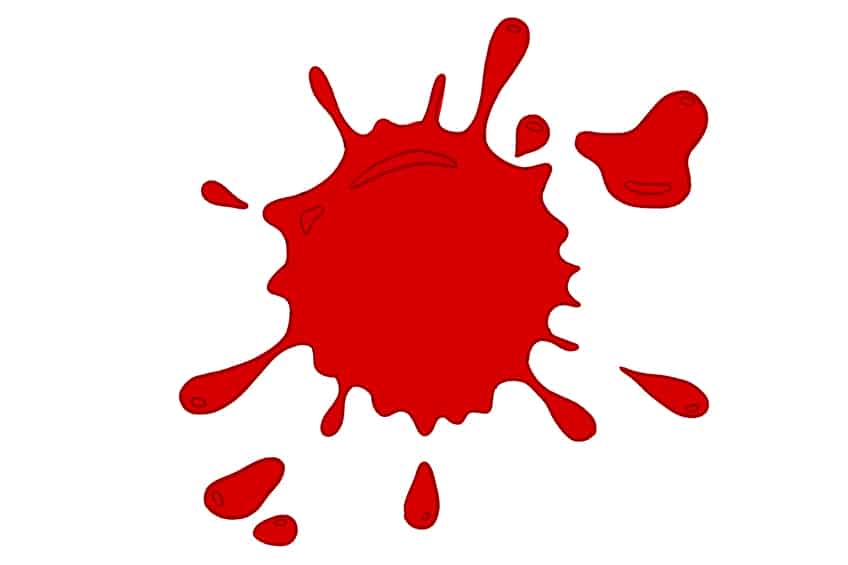
Select a fine, sharp brush and bright red paint, and evenly coat the blood spot and surrounding droplets.
Step 8: Shade Your Blood Sketch
Use a small, soft brush and black paint, and softly apply shading only to the surrounding outline and edges of the blood spot and droplets. The first color coat should still be visible.
Finish this step by selecting a blending brush to softly spread the shading inwards.
Step 9: Contour and Structure Your Blood Drawing
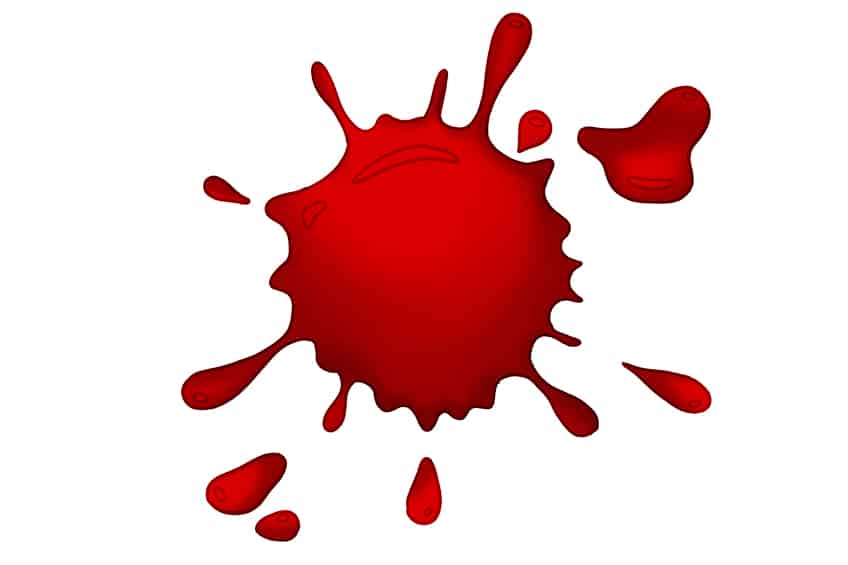
In this step, select a thin brush and black paint, and very lightly outline the structural shape of the center of the blood spot to create a raised illusion. Switch to a soft brush and contour the previously added structure lines. With a blending brush, soften both the structure lines and contouring.
Repeat this process with the surrounding droplets.
Step 10: Highlight Your Drawing
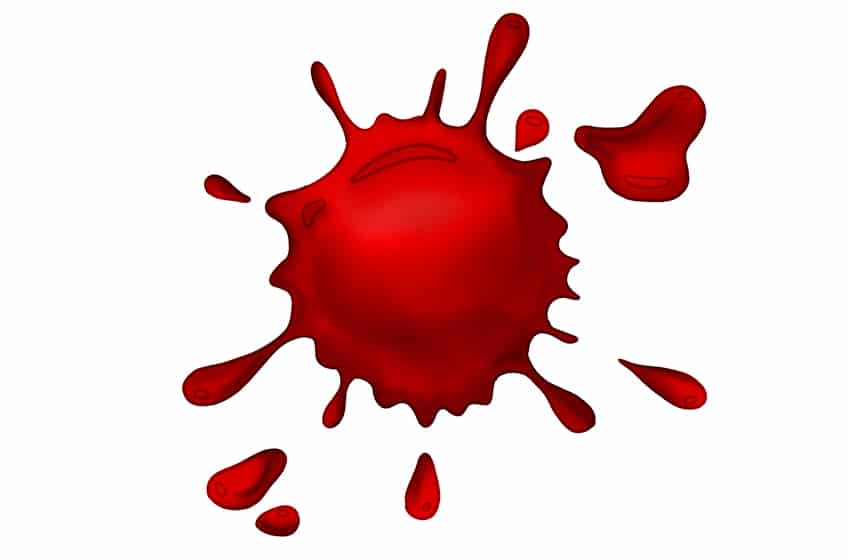
Color within the outlines of each of the reflection shapes you created in step six, with the use of a thin brush and white paint. Complete the step using white paint to add fine hairline brushstrokes near the edges of the curvature of the blood spot and droplets.
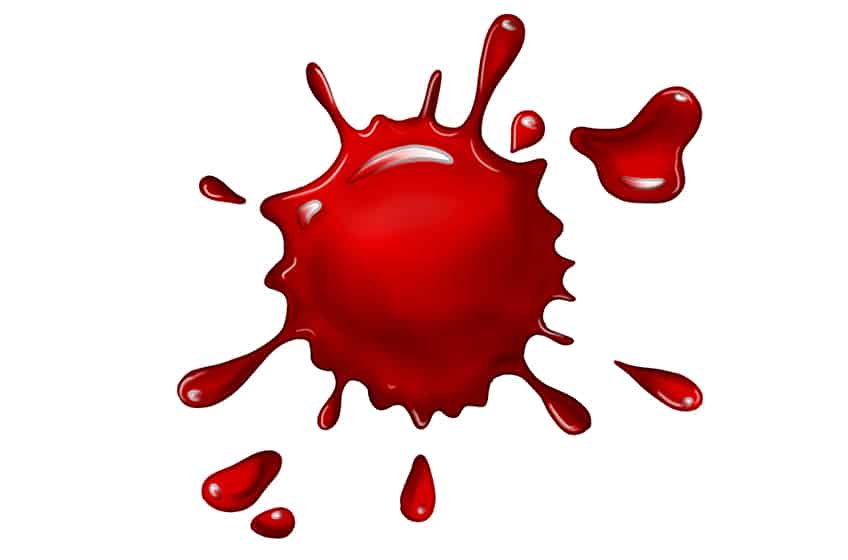
Step 11: Finalize Your Blood Sketch
You have almost completed a realistic blood splatter drawing! To complete your drawing, erase any still visible harsh outlines. If this is not possible, select a fine, sharp brush and the corresponding colors to trace these outlines resulting in a seamless final result!
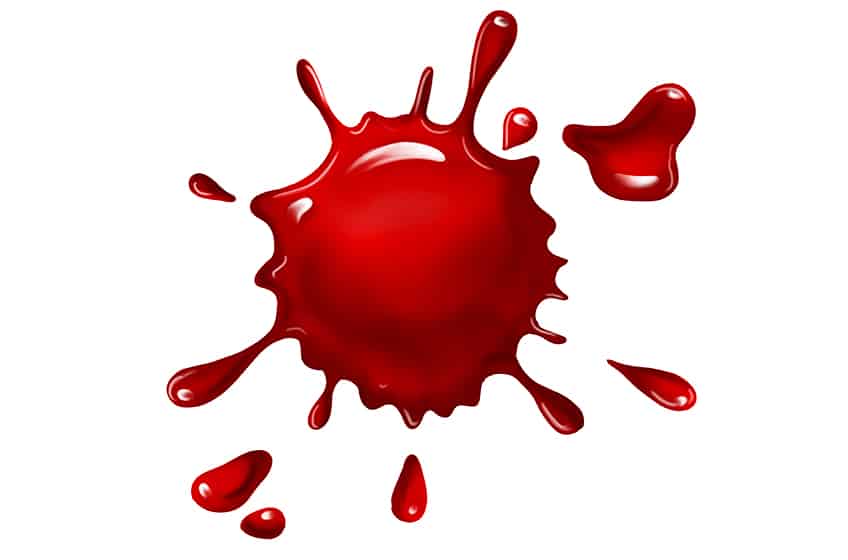
Horray for finishing your journey of learning how to draw blood! It takes time, effort, and dedication to master this skill, and your hard work has paid off. By learning to draw blood, you’ve not only honed your artistic abilities, but also gained a deeper understanding and appreciation of this vital substance. You now have the ability to capture the intricacies of blood on paper, from its color and texture to its movement and patterns. You can use this newfound knowledge to create realistic and evocative artwork that captures the essence of blood in all its complexity. So pat yourself on the back, and keep pushing yourself to new heights in your pursuit of artistic excellence!
Frequently Asked Questions
How to Draw Blood and Make It Look Realistic?
To draw blood and make it look realistic, it’s important to start by studying the various shades and tones that makeup blood. Pay attention to the different textures and patterns that blood can create, such as spatters, drips, and puddles. When drawing, use light strokes to create the initial sketch and then gradually build up the darker areas to add depth and dimension. Additionally, consider incorporating shading and blending techniques to create a more realistic appearance.
How Do I Add Texture and Shading to My Blood Drawing?
To add texture and shading to your blood drawing, start by observing the way light falls on the surface of the blood. Shadows and highlights can help create depth and texture, so use a combination of light and dark shades to make your blood drawing look more realistic. Consider using hatching or cross-hatching techniques to create the appearance of texture in your drawing. Don’t be afraid to experiment with different techniques, such as blending and smudging, to create a more natural-looking finish!
Matthew Matthysen is an educated multidisciplinary artist and illustrator. He successfully completed his art degree at the University of Witwatersrand in South Africa, majoring in art history and contemporary drawing. The focus of his thesis was to explore the philosophical implications of the macro and micro-universe on the human experience. Matthew uses diverse media, such as written and hands-on components, to explore various approaches that are on the border between philosophy and science.
Matthew organized various exhibitions before and during his years as a student and is still passionate about doing so today. He currently works as a freelance artist and writer in various fields. He also has a permanent position at a renowned online gallery (ArtGazette) where he produces various works on commission. As a freelance artist, he creates several series and successfully sells them to galleries and collectors. He loves to use his work and skills in various fields of interest.
Matthew has been creating drawing and painting tutorials since the relaunch in 2020. Through his involvement with artincontext.org, he has been able to deepen his knowledge of various painting mediums. For example, watercolor techniques, calligraphy and lately digital drawing, which is becoming more and more popular.
Learn more about Matthew Matthysen and the Art in Context Team.


