How to Draw Hello Kitty – A Fun and Easy Drawing Tutorial
Hello Kitty is a cultural phenomenon that originated in the early 1970s by the Japanese company, Sanrio. Up until now, Hello Kitty remains an iconic pop-culture character seen everywhere between merchandise and the screen. Hello Kitty is also a very simple character design to create, which we will learn to draw in this tutorial. We will learn how to utilize line work to represent clean shapes that are used collectively to represent the iconic Japanese pop culture design. In many ways, there are some basic skills one can learn from a Hello Kitty drawing that can be applied to our other character designs.
An Easy Guide to Drawing Hello Kitty
In this tutorial on how to draw Hello Kitty, we will find that the process is straightforward to follow. Hello Kitty has a very basic set of details, making it a fun and simple drawing exercise. That being said, we will learn a few things about linework, color values, and how to use them together to define a sleek and simplified design in a Hello Kitty drawing.
Necessary Materials
This tutorial on how to draw Hello Kitty is done with a digital device, however, all drawing processes can be transferred to traditional materials. The drawing process is quite simple and requires very basic materials, however, if you are using some traditional tools, you do want to make sure that you are working with tools conducive to layering. All suggested items can be seen in the list below.
- Pencils
- Sharpener
- Pens
- Eraser
- Paper
Step-by-Step Guide on How to Draw Hello Kitty
In this tutorial on how to draw Hello Kitty, we will start with a basic sketch to capture the shape. We will then proceed to refine the shape with linework, where we focus on capturing the form of all the unique elements. From there, we will proceed to integrate color into the Hello Kitty design.
This process is very simple and fun, so have fun, enjoy, and try to take your time.
Step 1: Shaping the Head of Hello Kitty
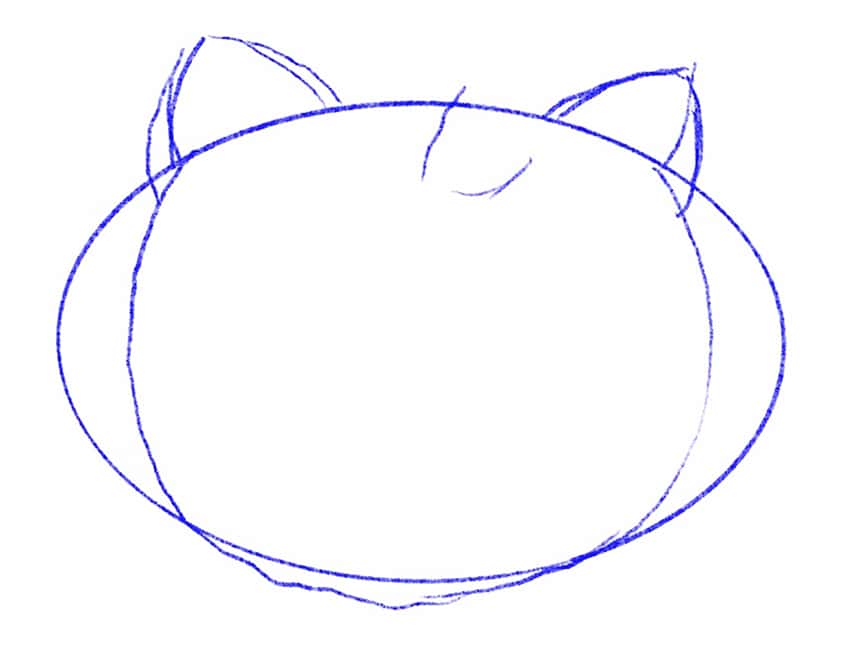
We start with a very light pencil sketch to shape the Hello Kitty character. This is where we start with a basic oval to establish the general shape of the head.

From here we can start establishing the ears as these two small triangular shapes on top of the head. We can also make the shape of the oval slightly more circular to represent the head more accurately.
From here we can establish the bow of the Hello Kitty character, which should be placed over one of the ears.
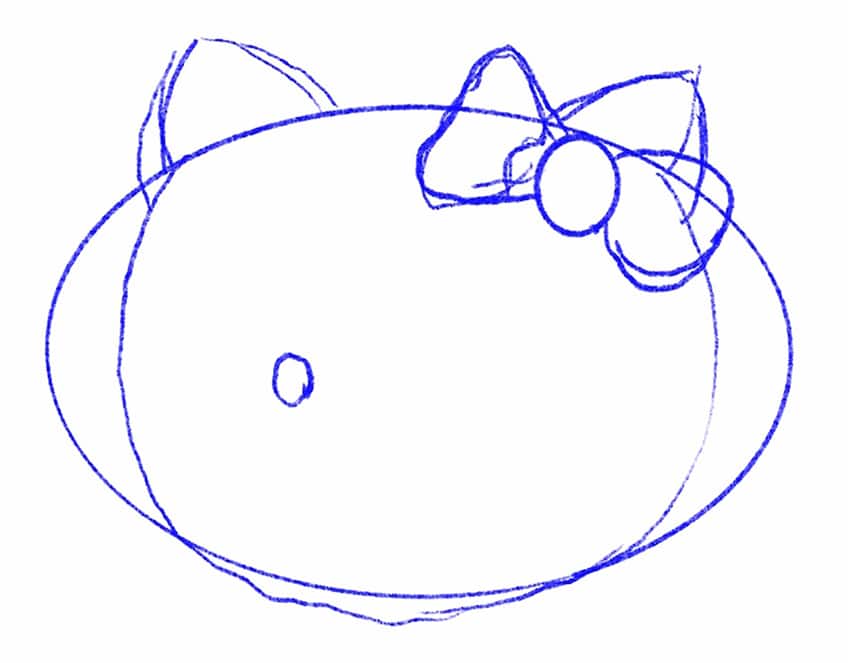
The eyes can be established as two small oval shapes positioned quite low within the circular head shape.
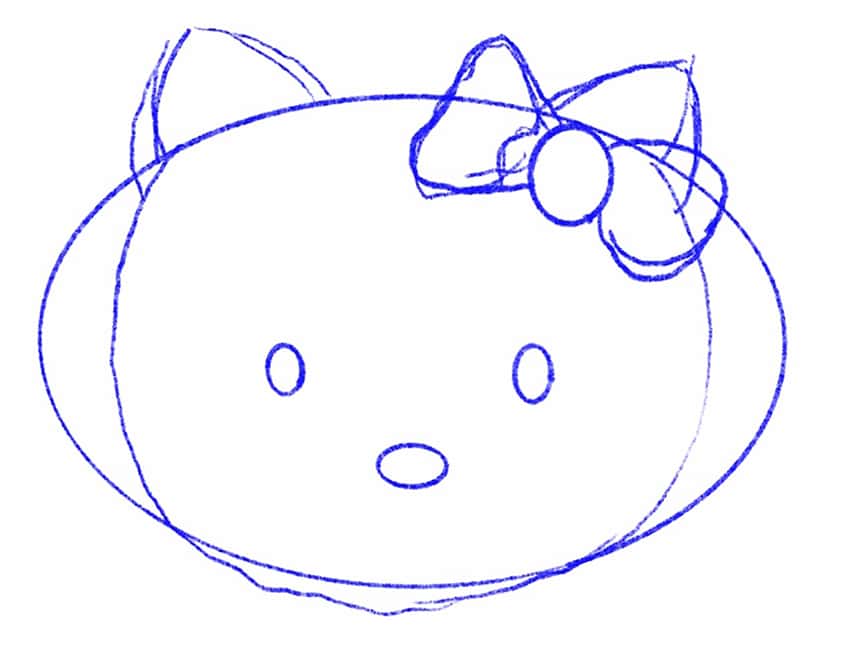
We can also pity a smaller oval shape within the nose to give it a button-like quality. We can proceed by establishing the whiskers as well, which can be placed along the sides of the Hello Kitty face. The whiskers are generally in pairs of three on either side of the face and fall along the eye level of the Hello Kitty drawing.

Step 2: Shaping the Body of Hello Kitty
we can proceed to draw in the body as this triangular shape becomes wider near the base of the Hello Kitty body structure.
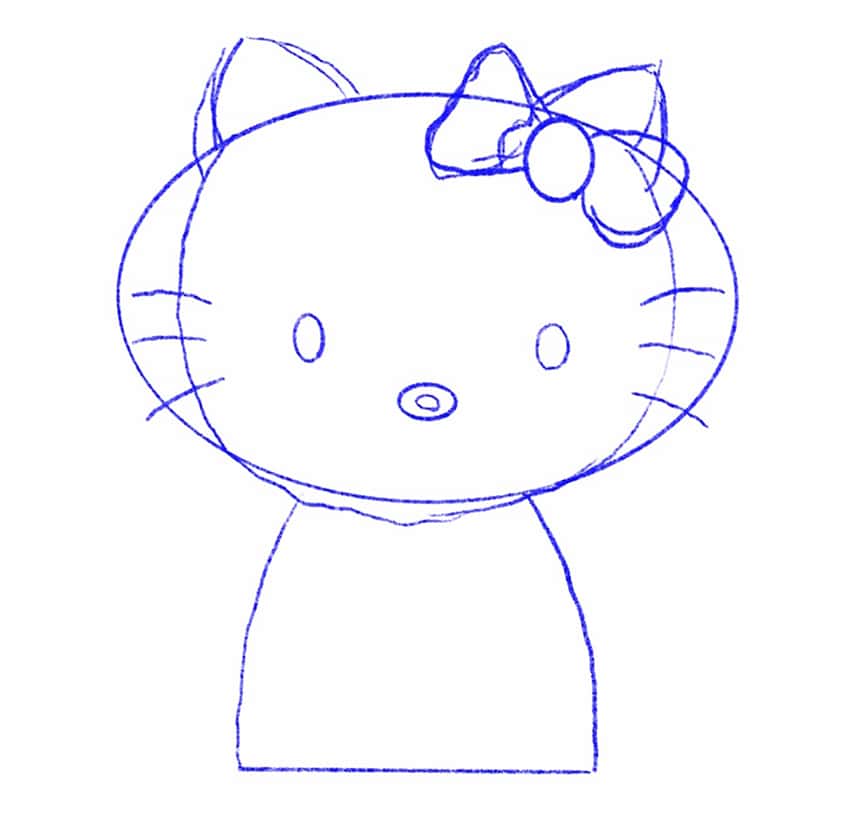
We can also add in the hands, which resemble these very basic circular mittens. The hands can be defined as simple circular shapes with a smaller structure connected to them that suggests the thumb structure.
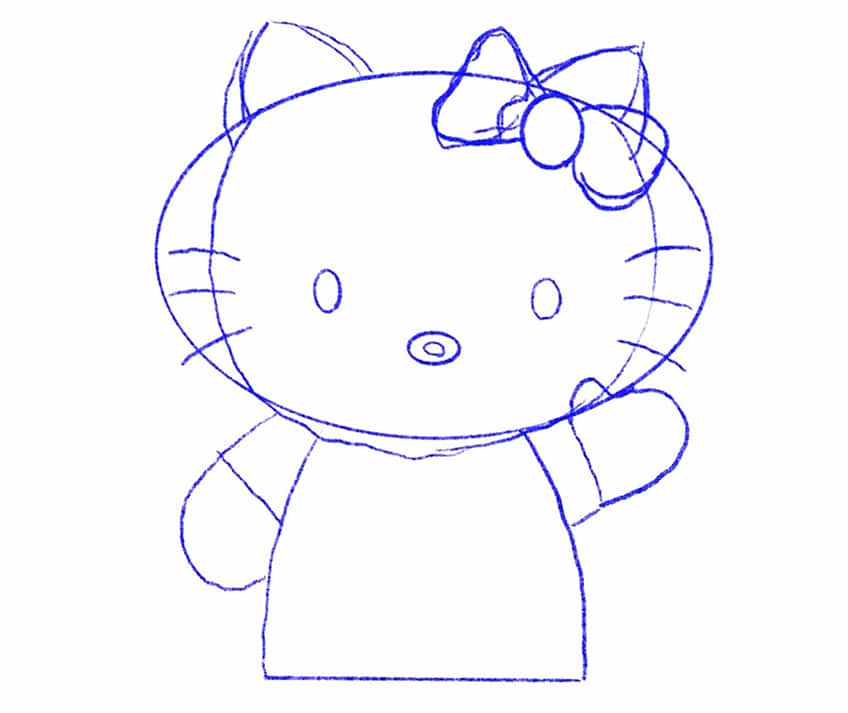
The legs are more rectangular, as they become slightly more flat near the bottom. They have slightly rounded edges that flow into the body of the Hello Kitty character.
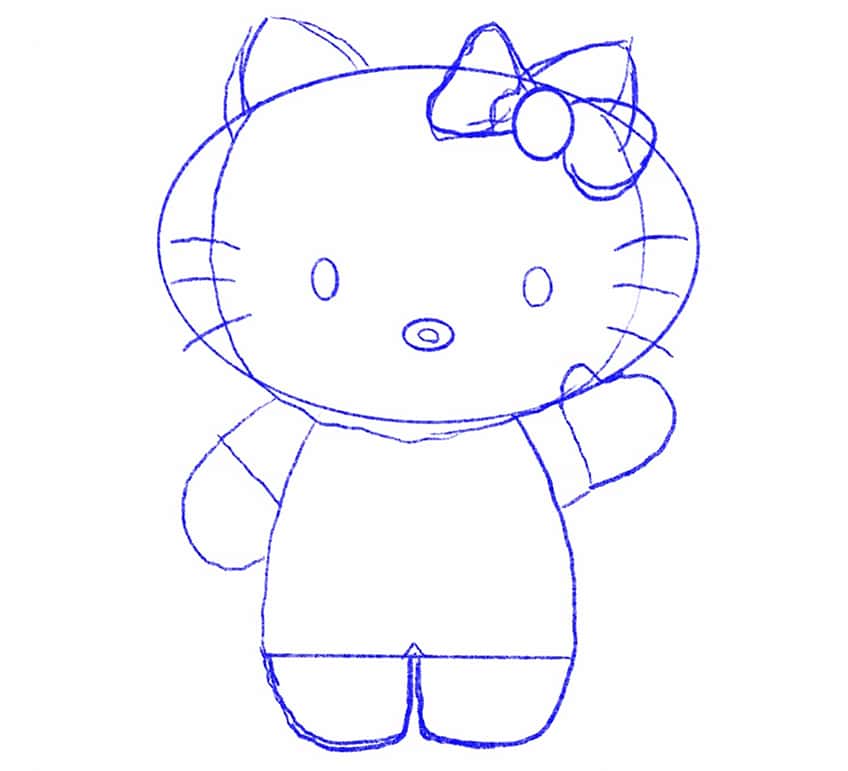
We can then add in a smaller upside-down semi-circle underneath the head of the character to define the iconic jumpsuit shape of the character.
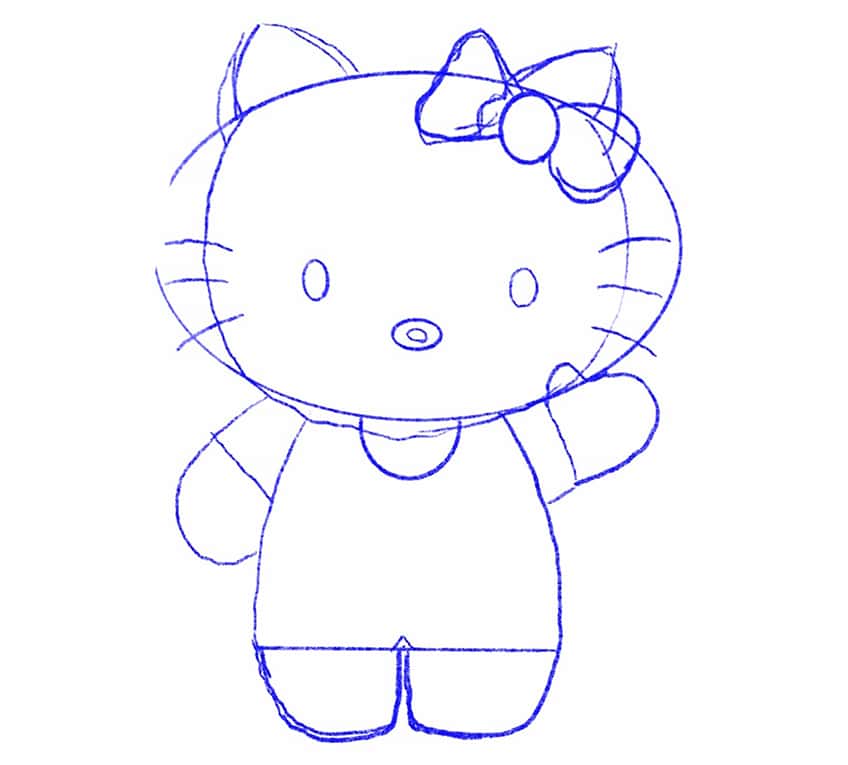
Step 3: Refining the Character
From here, we can continue by lightly erasing the character, which will establish a light outline for us to go over with darker and bolder linework.
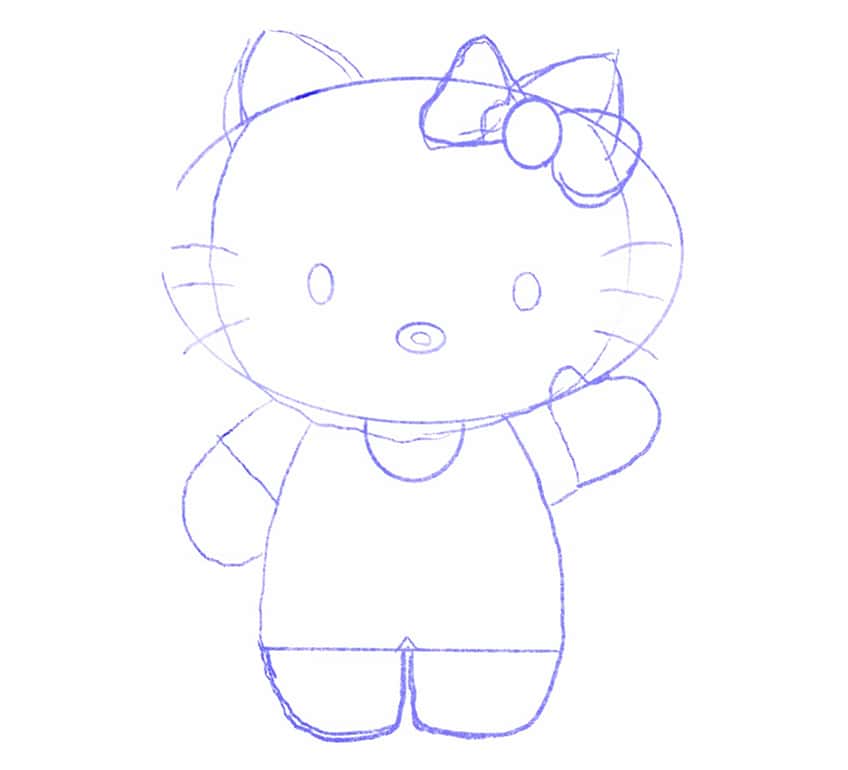
Once again, we can start with the head, slowly working our way over small details with bold black lines. Hello Kitty is quite emboldened, so we can define the character with these bold black lines.
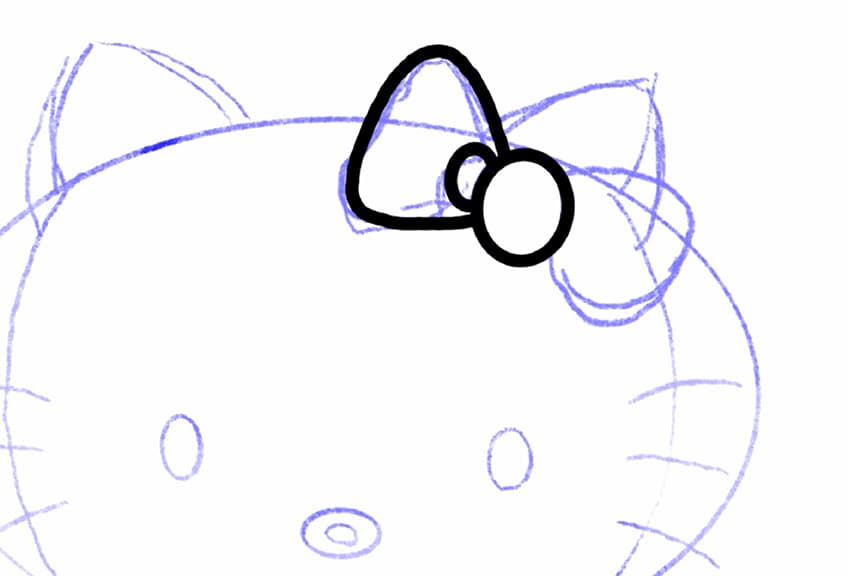
We want to take our time, slowly going over the curved and hard edges in all the details. A good suggestion is to use a reference image to assist you as you proceed.
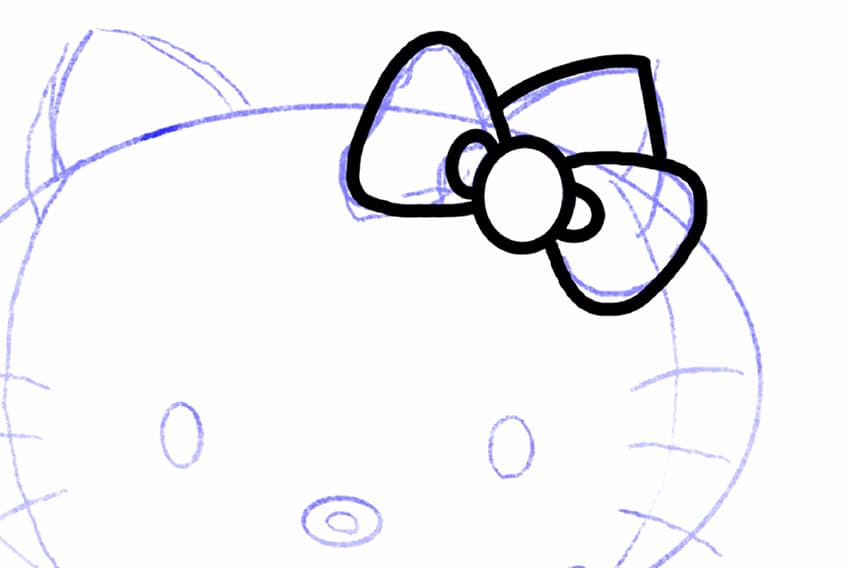
We want to continue this process throughout the entire head of the character, working our way through the ears.
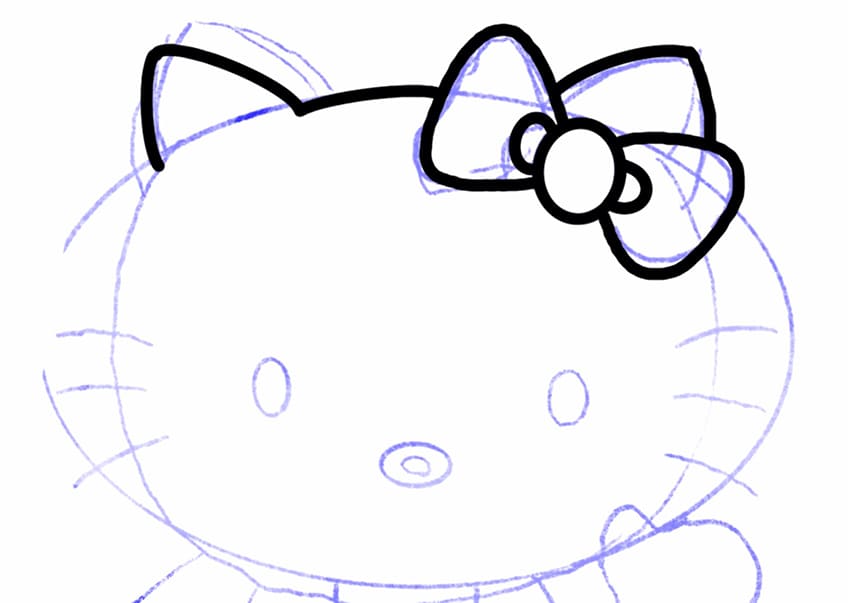
We can also make sure we capture the rounded quality of the face as best we can, making it more circular to represent the iconic face in our Hello Kitty drawing.
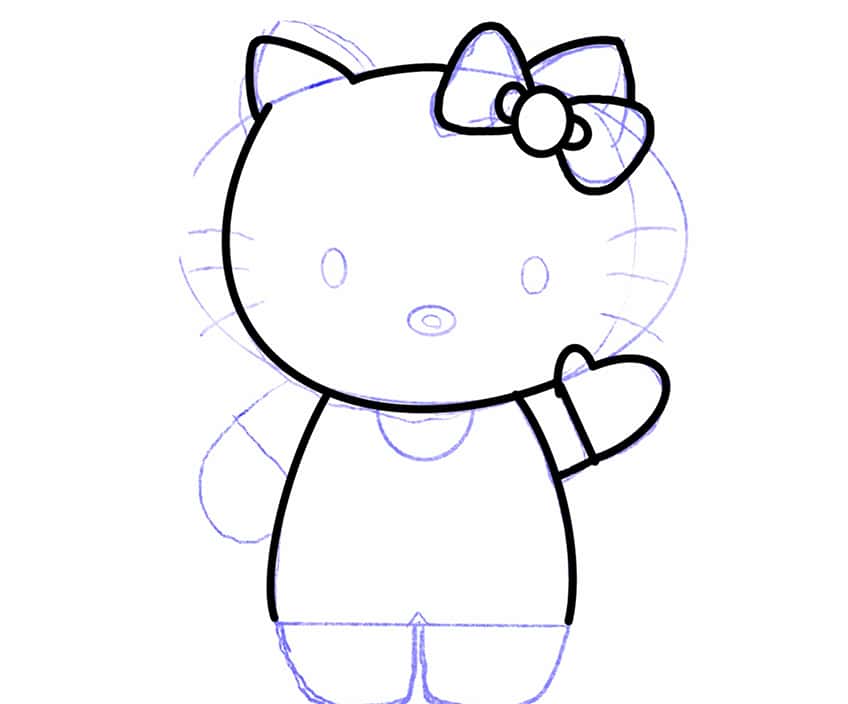
Again, the intention is to go slowly and take our time with all the smooth shapes in the various features of the character design. Continue with this process, making sure you capture the rounded qualities in the hands, as well as the subtle curves alongside the body.
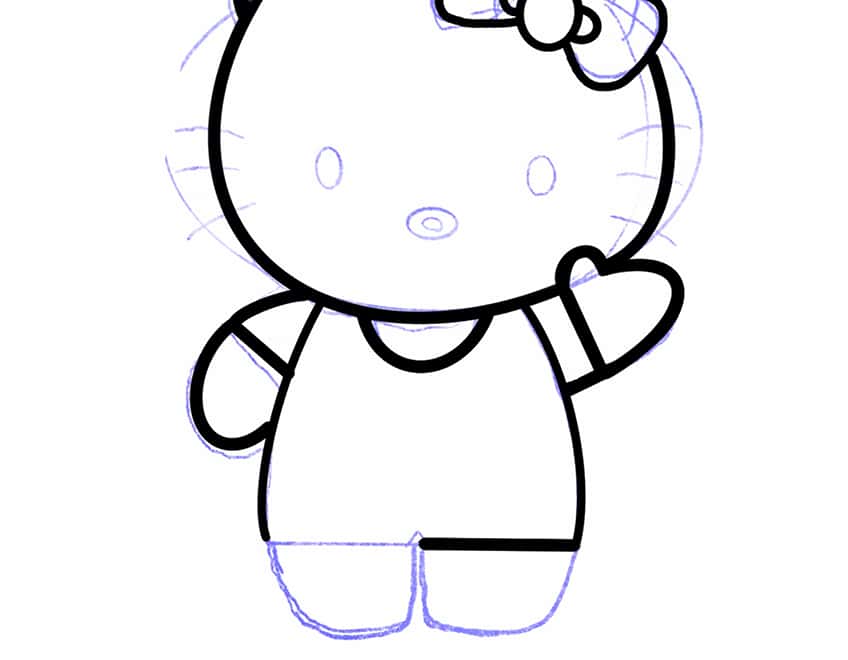
We also want to make sure that the legs have these straightened lines near the bottom and where they connect to the jumpsuit or body of the character.

We want to maintain the vertical oval shape in the eyes, and the horizontal oval shape in the nose of the Hello Kitty drawing.
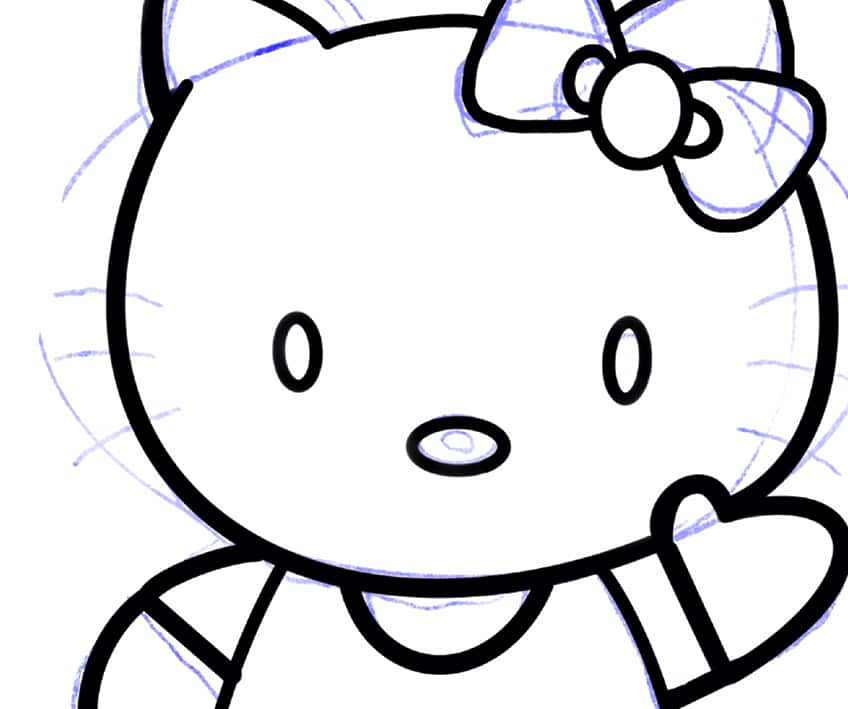
We can proceed by filling in the eyes with a black color, and make sure we have gone over our character one last time by keeping the linework consistent throughout.
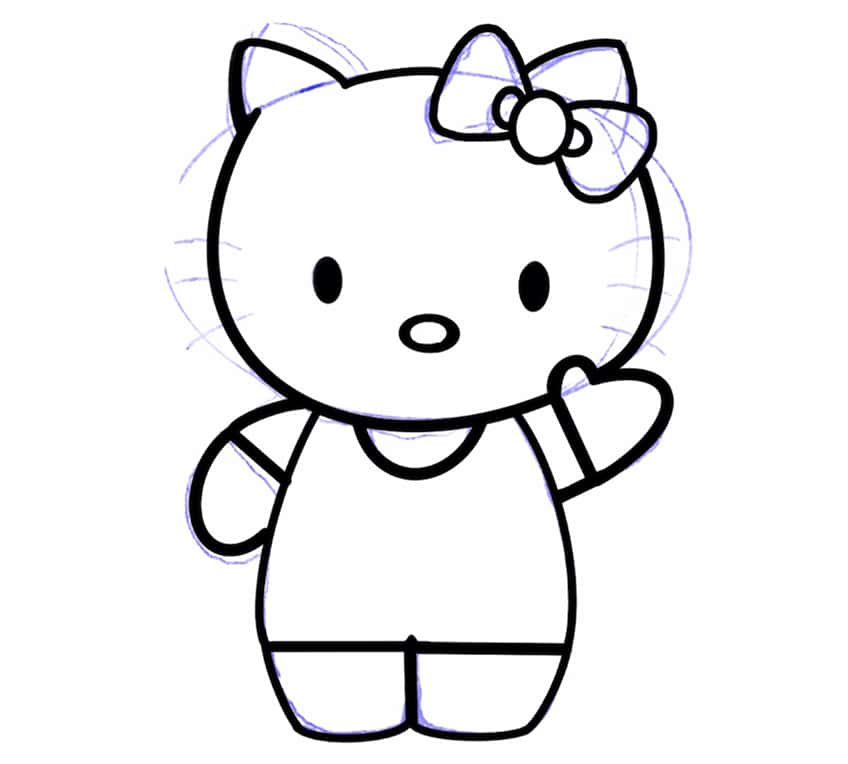
We can also add in the whiskers, making sure we define all three strokes off lines for each whisker on either side of the face. Try to keep the whiskers the same in length for each on either side of the face, making sure they mirror each other.
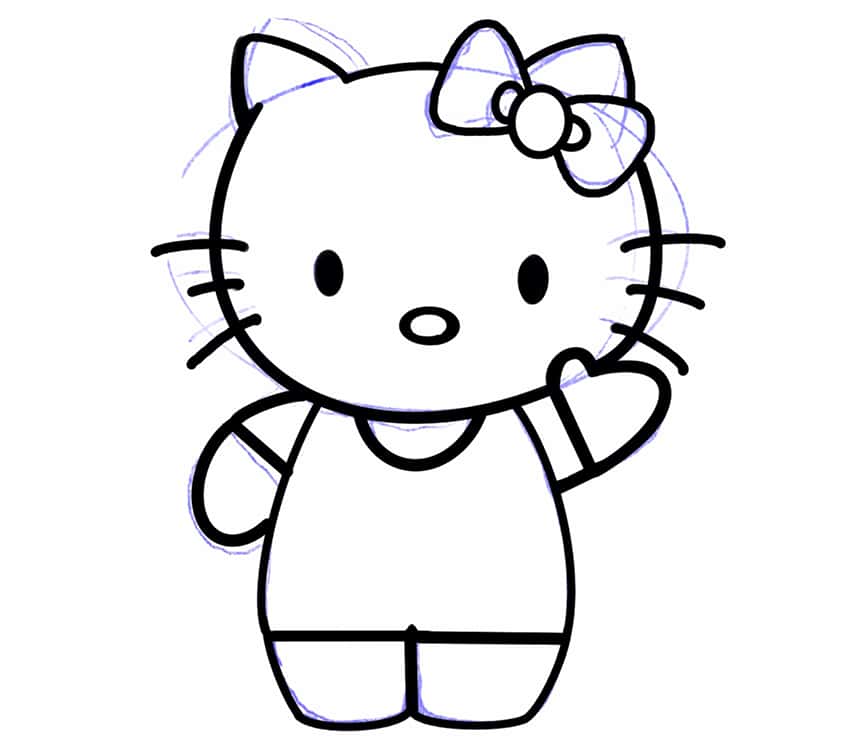
Step 4: Adding Color to the Hello Kitty Drawing
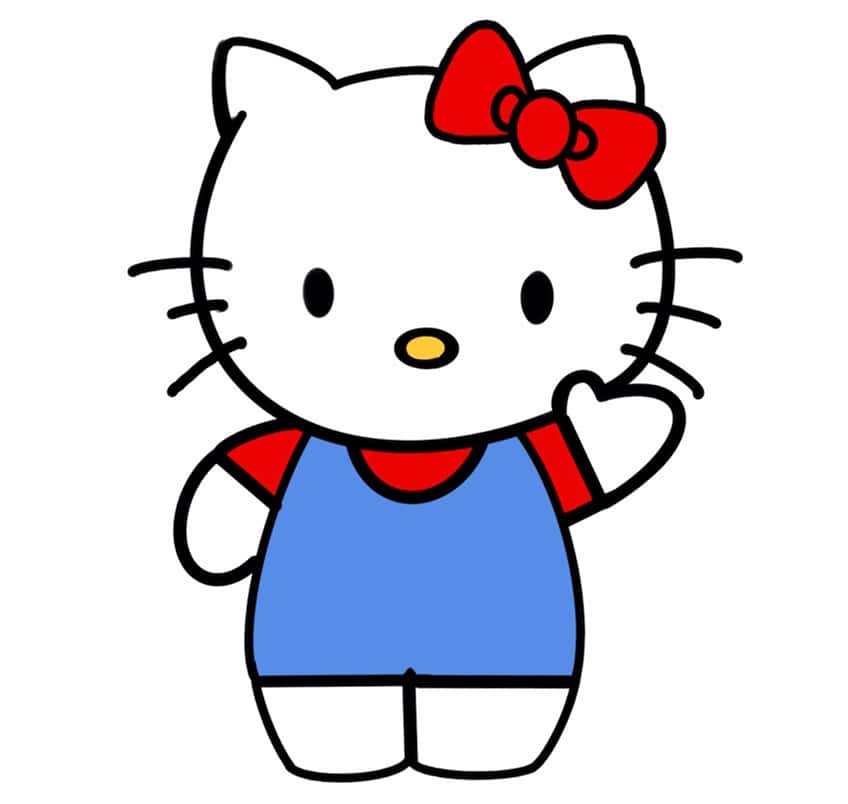
You can play around with your color choices, however, the classic Hello Kitty color scheme is quite simple. We can start by making the shirt and bow tie in the head a matching red color.
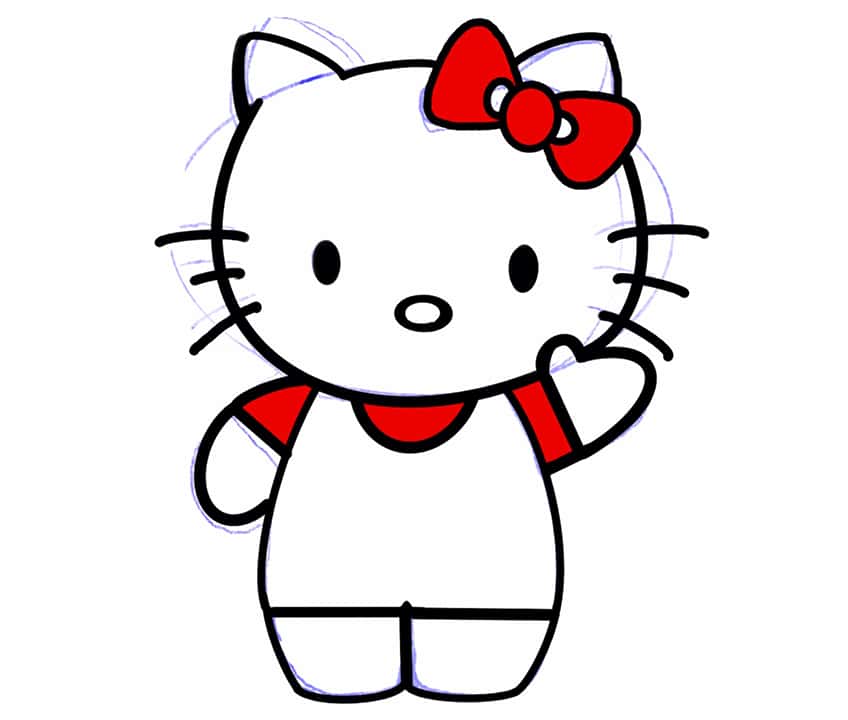
From there we can proceed to fill in the jumpsuit in the body structure with a soft blue color. And then lastly, we can fill in the nose with a soft yellow color.
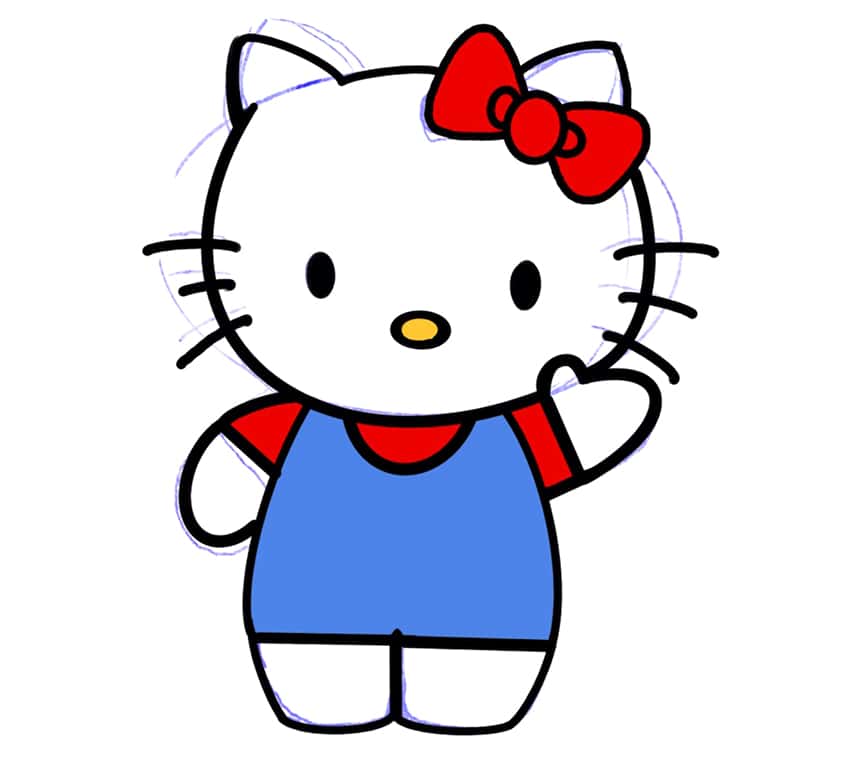
And there you have it! How to draw Hello Kitty in a few simple steps. Hello Kitty is a very simple character to draw with simple linework and color combinations.

Tips and Tricks to Remember
- Sketch the character. Start with a light Hello Kitty drawing to establish the basic shapes of the character.
- Refine the character. Once the shape of the character is established, refine the features with bold black line work.
- Integrate color. You can play around with your color choices, however, the basic blue and red color combination can then be integrated into the correct features.
- Take your time. It may be a simple drawing, but maintaining a consistent size in the line work throughout takes some time.
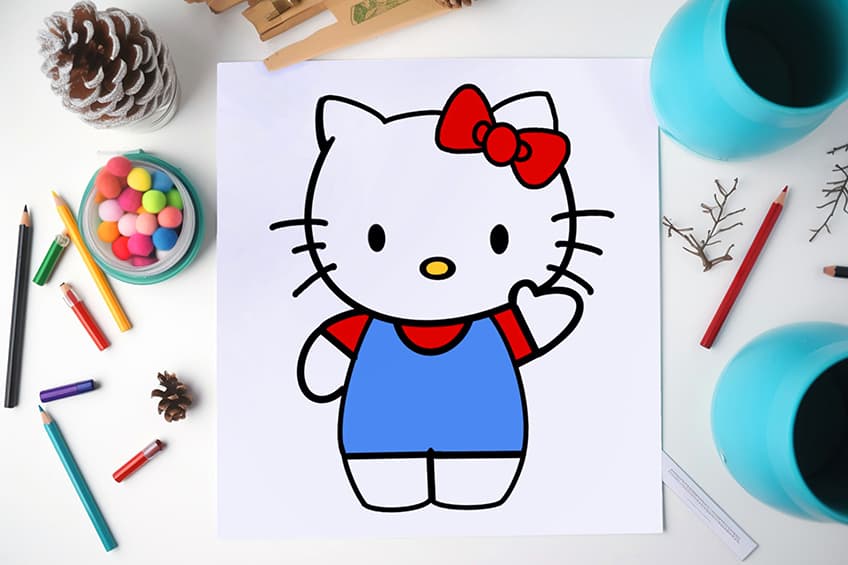
Hello Kitty is a simple character that can teach us a lot about basic drawing techniques as a tool for good design. In this tutorial on how to draw Hello Kitty, we see that we can create a unique character with simple shapes and consistency in line work.
Frequently Asked Questions
How to Add Color to a Hello Kitty Drawing?
You can play around with your Hello Kitty sketches, however, the more classic color combinations are the red bow tie and red sleeves, paired with a blue jumpsuit and a yellow nose. However, Hello Kitty has had many iterations over the years, ranging from the classic 1970s color scheme to more modern adaptations with pinks, reds, and various other colors. Hello Kitty is more about defining the iconic shape of the character, although, the color can be integrated in whichever way you choose with whatever colors you’d like. You do want to make sure you establish the sketch of the character before you work in colors.
How to Draw the Face of Hello Kitty?
The Hello Kitty face is very simple, but it is made up of perfect shapes. This means we want to be as precise as we can be when shaping the head of the Hello Kitty character. Whether you are using traditional tools or a digital application, you want to first establish the circular shape of the head. From there you can add in the small triangular shapes on top of the head to define the ears. We can then add in three oval shapes, two of which are vertical that define the eyes. The third is entered between the two vertical shapes and is more of a horizontal oval shape which defines the nose. We then can add three strokes that define the whiskers on either side of the face.
Matthew Matthysen is an educated multidisciplinary artist and illustrator. He successfully completed his art degree at the University of Witwatersrand in South Africa, majoring in art history and contemporary drawing. The focus of his thesis was to explore the philosophical implications of the macro and micro-universe on the human experience. Matthew uses diverse media, such as written and hands-on components, to explore various approaches that are on the border between philosophy and science.
Matthew organized various exhibitions before and during his years as a student and is still passionate about doing so today. He currently works as a freelance artist and writer in various fields. He also has a permanent position at a renowned online gallery (ArtGazette) where he produces various works on commission. As a freelance artist, he creates several series and successfully sells them to galleries and collectors. He loves to use his work and skills in various fields of interest.
Matthew has been creating drawing and painting tutorials since the relaunch in 2020. Through his involvement with artincontext.org, he has been able to deepen his knowledge of various painting mediums. For example, watercolor techniques, calligraphy and lately digital drawing, which is becoming more and more popular.
Learn more about Matthew Matthysen and the Art in Context Team.


