How to Draw Arms – Learn How to Create Your Own Arm Drawing
Drawing arms can be complicated, this is because they can be very subtle in the way they can represent different anatomical structures. In this tutorial, we will look at a few steps on how to draw male arms. We will be analyzing our source image to see how it defines shadow, scale composition, and many other important aspects. With that being said, let us get started.
Necessary Materials
We will be using graphite pencils, they are helpful for anatomy drawing for two reasons. Firstly they provide us with a full range of shades that are helpful for anatomical structures. Secondly, anatomical structures are inevitably going to be challenging to draw, thus using a medium where we can fix mistakes quite easily is very helpful.
Anatomical structures are complex and cast various shadows in ways that depict a range of shades. Graphite pencils can help us achieve and depict this range of shades that are visible in the anatomy. What you’ll need is simple:
- A full set of pencils
- An eraser
- A sharpener
- Good paper (200 g/m – 250 g/m recommended)
- Source material (could be from your phone or a printed image)
Preparation
In this tutorial, we will be drawing male arms. For our drawing, we will be drawing the essential shapes and then using the shadows in our source images to help guide how the arm is formed. The process of using shadows to guide your drawing is important when it comes to drawing male arms.
So, with our source image, let us approach each anatomical structure separately to gain a better insight into how to draw them more accurately.
Source Image
In this tutorial, I will be using an image displayed on an iPad as a reference image, you may also draw from your smartphone. It is important to learn different ways of drawing using different source materials. It is especially important to get used to using digital devices. Digital devices give us a full range of vision when needing to see the smaller details of our subjects, as we can zoom in and out.
Using a digital device for reference, like a phone or tablet, can help us adapt our ability to scale objects.
When we use a device that is smaller than our actual drawing paper it becomes tricky to draw from them as a reference. However, it is important to develop this skill. By doing so, we will strengthen our abilities to understand scale and composition.
How to Draw Male Arms: The Inner and Outer Arm
With all our materials ready we can now begin our drawing process. However, the beginning stages of the drawing process are about understanding what exactly we are drawing and how exactly we will do these drawings. Let us look at the steps of how to draw a male arm from the inside and the outside. Each step will help guide us and define how we can effectively represent the male arm through a drawing.
With our source images in front of us and all our material prepared, let us begin our drawing.
Step 1: Shapes and Scale for the Inner Arm
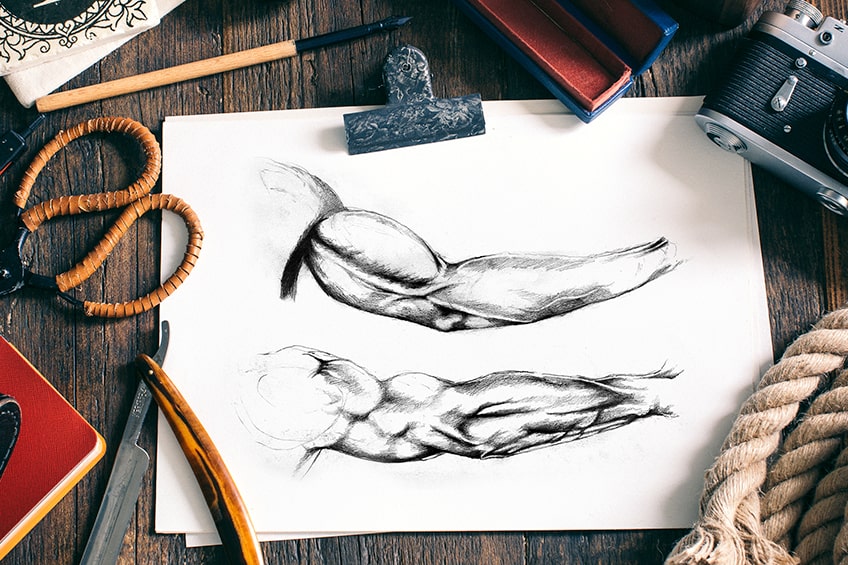
When finding the general shapes we can see that the male arm’s shapes are very circular. If you look at the reference image in this tutorial you will see that the arm is comprised of two larger shapes connected, which are both elliptical.
With your H pencil draw two general elliptical shapes that depict the general shape and scale of the source image.
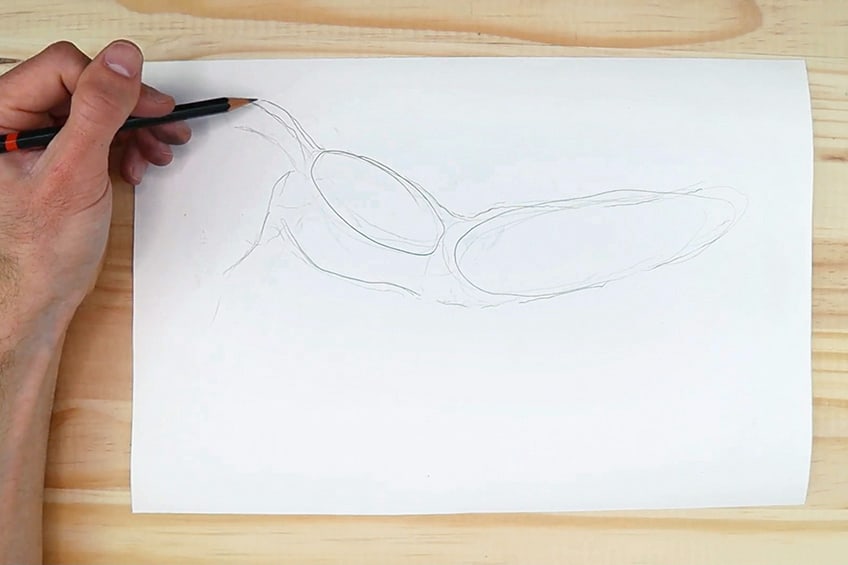
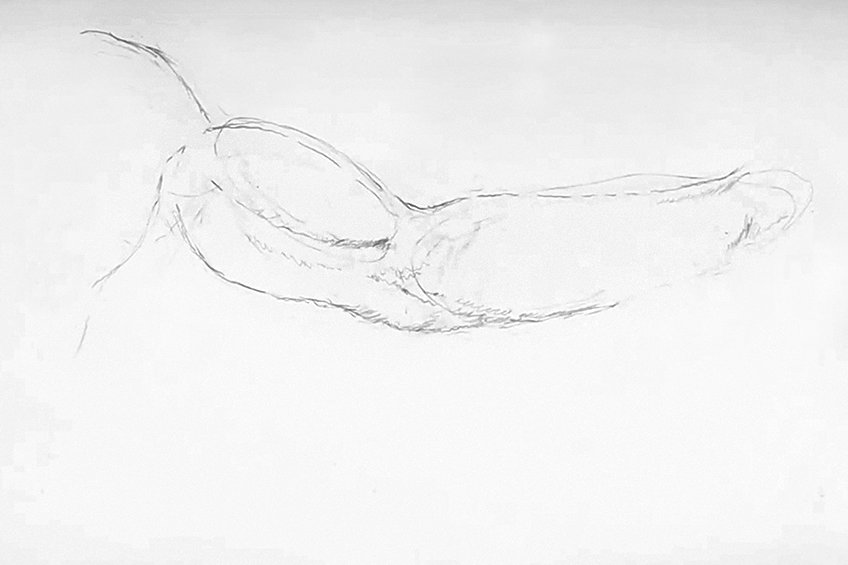
Once you feel confident, lightly erase your image so that you can faintly see your shapes for the next step.
Step 2: Lines for the Inner Arm
Once we have effectively drawn our shapes we can now start connecting them. See this step as outlining the shapes you have already drawn. However, see the outlining process as a way of drawing lines that start to refine the shape of the arm.
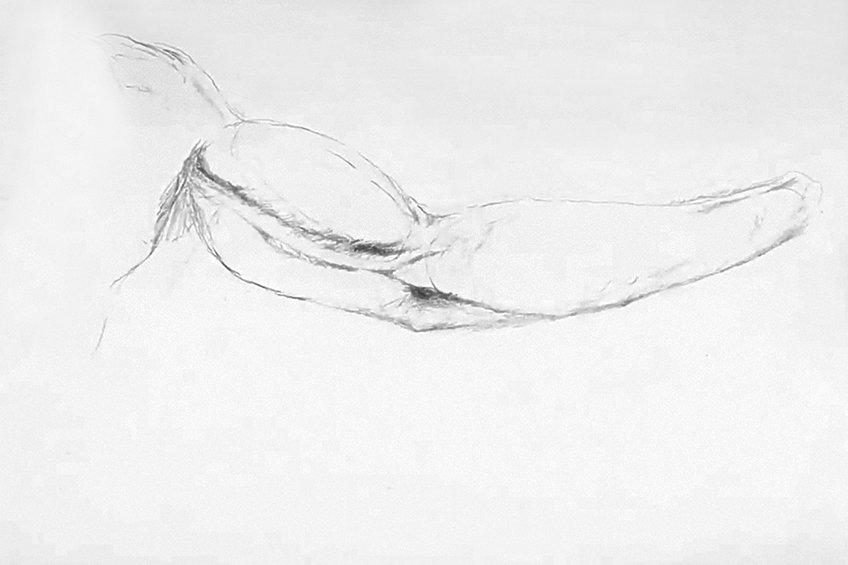
These beginning stages are going to make it easier for us to place down our shadow lines. This step is about accurately defining the outlines of the arm so that the details within them make sense.
Step 3: Shadow Lines for the Inner Arm
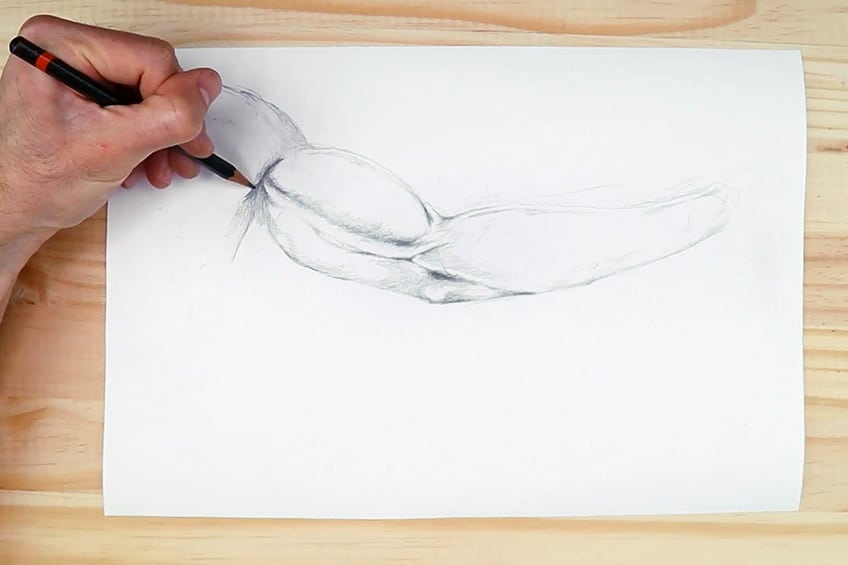
This is a very unique way of drawing details. If you analyze your source image you can see that it depicts shadows on the arm. The shadows are simply soft or darker lines that help define the form of the arm. Using your HB Pencil, lightly draw lines and faint marks that depict where the shadows are on the arm.
Think of this step as linework combined with very light shading.
Step 4: Light Shading for the Inner Arm
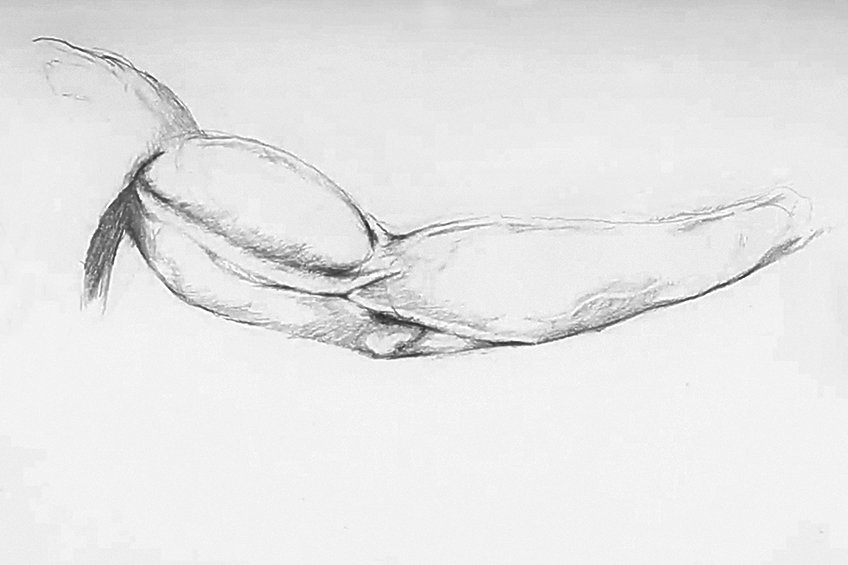
Here is where we start shading. When looking at your source image, your shadow lines should define where exactly you will shade. The lines from the previous step should indicate where your shading will be drawn.
This will begin to bring your drawing to life.
This step requires a lot of patience. What we are doing here is essentially using the shadow lines that we drew in the previous step as a guide to help us place the shadows on the arm. Try to see how the shadow lines indicate where the veins will be or where the indentations of the bicep are depicted.
However, this will only happen in the last step.
Remember that this step aims to lightly make our arm an accurate depiction of our source image as best as possible by shading over our shadow lines. Once we have drawn our shadows lightly over our shadow lines as effectively as possible, we can then move on
Step 5: Shapes and Scale for the Outer Arm
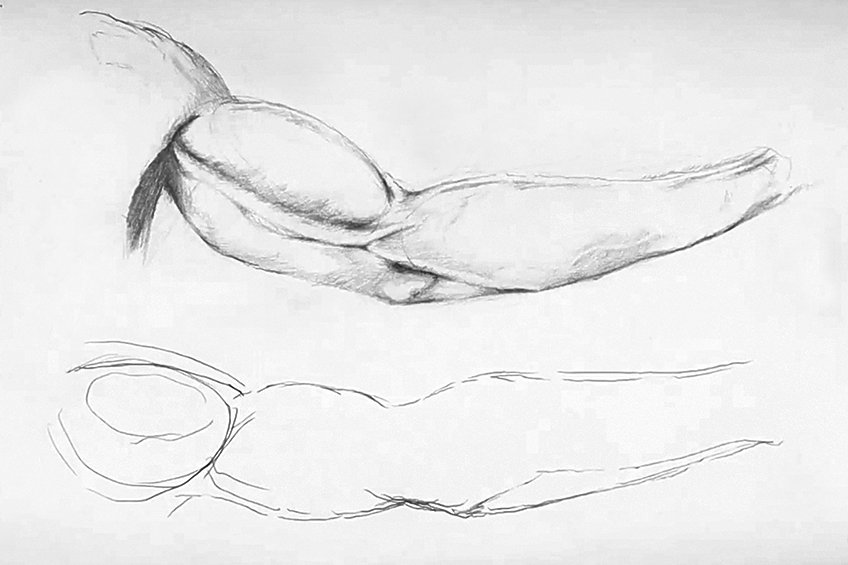
The reason for drawing both arms on the same page is so we can compare scale and form. The outer arm is similar in shape. If you look at the reference image in this tutorial you will see that the arm is composed of two larger shapes connected, which are both elliptical.
With your H pencil, draw two general elliptical shapes that depict the general shape and scale of the source image.
For the male arm, we can see that the forearm seems slightly longer than that of the upper arm. For the outer arm, the upper part shows that the bicep has an arch-type shape that sits on top of the upper arm. Using your light graphite pencil draw an arch-type curvature on the upper arm to depict where the bicep is placed.
So do not be afraid to keep your eraser on hand and in use throughout this step.
Step 6: Lines for the Outer Arm
Once we have effectively drawn our shapes we can now start connecting them. See this step as outlining the shapes you have already drawn. However, see the outlining process as a way of drawing lines that start to refine the general shapes into a more identifiable structure of an arm.
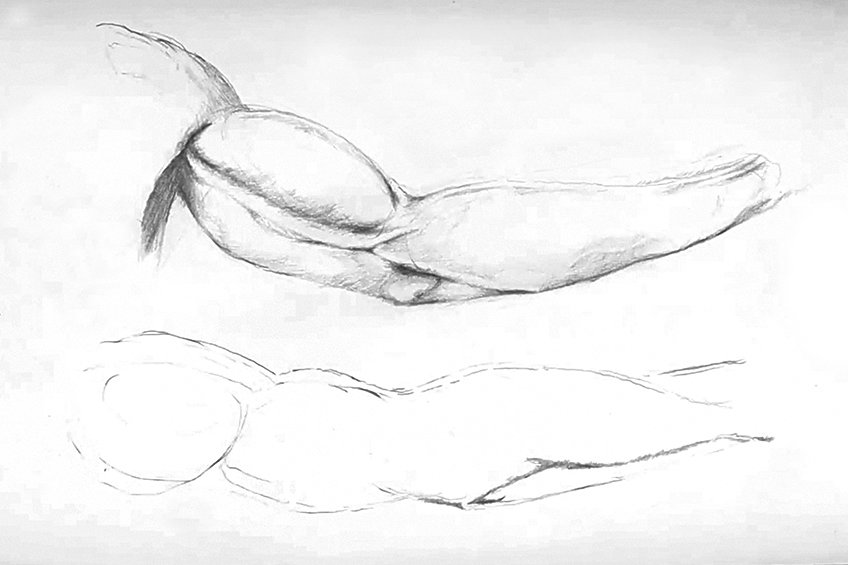
Our source image will also define how the outline of the arm should be scaled by the shapes we have drawn.
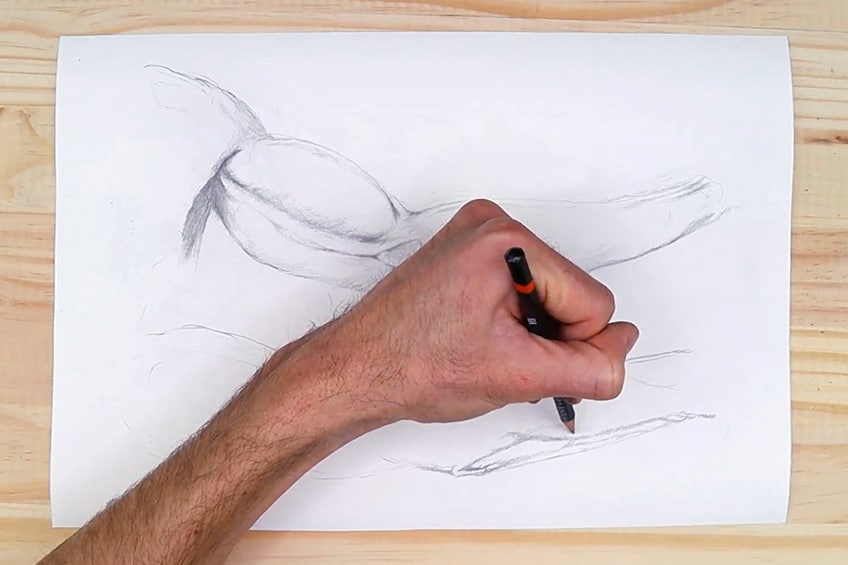
Step 7: Shadow Lines for the Outer Arm
This is a very unique way of drawing details, however, it is a very effective way. If you analyze your source image you can see that it depicts shadows on the arm. The shadows are simply soft or darker shadows that help define the form of the arm.
Using your HB pencil, lightly draw lines and faint marks that depict where the shadows are on the arm.

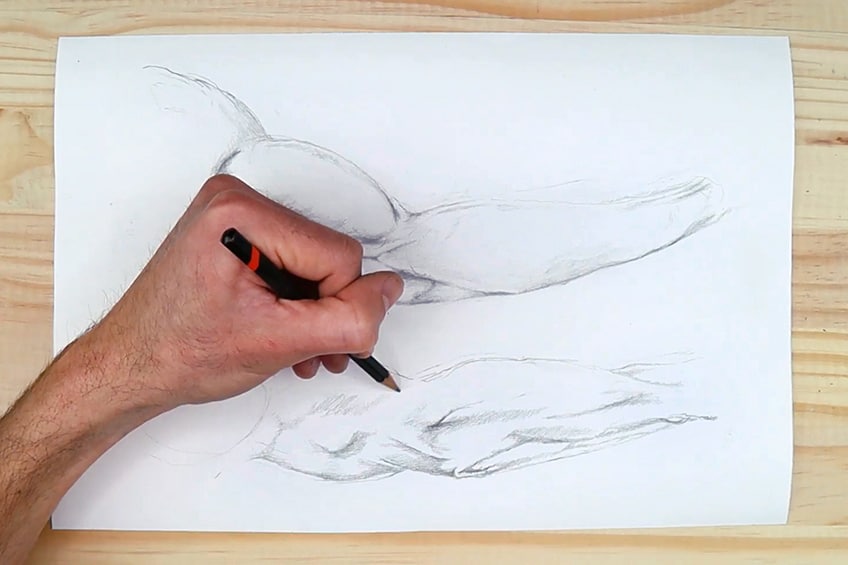
Step 8: Light Shading for the Outer Arm
Here is where we start shading. When looking at your source image, your shadow lines should define where exactly you will shade. The lines from the previous step should indicate whereabout your shading will be drawn.
This will begin to bring your drawing to life.
This step requires a lot of patience. What we are doing here is essentially using the shadow lines that we drew in the previous step as a guide to help us draw the shadows on the arm. Try to see how the shadow lines indicate where the veins will be or where the indentations of the muscles are depicted.
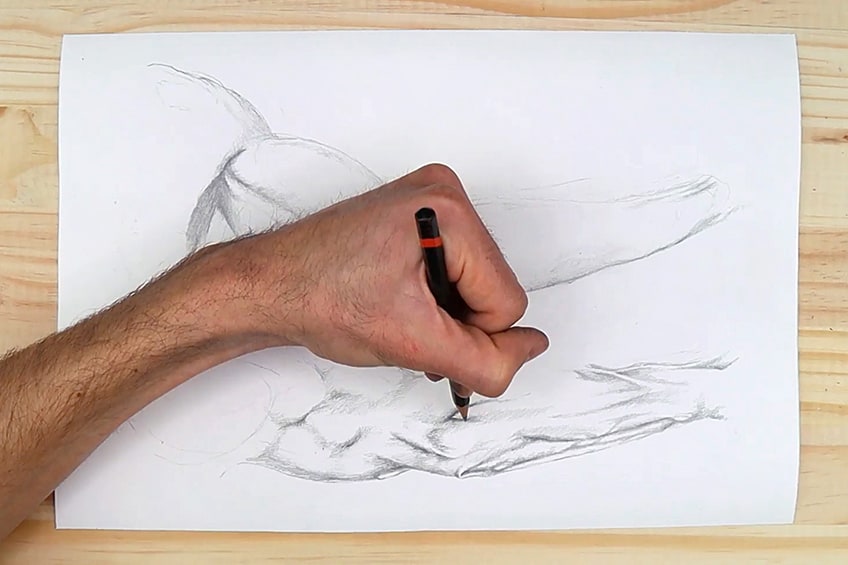
Take your time with this step.
When shading, we should always take note of where our light source comes from. The direction of our light source will always affect the object it casts light upon.
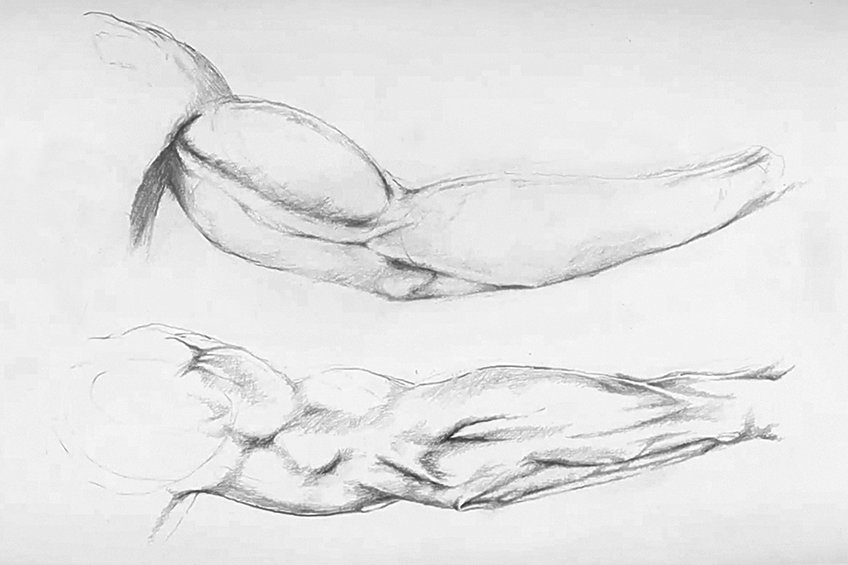
Step 9: Dark Shading for the Inner and Outer Arm
Once we have lightly drawn and shaded both the inner and outer arms we can begin to shade our darkest marks over them. Using your darker pencils, something between 2B and 4B, begin to go over your lighter shading.
The reason why we leave dark shading as the last step is so that we do not smudge our drawing.
Use your light shading as a guide. If you are left-handed try to be cautious of smudging your inner arm drawing at the top of the page. You want to be slow and gentle with this process as overshading can occur, which is something we do not want. Make note of the indentations and veins, these details require attention.
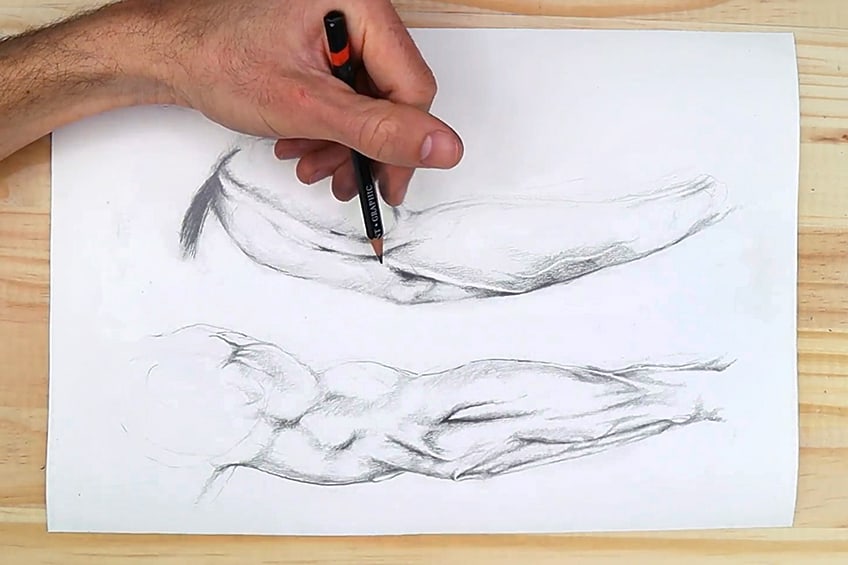
This is because the light interacts differently with each aspect.
Try drawing your darkest moments where the light would struggle to penetrate the arm. As you draw, try and see how the light interacts with the arm in your source image. We are not in a rush, we want to be as patient as possible so that our drawing can look as accurate as possible.

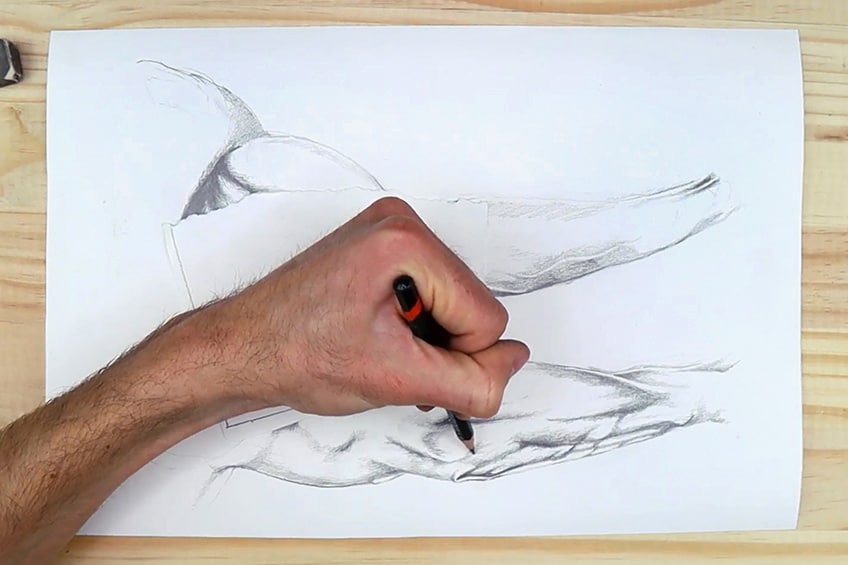
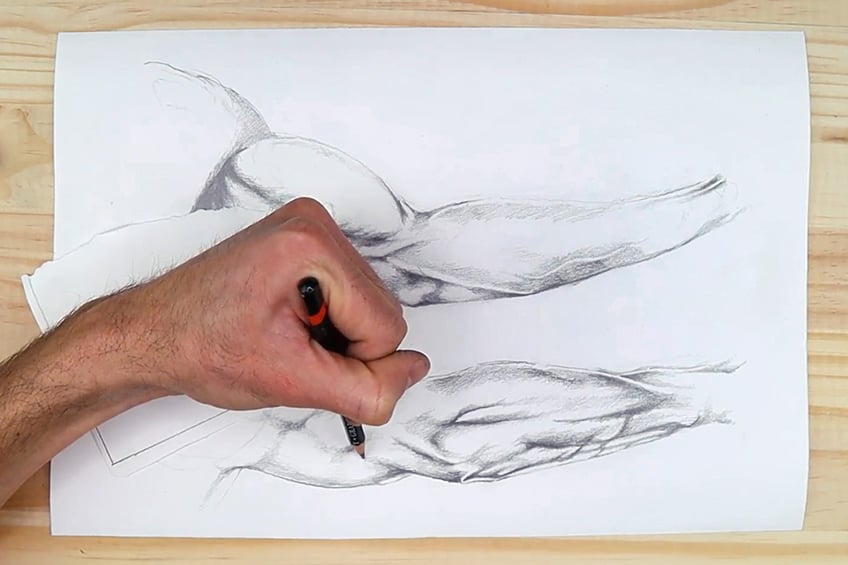
This is because they protrude quite harshly against the skin which means that they will produce a shadow that displays a stark gradient.
When there are components that protrude where there will be shadows, take note of these details in your source image as you draw. Spending time on these little subtle details makes the drawing pop and stand out on the page. So make sure you take your time with these details.
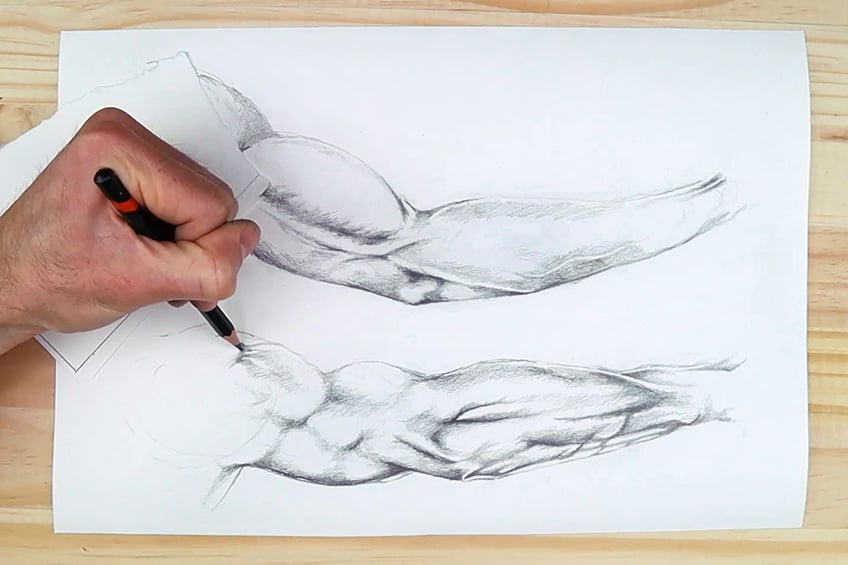
Do this until you are satisfied with the comparison between your drawing and the source image.
Tips to Remember:
- Each step should take time, remember drawing is a skill that requires patience.
- When drawing something real, remembering the light source is essential to the shading process.
- Different pressures applied to your pencil will affect your drawing. Remember to keep it light in the earlier stages of your drawing.
- Use your eraser. Using the eraser is important from start to finish as sometimes we can make mistakes only in the last step. So, don’t be afraid to use your eraser.
Drawing arms come with various challenges. In this tutorial, the source images depict the veins and muscles to be more prominent which will produce more stark contrasts in the shadows. You want to find the general shapes of the arms then you should connect them with line work. From there on you should have created a demarcated area to fill in lines where you will shade and add various tones that depict different details of the arm.
Frequently Asked Questions
How Do You Get Better at Drawing Arms?
There is no secret, it just takes practice. However, this is why I emphasized in the beginning that drawing arms requires an understanding of composition and perspective. Once we understand these two concepts of drawing, it makes drawing something realistic, such as an arm, a lot easier.
How Do I Draw Muscular Arms?
Drawing muscular arms is about understanding the muscle formation in the arm. Generally, the muscles are more prominent when they exercise. This leads to blood flow which allows for more dilation. In the veins and arteries. This greater presence of blood allows the muscles to gain size. The veins then also press against the surface of the skin more prominently which leads to a more vascular aesthetic which we associate with a muscular look. Remember the concept of blood flow and how that affects the presence of the muscles.
How Do I Draw Feminine Arms?
Drawing feminine arms is about the subtle application of the pencil marks. The arm depicts less harsh shadows due to its gentle curves. Lightly applying gradients can help make the arm seem more feminine. Lastly, feminine arms can be less vascular and bulging due to their more supple structure. This means the forms are less harsh and more seamless in form.
Matthew Matthysen is an educated multidisciplinary artist and illustrator. He successfully completed his art degree at the University of Witwatersrand in South Africa, majoring in art history and contemporary drawing. The focus of his thesis was to explore the philosophical implications of the macro and micro-universe on the human experience. Matthew uses diverse media, such as written and hands-on components, to explore various approaches that are on the border between philosophy and science.
Matthew organized various exhibitions before and during his years as a student and is still passionate about doing so today. He currently works as a freelance artist and writer in various fields. He also has a permanent position at a renowned online gallery (ArtGazette) where he produces various works on commission. As a freelance artist, he creates several series and successfully sells them to galleries and collectors. He loves to use his work and skills in various fields of interest.
Matthew has been creating drawing and painting tutorials since the relaunch in 2020. Through his involvement with artincontext.org, he has been able to deepen his knowledge of various painting mediums. For example, watercolor techniques, calligraphy and lately digital drawing, which is becoming more and more popular.
Learn more about Matthew Matthysen and the Art in Context Team.
Cite this Article
Matthew, Matthysen, “How to Draw Arms – Learn How to Create Your Own Arm Drawing.” Art in Context. June 21, 2022. URL: https://artincontext.org/how-to-draw-arms/
Matthysen, M. (2022, 21 June). How to Draw Arms – Learn How to Create Your Own Arm Drawing. Art in Context. https://artincontext.org/how-to-draw-arms/
Matthysen, Matthew. “How to Draw Arms – Learn How to Create Your Own Arm Drawing.” Art in Context, June 21, 2022. https://artincontext.org/how-to-draw-arms/.


