How to Draw an Atom – Create a Tiny and Intricate Atom Drawing
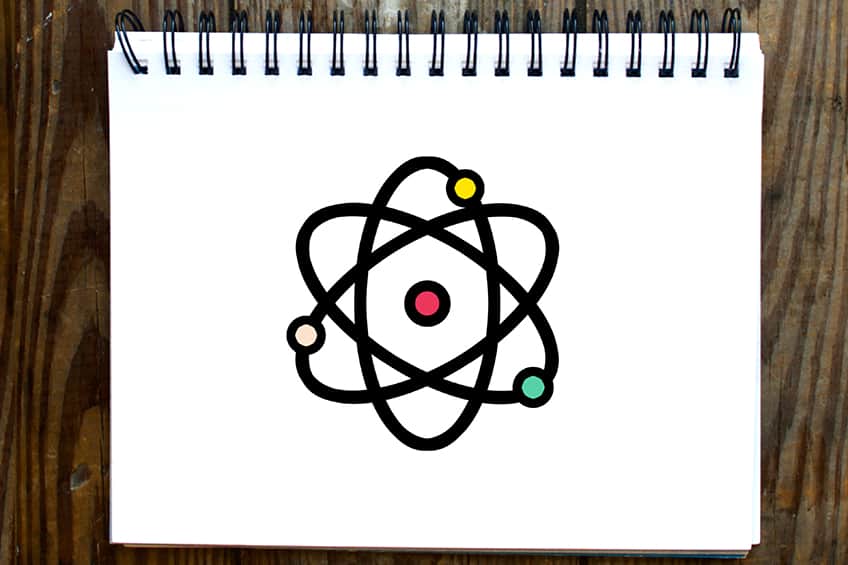
Atoms are the tiny building blocks that make up everything we see and touch in the world around us, from the air we breathe to the screens we stare at. These minuscule particles are so small that a single drop of water contains billions of them! Atoms are made up of even smaller particles called protons, neutrons, and electrons, which work together in a delicate dance to give each atom its unique properties. Studying atoms has unlocked the universe’s secrets, revealing everything from the nature of matter to the workings of the stars. So, the next time you look up at the night sky, remember that those twinkling lights are all made up of tiny atoms, just like the ones inside your body! Get your drawing kit ready and join us as we guide you through six easy steps to draw an atom.
How to Draw an Atom in 6 Easy-to-Follow Steps
Learning how to draw an atom can be an exciting journey into the world of science and art. Atoms are the fundamental building blocks of matter, and understanding their structure is essential to understanding the world around us. Drawing an atom can be a fun and creative way to explore the different parts of an atom, including the protons, neutrons, and electrons that make it up. By following our step-by-step guide, you’ll not only learn how to draw an atom, but you’ll also gain a deeper understanding of its composition and the role it plays in the universe. So grab your pencils and let’s get started on this artistic adventure!
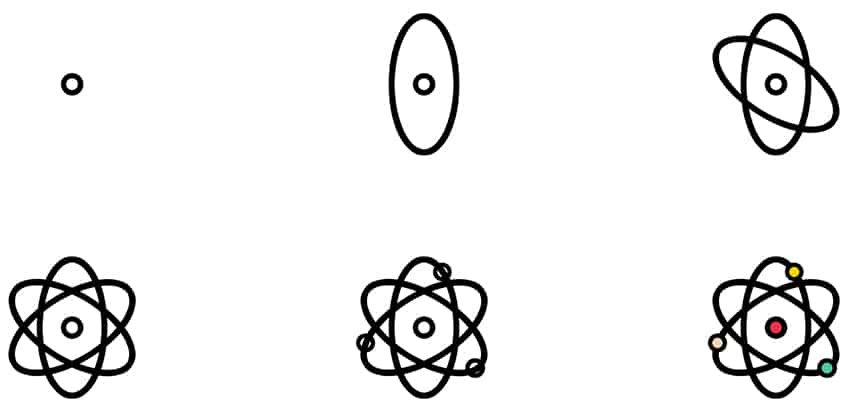
The below atom drawing collage depicts each step you will take to reach your final result!
Step 1: Draw the Nucleus
Begin your drawing of an atom by drawing a small circle. This will represent the central nucleus of your atom drawing.

Step 2: Draw the First Orbit on Your Atom Drawing
Draw the first orbit represented by an oval shape. This should be drawn vertically with the circle drawn in step one as the center of the oval shape.
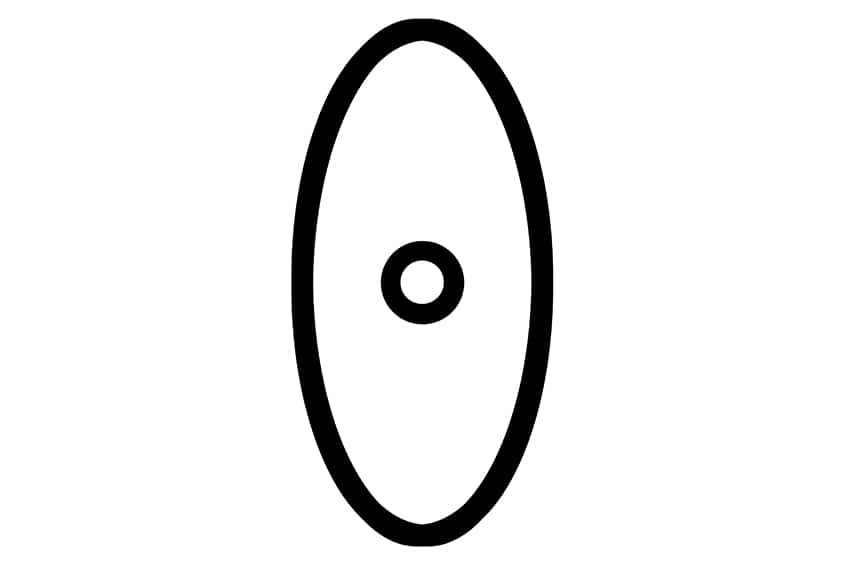
Step 3: Add the Second Orbit
Similar to the previous step, draw the second orbit oval shape only this time at a tilted angle to the left.
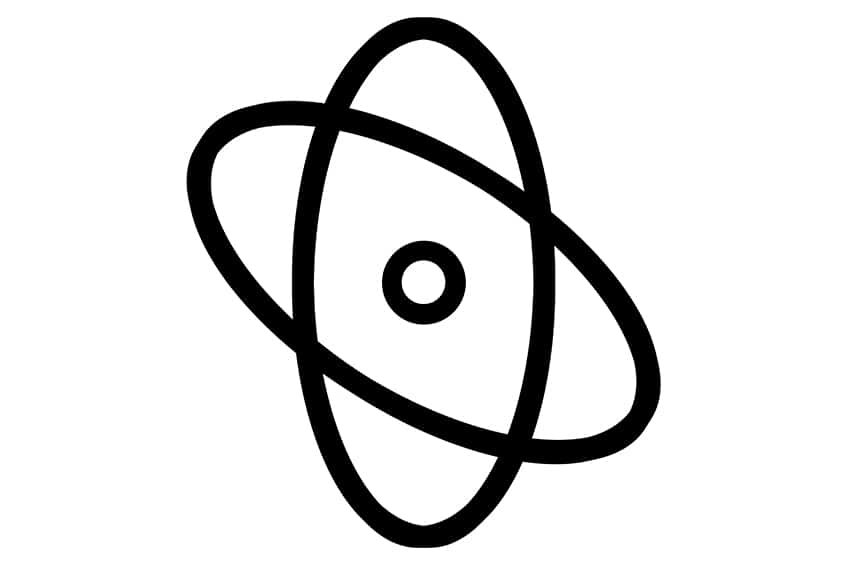
Step 4: Draw the Final Orbit on Your Atom Drawing
Repeat the previous step by drawing the final orbit oval shape, this time tilted to the right side.
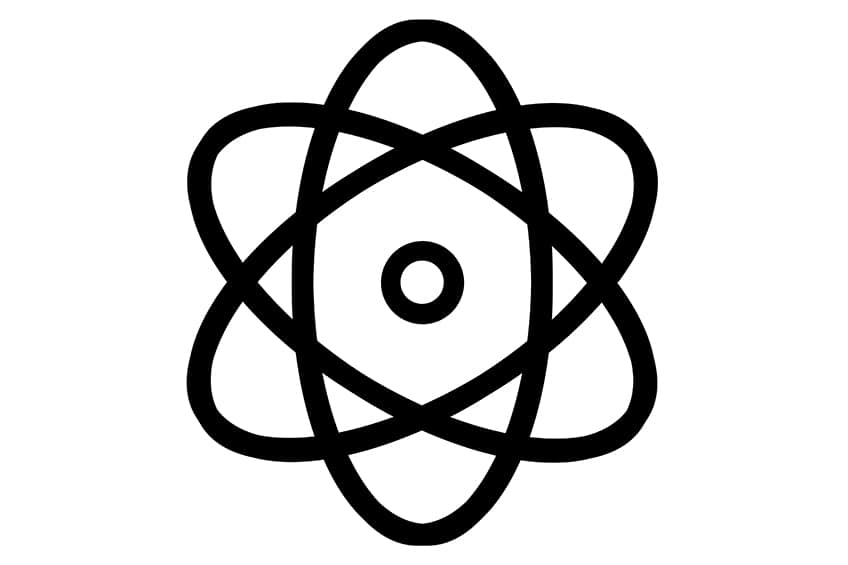
Step 5: Add in the Electrons
Draw a small circle on each of the orbit ovals previously drawn. There are three orbits, so this means you should have a total of three electrons.
Once you have completed this step, you can erase the overlapping lines within each of the electron circles.
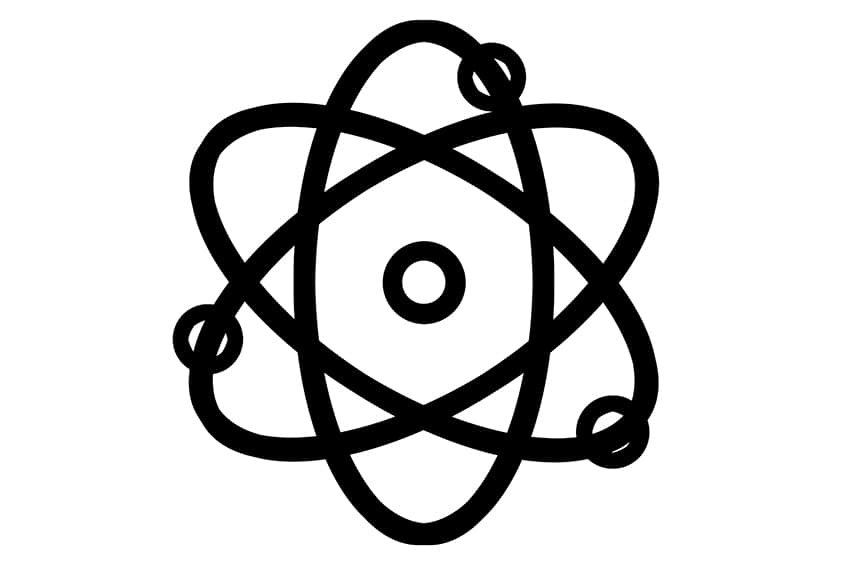
Step 6: Finalize Your Drawing of an Atom
Select a fine, sharp brush and red paint, and evenly fill the central nucleus. Repeat using a combination of yellow, beige, and green, and color each of the electrons with the color of your choice.

Congratulations on learning how to draw an atom! You have taken a step into the fascinating world of science and art. By drawing an atom, you have gained a visual understanding of its structure, including the nucleus and the electrons orbiting around it. This drawing can serve as a reminder of the complex and intricate nature of the building blocks of matter. You can use this drawing as a starting point to explore the different elements and molecules that make up the world around us. Whether you are a scientist or an artist, this experience can inspire you to learn more and continue exploring the wonders of the universe. So, take a moment to appreciate your drawing of an atom and the knowledge you have gained, and keep exploring!
Frequently Asked Questions
How to Draw an Atom That Looks Realistic?
To draw a realistic atom, you will need to pay attention to the details of its structure. First, draw a small circle in the center of your paper to represent the nucleus. Next, add protons and neutrons to the nucleus, which will create a solid core. The number of protons and neutrons will depend on the element you are drawing. Then, add electrons to orbit the nucleus. These electrons should be drawn as small circles or dots around the nucleus, with each shell representing a different energy level. It’s important to remember that electrons do not orbit the nucleus in a predictable, circular pattern but instead exist in a cloud-like formation. Finally, to make your drawing look more realistic, you can add shading to give the impression of depth and dimensionality. By paying attention to these details, you can create a drawing of an atom that looks realistic and scientifically accurate!
How to Shade and Texture an Atom Drawing?
When shading and texturing an atom drawing, it’s important to create a three-dimensional and realistic look. Start by shading the nucleus with a darker shade of gray or black, and use a blending tool to smooth out the shading. Add shading to the electrons orbiting around the nucleus with a lighter shade of gray or white, blending the shading. A gradient effect can be achieved by using a lighter shade of gray or white for electrons closer to the nucleus and gradually transitioning to a darker shade as you move further out. Finally, add highlights using a white pencil or paint to create a shiny or reflective effect!
Matthew Matthysen is an educated multidisciplinary artist and illustrator. He successfully completed his art degree at the University of Witwatersrand in South Africa, majoring in art history and contemporary drawing. The focus of his thesis was to explore the philosophical implications of the macro and micro-universe on the human experience. Matthew uses diverse media, such as written and hands-on components, to explore various approaches that are on the border between philosophy and science.
Matthew organized various exhibitions before and during his years as a student and is still passionate about doing so today. He currently works as a freelance artist and writer in various fields. He also has a permanent position at a renowned online gallery (ArtGazette) where he produces various works on commission. As a freelance artist, he creates several series and successfully sells them to galleries and collectors. He loves to use his work and skills in various fields of interest.
Matthew has been creating drawing and painting tutorials since the relaunch in 2020. Through his involvement with artincontext.org, he has been able to deepen his knowledge of various painting mediums. For example, watercolor techniques, calligraphy and lately digital drawing, which is becoming more and more popular.
Learn more about Matthew Matthysen and the Art in Context Team.


