How to Draw a Toucan – A Bright and Tropical Tutorial
Toucan birds are one of the strangest-looking animals due to their comically large bills and colorful exterior. They seem as if they are mythical creatures that have been conjured up by dreams. This unique and visually striking bird makes for a great drawing exercise. Learning how to draw a toucan is a great way to practice your drawing and coloring skills as it requires attention to shading, linework, and color integration. Due to their unique aesthetic, toucan drawings can be integrated into various genres such as mysticism, natural landscapes, nature, and so on. There are many reasons to learn how to draw a toucan, and it is a fun way to improve your drawing skills!
An Easy Guide on How to Draw a Toucan
Toucans may seem quite complicated due to their strange exterior, however, we will find that the process of drawing a toucan is quite simple when broken up into digestible bits. Toucans, like many birds, are quite easy to refine from some basic fundamental shapes. Once you understand the basic shapes that the bird is made of, the process of refining the shapes and integrating shading and color is quite simple. In this tutorial, we will go through a few simple steps that help us to develop a simple toucan sketch into a realistic and unique toucan drawing through a few digestible and doable steps.
Step-by-Step Guide on How to Draw a Toucan
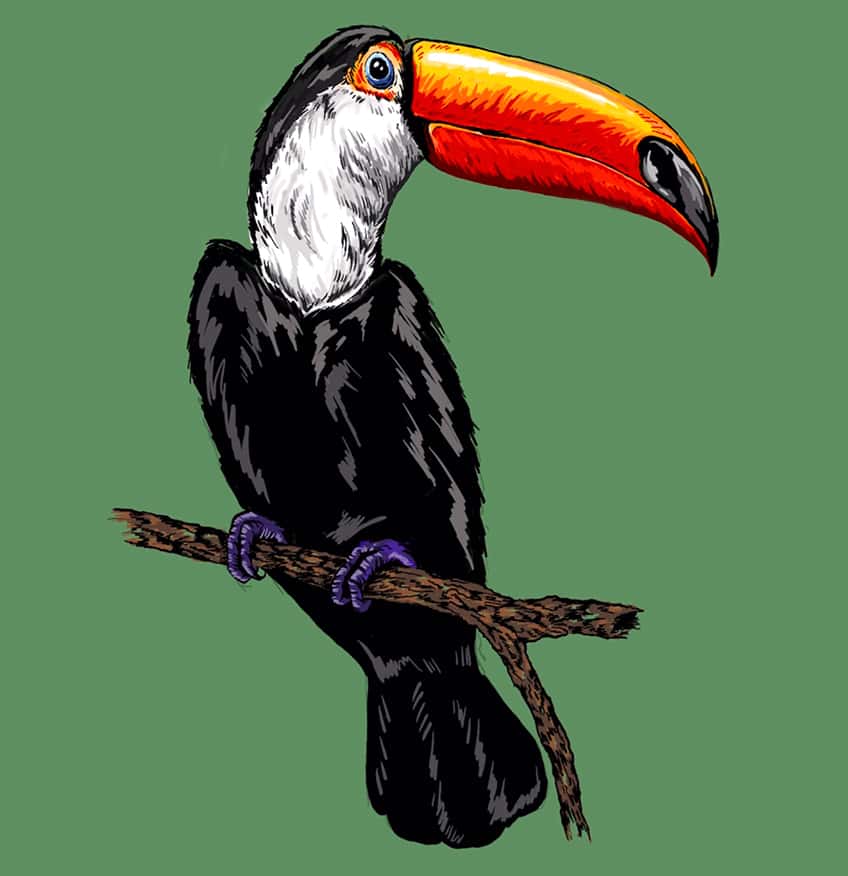
In this tutorial, we will be learning how to draw the keel-billed toucan, which is quite a colorful-looking toucan drawing. We will learn how to develop to bird through the use of some fundamental shapes, which we will then refine with some pencil marks. We will take our time refining the shapes into a more identifiable structure that defines the toucan a little more clearly.
We will then proceed to integrate color and shading to refine the toucan sketch into a more realistic toucan drawing.
Step 1: Shaping the Toucan
We start by establishing the head of the toucan with a light sketch to define how large the scale of our toucan drawing will be. By doing this, we are defining how large the rest of the toucan drawing will be.
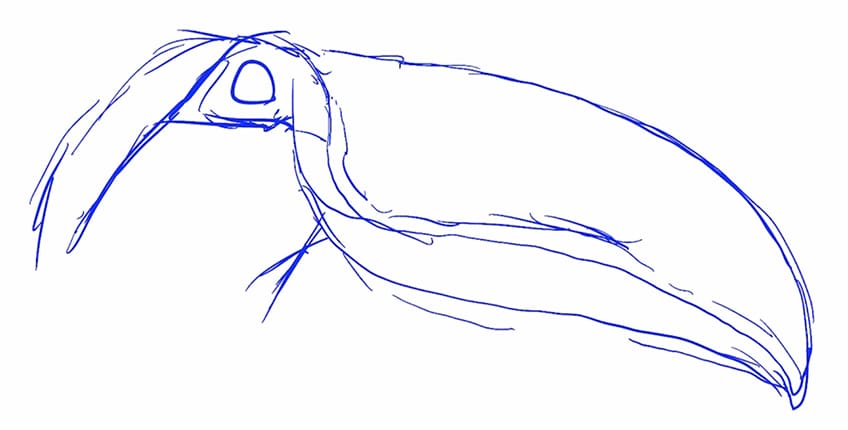
The intention is to lightly sketch the head of the toucan establishing the main components such as the bill, the eyes, and the head. We can then use that as a reference to size out the rest of the body.
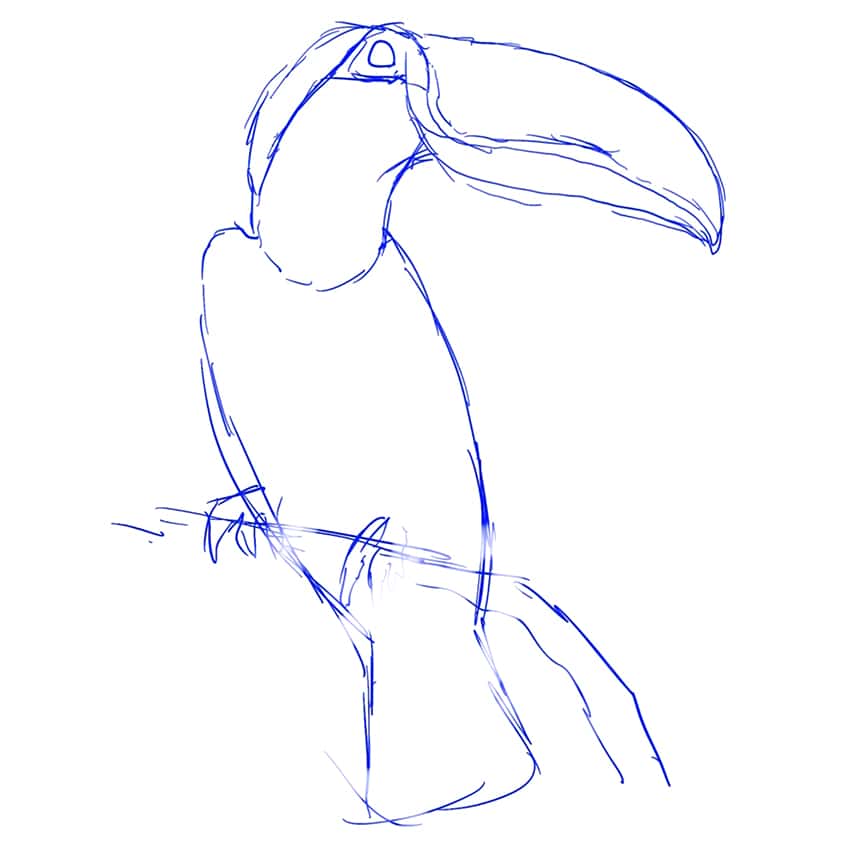
Once we have established a light sketch of our toucan we can then proceed to lightly erase our toucan sketch. By doing this, we can use the light-erased sketch as guidelines to refine the toucan drawing.
Step 2: Refining the Toucan Sketch
This is where we can now pay attention to the various details of our toucan drawing as we establish them more accurately over the erased sketch lines. Using ghost lines can be a great way to enhance the features of our toucan drawing.
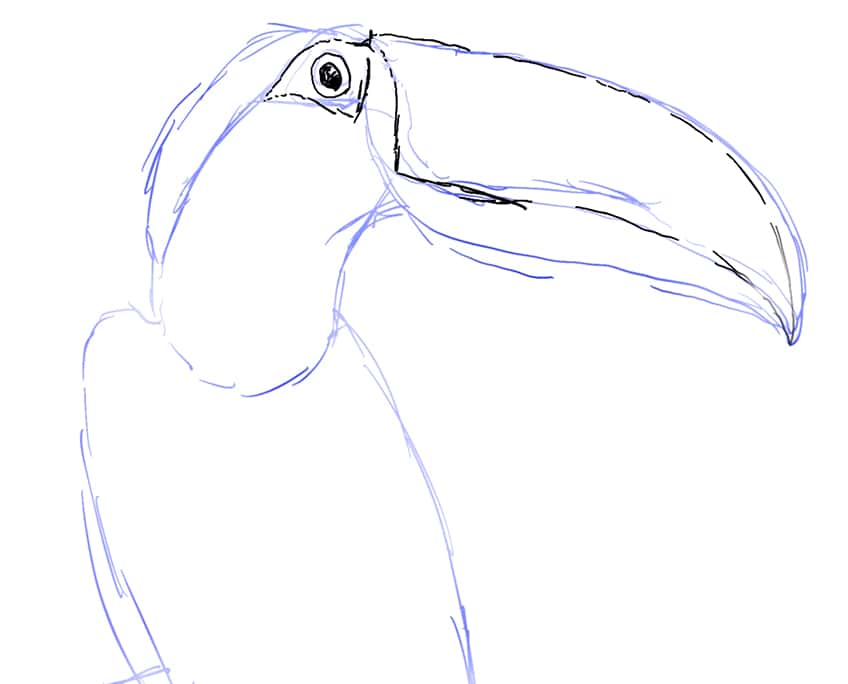
As we shift to the body of our toucan drawing, we will find that the body proportions are not much larger than that of the bill. This is a unique feature of the toucan and a feature that we want to capture as accurately as possible.
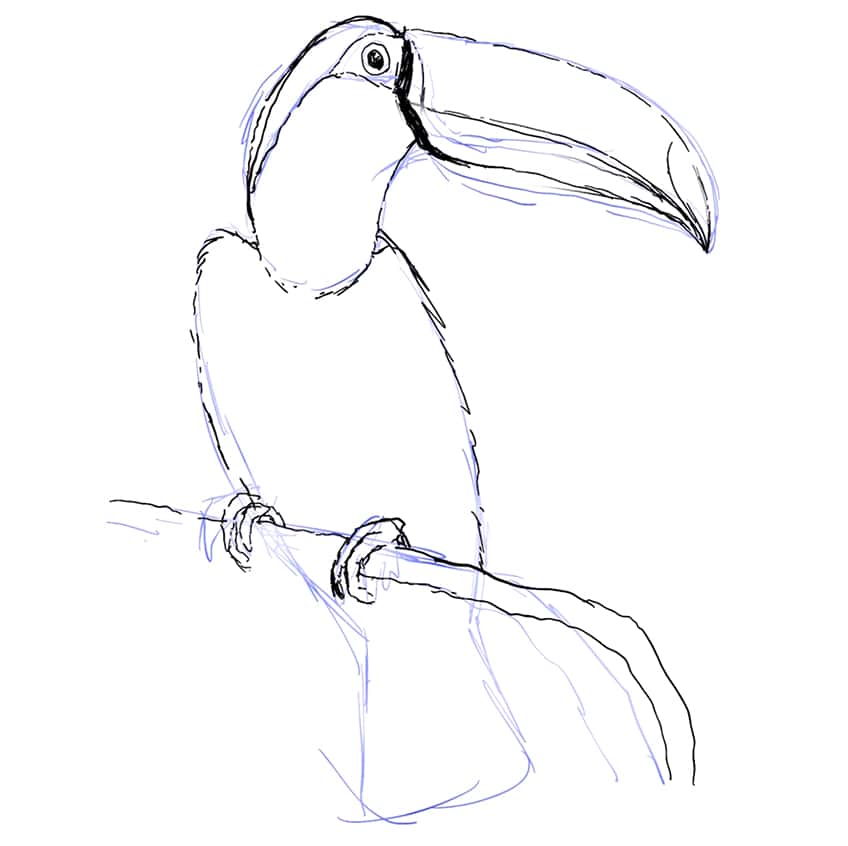
At this point, we should have established a drawing of a toucan that resembles its form and scale as accurately as possible. From here, we can lightly erase our drawing one last time to make it easier for integrating color.

Step 3: Setting the Color Palette of Our Toucan
We want to work from the head of the toucan drawing, with the intention of establishing the lighter tonal values first. In this case, we are using the classic toco toucan as a reference for its iconic coloration.

We want to establish the orange hues that are found within the bill and near the eyes of the toucan. This orange hue can be found around the eyes and in the bill of the toucan.
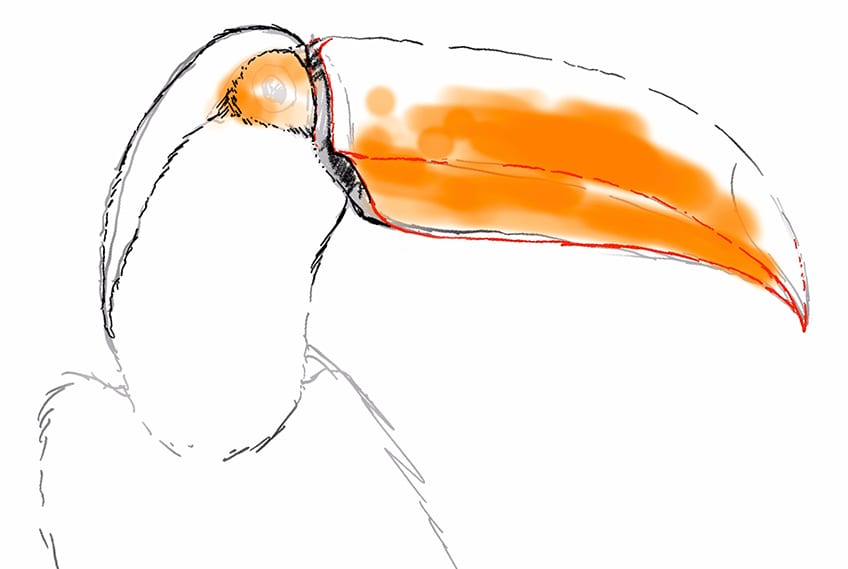
As we slowly work in these lighter layers of color we want to start considering the variations of tonal values that define the warm tones shifting between oranges and reds. We will find that as we layer these warm tones, we give the toucan drawing a more enriched coloration.

With the bill of the Toucan, we do want to keep some negative space along the top of the bill. This will define a quality of highlight reflecting off the hard surface of the bill.
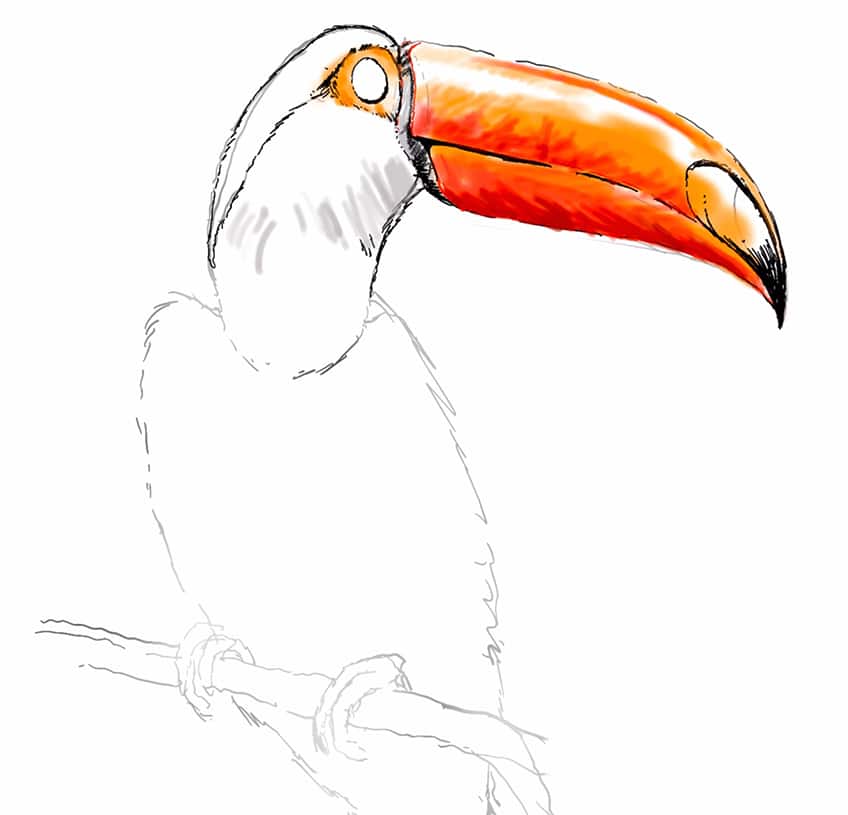
The eye of the toucan is black in the center with blue hues around the eyes. We want to make sure that we leave some negative space in the eye to suggest highlights in the eyes.
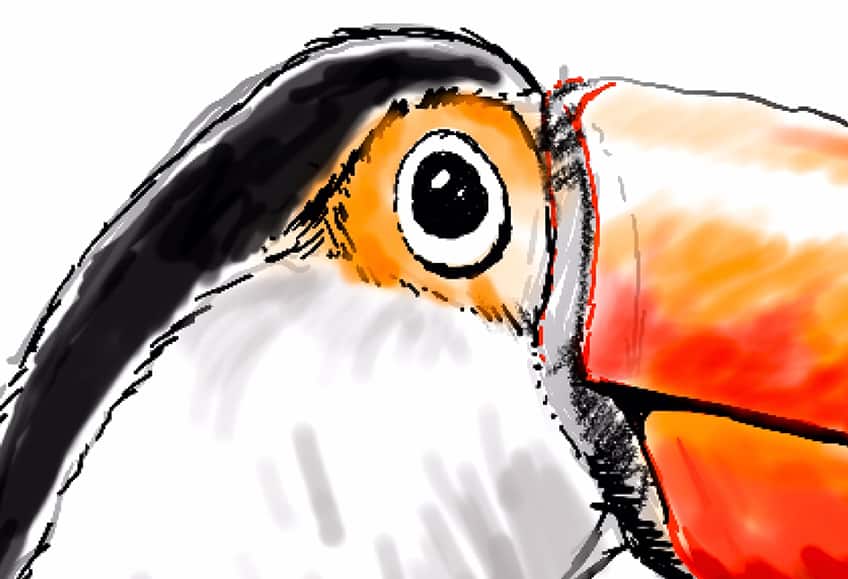
As we shift into the body of the toucan, we will find that its feather coat is a combination of black and white. The chest of the toucan will be white whereas its belly and feathers will be black
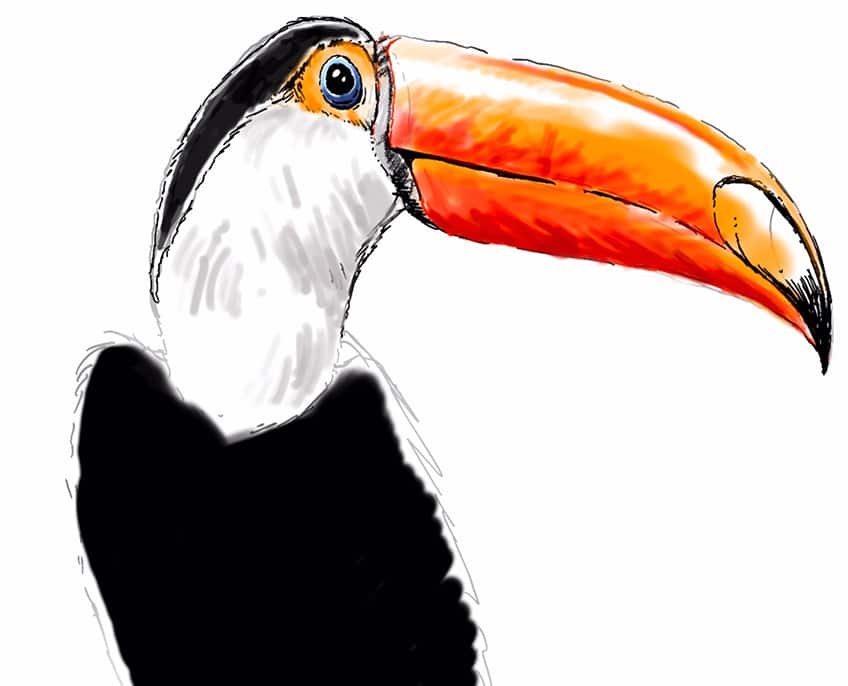
We want to make sure that we give tonal variation and texture to the white chest by adding in strokes of gray and black to suggest a textural quality in their feathers.
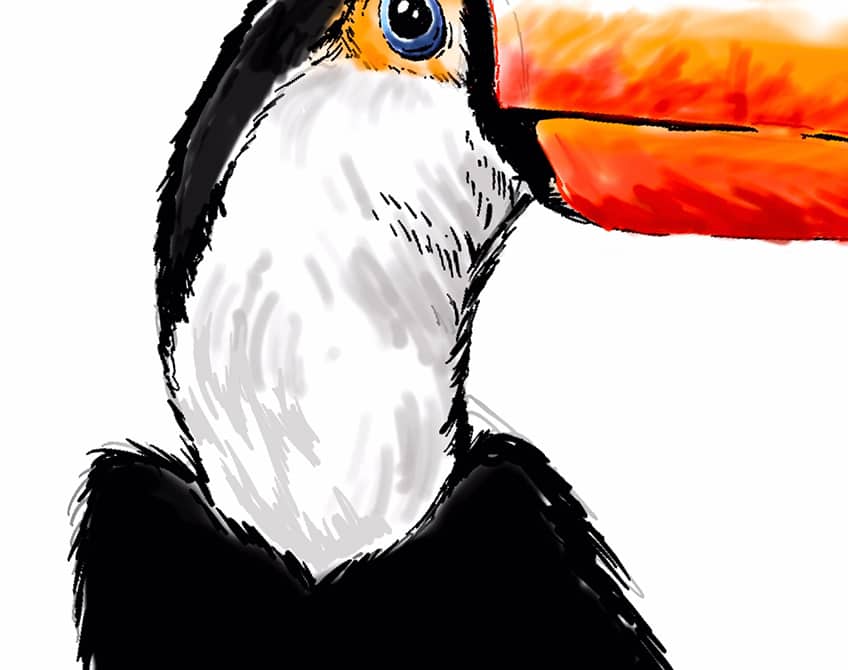
Step 4: Adding Layers of Color to the Toucan
The idea with these various features is to think about how their tonal values will have variations between lighter and darker moments. By adding moments of gray in the white chest and black body of feathers, we define a quality of feather-like textures.
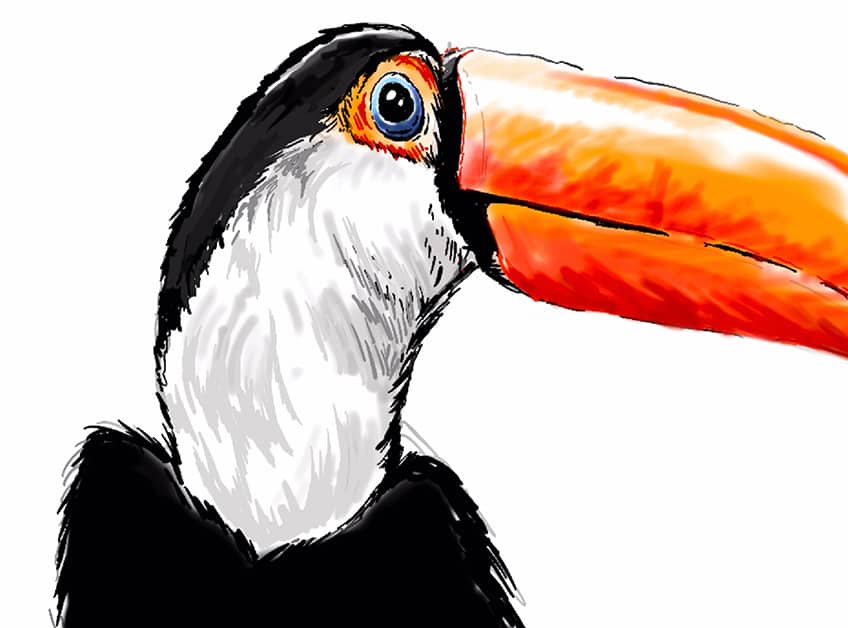
The more you build up these layers of various colors the more realistic the coat of feathers will start to appear. This is because the feathers catch light in unique ways that will emphasize their form and shape.

As we start to work through various aspects of the toucan, we can also apply this concept of layering to the bill. We want to think about various color values and how this defines tonal variation in the bill.
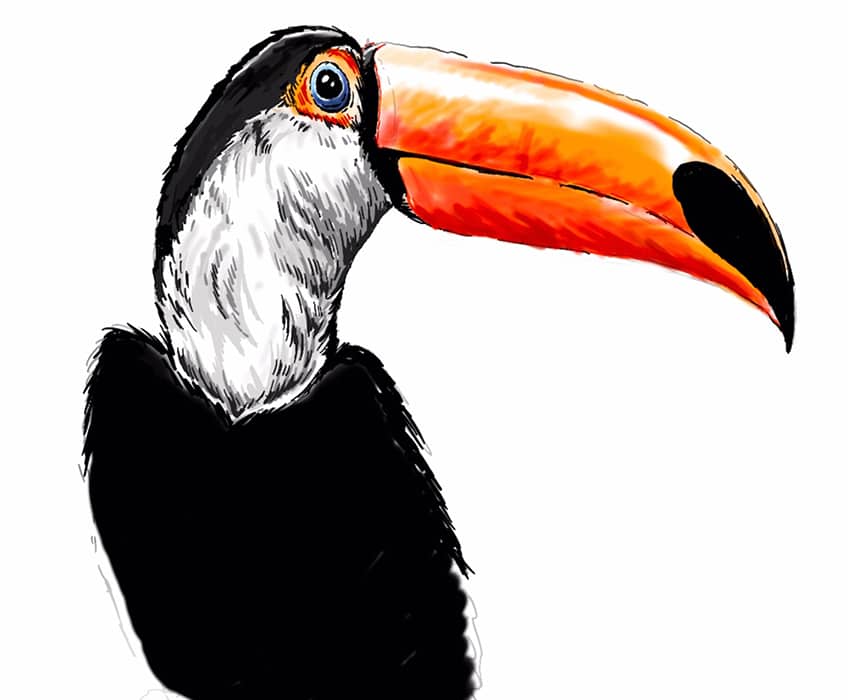
The rest of the body of the toucan will be black in color throughout. We want to make sure we fill in the toucan completely, however, we want to make sure we leave the feet out for now.
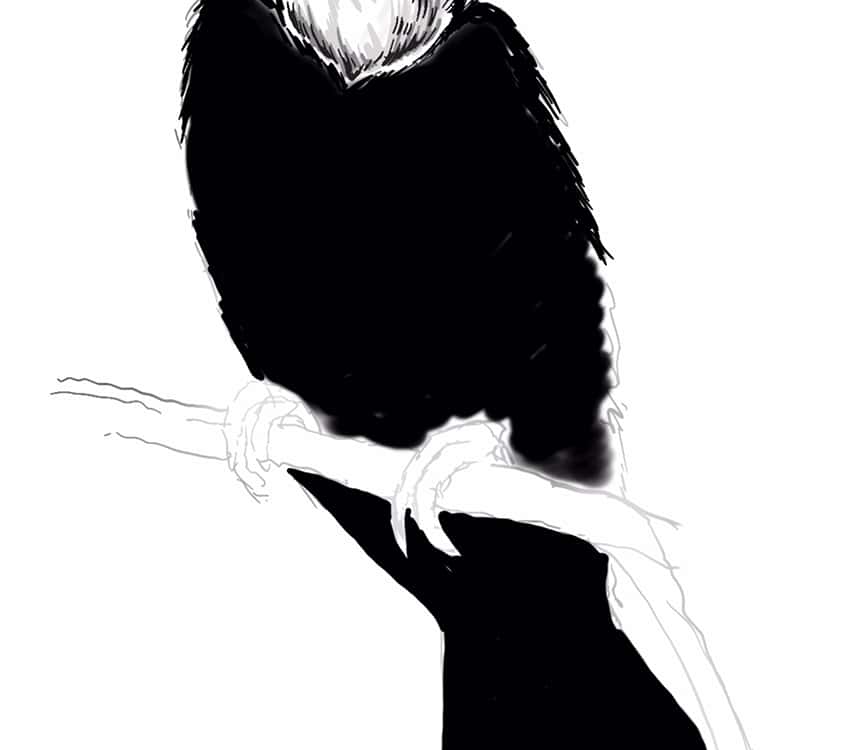
As we work through the toucan, make sure to spend time on the bill. We really want to have variations of warm tones that shift from reds to oranges and yellows. This gives a sense of interaction with light and how it illuminates certain areas of the bill.

Another important detail to notice is the black mark at the edge of the bill. We also want to add in moments of lighter tones to suggest that its hard surface is interacting with light and therefore reflecting light.
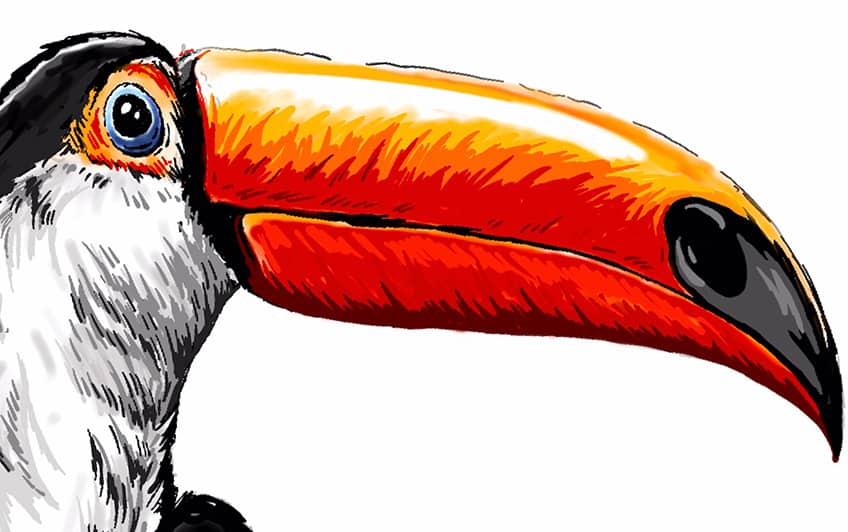
Step 5: Adding Highlights to the Black Feathers
Although the body of the toucan is predominantly covered in black feathers, we still want to add some lighter tones in this area. By doing this, we suggest movement and texture within the black body of feathers.
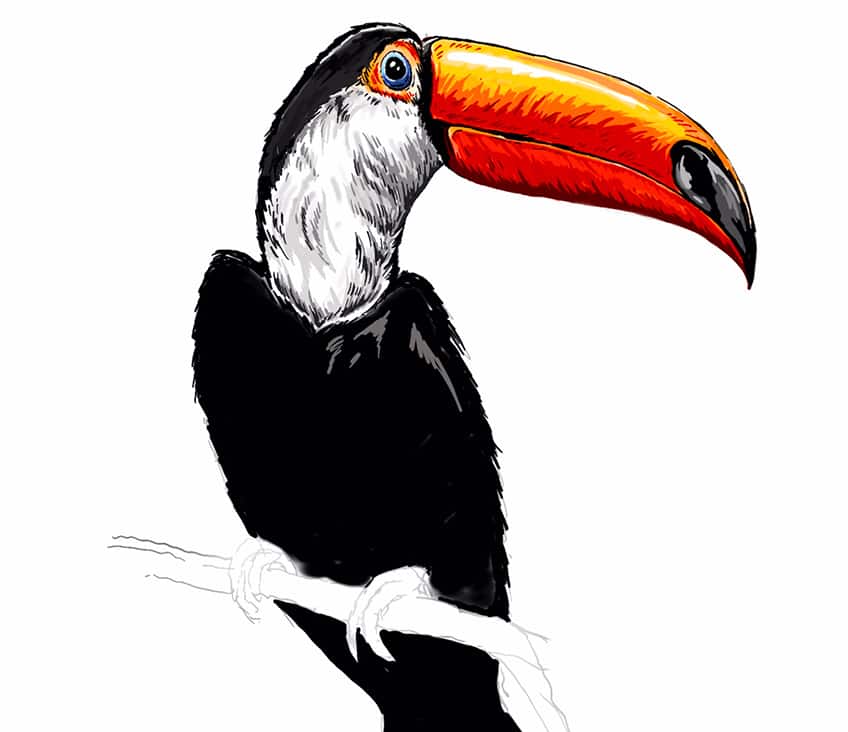
The idea is to add highlights of jagged lines that flow with the form of the body and how the wings rest against the body. We want to keep these lines quite jagged to suggest a feather-like texture.
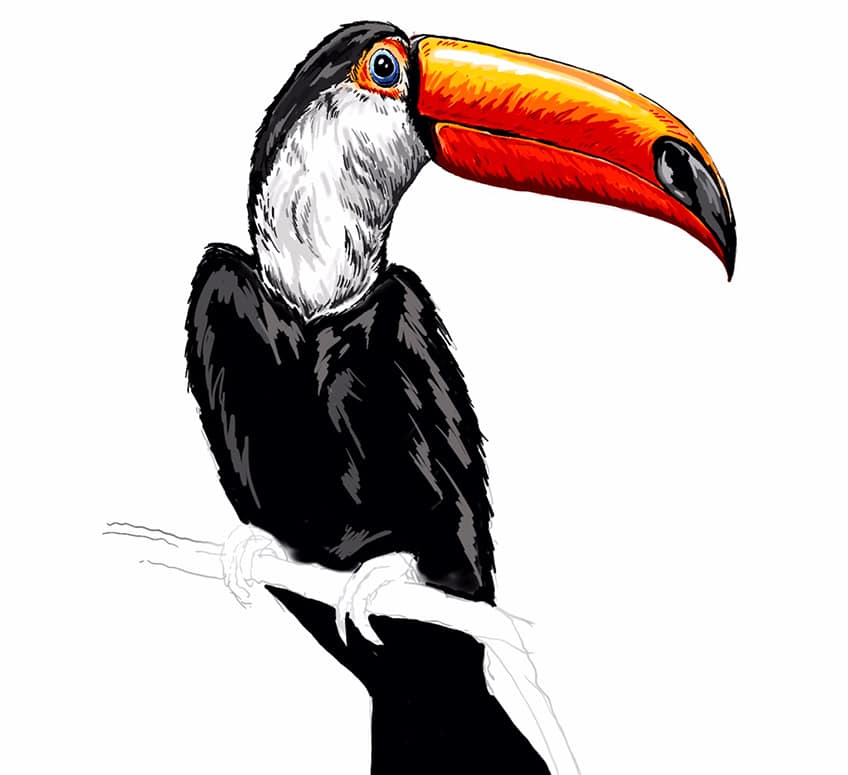
In the case of painting and digital drawing, you want to add these lighter layers over the black, however, if you work with more traditional mediums you will want to make sure you leave negative spaces that suggest highlights in the black feathers.
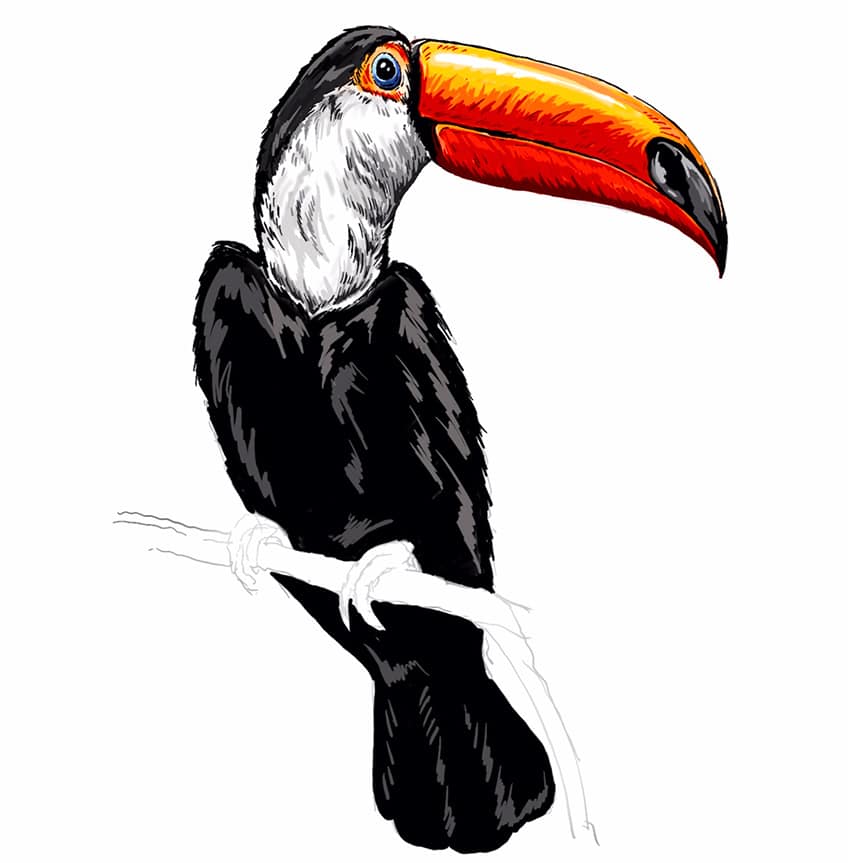
Step 6: Working on Contextualizing Features
Now that we have worked through most of the toucan drawing, we want to focus our attention on the talons. We can give the talons a purple hue, we also want to make sure that we are representing the correct amount of digits within each talon.

A good suggestion is to draw the talons resting on a branch or an object, by doing this we give more context to how the toucan drawing is within an environment. This also helps us to represent the curling motion within the talons as it wraps around the branch.

We can also build up layers within the talons to suggest highlights and tonal variation with the feet of the toucan. We also want to work in some line work to give segmentation within the various digits of the talons.
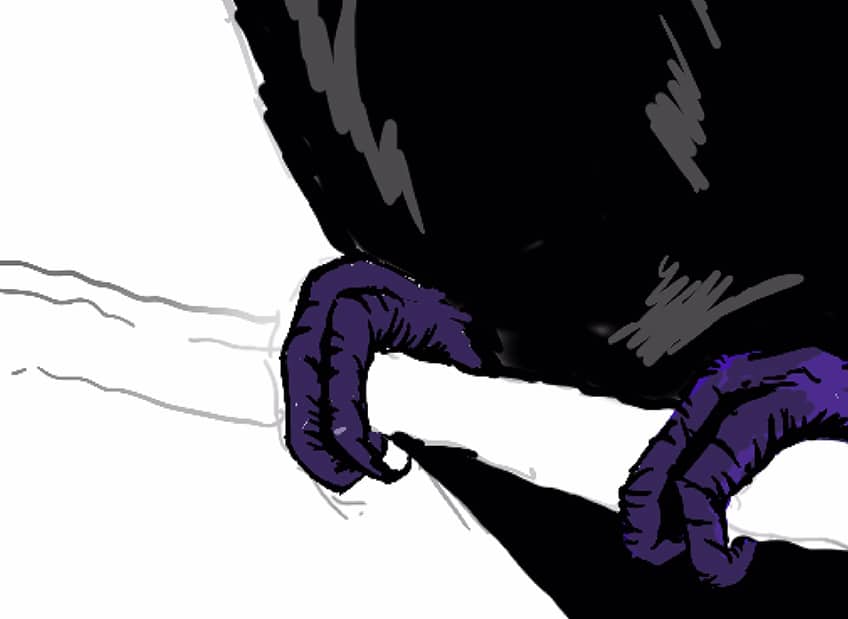
Take your time with building up some tonal variations, as well as adding line work to the talons to suggest segmentation in the digits.
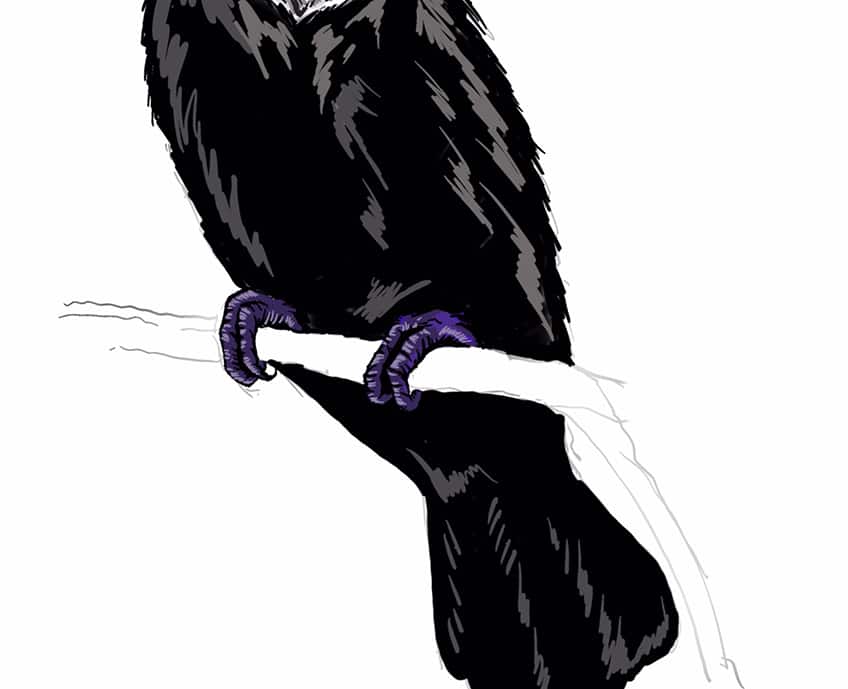
Lastly, we can start to add some detailing and color to the branch itself, giving more context to the object upon which the toucan is sitting. It is always good to build up layers within natural features, shifting from lighter to darker tonal values.
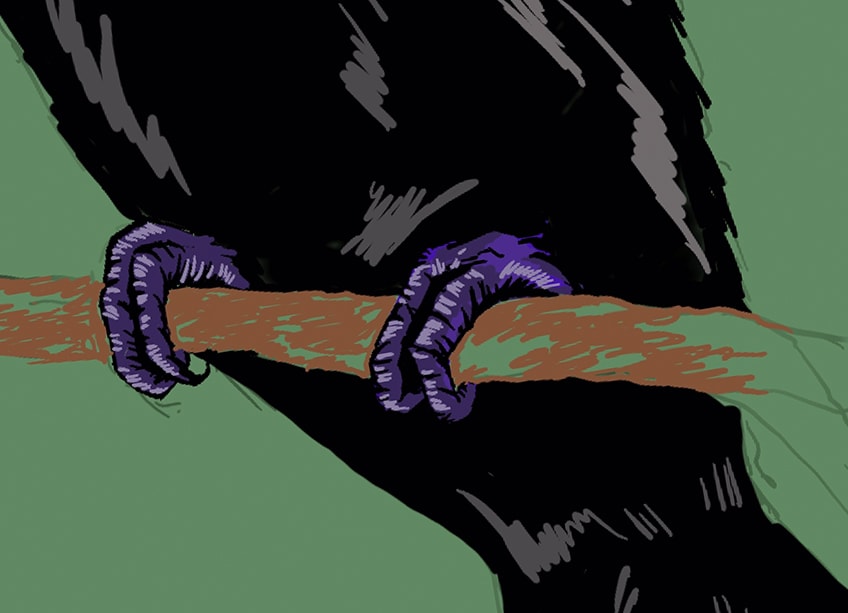
Keep these marks in a jagged formation and move along the horizontal plane of the branch itself. We want to keep the texture in the same formation as the branch’s shape. We can also build up darker tonal values as we add textural qualities to our branch.
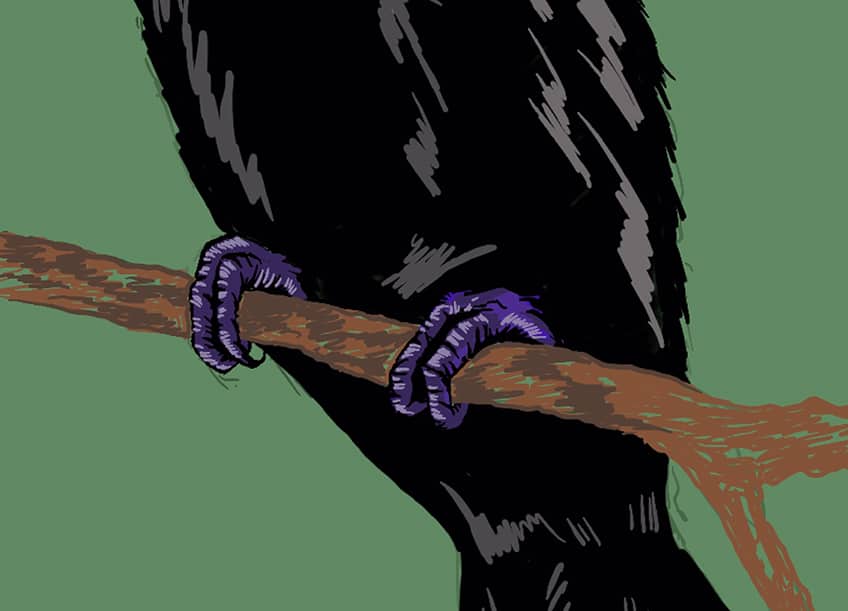
Lastly, you can add some black line work to emphasize the texture a little further until you have worked through the entire branch.

Lastly, take your time going through your entire drawing, and work with some line work to add some final details and touches to the various features of your toucan drawing.
And there you have it! How to draw a toucan in a few simple steps.
Tips and Tricks to Remember
- Take your time shaping the bird. You want to establish the toucan sketch before adding color.
- Use your eraser as a tool. Once you erase the light ketch, you can use the remaining ghost lines to then assist you in making a more refined toucan drawing.
- Take your time with color. You want to work with layers of color to give your toucan drawing a more enriched coloration.
- Consider how shading shapes the toucan bird. We want to consider how different layers of color and tonal values can give more three-dimensionality to the toucan bird.
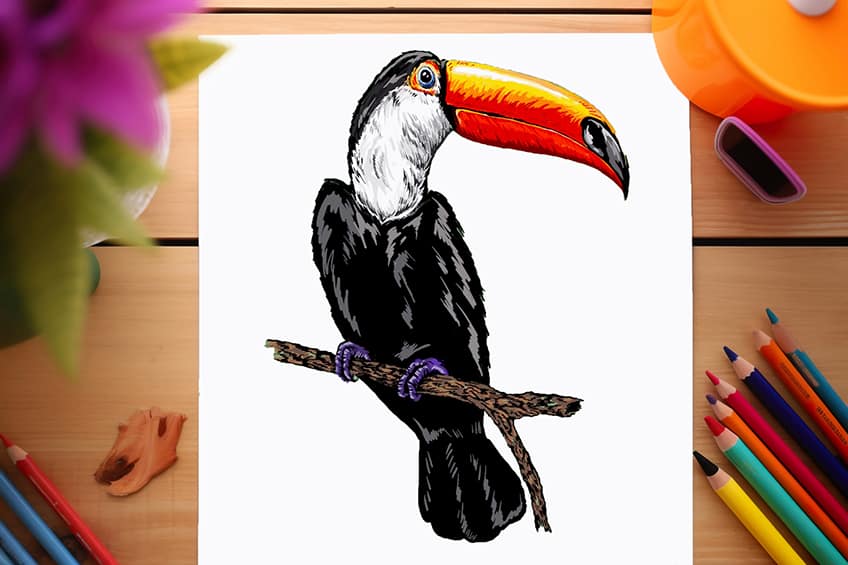
Learning how to draw a toucan is a great way to work on your drawing and coloring skills. The toucan bird is quite unique in scale and coloration, which requires attention to detail. This is also a great drawing exercise to enhance your observational skills, as it requires you to consider scale, detail, coloration, and how to integrate them into a single toucan drawing.
Frequently Asked Questions
How Do You Color in a Toucan?
There are many different toucan species to draw inspiration from and this will inevitably affect the way in which you make color choices. There is the more popular toco toucan bird, which has the iconic orange bill, but then there is also the keel-billed toucan with more color variation within the bill. However, once you have decided which type of toucan bird you would like to draw, you want to first establish the shape and outline of the bird. From there, you can start to work in a base layer of color where you strategically place color in the different features of the bird. From there, you can refine these colored features with linework and shading to enhance these features in your toucan bird drawing.
How to Draw the Bill on a Toucan?
The bill of a toucan is perhaps what makes the toucan bird so unique and is essential to get right in drawing in order to accurately represent the toucan bird. It’s important to take your time working out the scale when sketching the bird in its fundamental shapes. This is the early stage where you work on the formation of features and how they are placed together in a way that makes sense. The keel-billed toucan has quite a large beak that has a triangular-like structure that forms horizontally from the face of the bird. This bill extends outwardly from the face and is comparable to the length of the bird’s chest. We can draw this bill as a cone shape with a downturned sharp edge near the tip of the bill, making sure it is quite large and similar in scale to the rest of the toucan bird’s body.
Matthew Matthysen is an educated multidisciplinary artist and illustrator. He successfully completed his art degree at the University of Witwatersrand in South Africa, majoring in art history and contemporary drawing. The focus of his thesis was to explore the philosophical implications of the macro and micro-universe on the human experience. Matthew uses diverse media, such as written and hands-on components, to explore various approaches that are on the border between philosophy and science.
Matthew organized various exhibitions before and during his years as a student and is still passionate about doing so today. He currently works as a freelance artist and writer in various fields. He also has a permanent position at a renowned online gallery (ArtGazette) where he produces various works on commission. As a freelance artist, he creates several series and successfully sells them to galleries and collectors. He loves to use his work and skills in various fields of interest.
Matthew has been creating drawing and painting tutorials since the relaunch in 2020. Through his involvement with artincontext.org, he has been able to deepen his knowledge of various painting mediums. For example, watercolor techniques, calligraphy and lately digital drawing, which is becoming more and more popular.
Learn more about Matthew Matthysen and the Art in Context Team.
Cite this Article
Matthew, Matthysen, “How to Draw a Toucan – A Bright and Tropical Tutorial.” Art in Context. February 29, 2024. URL: https://artincontext.org/how-to-draw-a-toucan/
Matthysen, M. (2024, 29 February). How to Draw a Toucan – A Bright and Tropical Tutorial. Art in Context. https://artincontext.org/how-to-draw-a-toucan/
Matthysen, Matthew. “How to Draw a Toucan – A Bright and Tropical Tutorial.” Art in Context, February 29, 2024. https://artincontext.org/how-to-draw-a-toucan/.


