How to Draw the Eiffel Tower – Sketching the Parisian Icon
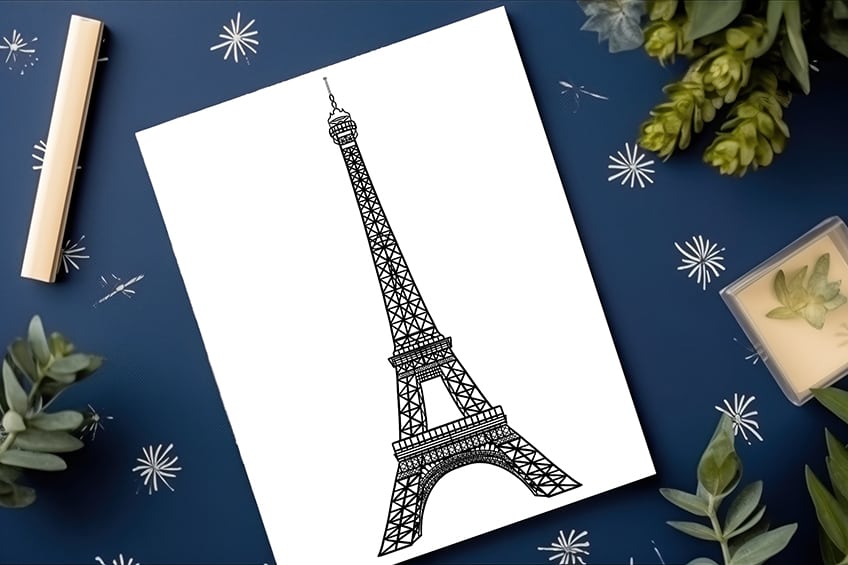
Standing tall amidst the enchanting streets of Paris, the Eiffel Tower isn’t just an iconic structure; it’s a timeless symbol of elegance and innovation. With its intricate lattice of ironwork reaching for the skies, this masterpiece of engineering seems to flirt with the clouds themselves. Bathed in the golden hues of sunrise or adorned with the sparkling lights of the night, the Eiffel Tower’s allure is irresistible—a silent storyteller of France’s rich history and a testament to human ingenuity that continues to captivate hearts around the world. Now, get ready for a magical tutorial as we take you through each step of how to draw the Eiffel Tower!
From Sketch to Skyline: Drawing the Eiffel Tower
Get ready to undertake your creative journey that will bring the iconic Eiffel Tower to life on your canvas! Our easy tutorial on how to draw the Eiffel Tower is designed to guide you step by step as you capture the elegance and charm of this Parisian landmark. Don’t be intimidated; instead, embrace the process with excitement. With each stroke of your pencil, you’ll uncover the Tower’s graceful curves and intricate details, discovering the joy of translating a world-famous monument onto your paper. So, gather your materials, clear your mind, and let your artistic intuition flow. Remember, every artist starts somewhere, and this tutorial is your gateway to not only mastering a drawing but also cultivating a newfound passion. Let’s begin this artistic adventure together and unveil the beauty of the Eiffel Tower at your fingertips.
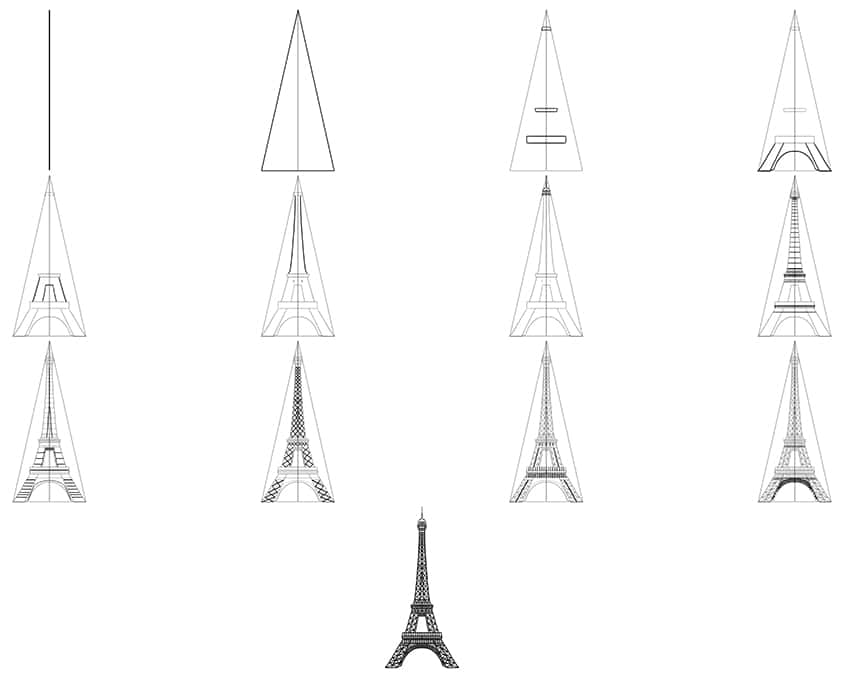
See the collage below? It reveals every step to reach the stunning final result. Follow along, and you can draw the Eiffel Tower too!
Step 1: Draw the Centerline in Your Eiffel Tower Sketch
Begin this easy Eiffel Tower drawing by locating the center of your drawing area, and skillfully sketch a vertical centerline that will serve as the backbone of your artistic endeavor.

Step 2: Draw the Main Shape
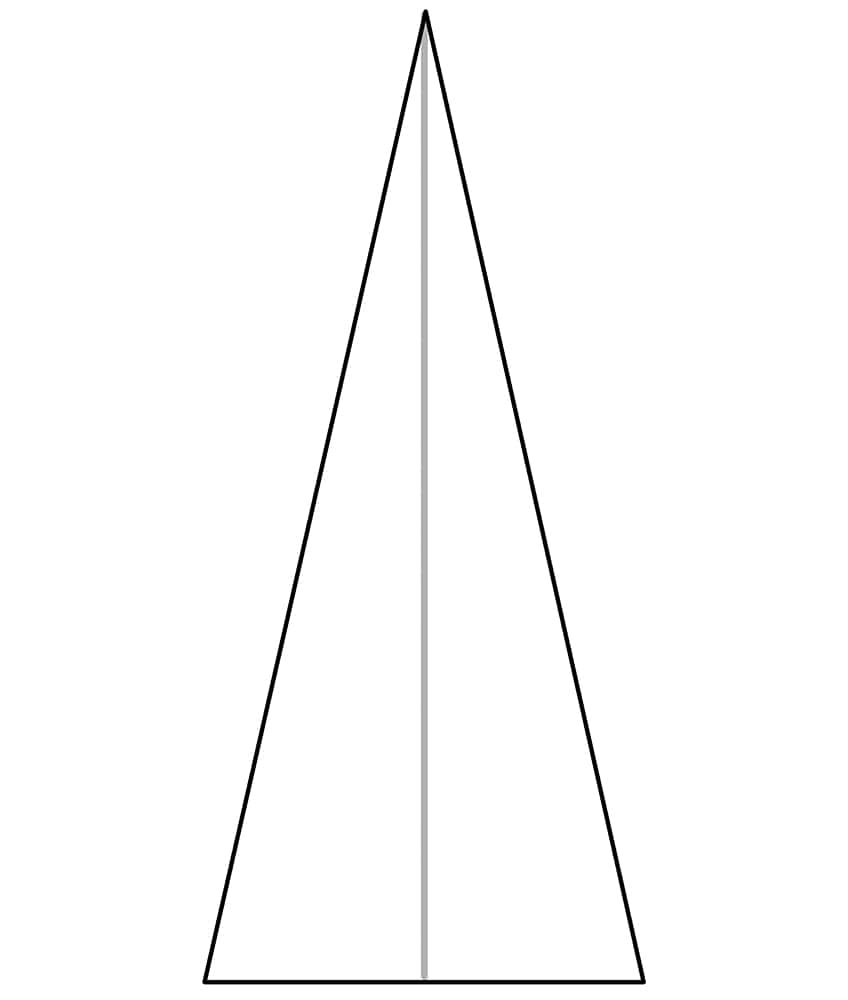
Draw a triangle with the centerline in the middle. This will represent the main shape of the Eiffel Tower.
Step 3: Add the Horizontal Lintels to Your Eiffel Tower Sketch
Draw the three main structure lintels of the Eiffel Tower. These will become the horizontal structures supporting the layers of the Eiffel Tower.
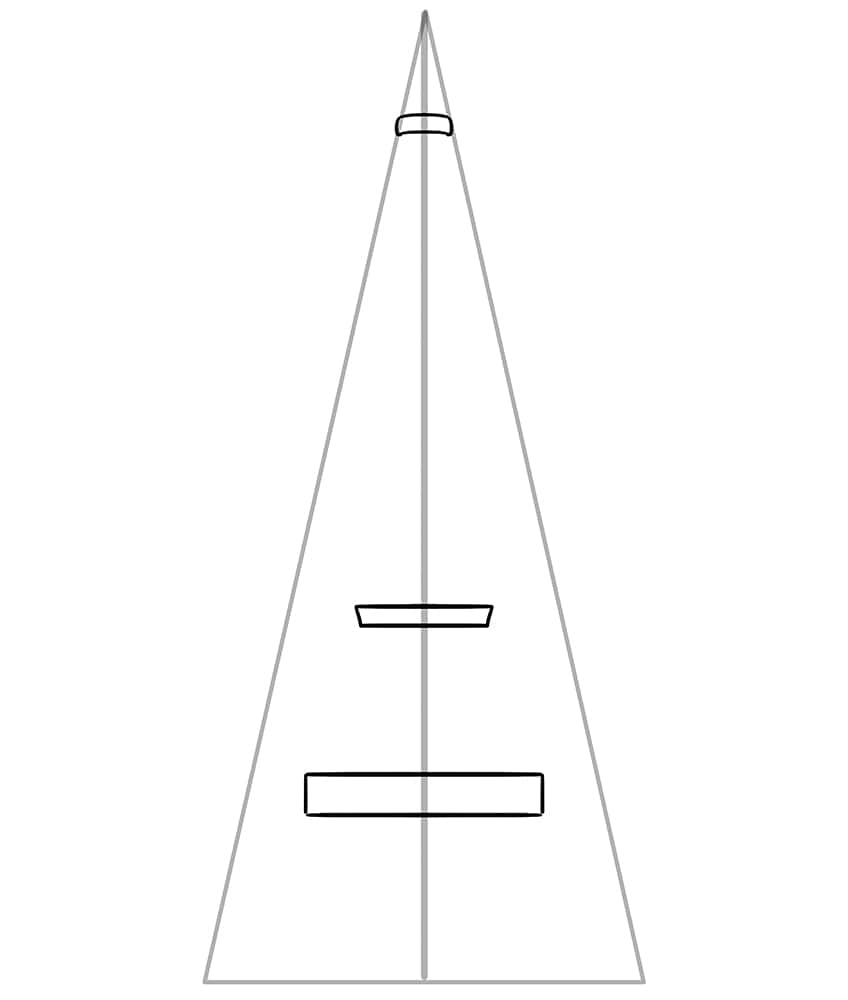
Step 4: Draw the First Platform
Draw the first platform leading from the bottom of the triangle to the lower line of the bottom lintel previously drawn. This platform will be the widest as it holds the legs of the Eiffel Tower and should have an arch between the two legs.
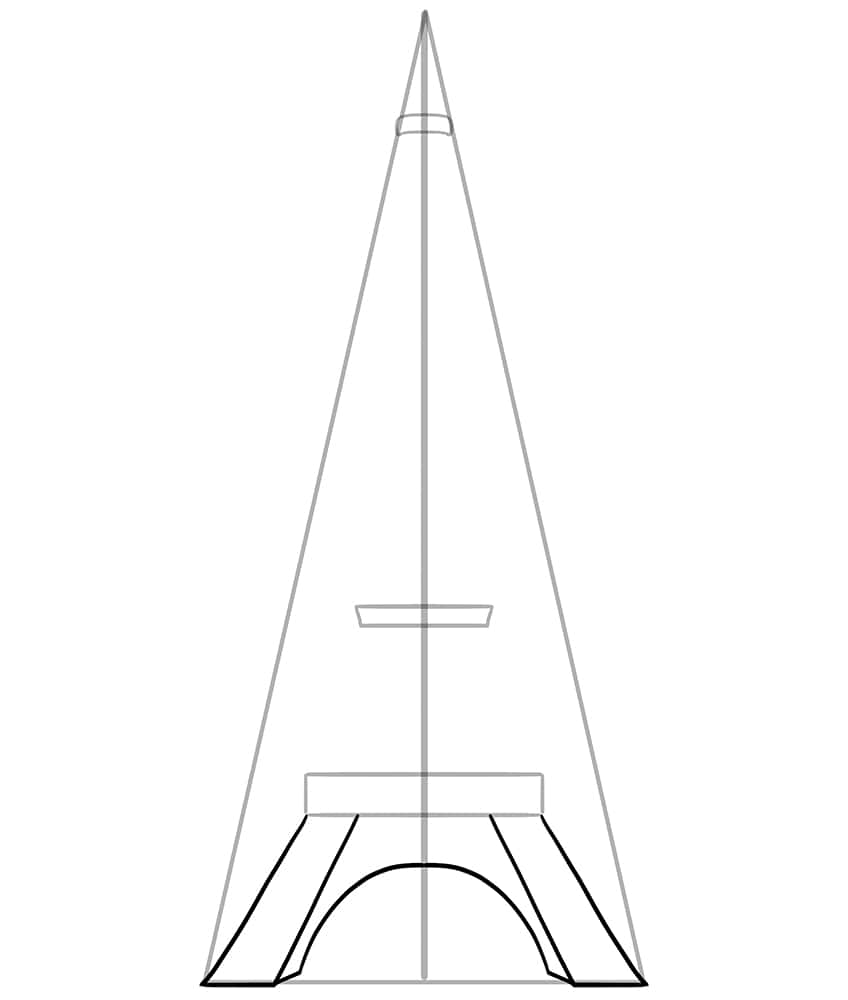
Step 5: Continue to Draw the Platform
Draw the second platform leading from the first lintel to the lower line of the middle lintel. This platform will be shorter and narrower than the first platform.
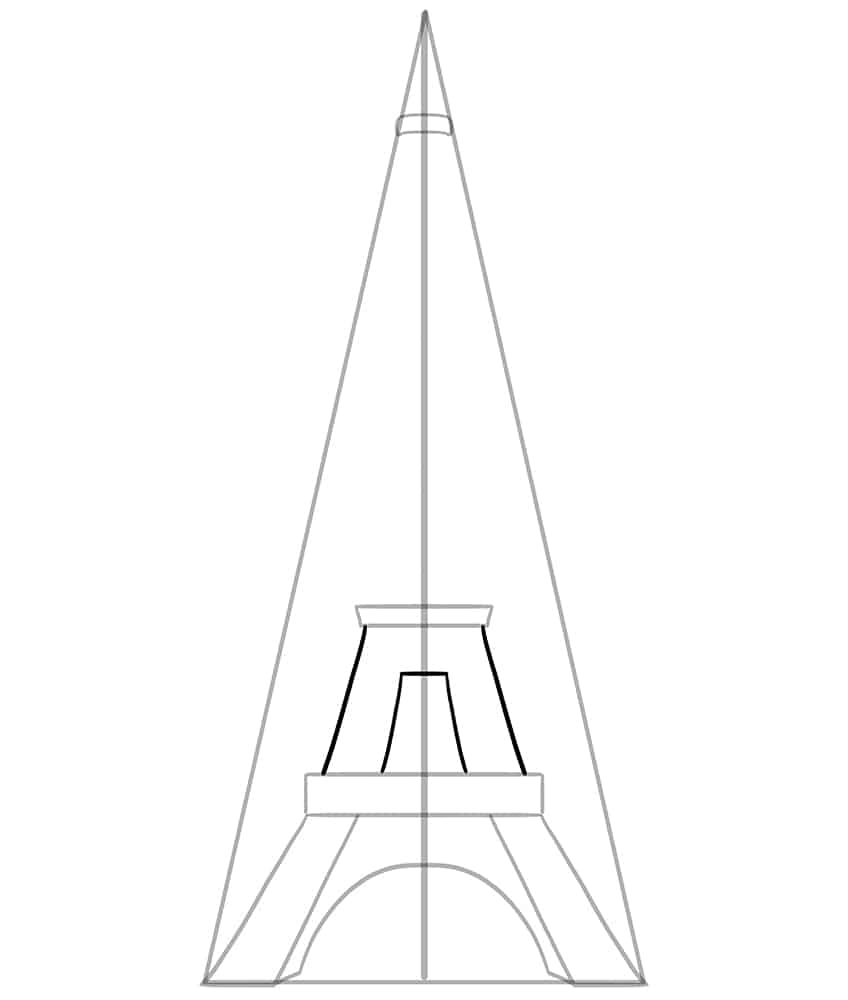
Step 6: Add the Third Platform to Your Eiffel Tower Sketch
Continue to draw the third platform leading from the second lintel to the lower line of the top lintel. This platform will be even narrower than the previous platform and have a gentle curve from the bottom to the top, leading to a narrower end.
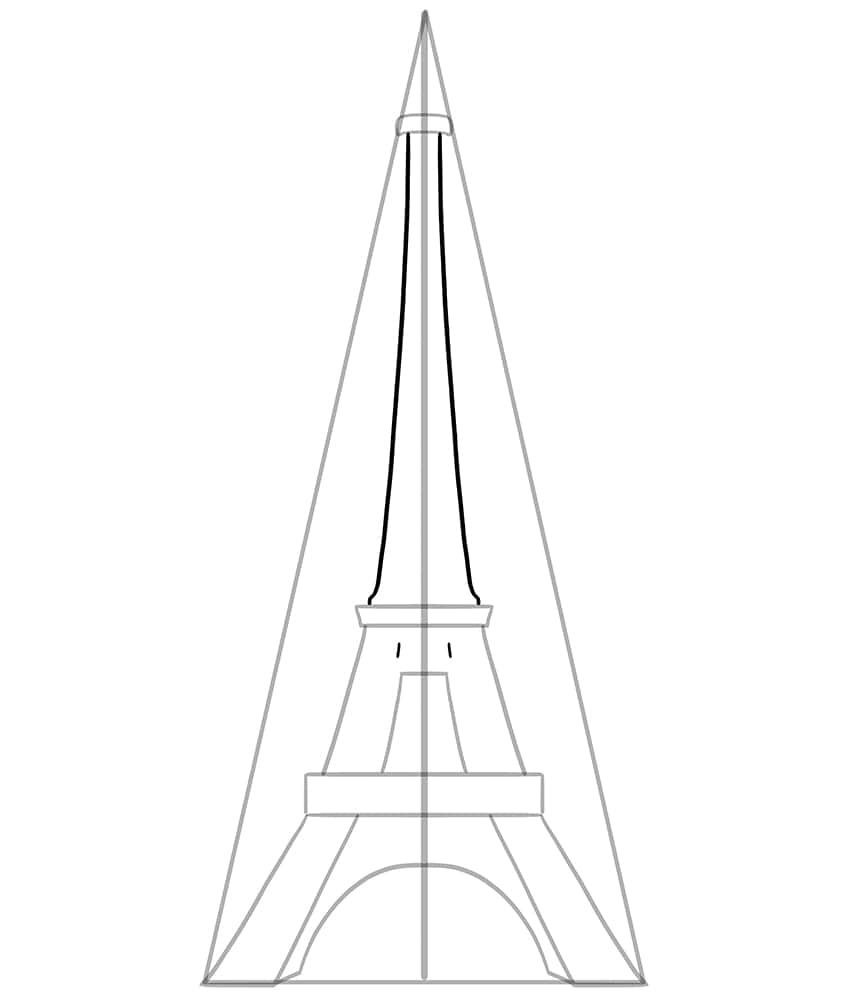
Step 7: Finalize the Platforms on Your Eiffel Tower Drawing
From the top lintel, draw the top platform of the Eiffel Tower, leading to the top center point of the triangle.

Step 8: Draw the Horizontal Beams
Draw fine horizontal lines covering the third platform and the lintels.
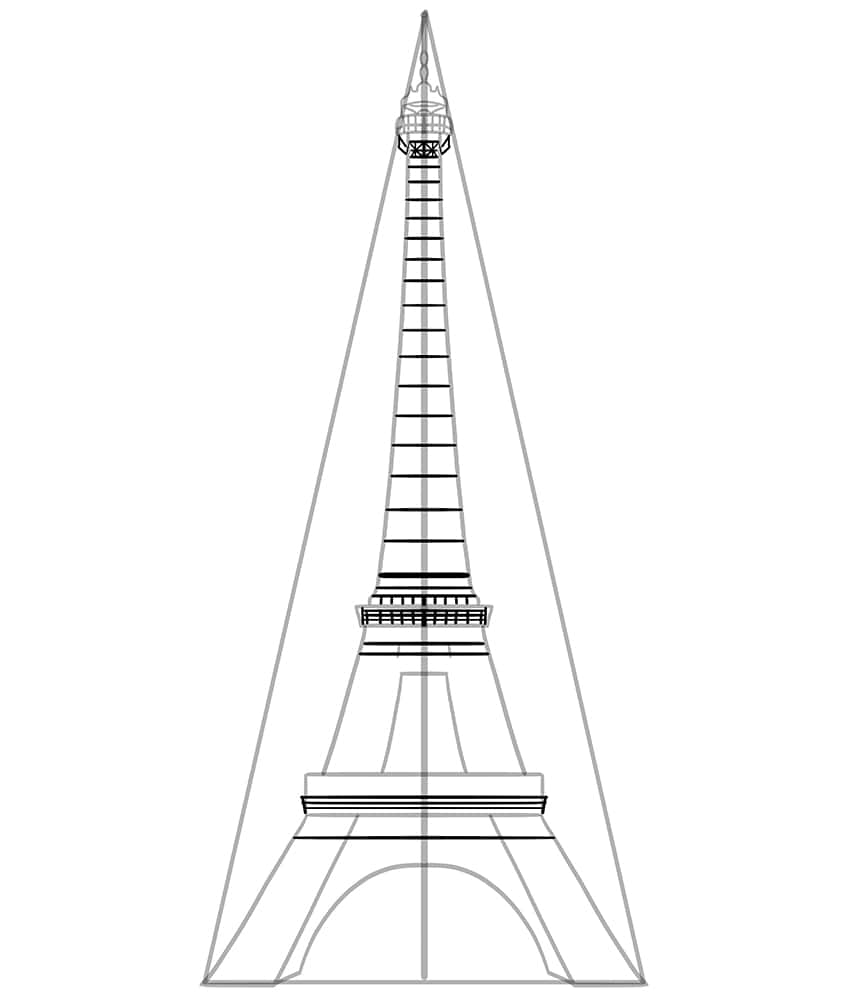
Step 9: Add the Lower Beams
Continue drawing the horizontal beams on the second and first platforms of the Eiffel Tower. Enhance the arch of the first, second, and third platforms by drawing a secondary arch line along the edges of the first arches.
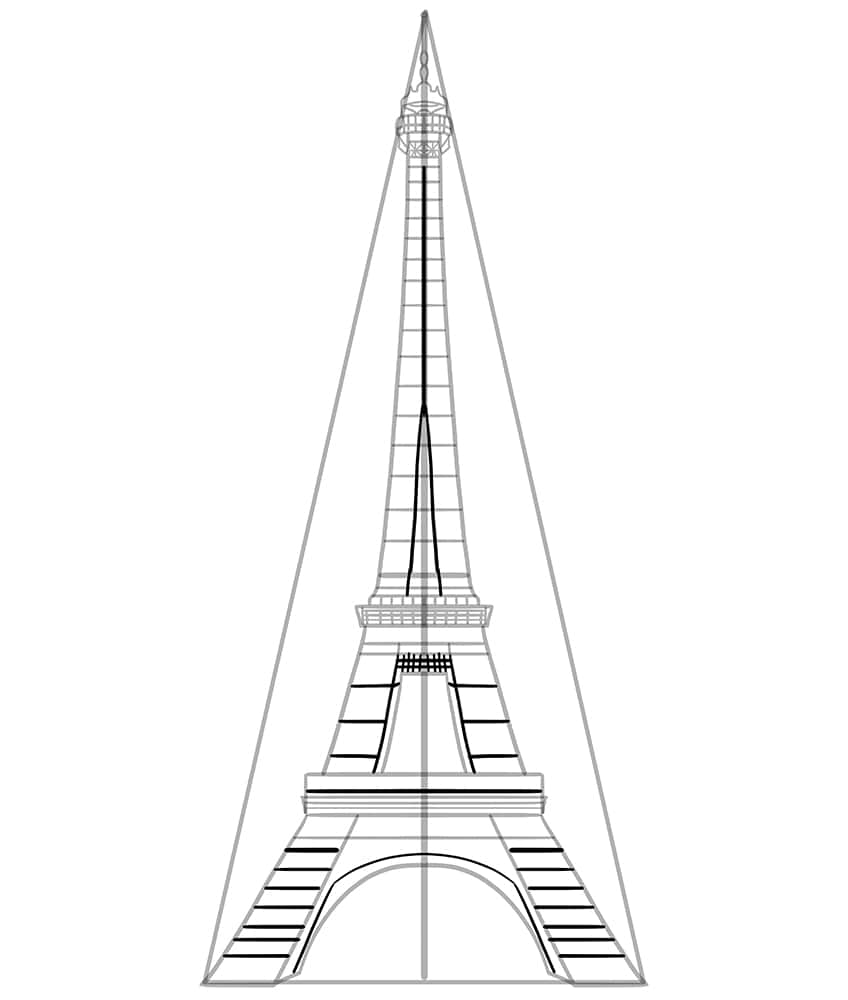
Step 10: Draw the Cross-Sections
Within each cube of the Eiffel Tower, draw the cross sections from the top to the bottom of the Eiffel Tower platforms.
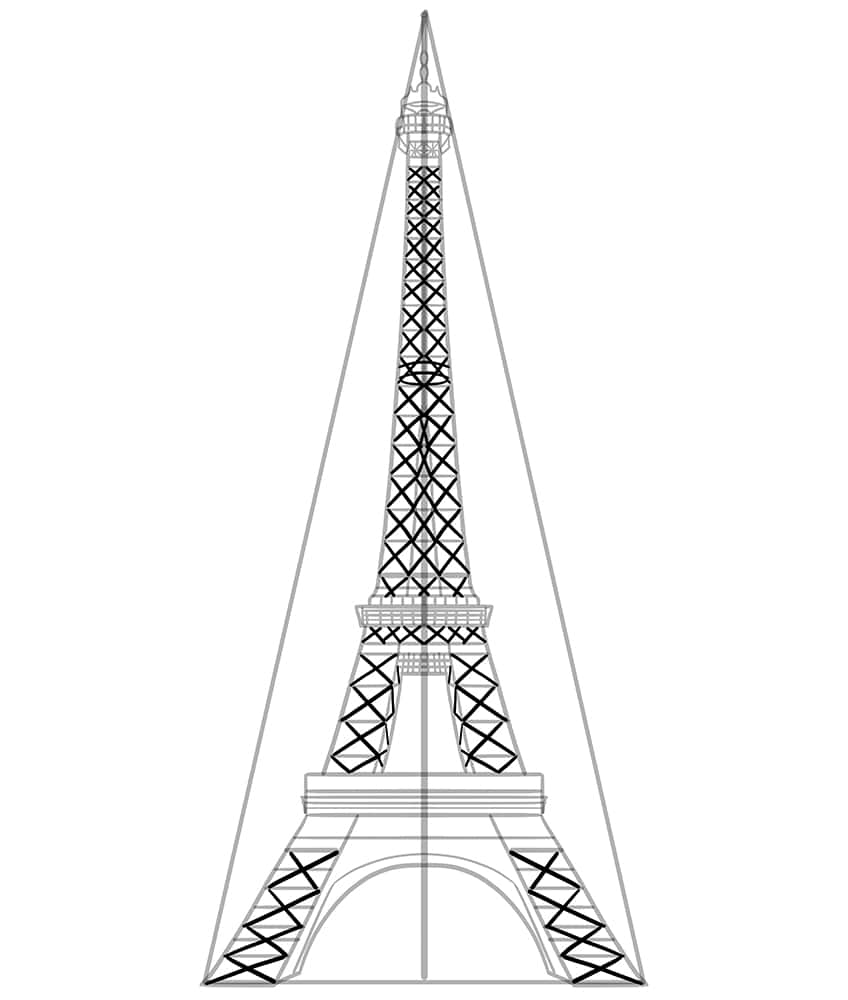
Step 11: Draw the Lintel Cross-Sections
Within the main and first lintel, draw the small cross sections followed by vertical structure lines. Draw the centerlines leading from the second lintel to the bottom of each of the Eiffel Tower legs.
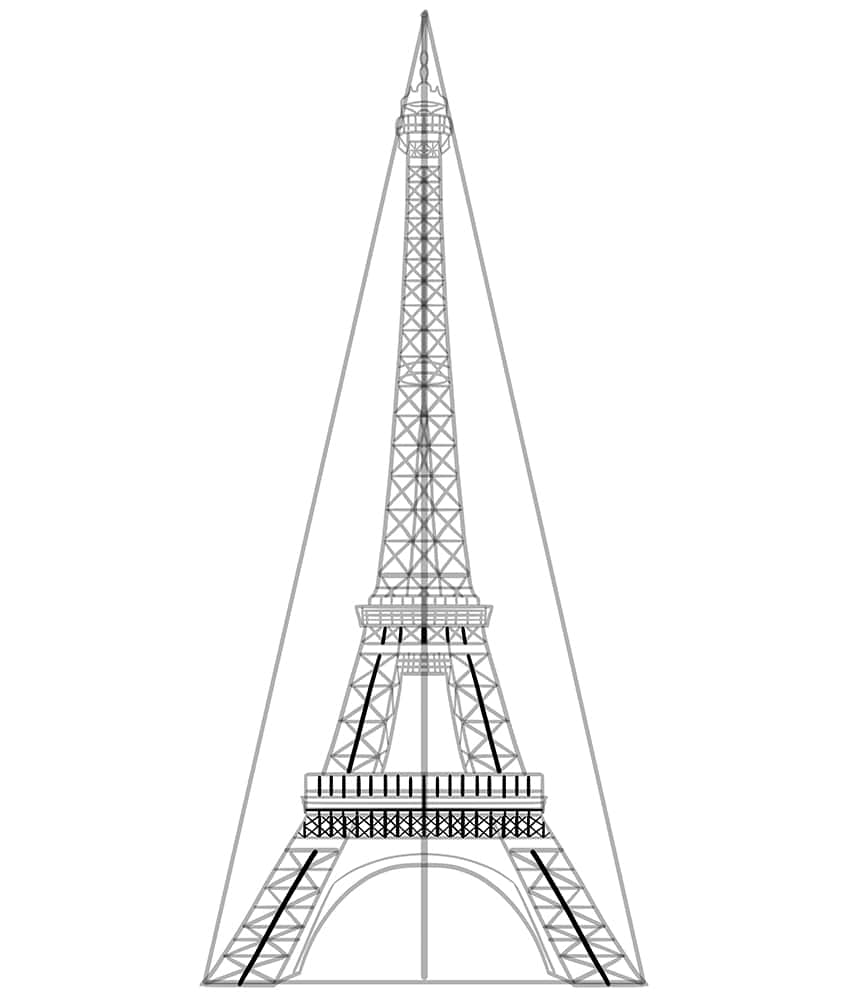
Step 12: Finish the Arch Cross-Sections
Within the main arch of the Eiffel Tower, draw the top vertical structure lines on the side walls, and within the arch draw the small individual cross sections leading with the curve.
Repeat this step on the center line below the second lintel.
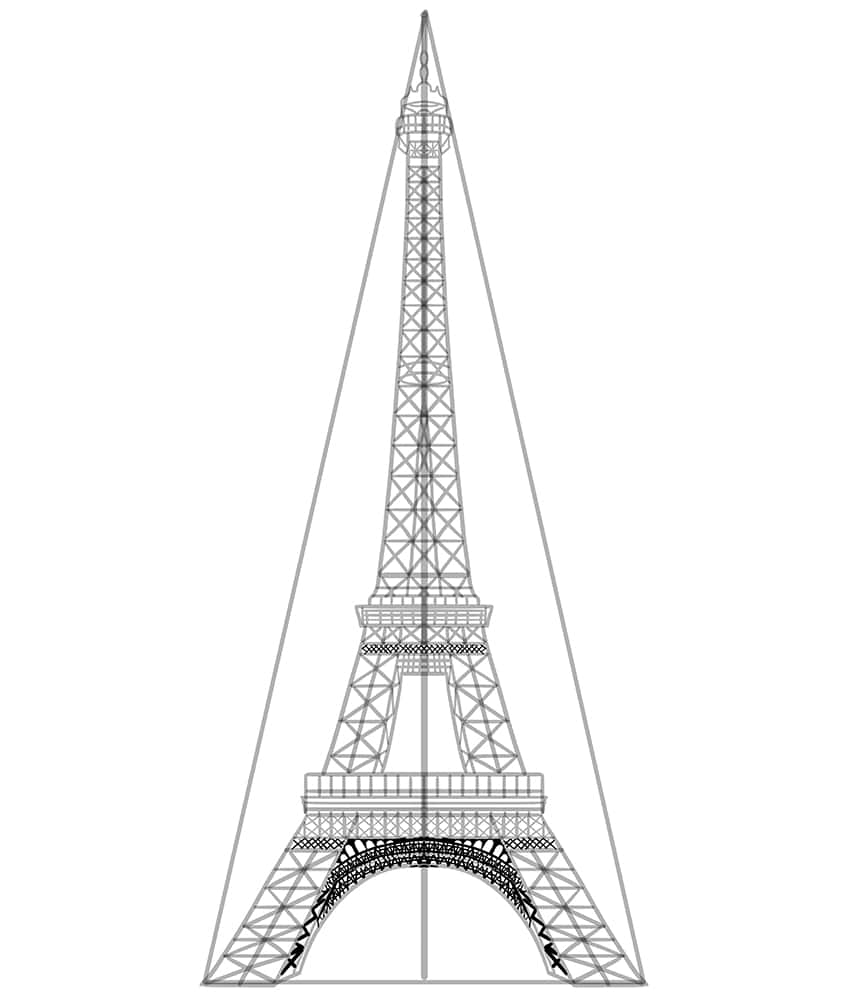
Step 13: Finalize Your Easy Eiffel Tower Drawing
To complete our drawing tutorial on how to draw the Eiffel Tower, simply erase the construction lines that are still visible. You may also enhance the structure of the Eiffel Tower by tracing the outline to enhance its details.
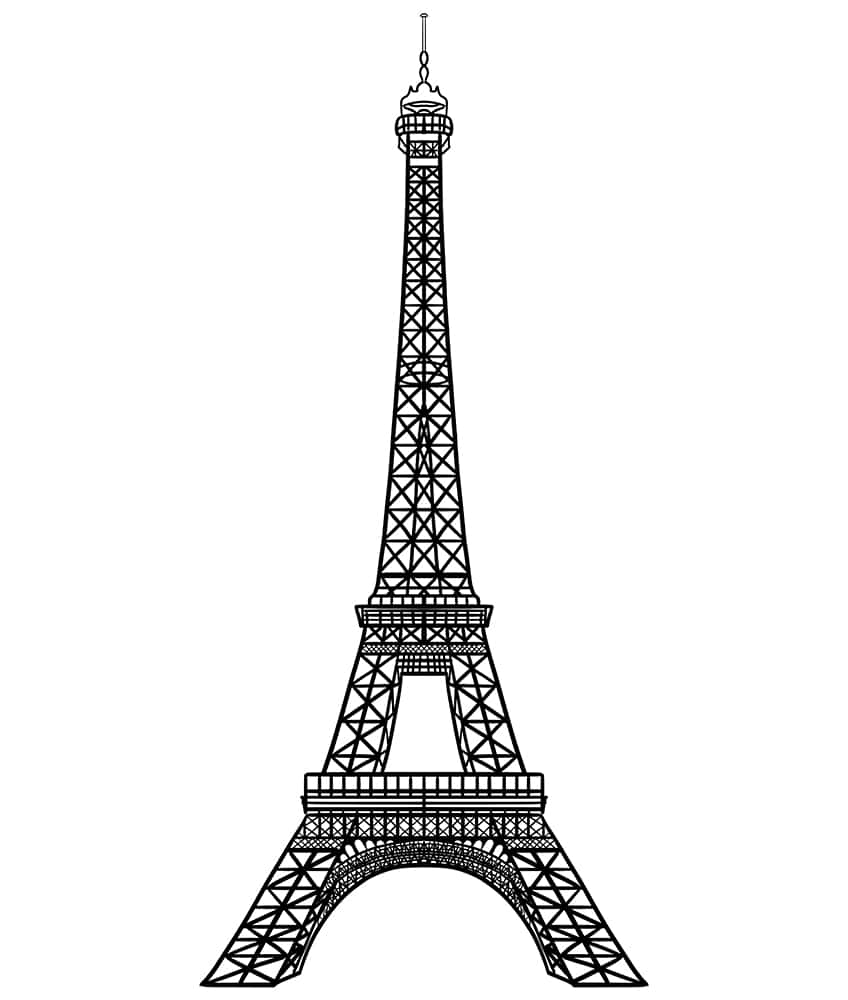
Congratulations on your magnificent achievement! You’ve successfully navigated the artistic journey and transformed a blank canvas into a breathtaking rendition of the Eiffel Tower. Your dedication, patience, and creative spirit have converged to create a stunning masterpiece that captures the essence of this iconic landmark. As you stand back and admire your creation, remember that every stroke of your pencil was a step toward honing your skills and bringing your vision to life. This Eiffel Tower drawing is not just an image; it’s a testament to your growth as an artist. Cherish this moment, and let it inspire you to continue exploring new artistic horizons. The world is your canvas, and you have shown that your imagination knows no bounds!
Frequently Asked Questions
What Shading Techniques Work Best to Give the Eiffel Tower a Sense of Depth and Dimension?
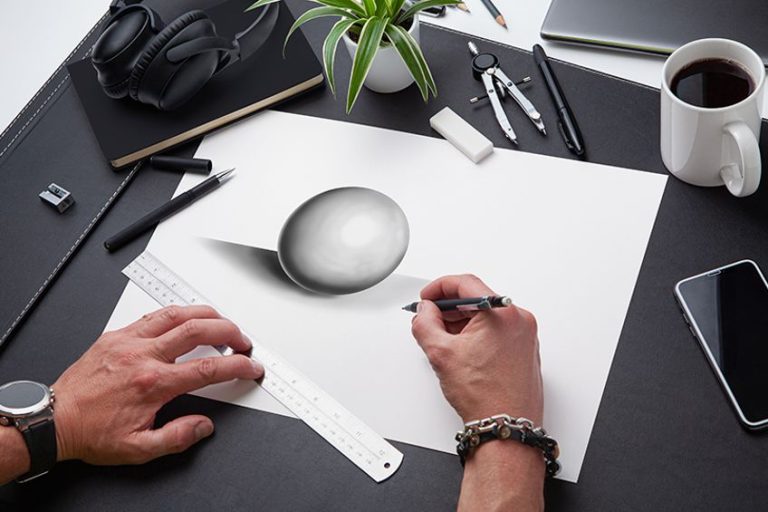
Shading is a powerful tool to breathe life into your easy Eiffel Tower drawing and create a sense of depth. Begin by identifying the primary light source, usually coming from the top and slightly to one side. The areas directly facing the light will be the brightest, gradually transitioning to darker shades as you move away. Pay attention to the tower’s structure and the various levels; shading can accentuate the different platforms and architectural elements. Soft blending with your pencil or a blending tool can help smooth transitions between light and shadow. Don’t hesitate to experiment and layer different shades to achieve a three-dimensional effect that adds realism and depth to your Eiffel Tower drawing.
What Are Some Tips for Achieving the Symmetrical Shape of the Eiffel Tower?
Achieving the symmetrical shape of the Eiffel Tower is a crucial aspect of capturing its iconic silhouette. To ensure precision, begin by drawing a vertical centerline down the middle of your canvas. This line will serve as a reference point to maintain symmetry in your drawing. As you outline each section of the tower, pay close attention to the corresponding elements on either side of the centerline. Take measurements and compare distances to maintain uniformity. Regularly step back and assess your progress to identify any imbalances and correct them promptly. Remember, symmetry enhances the tower’s elegance, so take your time and make subtle adjustments as needed to achieve a harmonious representation.
Matthew Matthysen is an educated multidisciplinary artist and illustrator. He successfully completed his art degree at the University of Witwatersrand in South Africa, majoring in art history and contemporary drawing. The focus of his thesis was to explore the philosophical implications of the macro and micro-universe on the human experience. Matthew uses diverse media, such as written and hands-on components, to explore various approaches that are on the border between philosophy and science.
Matthew organized various exhibitions before and during his years as a student and is still passionate about doing so today. He currently works as a freelance artist and writer in various fields. He also has a permanent position at a renowned online gallery (ArtGazette) where he produces various works on commission. As a freelance artist, he creates several series and successfully sells them to galleries and collectors. He loves to use his work and skills in various fields of interest.
Matthew has been creating drawing and painting tutorials since the relaunch in 2020. Through his involvement with artincontext.org, he has been able to deepen his knowledge of various painting mediums. For example, watercolor techniques, calligraphy and lately digital drawing, which is becoming more and more popular.
Learn more about Matthew Matthysen and the Art in Context Team.


