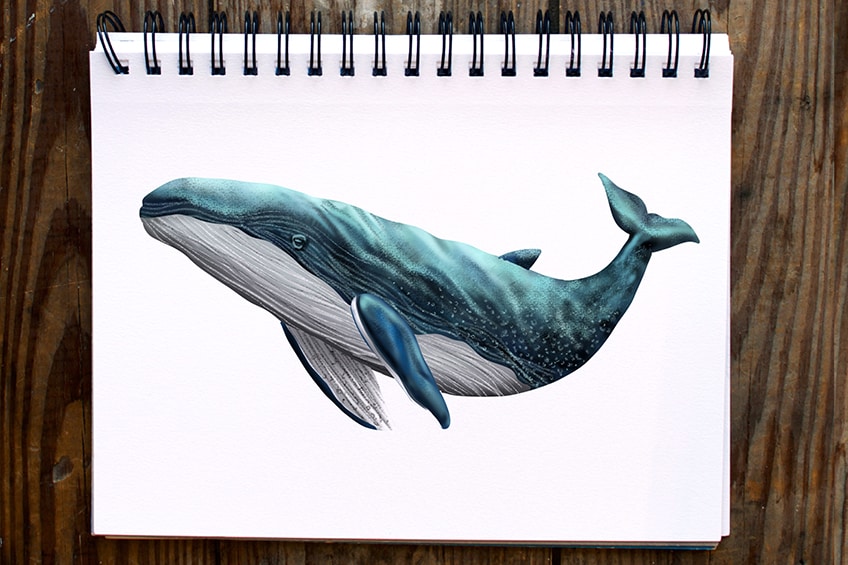
How to Draw a Whale – Create a Magnificent Whale Drawing
Whales are the gentle giants of the sea, and are awe-inspiring creatures that have captured our imaginations for centuries. These magnificent mammals are the largest animals on Earth, with some species weighing over 200 tons and growing up to 100 feet in length. From the majestic humpback with its haunting songs to the acrobatic and playful orcas, whales are a fascinating and diverse group of animals that continue to amaze scientists and nature lovers alike. Whether you’re watching them breach the surface or listening to their beautiful calls, there’s no denying the magic and majesty of these incredible creatures of the deep.
A Step-by-Step Guide on How to Draw a Whale
If you’ve ever wanted to learn how to draw a whale, then you’re in luck! Our step-by-step drawing tutorial will guide you through the process of creating your very own masterpiece. No prior drawing experience is necessary as our easy-to-follow instructions will have you drawing with confidence in no time! With each step, you’ll gain new skills and techniques that will help you not only draw a whale but other animals and objects too. And the best part? You’ll have fun while doing it! So grab your pencils and let’s get started on this exciting artistic journey together.
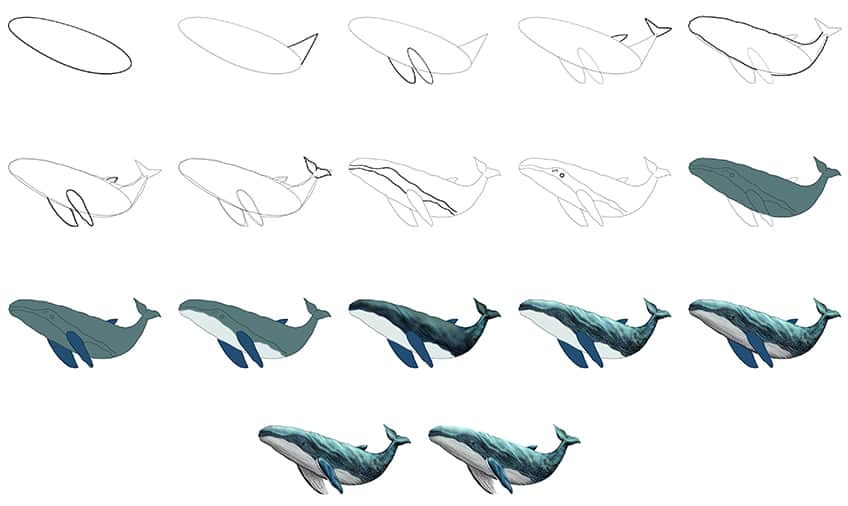
The below whale collage shows each step taken to achieve the final result!
Step 1: Draw the Main Body of Your Whale Drawing
To begin your drawing of a whale, draw a wide oval shape that is slightly tilted.

Step 2: Draw the Tail
Attached to the right end of your whale’s body, draw a sharp triangle shape to represent the tail of the whale drawing.

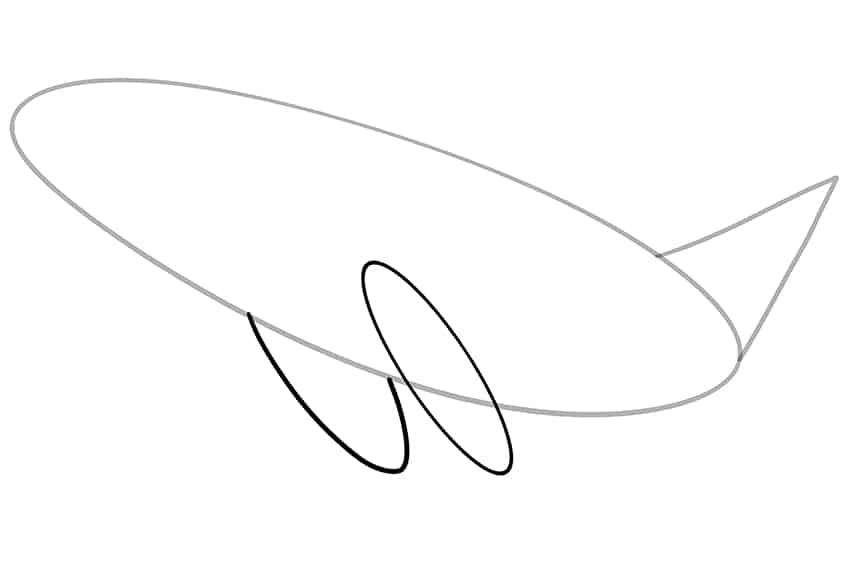
Step 3: Add the Flippers
Draw a fully visible flipper overlapping the body represented as a narrow oval shape. Draw the second partially visible flipper behind the body.
Step 4: Draw the Tail and Dorsal Fin
Above the sharp end of the tail, draw the tail fins. Complete the step by drawing the rear dorsal fin on top of the whale’s body.

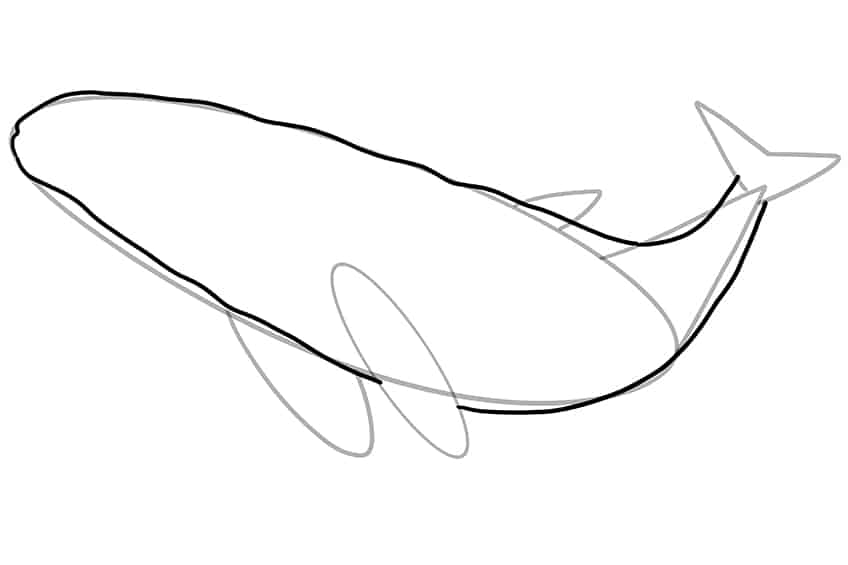
Step 5: Outline Your Drawing of a Whale
Make use of the previously drawn construction lines to aid you in outlining a more realistic body for your whale drawing.
Step 6: Outline the Flippers and Doral Fin
Use the previous construction lines drawn in step three, and outline both flippers and dorsal fin.
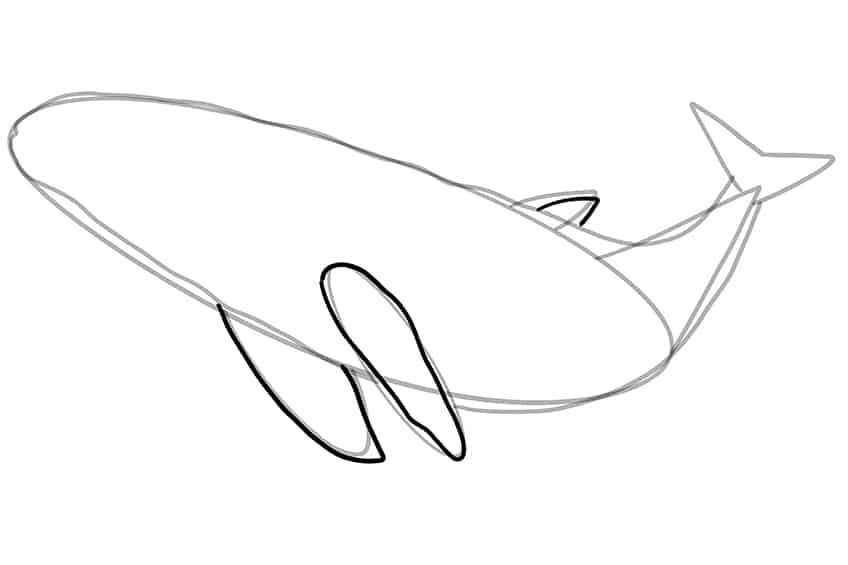
Step 7: Finish Outlining Your Whale Drawing
Begin this step by outlining a more realistic tail tip. Once completed, erase any visible construction lines.
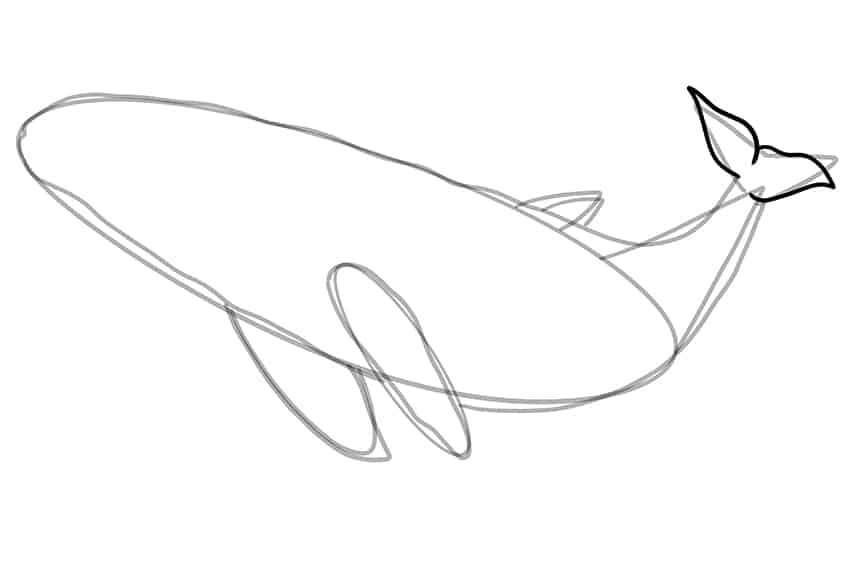
Step 8: Draw Separation Lines
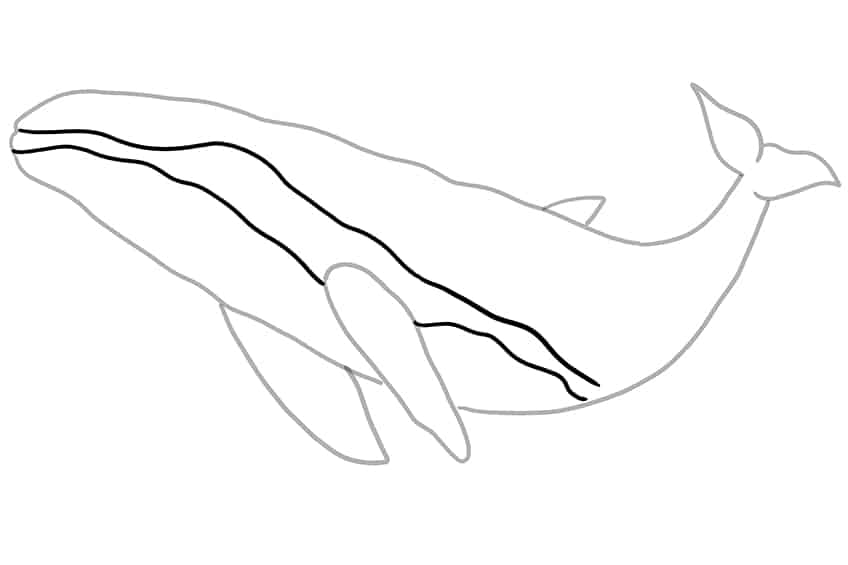
Draw two separation lines leading from the top towards the bottom parts of the whale.
Note! These separation lines will be used later to apply a separate color coat.
Step 9: Add the Eye to Your Drawing of a Whale
In between the two separate lines, draw a single eye on your whale drawing.
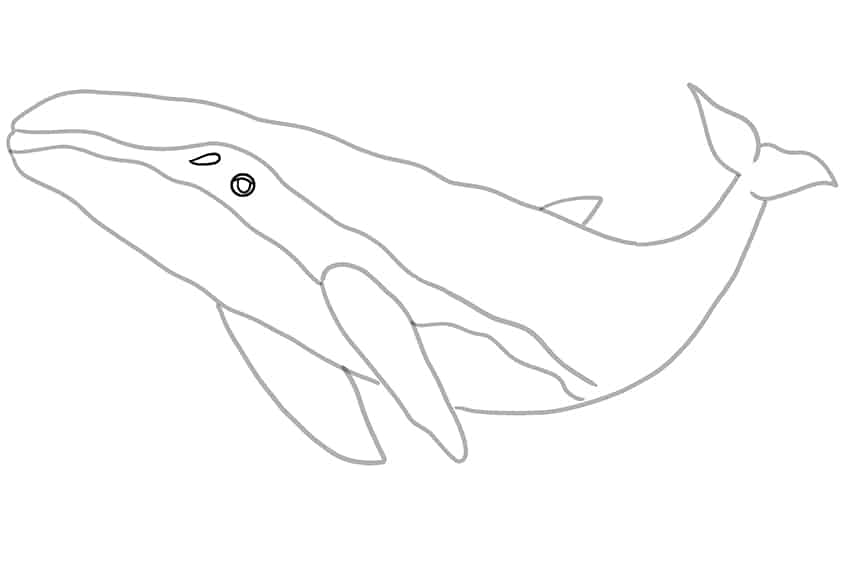
Step 10: Add the First Coat of Color
Select a fine, sharp brush and a shade of dark teal paint, and evenly coat the entire whale drawing.
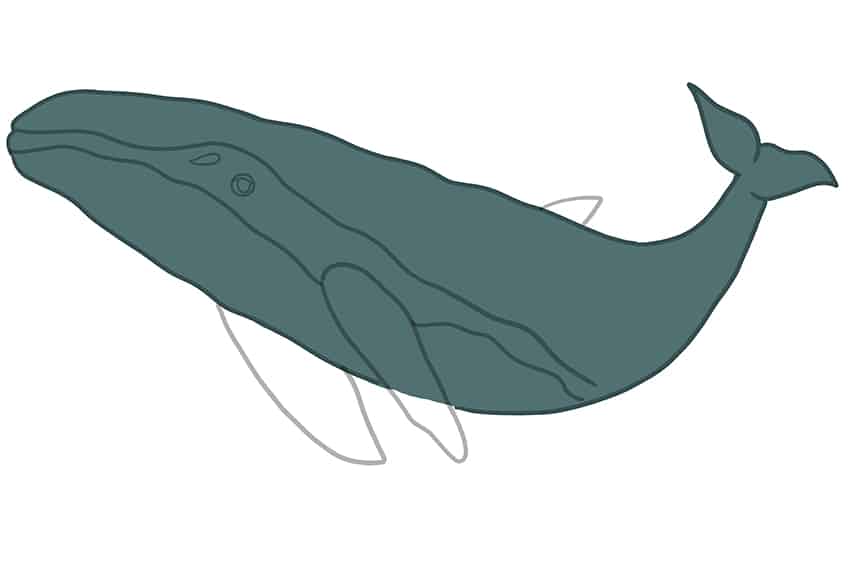
Step 11: Color the Flippers and Fins
Use the same brush as previously and switch to a shade of navy-blue paint, and evenly coat both flippers and the rear dorsal fin.
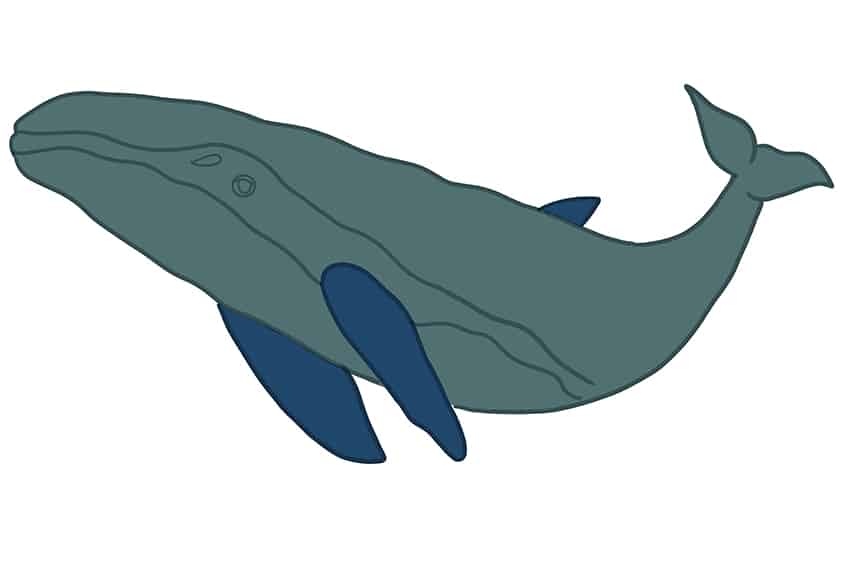
Step 12: Color the Belly on Your Whale Drawing
With a thin brush and a light shade of teal paint, begin to color the bottom half of the whale, leading onto the belly area. Complete the step by using gray paint to trace the separation line.

Step 13: Add the Third Coat of Color
Begin by using the same brush as previously and switch to black paint, and enhance the side grooves along the body of your whale drawing. Continue with a soft brush and add shading along the edges. Repeat using a teal color.
Note! The first color coat should still be visible in the top half of your whale drawing.
Finish this step using a small, rough brush and a combination of black, teal, and gray paint, and add dots and spots onto the colored areas of your whale.
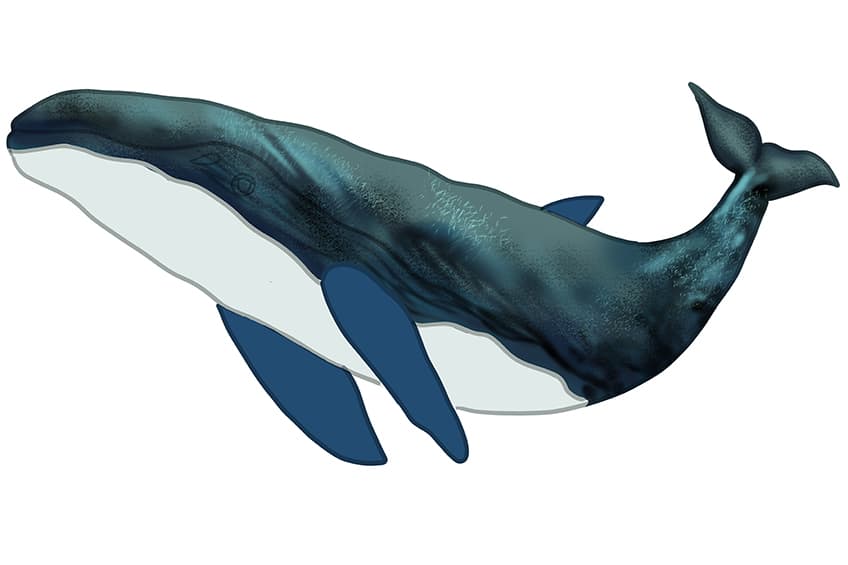
Step 14: Highlight Your Drawing of a Whale
Select a small, soft brush and bright teal paint, and apply highlights along the top area of the whale and the tail. Complete the step by tracing the side grooves and applying additional spots on the whale’s body.
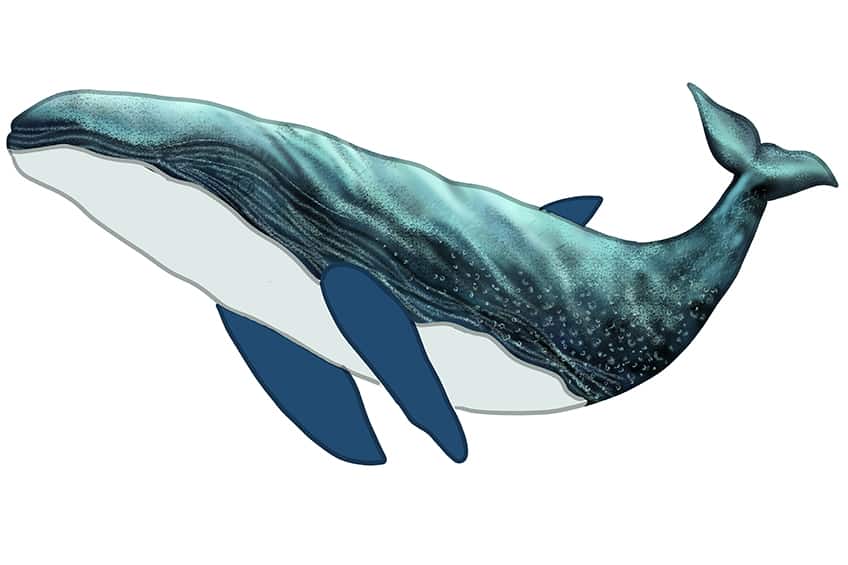
Step 15: Color the Bottom Half of Your Whale Drawing
Begin by using the same brush as previously and switch to black paint, and apply soft shading to the belly of the whale. Continue using a thin brush and white paint, and paint in the ventral grooves along the belly. Repeat using black paint. With the same brush and teal paint, trace the outlines of the eye.
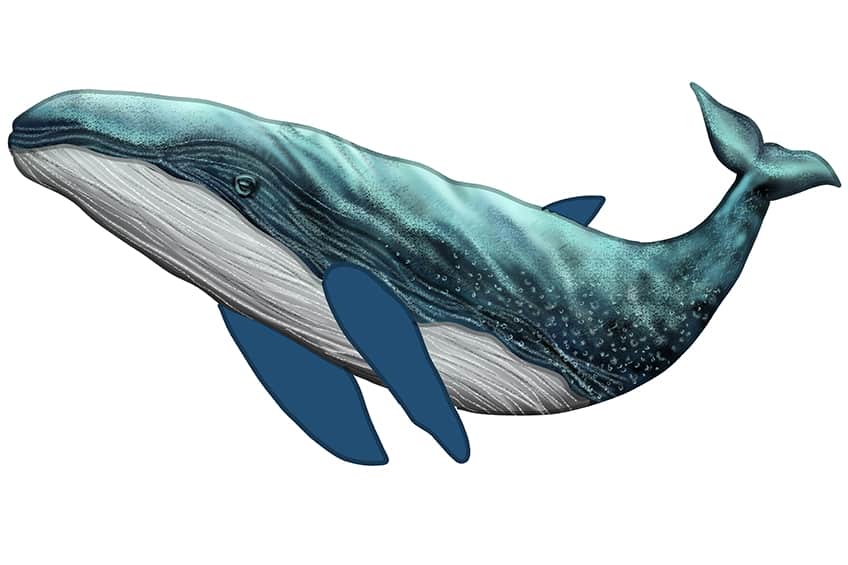
Step 16: Color Blend the Flippers
In this step, you will select a soft brush and green-teal paint to add a soft color blend to the first color coat on the flippers and dorsal fin. Continue by using black paint to apply soft shading within the flippers and fin. The first color coat should be visible within the flipper and dorsal fin. Repeat using a combination of black and blue paint to add spots and dots within the flipper and fin.
Finish the step using a thin, sharp brush to paint the inner area of the flippers white. Repeat using white and black paint to add texture lines to your whale drawing.
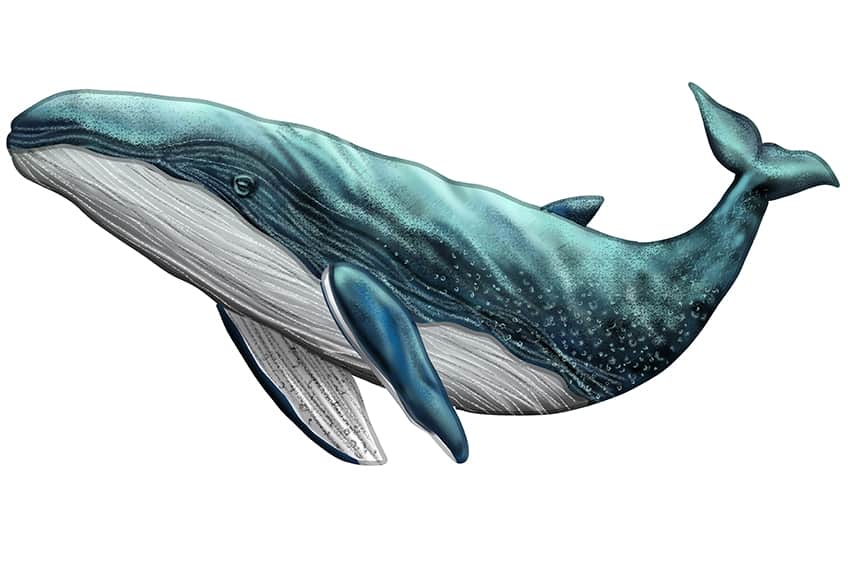
Step 17: Finalize Your Drawing of a Whale
You have reached the last step of our tutorial on how to draw a whale! To finish, begin by erasing any harsh outlines. In cases where erasing is not possible, use a thin brush along with matching colors to carefully trace over the harsh outlines and texture lines. This will help you to achieve a seamless and realistic result!
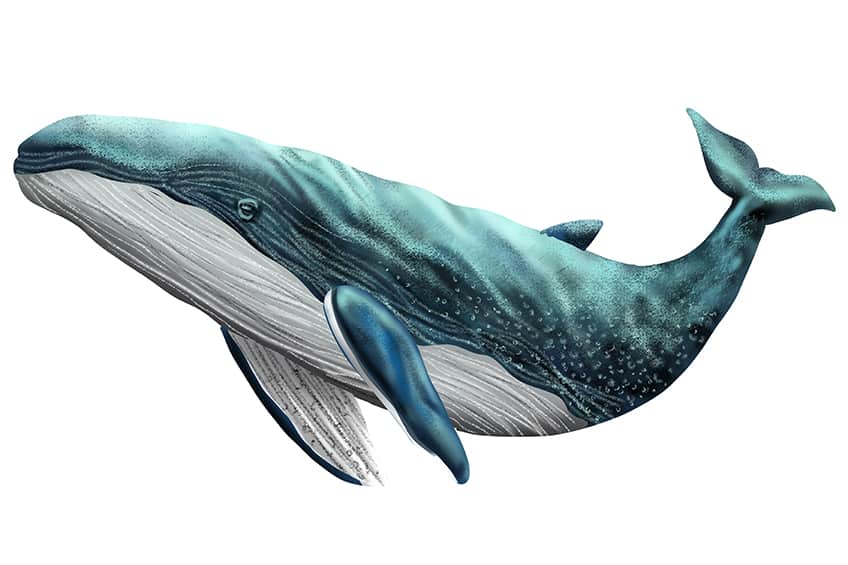
Congratulations on finishing our tutorial on how to draw a whale! You’ve managed to capture the majesty and grace of this magnificent creature, and the attention to detail is evident in every stroke of your paintbrush. Your shading and texture techniques have given your whale a sense of depth and dimension, making it look like it’s swimming right off the page! You should be proud of your accomplishment and the new skills you’ve acquired along the way. Keep up the fantastic work, and don’t hesitate to share your amazing artwork with others!
Frequently Asked Questions
What Are the Key Features to Focus on When Drawing a Whale?
When creating a drawing of a whale, it’s important to focus on its key features, such as the large body, flippers, and tail. Start by sketching the basic shape of the whale, and then add in details such as the texture of the skin. Pay attention to the proportions of the whale’s body, as well as the curves and contours that give it its unique shape.
How Do You Add Texture and Shading to the Whale’s Skin?
To create the texture and shading of the whale’s skin, start by lightly shading the entire body with a soft paintbrush. Then, use a blending tool to smooth out the shading and create a more even tone. Next, use darker shades of paint to add to the texture of the skin, such as the bumps and ridges. Finally, with a small brush, lighten the areas of the skin where the light would hit, creating highlights and shadows that give the whale a sense of depth and dimension.
Matthew Matthysen is an educated multidisciplinary artist and illustrator. He successfully completed his art degree at the University of Witwatersrand in South Africa, majoring in art history and contemporary drawing. The focus of his thesis was to explore the philosophical implications of the macro and micro-universe on the human experience. Matthew uses diverse media, such as written and hands-on components, to explore various approaches that are on the border between philosophy and science.
Matthew organized various exhibitions before and during his years as a student and is still passionate about doing so today. He currently works as a freelance artist and writer in various fields. He also has a permanent position at a renowned online gallery (ArtGazette) where he produces various works on commission. As a freelance artist, he creates several series and successfully sells them to galleries and collectors. He loves to use his work and skills in various fields of interest.
Matthew has been creating drawing and painting tutorials since the relaunch in 2020. Through his involvement with artincontext.org, he has been able to deepen his knowledge of various painting mediums. For example, watercolor techniques, calligraphy and lately digital drawing, which is becoming more and more popular.
Learn more about Matthew Matthysen and the Art in Context Team.
Cite this Article
Matthew, Matthysen, “How to Draw a Whale – Create a Magnificent Whale Drawing.” Art in Context. March 14, 2023. URL: https://artincontext.org/how-to-draw-a-whale/
Matthysen, M. (2023, 14 March). How to Draw a Whale – Create a Magnificent Whale Drawing. Art in Context. https://artincontext.org/how-to-draw-a-whale/
Matthysen, Matthew. “How to Draw a Whale – Create a Magnificent Whale Drawing.” Art in Context, March 14, 2023. https://artincontext.org/how-to-draw-a-whale/.


