How to Draw a Deer Skull – A Realistic Deer Skull Drawing Tutorial
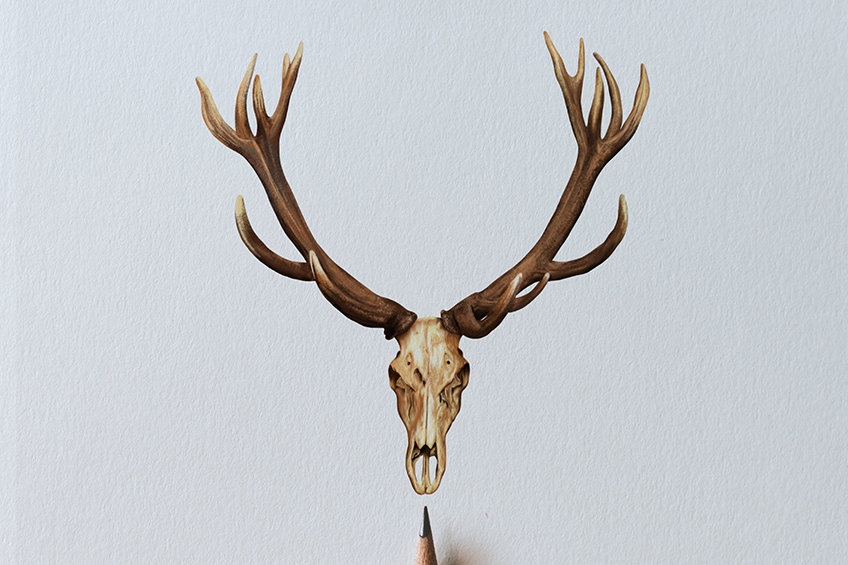
For all you gothic artists out there, we have a very special deer skull drawing tutorial. A realistic deer skull drawing is quite a complex undertaking, but we break the process down into easy steps. We begin by creating a basic outline of the skull, before constructing the antlers. Following this, we show you how to create detail and coloring in your realistic deer skull drawing. Gather your drawing supplies, and let us dive right into our deer skull sketch!
A Step-by-Step Deer Skull Sketch Tutorial
To help you create a realistic deer skull drawing, we break the process down into easy-to-follow steps. In the image below, you can see a brief outline of all of these steps. We begin by constructing the basic shape, before adding realistic detail and coloring. You can see that most of the steps are coloring steps.
This is because the color is where the detail and realism of the deer skull sketch lie.
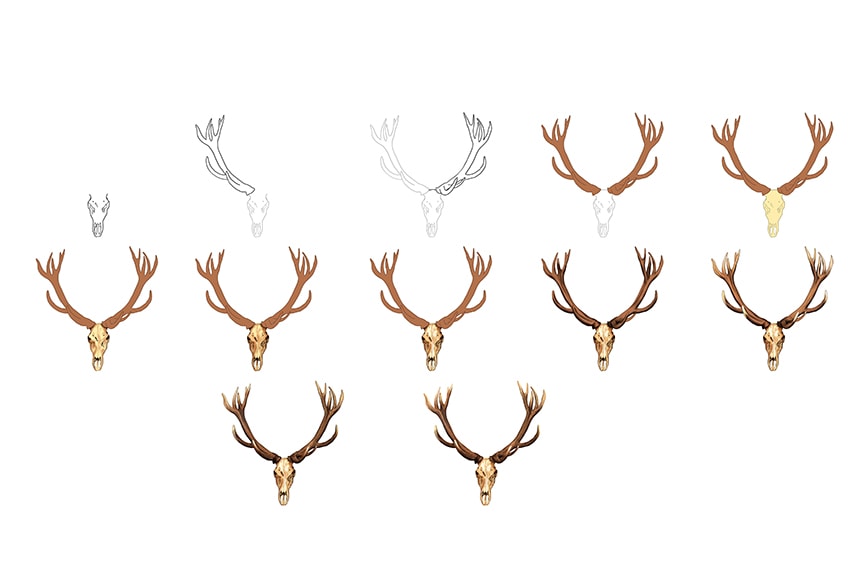
The choice of medium for this deer skull drawing tutorial is yours. The instructions are written for a physical painting medium, but they can be easily adjusted to suit digital drawing or another physical medium. We suggest that you use whatever tools you feel most comfortable with, as it will make the complexities easier to handle. If you are using a physical medium, like paint or coloring pencils, use a light pencil for the initial outline stages. If you are using a digital tablet, create the outline on a separate layer.
This will help make the last step easier where we remove the outline.
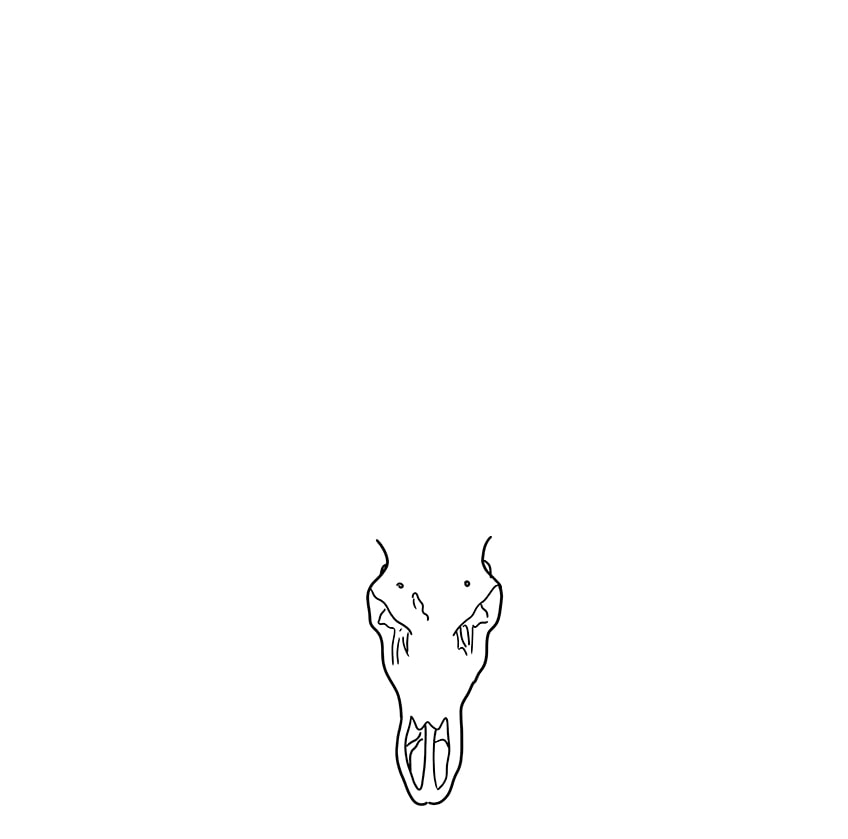
Step 1: Draw the Skull Shape
This initial step may take some time to perfect, but the results will be well worth it! Find the center of your drawing area, and begin drawing the shape of the deer skull sketch just below the center line. Remember that the antlers drawing will be a lot larger than the skull itself, so you need to leave plenty of space. For the drawn deer skull, ensure that you include the eye sockets and the nostril holes.
Try to ensure that the left and right sides of the deer skull sketch are as symmetrical as possible.
Step 2: Create the Left Antlers Drawing
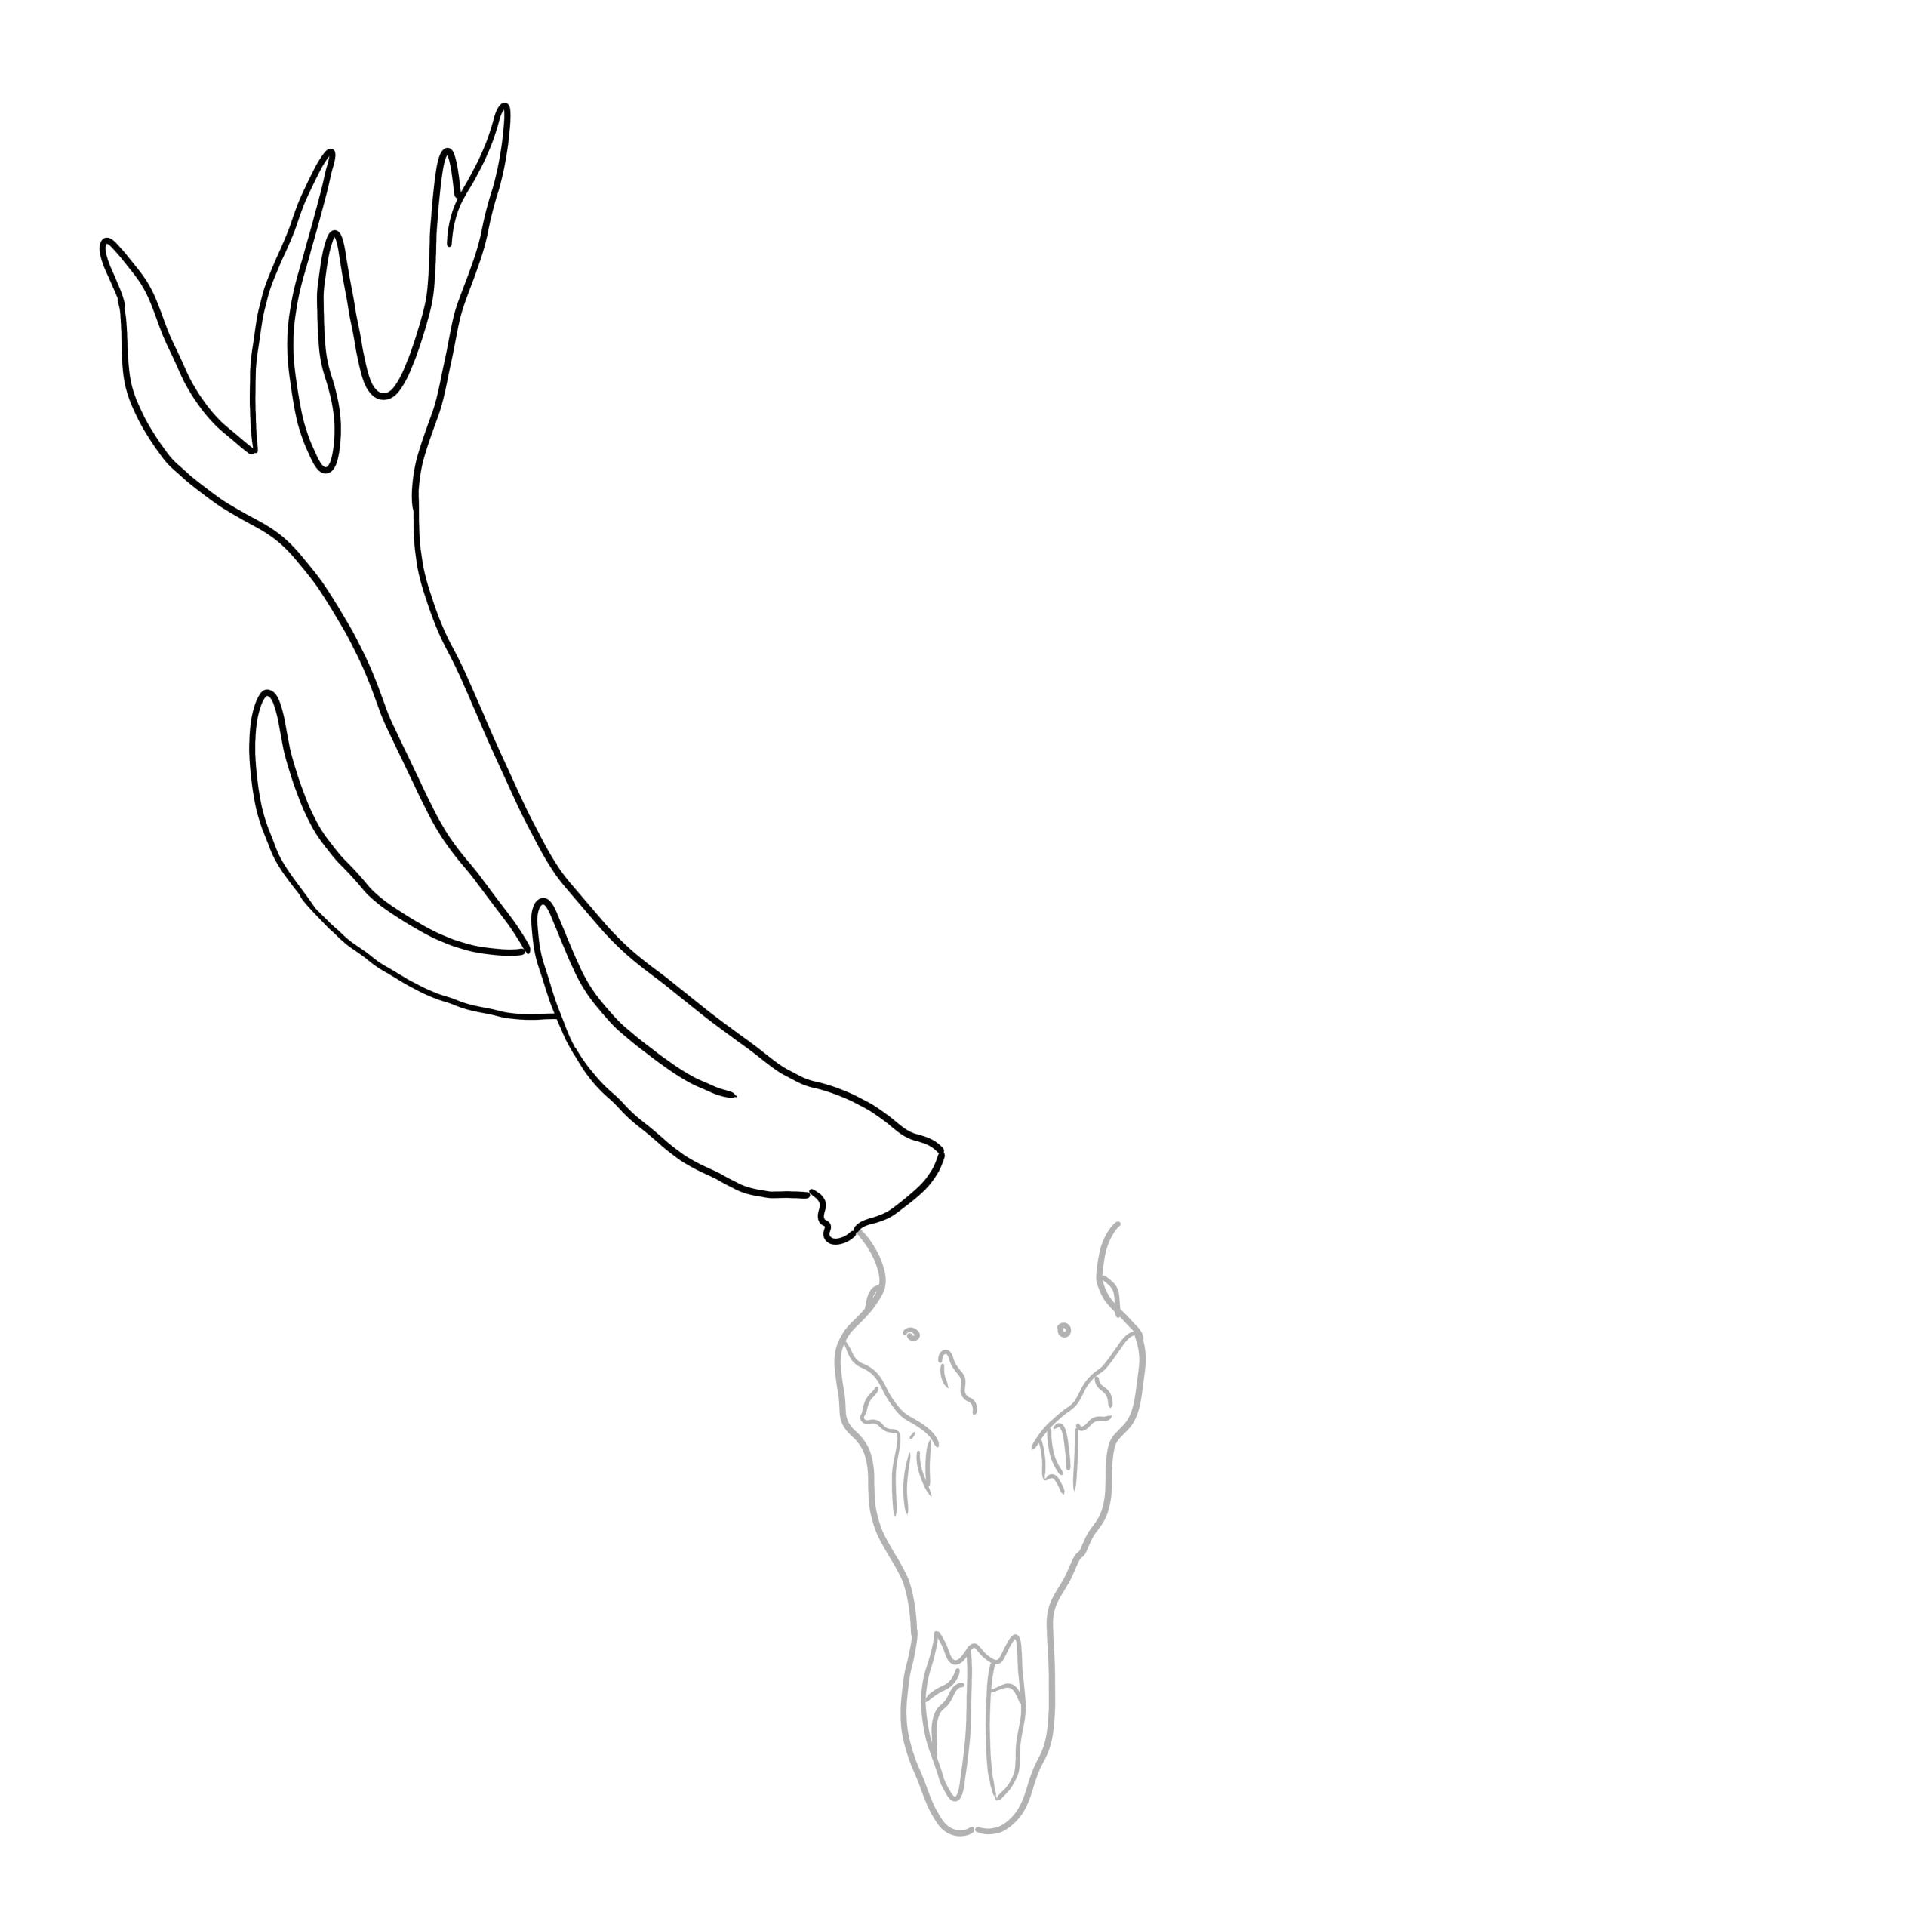
We are now going to begin the antlers drawing process. On the left side of the deer skull drawing, begin drawing the base of the antler. The bottom should be wide, and grow narrower as it extends upwards. The antlers drawing should curve upwards and outwards slightly, ending with several outflowing spikes.
You can also add two or three spikes that flow outwards from the body of the antler.
Step 3: Shape the Right Antlers Drawing
Repeat the previous step on the right side. You can adjust the number and position of the spikes on the right antlers drawing, as they are very rarely symmetrical in nature. The size and general shape of the right antler should be the same as the left.
Complete the step by drawing the top skull line connecting the two antlers.

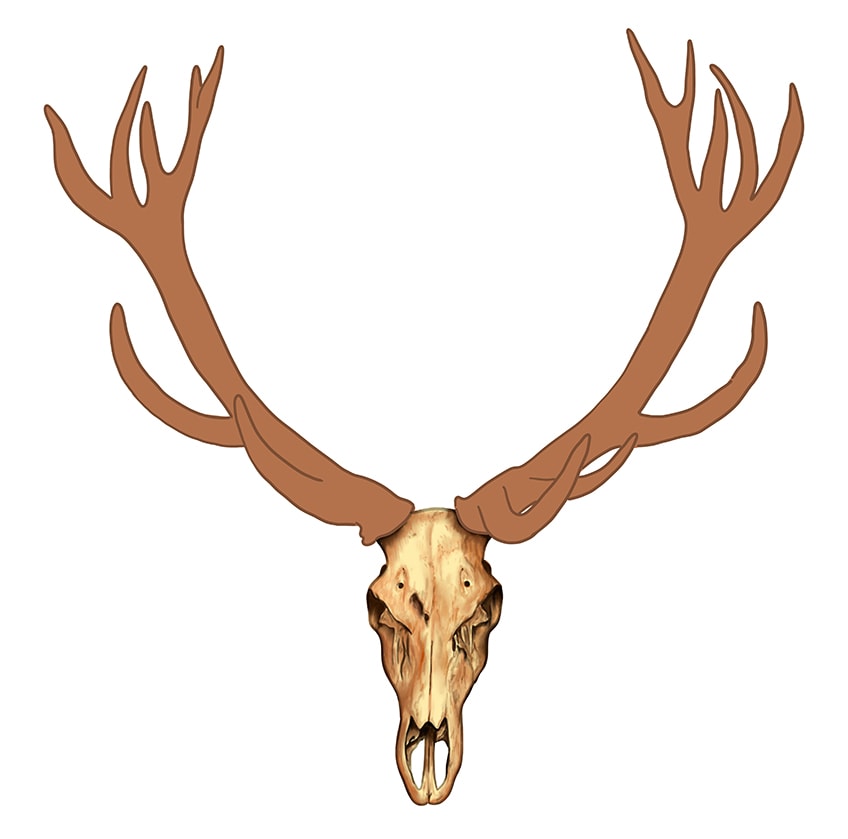
Step 4: Add Some Color to Your Antlers Drawing
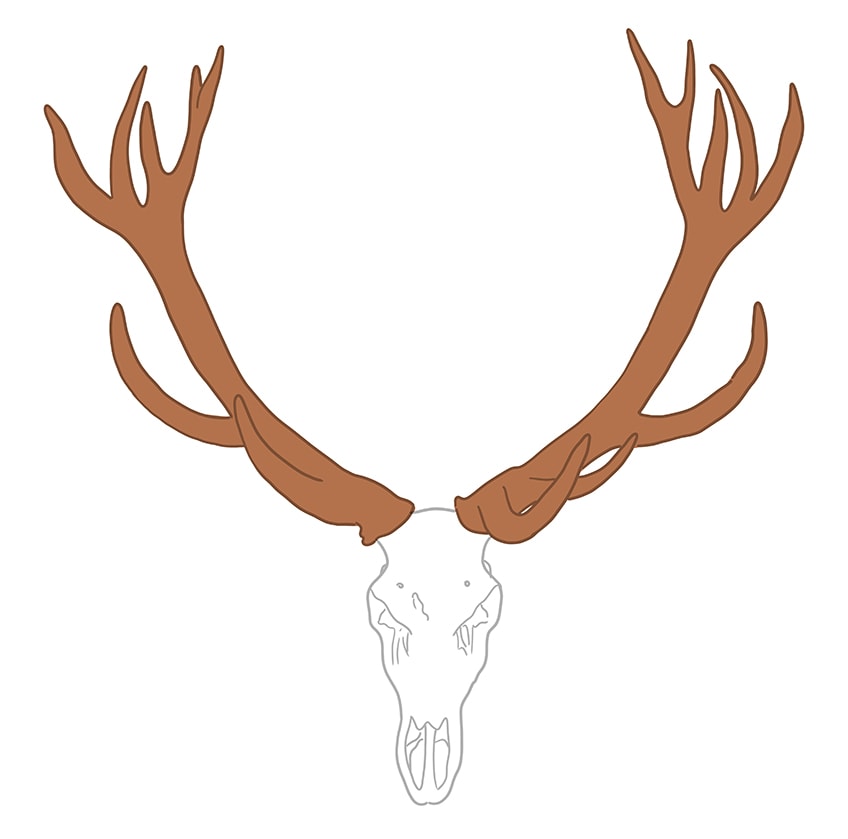
With a regular paint brush and some brown paint, you can now apply a single layer of color to both of the antlers. Ensure that your color coat is even throughout.
Step 5: Apply a Base Coat to the Drawn Deer Skull
Now that you have a base color for the antlers, you can create a base coat for the deer skull drawing. Find a light yellow or beige shade of paint, and use a regular brush to fill the deer’s skull. Remember to leave the nostril holes blank, as this will add to the three-dimensional appearance of the skull.

Step 6: Shade Your Deer Skull Drawing
We are now going to create some more realistic depth in the deer skull sketch with some shading. Find a small blending brush and use a combination of black and dark brown paint to add some shading between the edges and inner areas of the eye holes. You also want to shade the cracks on the skull and within the nostril holes. You can also add some shading around the bottom of the antlers. To complete this step, use a small blending brush and some dark brown paint to lightly contour the edges and structure of the skull.
Finally, use a small clean blending brush to create a smooth fade between the colors.
Step 7: Create Realistic Texture in Your Deer Skull Drawing
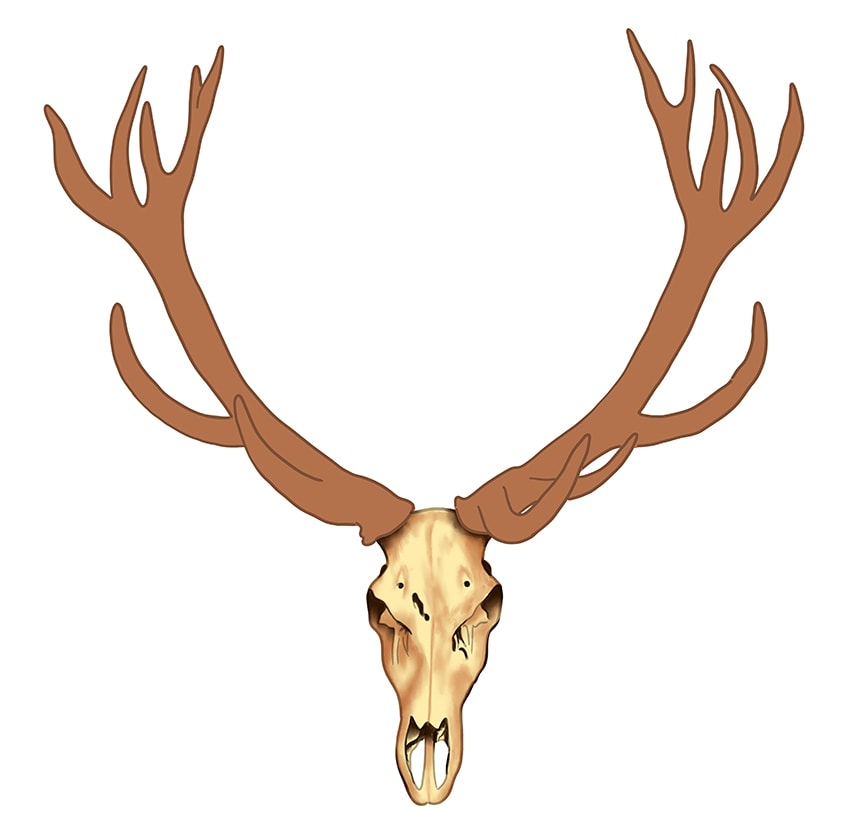
For this step, you will need a small blending brush and a bright shade of brown. Begin softly applying brush strokes along the previously shaded areas. You can then use a fine detailing brush and a mixture of bright brown and dark brown to create fine streaks along the edges and cracks of the skull. This will create a more realistic texture. You can repeat this process several times until you are happy with the texture. Finish the step by using a clean blending brush to create a smooth blend.
Tip: these streaks and brush strokes should be of several lengths but should be somewhat the same thickness.
Step 8: Highlight the Deer Skull Sketch
With a small blending brush and some white paint, apply patches of highlights to the areas of the skull where the first color coat is still visible. Think about the places where the light would naturally hit, and place your highlights here.

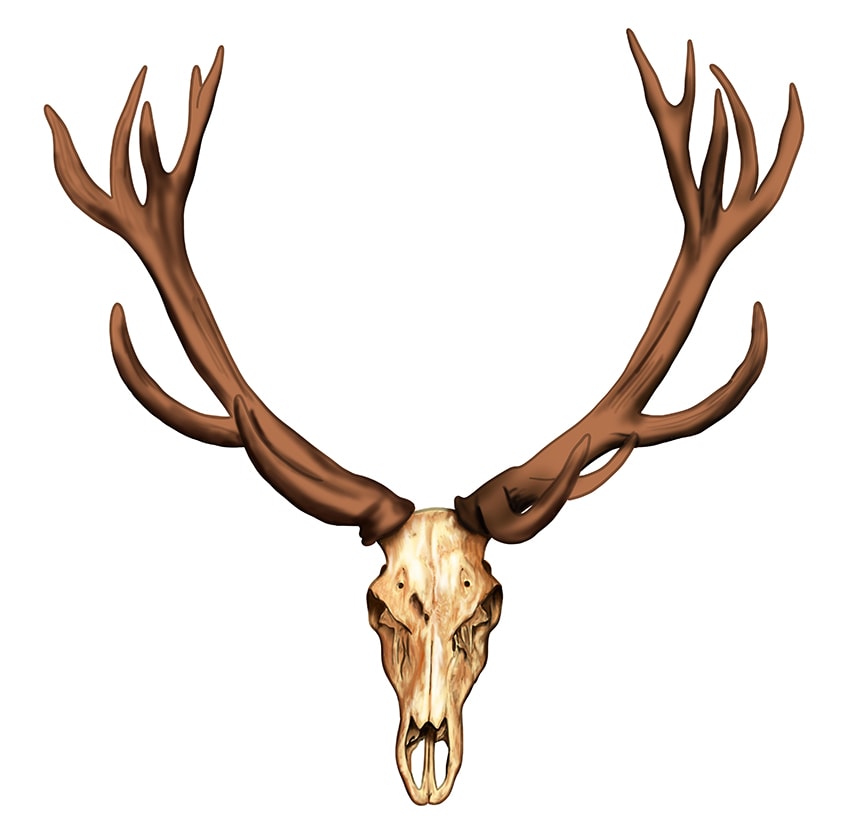
Step 9: Shade the Antlers Drawing
We are now going to move on to the antlers of your realistic deer skull drawing. Find some black paint and a clean blending brush. Use these to apply soft shading along the edges of the antlers. You want the majority of the base color coat to remain visible.
You can also create some streaks of this shading color on the body of the antlers.
Step 10: Highlight the Antler Tips
In this step, you are going to create the characteristic light tips of the deer antlers drawing. With a small blending brush and a shade of beige, apply soft highlighted tips on the end of each of the antler spikes. Fade this highlight down onto the body of the antlers, creating a smooth blend. You can then use fine brush strokes to enhance the texture of the highlights along the body of the antlers.
Repeat this process with some white paint, and then use a clean blending brush to fade the colors together smoothly.

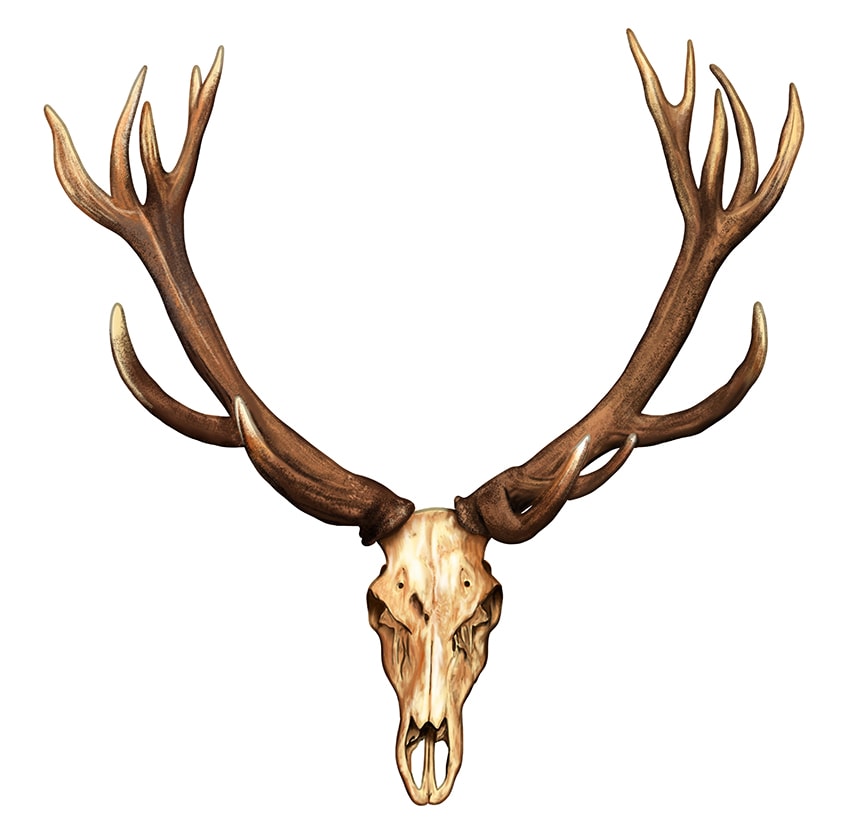
Step 11: Texture the Antlers Drawings
Before we finish our deer skull drawing, we are going to create some rough texture on the antlers. Begin with a small blending brush and some black paint, creating fine structure lines within each of the spikes. You can repeat this with white to create some more interesting texture.
Next, use a small rough brush and a mixture of brown and black to dab patches of spots along the entire length of both antlers.
Step 12: Finish Your Deer Skull Sketch
To complete our realistic drawn deer skull, we are going to remove the harsh outlines. If you are using a digital tablet, you can simply delete the outline layer. If you are working with a physical medium, use a fine brush and the corresponding color at each point of the outline to carefully trace over it.
You will now have a seamless and realistic deer skull sketch!
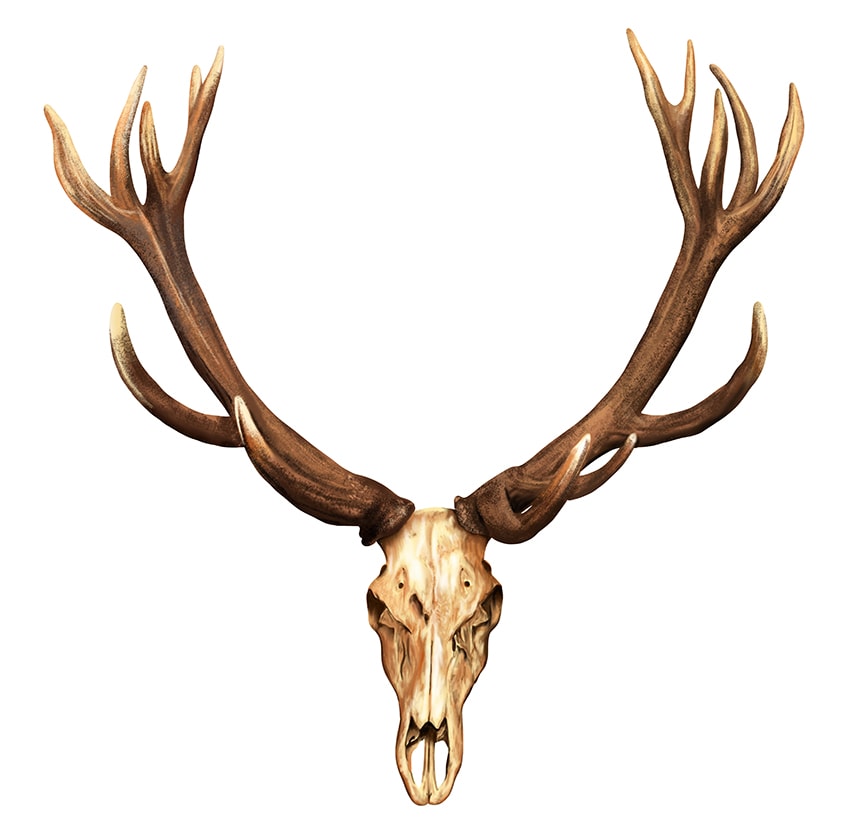
Well done for completing this intricate and realistic deer skull drawing! You now know how to draw a deer skull in only 12 easy steps, and you can use these same skills to draw other animal skulls. We hope that you have enjoyed the drawing process, and that you feel more confident in your artistic abilities!
Frequently Asked Questions
What Is the Key to a Realistic Deer Skull Drawing?
As with all of our drawing tutorials, we believe that the key to realism lies in the way that you create depth through coloring. We use shadows and highlights to create perspective and a realistic dimension to the deer skull sketch, and different coloring techniques to create realistic texture.
Is It Hard to Create a Deer Skull Drawing?
You may think that a drawn deer skull would be a difficult task, but it is actually much easier than you may imagine! In our deer skull drawing tutorial, we break the process down into simple steps that you can easily accomplish.
Matthew Matthysen is an educated multidisciplinary artist and illustrator. He successfully completed his art degree at the University of Witwatersrand in South Africa, majoring in art history and contemporary drawing. The focus of his thesis was to explore the philosophical implications of the macro and micro-universe on the human experience. Matthew uses diverse media, such as written and hands-on components, to explore various approaches that are on the border between philosophy and science.
Matthew organized various exhibitions before and during his years as a student and is still passionate about doing so today. He currently works as a freelance artist and writer in various fields. He also has a permanent position at a renowned online gallery (ArtGazette) where he produces various works on commission. As a freelance artist, he creates several series and successfully sells them to galleries and collectors. He loves to use his work and skills in various fields of interest.
Matthew has been creating drawing and painting tutorials since the relaunch in 2020. Through his involvement with artincontext.org, he has been able to deepen his knowledge of various painting mediums. For example, watercolor techniques, calligraphy and lately digital drawing, which is becoming more and more popular.
Learn more about Matthew Matthysen and the Art in Context Team.
Cite this Article
Matthew, Matthysen, “How to Draw a Deer Skull – A Realistic Deer Skull Drawing Tutorial.” Art in Context. August 29, 2022. URL: https://artincontext.org/how-to-draw-a-deer-skull/
Matthysen, M. (2022, 29 August). How to Draw a Deer Skull – A Realistic Deer Skull Drawing Tutorial. Art in Context. https://artincontext.org/how-to-draw-a-deer-skull/
Matthysen, Matthew. “How to Draw a Deer Skull – A Realistic Deer Skull Drawing Tutorial.” Art in Context, August 29, 2022. https://artincontext.org/how-to-draw-a-deer-skull/.


