How to Draw a Scorpion – Easy Steps to Create a Realistic Drawing
Drawing a scorpion is a fun task because it provides a unique challenge due to the strange composition of a scorpion. Scorpions are magnificent creatures and can be used in various genres of art, making them versatile drawing skills. Learning how to draw a scorpion also enhances your drawing skills by teaching you about both color compositions and how to create different tonal values in the scorpion drawing. Learning how to use color and shading techniques to create a simple scorpion sketch into a more realistic scorpion drawing is a great way to enhance your drawing skills and gain insight into the unique form of the scorpion.
An Easy Guide to Drawing a Scorpion
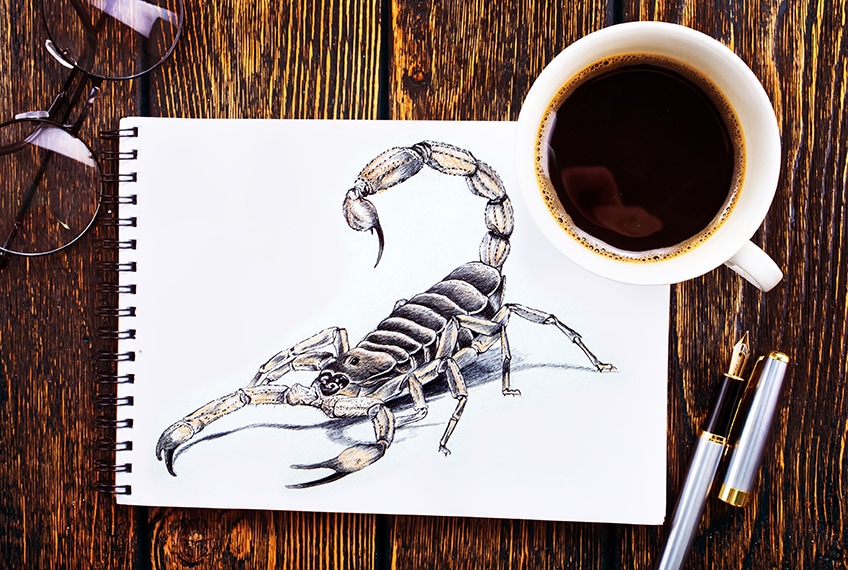
In this tutorial, we will be creating an interesting realistic scorpion drawing. We will work out how to break down the scorpion into a few simple forms, using some basic line work. There are many different scorpion species to draw, in this tutorial we will be drawing a basic desert scorpion that has a brown and yellow tonal value.
Scorpions are fascinating animals with strange and ominous looks about them.
This makes for a great drawing exercise as drawing a scorpion is a strange and challenging structure to draw. We will be creating a unique scorpion drawing using a basic set of materials, which will result in a realistic scorpion drawing.
Necessary Materials
Learning how to draw a scorpion can be done in various ways. In this tutorial, we will be creating a realistic scorpion drawing using a set of colored pencils and a pen. We will learn how to use colored pencils to establish the hue and color variation.
We will then draw over our pencil lines using a pen to create distinct features within the scorpion drawing.
We will want to make sure we have at least three brown pencils, ranging between light and dark. We will want a normal HB pencil, as well as a pen, eraser, and sharpener. All materials can be found through the links below:
- HB pencil
- Brown Derwent pencils
- Ballpoint pen
- Eraser
- Sharpener
- Good paper (200 g/m – 250 g/m recommended)
Step-by-Step Instructions on How to Draw a Scorpion
In this tutorial, we will begin by establishing the scorpion shape and form by making a basic scorpion sketch using an HB pencil. Once we have captured the shape of the scorpion through a basic scorpion sketch, we will work with colored pencils to create different color values within the scorpion.
Since we are drawing a desert scorpion, we will be creating different hues and values of brown, giving the scorpion a more desert look.
We will then work with a ballpoint pen to capture finer details as well as to capture the exoskeletal structure of the scorpion. We will spend some time on the pen drawing aspect, working through the whole skeletal structure of the scorpion until we are satisfied. Lastly, we will give the scorpion drawing a shadow to suggest its three-dimensional quality. Now that we know what to expect, let us go through this tutorial on how to draw a scorpion.
Step 1: Shaping the Scorpion
To create a realistic scorpion drawing, we want to begin with shaping the scorpion first. Using our HB pencils, we want to sketch out the general form of the scorpion with some light line-work.
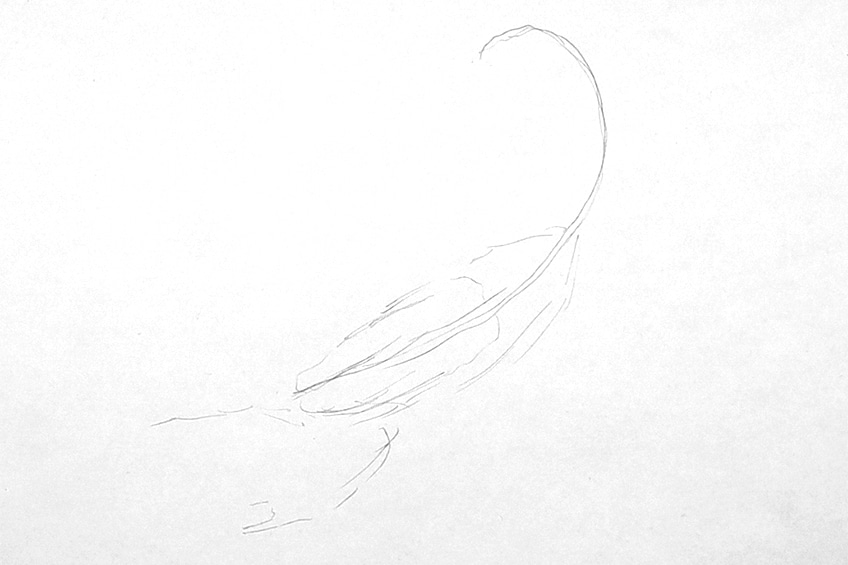
We want to do this simultaneously while drawing the mesosoma of the scorpion.
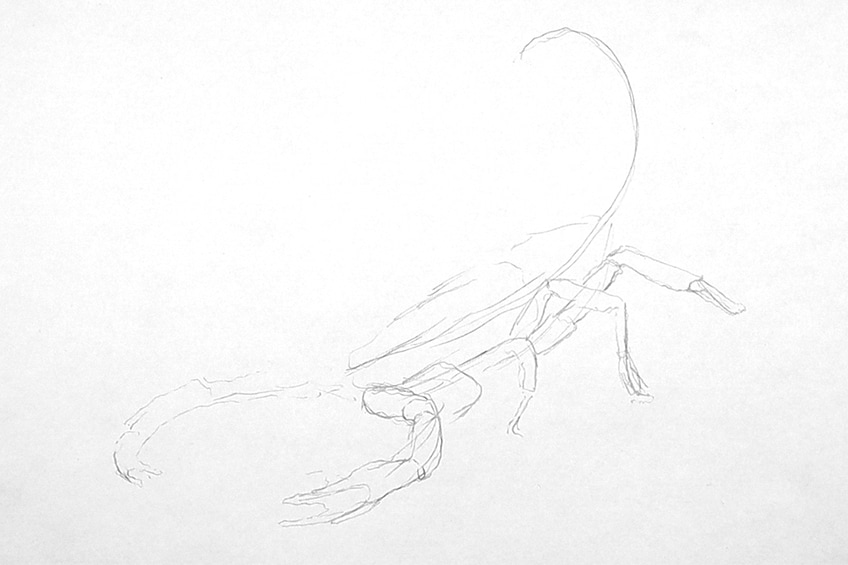
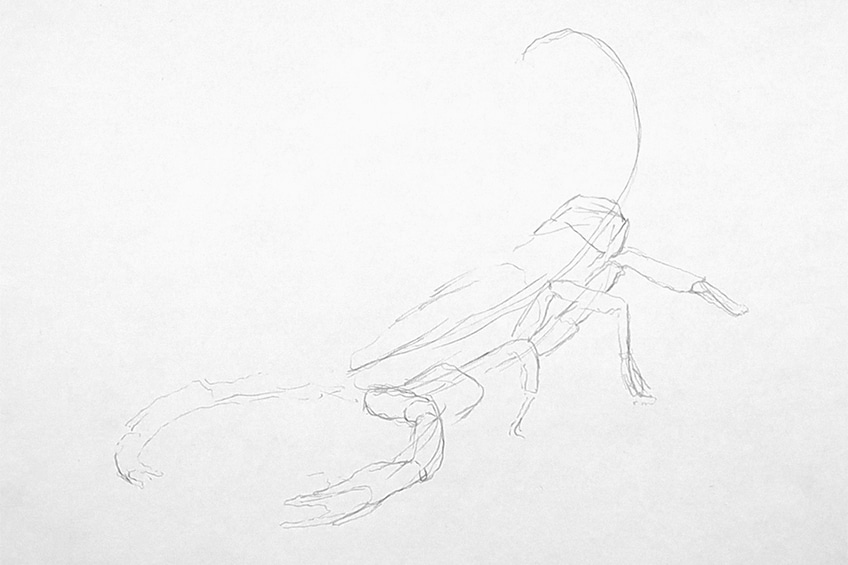
This means they will be like plates viewed from a side angle, which makes them distorted and slightly slim.
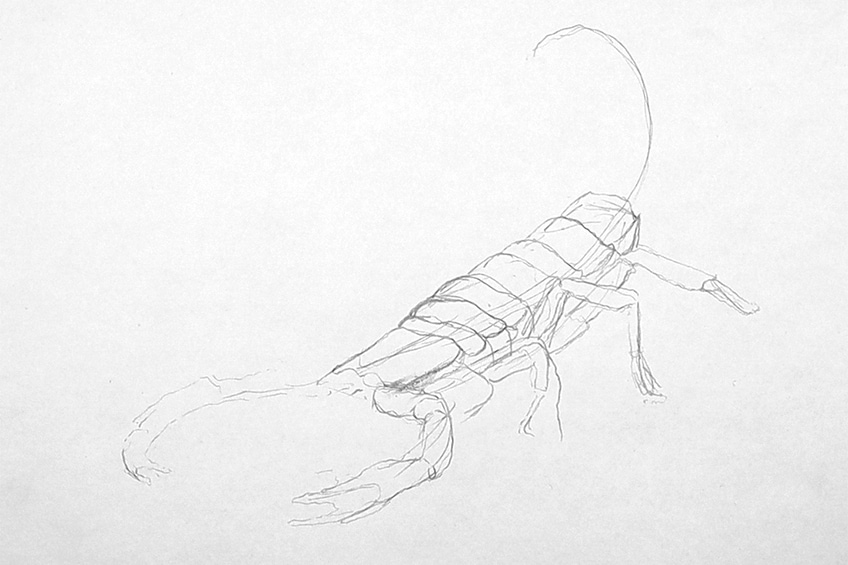
You want to make sure that the pedipalps have four segments, including the pincers at the ends.
Step 2: Refining Your Scorpion Sketch
We will proceed with our pencils and erasers, slowly tweaking and adding to the drawing details that contextualize the insect more distinctly. We want to make sure all the legs are placed alongside the mesosoma correctly.
We also want to make sure that each of the features has the correct number of segments.
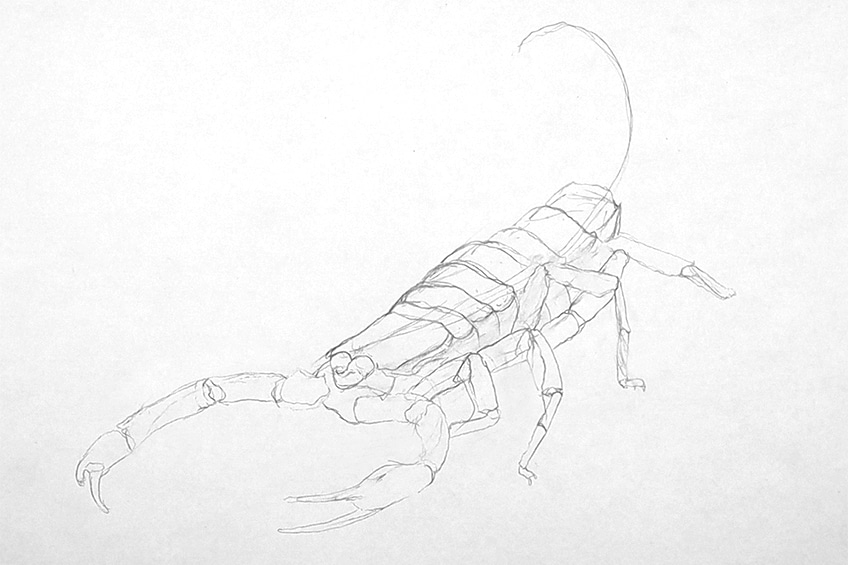
Make sure you spend time on the scorpion sketch before we move on to using color.

Step 3: Adding Color to the Scorpion
We will now proceed to add some color to the scorpion, a good suggestion would be to search the desert scorpion to give you a sense of the color scheme that will be used.
Starting from the front of the scorpion we want to give it a light coloring with a light brown pencil.
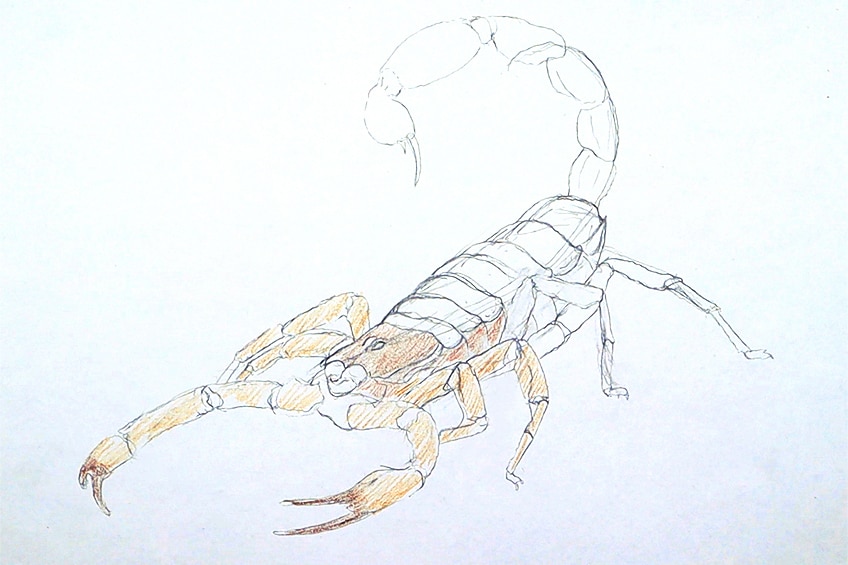
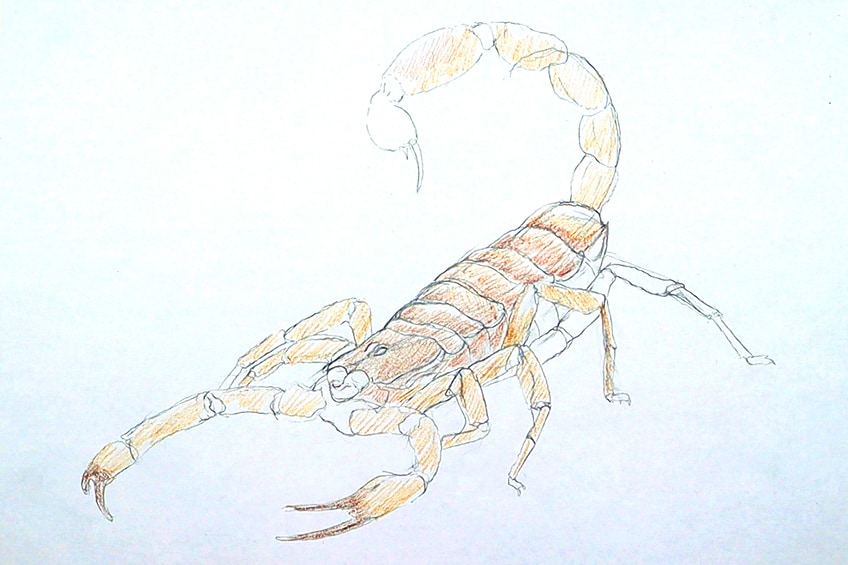
We also want to give the tips of the pincers or pedipalps slightly darker coloration.
Step 4: Shading the Front Features of the Scorpion in Pen
Now that we have established an undertone color palette, we now want to work with our pens to add more contrast and distinct details to the scorpion drawing. Starting from the front side of the scorpion we want to darken the edges of the pedipalps.
We also want to outline the arms, and add some line work to the drawing.
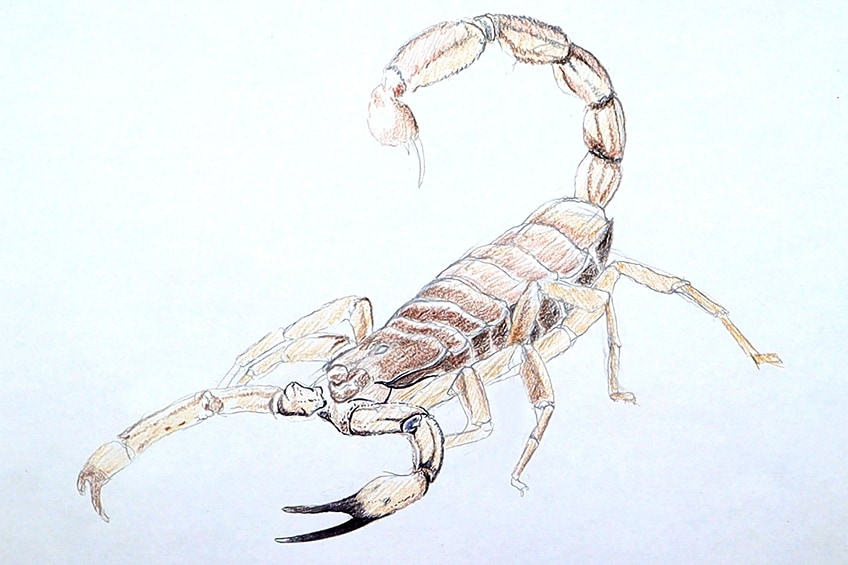
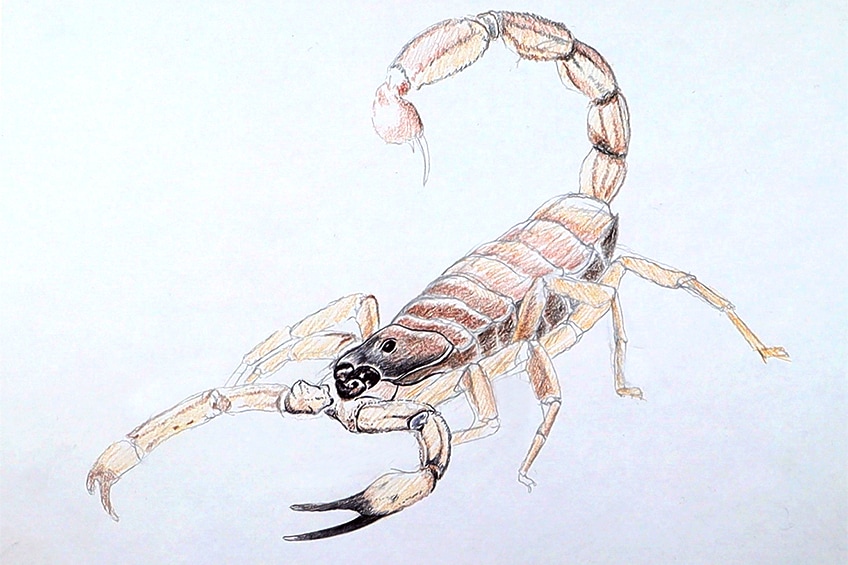
Using the color palette to guide us, we want to shade in the scorpion accordingly. This means that the color palette should be indicative of where the lightest and darkest parts of the scorpion should be.
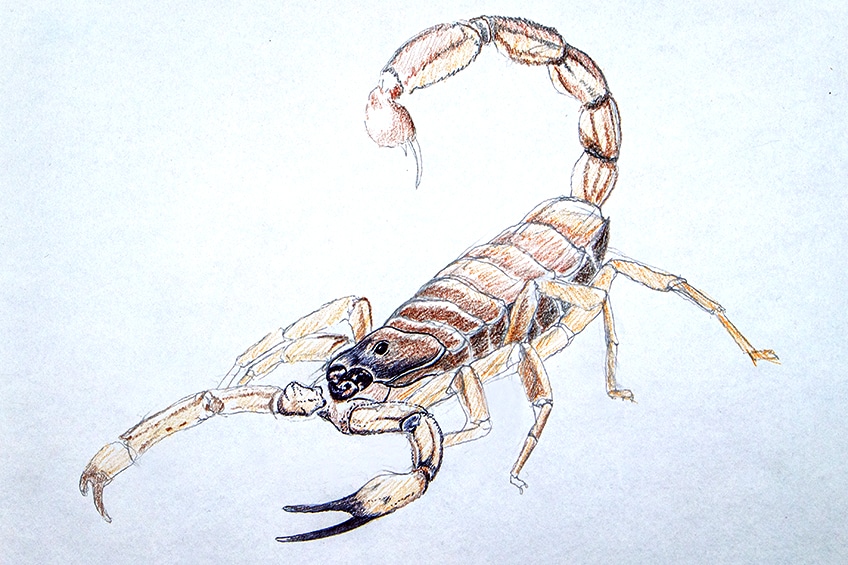
Step 5: Shading the Middle Features of the Scorpion in Pen
We will now start to work our way through the mid-section of the scorpion, which is where the mesosoma and legs are situated. We want to create a shadow gradient in each segment of the mesosoma with our pens.
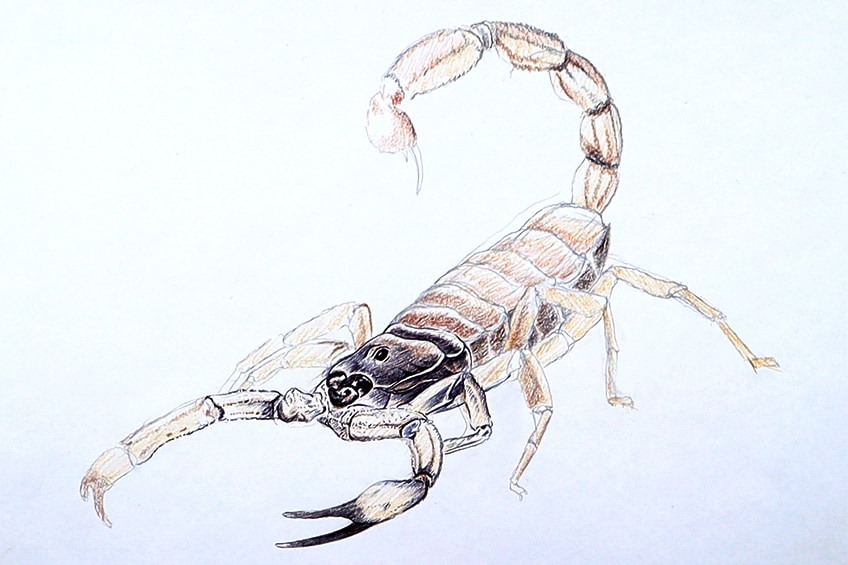
The same goes for each leg of the scorpion.
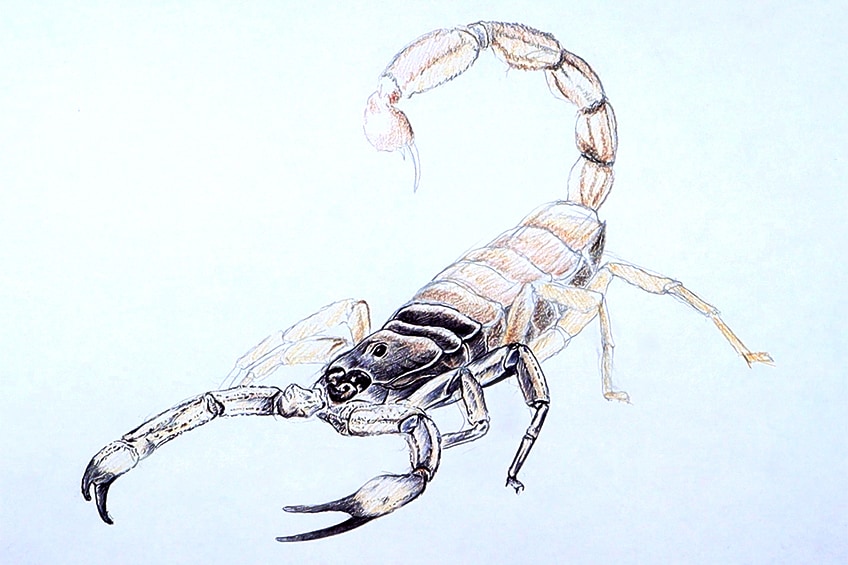
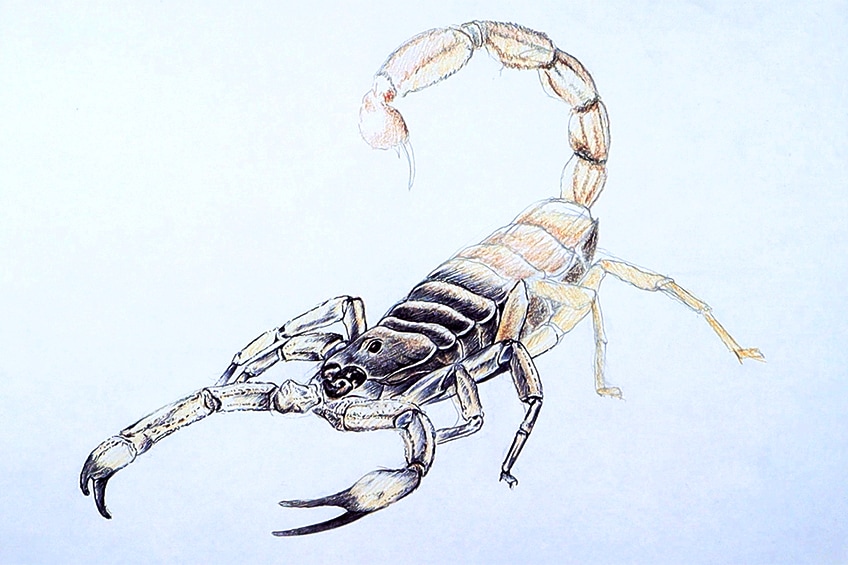
By doing so we will define the exoskeleton of the scorpion more distinctly. We do this by shading darker at the start of each segment with the mesosoma.
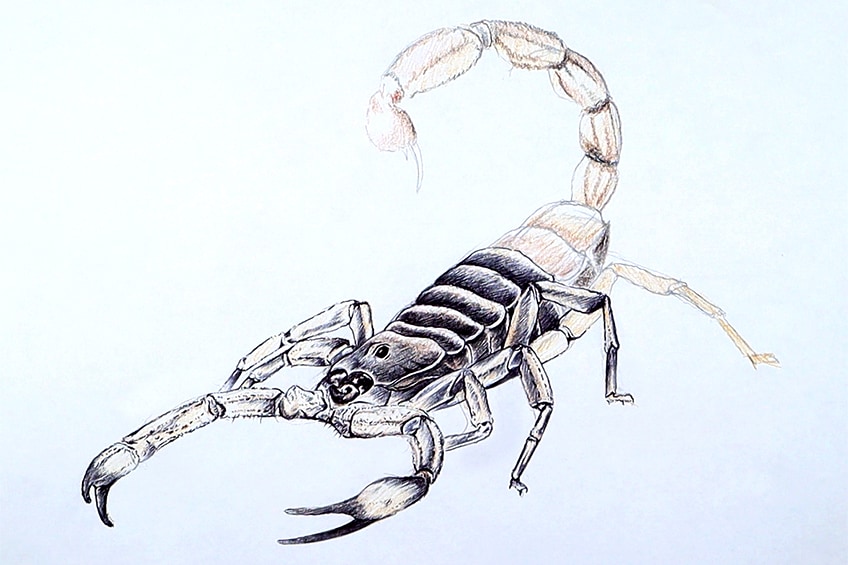
Making sure we spend time on the segments within the mesosoma is essential to creating a realistic scorpion drawing.
Step 6: Shading the Back Features of the Scorpion in Pen
As we come to the last segments of the mesosoma area, we want to make sure that we have added shading to each segment throughout the entire mesosoma area. This means that we should have a small gradient within each segment, that fades from dark to light.
We also want to make sure that the legs have been modified with pen marks.
Again, we don’t want to oversaturate the legs with dark pen marks but simply complement them. This means we want to outline them as we as add in some light shading and line work to give them more structure.
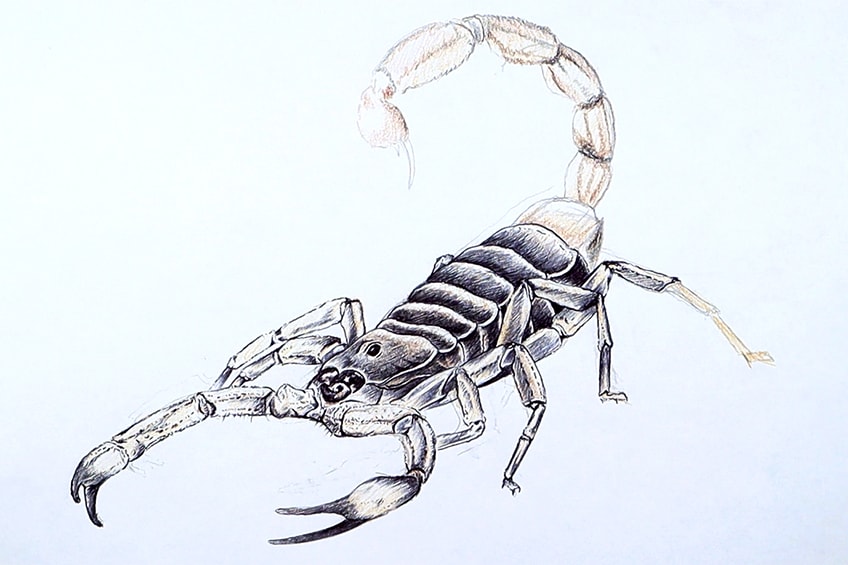
The lines can also be dotted lines, to give a spikey quality to the tail.
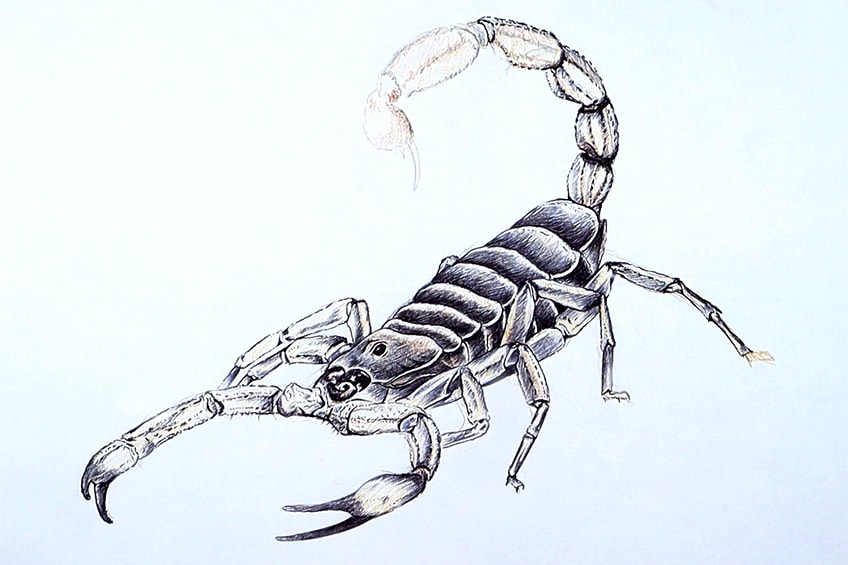
These horns should always be slightly darker, making sure they seamlessly blend into the lighter sections of the scorpion that they are attached to.
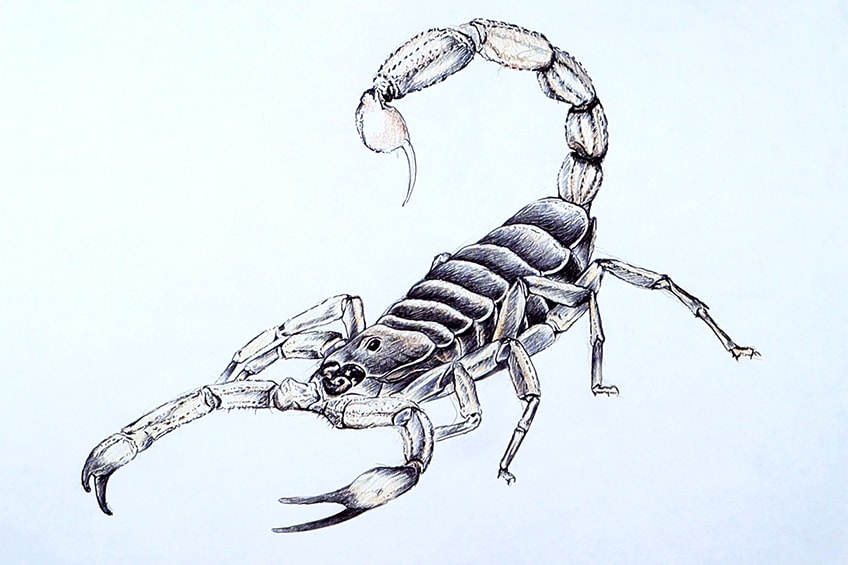
Step 7: Adding a Shadow to the Scorpion
Lastly, we want to draw a shadow underneath the scorpion. We want to make sure that we keep the shadow on a horizontal plane, which means the shadow will distort and be thinner than the actual scorpion.
Make sure that the shadow connects to every part of the scorpion that makes contact with the ground.
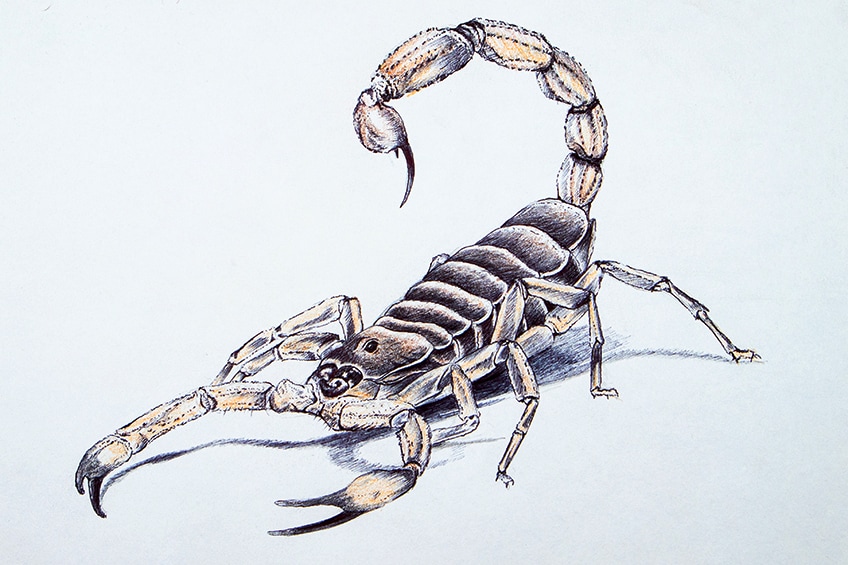
And there you have it! How to draw a realistic scorpion in a few simple steps.
Tips to Remember
- Work out the scorpion sketch. You want to make sure you have the form of the scorpion as correctly as possible before adding in any color or pen marks.
- Take your time. Work through each step of the tutorial with attention to detail.
- Consider how the colors are present within the scorpion. The desert scorpion has different color hues in different parts of its structure, so consider this when adding in color.
- Use a reference image from the internet. You can also use some visual resources to guide you in your scorpion drawing process.
- Have fun with the process! A scorpion drawing is strange and it is a fun animal to draw, so allow yourself to have fun with the drawing process.
Learning how to draw a scorpion is a great way to learn about a creature and its unique composition. Scorpions are also considered to be very ominous or frightening animals but as you learn about them in the drawing process it can help to destigmatize the creature. Scorpion drawing is also a great way to learn new skills, such as sketching with a pen and how to use color to amplify different aspects of a drawing. However one chooses to use a scorpion drawing, it provides great skills that one can add to the drawing repertoire of an artist.
Frequently Asked Questions
How Do You Draw the Tale of a Scorpion?
Drawing a scorpion’s tail is broken up into segments. These segments are often football-looking and differ according to the species of scorpion. However, all scorpions have a similar metasomal segment structure within their tails and are always broken up into five segments with the telson or venom bulb attached to the end. The venom bulb often has a teardrop shape with a spike or horn connected at the tip, whereas the metasomal segments within the tale have a more football shape to them. How the different segments can be drawn is by adding line work into each segment. The aim is to add skeletal line work that creates ridges that run along each segment in the tail. By doing this, we create an exoskeletal effect, which will result in a more realistic scorpion tale.
How Do You Draw the Pincers of a Scorpion?
Pincers for scorpions vary and can be drawn in all sorts of sizes and shapes. The desert scorpion in particular has smaller pincers and is often a little darker in color than its arms or pedipalps. These pincers, however, generally have an oval or football-like shape that often diverges into two pincers. The inner pincers are often smaller, whereas the outer pincers are larger for defense and hunting. To give the pincers a realistic scorpion effect, one can make them slightly darker with brown shading, as well as add little hairs to the pincers. However, the pincers at the end of the arms or pedipalps of the scorpion are no larger than the other segments within the scorpion pedipalps. As long as they are slightly darker and have little hairs, they should have an accurate aesthetic in your scorpion drawing.
Matthew Matthysen is an educated multidisciplinary artist and illustrator. He successfully completed his art degree at the University of Witwatersrand in South Africa, majoring in art history and contemporary drawing. The focus of his thesis was to explore the philosophical implications of the macro and micro-universe on the human experience. Matthew uses diverse media, such as written and hands-on components, to explore various approaches that are on the border between philosophy and science.
Matthew organized various exhibitions before and during his years as a student and is still passionate about doing so today. He currently works as a freelance artist and writer in various fields. He also has a permanent position at a renowned online gallery (ArtGazette) where he produces various works on commission. As a freelance artist, he creates several series and successfully sells them to galleries and collectors. He loves to use his work and skills in various fields of interest.
Matthew has been creating drawing and painting tutorials since the relaunch in 2020. Through his involvement with artincontext.org, he has been able to deepen his knowledge of various painting mediums. For example, watercolor techniques, calligraphy and lately digital drawing, which is becoming more and more popular.
Learn more about Matthew Matthysen and the Art in Context Team.
Cite this Article
Matthew, Matthysen, “How to Draw a Scorpion – Easy Steps to Create a Realistic Drawing.” Art in Context. August 10, 2022. URL: https://artincontext.org/how-to-draw-a-scorpion/
Matthysen, M. (2022, 10 August). How to Draw a Scorpion – Easy Steps to Create a Realistic Drawing. Art in Context. https://artincontext.org/how-to-draw-a-scorpion/
Matthysen, Matthew. “How to Draw a Scorpion – Easy Steps to Create a Realistic Drawing.” Art in Context, August 10, 2022. https://artincontext.org/how-to-draw-a-scorpion/.


