How to Draw a Spider Web – Nature’s Architecture
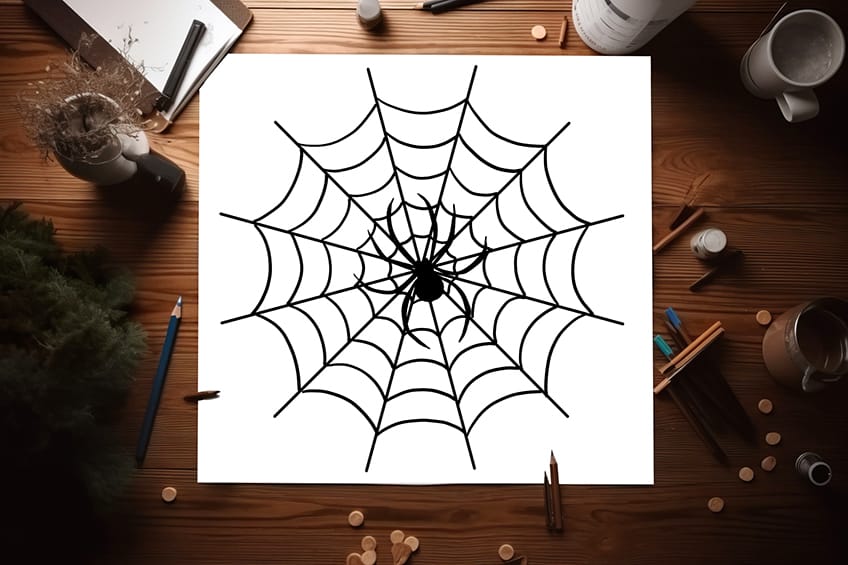
Spider webs are nature’s exquisite tapestries, delicate yet deadly. These gossamer creations, spun with meticulous precision by eight-legged architects, are the original masterpieces of engineering and design. With strands as fine as silk and as strong as steel, they are more than just traps for unsuspecting prey; they are intricate works of art that showcase the genius of arachnid ingenuity. A spider web is not just a trap; it’s a testament to the beauty and complexity of the natural world, a captivating dance of form and function that leaves us spellbound. Let’s get started on today’s drawing tutorial where we take you step-by-step on how to draw a spider web!
Table of Contents
- 1 Art in the Webs: A Realistic Spider Web Drawing
- 1.1 Step 1: Draw the Main Shape for Your Web Drawing
- 1.2 Step 2: Continue the Shape of Your Web Drawing
- 1.3 Step 3: Complete the Main Shape of Your Spider Web Outline
- 1.4 Step 4: Begin to Draw the Outer Web
- 1.5 Step 5: Draw the Inner Webs on Your Realistic Spider Web Drawing
- 1.6 Step 6: Add the Spider’s Main Body
- 1.7 Step 7: Finalize Your Realistic Spider Web Drawing
- 2 Frequently Asked Questions
Art in the Webs: A Realistic Spider Web Drawing
Congratulations on your journey to learn how to draw a spider web! You’re about to embark on a creative adventure that will reveal the mesmerizing intricacies of these natural marvels. Like a spider patiently weaving its web, you’ll develop the artistry to craft delicate, symmetrical patterns on paper or canvas. Start with a single line and then another, gradually building the structure, just like a spider adding threads to its masterpiece. Remember, perfection isn’t the goal; it’s the process of discovery and self-expression that truly matters. As you practice, you’ll gain a newfound appreciation for the elegance of spider webs and the artistry of nature itself.
So, grab your tools, be patient, and enjoy the artistic journey ahead!
See the below collage and follow the steps depicted and soon you will have a realistic spider web drawing!
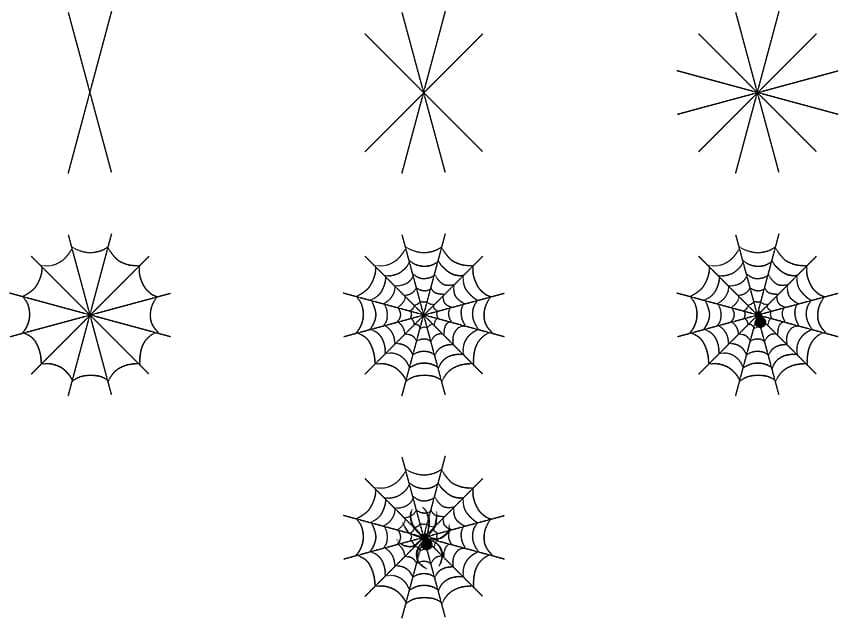
Step 1: Draw the Main Shape for Your Web Drawing
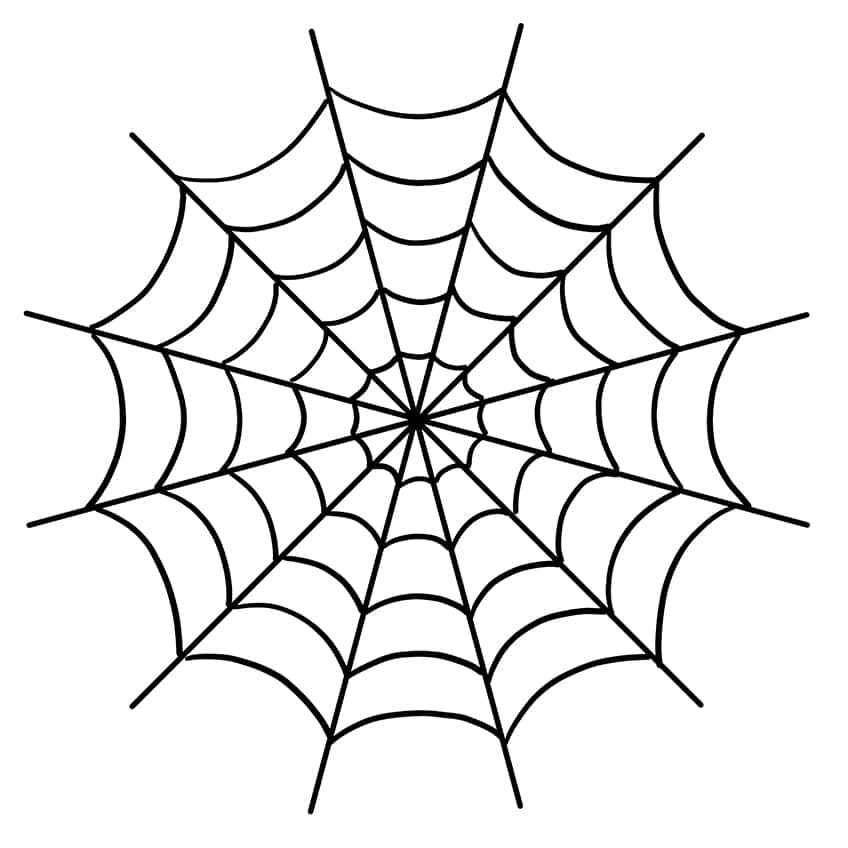
Begin our tutorial on how to make a spiderweb, by drawing a narrow ‘X’ in the middle of my drawing page.

Step 2: Continue the Shape of Your Web Drawing
Draw a secondary, wider ‘X’ over the previously drawn lines.

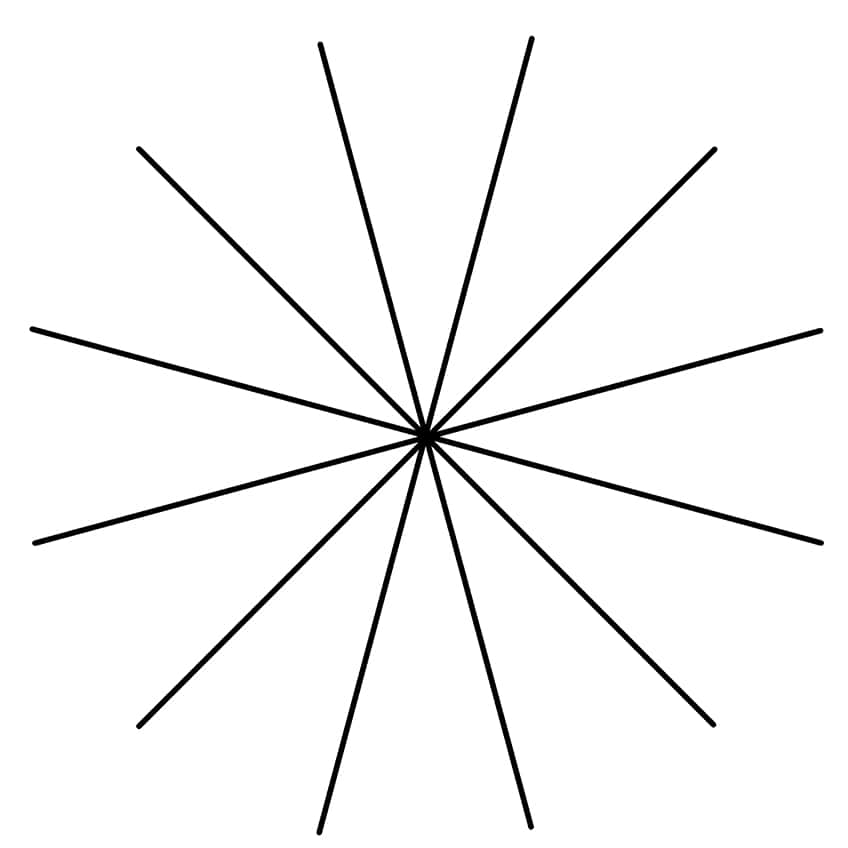
Step 3: Complete the Main Shape of Your Spider Web Outline
In this step, draw a third, horizontal ‘X’, like in step 1, except it should be narrow. You should now have a circle of plain lines which will form as the base for your spider web outline.
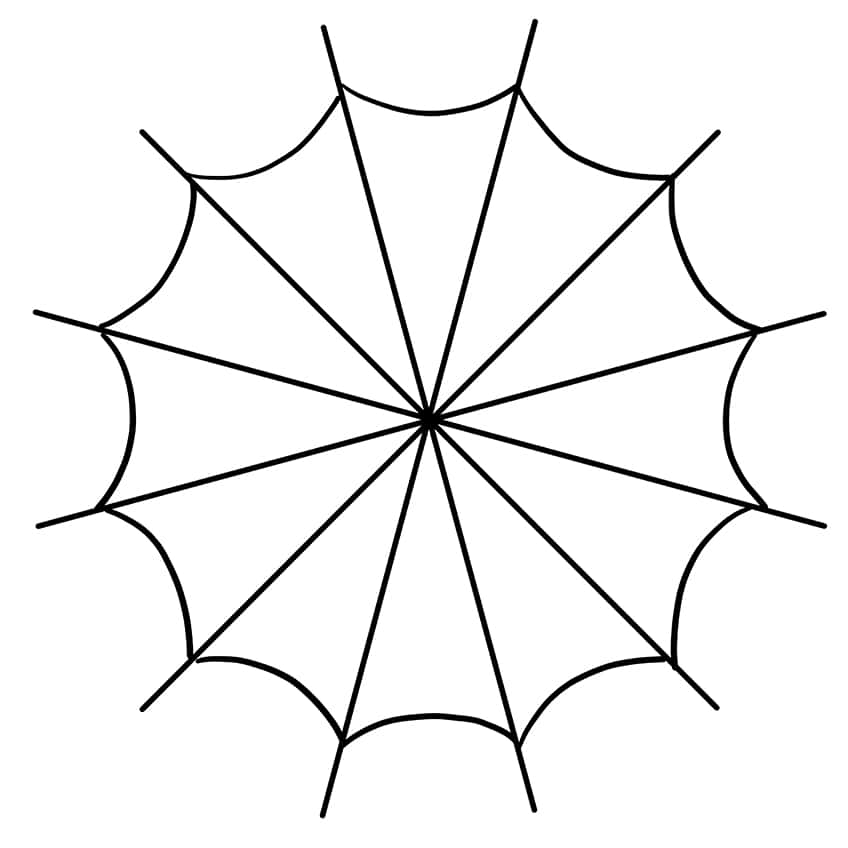
Step 4: Begin to Draw the Outer Web
In this step, draw lightly curved but identical lines connecting each of the previously drawn lines together. This will represent the outer web line of your spider web drawing.
Step 5: Draw the Inner Webs on Your Realistic Spider Web Drawing
Repeat the previous step multiple times until you reach the center of the web.
Step 6: Add the Spider’s Main Body
Draw a simple circle in the middle of your web drawing. Attach a smaller circle to represent the main body and the head area of the spider.

Step 7: Finalize Your Realistic Spider Web Drawing
You have reached the last step of learning how to make a spiderweb! To finish off, on either side of the spider draw four identical legs. You have now completed our easy step-by-step tutorial on how to draw a spider web!
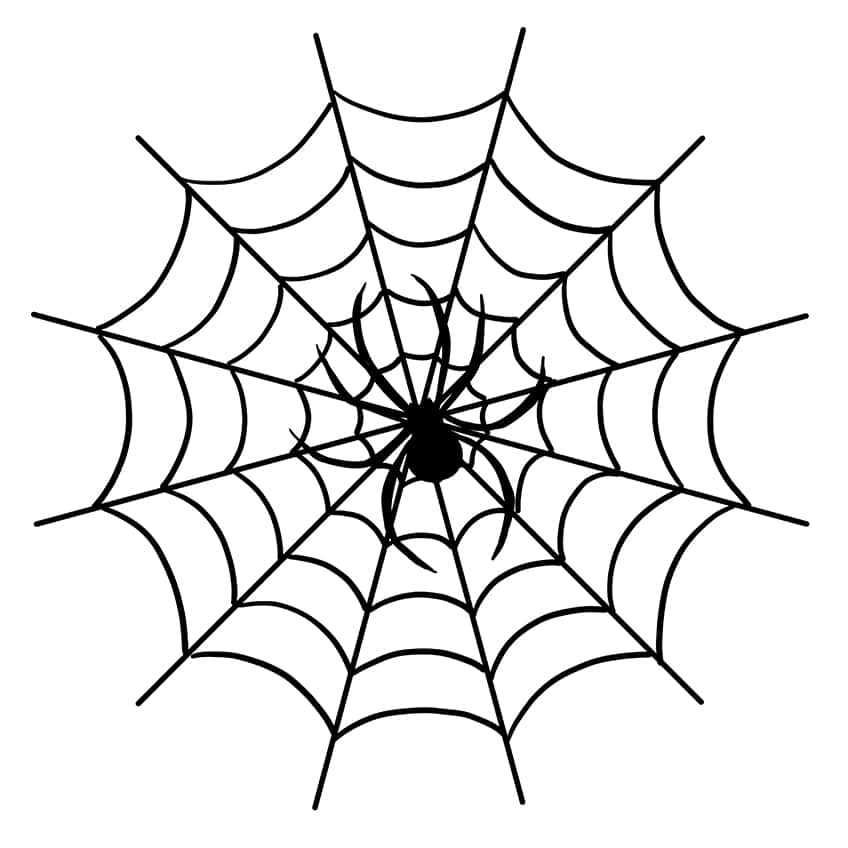
Well done on completing your spider web drawing! You’ve successfully captured the delicate beauty and intricacy of these natural wonders on paper or canvas. Just like a spider’s web, your artwork is a testament to patience, precision, and the artistry of creation. It’s a visual masterpiece that showcases your talent and dedication. Take a moment to admire your work and appreciate the effort you’ve put into it. Remember that every stroke and detail you’ve added is a reflection of your unique creative spirit. Now, let your imagination soar, and consider where your newfound skills might take you next in the world of art.
Frequently Asked Questions
What Materials Do You Need to Create a Spider Web Drawing?
To create a spider web drawing, you’ll need a few essential materials. Start with a piece of paper or a canvas as your drawing surface. Pencils and erasers are fundamental tools for sketching the web’s structure. Fine-tipped pens or ink markers will help you outline and emphasize the web’s delicate lines. Additionally, a ruler can be handy for maintaining symmetry. If you want to add shading or color to your drawing, colored pencils, watercolors, or even digital art software can be used. Don’t forget a good reference image of a spider web to guide your drawing and capture the intricate details.
How to Make My Spider Web Drawing Look More Realistic?
Adding realism to your spider web drawing involves paying close attention to detail. Begin by carefully observing real spider webs, noting the radial lines, concentric circles, and the occasional irregularities that give them character. When sketching, use light, fine lines to map out the web’s structure, and ensure that the lines radiate outward from a central point. Emphasize the key anchor points where the spider attaches its web to its surroundings. To create depth and dimension, lightly shade the areas between the lines, gradually increasing the intensity of shading towards the center. Remember that practice is key to perfecting a realistic spider web drawing.
Matthew Matthysen is an educated multidisciplinary artist and illustrator. He successfully completed his art degree at the University of Witwatersrand in South Africa, majoring in art history and contemporary drawing. The focus of his thesis was to explore the philosophical implications of the macro and micro-universe on the human experience. Matthew uses diverse media, such as written and hands-on components, to explore various approaches that are on the border between philosophy and science.
Matthew organized various exhibitions before and during his years as a student and is still passionate about doing so today. He currently works as a freelance artist and writer in various fields. He also has a permanent position at a renowned online gallery (ArtGazette) where he produces various works on commission. As a freelance artist, he creates several series and successfully sells them to galleries and collectors. He loves to use his work and skills in various fields of interest.
Matthew has been creating drawing and painting tutorials since the relaunch in 2020. Through his involvement with artincontext.org, he has been able to deepen his knowledge of various painting mediums. For example, watercolor techniques, calligraphy and lately digital drawing, which is becoming more and more popular.
Learn more about Matthew Matthysen and the Art in Context Team.


