How to Draw an Otter – Learn to Sketch a River Friend
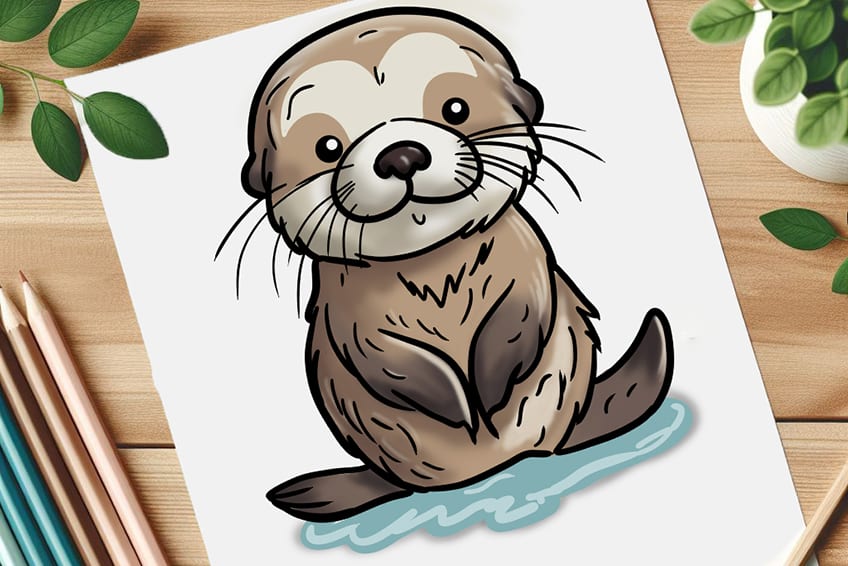
Join us for a straightforward 17-step tutorial on how to draw an otter, a delightful and agile creature of the aquatic world! Learn to capture its sleek form and playful essence, and bring this charming mammal to life on your canvas. Our instructions are straightforward and user-friendly, making this guide suitable for artists of any skill level and guaranteeing that drawing the otter is not only doable, but also enjoyable!
Otterly Adorable: Tips for Sketching a Playful Otter
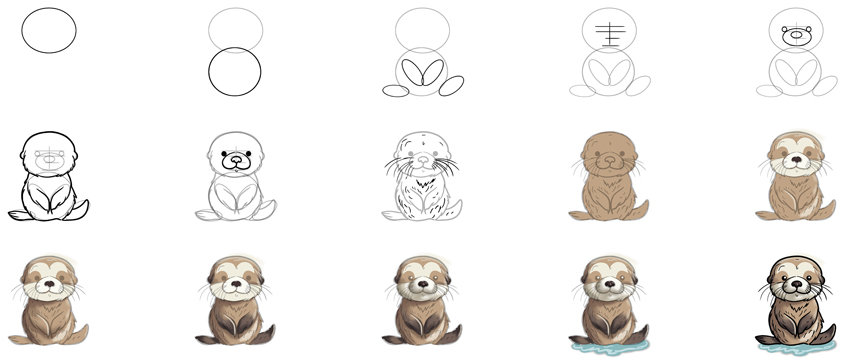
This collage acts as a step-by-step visual guide leading to the ultimate masterpiece. By following it closely, you’ll master the art of drawing an otter!
Step 1: Begin Your Otter Drawing
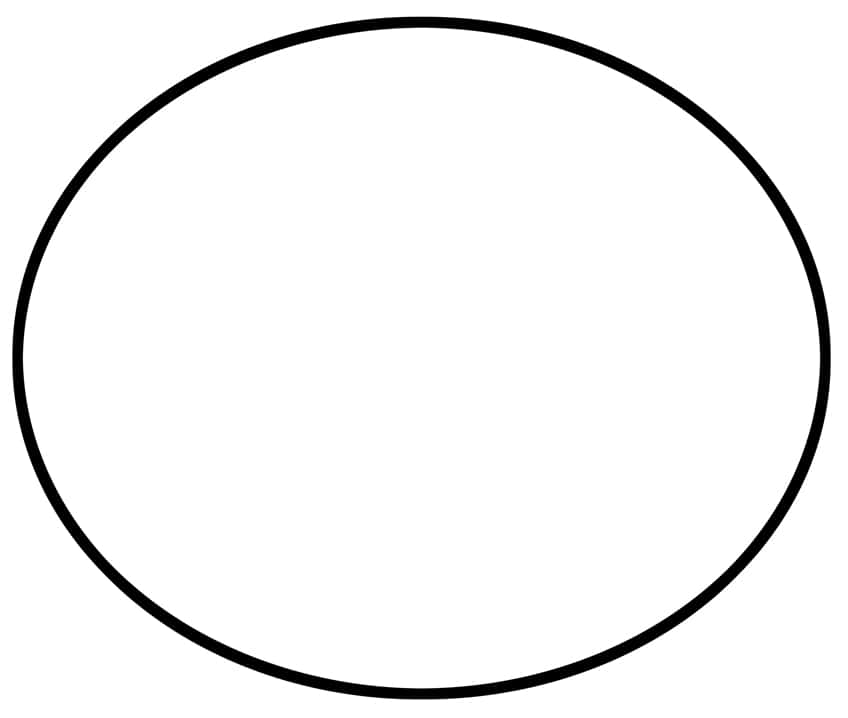
Begin your otter drawing by drawing an oval lying horizontally to depict the otter’s head.
Step 2: Draw the Main Body
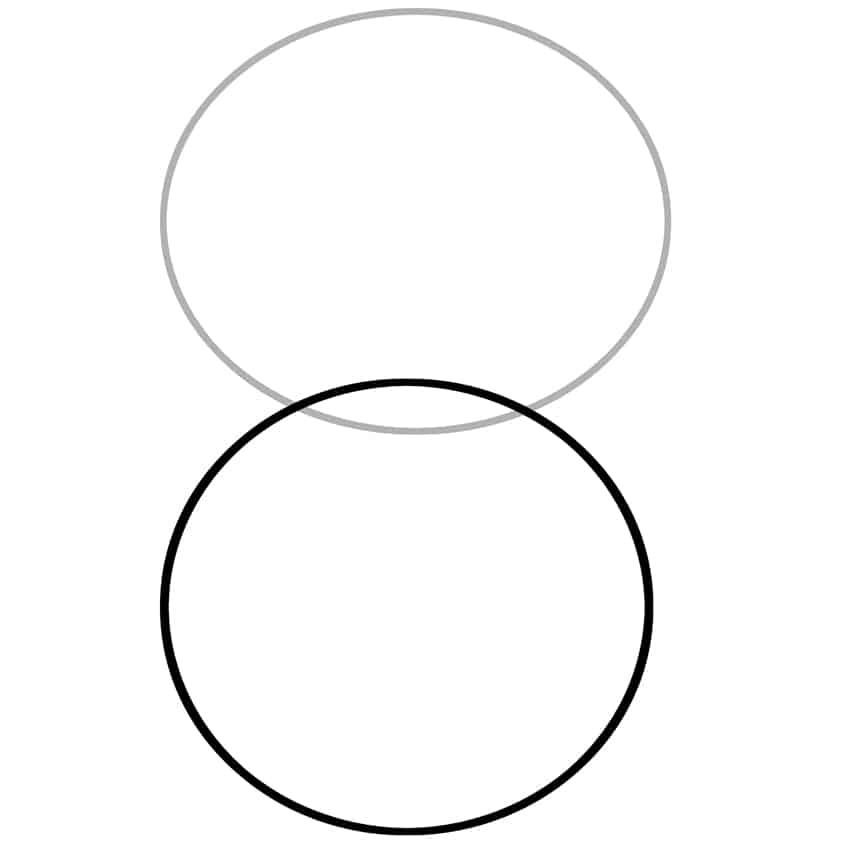
Under the oval you drew earlier, sketch a circle that might slightly overlap with it.
Step 3: Continue Onto the Arms and Feet
In the main body, sketch two diagonal ovals to depict the arms. Then, at each end of the main body, add an oval to illustrate the feet.

Step 4: Add the Facial Guidelines to Your Otter Drawing
Begin by drawing a vertical center line in the face of the otter and four horizontal guidelines.

Step 5: Continue With the Facial Features
Using the guidelines you’ve already drawn, start sketching the facial features. Draw two small circles for the eyes between the upper guidelines and a large oval for the snout, positioned between the upper and lower guidelines. Inside the snout, add a smaller oval to depict the nostrils.

Step 6: Outline the Furry Head
Continue to outline the furry head on your otter drawing. The fur lines should lead downwards with the curvature of the head.

Step 7: Continue to Outline the Main Body
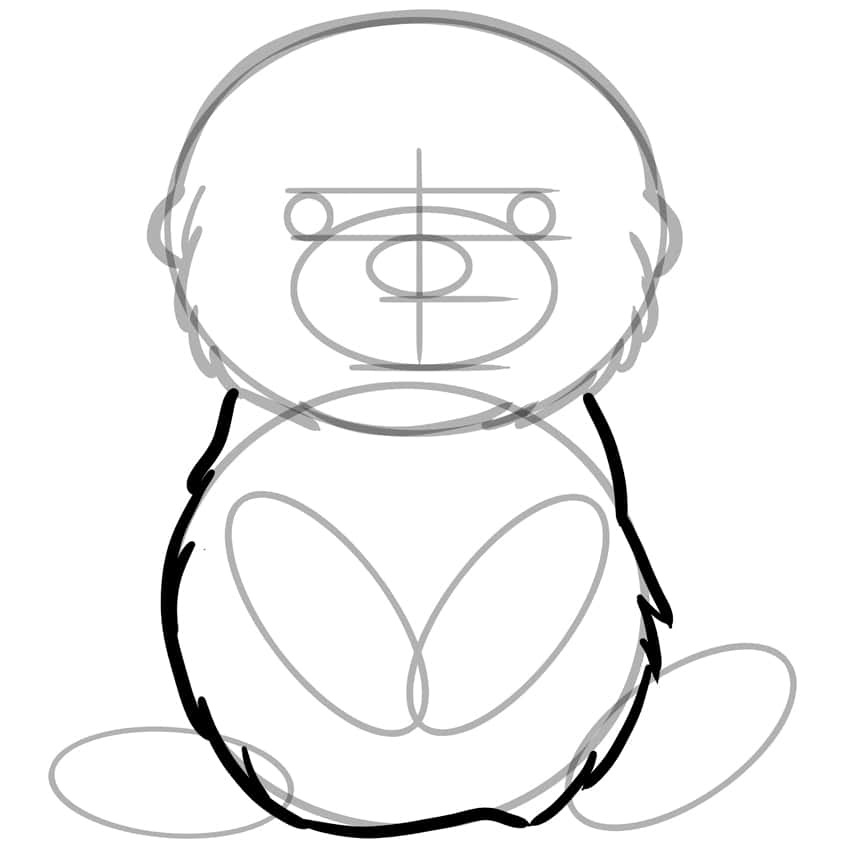
Using the construction lines as a guide, continue to outline the furry body of the otter. Draw the fur lines leading downwards with the curvature of the main body.
Step 8: Outline the Hands and Feet
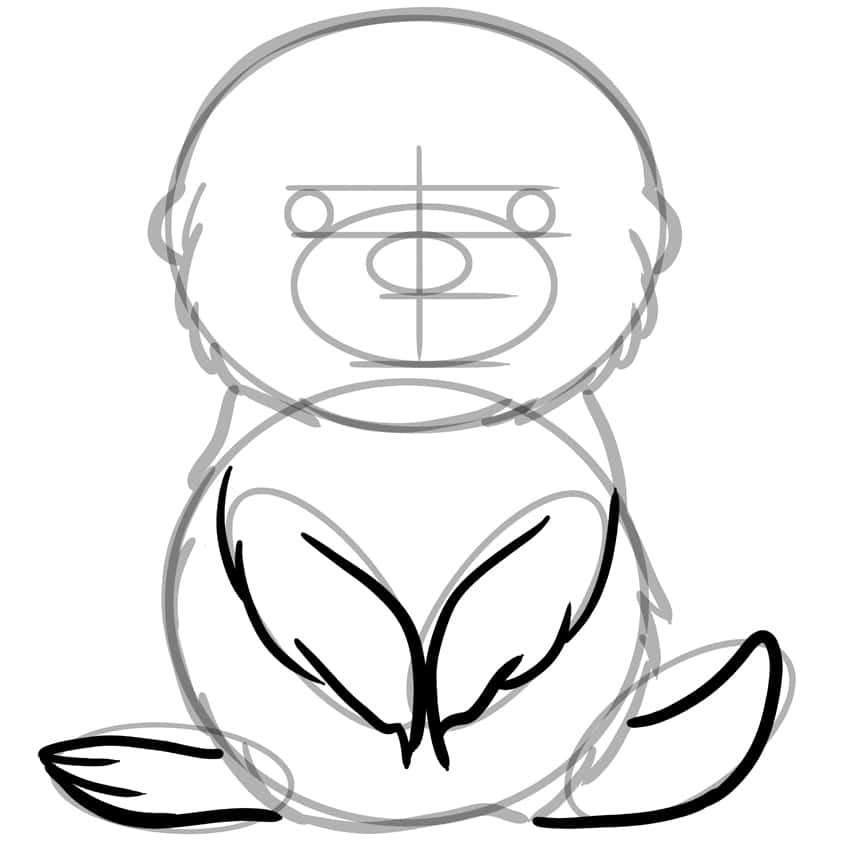
Continue to step by sketching the otter’s furry hands and feet. Create the outline of fur along the hands, ensuring it flows downward. When drawing the feet, be careful not to let them overlap with the main body.
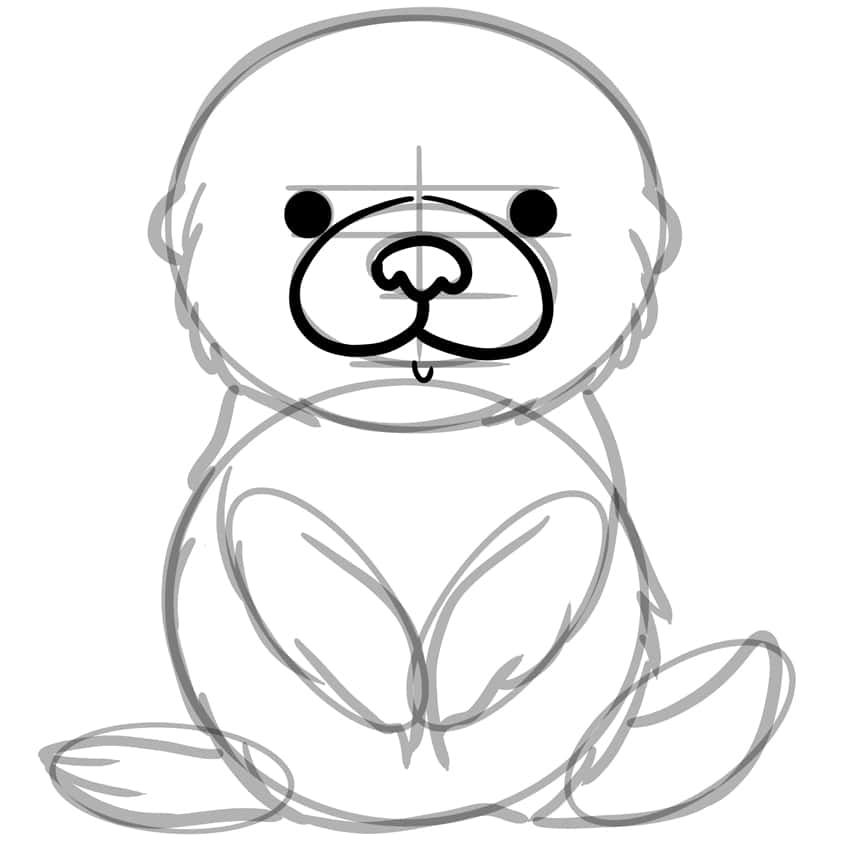
Step 9: Add Structure to the Facial Features
Begin to detail the facial features, by filling in the eyes with a fine, sharp brush and black paint. Then proceed to outline the snout, moving towards the nostrils of the otter.
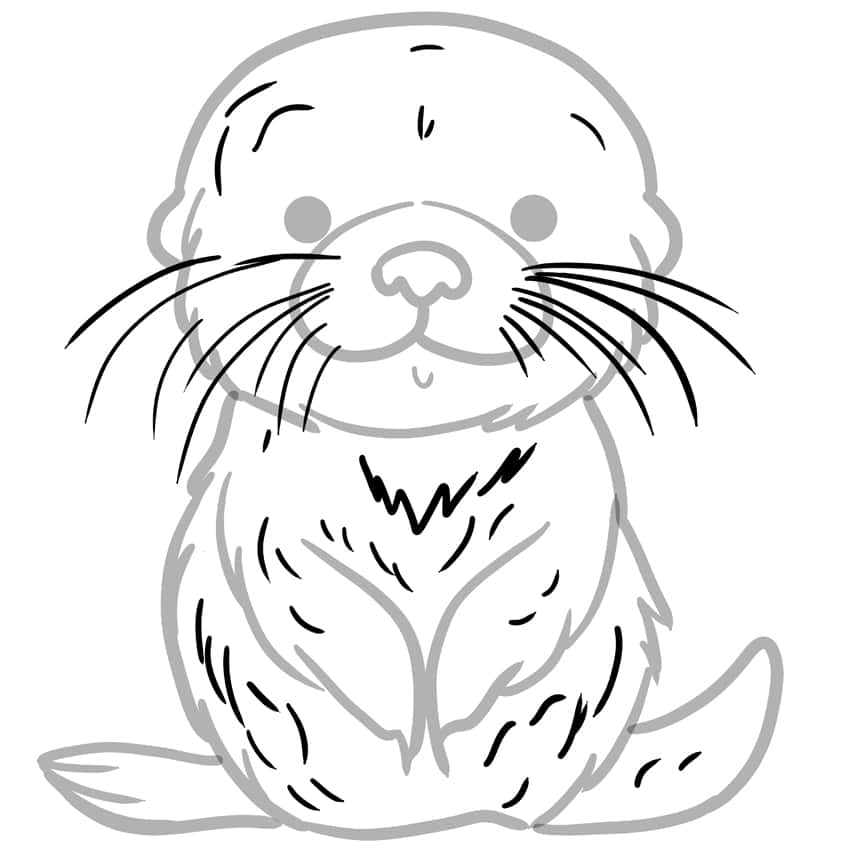
Step 10: Begin to Texture Your Otter Drawing
Draw fine furry lines within the main body and head of the otter, these should be individually drawn and not stacked or overlapping each other. Complete the step by drawing the whiskers with a gentle curve downwards on each side of the snout.
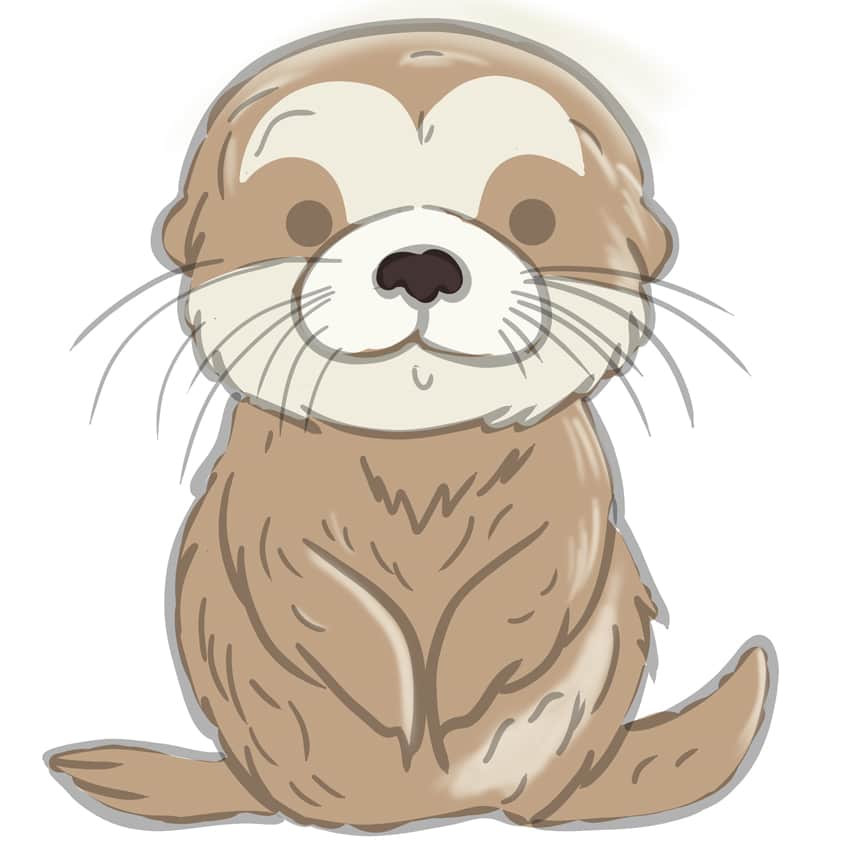
Step 11: Apply the First Coat of Color
With a fine, sharp brush and light brown paint, evenly coat the otter.

Step 12: Continue With the Secondary Coat of Color
Using the same brush as previously and a shade of ivory, paint the facial pattern and add fine brush strokes along the edges of the head, main body and tail. Switch to white paint to evenly coat the snout, and dark brown paint for the nostrils.
Step 13: Contour Your Otter Drawing
With a soft brush and black paint, softly contour the edges of the head and the main body, including the area beneath the arms.
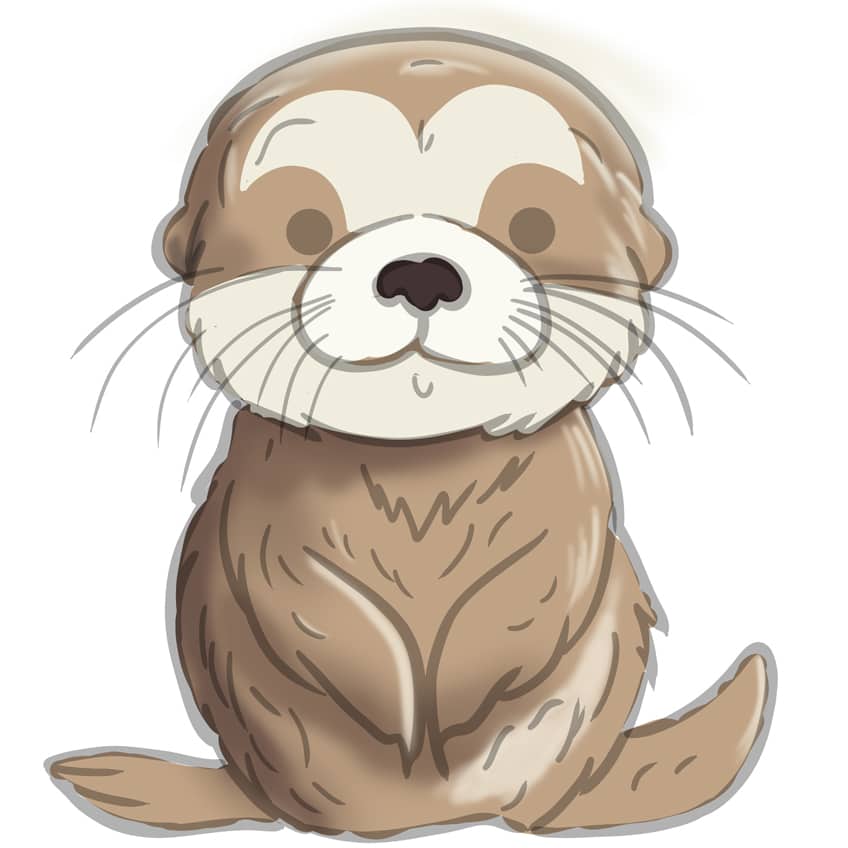
Step 14: Shade the Ears, Arms, and Feet
Continue with the same brush and a darker brown paint, and deepen the color of the fur on the feet, arms, and ears. Then, using black paint, apply soft shading to these areas. Finish by using a blending brush to smooth and spread the colors evenly across the fur.
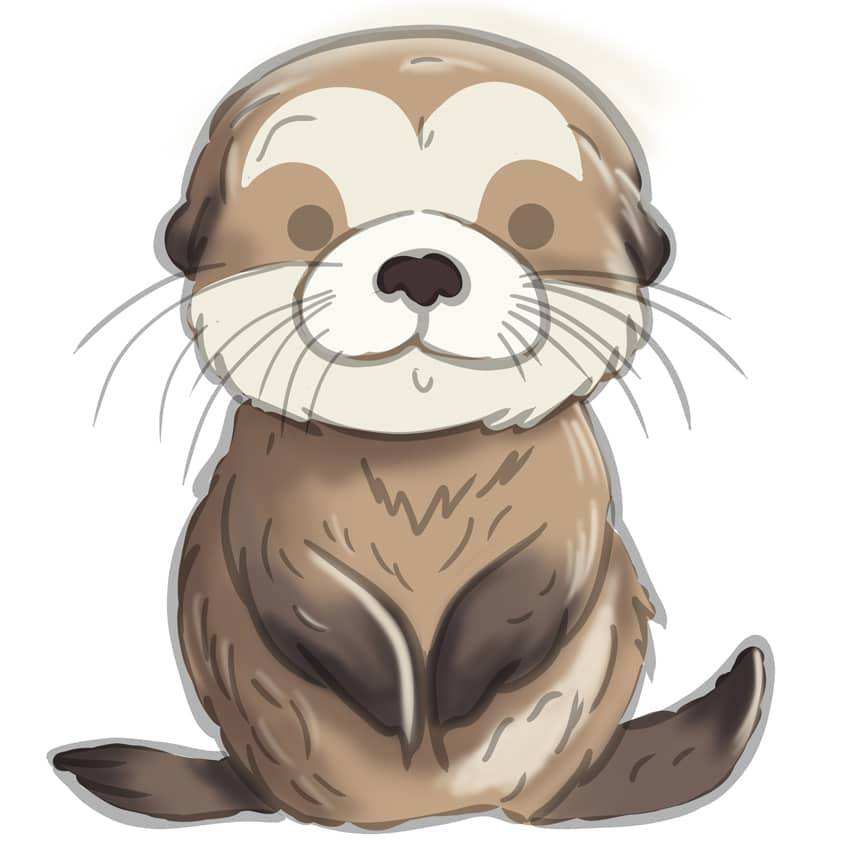
Step 15: Continue to Shade and Highlight the Face
With a small, soft brush dipped in black paint, gently add shading to the edges and curves of the face and nose. Follow this by applying white paint to introduce light highlights, then soften these highlights with a blending brush. Conclude by using a precise, sharp brush and white paint to produce a sparkling effect in each eye.
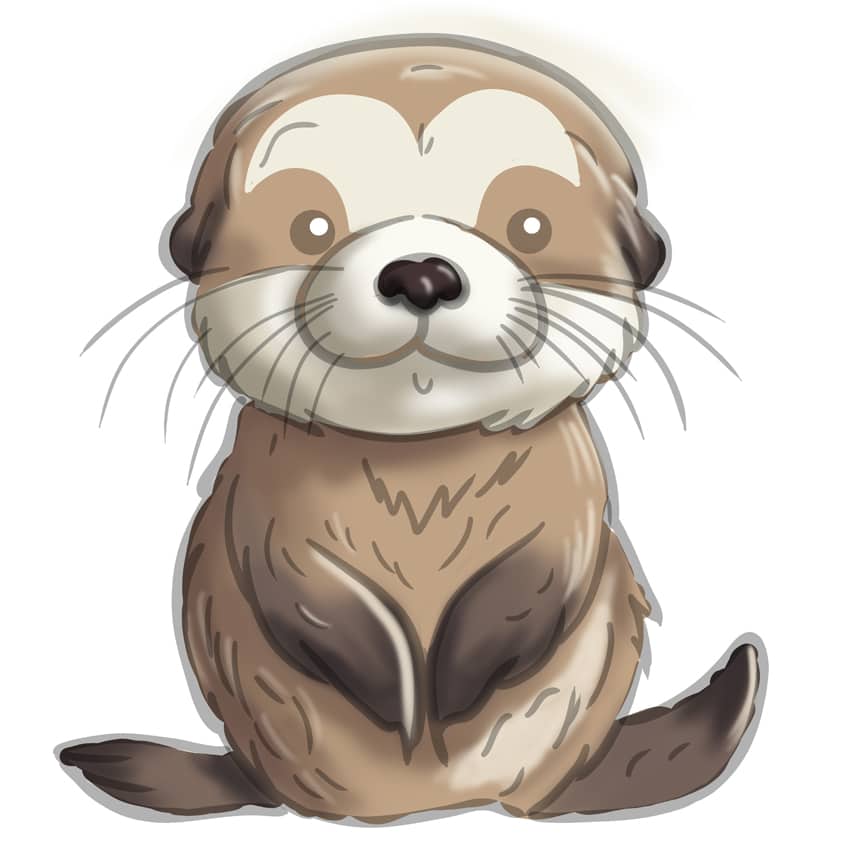
Step 16: Add Water to Your Otter Drawing
Utilize a fine, sharp brush and gray or teal paint to depict a water puddle under the otter. Then, with the same type of brush and white paint, add multiple highlight lines. Around the outer area of the puddle, use black paint with a fine brush to create a shaded border.
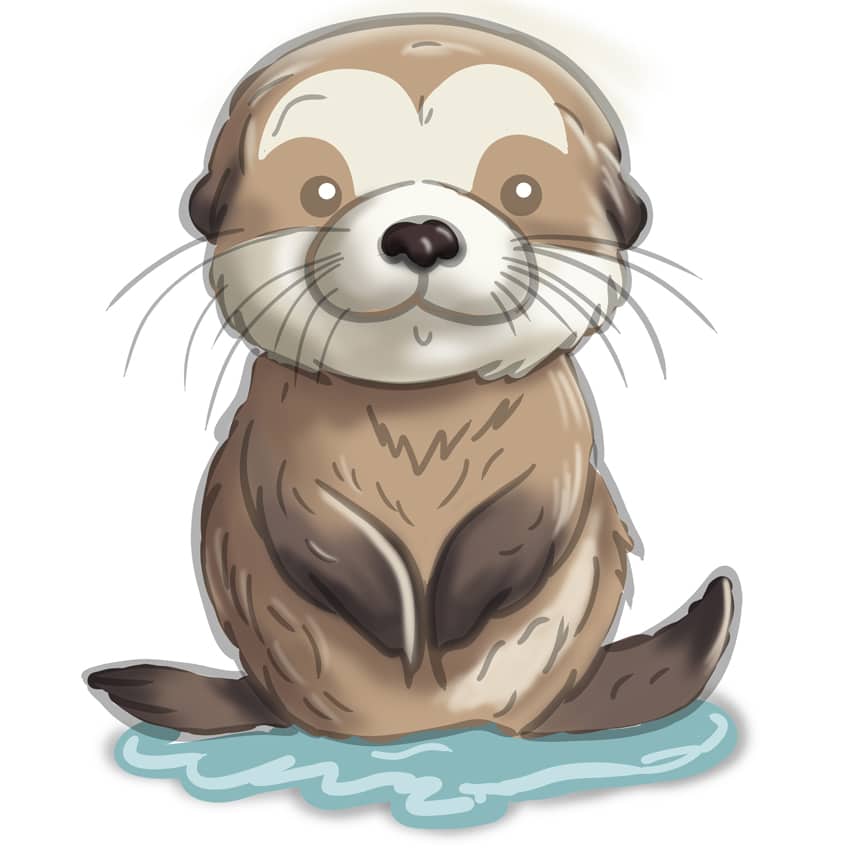
Step 17: Finish Off Your Otter Drawing
Congratulations! You’ve arrived at the final step of our how to draw an otter tutorial! Finish off by selecting a thin brush and black paint, and evenly trace the entirety of the otter outlines and any inner texture or detail lines.

Congratulations on mastering the art of drawing an otter! Through your dedication and attention to detail, you’ve brought to life one of nature’s most playful and charming creatures. Each stroke and shading technique you’ve applied has not only captured the otter’s unique physical traits but also its spirited essence. This achievement is a testament to your artistic skill and patience. Keep nurturing your talent and continue to explore the wonders of drawing. Remember, every masterpiece you create is a step forward in your artistic journey. Well done!
Frequently Asked Questions
What Are the Essential Steps for Drawing a Simple Otter?
To draw a simple otter, I outline its body shape with light pencil strokes, focusing on details like its rounded head and whiskers. Then, I refine the features, adding texture to its fur and emphasizing its facial expressions. Shading adds depth for a realistic finish.
How Can I Capture the Unique Features and Characteristics of Otters in My Drawings?
Capturing otters’ unique features involves close observation and attention to detail. I study reference images to understand their sleek bodies, webbed feet, and expressions. Experimenting with drawing techniques helps me depict their texture and movements accurately.
How Can I Add Depth and Realism to My Otter Drawings?
Adding depth involves layering shading to create highlights and shadows, emphasizing the otters’ forms and fur. Directional light enhances realism, along with details like eye reflections and fur texture.
Matthew Matthysen is an educated multidisciplinary artist and illustrator. He successfully completed his art degree at the University of Witwatersrand in South Africa, majoring in art history and contemporary drawing. The focus of his thesis was to explore the philosophical implications of the macro and micro-universe on the human experience. Matthew uses diverse media, such as written and hands-on components, to explore various approaches that are on the border between philosophy and science.
Matthew organized various exhibitions before and during his years as a student and is still passionate about doing so today. He currently works as a freelance artist and writer in various fields. He also has a permanent position at a renowned online gallery (ArtGazette) where he produces various works on commission. As a freelance artist, he creates several series and successfully sells them to galleries and collectors. He loves to use his work and skills in various fields of interest.
Matthew has been creating drawing and painting tutorials since the relaunch in 2020. Through his involvement with artincontext.org, he has been able to deepen his knowledge of various painting mediums. For example, watercolor techniques, calligraphy and lately digital drawing, which is becoming more and more popular.
Learn more about Matthew Matthysen and the Art in Context Team.
Cite this Article
Matthew, Matthysen, “How to Draw an Otter – Learn to Sketch a River Friend.” Art in Context. July 31, 2024. URL: https://artincontext.org/how-to-draw-an-otter/
Matthysen, M. (2024, 31 July). How to Draw an Otter – Learn to Sketch a River Friend. Art in Context. https://artincontext.org/how-to-draw-an-otter/
Matthysen, Matthew. “How to Draw an Otter – Learn to Sketch a River Friend.” Art in Context, July 31, 2024. https://artincontext.org/how-to-draw-an-otter/.


