How to Draw a Rat – A Fun Guide to Creating a Rat Drawing
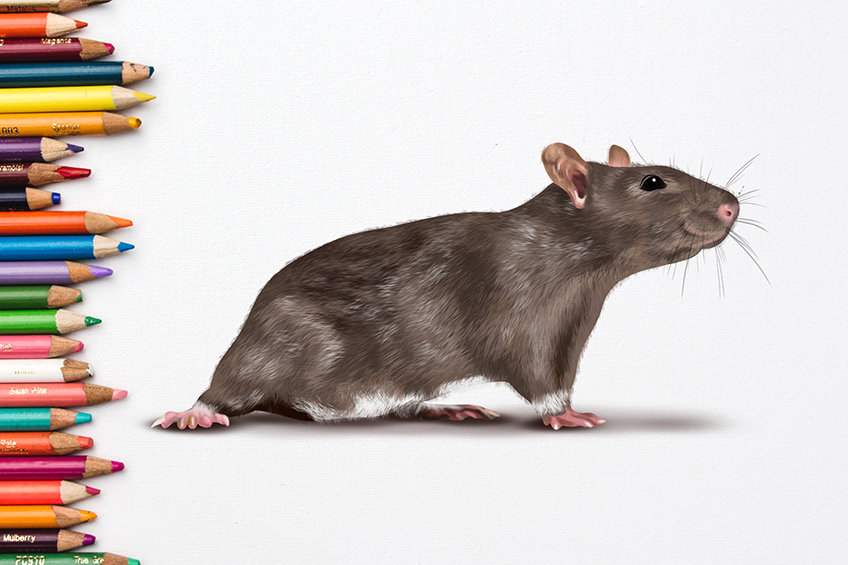
Rats – those beady-eyed rodents that scurry around alleys and sewers – have been the subject of fascination and fear for centuries. Despite their negative reputation, these furry critters are incredibly intelligent and social, and have been known to show empathy and play games with each other. They even have a starring role in the beloved Disney-Pixar movie, Ratatouille. Thanks to Remy’s charming character and impressive culinary skills, he has become a beloved icon and proof that there’s more to rats than meets the eye. So, the next time you spot a rat darting across your path, remember that there’s more to these little creatures than you think!
A Step-by-Step Guide on How to Draw a Rat
Join us today and learn how to draw a rat! We cover the very basic elements of drawing a rat, which any beginner or advanced artist can enjoy. You will learn new detailing skills such as adding texture, shadows, and highlights to your rat drawing.
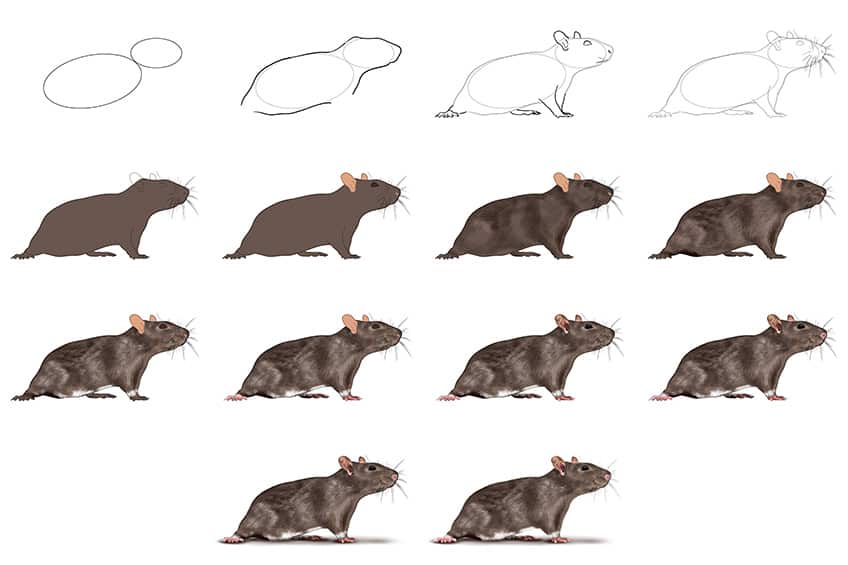
By following the steps depicted in the collage below, you can acquire the skills necessary to draw and paint a realistic rat of your own.
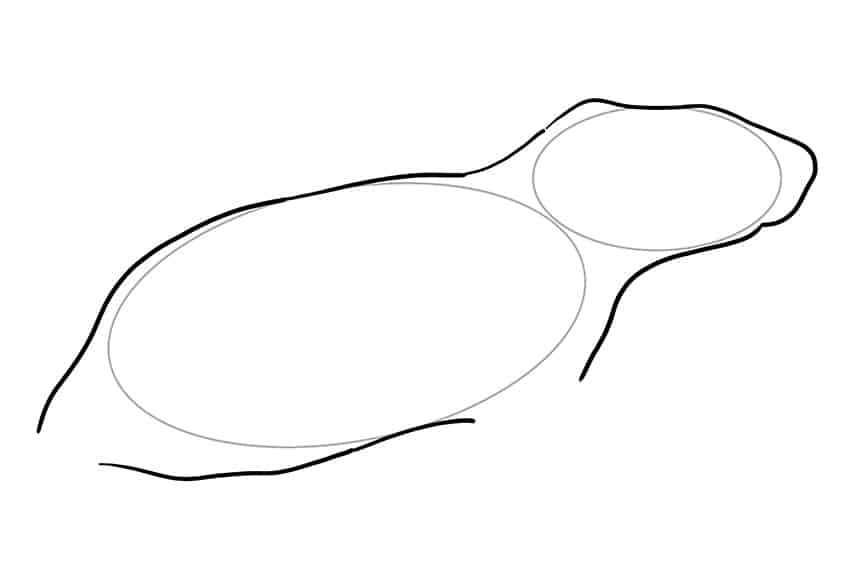
Step 1: Draw the Main Body of Your Rat Sketch
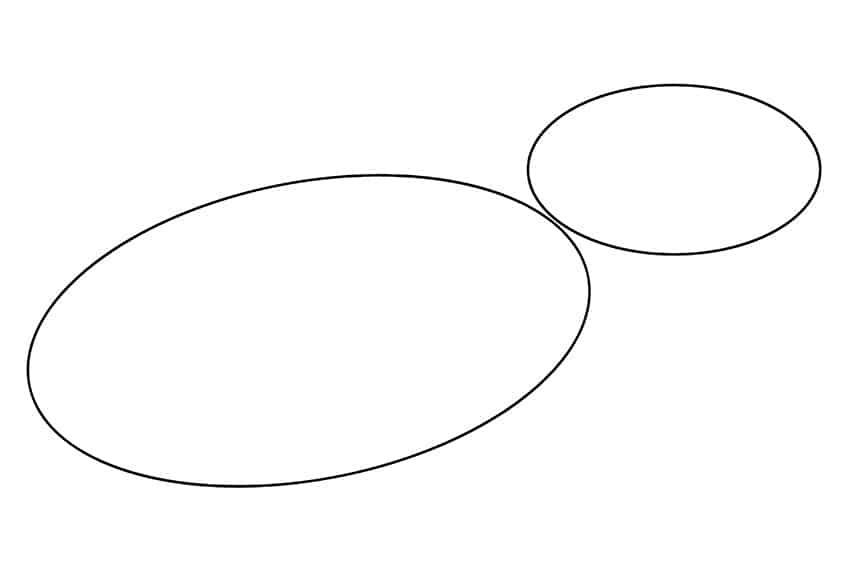
Begin your rat drawing by drawing a slightly tilted oval representing the main body. Besides this, draw a small oval to represent your rat’s head.
Step 2: Outline Your Rat Drawing
Using the previously drawn construction lines to aid you, begin to outline a more realistic head and body for your rat.
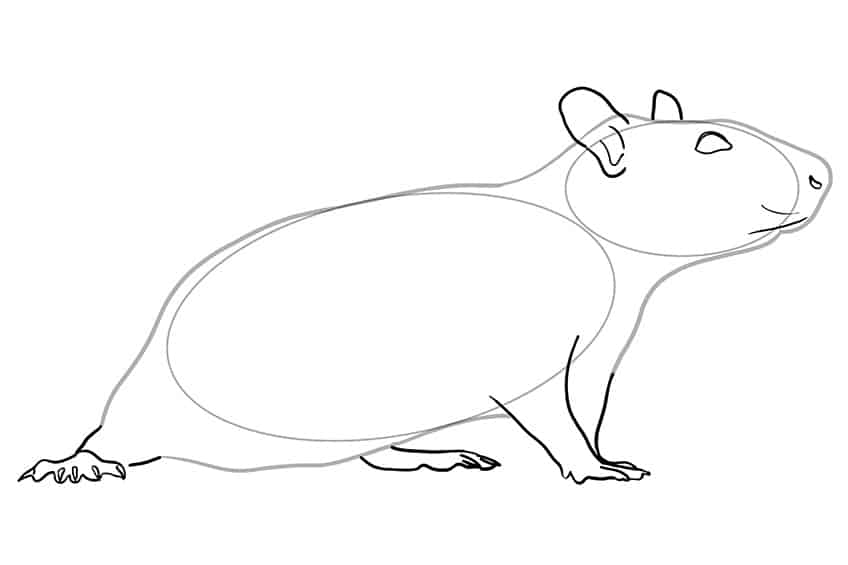
Step 3: Add the Feet and Facial Features
Begin by drawing four visible feet and nails. To add the facial features, draw a fully visible ear and a second partially visible ear on top of the rat’s head. Within the head, draw the eyes, mouth line, and nostrils.
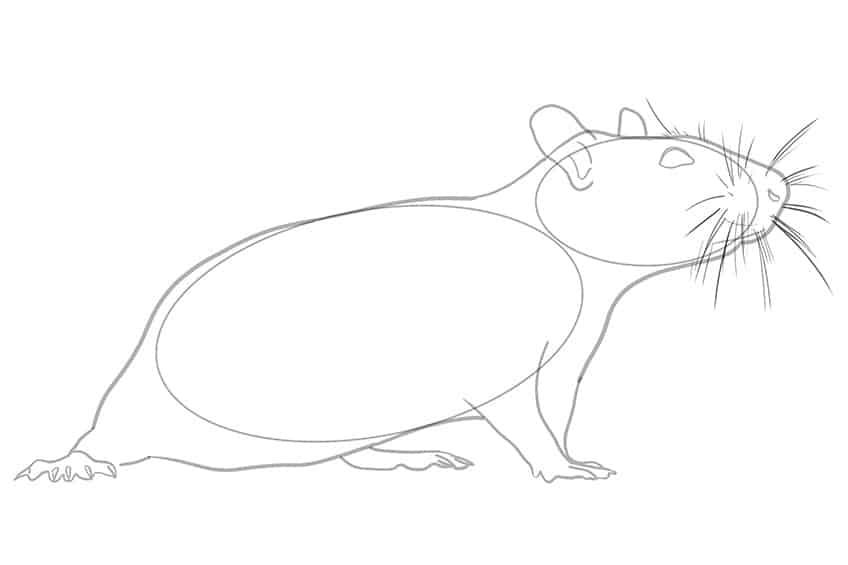
Step 4: Draw the Whiskers
Draw fine hairline whiskers that spread from the face of the rat and continue outwards.
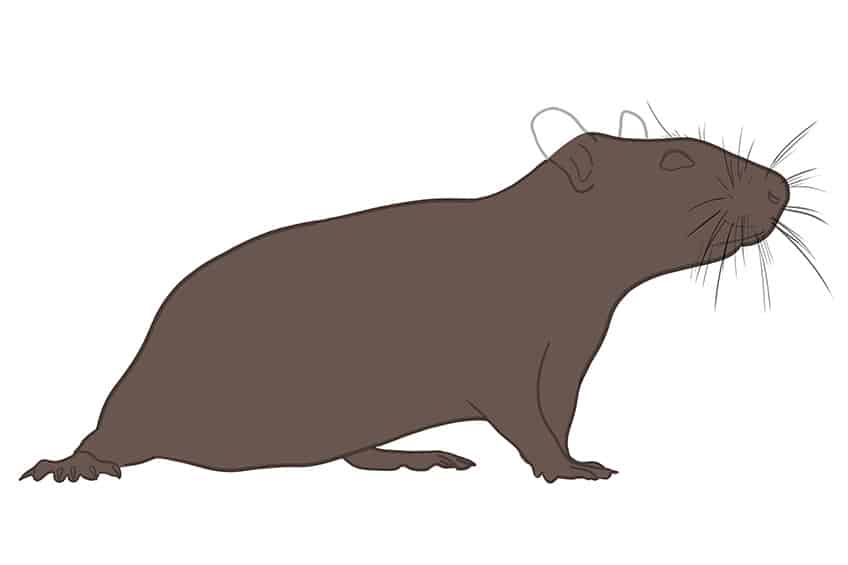
Step 5: Add the First Color Coat
Select dark brown paint and a normal brush, and evenly coat the entire body of the rat.
Step 6: Color the Ears of Your Rat Sketch
Use the same brush as previously and switch to tan paint, and color the ears, nostrils, and mouth lines. With a fine, sharp brush and brown paint, color the eye area on your rat drawing.
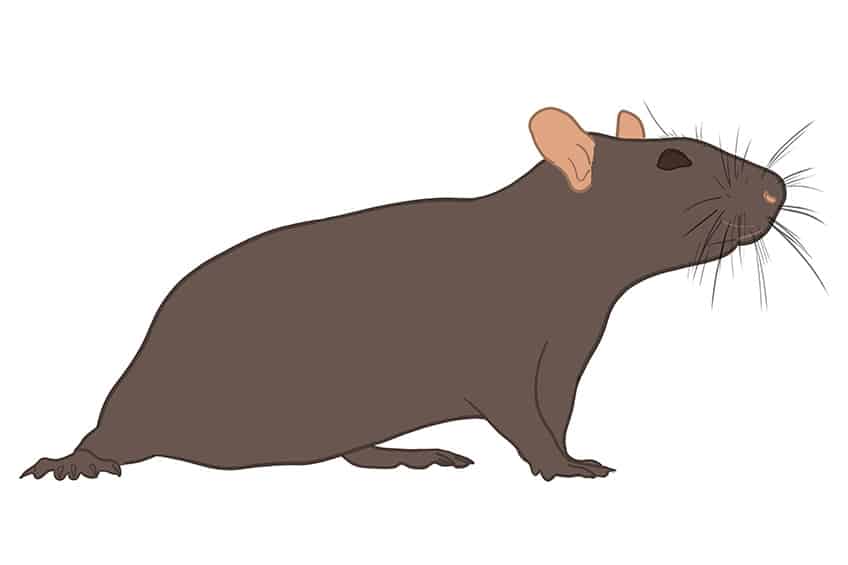
Step 7: Texture Your Rat Drawing
Select a rough textured brush and a light shade of brown paint, and paint individual brushstrokes along the structure of the body and head. Repeat along the facial structure and leave several patches blank, so that the first color coat is still visible.
In doing this, you are creating a realistic first layer of fur.
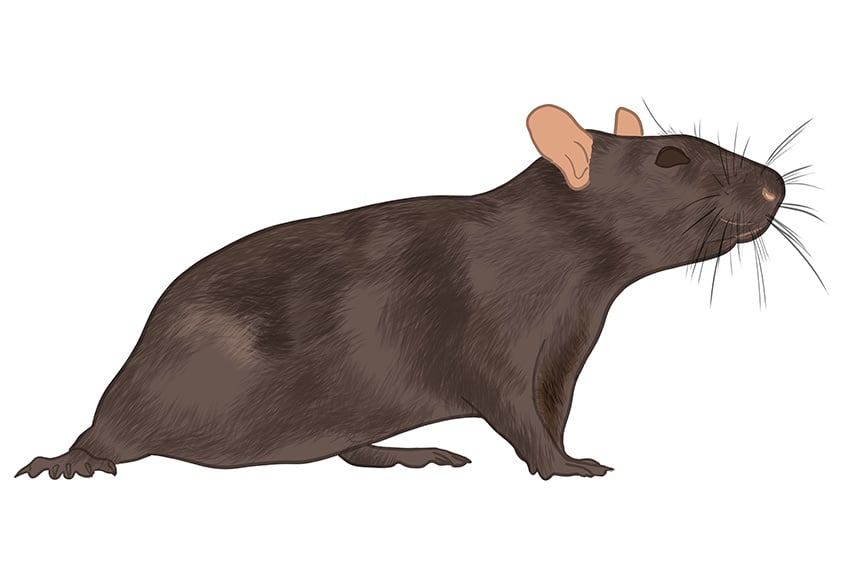
Step 8: Enhance the Texture Layers
Use a fine brush and tan paint, and apply a second textured layer of fur between the first layer of fur. Repeat using light gray paint to enhance the fur coat.
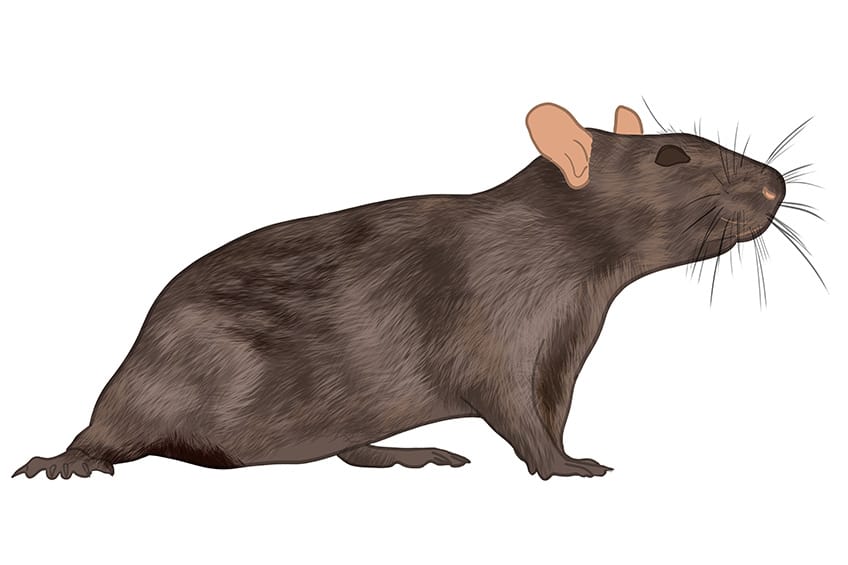
Step 9: Add Highlights to Your Rat Sketch
Use the same brush as previously and switch to tan paint, and begin adding a light layer of texture along the face and lower neckline. Continue with white paint and add a second fur pattern in-between the previous coats. Repeat once more using gray paint.
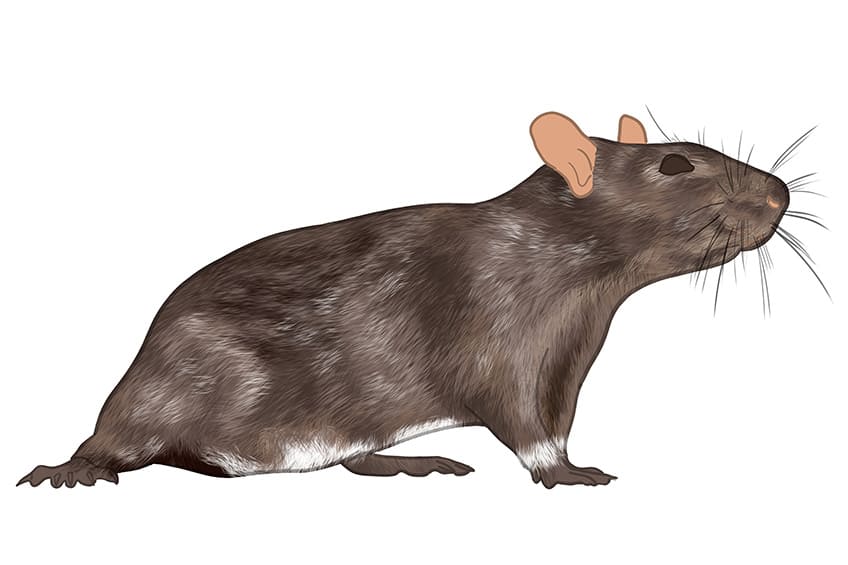
Step 10: Color the Feet to Your Drawing of a Rat
Use a small, soft brush and pink paint, and lightly apply a coat of color to each foot. Repeat using white paint to lighten the feet. Once complete, select a fine brush and white paint and fill in the nail tips on each foot.
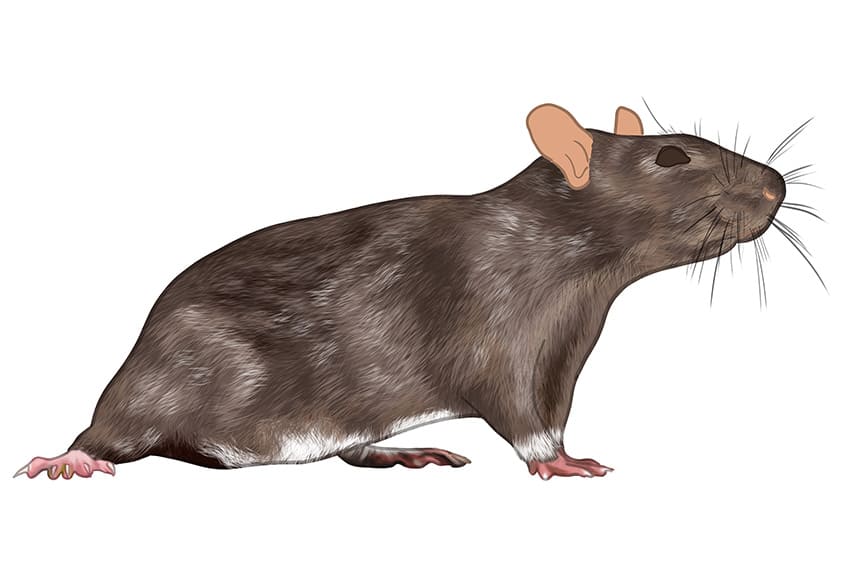
Step 11: Add a Second Color Coat to the Ears
Using the same brush as previously, switch to pink paint, and apply a soft inner ear texture. Repeat using white paint to add highlights to the edges of the ears. Continue with black paint and add a soft shadow to create realistic depth to the ear. With the same paint, add a soft shadow within the nostril.
To complete the eye, select a fine brush and black paint to fill in the eye. Continue with white paint and add a subtle highlight in the center of the eye.
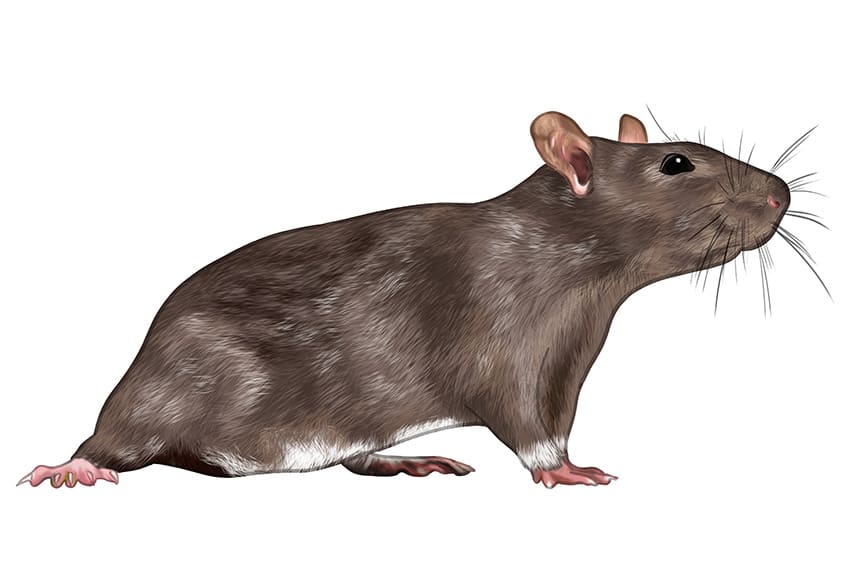
Step 12: Enhance the Outline of Your Drawing of a Rat
Select a fine, sharp brush and tan paint, and add a fuzzy outline to the entirety of your rat drawing, including the edges of the feet. Switch to a soft brush and pink paint, and add a soft fade around the nostril and mouthline. Fade the color into the rat with the use of a blending brush.
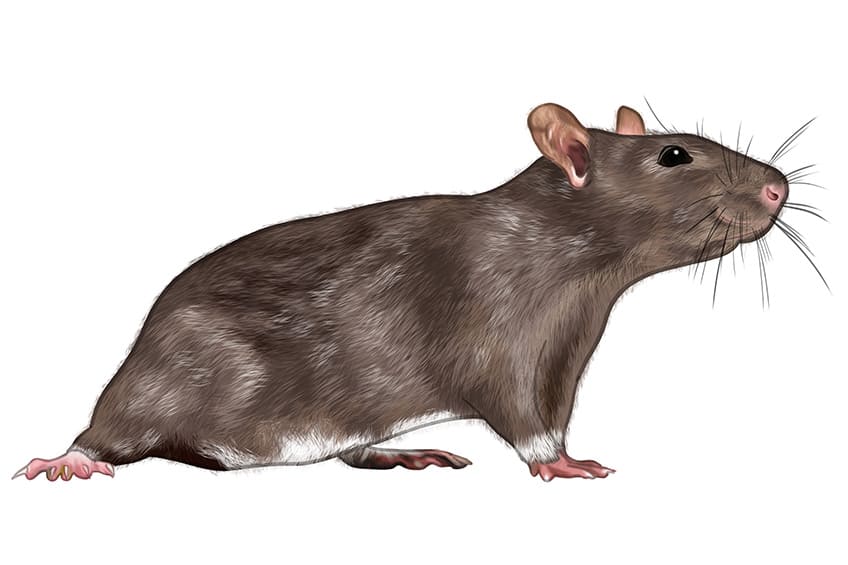
Step 13: Add a Realistic Ground Shadow
With a small, soft brush and black paint, lightly paint a dark patch directly underneath our rat sketch. Begin to fade and spread out the edges of the shadow with a clean blending brush.
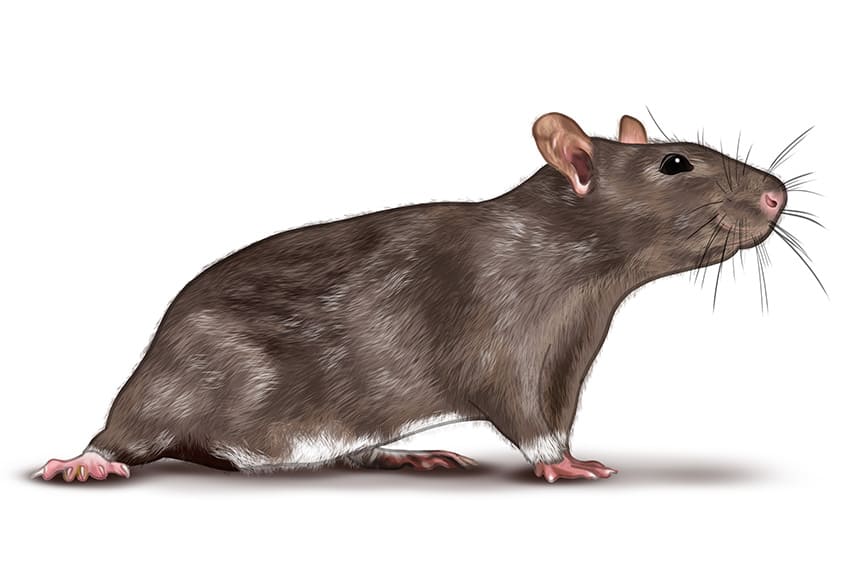
Step 14: Finalize Your Drawing of a Rat
To achieve a flawless finish with no visible rough edges, select a thin and sharp brush, along with the drawing’s matching colors, and delicately trace the outline and inner texture lines of your rat drawing.
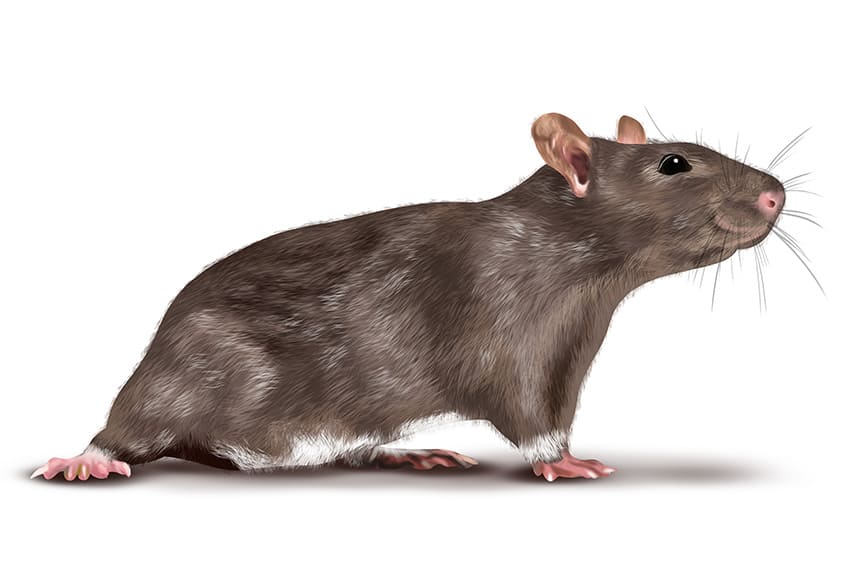
Congratulations on completing your rat drawing! You’ve done an amazing job, and it’s evident that you’ve gained new drawing skills. Drawing can be a challenging and rewarding experience, but it takes time and practice to develop the necessary techniques. By completing this rat drawing, you’ve demonstrated that you have the dedication and perseverance to become an accomplished artist. Keep up the fantastic work!
Frequently Asked Questions
How to Draw a Rat Realistically?
Drawing a rat realistically requires specific attention to detail. Steps to follow in our how to draw a rat tutorial include sketching the primary structure of the rat’s body using basic shapes, adding construction lines, and adding final details, such as texture and highlights. By following these steps, you can create a realistic and detailed rat drawing that accurately captures the unique features of these intelligent creatures.
How Do I Shade and Add Texture to My Rat Drawing?
To shade and add texture to your rat drawing, you can use a variety of techniques such as stippling and blending. Stippling involves drawing tiny dots in various densities to create shading and texture. Blending involves using a blending tool to smooth out shading and create a seamless transition between light and dark areas. Additionally, you can add texture by using small brush strokes or by applying a layer of textured paint. Experiment with different techniques to find the one that works best for you and your drawing style!
Matthew Matthysen is an educated multidisciplinary artist and illustrator. He successfully completed his art degree at the University of Witwatersrand in South Africa, majoring in art history and contemporary drawing. The focus of his thesis was to explore the philosophical implications of the macro and micro-universe on the human experience. Matthew uses diverse media, such as written and hands-on components, to explore various approaches that are on the border between philosophy and science.
Matthew organized various exhibitions before and during his years as a student and is still passionate about doing so today. He currently works as a freelance artist and writer in various fields. He also has a permanent position at a renowned online gallery (ArtGazette) where he produces various works on commission. As a freelance artist, he creates several series and successfully sells them to galleries and collectors. He loves to use his work and skills in various fields of interest.
Matthew has been creating drawing and painting tutorials since the relaunch in 2020. Through his involvement with artincontext.org, he has been able to deepen his knowledge of various painting mediums. For example, watercolor techniques, calligraphy and lately digital drawing, which is becoming more and more popular.
Learn more about Matthew Matthysen and the Art in Context Team.
Cite this Article
Matthew, Matthysen, “How to Draw a Rat – A Fun Guide to Creating a Rat Drawing.” Art in Context. March 2, 2023. URL: https://artincontext.org/how-to-draw-a-rat/
Matthysen, M. (2023, 2 March). How to Draw a Rat – A Fun Guide to Creating a Rat Drawing. Art in Context. https://artincontext.org/how-to-draw-a-rat/
Matthysen, Matthew. “How to Draw a Rat – A Fun Guide to Creating a Rat Drawing.” Art in Context, March 2, 2023. https://artincontext.org/how-to-draw-a-rat/.


