How to Draw a Scarecrow – Create an Easy Scarecrow Face
Scarecrows are fascinating creatures that have been a part of human agriculture for centuries. With their ragged clothes, hay-stuffed bodies, and fierce expressions, these human-like figures have been used to protect crops from birds, animals, and even supernatural beings in some cultures! They’ve also captured our imaginations in literature, film, and art, from the friendly scarecrow in “The Wizard of Oz” to the eerie scarecrows in horror movies. Whether you see them as a functional tool, a symbol of the harvest season, or an opportunity for creative expression, there’s no denying the intriguing appeal of scarecrows.
An Easy-to-Draw Scarecrow Guide
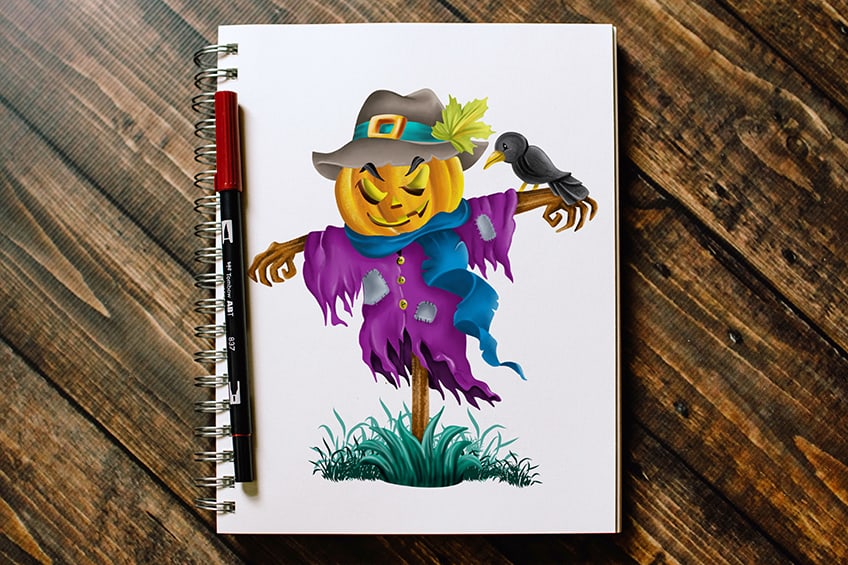
Today’s tutorial is a step-by-step guide on how to draw a scarecrow. We’ll help you through every fundamental step to achieve a ghastly scarecrow drawing. Whether you’re using a graphic tablet or a plain piece of paper, this tutorial is accessible to anyone who wants to learn how to draw a scarecrow! With the help of 15 easy-to-follow steps, demonstrated in the below collage, you’ll soon be able to create a magnificent scarecrow drawing that will leave you in awe.

Step 1: Draw the Base for Your Scarecrow Sketch
To begin your scarecrow drawing, start by drawing the base of the ground. In this case, we used a grass bush.

Step 2: Draw the Hanger
From the grass bush, draw two lines leading onto what will become the head of your scarecrow. To complete this step, draw the waving scarf on your scarecrow sketch.
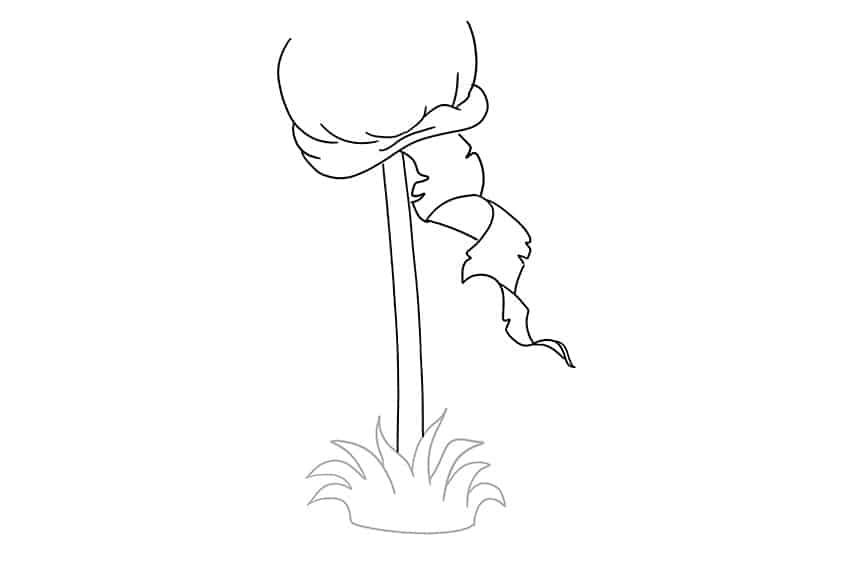
Step 3: Add the Main Body
Draw a hat with an attached side leaf on top of the head. Continue the step, by drawing the shirt on the main body. The shirt should have rips and tears, and these should flow in the side direction as the scarf.

Step 4: Draw the Facial Features of Your Scarecrow Face
Within the head, draw the large angled eyes, eyebrows, mouth, and a small triangular nose. On each end of the shirt draw a hand with sharply angled fingers. To complete the step, draw a bird sitting on the scarecrow’s arm.
Once completed you may erase any still visible construction or overlapping lines on the Scarecrow face.

Step 5: Add the First Color Coat
Select a fine, sharp brush and a light shade of brown, and evenly color the hat. Follow this by coloring the bird with solid gray paint, and color in the beak and legs of the bird with yellow paint. Paint the scarf using blue paint, and switch to green paint for the grass.

Step 6: Add the Second Color Coat
Use the same brush as previously and switch to brown paint, and begin to color the arms evenly and the main body stand. Continue with the scarecrow face and paint the edges of the eyes, mouth, and nose. Switch to bright yellow paint, and color the eyes, mouth, and nose. Continue to the eyebrows and paint them with black paint.
Select a fine, sharp brush and color the hat ring with a darker yellow paint and the surrounding band with a cyan blue. Complete the step by coloring the leaf with lime green paint.

Step 7: Color the Shirt of Your Scarecrow Sketch
Begin to evenly color the shirt on your easy-to-draw scarecrow, with a fine brush and purple paint. Continue to color the inner area of the shirt with a dark shade of purple paint. Color the patches on the shirt in gray paint, and the button in bright yellow paint.

Step 8: Add Shading to the Shirt on Your Scarecrow Drawing
With a small, soft brush and black paint, add some structure and shading to the shirt. Switch to a blending brush to soften the shading, focusing mainly on the edges and creases of the shirt.

Step 9: Highlight the Shirt
Use a small, soft brush and in some areas, a fine, sharp brush with white paint to add fine and soft highlights along the edges and creases of the shirt. Complete the step using black paint, and paint the patches and buttons. Repeat using white paint to add soft highlights.

Step 10: Shade the Accessories on Your Scarecrow Sketch
Begin by using a small, soft brush and black paint, and softly shade the hat, leaving the first color somewhat visible as a highlight. Continue by shading the scarf, and with a fine brush and white paint add fine highlights. Complete the step by shading and highlighting the grass bush.

Step 11: Add Shading to the Bird
Using a small soft brush and black paint, apply soft shading to the bird’s body, tail, head, beak, and legs. Switch to a thin, sharp brush and white paint, and add the final shimmer to the eye.
Tip! Use a blending brush to soften the shading fade.

Step 12: Add Texture to the Head of Your Scarecrow Drawing
To make the head look more realistic, select a small brush and yellow paint, and add texture lines around the curves of the pumpkin head. Repeat using black paint. The first color coat should still be visible. Continue by adding shadows within the eyes, mouth, and nose. Use a blending brush to add softness to the color blends.

Step 13: Shade the Hanger
With a thin, sharp brush and black paint, add texture and shading to the hanger, arms, and hands of the scarecrow. Repeat the step using a rough or texture brush to enhance the wooden look. Complete the step using a combination of gray, yellow, orange, and white paint to finalize the leaf on the hat.

Step 14: Enhance the Base of the Ground
Using a fine, sharp brush and a combination of green and black paint, paint smaller patches of grass behind the main bush to increase the depth of the bush.
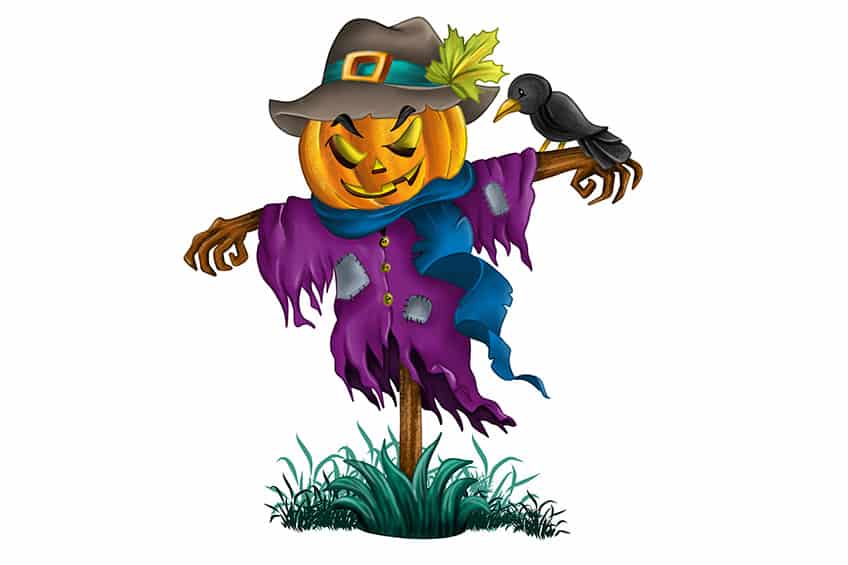
Step 15: Finalize Your Easy-to-Draw Scarecrow
To achieve a seamless final scarecrow drawing, utilize a fine brush along with corresponding colors to trace both the visible outlines and any inner harsh outlines. You have just completed our tutorial on how to draw a scarecrow!
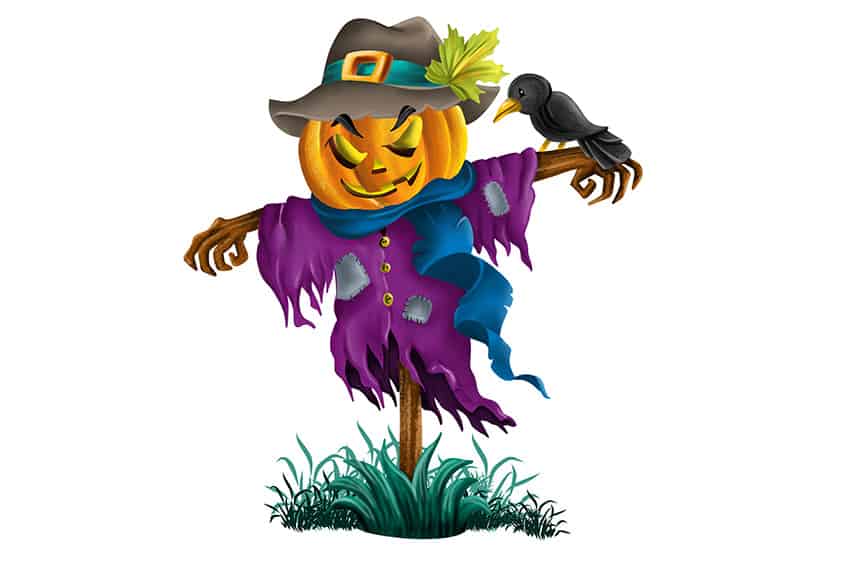
Well done on finishing your scarecrow drawing! Your hard work and dedication has paid off, and you’ve created a stunning piece of artwork. Not only have you produced a beautiful drawing, but you’ve also gained valuable drawing skills in the process. You’ve learned how to use shading, texture, and attention to detail to bring your scarecrow to life. These skills will undoubtedly serve you well in future drawings, and you should be proud of what you’ve accomplished. We can’t wait to see what other masterpieces you’ll create in the future!
Frequently Asked Questions
How Can I Make My Scarecrow Drawing Look More Realistic?
To make your scarecrow drawing look more realistic, pay attention to the texture and shading of different parts of the scarecrow. Use light and dark shading to create the illusion of depth and dimension, and use cross-hatching or other shading techniques to create texture on the clothing and hay. Pay attention to details like the stitches on the clothing or the placement of the straw. You can also use reference images or real-life examples to guide your drawing!
How Do I Make My Scarecrow Drawing More Unique?
To make your scarecrow drawing more unique, consider adding personal touches or creative elements that set it apart from traditional scarecrow depictions. For example, you could give your scarecrow a unique facial expression or pose, or add decorative elements like ribbons or flowers to the clothing. You could also place your scarecrow in a unique setting, such as a spooky graveyard or a whimsical garden. Experiment with different colors and styles to create a scarecrow that reflects your style and creativity!
Matthew Matthysen is an educated multidisciplinary artist and illustrator. He successfully completed his art degree at the University of Witwatersrand in South Africa, majoring in art history and contemporary drawing. The focus of his thesis was to explore the philosophical implications of the macro and micro-universe on the human experience. Matthew uses diverse media, such as written and hands-on components, to explore various approaches that are on the border between philosophy and science.
Matthew organized various exhibitions before and during his years as a student and is still passionate about doing so today. He currently works as a freelance artist and writer in various fields. He also has a permanent position at a renowned online gallery (ArtGazette) where he produces various works on commission. As a freelance artist, he creates several series and successfully sells them to galleries and collectors. He loves to use his work and skills in various fields of interest.
Matthew has been creating drawing and painting tutorials since the relaunch in 2020. Through his involvement with artincontext.org, he has been able to deepen his knowledge of various painting mediums. For example, watercolor techniques, calligraphy and lately digital drawing, which is becoming more and more popular.
Learn more about Matthew Matthysen and the Art in Context Team.


